Welcome to Laser Pointer Forums - discuss green laser pointers, blue laser pointers, and all types of lasers

Buy Site Supporter Role (remove some ads) | LPF Donations

Links below open in new window

FrozenGate by Avery

Kryton Grooves coming back!

For the diode pocket I used a blade from the scissors and scrapped along the pocket until it was rubbed off.


Much better off removing the anodize from inside the diode pocket. Can't be too good for thermal transfer, even though it's fairly thin.
 
For the diode pocket I used a blade from the scissors and scrapped along the pocket until it was rubbed off.

Thanks for the tip :beer:


Thought I mentioned that in post 524....:thinking:


Anyway thanks Moh, look forward to getting mine. The hosts should be arriving today with any luck! :D :beer:
 
Last edited:
Received mine yesterday and I have to say they look absolutely amazing!

Thanks again Mat +1 :beer:
 
Is anyone experiencing problematic tailcaps like on the original krytons or are these fine? Received mine today and want to know if the switch needs modding.
 
Hey Matt are you going to make a video of the kryton groove build? And I was wondering which lens barrel I should order(extended or standard).
 
I am having difficulty with putting the tailcap together. Never had a kryton before, I put the silicone bit in, put the clicky switch, then the white plastic bit, and push that in with a pen or something till it goes in as far as it can, then the black ring, and also push that in as far as possible. But then my clicky is jammed, I cant click it, if that makes sense.
Also, is the ground screw really necessary for a 9mm build?
 
Last edited:
I had to turn the silicon cap inside out and completely cut off the part that sticks up and is supposed to push on the button. Then it gave enough room for the clicky to go in and out.:)
 
The only problem I had with one of my switches was that I was getting a constant on...considering why, it's a complete mystery.

I did discover that you HAVE to put the snap ring in the LOWEST cutout so that the switch itself does not pop loose and bounce around.

I've mirror polished both of mine, and as soon as my #&(U@&*##(&@ diode press gets here, I'll have my 405nm up and running!
 
I am having difficulty with putting the tailcap together. Never had a kryton before, I put the silicone bit in, put the clicky switch, then the white plastic bit, and push that in with a pen or something till it goes in as far as it can, then the black ring, and also push that in as far as possible. But then my clicky is jammed, I cant click it, if that makes sense.
Also, is the ground screw really necessary for a 9mm build?

I put pressed the cap/button cover in and slid the white plastic ring in on top of that.

Then put the switch in, pressed it down good, and installed the reainer ring. Worked fine for me. :beer:
 
OK so I'v put the white ring in the right order now, working good.
 
Last edited:
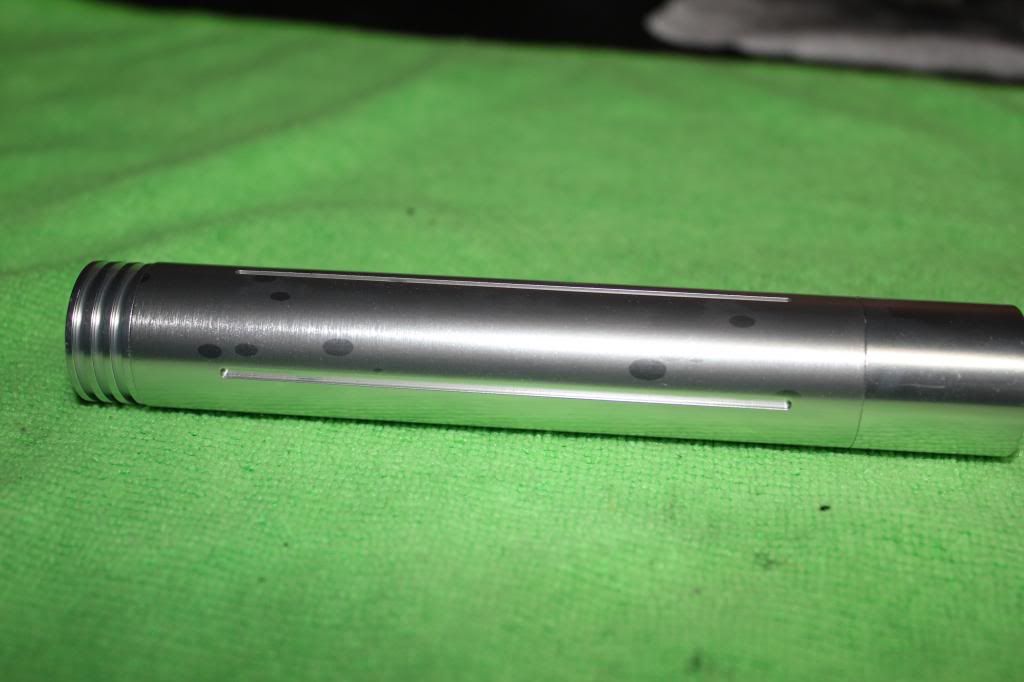
just out of curiosity did anyone else get a pokaboted Groove???

IMG_1452_zpsd9cf72bb.jpg


Back
Top