DTR
0
- Joined
- Jun 24, 2010
- Messages
- 5,680
- Points
- 113
Here is a great host that I have been very impatiently waiting on some diodes to arrive so I could build it. It is a polished aluminum Ehgemus Host made for an 18650. This is probably the nicest host in my collection. It is definitely a toss up with the SS 18650 from Jay but this is unique in that it was built from scratch instead of repurposing a flashlight.
Also if you would like to see more of my reviews and tutorials please visit my compilation page.
http://laserpointerforums.com/f51/d...ting-compilation-thread-56450.html#post797151
*Host Images*
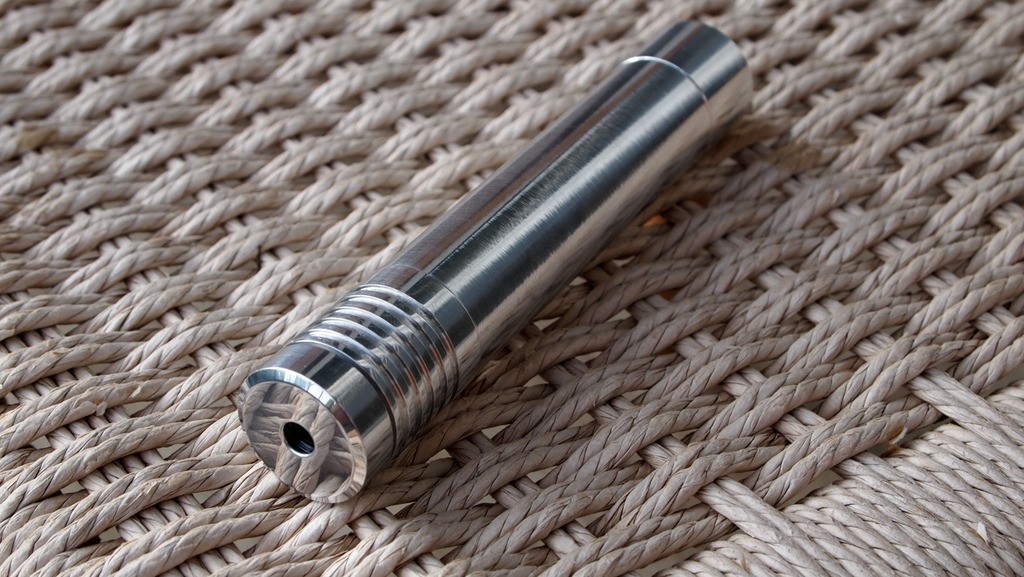
I find myself holding it like a cigar most of the time. Which is not abnormal for me since I love cigars.:eg:
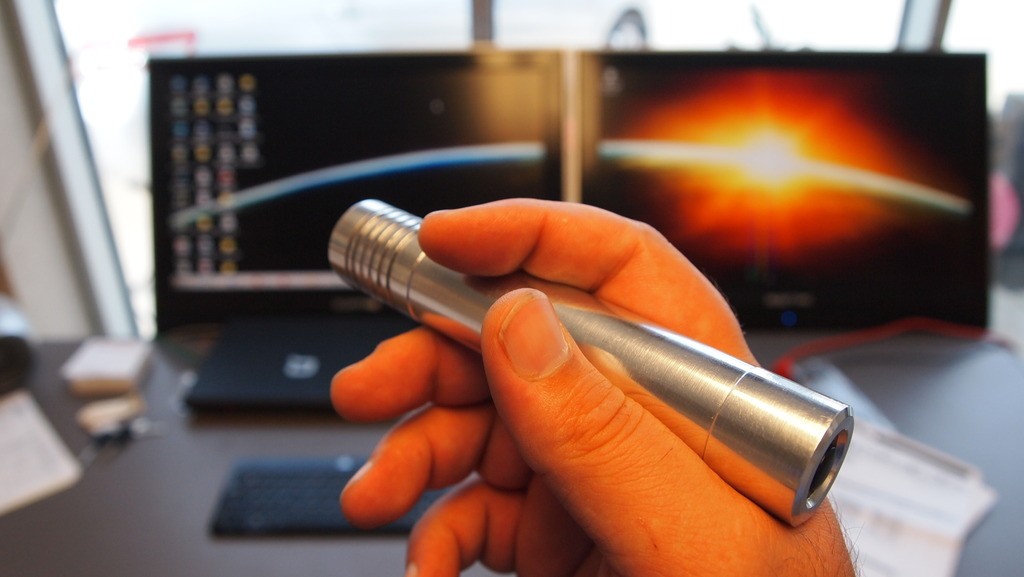
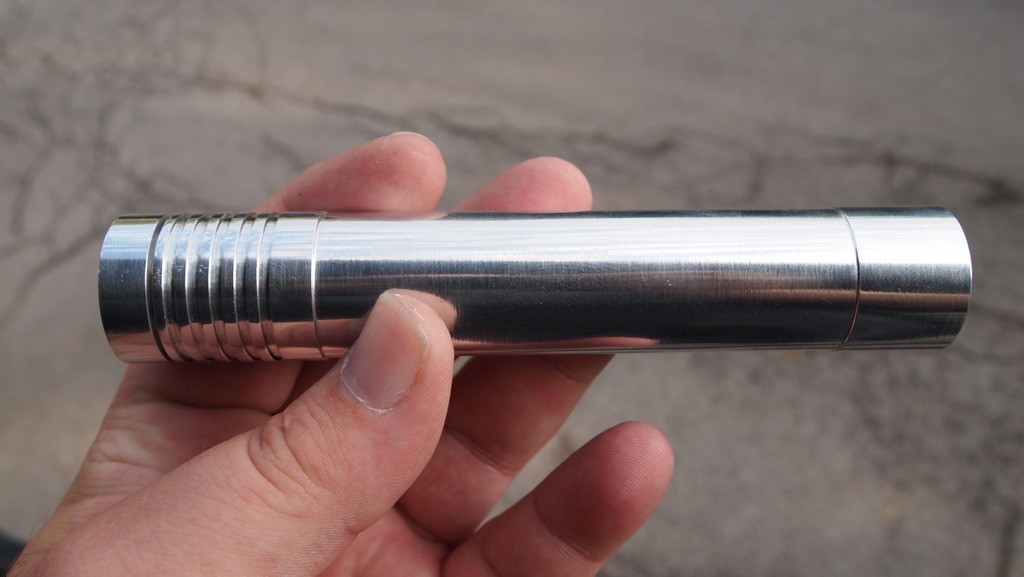
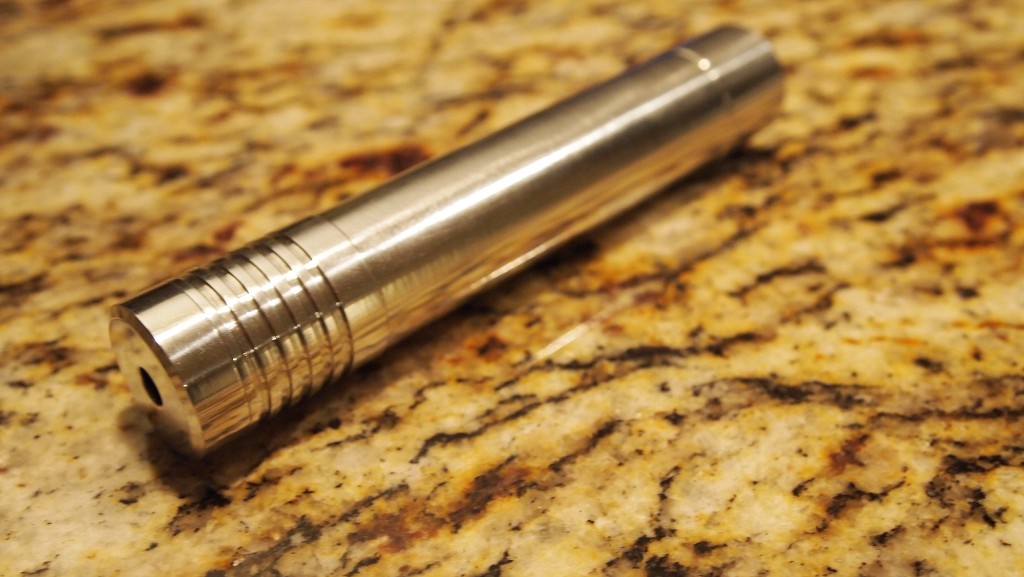
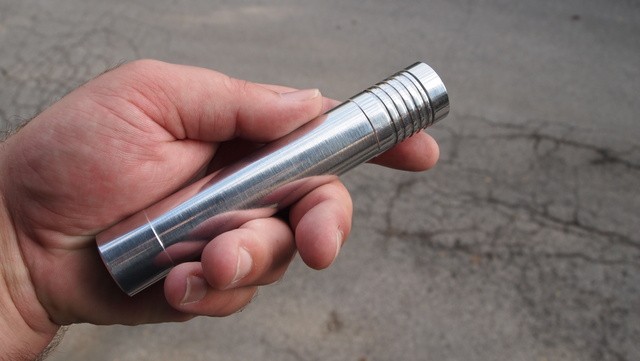
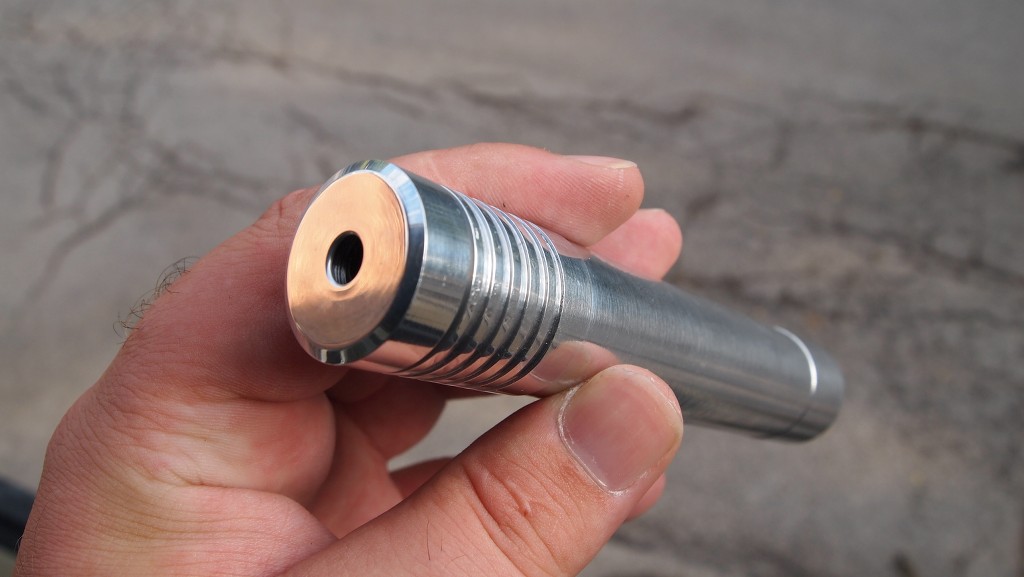
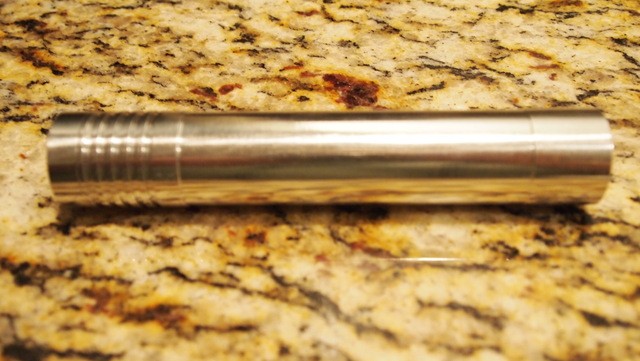
The clicky on the back is sooo smooth. I have to give Ehgemus some major props. This clicky is fantastic and is by far the best I have used. You can slightly press for a momentary style or do a full depress for a on/off style clicky.


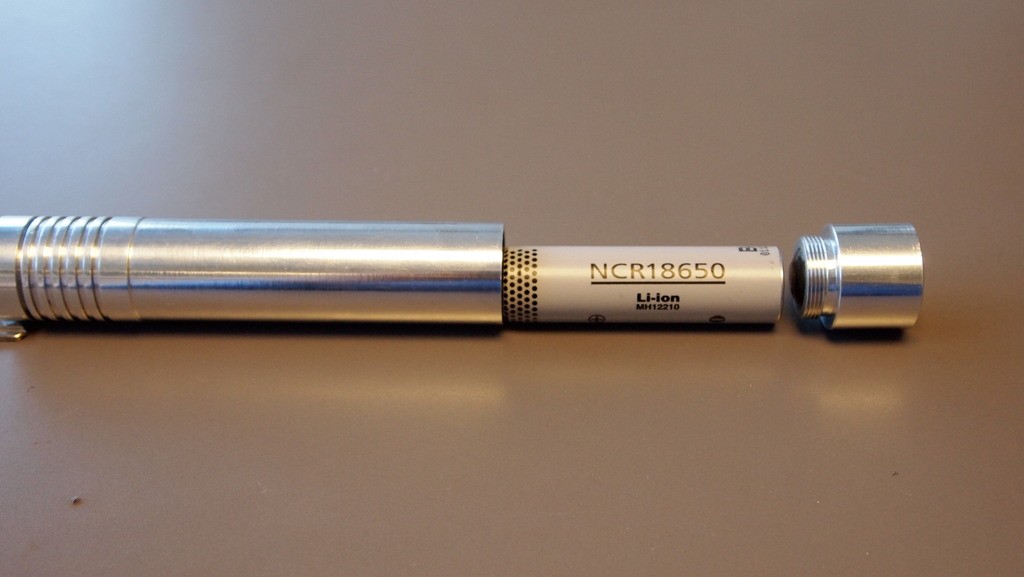
The host is fit for a protected 18650 and it fits like a glove.


*Assembly Images*
Host consists of these components. The host body, the tailcap, direct press head and the focus adapter.
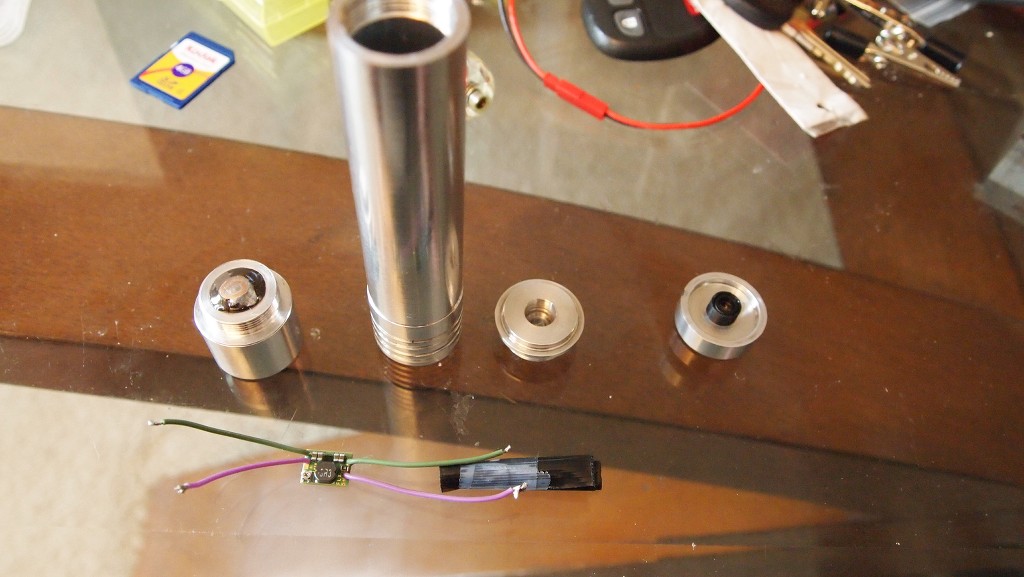
This unit has a direct press head. It eliminates the need for a heatsink and a module. The entire host is your heatsink. This allows for great heat dissipation throughout the whole host body. Make sure you countersink this diode. It goes a lot further into the head than an Aixiz module. If you don't get it all the way in you will have trouble focusing your beam.
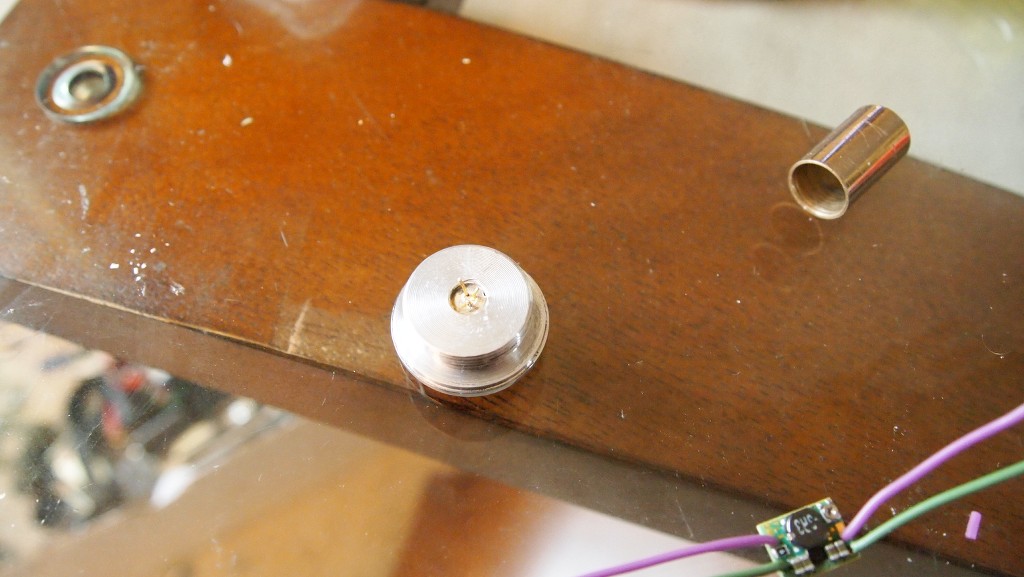
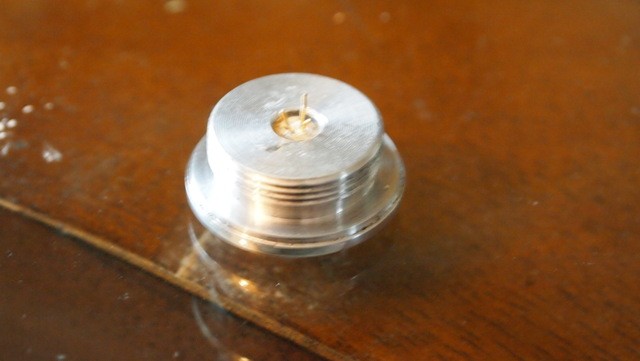
On this build I am using a Flexdrive set to 1407mA. I think.:thinking: My pyroload jumps around a lot at that current. I am waiting for some industrious member to make and sell a test load that can handle 2-3A without melting or causing my DMM to go wild. Already burned out one pryoload.:cryyy:
I was trying to stay a bit under the 1.5A max because I am not using a heatsink on the driver(yet). I am glad I grabbed a few extra before they all disappeared. Hopefully the good Dr. will have another round of them available soon.
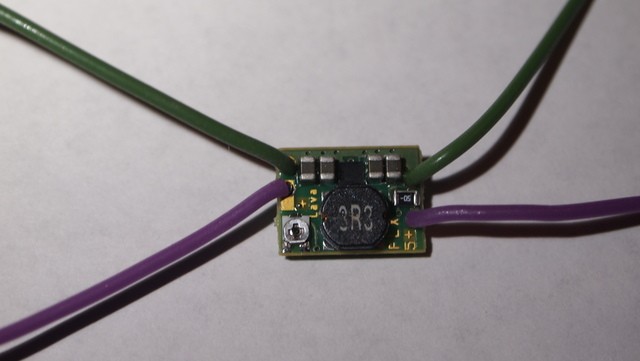
I use an isolated line from the case pin back to the driver negative input on builds that don't have an easy way to get your negative feed from the pill of the host. I have been using this method with the microboost or even the flexdirve which has an alternative method of shorting the case pin and letting the negative feed come back into the driver negative output. See here for more details. And of course I only use the Flaminpryo wire available in his Laser Parts Thread. Along with some other necessities.:beer:


I wrapped the flexdrive with some electrical tape for now. I will be getting a small aluminum heatsink and use some thermal adhesive to attach it to the driver. But it does run over 60 seconds the way it is.
Now the only thing that could be better on this host is since the head is a direct press for the diode you cannot keep from twisting up the wires when you screw it on( there are rumors that Ehgemus is working on a non threaded head that would solve this issue) On builds without a direct press head the heatsink can be stationary while the head is screwed on.
But I have found that by giving a little slack on the diode wires and doing a few counterclockwise turns with the head and then screwing it in works pretty well. That way it is untwisting while being screwed in instead of twisting and you can make sure you don't bind your diode pins while doing it.
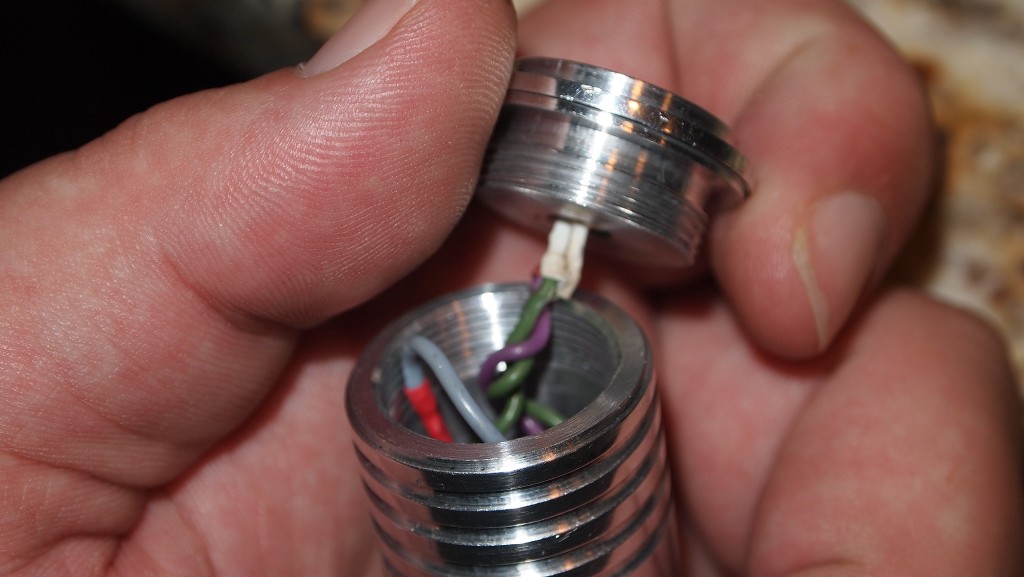
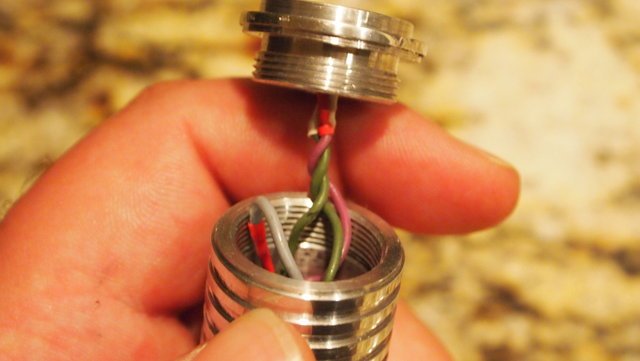
Then all you need to do is screw your lens into your focus adapter and then screw that into the head of the unit and you are ready to lase.
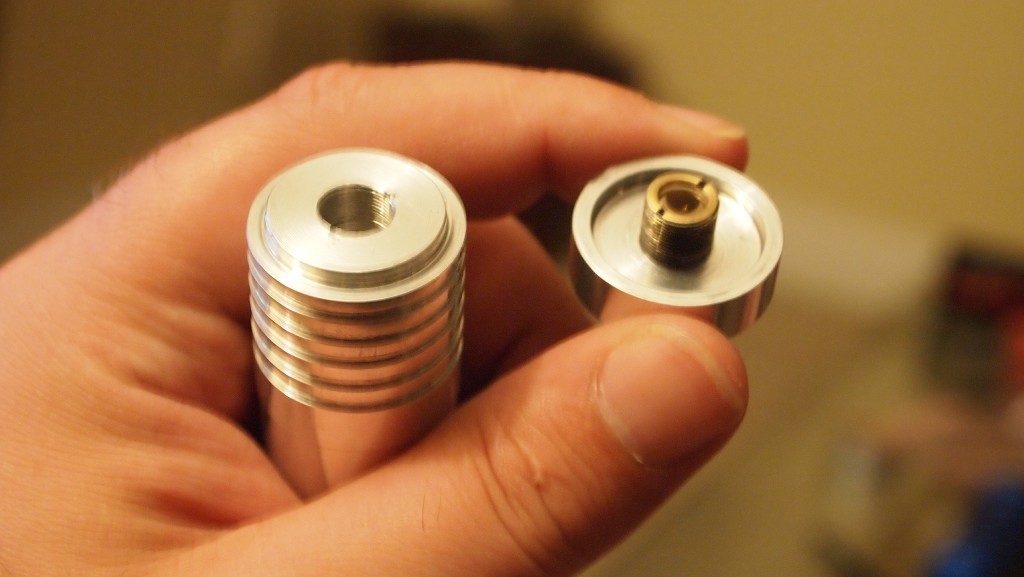
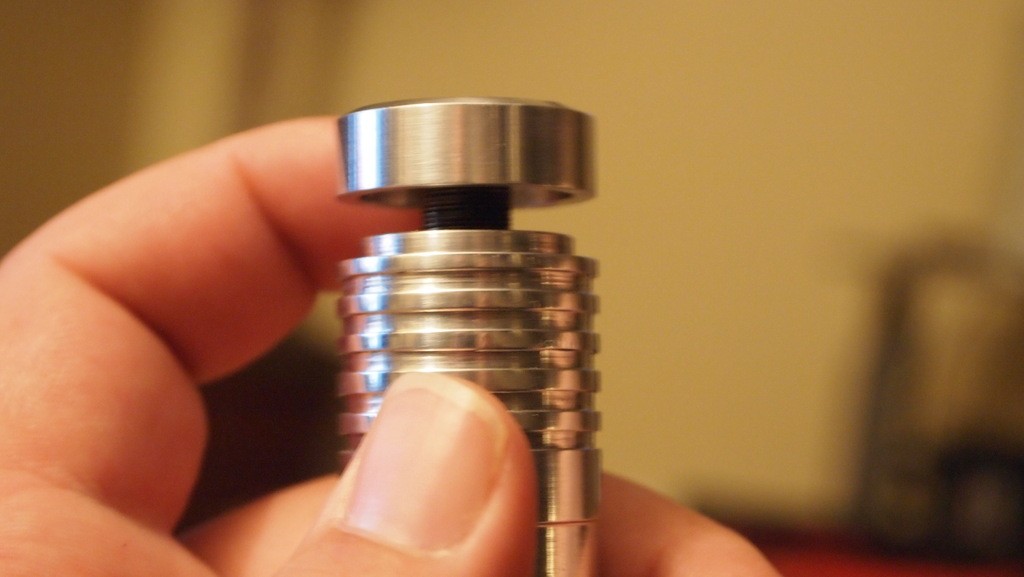
EDIT
I have now modified this unit with a coin mod.
I took a penny and ground it flat on both sides then bent the coin slightly on both sides.
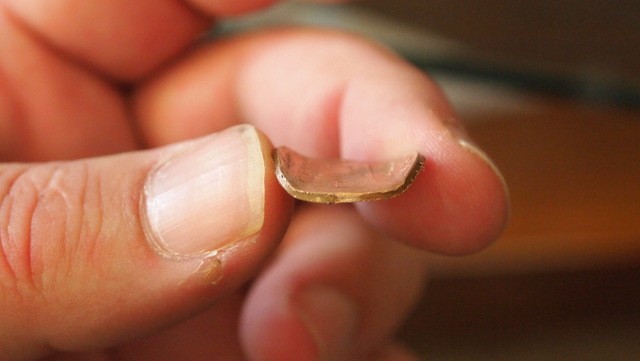
I had to bend a little and check to see if it has contact with the host walls and repeat until I got a good fit.
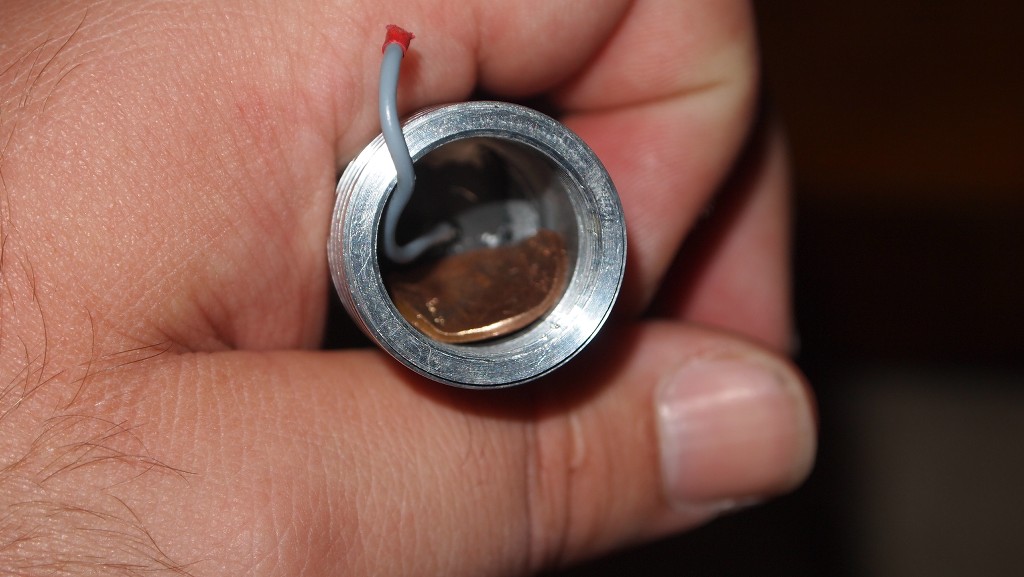
Then I mounted a new flex set to max on the coin with some thermal adhesive.
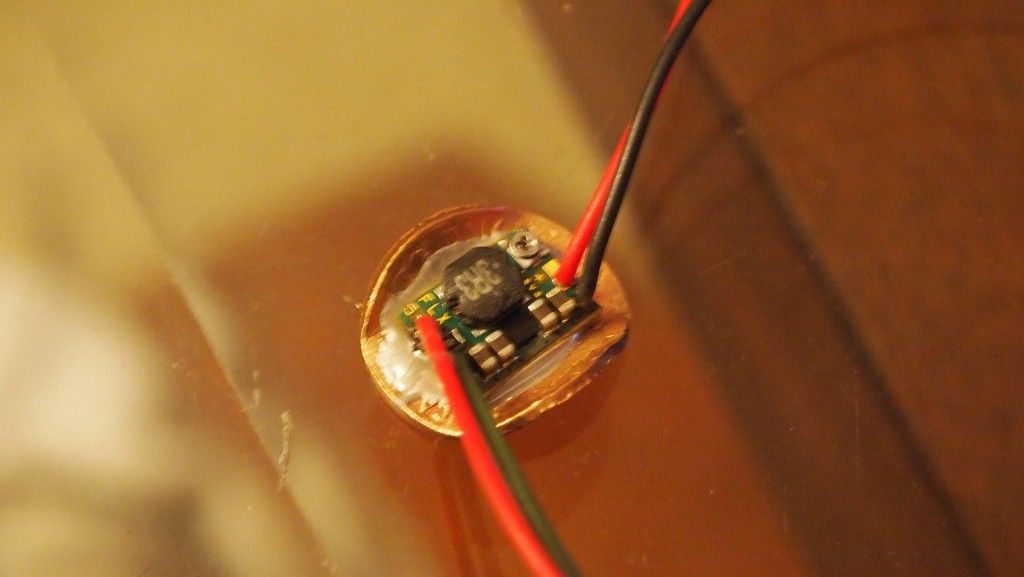
Once the driver was set it was time to mount the coin in the host. Used an alligator clip to hold it against the host until the adhesive dried.

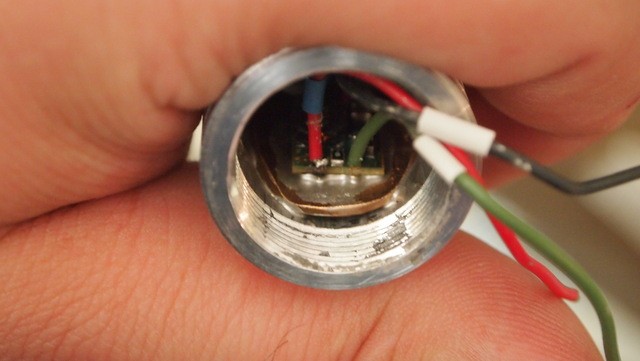
Then all I had to do is solder the diode to the new driver leads.
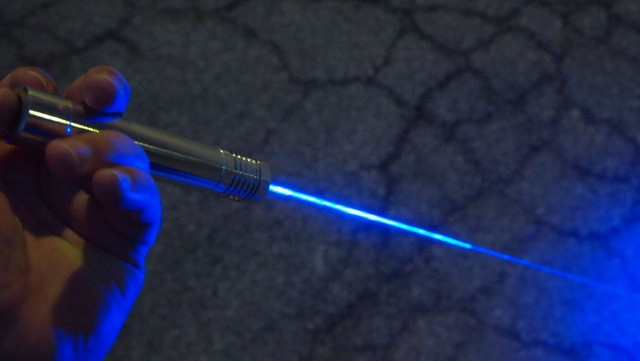
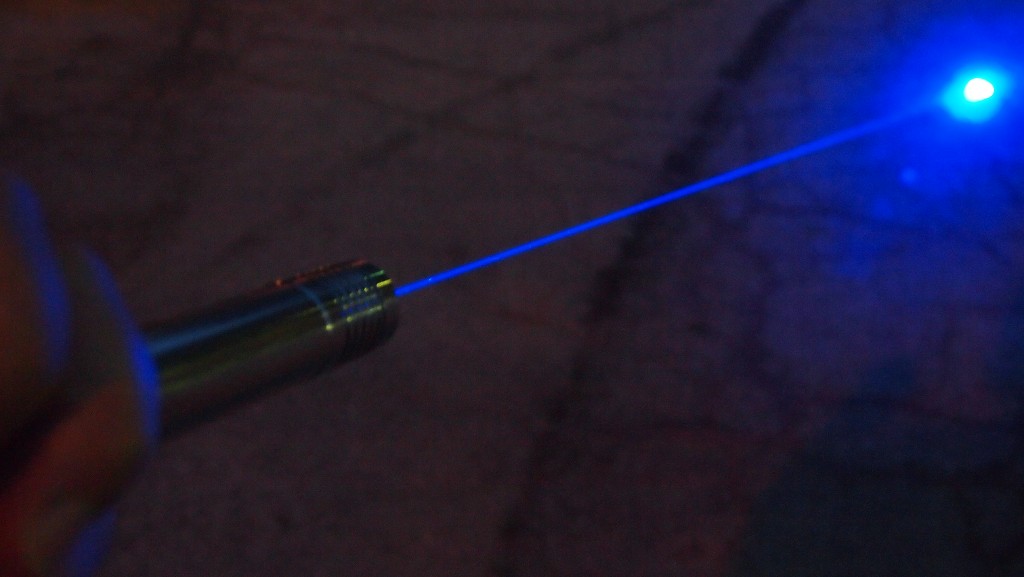
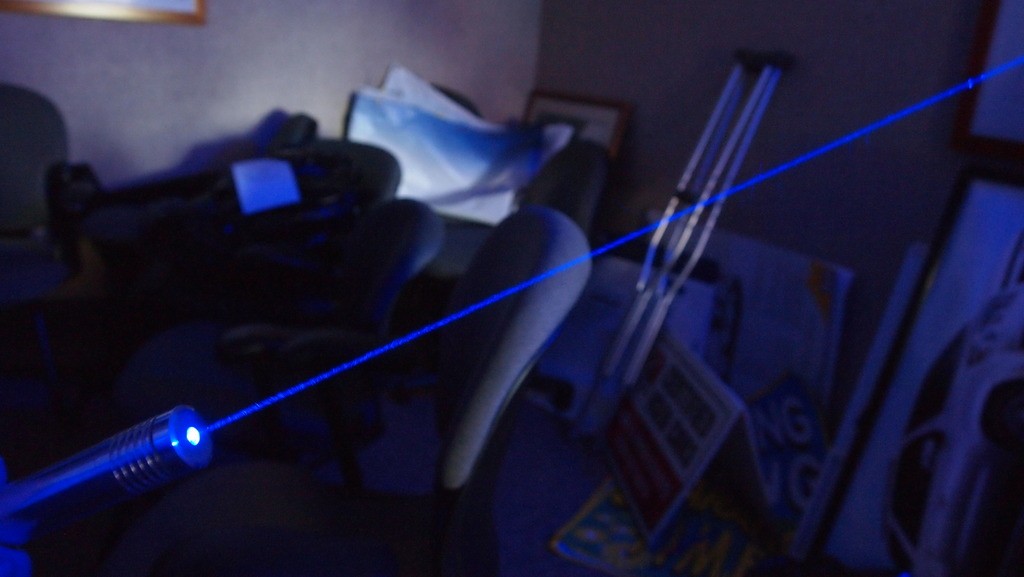
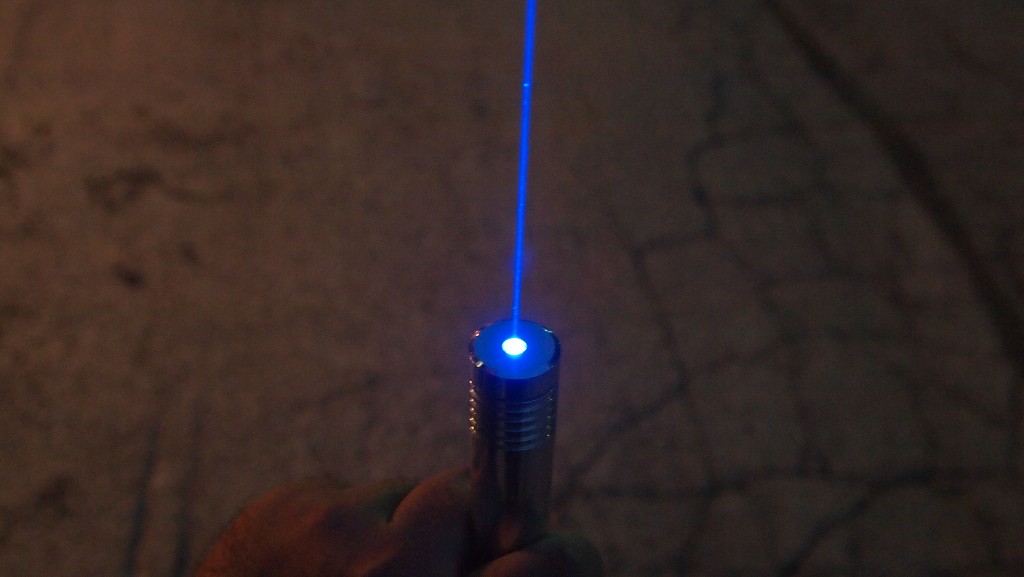
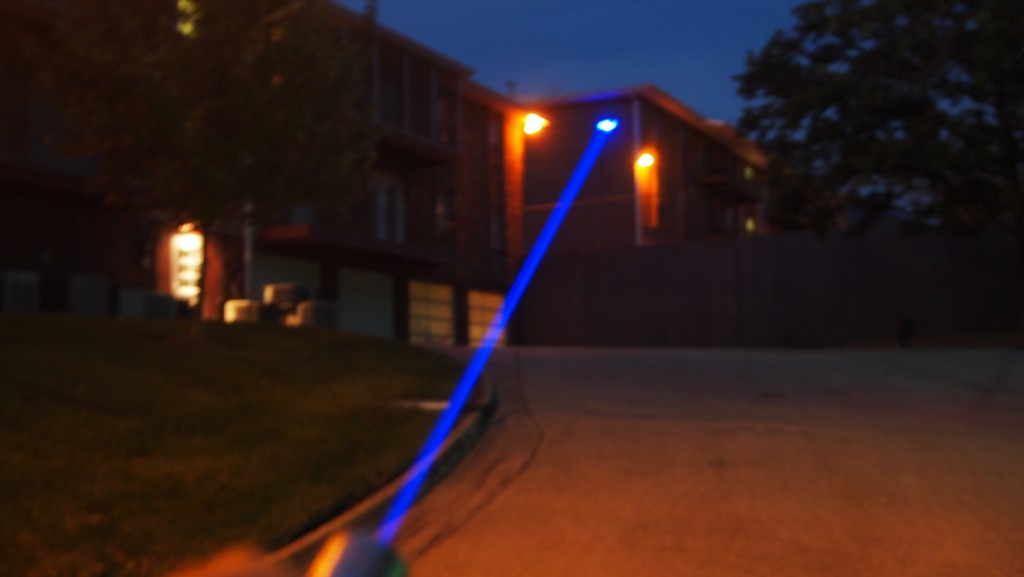
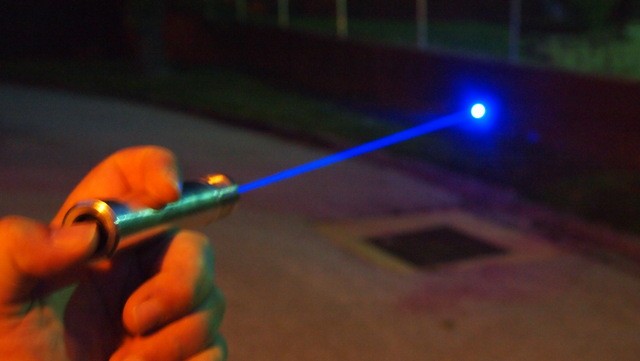
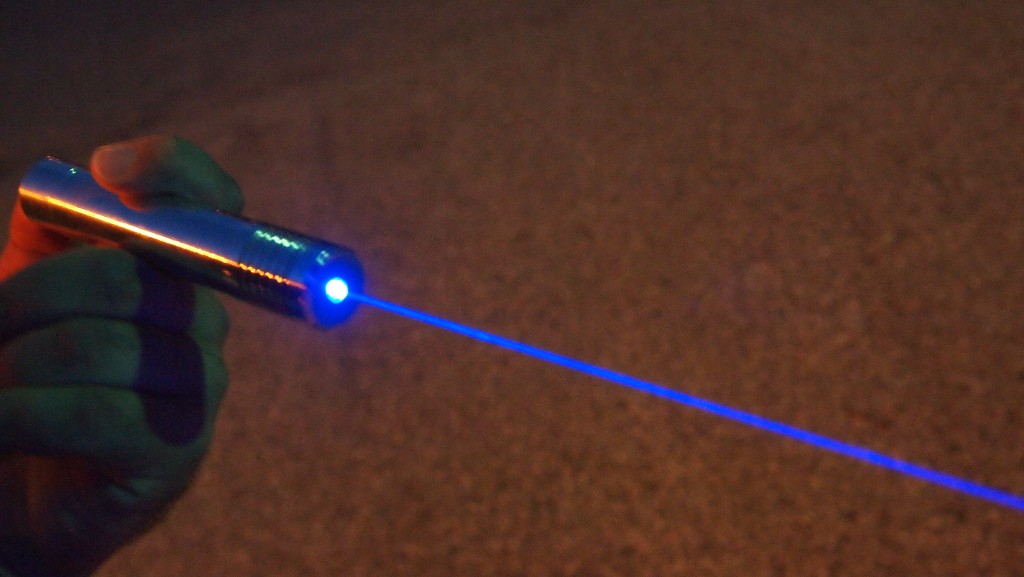
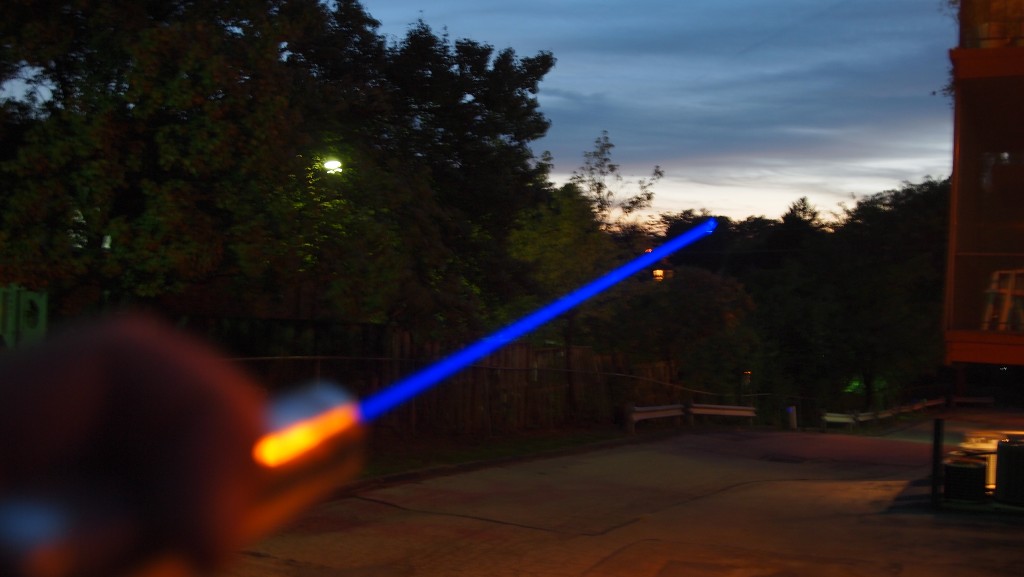
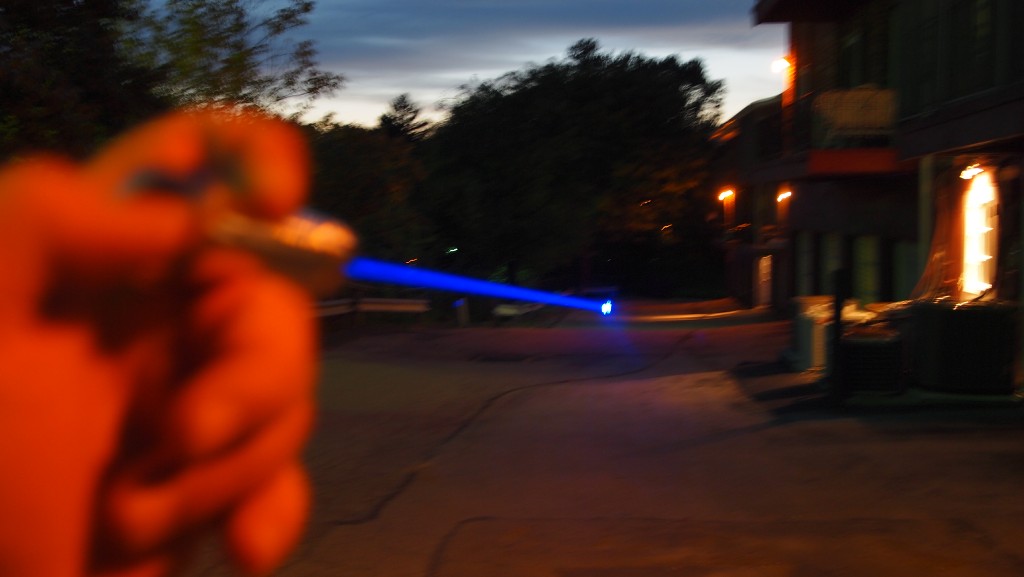
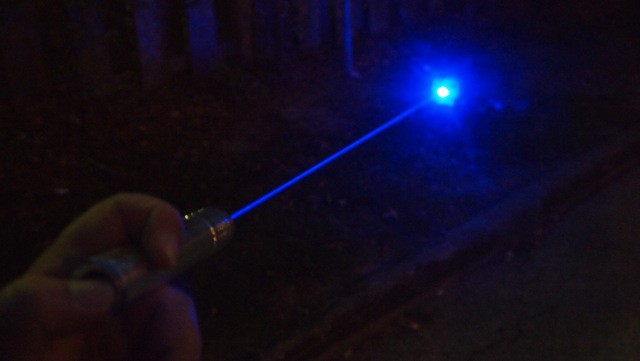
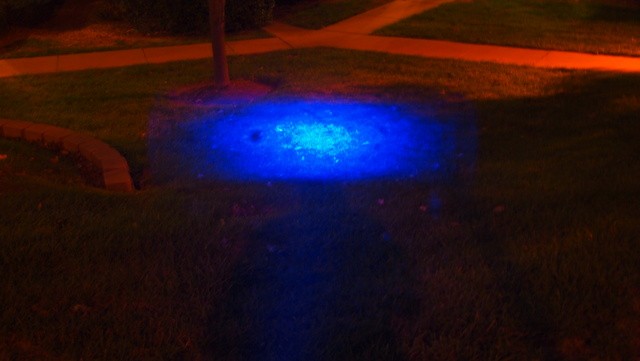
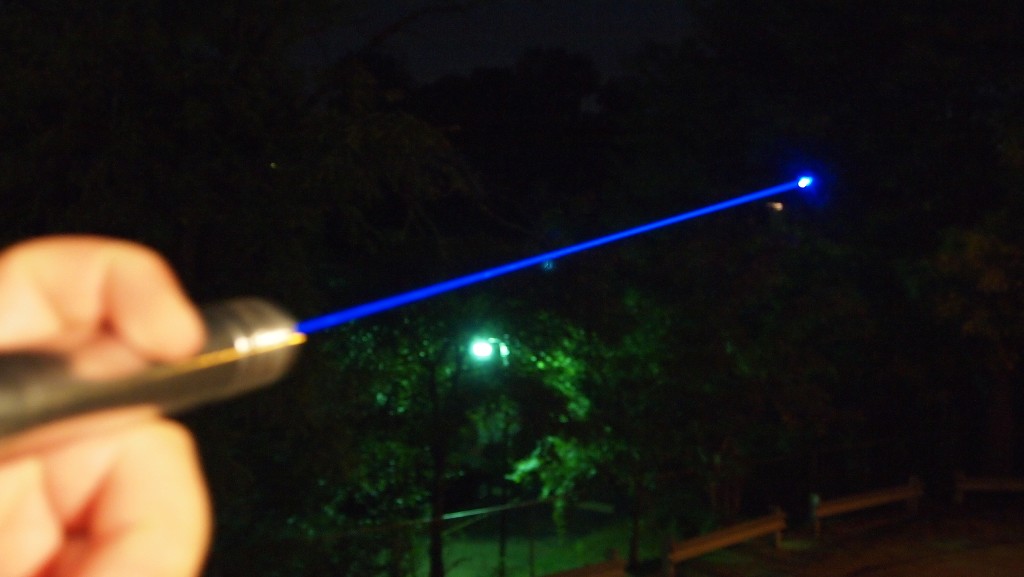
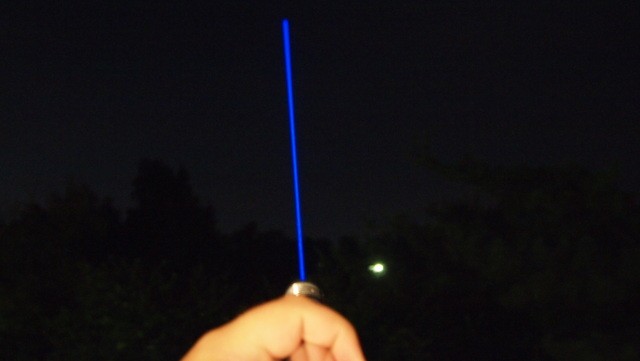
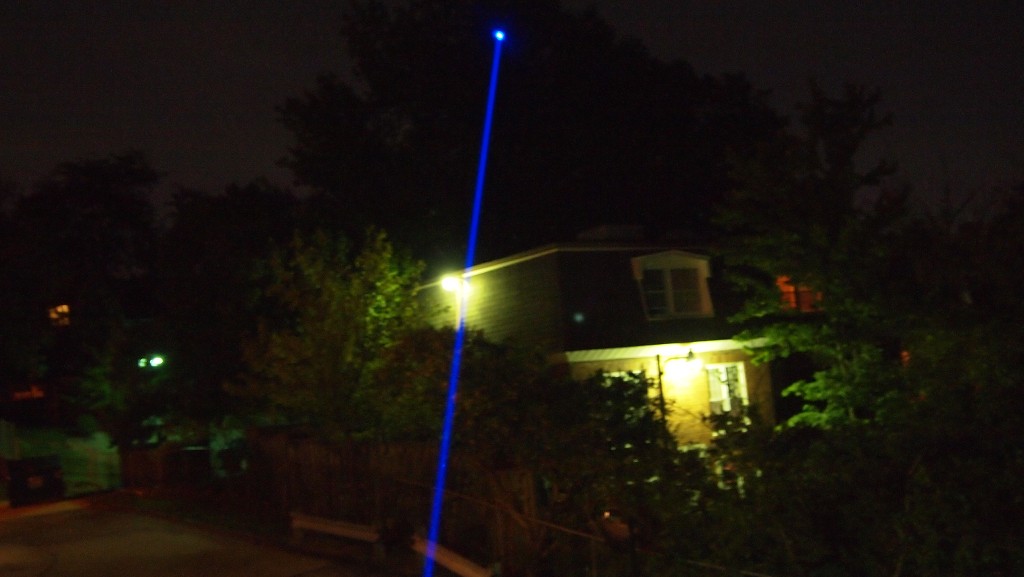
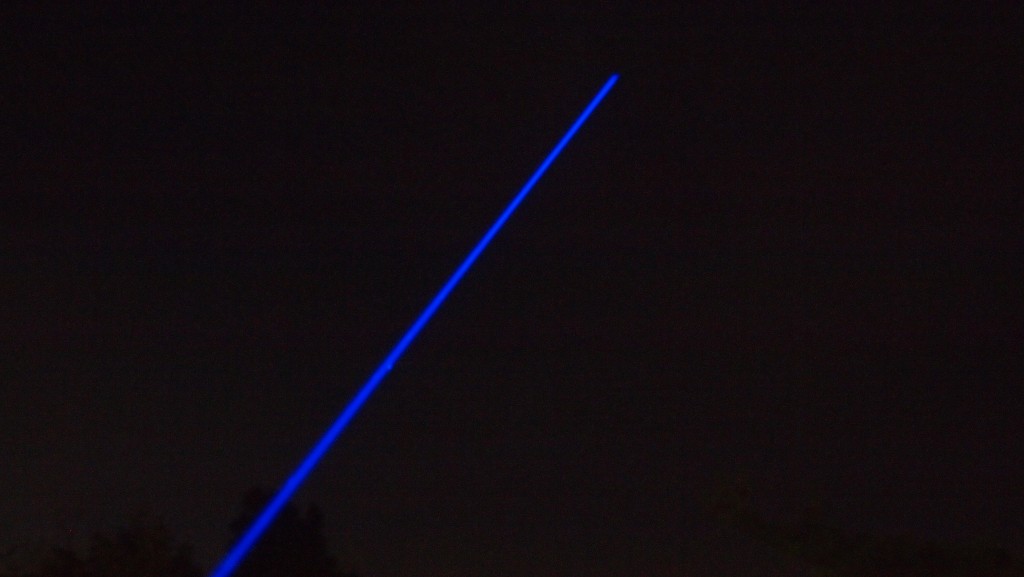
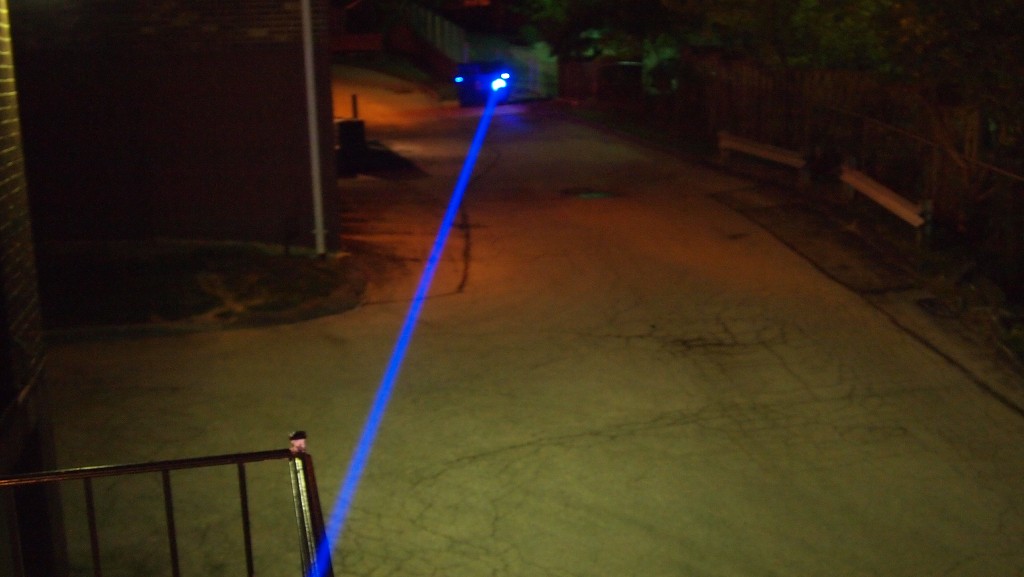
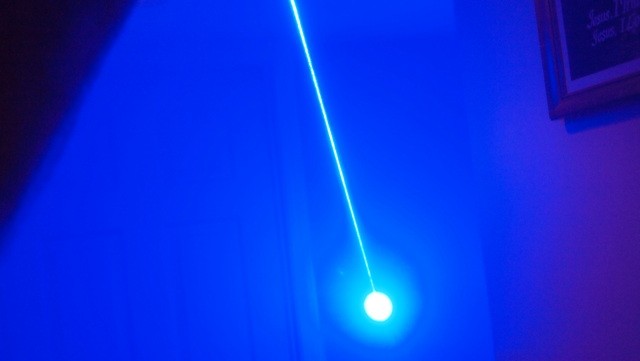
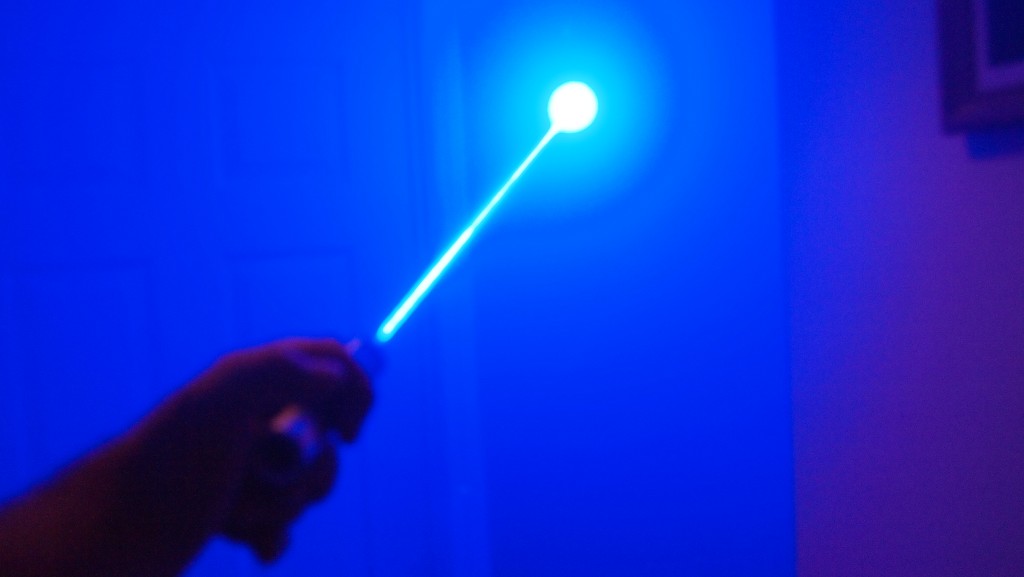
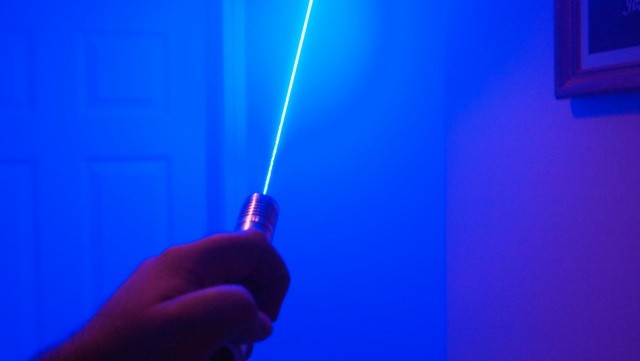
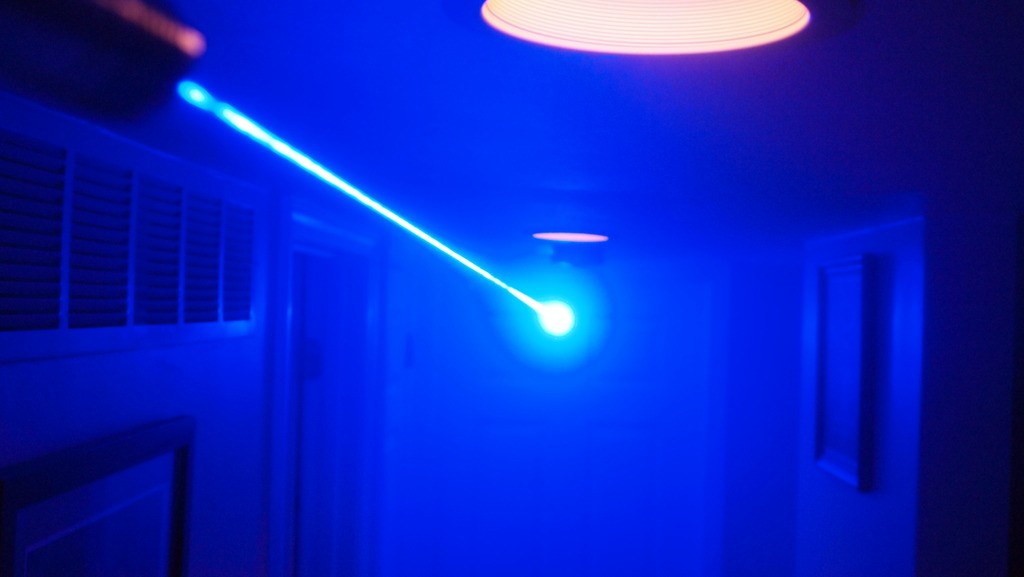
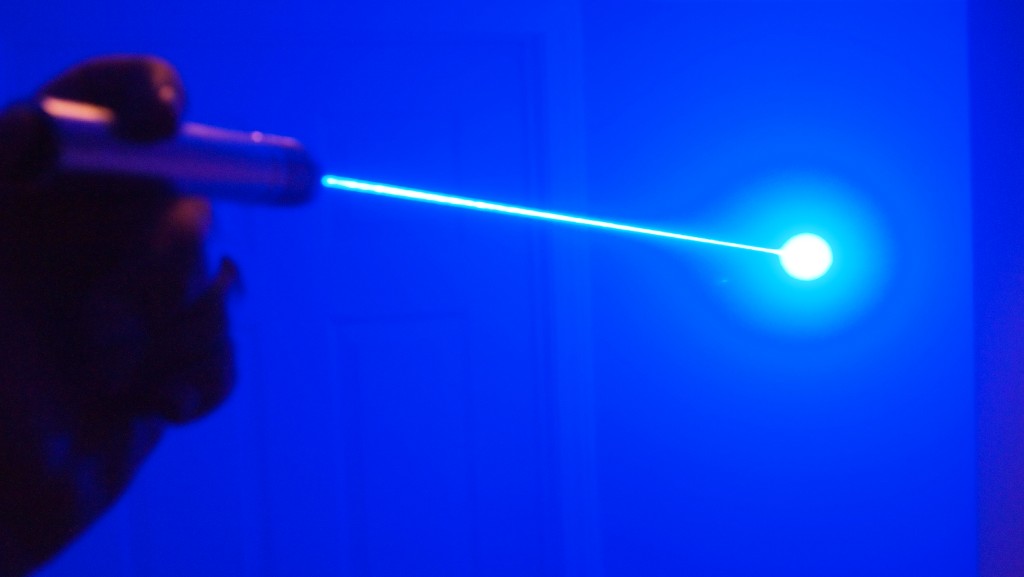
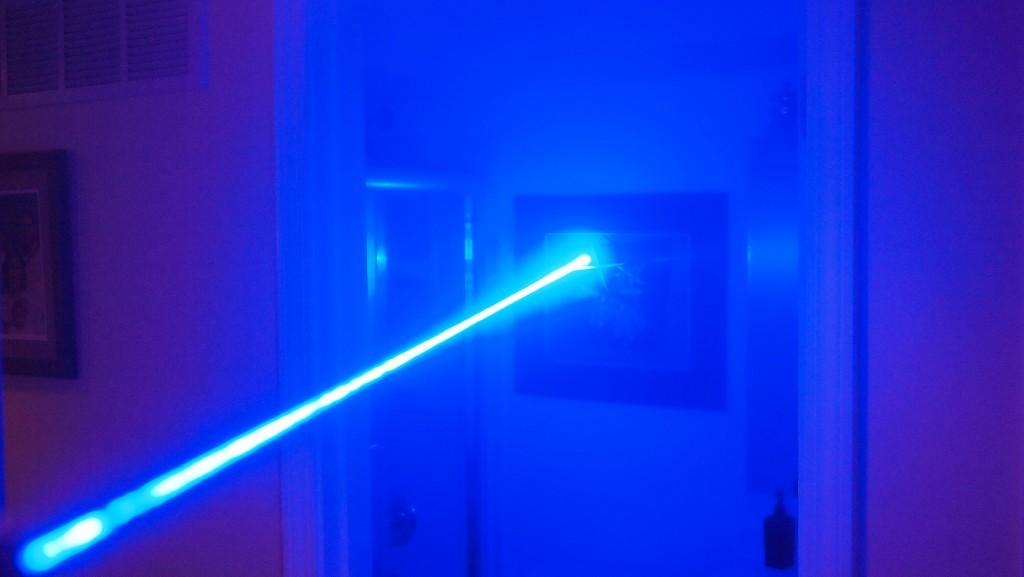
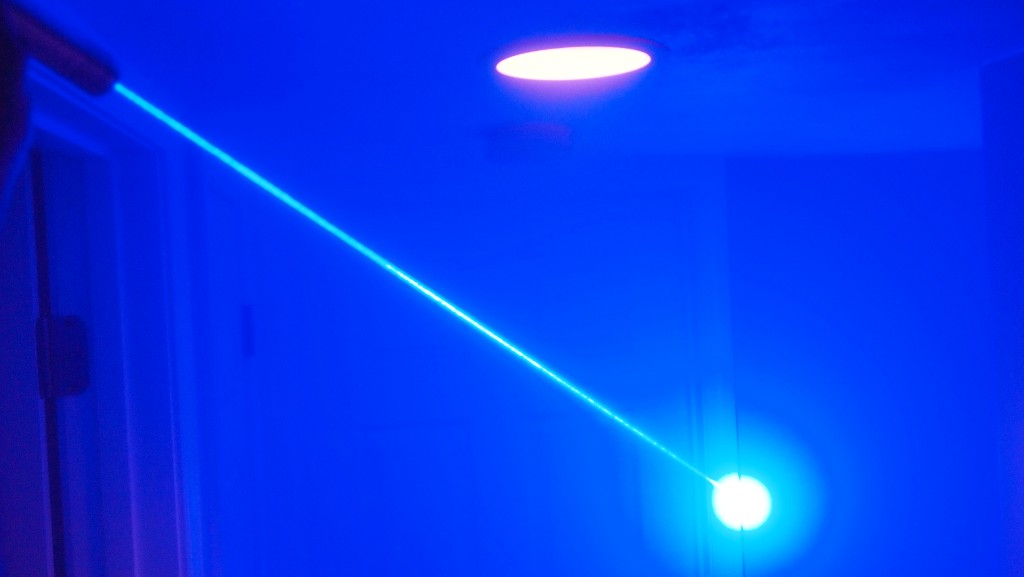
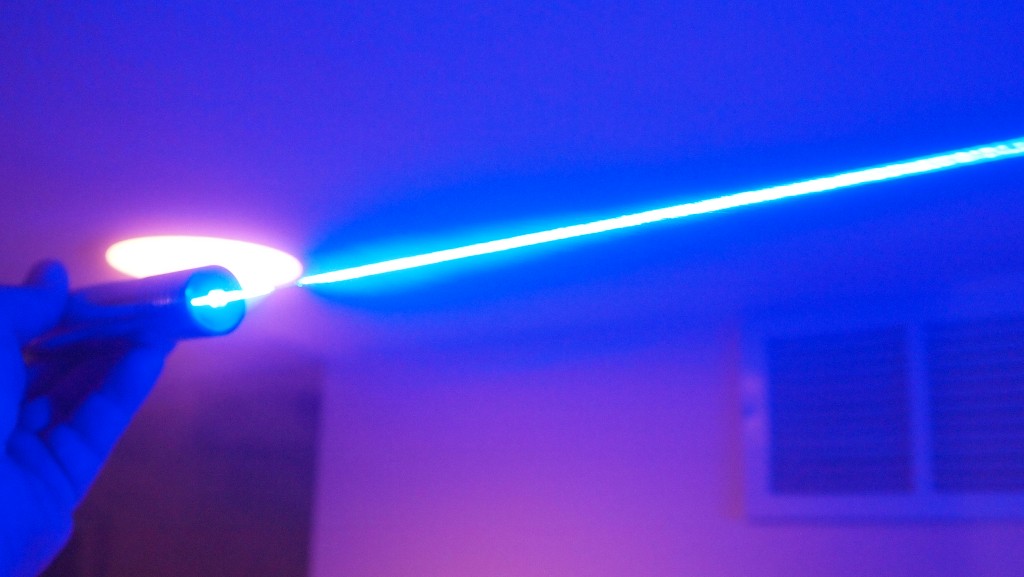
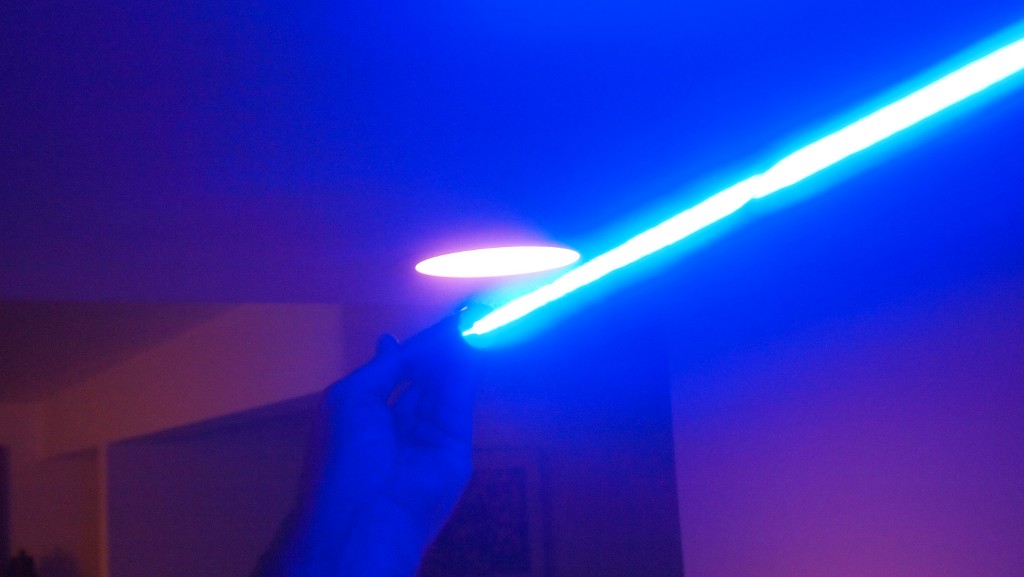
*Beam Shots*








*Videos*
Here is a video of me using the unit. Check the momentary style use of the clicky.
*LPM Test*:can:
405-G-1
*Final Thoughts*
This is definitely a centerpiece unit for my collection. This Ehgemus host is beautiful with it's extremely well polished exterior and its very clean sleek design. All the threading feels really smooth and don't forget the great clicky. I will hold on to this one for a long time.
Hope you all enjoyed the review.:thanks:
Also if you would like to see more of my reviews and tutorials please visit my compilation page.
http://laserpointerforums.com/f51/d...ting-compilation-thread-56450.html#post797151
*Host Images*

I find myself holding it like a cigar most of the time. Which is not abnormal for me since I love cigars.:eg:


The clicky on the back is sooo smooth. I have to give Ehgemus some major props. This clicky is fantastic and is by far the best I have used.


The host is fit for a protected 18650 and it fits like a glove.


*Assembly Images*
Host consists of these components. The host body, the tailcap, direct press head and the focus adapter.

This unit has a direct press head. It eliminates the need for a heatsink and a module. The entire host is your heatsink. This allows for great heat dissipation throughout the whole host body. Make sure you countersink this diode. It goes a lot further into the head than an Aixiz module. If you don't get it all the way in you will have trouble focusing your beam.


On this build I am using a Flexdrive set to 1407mA. I think.:thinking: My pyroload jumps around a lot at that current. I am waiting for some industrious member to make and sell a test load that can handle 2-3A without melting or causing my DMM to go wild. Already burned out one pryoload.:cryyy:
I was trying to stay a bit under the 1.5A max because I am not using a heatsink on the driver(yet). I am glad I grabbed a few extra before they all disappeared. Hopefully the good Dr. will have another round of them available soon.

I use an isolated line from the case pin back to the driver negative input on builds that don't have an easy way to get your negative feed from the pill of the host. I have been using this method with the microboost or even the flexdirve which has an alternative method of shorting the case pin and letting the negative feed come back into the driver negative output. See here for more details. And of course I only use the Flaminpryo wire available in his Laser Parts Thread. Along with some other necessities.:beer:


I wrapped the flexdrive with some electrical tape for now. I will be getting a small aluminum heatsink and use some thermal adhesive to attach it to the driver. But it does run over 60 seconds the way it is.
Now the only thing that could be better on this host is since the head is a direct press for the diode you cannot keep from twisting up the wires when you screw it on( there are rumors that Ehgemus is working on a non threaded head that would solve this issue) On builds without a direct press head the heatsink can be stationary while the head is screwed on.
But I have found that by giving a little slack on the diode wires and doing a few counterclockwise turns with the head and then screwing it in works pretty well. That way it is untwisting while being screwed in instead of twisting and you can make sure you don't bind your diode pins while doing it.


Then all you need to do is screw your lens into your focus adapter and then screw that into the head of the unit and you are ready to lase.


EDIT
I have now modified this unit with a coin mod.
I took a penny and ground it flat on both sides then bent the coin slightly on both sides.

I had to bend a little and check to see if it has contact with the host walls and repeat until I got a good fit.

Then I mounted a new flex set to max on the coin with some thermal adhesive.

Once the driver was set it was time to mount the coin in the host. Used an alligator clip to hold it against the host until the adhesive dried.

Then all I had to do is solder the diode to the new driver leads.

*Beam Shots*


*Videos*
Here is a video of me using the unit. Check the momentary style use of the clicky.
*LPM Test*:can:
405-G-1
*Final Thoughts*
This is definitely a centerpiece unit for my collection. This Ehgemus host is beautiful with it's extremely well polished exterior and its very clean sleek design. All the threading feels really smooth and don't forget the great clicky. I will hold on to this one for a long time.
Hope you all enjoyed the review.:thanks:
Last edited:


