bungy
0
- Joined
- Mar 27, 2013
- Messages
- 60
- Points
- 0
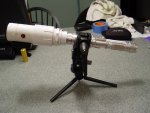
I was inspired to build this attachment after reading FireMyLaser's Tunnel Gun Tutorial. My first pass involved a cardboard tube and lots of tape, but I left it out in the rain and it fell apart. This build is PVC and much more solid.
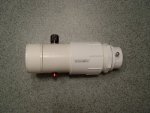
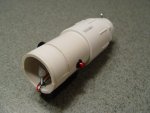
It is designed to fit on my Jetlasers PL-E 532nm. I had to spend some time in the PVC aisle at Home Depot to find the right combination of fittings to fit the laser host and then expand to give me some room for all the components. The end of the attachment is 2" pipe, and the rest is made of various adapters.
For the mirrors, I used hard disk platters from an old drive I had taken apart. They are extremely reflective, but not easy to cut. They are some glass-like material, and one shattered when I tried to break it. I broke up the rest of the bits until I had some pieces that looked useful.
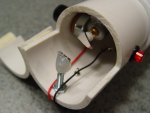
I cut a small half section of the pipe so I could get access deeper into the tube. Then I drilled all the necessary holes.
I mounted the front mirror first, then glued in the motor/mirror. Lots of testing and realignment later, and the tunnel was unobstructed and coming out at a good angle and diameter.
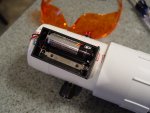
Soldered in the battery holder (2 AA), switch, and rheostat (all from Radio Shack), and it was done. I taped the half pipe piece back on for safety and I put in a screw to secure it to the top of the PL-E laser host.
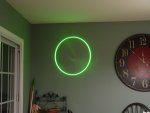
When the motor speed is turned down, you can see a lot more lag when moving it around. I would like to get the motor to move even slower so I may modify it in the future.
It's a very basic effect, but it's easy do and wows non-laser folk.
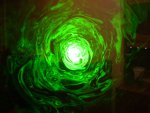
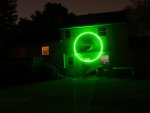
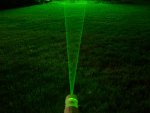
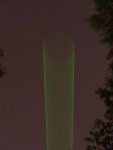
I couldn't get any good shots inside the tunnel as I don't have a fog generator, but some of the outdoor long exposures look nice.
There's also a video of me projecting it on the back of my house.
Attachments
-
 DSC06590s.jpg222.5 KB · Views: 1,224
 -
 DSC06591s.jpg125.1 KB · Views: 1,242
 -
 DSC06597s.jpg103.9 KB · Views: 1,391
 -
 DSC06639s.jpg197.8 KB · Views: 1,165
 -
 DSC06647s.jpg139.6 KB · Views: 1,212
 -
 DSC96572s.jpg110.5 KB · Views: 1,238
 -
 DSC96575s.jpg187.5 KB · Views: 1,203
 -
 DSC96577s2.jpg53.9 KB · Views: 1,087
Last edited:


