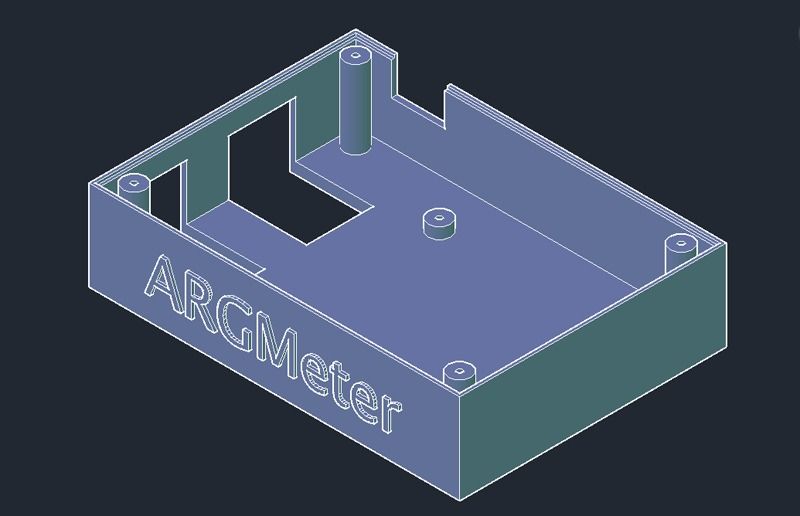
I like the RED! I think it might be in the best interest of the case to switch back to protruding letter like ARG did in his last print. I appreciate you letting me attempt the cutout but it is not going to work like i thought it would. As for the screw holes I have 1/16" holes in the drawing and I can open them up at any time I just kept them smaller until we decided on a screw size or came up with a better method. Do you think it would be fine if we only used the one or two most accessible screws for the lower board? Then i can just keep the columns there for support.
As for the thickness what if we left the bottom at 1/8" and take the sidewalls down to 1/16". Once again I appreciate all that you have done so far without you we would still just be looking at my pictures not know what to fix.
Thanks :beer:


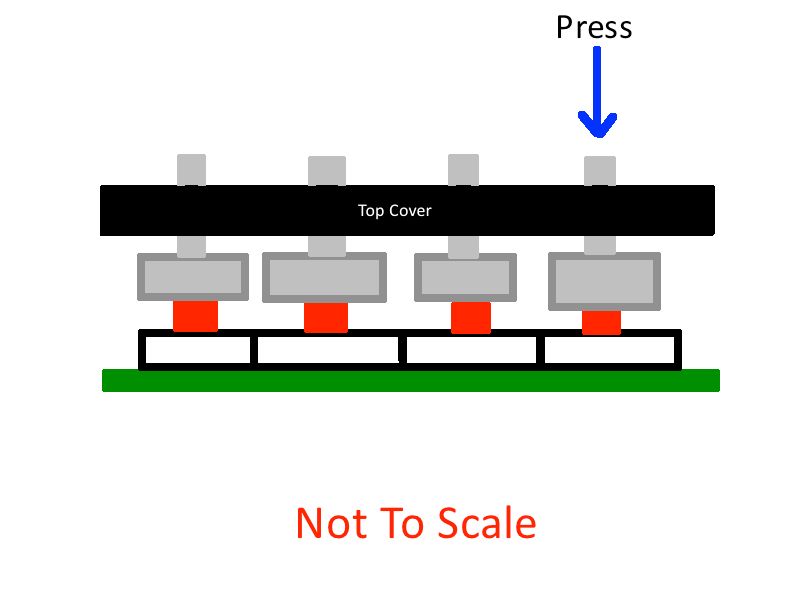
 I was thinking of holes like this:


")


")