Welcome to Laser Pointer Forums - discuss green laser pointers, blue laser pointers, and all types of lasers

Buy Site Supporter Role (remove some ads) | LPF Donations

Links below open in new window

FrozenGate by Avery

Kryton Grooves coming back!

The spacer goes on the button side of the switch
silicone clicky cap -> spacer -> switch -> retaining clip -> battery tube (threaded end)

Even with the spacer in there, you sometimes have to trim off a very small bit of the "nub" in the silicone cap

@ Moh -- Are these stock "DX" switches?

Peace,
dave

Thanks


While we are on build tips...

I want to LPM the diodes I am putting in my Krytons, so I can determine my final driver settings. So, I want to directly drive the diodes from my PSU.

Can I easily enough press the diode into the Kryton head and then solder leads to the pins or should I press the diode in a module and heatsink, determine my ideal setting, then extract them to install into the Kryton head?

How much room is in the head to easily solder the driver board to the diode, add epoxy, etc?

Thank you in advance.
 
They appear to be Dave. They were bought off eBay though.
As far as testing, I powered my flashlight using one and it seemed to do okay. It was 3x26650 lithium cells direct driving 12x XML LEDs.
 
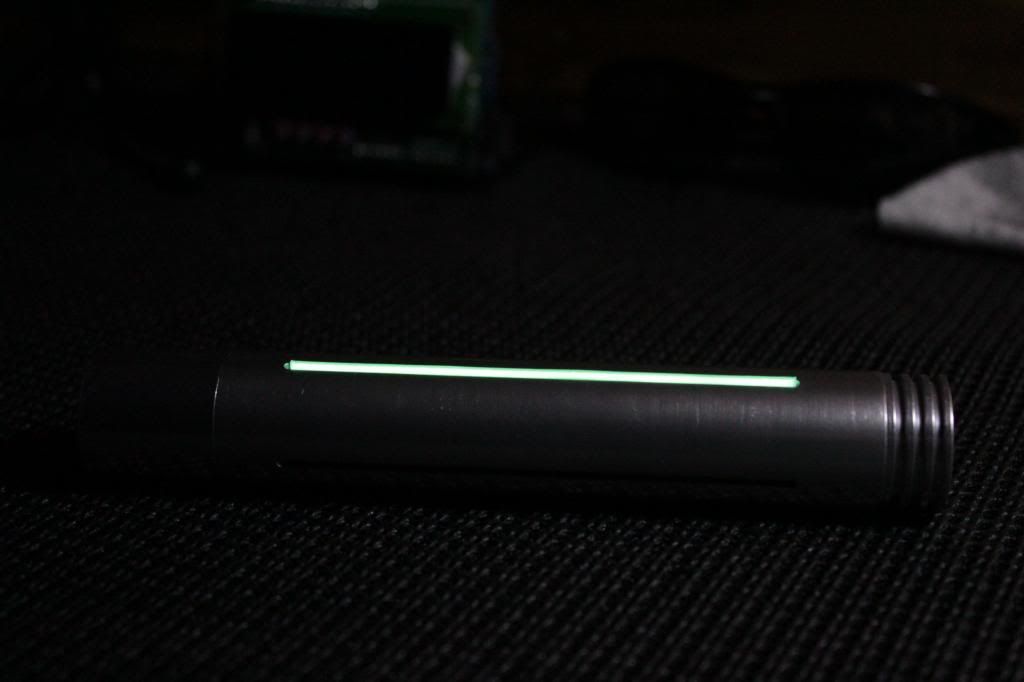
Got mine in the mail today! I can see what you mean about the toght machining and squeeky threads :) any recommendations on how to glue in thr black rubber strips?
 
While we are on build tips...

I want to LPM the diodes I am putting in my Krytons, so I can determine my final driver settings. So, I want to directly drive the diodes from my PSU.

Can I easily enough press the diode into the Kryton head and then solder leads to the pins or should I press the diode in a module and heatsink, determine my ideal setting, then extract them to install into the Kryton head?

How much room is in the head to easily solder the driver board to the diode, add epoxy, etc?

Thank you in advance.

Most of your questions will be answered when you see the host

However, to get you settled a bit, once the diode is pressed into the Kryton head, the diode pins are still easily accessible.

I do not believe there is enough room to adhere the driver to the "head" as used as a heat sink

Here is a very old picture of the space available and one type of application
You can also solder the driver directly to the diode


**EDIT**
-- I just realized that this is a picture of an old Kryton Smooth.
That means that the Kryton Groove head, that you will have, will be 2mm wider ;)

@ Moh -- Are these stock "DX" switches?

Peace,
dave

They appear to be Dave. They were bought off eBay though.
As far as testing, I powered my flashlight using one and it seemed to do okay. It was 3x26650 lithium cells direct driving 12x XML LEDs.

OK then, folks, we may have to check the first couple of them at the types of current draws we are using with the 445nm and 638nm diodes
If they are the same construction as the older DX type switches, they would usually fail at those current draws

It is just something to keep in mind as the builds begin

Peace,
dave
 
Last edited:
Thanks, Dave! I finally got my shipping notice today! So, that must mean that Matt is just about done getting them all out. I was very near last.
 
Lol, I got mine a few hours ago, so i was at the bottom with you... I think order 226.
 
Received mine today... just opened it up. :D

I'm quite pleased, except for one unsightly scratch.

Kind of wish I'd ordered more of them... but money was tight then.
 
TRAqYOu.png
 
I ended up severely I estimating the amount if rubber cord needed for all the orders, so I included them till I ran out. Not that it matters MCH anyways as they don't fit very well. The 1.5mm cord I was to to get falls out easily. 2mm cord would probably fit much better.
 
Other than duzy's grooves going to Mrcrouse for anodizing, I believe all GB orders have been shipped.


Back
Top