

- Joined
- Jun 24, 2010
- Messages
- 5,705
- Points
- 113
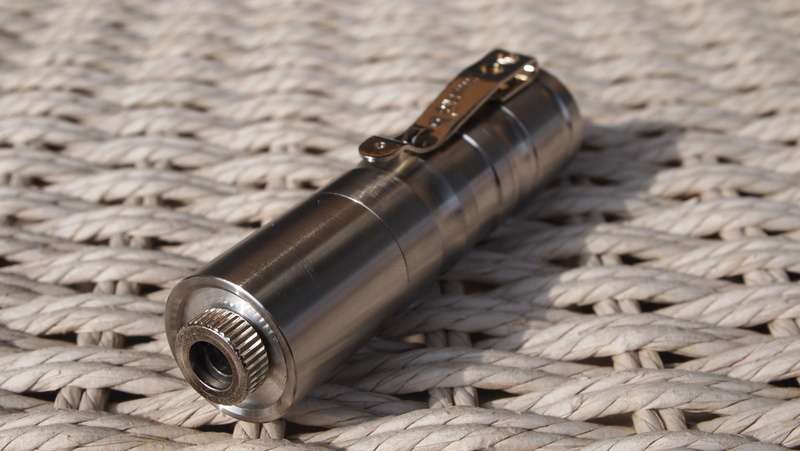
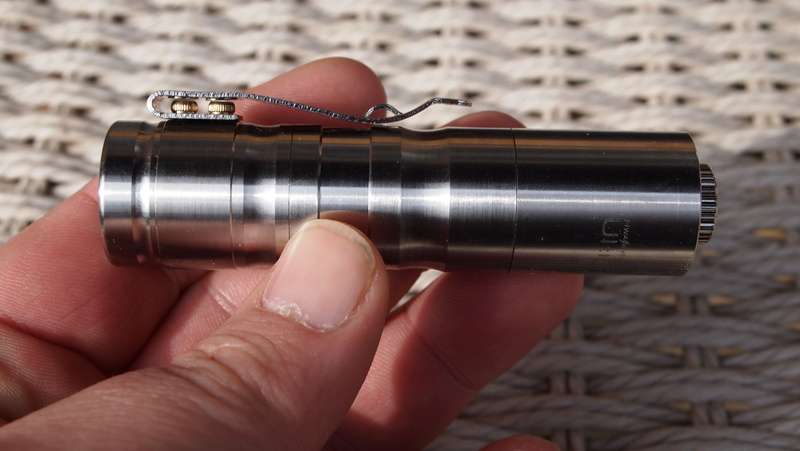
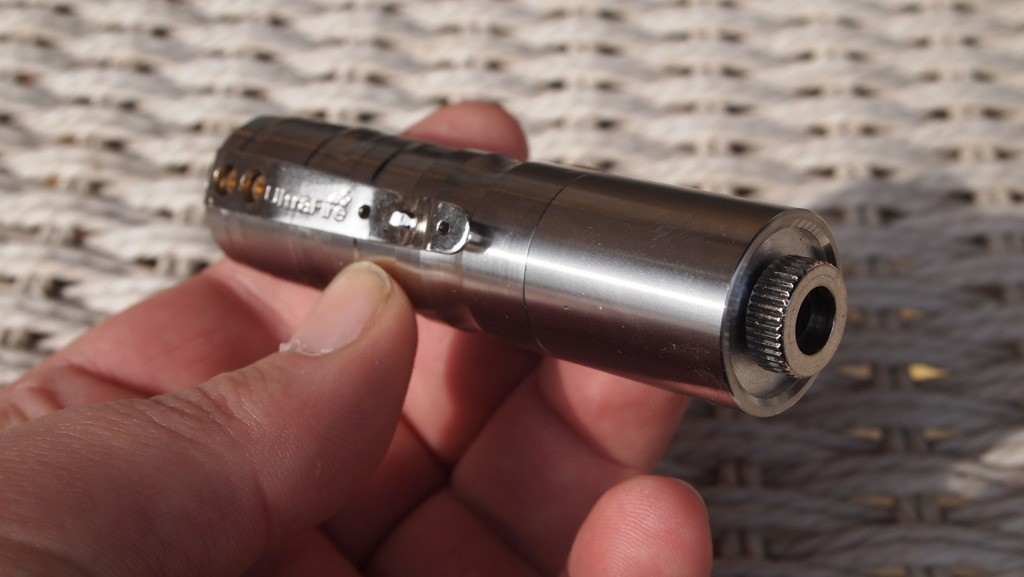
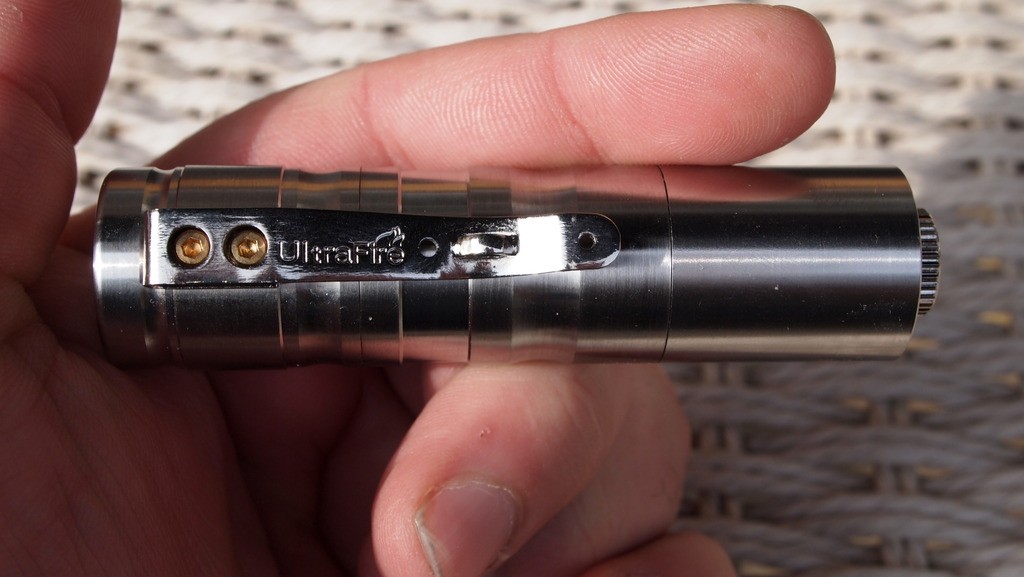
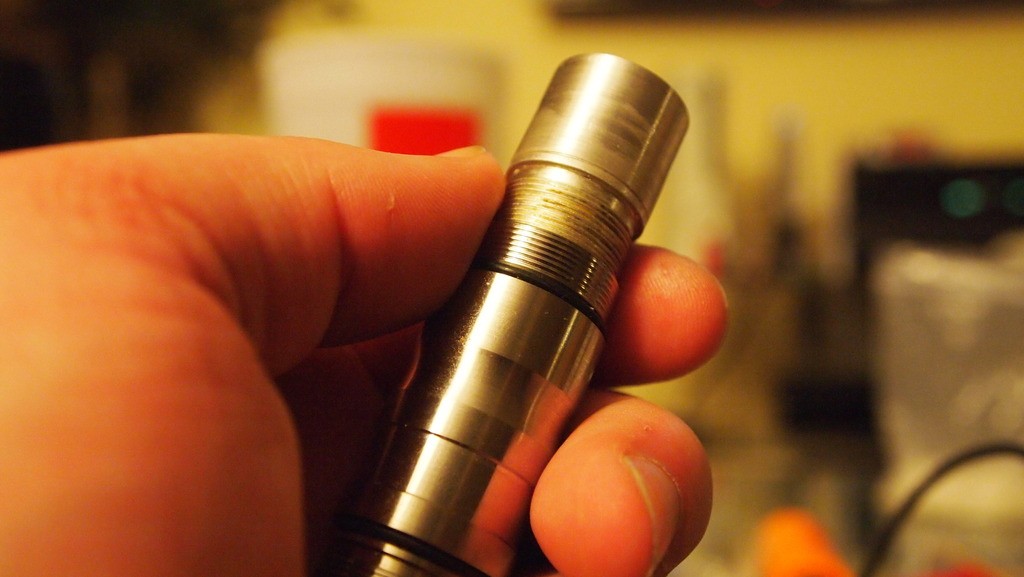
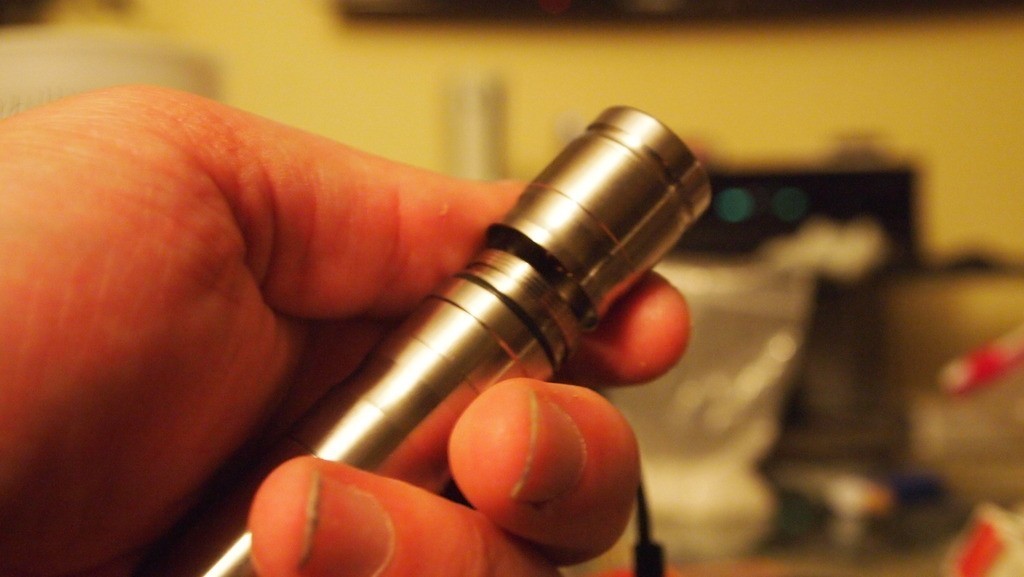
Compact 1.5W Stainless Steel RL-118
Host
So in my never ending quest for some of the best made hosts I have come across another in the Ultrafire RL family of lights. This is the Stainless Steel RL-118 CR123A host. This unit is one of the most well constructed small pocket sized hosts I have seen yet. It has a wonderful finish and the metal stainless tail clicky is just completes this unit. Here are some shots of this unit for your viewing pleasure.
UPDATE
Jayrob has added these to his kit offerings. See his thread for details.
http://laserpointerforums.com/f64/fs-stainless-steel-rl-118-kit-62510.html#post888990
UPDATE


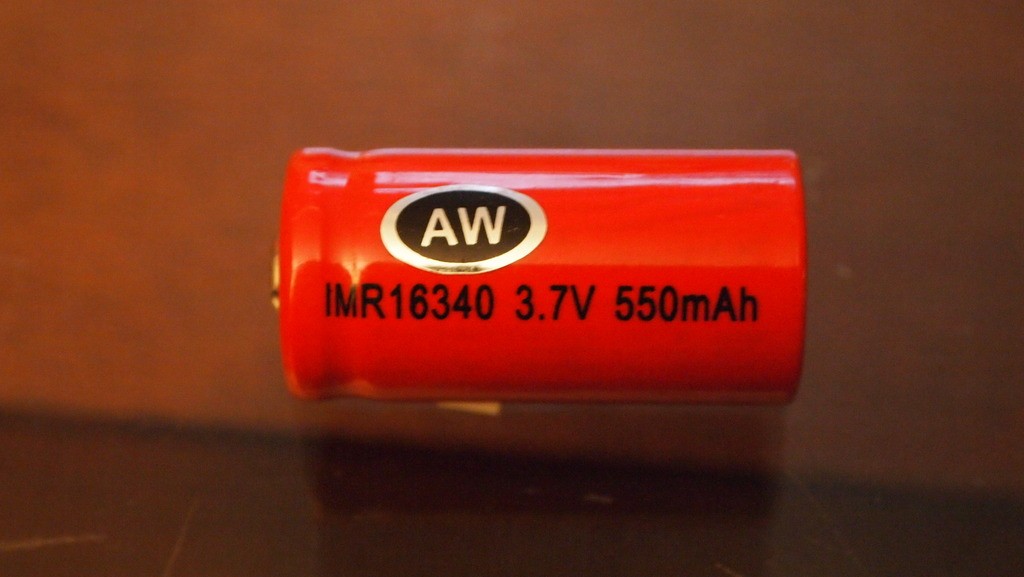
Now I plan on driving this unit @ 1.5A with a flexdrive and since it is a CR123A host I needed to make sure that it could handle the current draw. Only one battery comes to mind. The AW IMR16340 which can handle an 8C discharge rate.:eg:
So the first thing I did when I got this host was to send it off to Jayrob to have a heatsink fitted. I wanted a direct press head with a small pocket on the backside for the driver and diode pins. I got it back and wasted no time to get it up and running.
Assembly Tutorial
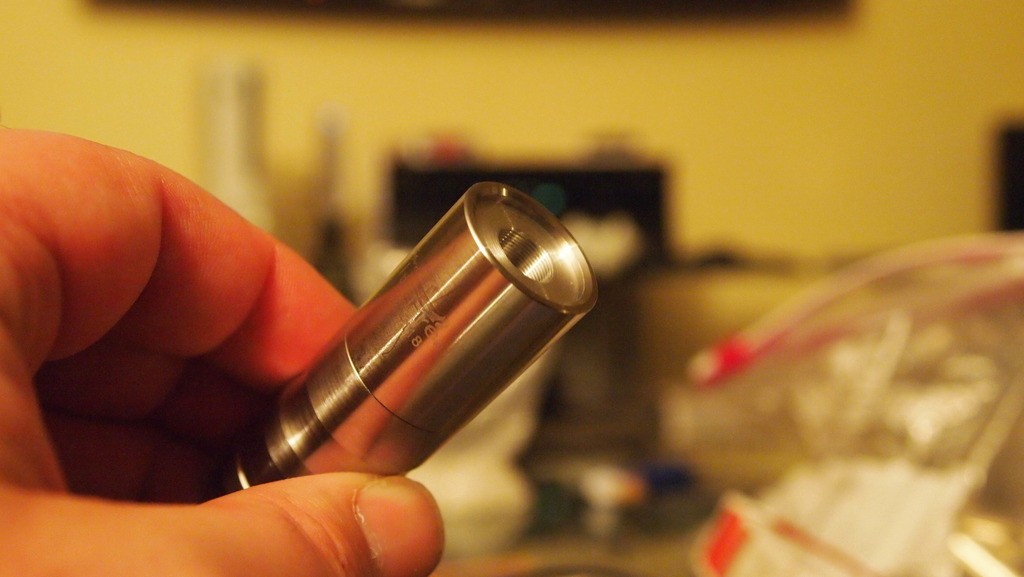
Alright so this is a pretty simple build. It breaks down like this. You have the tailcap, direct press heatsink, head and body with the pill in it.
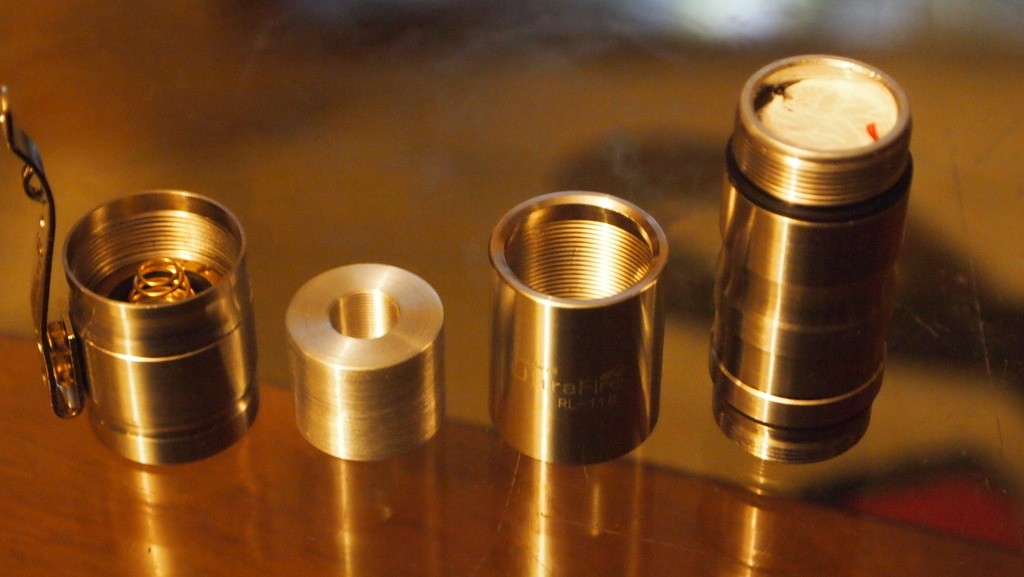
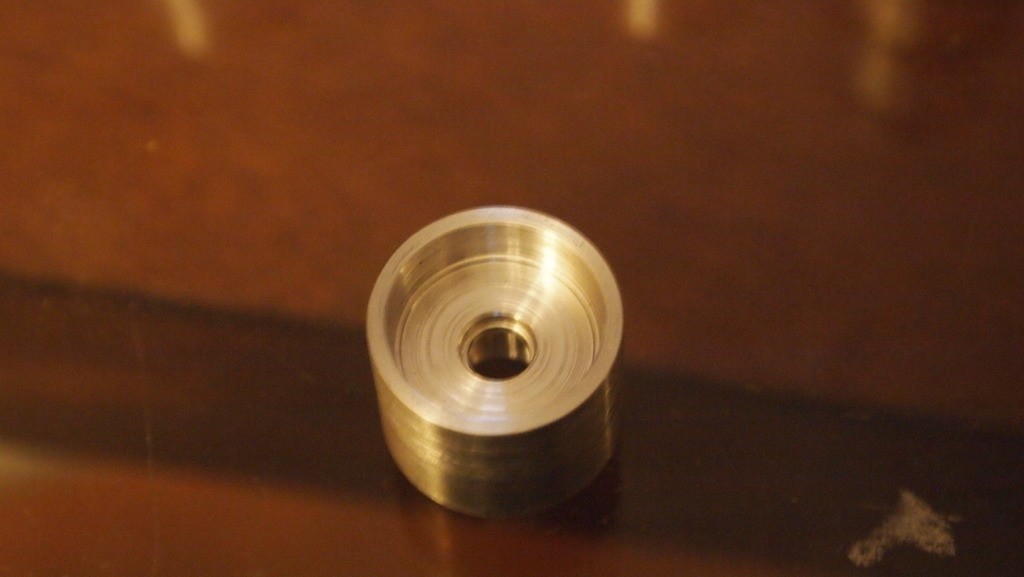
Jay did a great job on this heatsink. It fits with sitting on the pill but has this nice pocked on the back to give some room for the driver, wires and diode pins. And of course with the direct press for the diode it will have really good heat transfer from the diode into the heatsink. Jay can also make this heatsink in copper as well but I wanted to keep the aluminum look of the body with the heatsink.
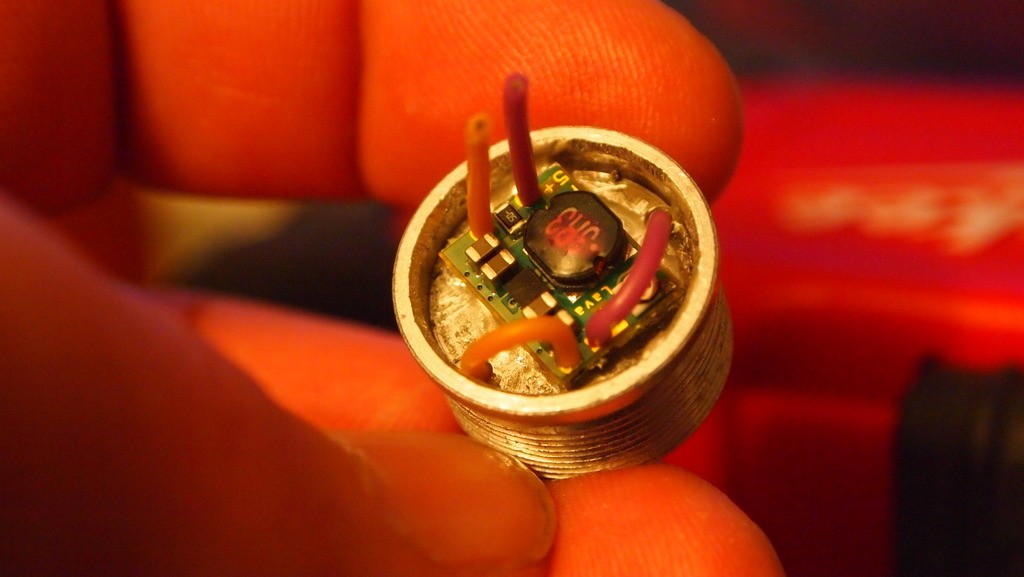
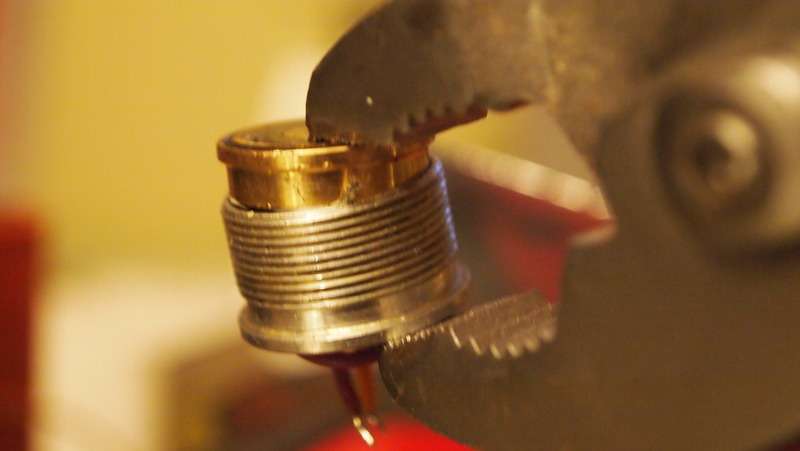
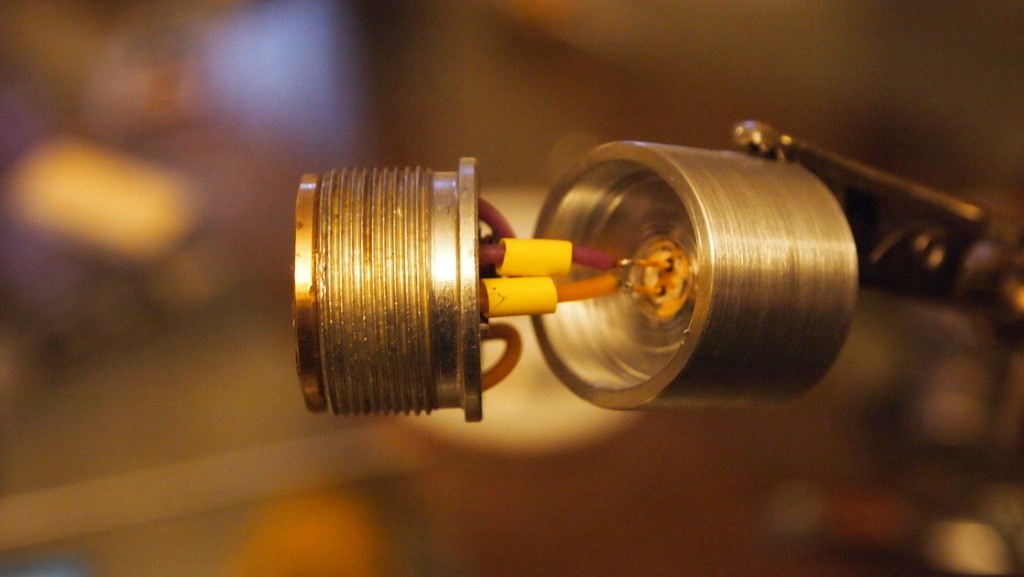
The pill that is screwed into the body has a nice little area to sink the flexdrive already set up when you remove the LED. It has direct contact with the host body via the threads and provides great heat transfer from the driver to the host body. So the first thing we are going to do is remove the pill. It just comes out by unscrewing it from the host body.
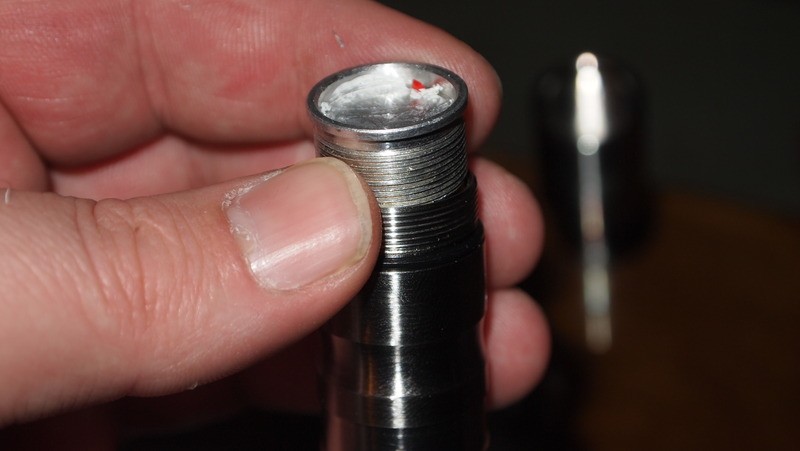
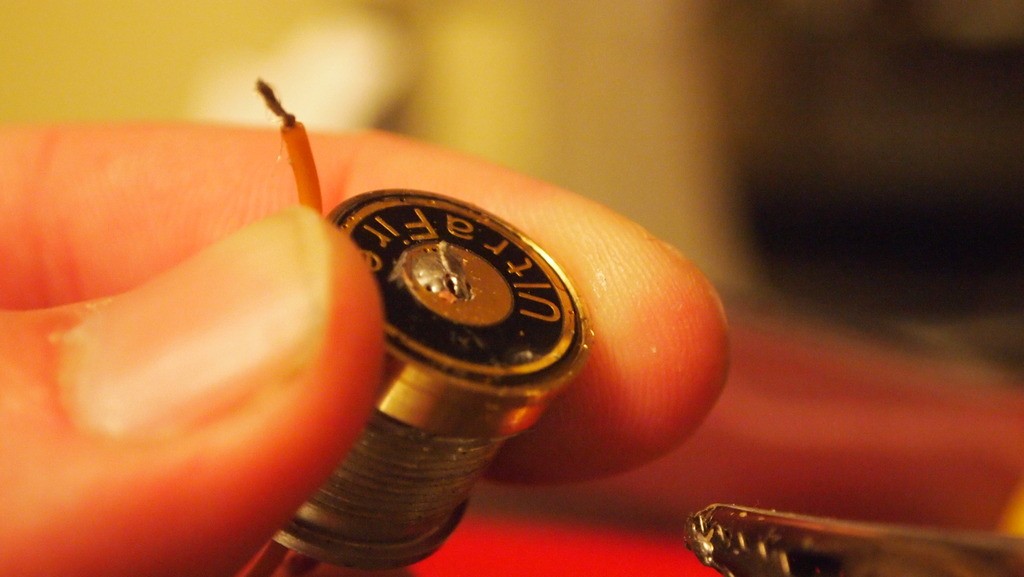
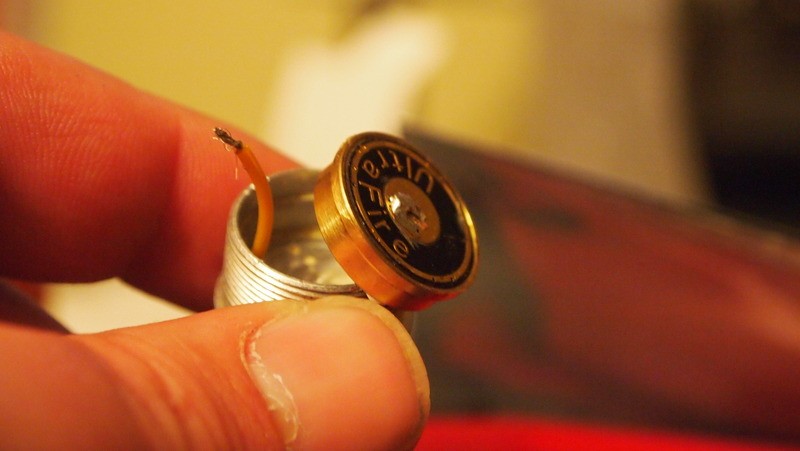
Once you have it out we are gonging to take it apart to remove the old driver and set up new leads for the new driver. I like to remove and or bypass the old driver/board to remove any bottlenecks with the current. You just need a flat head screwdriver and work the ring out.
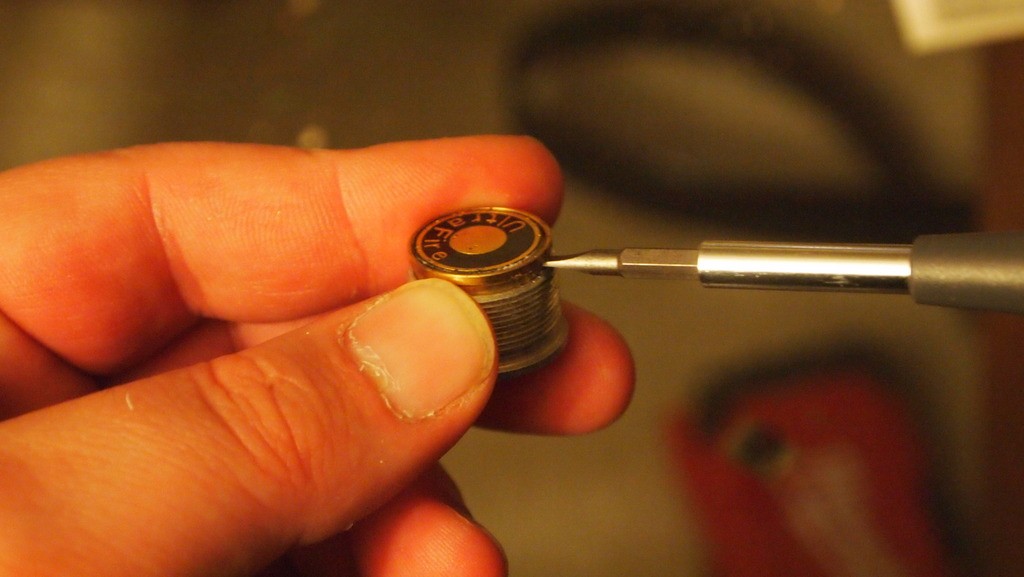
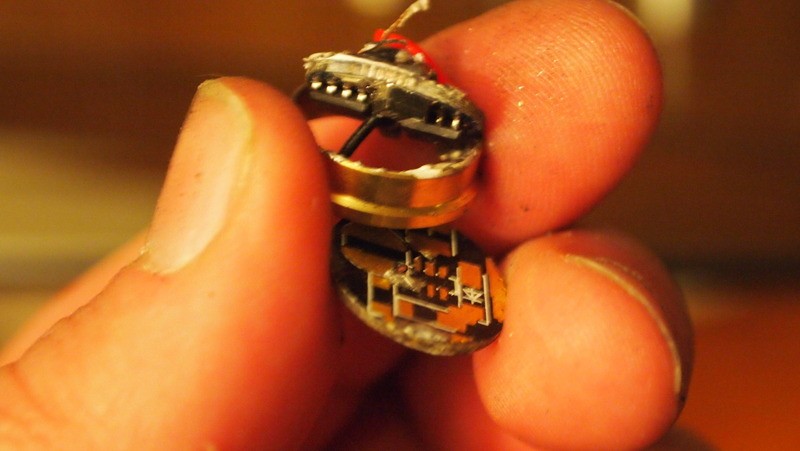
Once it is out I remove the driver board and contact plate. I will be keeping the contact plate. They can be popped out with a screwdriver. And just toss the driver.
Next I will take the contact board and I will drill a small hole in it so I am not relying on the traces on this board to carry 2A.:yh:
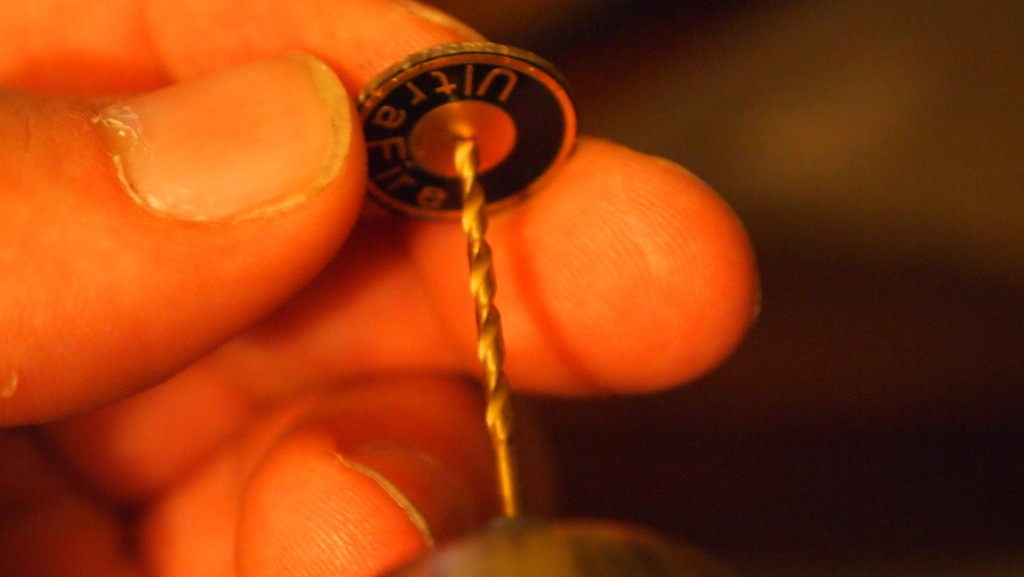
Now the hole should just be big enough for the wire to go through. Then we will put it aside for the moment and move on till we are ready for it again.

Next I am going to prepare a flexdrive. If you are going for the max setting it is pretty easy to solder the resistors. Just take a dab and touch it on the left most resistor and drag it over to the edge of the driver.
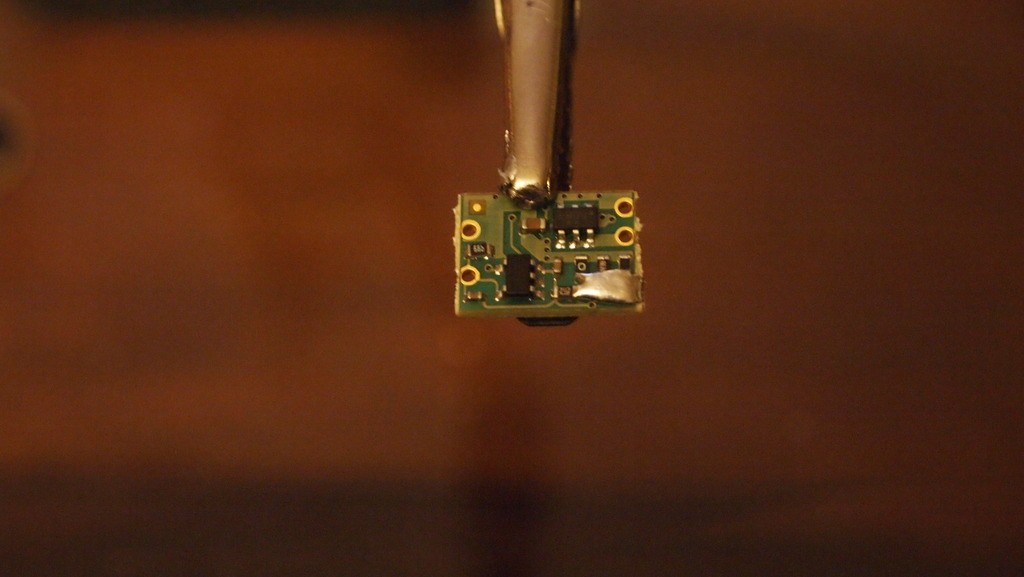
Then we are going to add leads. I like to strip my wires so that you can just barley see the wire when you run it up from the under side. Using the smallest amount of flux on the wires and feed them through. Then I just touch some solder to the hole with the wire in it and it draws the solder in for a very solid and clean connection..
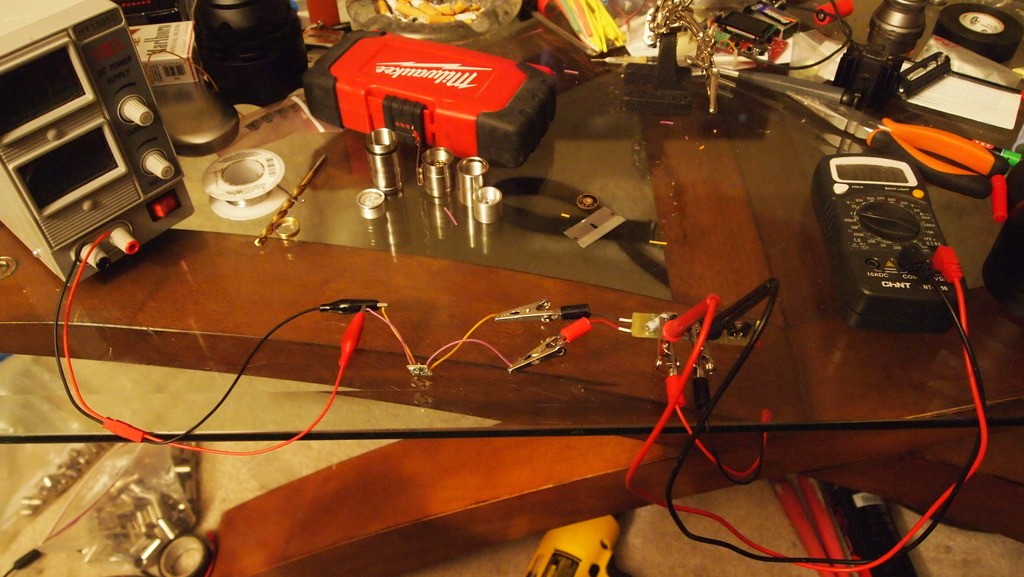
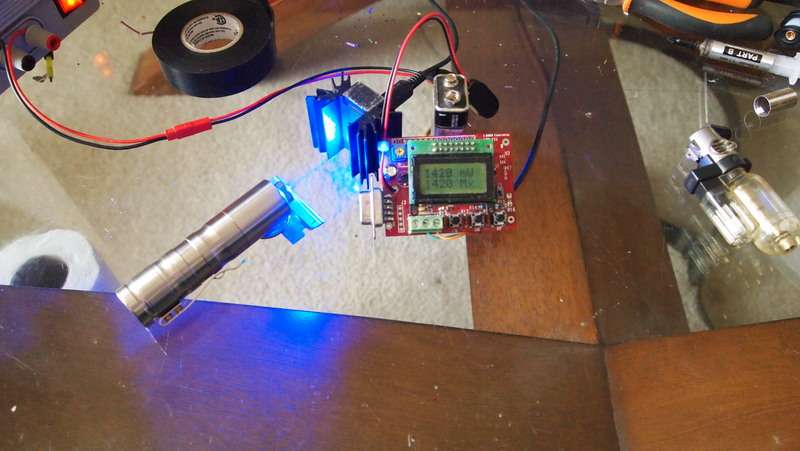
Then I put my driver on my bench supply and test load. I set this driver to max which happened to be 1450mA on this driver. You will find the max on these will vary a tad from 1425mA-1550mA.
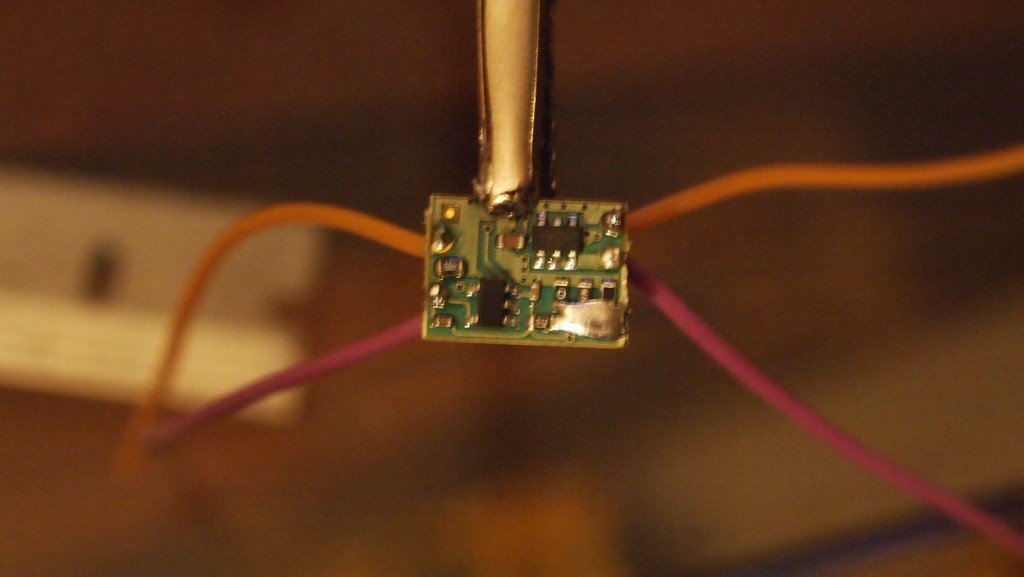
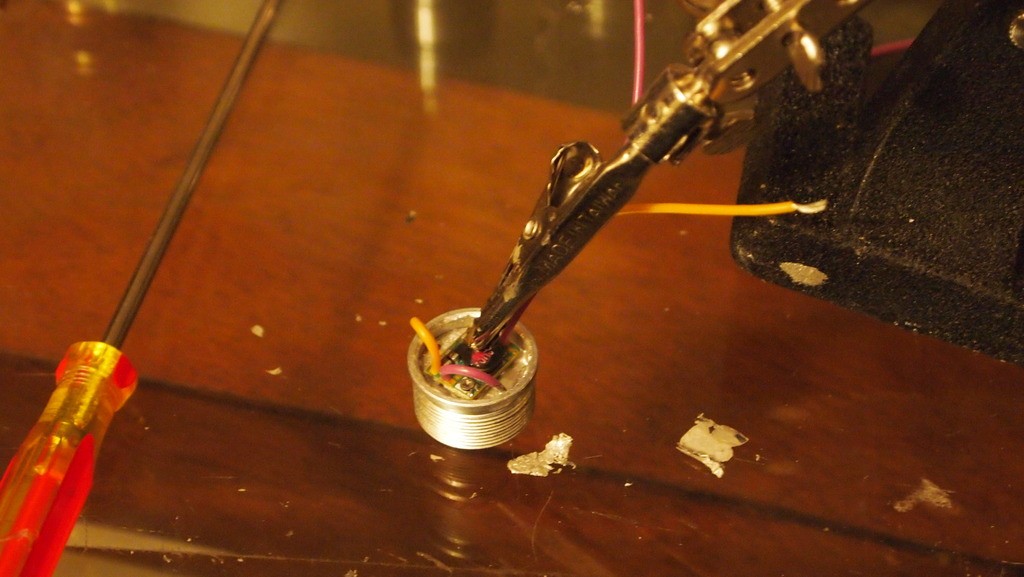
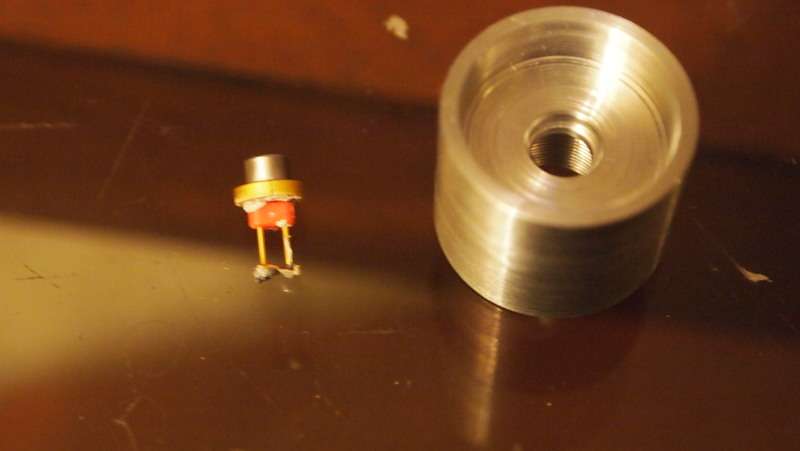
Next I took the pill and ground the surface the driver sits on down a little for a nice flat surface and fed the driver wires through the pill.
I applied the some thermal adhesive to the surface and used my helping hands to keep pressure on the driver while it dried. It will take about 15 minutes.
After it set I then trimmed the wires down to a perfect length so there is no excess wire in the pocket between the pill and the heatsink.
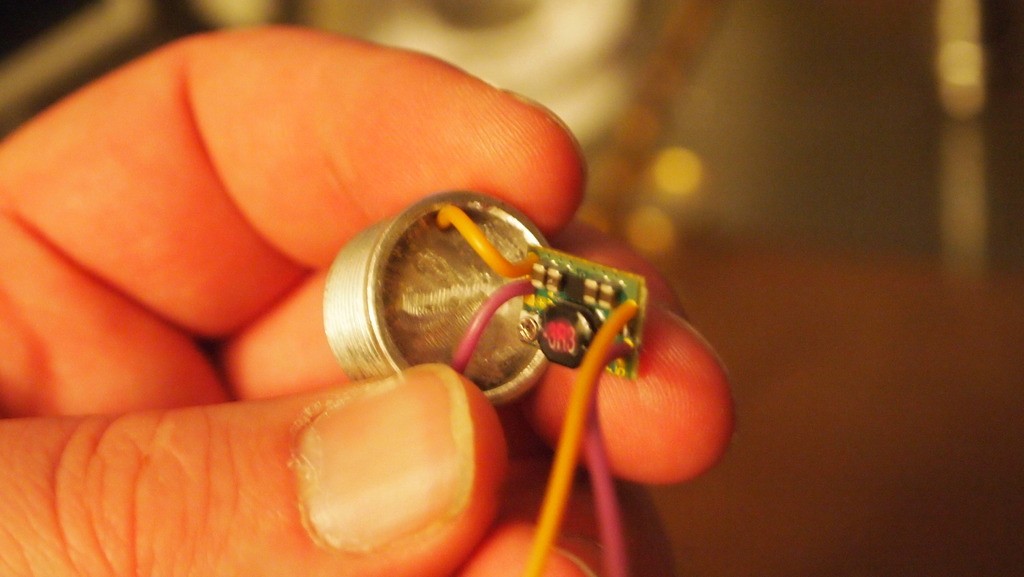
Now we will go back and get the contact board and I used a little krazy glue to keep it in place on ring that presses into the pill.

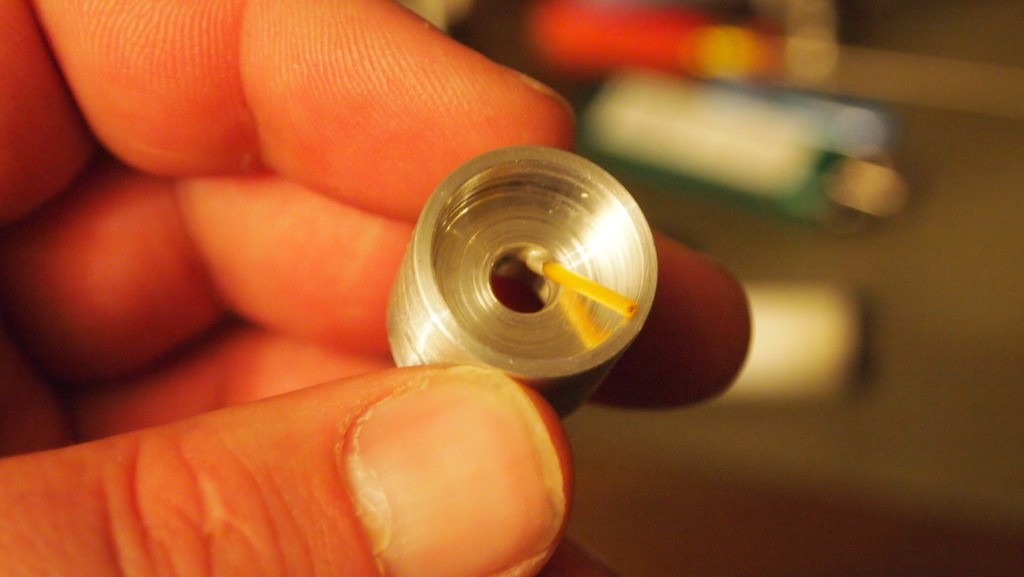
Next I feed the positive driver lead through the hole for direct contact with the battery's positive contact tab.
I put a little solder on it to hold it in place and make a small bump for batteries that don't have a raised Positive contact point. I also used my dremel to grind it smooth a little.
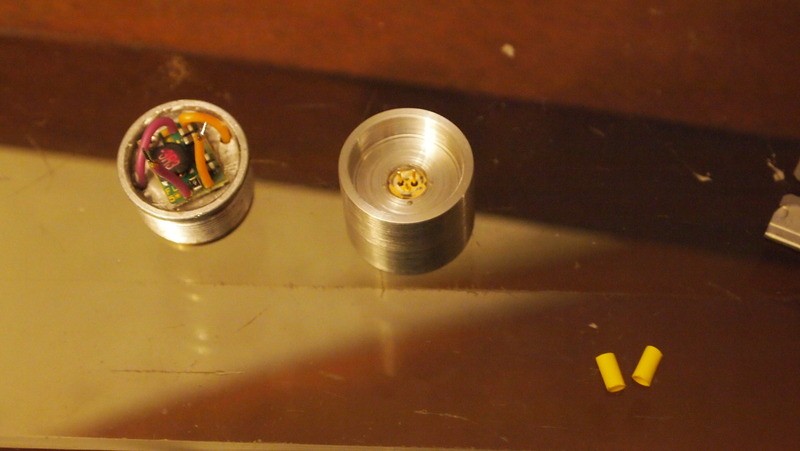
For the negative wire you just pinch it between the pill and the ring that presses in and use a pair of pliers or a vice to press it in.
And you are left with a nice clean pill with the driver all set up.:beer:

Now for pressing the diode into the heatsink.
But first I have been adding a little thermal grease to help to increase the thermal transfer.
I used a scrap piece of wire to just apply the smallest amount to the area that of contact between the diode and heatsink. Remember just a dab will do you.
")
I pressed the diode into the heatsink and got some heat shrink tubing out.
I pretin my wires and instead of touching the wire to the pins and heating them up together I first heat up the solder on the wire and then touch it to the pins and it makes a perfect solder joint.
Now that the leads are attached you just slide up your shrink tubing over the joint and heat it up.
Now I used a little of the thermal adhesive to keep the heatsink and the pill as one piece to avoid twisting up the pins. When it sets you have a module that is ready to go. That is pretty much it.

Screw the module into the host body.
Don't tighten it down to hard to avoid breaking the adhesive. The head will help make it as tight as possible.

Next put the head on.

Screw it down tight.
Throw in you battery.
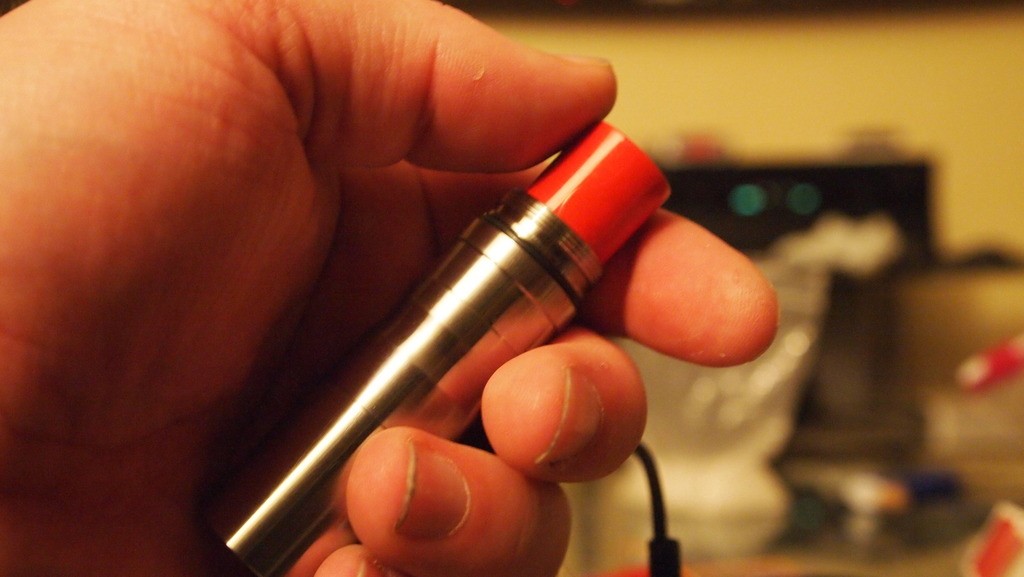
Screw on the tailcap.
And the moment of truth is upon us. Click it on and whala. Let there be light.:evil:

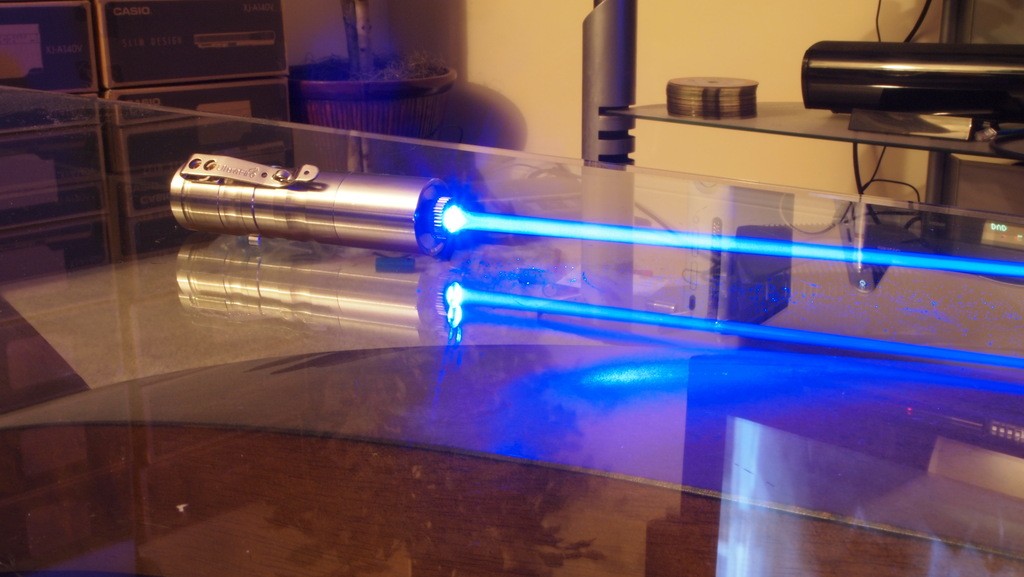
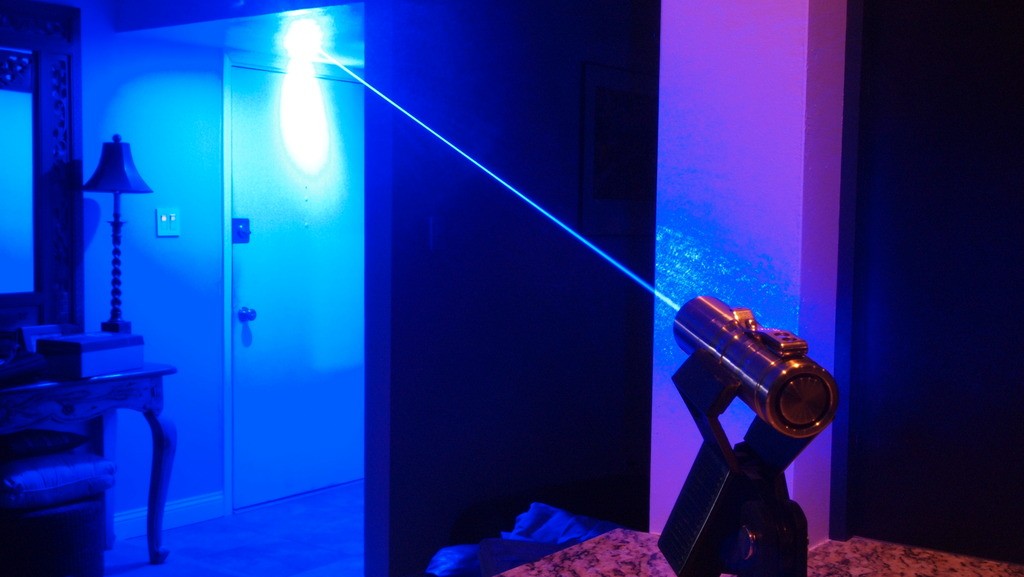
Beam Shots
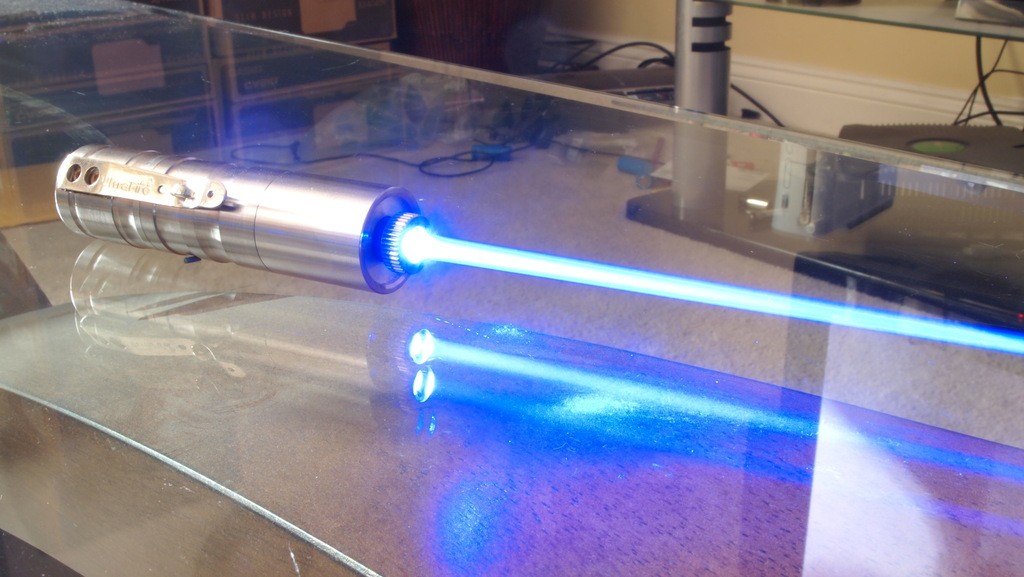

And a great shot with a stand courtesy of Jetlasers and Hakzaw. Thanks guys.:beer:
LPM Test
I only have an Aixiz lens so I am sure it would do well over 1.5W with a G-1.
Conclusion
It is an absolutely amazing host and Jay did a great job on the heatsink. It will have short runtimes but for a pocket host it is a great unit.
Thanks for reading my review/tutorial if you would like to see more check out my compilation thread.:beer:
http://laserpointerforums.com/f51/d...difications-compilation-60258.html#post852148
Last edited:


 . I soldered my 445nm, and I was nervous as crap.
 ") btw do you have any a140 diodes for sale?
btw do you have any a140 diodes for sale?