

- Joined
- Jun 24, 2010
- Messages
- 5,705
- Points
- 113
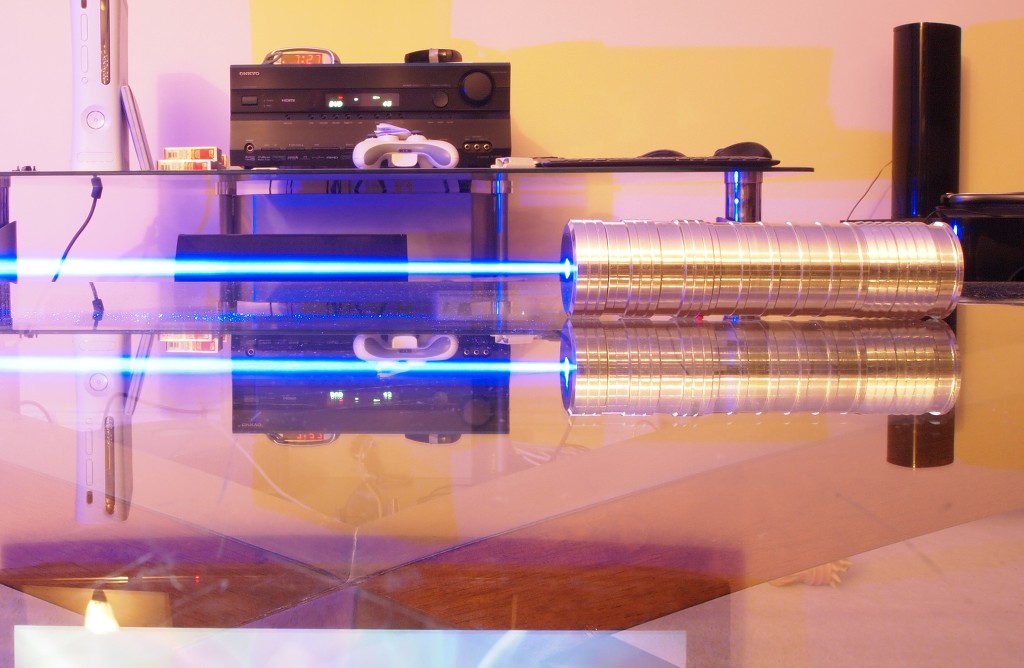
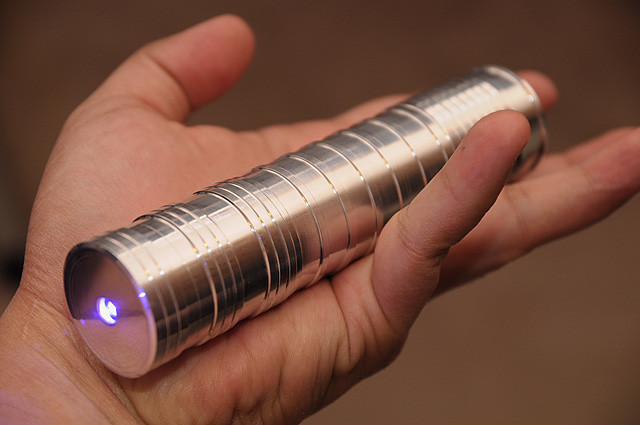
2.1W Ehgemus 26500 Alien Host
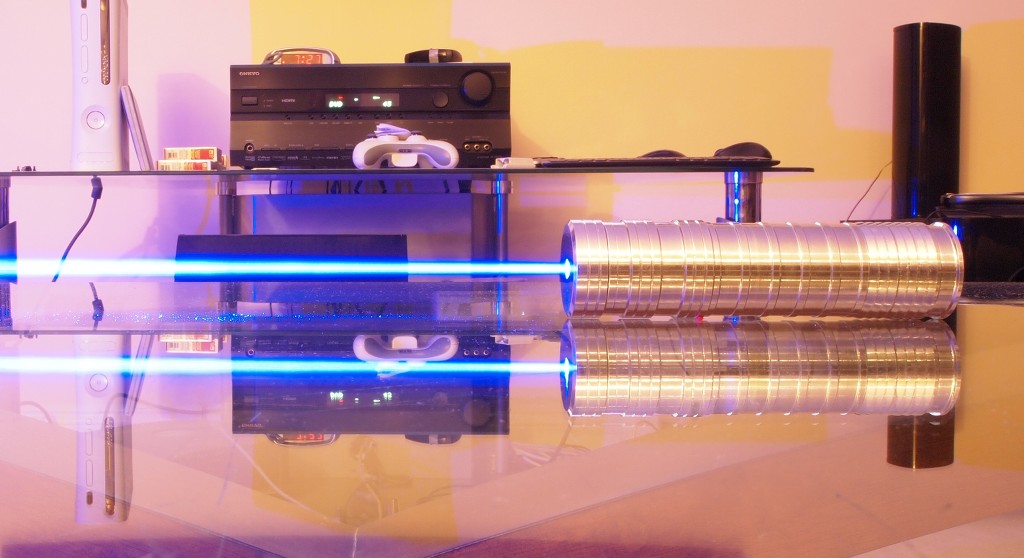
Here is my newest host from Ehgemus. This unit sports an extremely efficient diode that I have been saving for a special unit. This diode was previously tested giving an output of 1.75W @ 1.5A on my bench so I saved it for a host that I thought would be worthy.:eg: Since this is one of the smallest hosts that I have done using the 26mm diameter batteries I thought would make a epic build with this diode/host combination.

Host
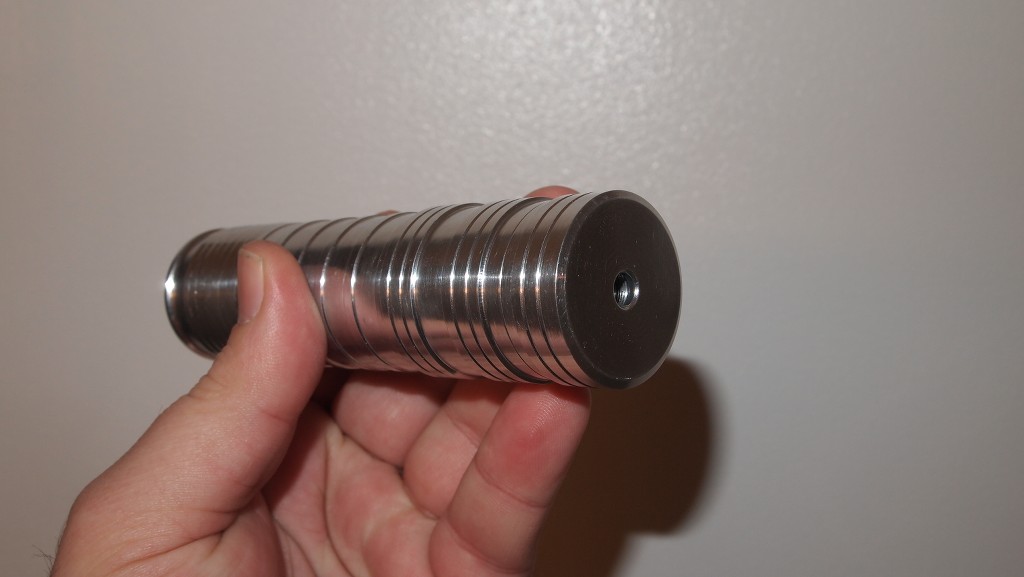
There are not too many more battery combination's left for this Alien style host and I really am liking this one. The AW IMR26500 is a short but powerful battery. This unit also features Ehgemus's new self contained pill compartment for his hosts and it is a big one that can accommodate sinking two flexdrives inside it letting you not worry about twisting wires.:beer:
Assembly
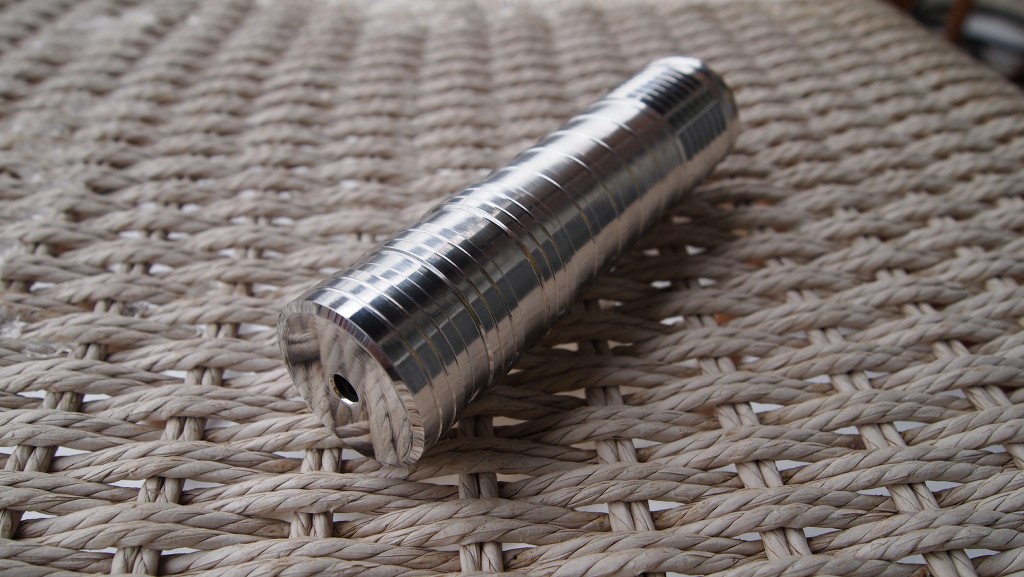
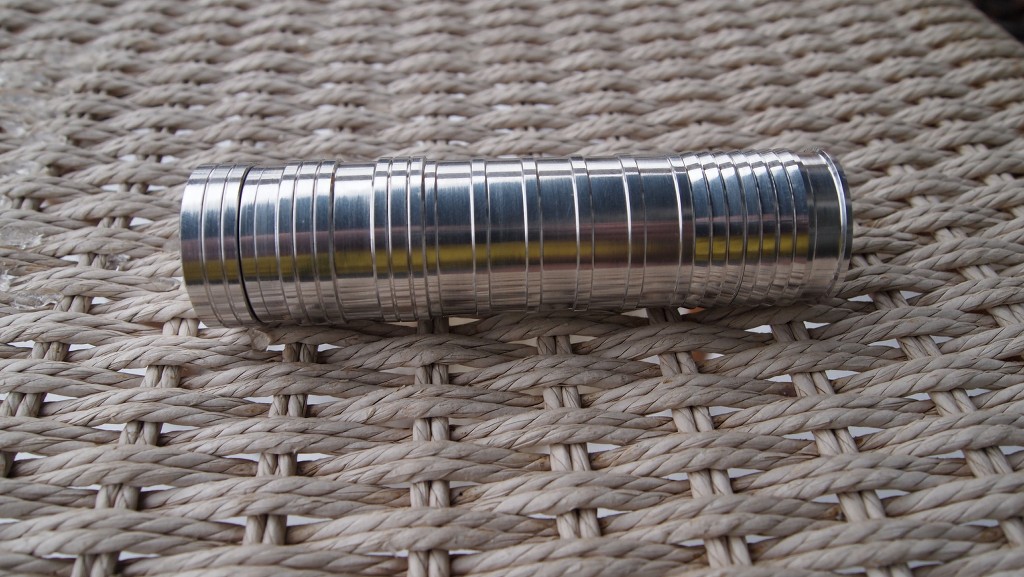
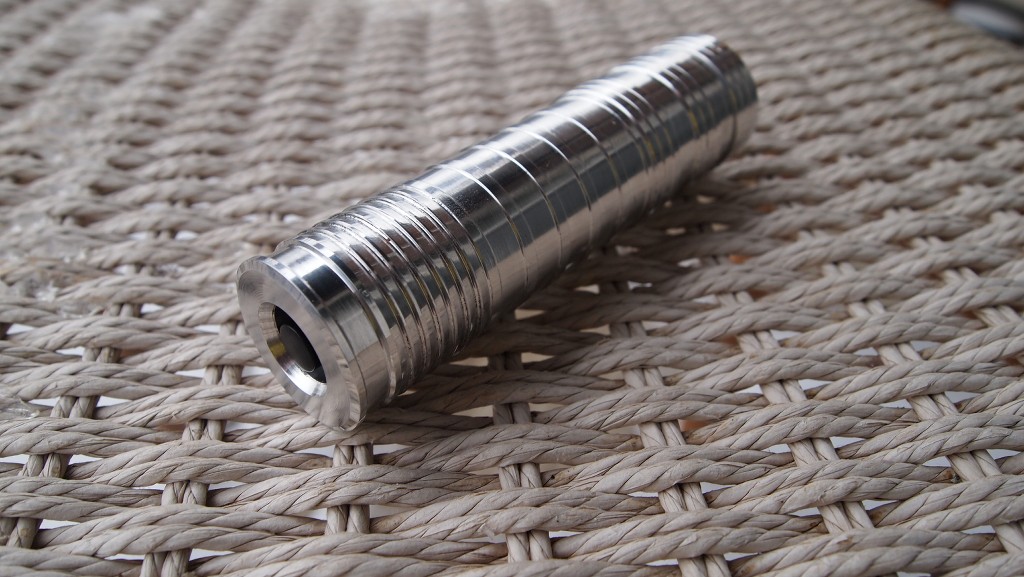
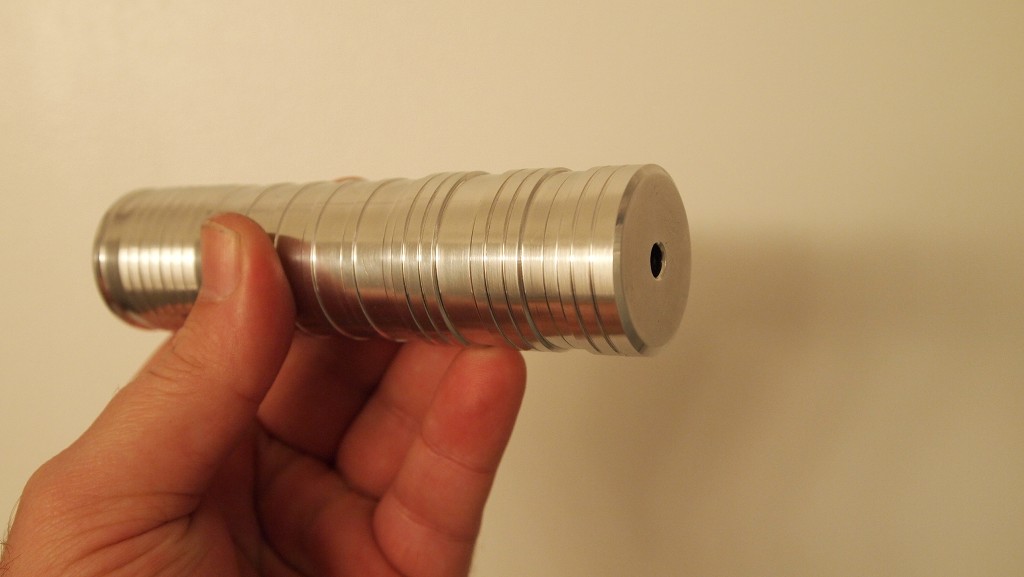
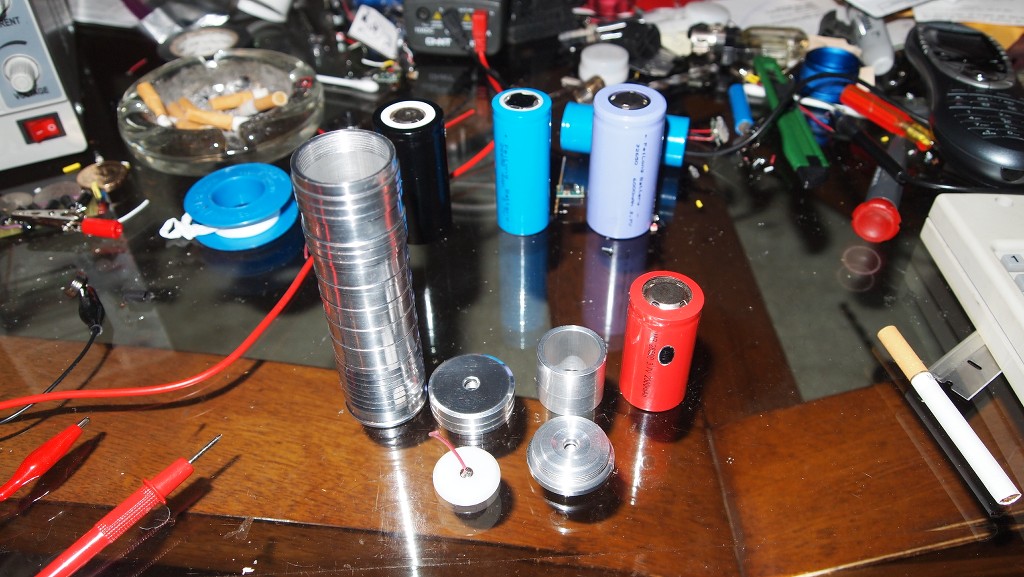
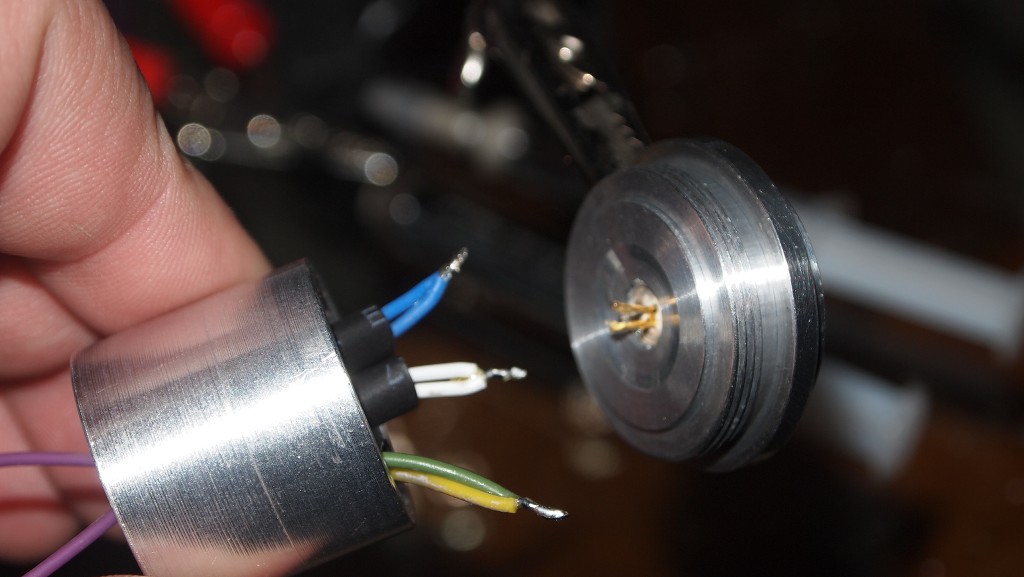
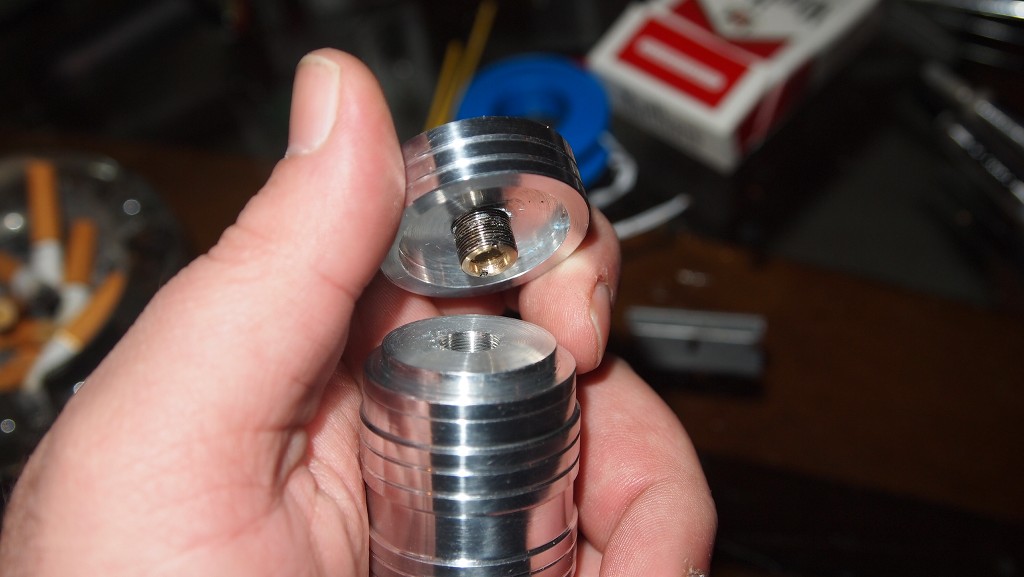
Here is the breakdown on this unit. Host body, focus adapter, pill, contact point for the pill, direct press head and the tailcap which I forgot to unscrew from the bottom of the host for the picture.
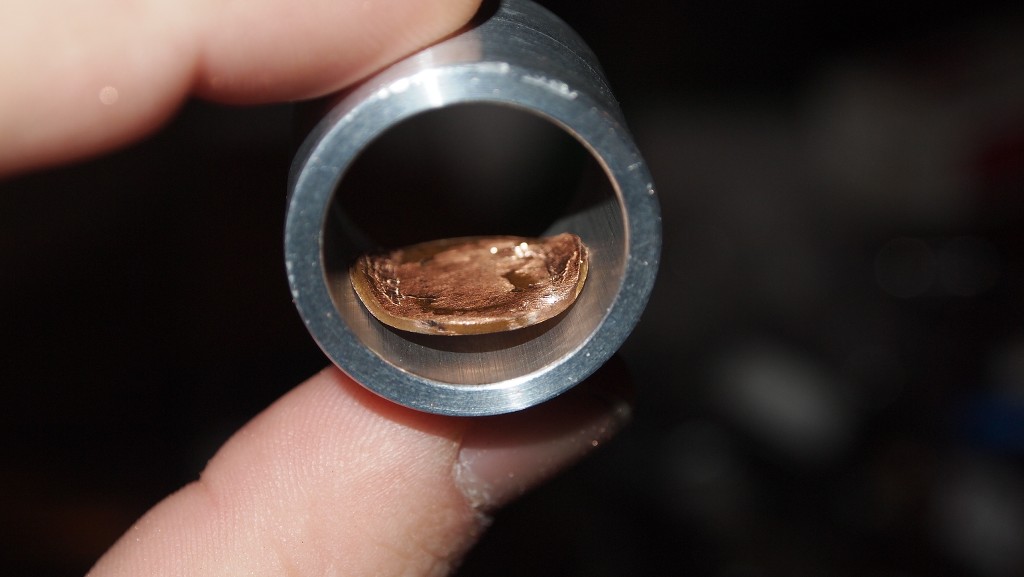
First I got some pennies that are prior to 1979 for the copper content. Grind them down and bent the edges up with two pair of pliers. This gives you good thermal contact with the pill to dissipate any heat produced by the drivers.
Next I set up two flex drives to 950mA and used my thermal adhesive to attach them to the pennies.
While the adhesive on the drivers sets I pressed my diode into the direct press head of the host.

Next I use the thermal adhesive again to attach the pennies to the pill walls using the alligator clips to hold them firmly in contact with the walls while the adhesive sets.
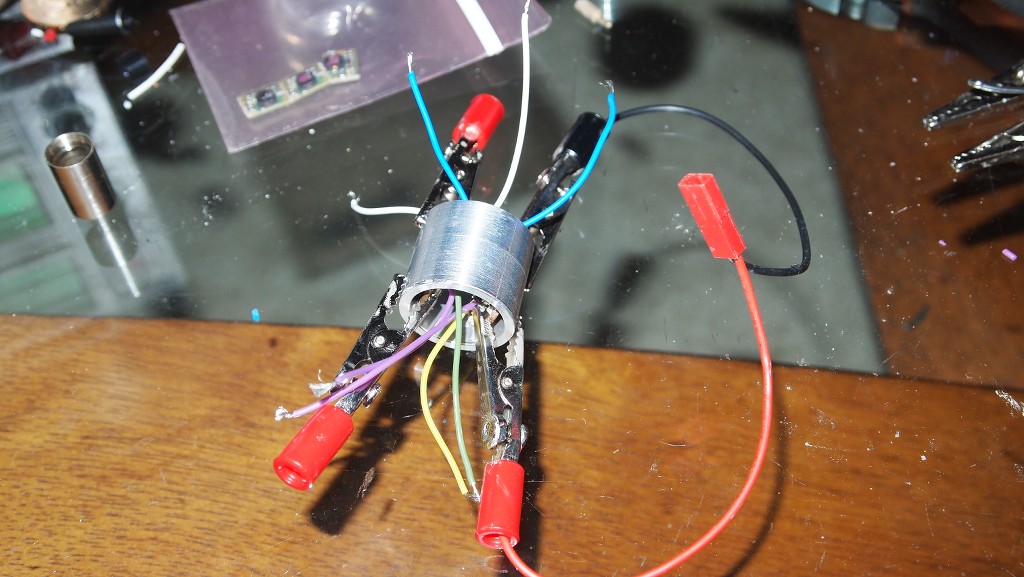
When we are all done we have a nice little tube with drivers inside.
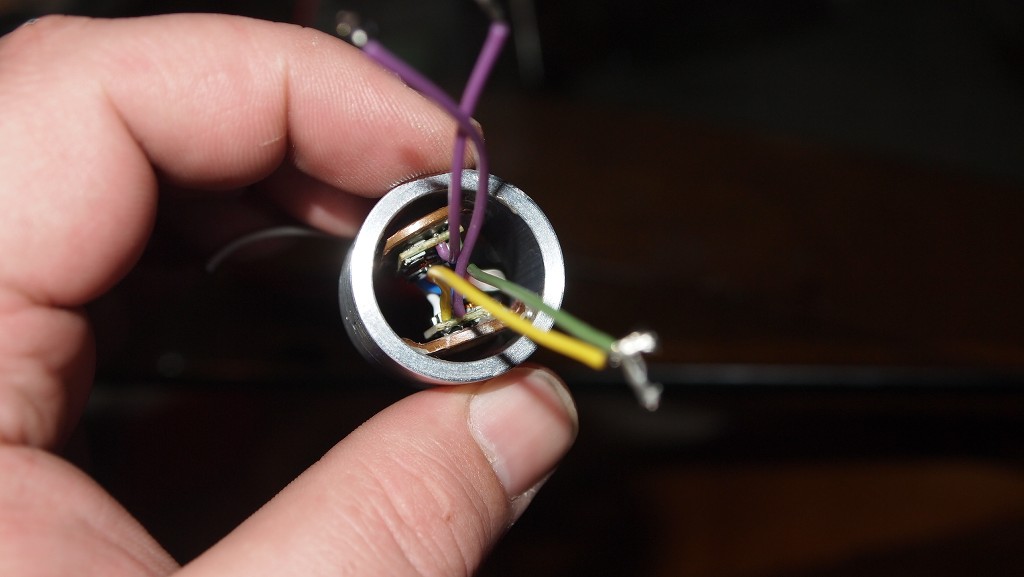
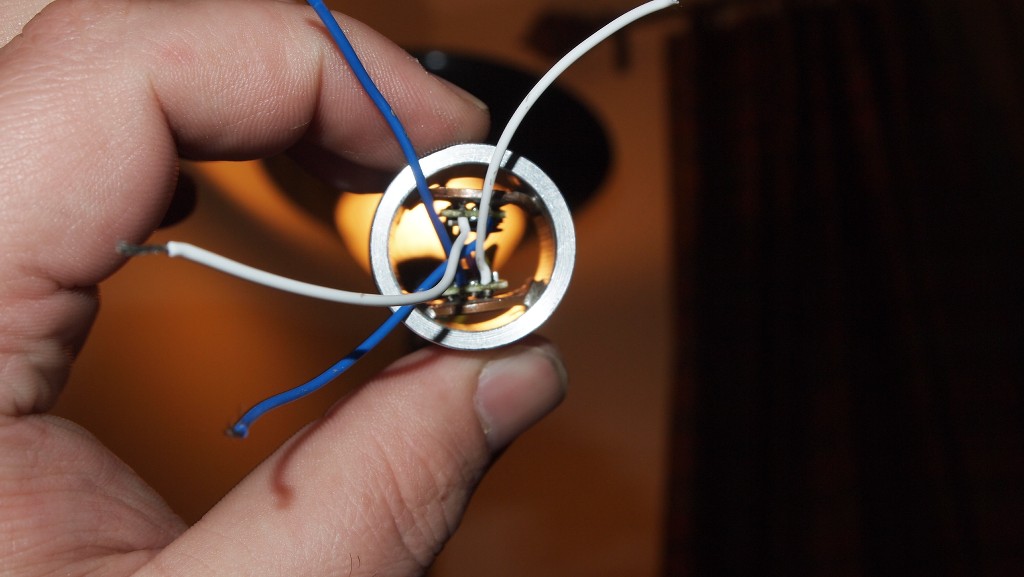
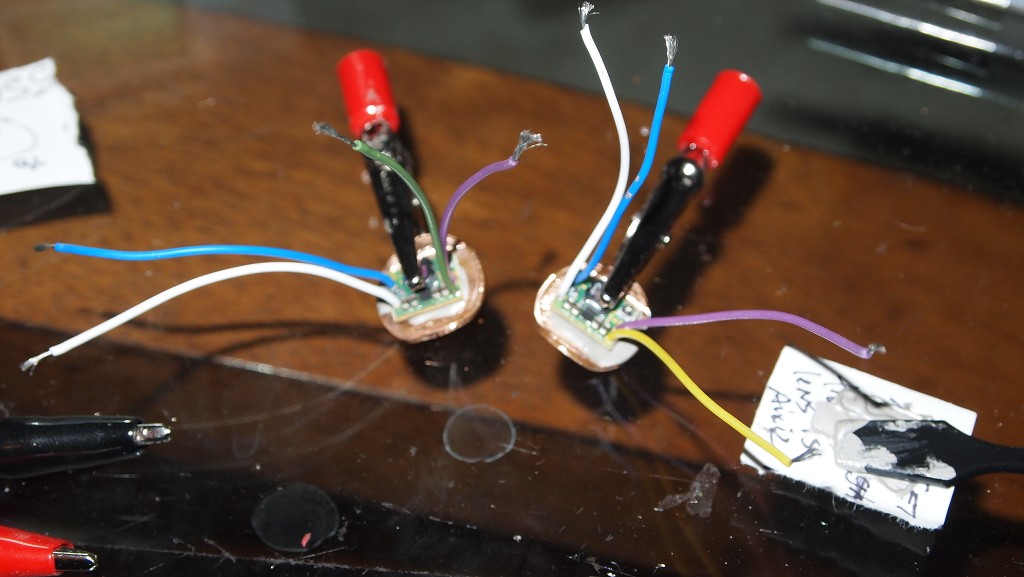
Next I feed the negative driver input wires through to the other side of the pill and trim down the wires that go to the diode a little shorter. Then I twist the wires for the three connections together and pretin them.
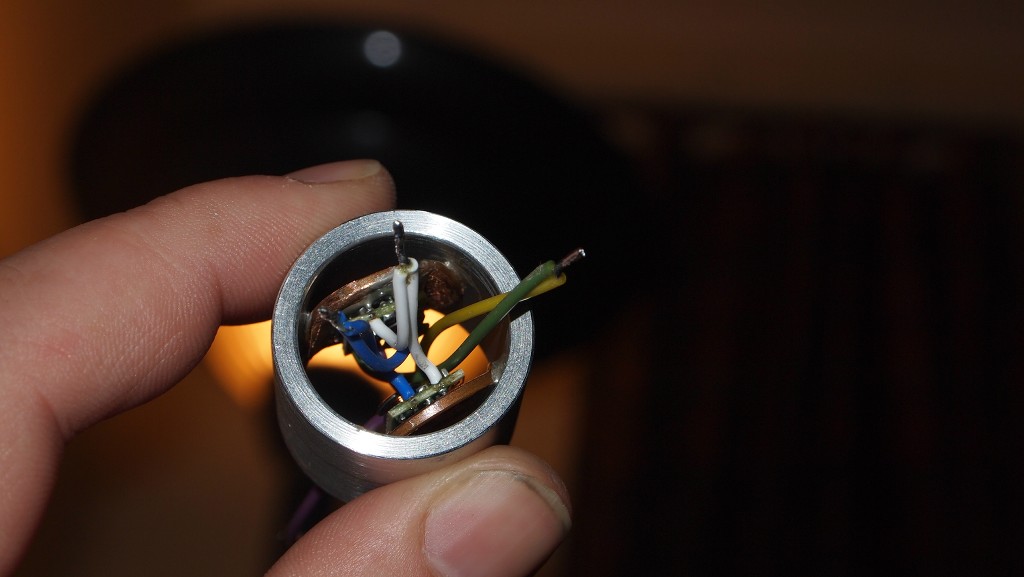
I put some shrink tube on the three connections and got my head with the diode ready to be soldered.
Once the diode was soldered on I pushed the head and the pill together with a small amount of thermal adhesive on the edge to keep them together.
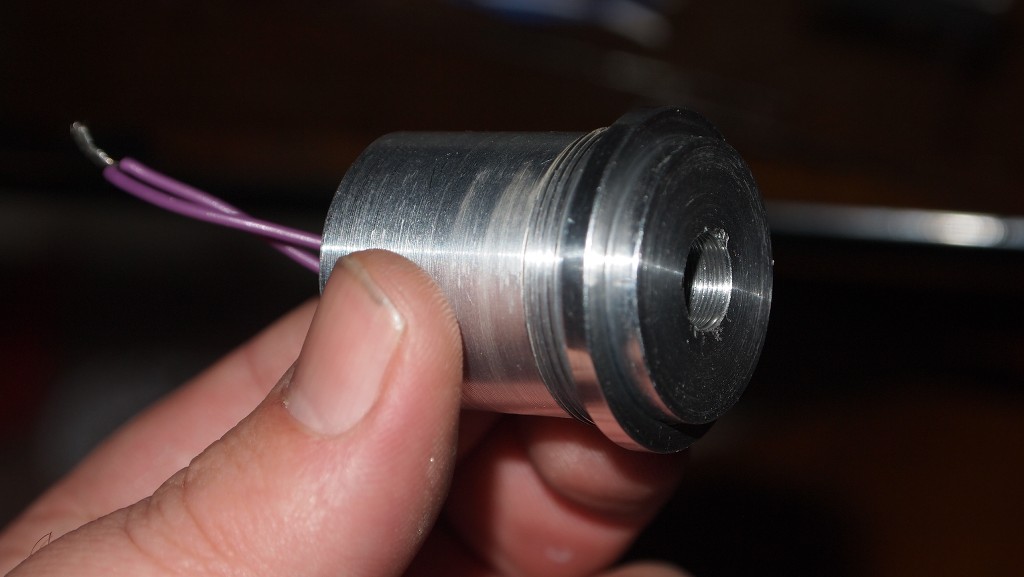
For the back of the pill solder the positive leads to the contact point and then snaped it onto the back of the pill with two very small blobs of crazy glue. Remember you just want enough to hold it on but little enough to pop it back off without breaking it if you need to.

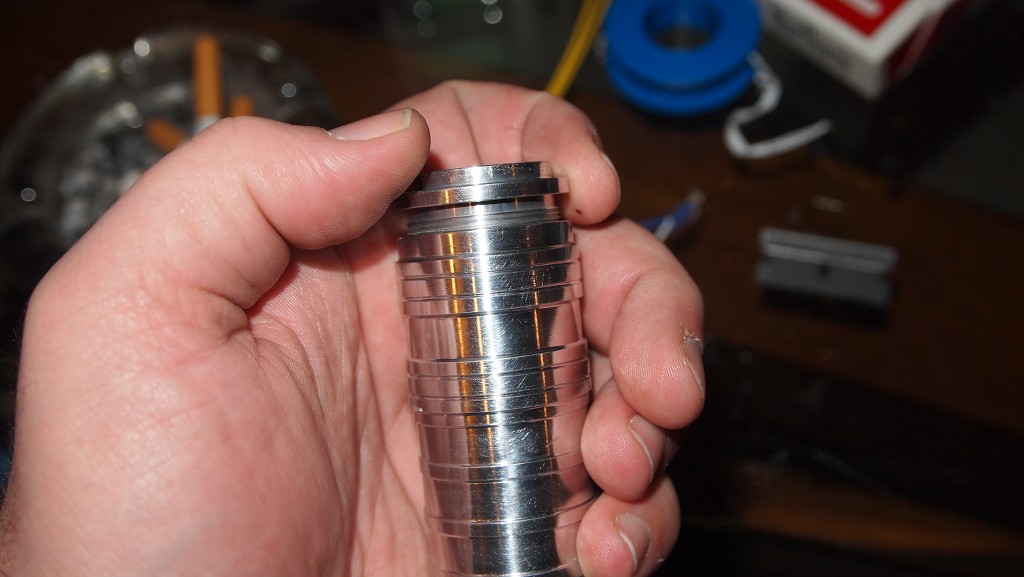
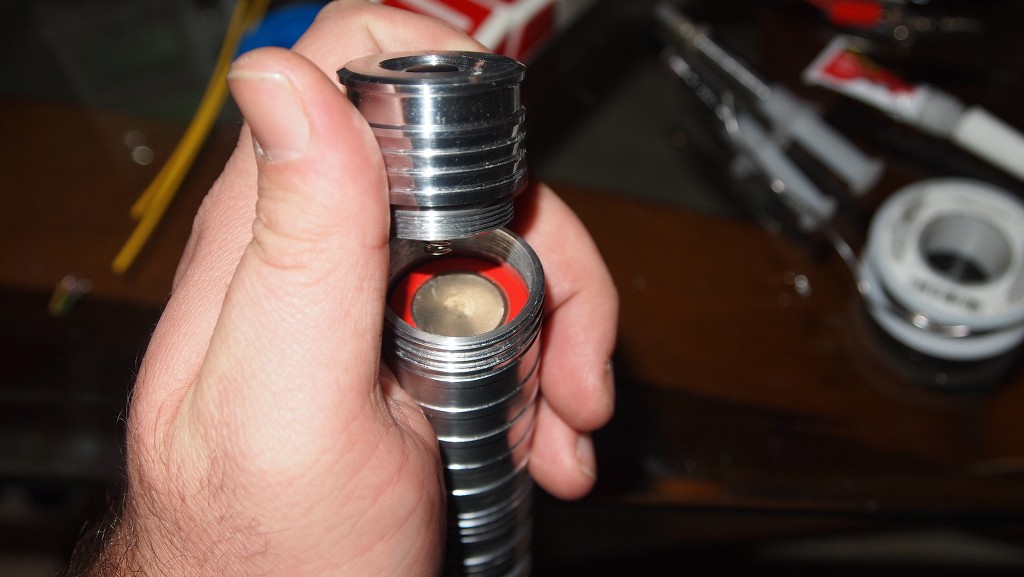
At this point I was pretty much done. Just slide the head with the pill compartment into the host body.

Just screw it in. No need to worry about twisting wires. Very easy great design by Ehgemus.:beer:
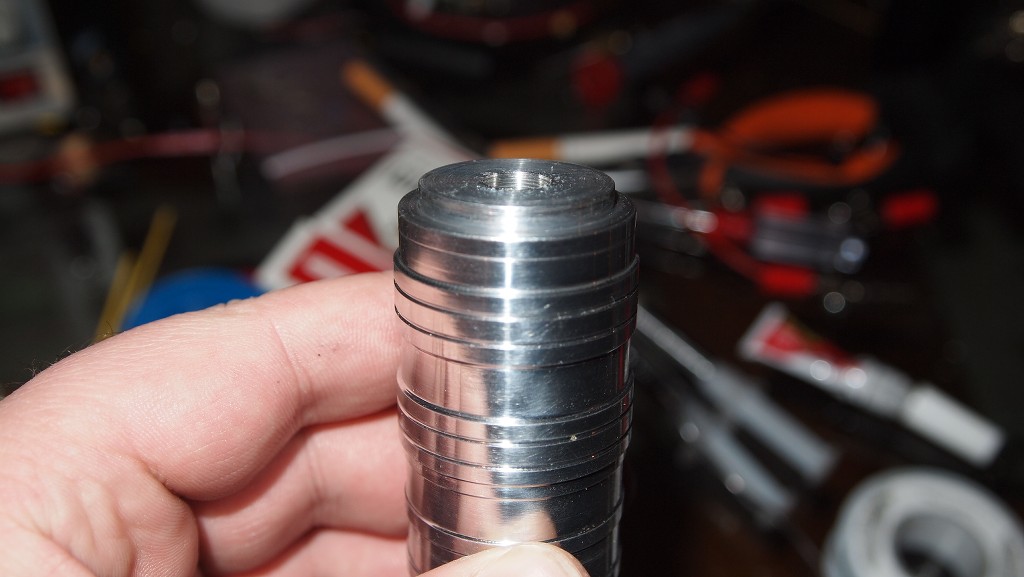
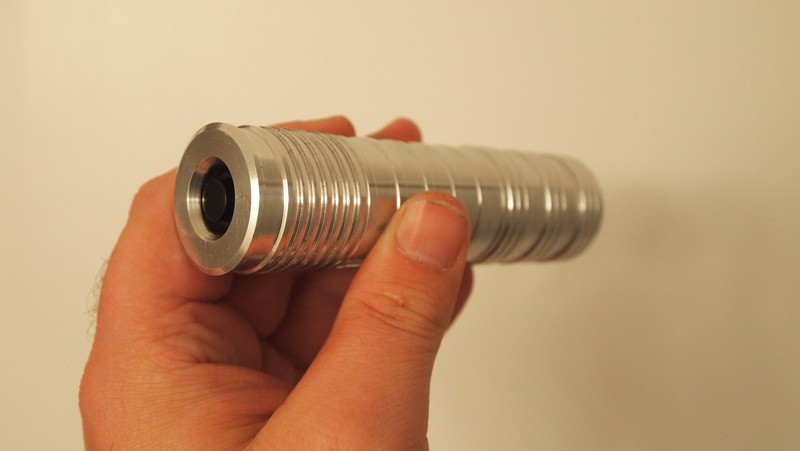
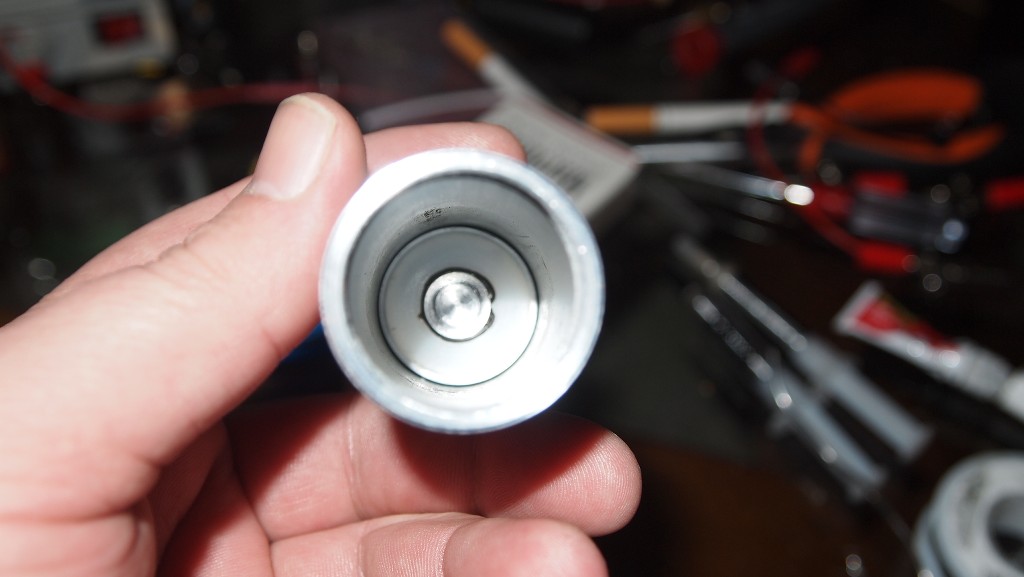
Looking down the barrel you can see the positive contact point.
Next I put my lens into the focus adapter. Ehgemus has been making these now with deeper threads so that it will fit both the Aixiz glass and a G-1 without the Aixiz lens making the focus adapter stick out so far. The downside is that you have to go through trial and error for fitting it to the right position. You have to find out how far to screw the lens into the head to have the head focus just past the tightest focus point. Use a great deal of Teflon on the part of the threads that go into the focus adapter so that it will be tight to whatever depth you set it to.:beer:
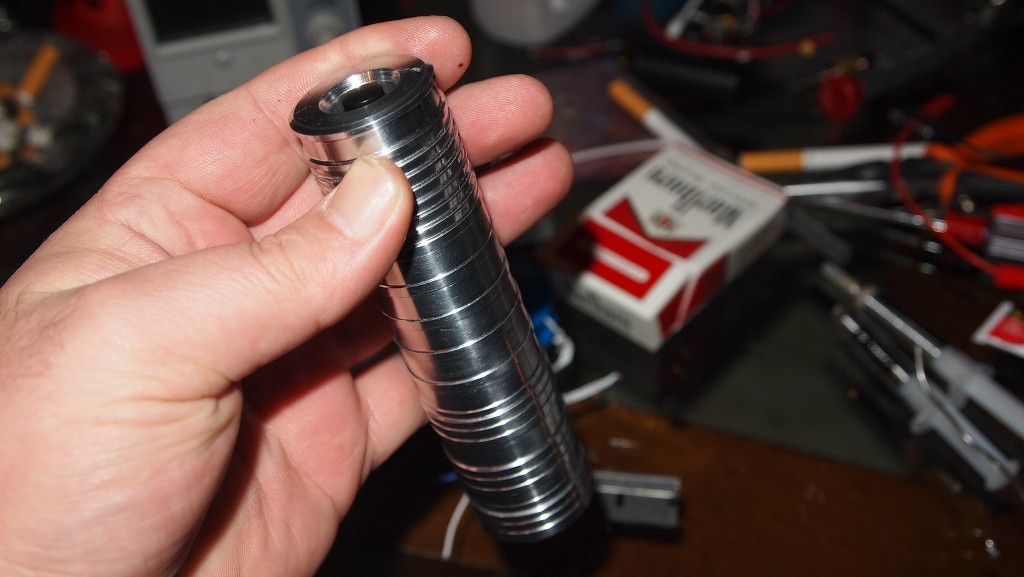
All that is left to do is slide your battery in and screw on the tailcap.:beer:

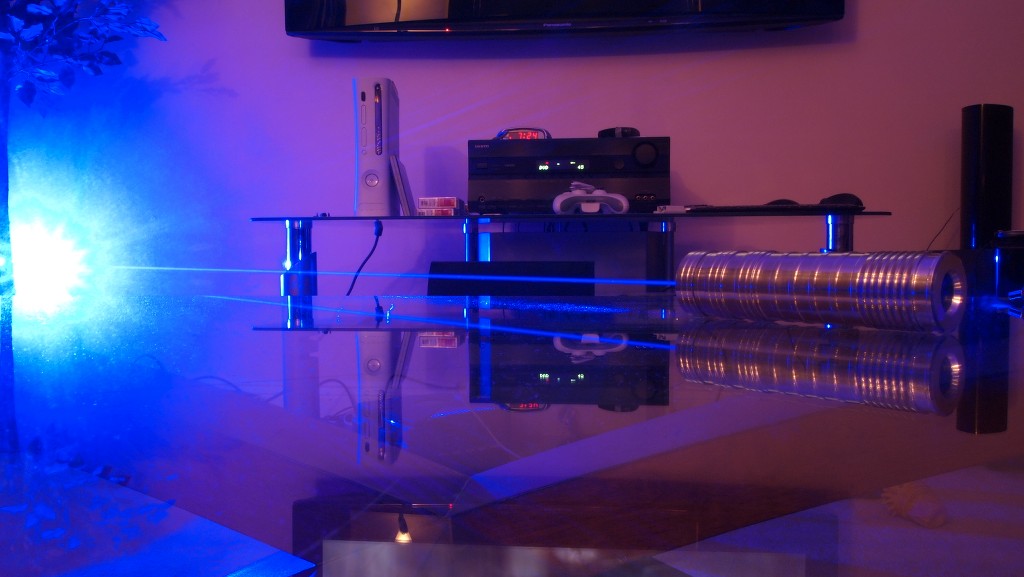
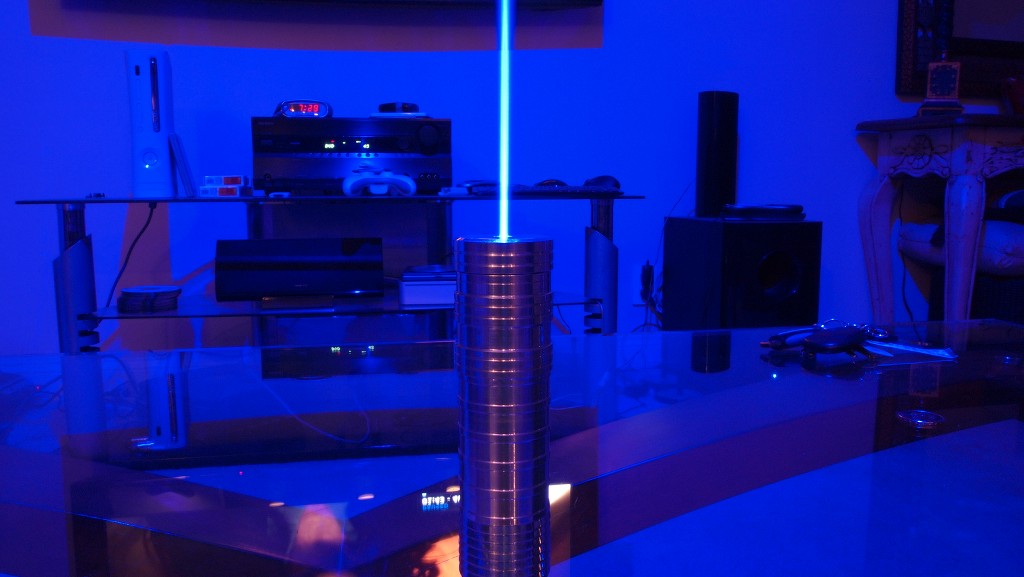
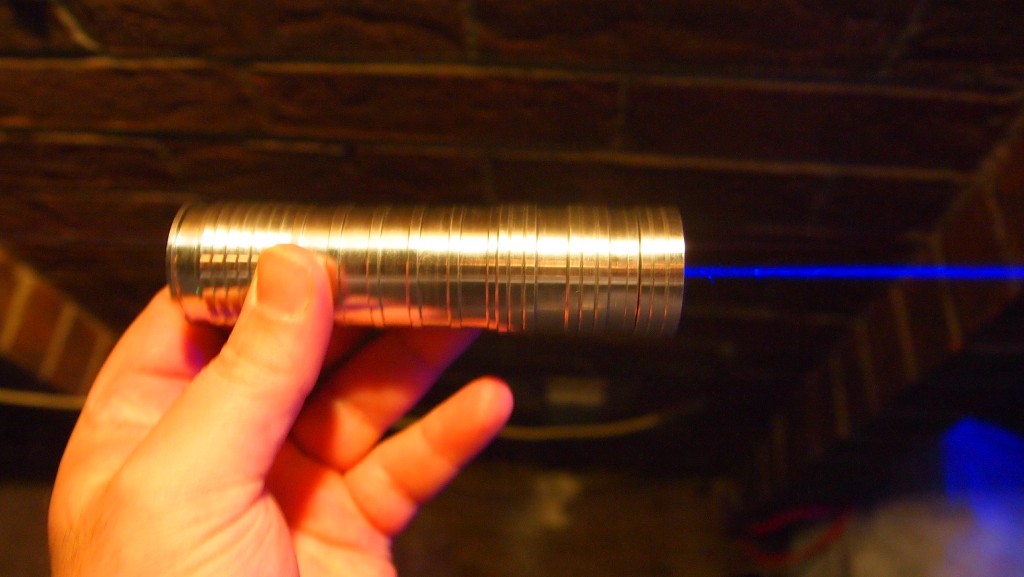
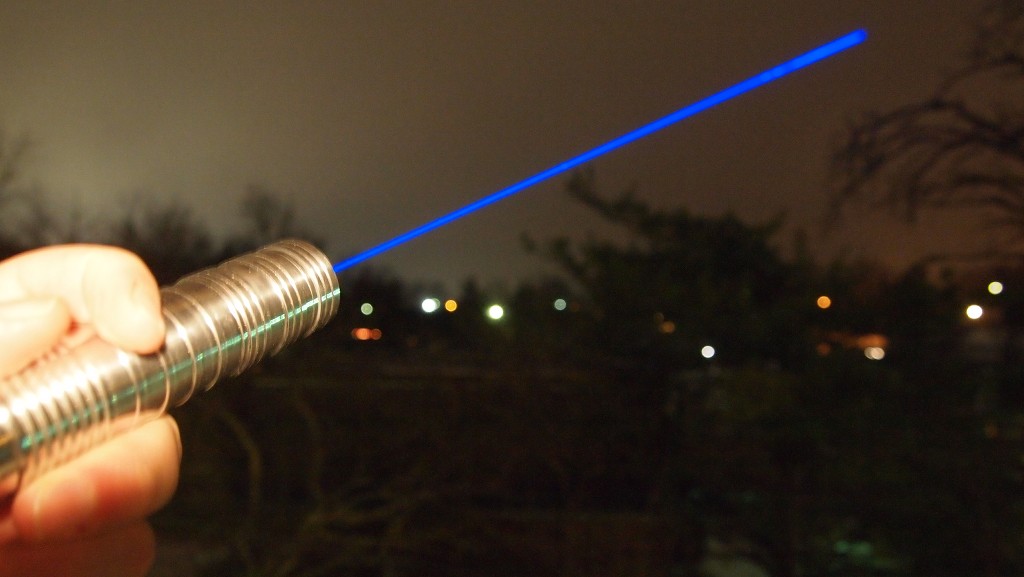
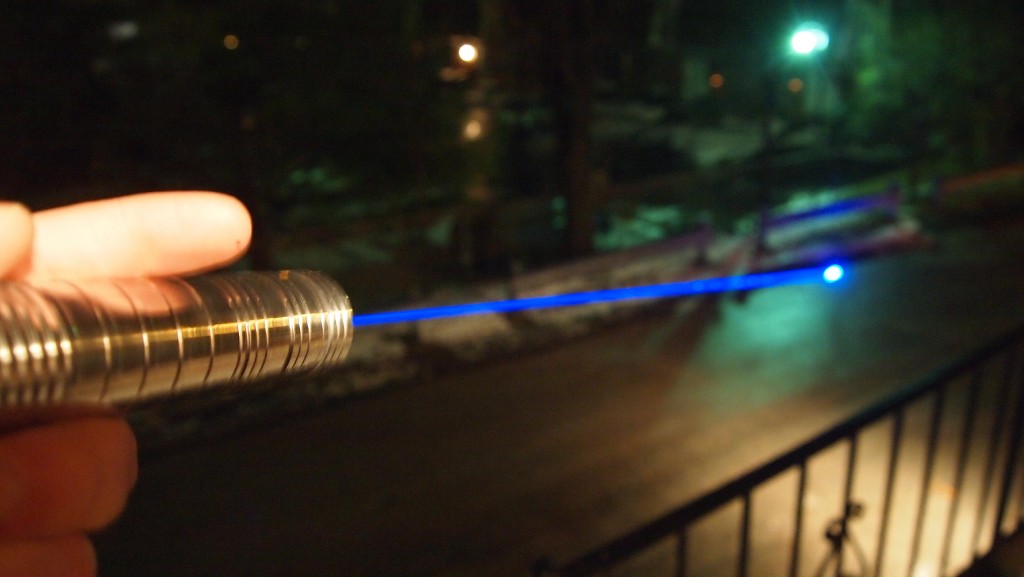
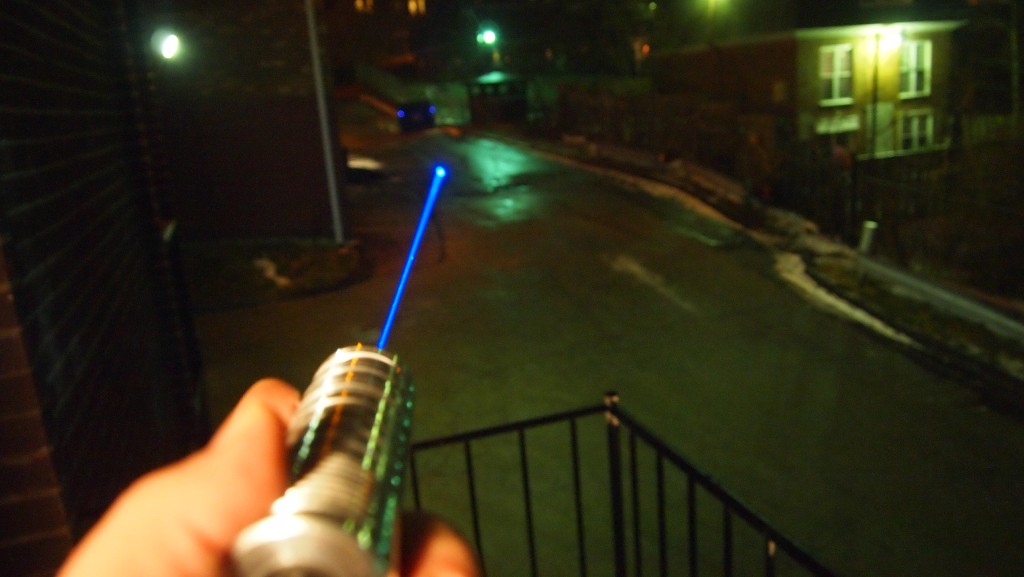
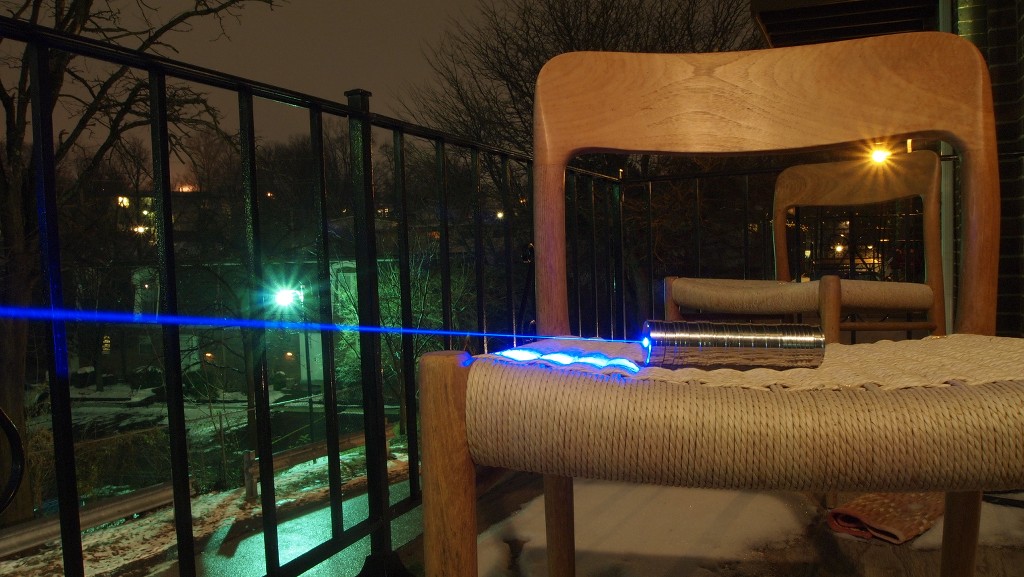
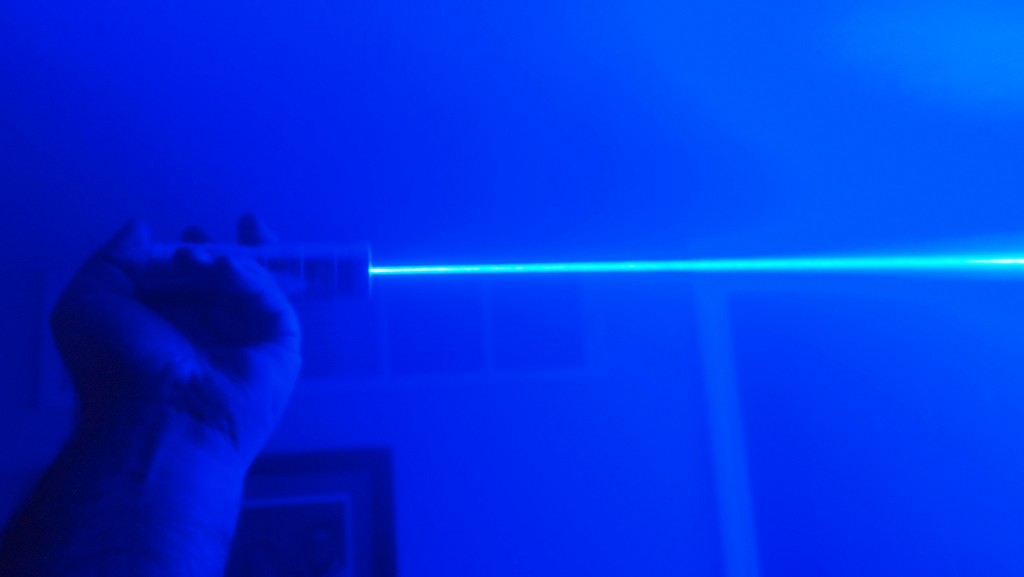
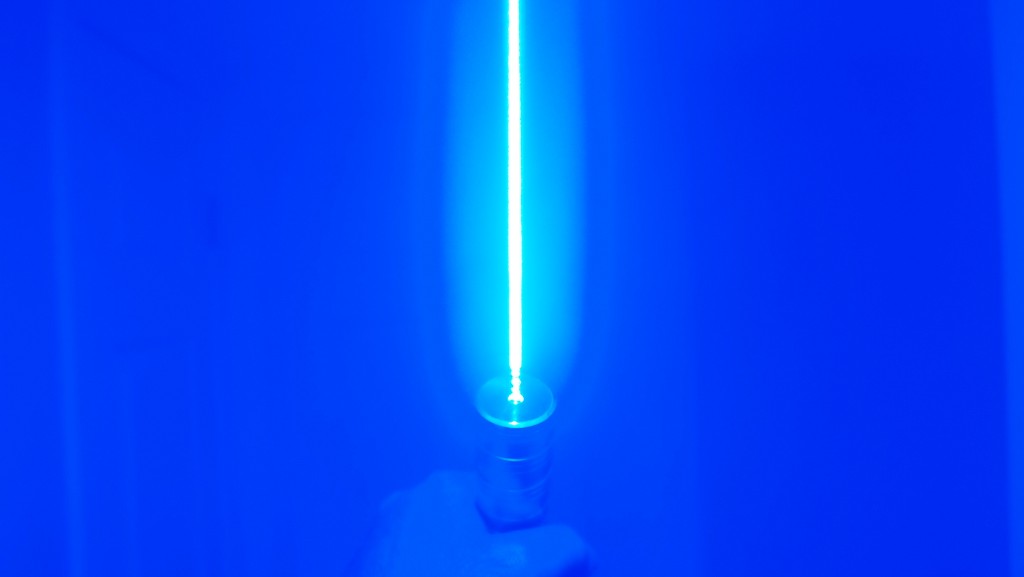
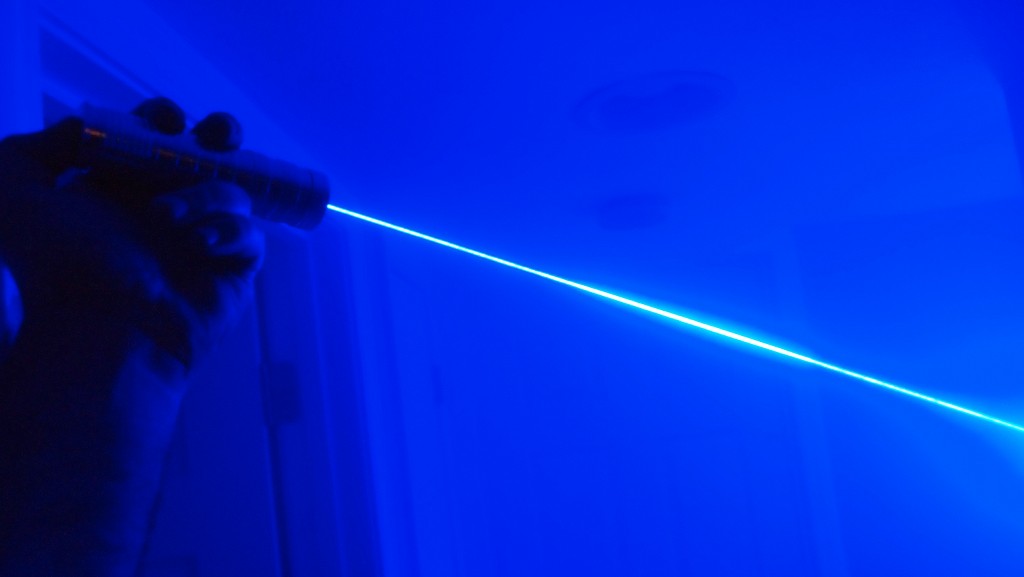
Beamshots
It had been suggested that for some of the newer members to point out that some of my beam shots are taken with long exposures or smoke so that the beam is more glorious. In real life they are spectacular but some of the shots I take make it look like it is spewing out plasma.:crackup:
LPM Test
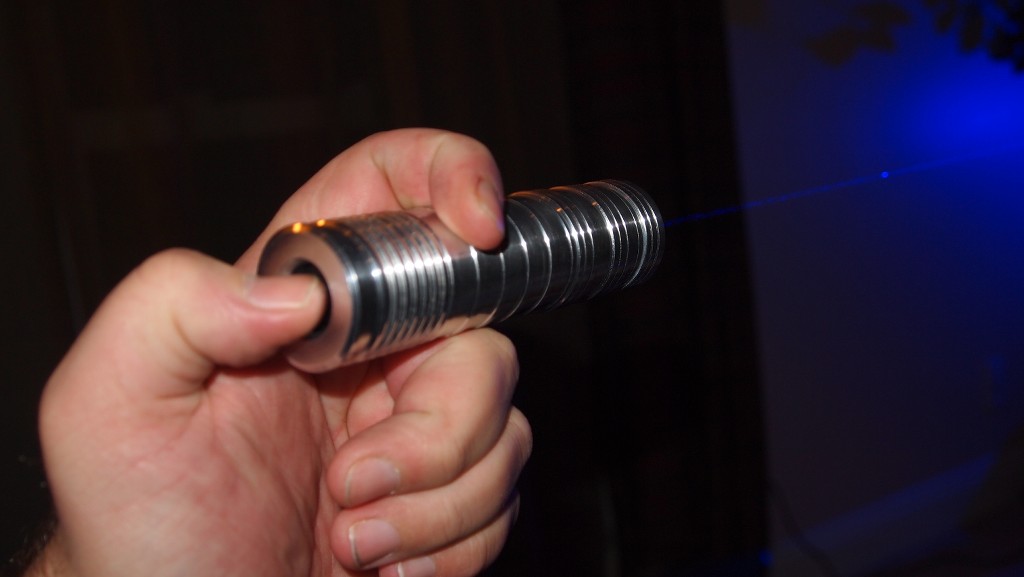
2194mW W/405-G-1 Lens
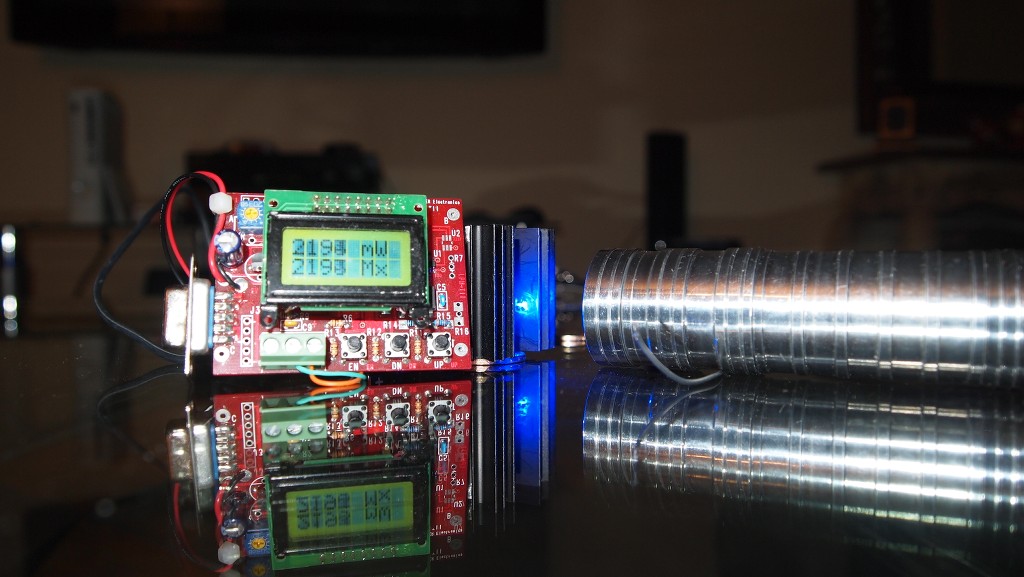
5 Minute run with 283mW drop in power.:eg:
Final Thoughts
I think this style host looks great and this one is much smaller than its predecessors. This one is also the most powerful one that I have built to date.
") Ehgemus has got to be getting tired of me ordering a different size host every time but yet he continues to amaze. Keep it up brother.:beer:
Ehgemus has got to be getting tired of me ordering a different size host every time but yet he continues to amaze. Keep it up brother.:beer:Thanks for reading my review/tutorial. If you would like to see more reviews/tutorials check the compilation link in my sig.:thanks:
Last edited:


")
