- Joined
- Feb 21, 2013
- Messages
- 5,013
- Points
- 0
Hey guys,
Let me first start off with a disclaimer or two so I can clear the air and any confusion:
****WARNING: WORD & PICTURE HEAVY****
****These are my personal findings and opinions, if you don't like them then don't post here****
Background of my LPM search (skip to review if that's all you came here for )
)
As most of you probably know I’ve been waiting for a LPM since roughly Feb. Originally I was looking into getting a LB 2.5W USB do to simplicity and ease of use. I then stumbled upon the Ophir and ARGMeter V1.1. Talked to Alex about the Ophir sensor and instantly fell in love with the 20-C. At this point I knew Ophir was the way to go. Alex put me on his wait list and then around March let me know that he'd probably never make the V1.1 again and was working on a new project, V2. I told him I wanted in on the first one made. Over the next few months Alex sent me various updates on his progress and photos of prototype models. They looked amazing to me and I’ll ask Alex if I can show some of them in here.
Anyways around a month ago I got a message saying it was almost complete, just needed Trevor to finish the firmware. A week or so later my LPM was finished and being sent out to me. I got a little over a week ago and have been swamped with my recent move so review got delayed until now
The Review
Box arrived from the 'Great Land 'O Canada' eh so knew it had to be my LPM
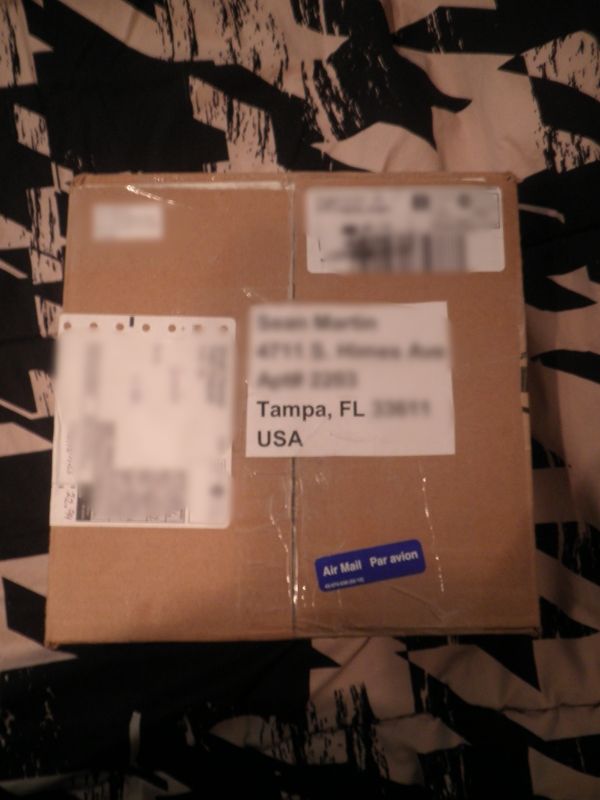
Opened it up to find a large amount of padding (both bubble wrap and the corrugated packing DigiKey uses if you know that stuff).
The Contents-
Open the box to find this:
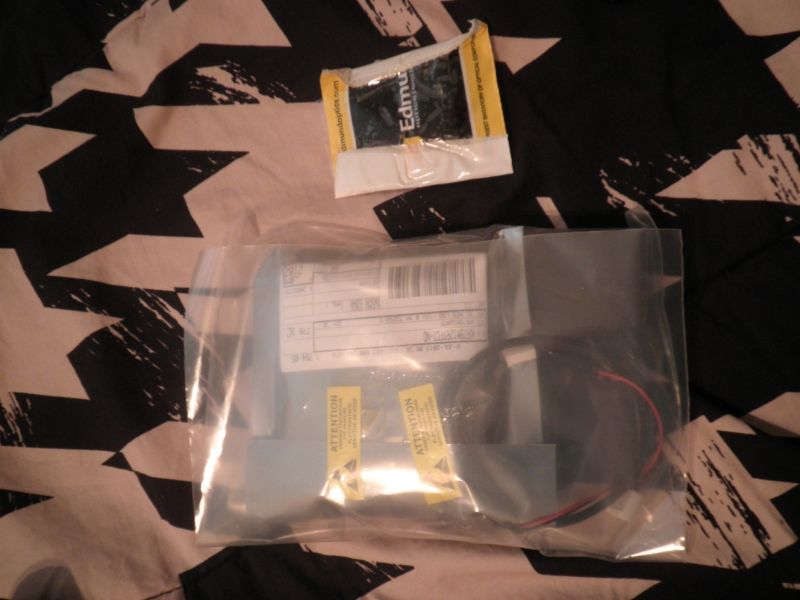
:scowl: MORE THINGS TO OPEN!!!! At this point I was so excited I stopped taking pictures of everything and just opened everything up!
What was included:
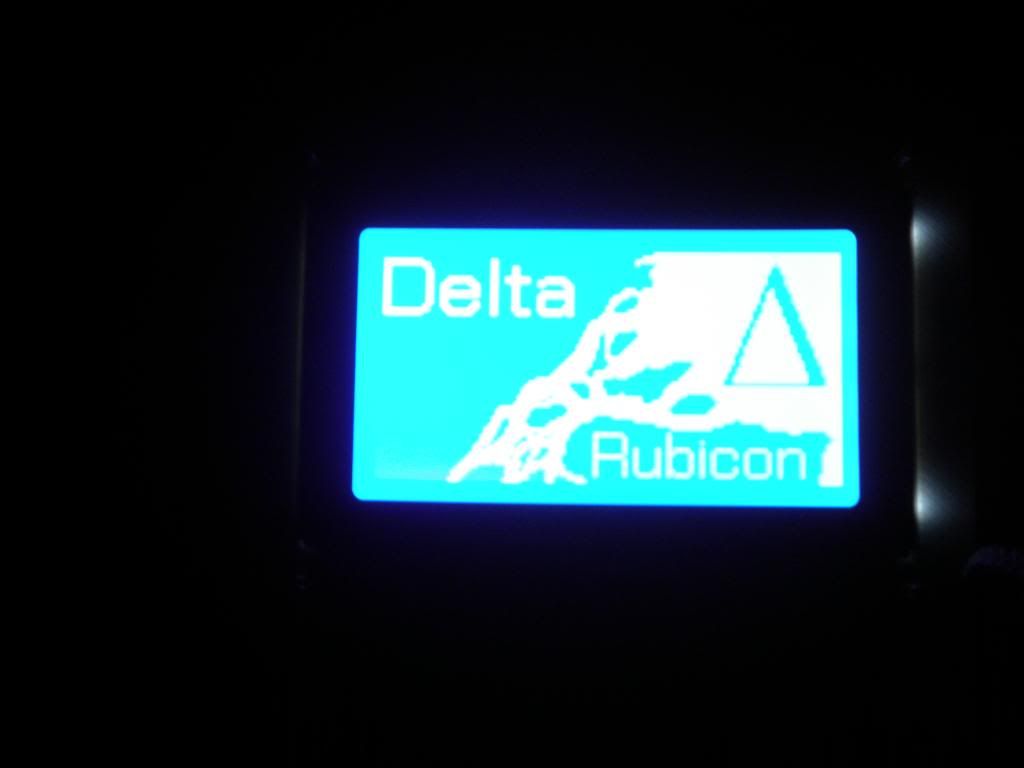
Delta- Rubicon LPM (inside ESD packing :beer
9V Battery Snap
USB Cable
Ophir Thermopile Cable (heat wrapped, two connectors and longer than the one included in fleabay listings)
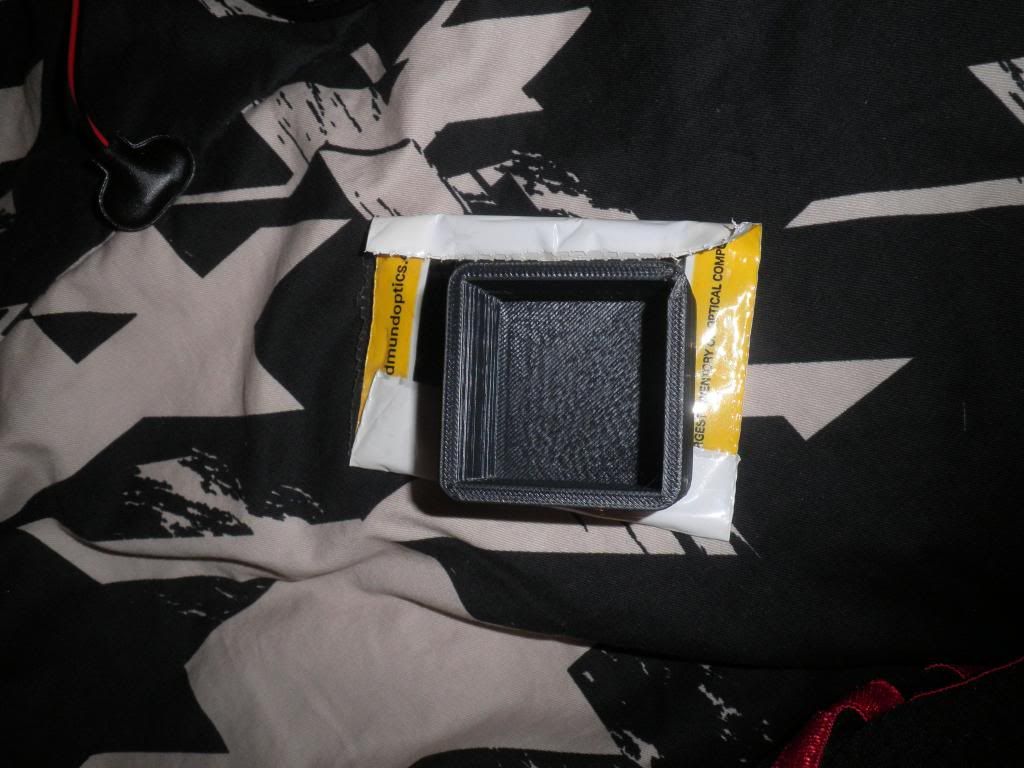
Ophir Thermopile Dust Cover
Optional: 9V DC Power Supply
Ophir 20-C Thermopile Sensor
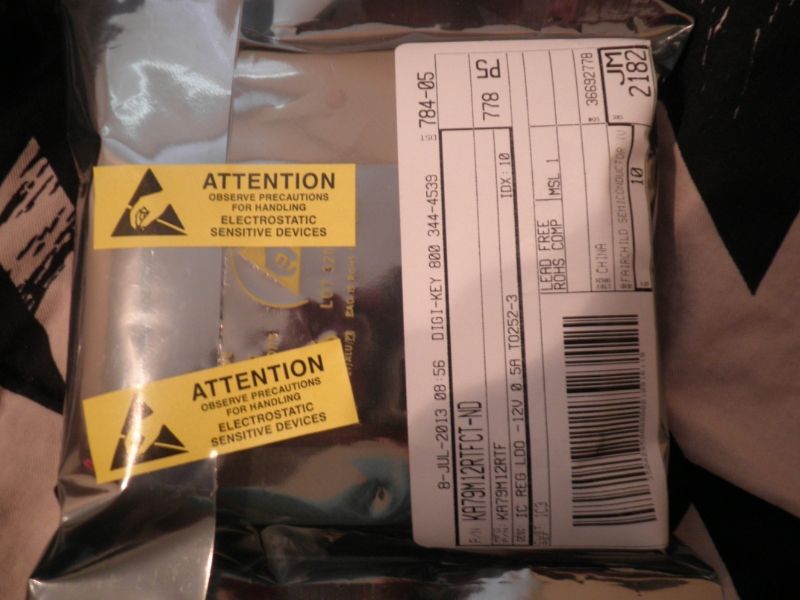
Alex sent me the manual before I received the LPM so I could look it over and be familiar with the unit before it arrived (probably read it 6 times through out of excitement). The manual is 18 pages long and goes through everything; Intro, Guidelines, Specs, User Interface (UI), Peregrine, etc..... This LPM, not going to lie, is pretty idiot proof. I could have figured it out without the manual (typical guy thing to say) but it would have taken some time to figure things out. I HIGHLY RECOMMEND READING THE MANUAL! It lays everything out in simple English for everyone to understand.
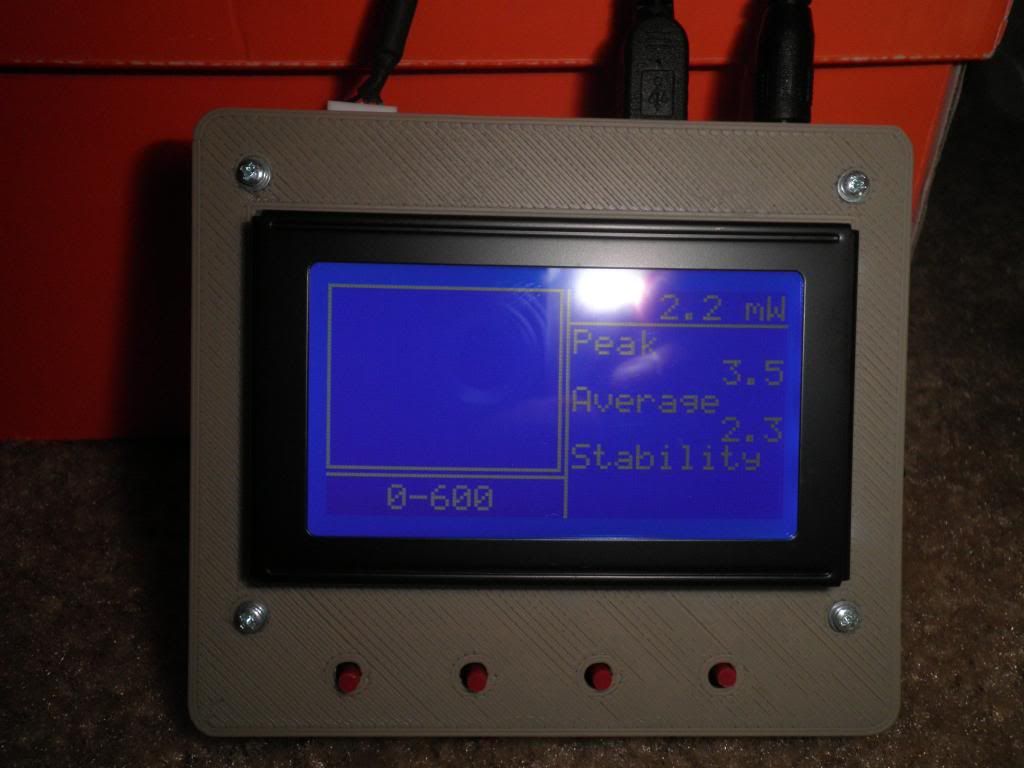
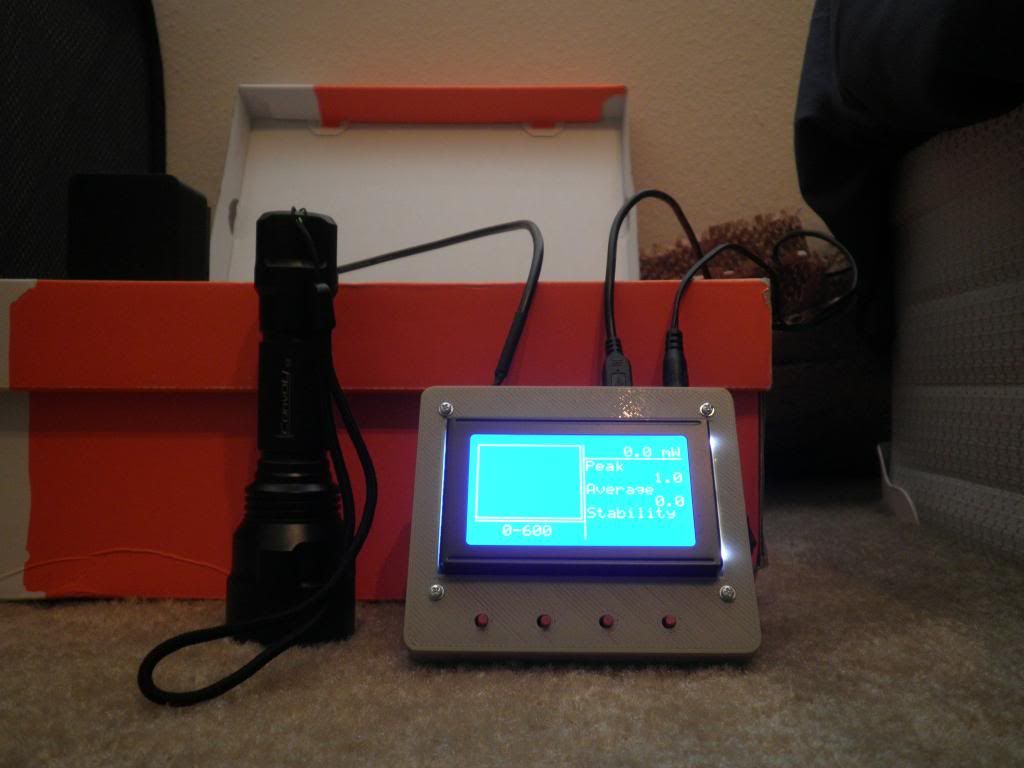
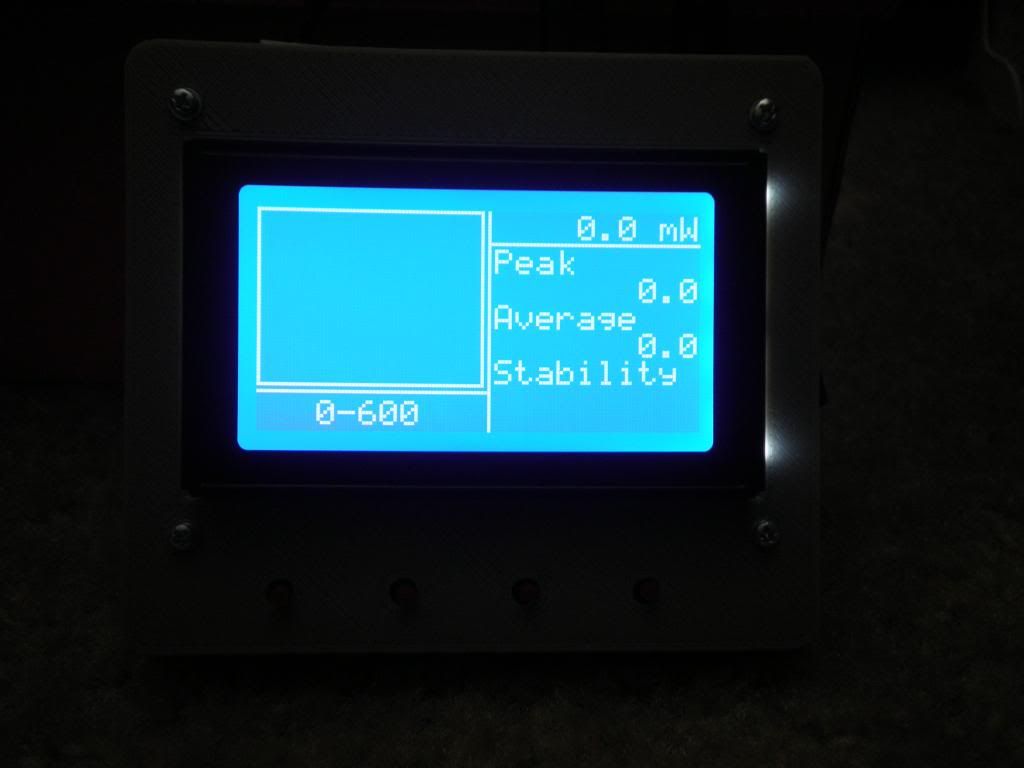
Overall fit and finish-
I am very pleased with how things look and function. Evident from the case and Ophir cover, Alex spent a ton of time perfecting his 3D printer. There are no rough edges or funky parts to the case or cover. Speaking about the cover, about darn time someone comes up with an easy and safe way to protect our $200+ Ophir heads!!!! +1 to Alex!
The UI is super smooth and have not once had a hiccup or glitch in the firmware so +1 to Trevor on that! Overall I am overly pleased with this, not just normally pleased but above and beyond!
Function:
As mentioned above, the function is smooth and idiot proof. The unit has four buttons; from left to right:
Data Logging:
Alex and Trevor have made this LPM very user friendly and given the user many options. You have Three main options for data logging; Simple, OpenLPM or LaserBee. Simple is just sending the readings to a generic data logging program if you have one. OpenLPM (my suggestion) allows you to use a more in depth data logging software like Peregrine (also my suggestion). Finally good news for die hard LaserBee fans, you can still use the software provided with your purchase from Jerry. Make sure if you are using EagleEye that you set the Baud Rate to 9,600. If you are using Peregrine set Baud to 115,200 for faster data logging.
You can also set the duration you would like the LPM to data log for or you can set this within Peregrine when starting a new measurement.
Peregrine:
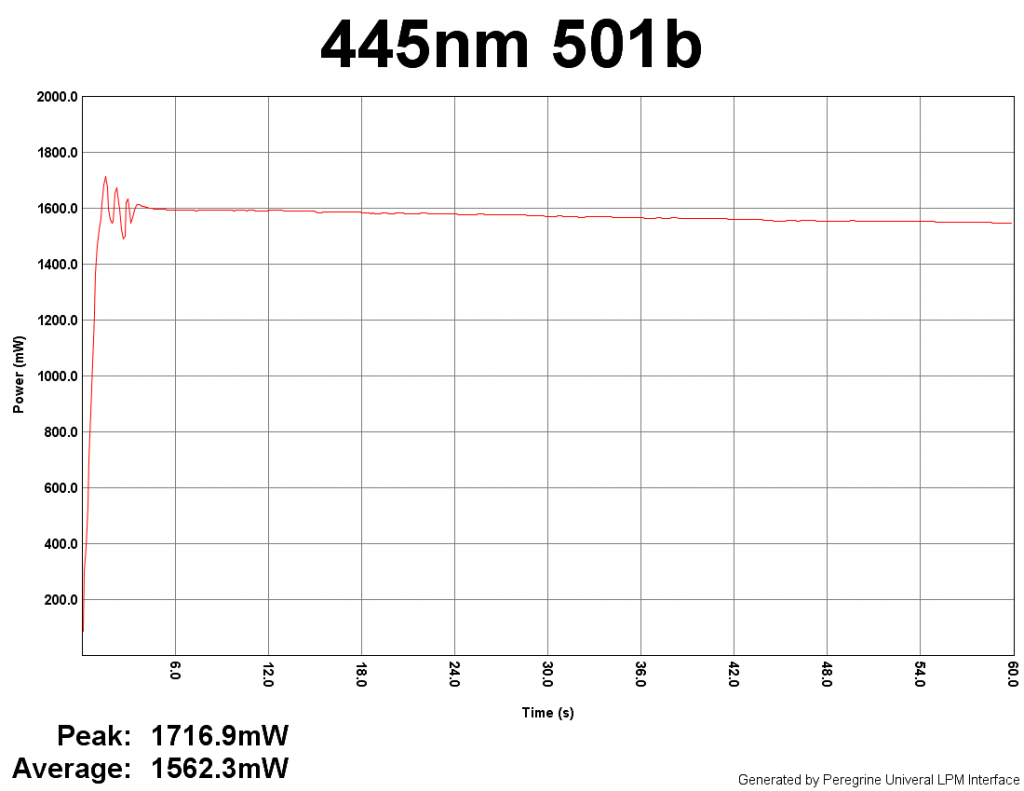
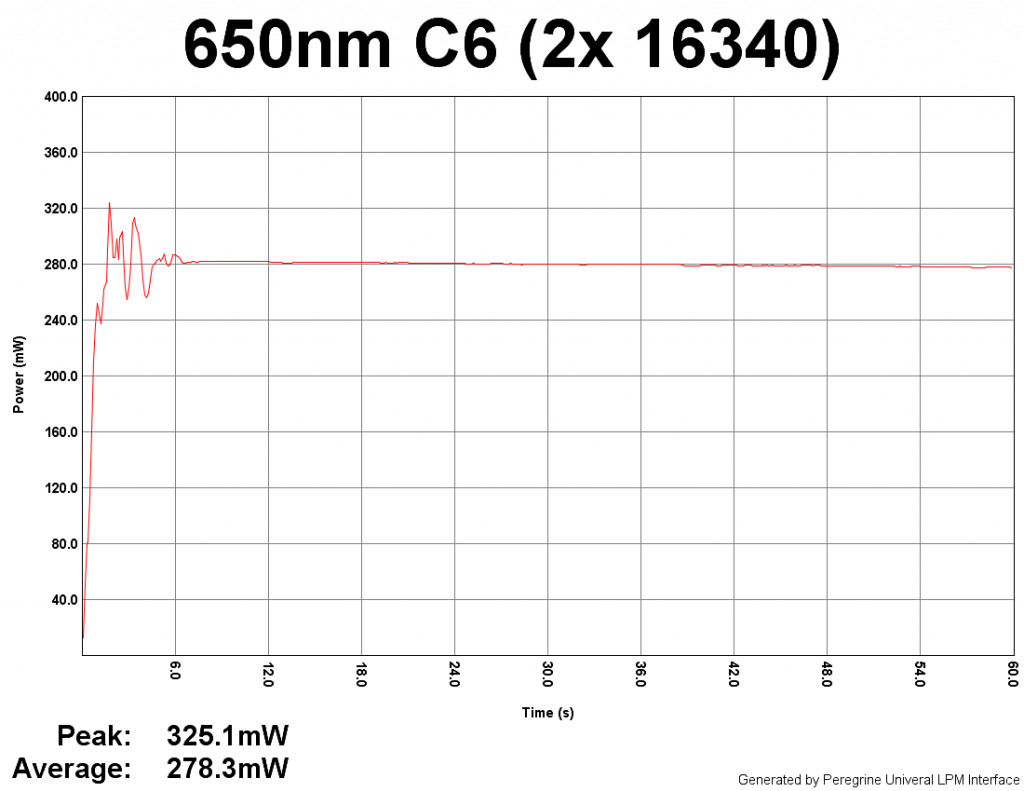
My choice of data logging program is Peregrine for a few reasons. It was designed by Trevor who also designed the firmware for this LPM so you know it will be 100% compatible and you will have his 100% backing and support if any questions arise. Second, it’s just flat out so easy to use and gives you EVERYTHING you could want in one simple, clean graph. Connecting the Rubicon to Peregrine is simple; plug the USB from the unit into your computer, make sure the Baud rates are the same on the LPM and Peregrine, then press connect, DONE! The LPM will reset itself and sync perfectly with Peregrine (takes less than 5 seconds).
To start a new graph, go to measurements > new and input the graph name, duration, threshold and line color. BOOM ready to start metering!
Final Thoughts:
First off I would like to thank Alex and Trevor yet again for this opportunity!
I have zip, zero, nada, no regrets on this purchase. Everything came in above my expectations and that is pretty hard since Alex and Trevor talked this LPM up quite a bit. I am SUPER impressed with the fit and finish, overall function and ease of use. I know everything is thinking, well I already have the V1.1 ARGMeter or it’s a bunch of money to buy one of these and I have one thing to say; you won’t regret it either! Now for a small hobbyist, this might be a little much but I have no doubts that you will love it. If the Rubicon isn't for you or costs too much at the time being, then hold tight and watch the B/S/T section for V1.1 ARGMeter's going up for sale from everyone selling them to get this!
For $449+Shipping you get the whole set up that includes a tested and accurate Ophir sensor! This is one of the first on screen graphing hobbyist LPMs available! Compatible LPMs WITHOUT on screen graphing sell for OVER $550!!!!!
If you have the ophir sensor already then you can grab the unit minus the sensor for $249 SHIPPED w/in North America!
Link to the FS ad- http://laserpointerforums.com/f39/fs-rubicon-5w-laser-power-meters-83990.html
Link to the Rubicon introduction thread- http://laserpointerforums.com/f70/introducing-rubicon-lpm-delta-line-lpm-s-83989.html
Contact Alex Here
Contact Trevor Here
My camera DIED!!!!! Sorry for the delay guys but didn't want to keep you all waiting even longer so I’m posting this as-is right now and ill update later when the camera is done charging
Stay tuned and thanks for reading
-Sean
Let me first start off with a disclaimer or two so I can clear the air and any confusion:
****WARNING: WORD & PICTURE HEAVY****
****These are my personal findings and opinions, if you don't like them then don't post here****
Background of my LPM search (skip to review if that's all you came here for
As most of you probably know I’ve been waiting for a LPM since roughly Feb. Originally I was looking into getting a LB 2.5W USB do to simplicity and ease of use. I then stumbled upon the Ophir and ARGMeter V1.1. Talked to Alex about the Ophir sensor and instantly fell in love with the 20-C. At this point I knew Ophir was the way to go. Alex put me on his wait list and then around March let me know that he'd probably never make the V1.1 again and was working on a new project, V2. I told him I wanted in on the first one made. Over the next few months Alex sent me various updates on his progress and photos of prototype models. They looked amazing to me and I’ll ask Alex if I can show some of them in here.
Anyways around a month ago I got a message saying it was almost complete, just needed Trevor to finish the firmware. A week or so later my LPM was finished and being sent out to me. I got a little over a week ago and have been swamped with my recent move so review got delayed until now
The Review
Box arrived from the 'Great Land 'O Canada' eh so knew it had to be my LPM

Opened it up to find a large amount of padding (both bubble wrap and the corrugated packing DigiKey uses if you know that stuff).
The Contents-
Open the box to find this:

:scowl: MORE THINGS TO OPEN!!!! At this point I was so excited I stopped taking pictures of everything and just opened everything up!
What was included:
Delta- Rubicon LPM (inside ESD packing :beer
9V Battery Snap
USB Cable
Ophir Thermopile Cable (heat wrapped, two connectors and longer than the one included in fleabay listings)
Ophir Thermopile Dust Cover
Optional: 9V DC Power Supply
Ophir 20-C Thermopile Sensor

Alex sent me the manual before I received the LPM so I could look it over and be familiar with the unit before it arrived (probably read it 6 times through out of excitement). The manual is 18 pages long and goes through everything; Intro, Guidelines, Specs, User Interface (UI), Peregrine, etc..... This LPM, not going to lie, is pretty idiot proof. I could have figured it out without the manual (typical guy thing to say) but it would have taken some time to figure things out. I HIGHLY RECOMMEND READING THE MANUAL! It lays everything out in simple English for everyone to understand.
Overall fit and finish-
I am very pleased with how things look and function. Evident from the case and Ophir cover, Alex spent a ton of time perfecting his 3D printer. There are no rough edges or funky parts to the case or cover. Speaking about the cover, about darn time someone comes up with an easy and safe way to protect our $200+ Ophir heads!!!! +1 to Alex!
The UI is super smooth and have not once had a hiccup or glitch in the firmware so +1 to Trevor on that! Overall I am overly pleased with this, not just normally pleased but above and beyond!
Function:
As mentioned above, the function is smooth and idiot proof. The unit has four buttons; from left to right:
- Select/Reset
- Up/Zero
- Down/ Configuration
- Function
Data Logging:
Alex and Trevor have made this LPM very user friendly and given the user many options. You have Three main options for data logging; Simple, OpenLPM or LaserBee. Simple is just sending the readings to a generic data logging program if you have one. OpenLPM (my suggestion) allows you to use a more in depth data logging software like Peregrine (also my suggestion). Finally good news for die hard LaserBee fans, you can still use the software provided with your purchase from Jerry. Make sure if you are using EagleEye that you set the Baud Rate to 9,600. If you are using Peregrine set Baud to 115,200 for faster data logging.
You can also set the duration you would like the LPM to data log for or you can set this within Peregrine when starting a new measurement.
Peregrine:
My choice of data logging program is Peregrine for a few reasons. It was designed by Trevor who also designed the firmware for this LPM so you know it will be 100% compatible and you will have his 100% backing and support if any questions arise. Second, it’s just flat out so easy to use and gives you EVERYTHING you could want in one simple, clean graph. Connecting the Rubicon to Peregrine is simple; plug the USB from the unit into your computer, make sure the Baud rates are the same on the LPM and Peregrine, then press connect, DONE! The LPM will reset itself and sync perfectly with Peregrine (takes less than 5 seconds).
To start a new graph, go to measurements > new and input the graph name, duration, threshold and line color. BOOM ready to start metering!
Final Thoughts:
First off I would like to thank Alex and Trevor yet again for this opportunity!
I have zip, zero, nada, no regrets on this purchase. Everything came in above my expectations and that is pretty hard since Alex and Trevor talked this LPM up quite a bit. I am SUPER impressed with the fit and finish, overall function and ease of use. I know everything is thinking, well I already have the V1.1 ARGMeter or it’s a bunch of money to buy one of these and I have one thing to say; you won’t regret it either! Now for a small hobbyist, this might be a little much but I have no doubts that you will love it. If the Rubicon isn't for you or costs too much at the time being, then hold tight and watch the B/S/T section for V1.1 ARGMeter's going up for sale from everyone selling them to get this!
For $449+Shipping you get the whole set up that includes a tested and accurate Ophir sensor! This is one of the first on screen graphing hobbyist LPMs available! Compatible LPMs WITHOUT on screen graphing sell for OVER $550!!!!!
If you have the ophir sensor already then you can grab the unit minus the sensor for $249 SHIPPED w/in North America!
Link to the FS ad- http://laserpointerforums.com/f39/fs-rubicon-5w-laser-power-meters-83990.html
Link to the Rubicon introduction thread- http://laserpointerforums.com/f70/introducing-rubicon-lpm-delta-line-lpm-s-83989.html
Contact Alex Here
Contact Trevor Here
My camera DIED!!!!! Sorry for the delay guys but didn't want to keep you all waiting even longer so I’m posting this as-is right now and ill update later when the camera is done charging
Stay tuned and thanks for reading
-Sean


