- Joined
- Sep 4, 2020
- Messages
- 1,819
- Points
- 113
No prob man. I can be too "direct" at timesI will do that too, just in case he does not read the direct message.
Thank you once again for your time, and apologize for the initial controversy.


Follow along with the video below to see how to install our site as a web app on your home screen.
Note: This feature may not be available in some browsers.
No prob man. I can be too "direct" at timesI will do that too, just in case he does not read the direct message.
Thank you once again for your time, and apologize for the initial controversy.


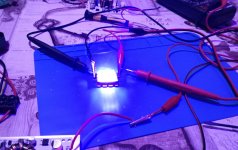
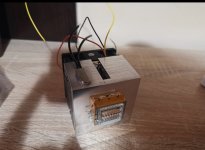
That will be the cooling. I also put a thermal switch at 70C to turn it off.
I saw that your array was stacked vertically, I put it horizontally. It will probably make the beam look wider, but that's not a problem for me.
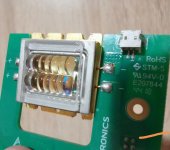
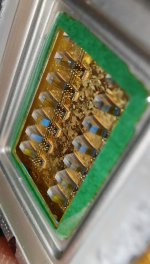
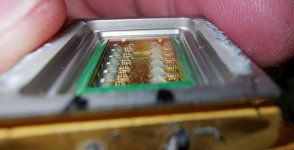
I had taped all the wires to the radiator so there would be no movement. The problem with the pole pins has been there ever since I took it off the board. The next one I won't take it off, I'll cut the circuit board and it will stand for it. I will solder the wires directly onto the board's poles. I would try to open the laser array but I don't know how. I guess I have to take the lens off first. When I look at it, it is glued. It won't get any worse in this case. So I would appreciate if someone could advise how to open the arrayThat's toast, my guess is that you broke the bonding wire. To fix it you'd have to open it, and without a cleanroom that operation is also going to kill it due to dust.
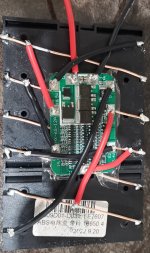
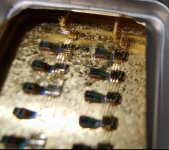
Best practice is to use some sort of strain relief as well as silicone cables (the flexible ones): You fix the cable to the heatsink (with a cable clamp or something else, get creative) so that you have a short (few cm) piece of cable at one side of the clamp that you solder to the array and a long piece at the other side to connect it to the driver. That way, even if you yank at the cable going to the heatsink you're only pulling on your strain relief and not on the diode pin.
Also, spend the extra few bucks for silicone cables: You are currently using stiff cables with PVC insulation, if you use cables with flexible silicone insulation you have an easier time stuffing the cable into the housing and if you bump the cable it'll just flex instead of transmitting that force to the pin of the array.