

- Joined
- May 14, 2013
- Messages
- 3,438
- Points
- 0
I have recently assembled my first laser and it is my first 445nm blue. It is an M140 in a C6 host. Some of the photos aren't real good, I guess I was more interested in assembling the laser than taking photos, anyway here it is. I purchased an M140 diode already pressed in a copper module with leads attached from DTR's Laser Shop here: https://sites.google.com/site/dtrlpf/home/diodes/445-m140-didoes
Top right for $54. Here is a photo:
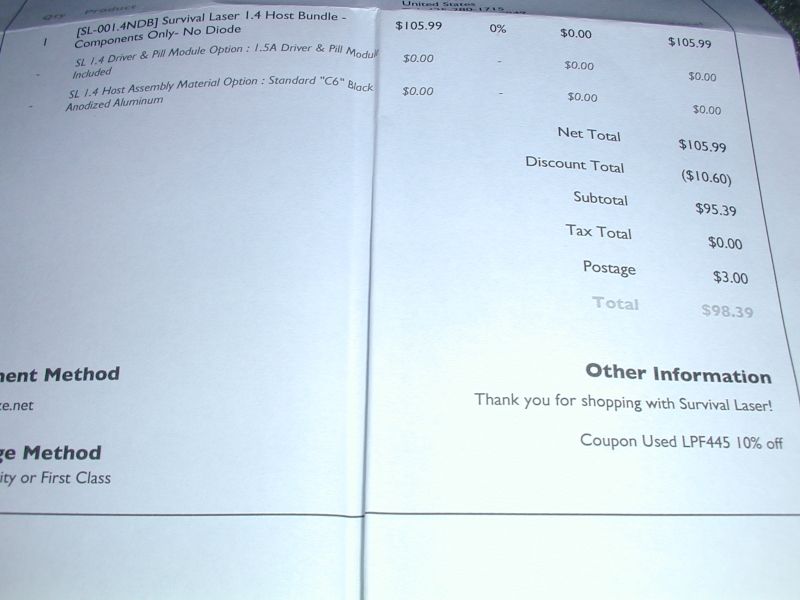
I then purchased from Survival Laser one of their no-diode host bundles, specifically this one:
Survival Laser 1.4 Host Bundle - Components Only- No Diode
and using a discount code I found here on LPF the total price shipped was $98.39 bringing the total cost of this laser to $152.39 not counting batteries. Not much of a DIY project, the driver and pill module is already put together and getting the diode already in a module then most of the work is already done for you. If you are assembling your first laser and don't want it to be too complicated then you can't go wrong doing it like this. Its just a matter of soldering together two pairs of wires and assembling a few parts. Its almost idiot proof, almost but not quite. For anyone handling a C6 host for the first time be aware that it is possible to assemble parts in the wrong order and twist your wires when screwing it together. Also it has the tail cap switch, when you first insert your batteries + side first and screw on the tail cap you don't know if it is on or off so please remember to point it in a safe direction first, and use your safety glasses.
If you are buying or building your first powerful laser I have to say that all the endless hundreds of photos and videos don't quite prepare you for what to expect when you see it in person the first time. I had a green laser that I thought was impressive because you could easily see the beam in dim lighting. Well that was nothing and I really mean nothing compared to this. I won't repeat here what I shouted when I first turned this on.
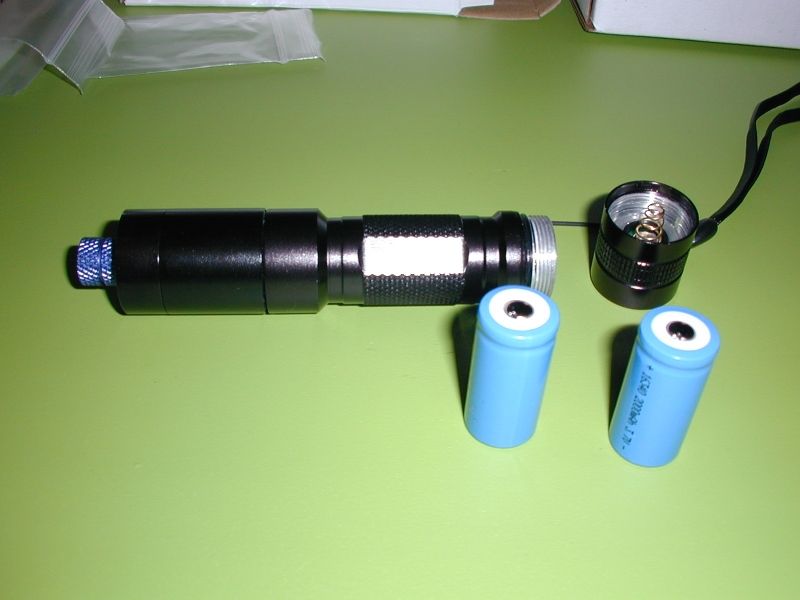
Here is a charger and batteries I found on Amazon:
They are protected 16340s.
The charger only fits 16340s, now that I think about it I should have got a better charger that fits multiple sizes.
Opening the box of the SL host bundle.
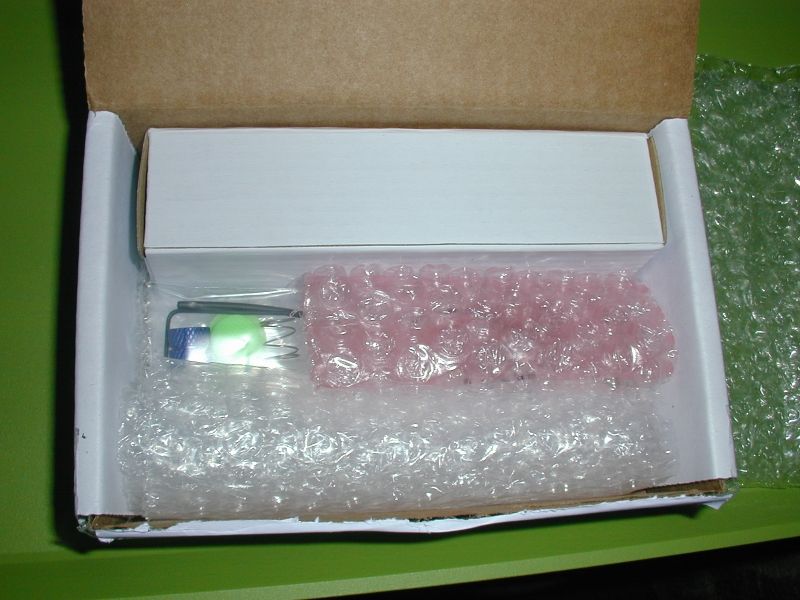
Well worth the price in my opinion.
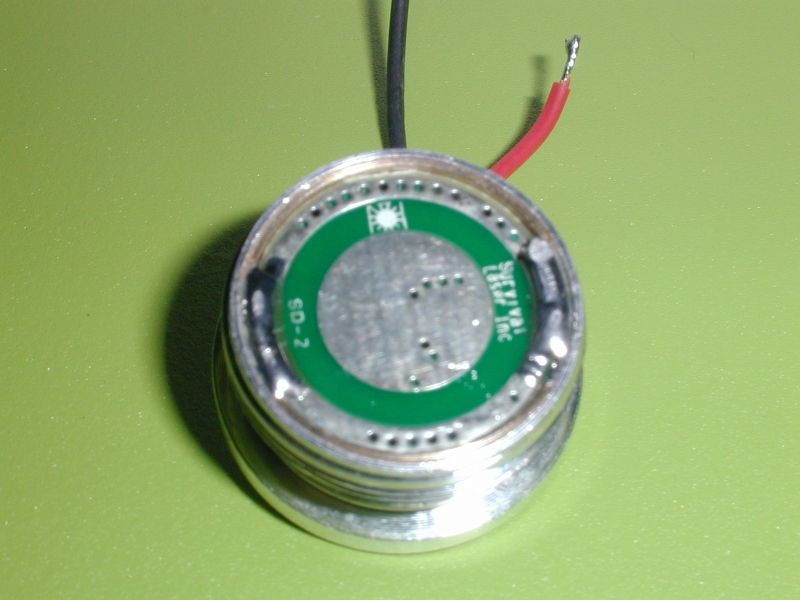
The 1.5 Amp driver and pill assembly. SL also sells these separately for $34.99 or $19.99 for just the driver.
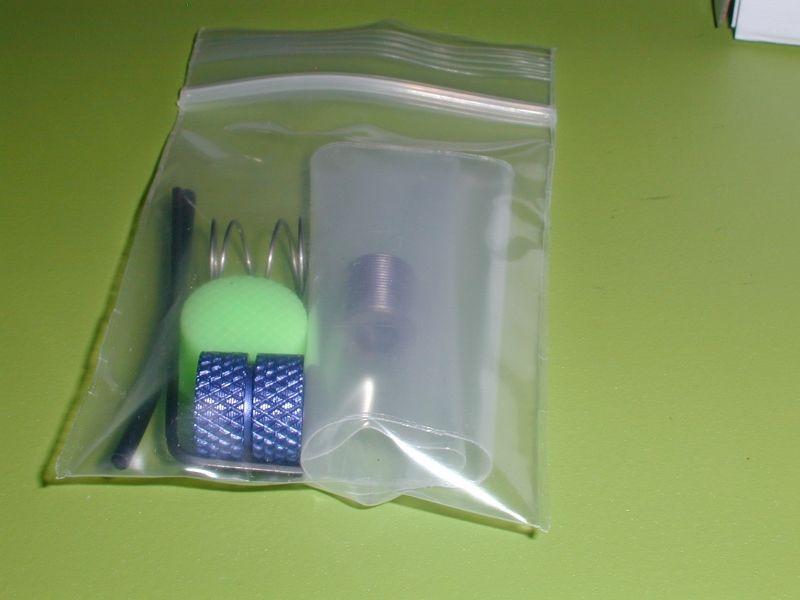
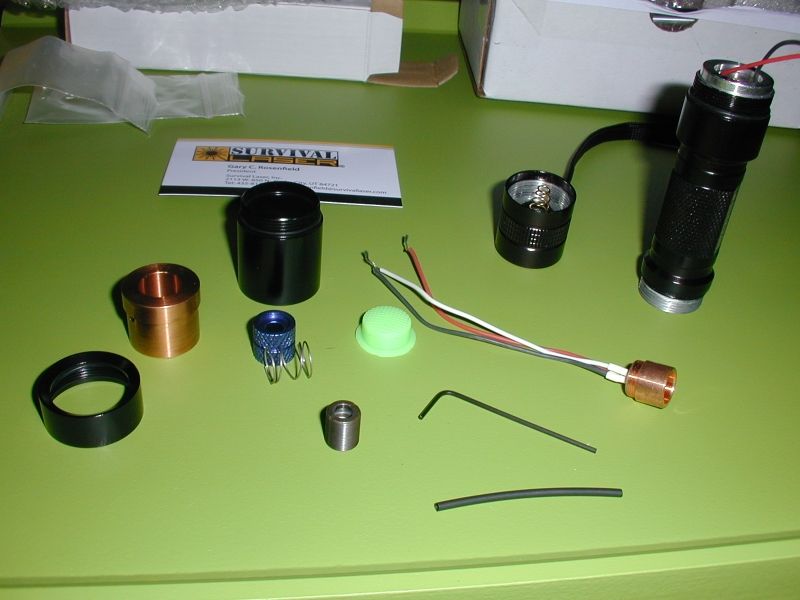
This kit also comes with: one 3-element 445nm AR coated glass lens, a blue anodized extended length focusing ring, an external lens spring, a glow-in-the-dark silicone rubber lens cap, an Allen wrench for tightening the heat sink set screw, and a small amount of heat shrink tubing.
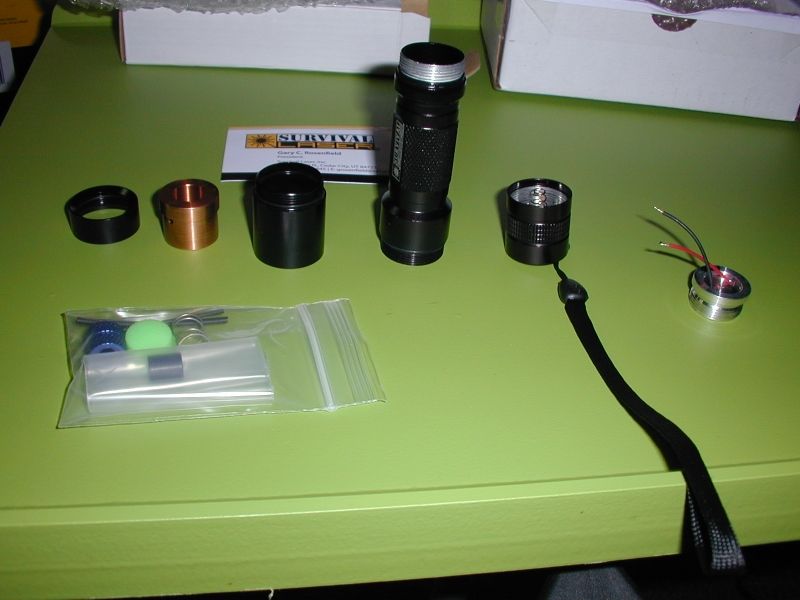
Here are some more photos of the host and parts.
The M140 in the copper module from DTR.
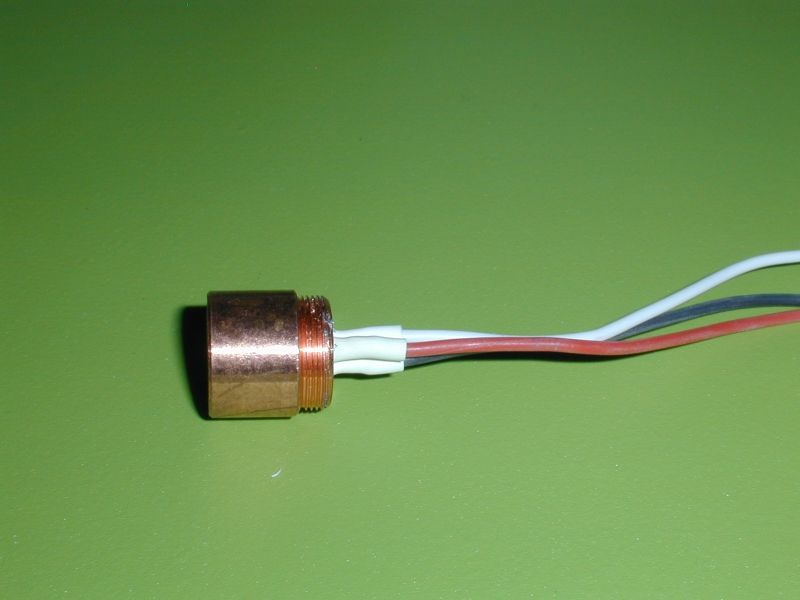
Notice that DTR is generous with the wire leads, be aware that there isn't much room in a C6, if your wires are too long they might not even fit.
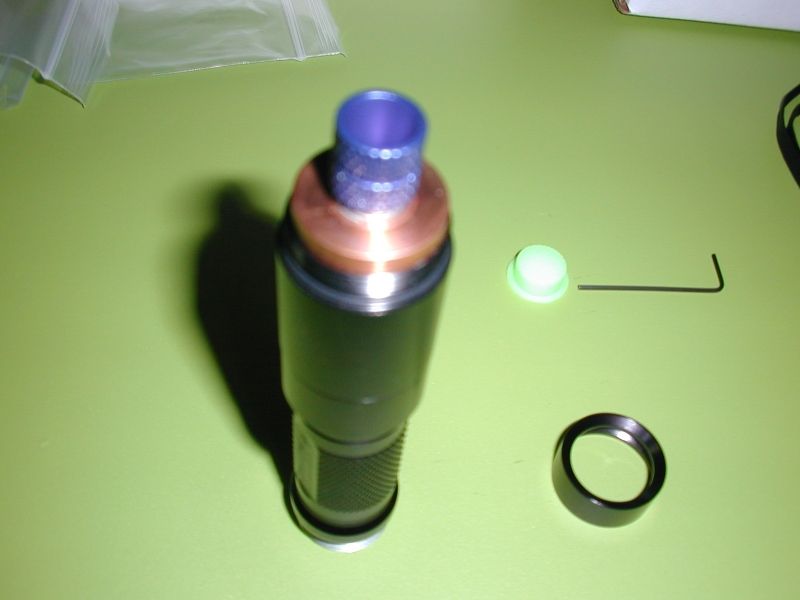
Lens and focus ring and spring added to the module.
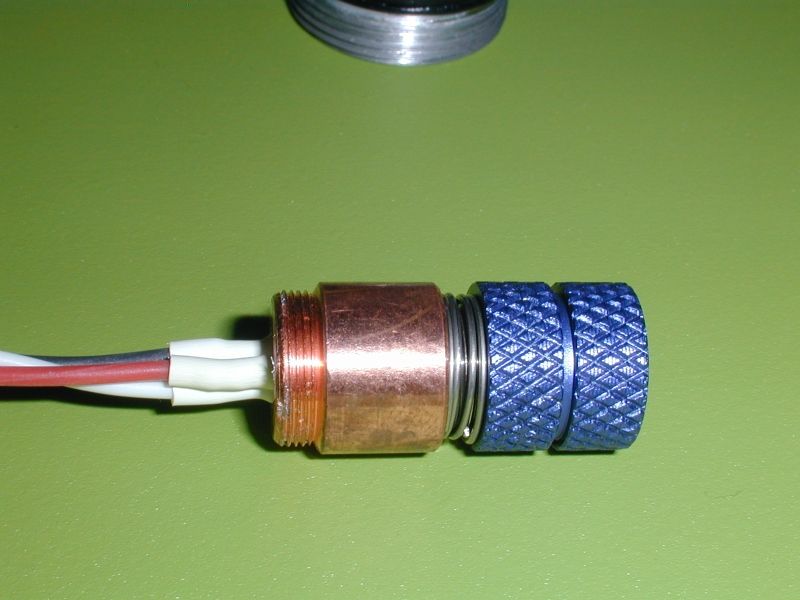
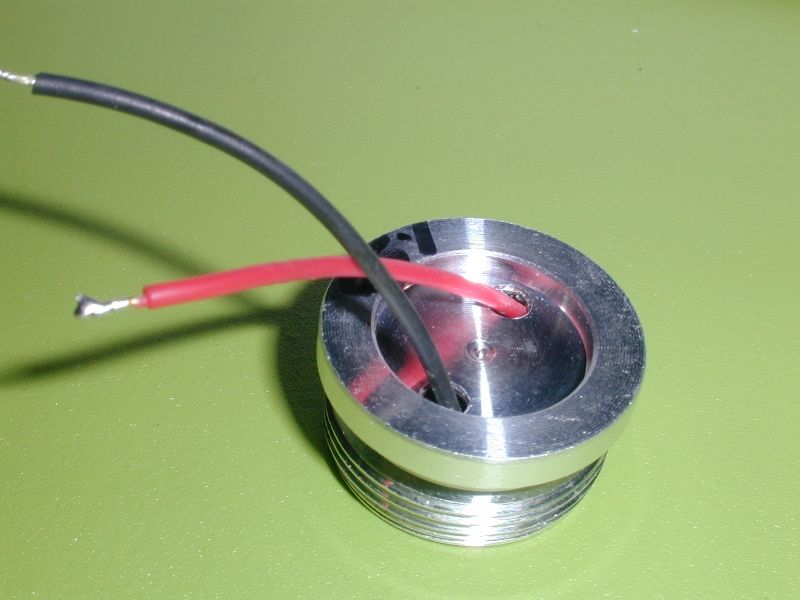
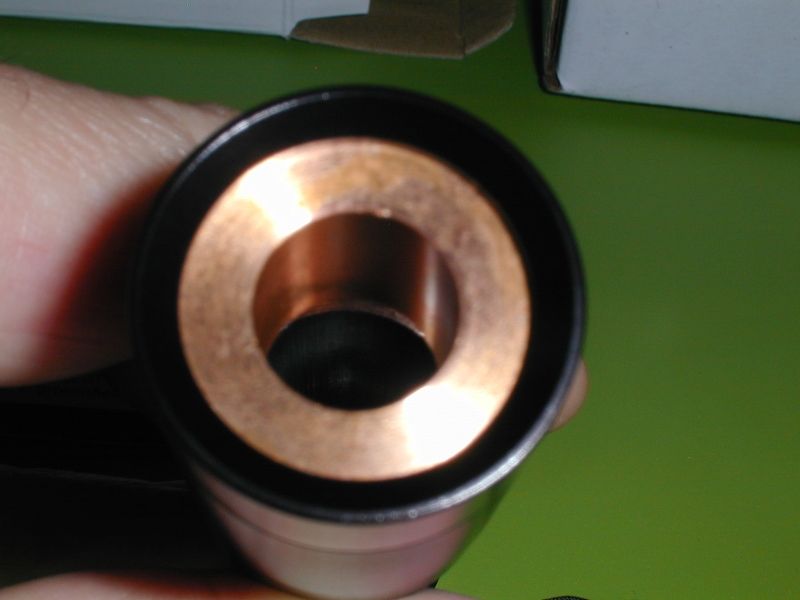
Module placed in the copper heat sink.
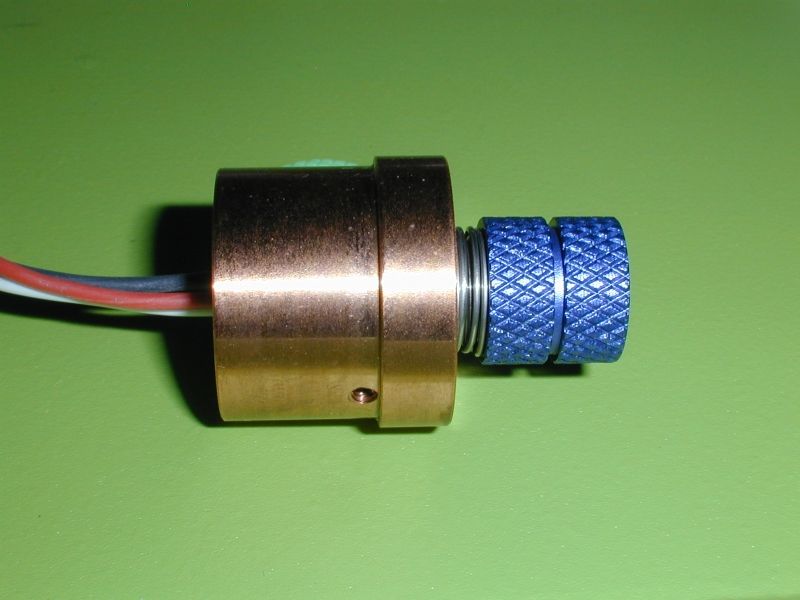
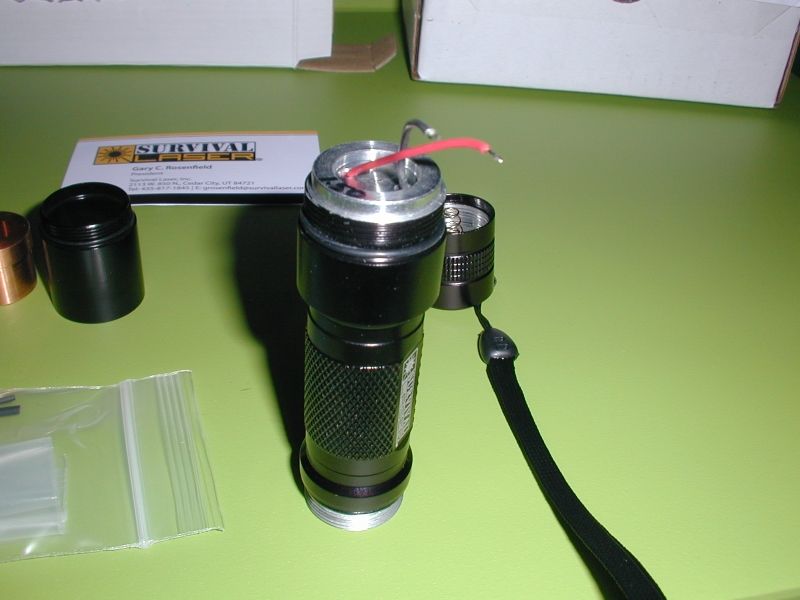
Ready to put it all together.
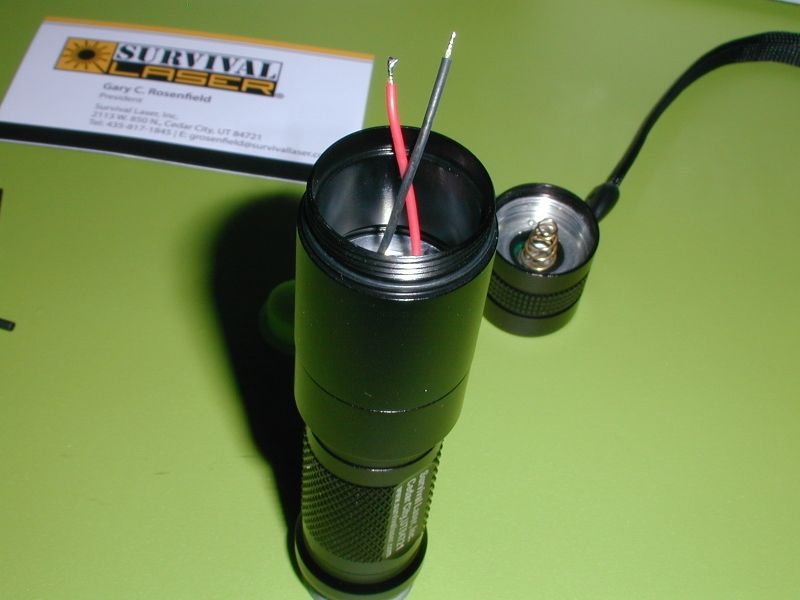
Wires soldered.
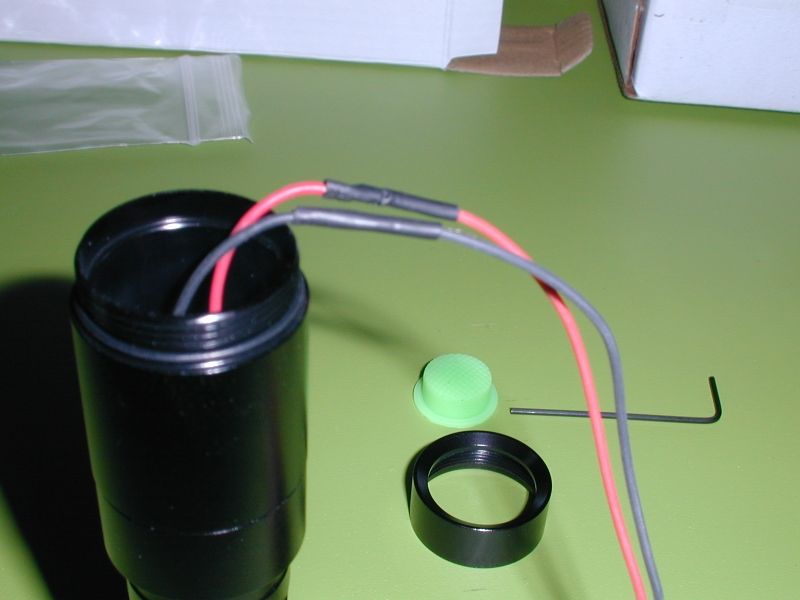
Almost done.
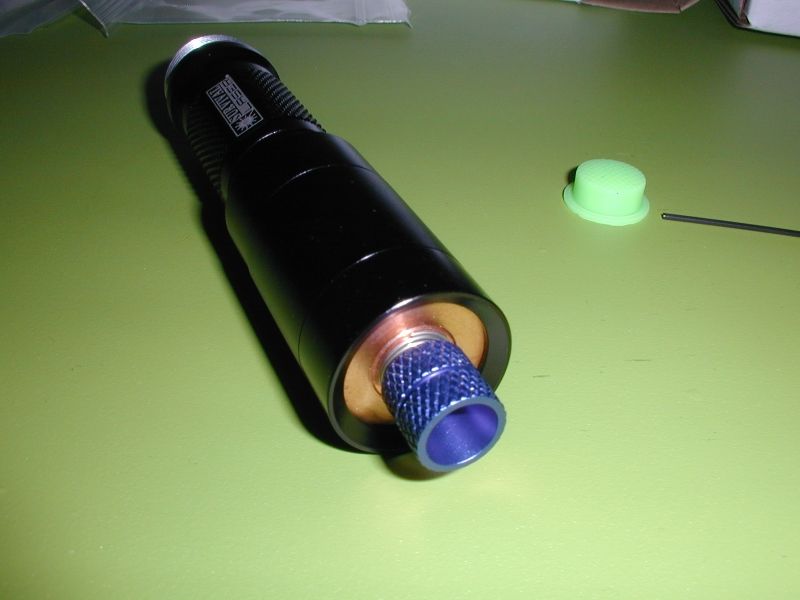
Ready to put the batteries in.
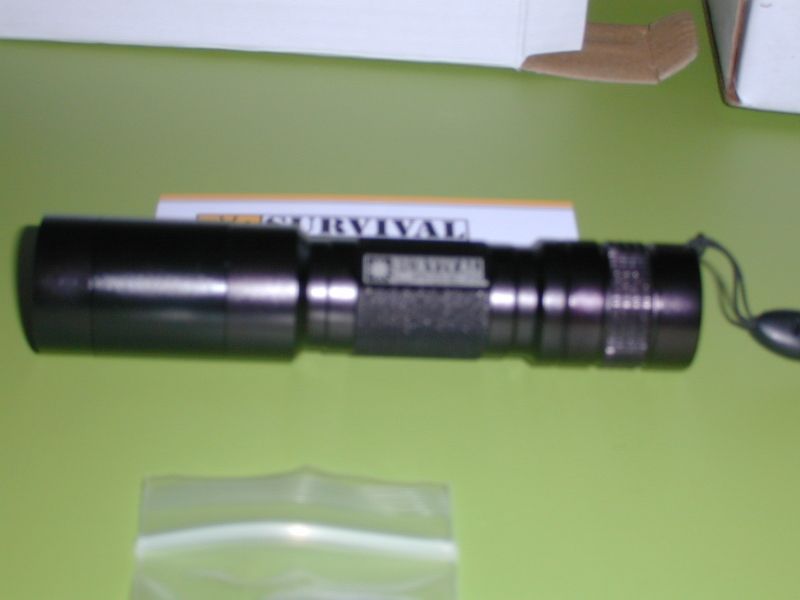
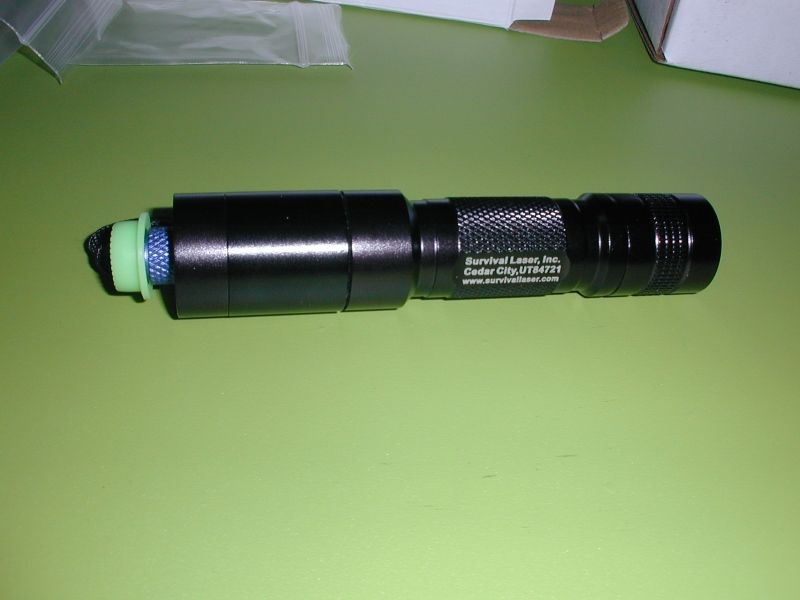
Finished.
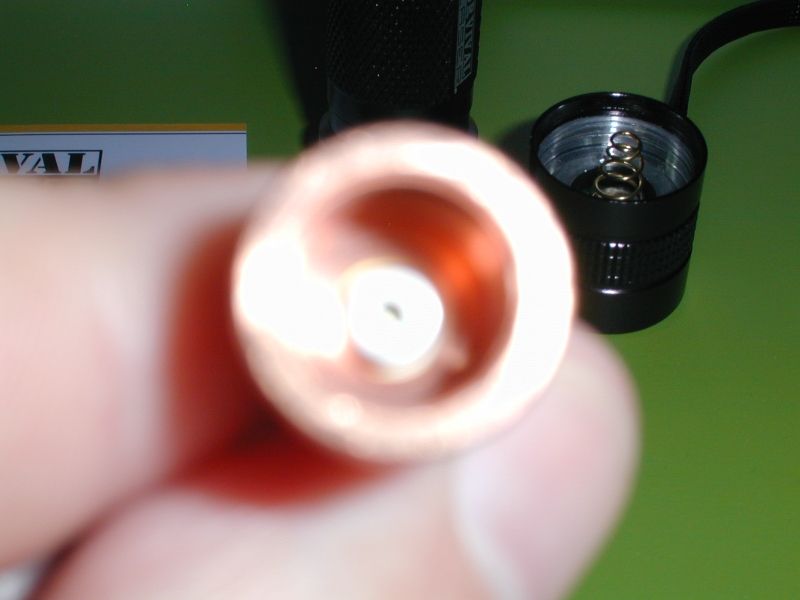
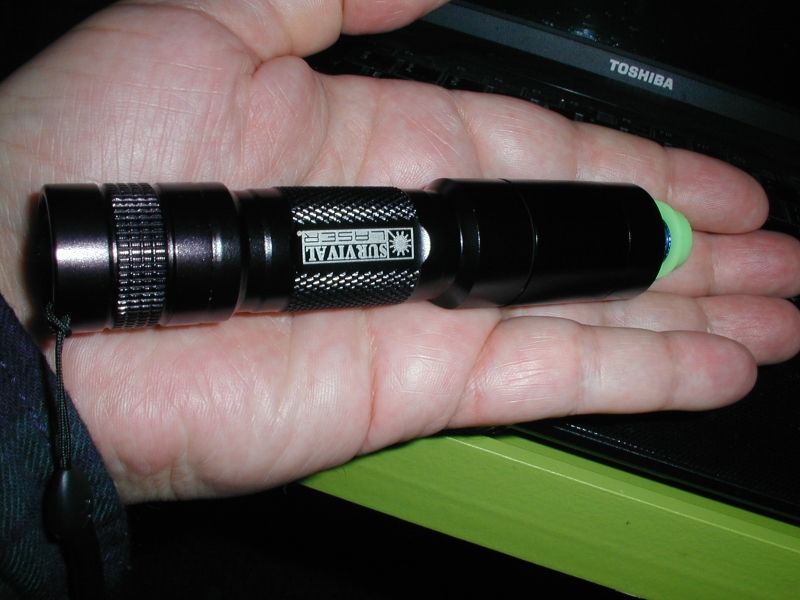
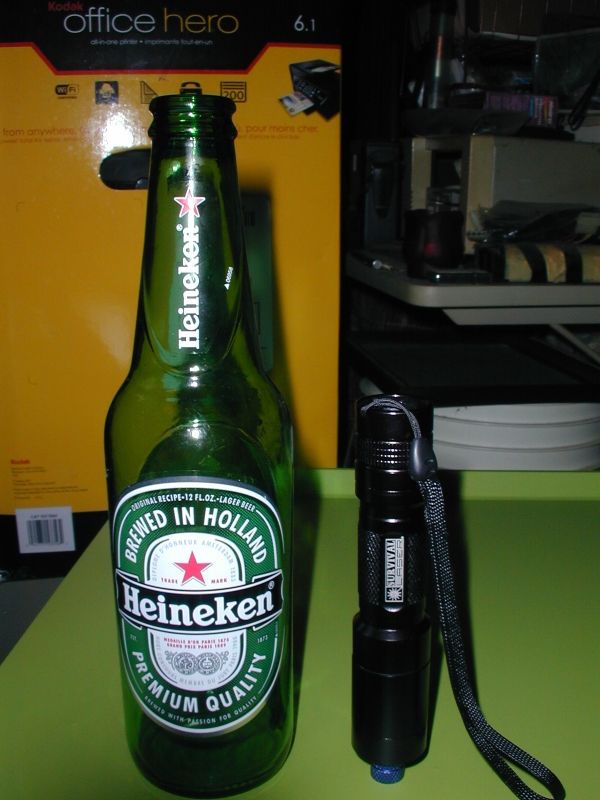
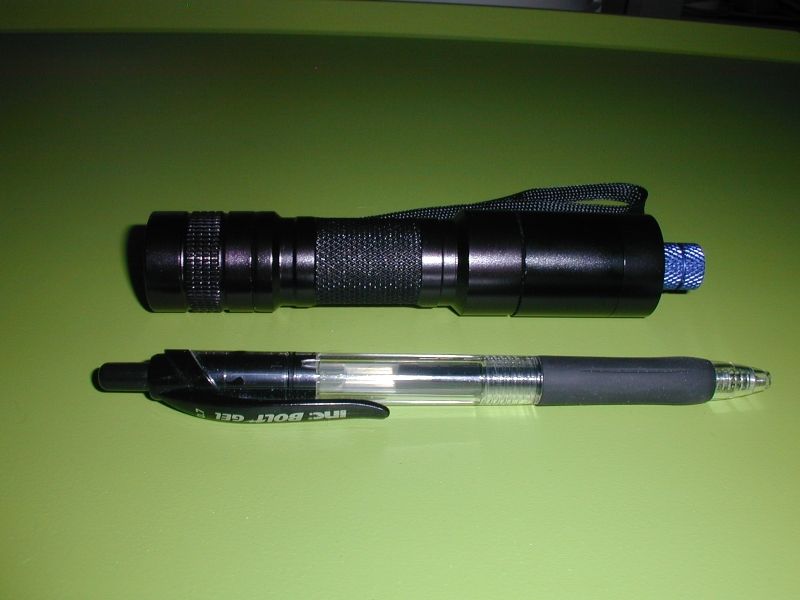
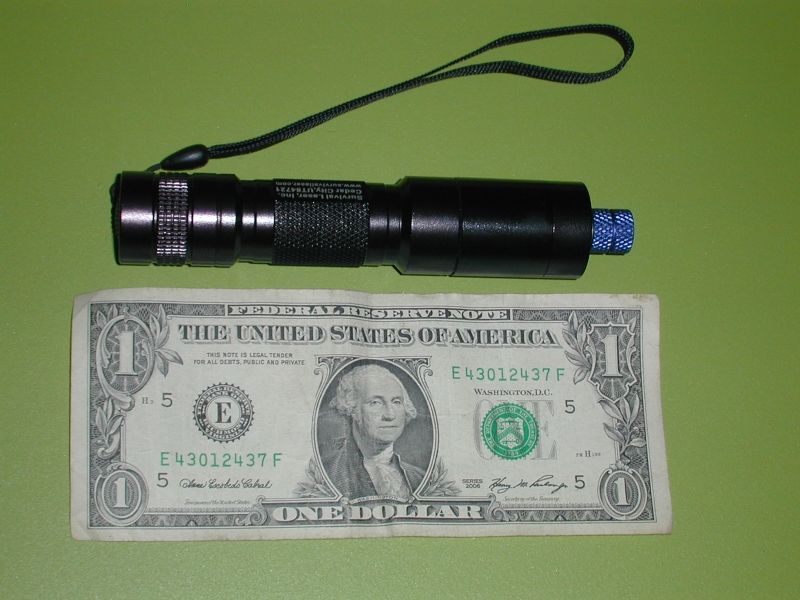
If you have never seen a C6 before, it really is quite small, I took some photos next to some things for scale so you can tell just how small it really is.
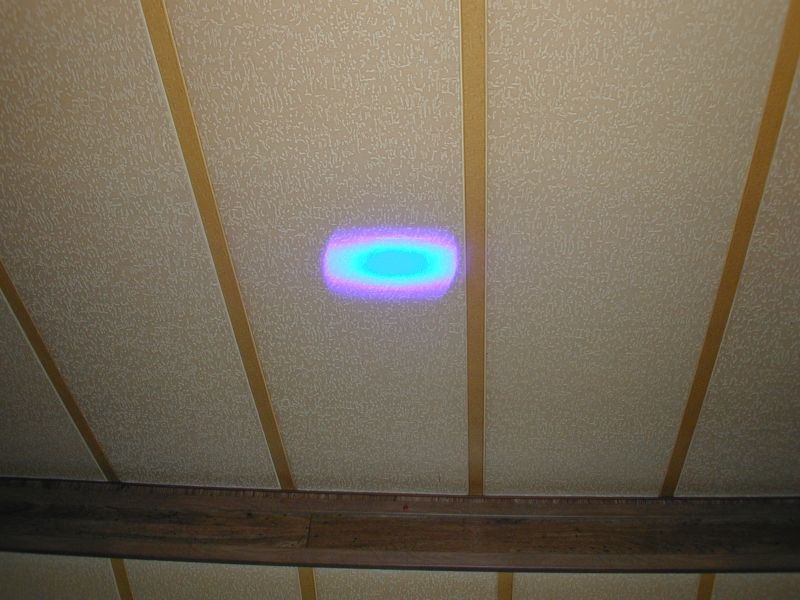
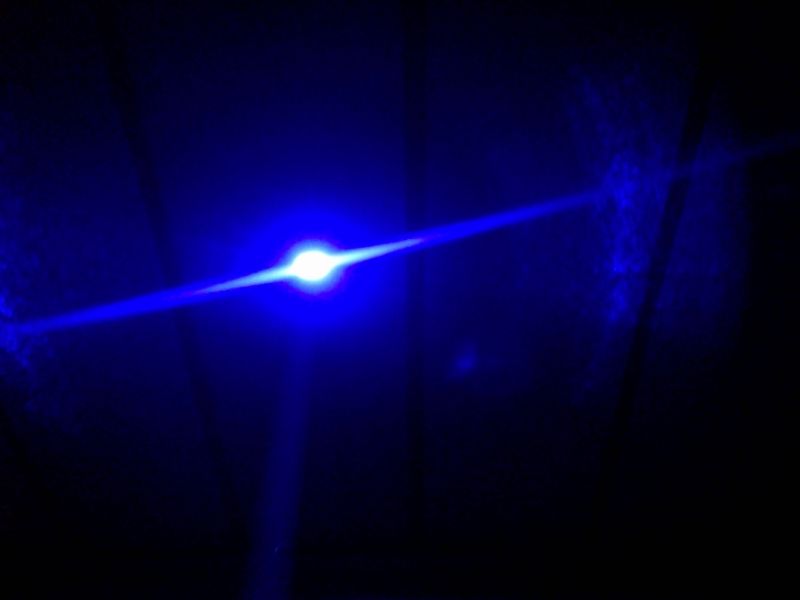
I tried to get some beam shots but didn't have much success. I tried with an older Nikon cool pix 800 and that just doesn't work well, so I tried my LG Optimus V and it still didn't work very well. I will have to experiment with a different location and lighting or maybe another camera. Here is what the beam is shaped like when unfocused. This was taken with the Nikon, the others are taken with the LG. You can see the color is wrong in the photo.
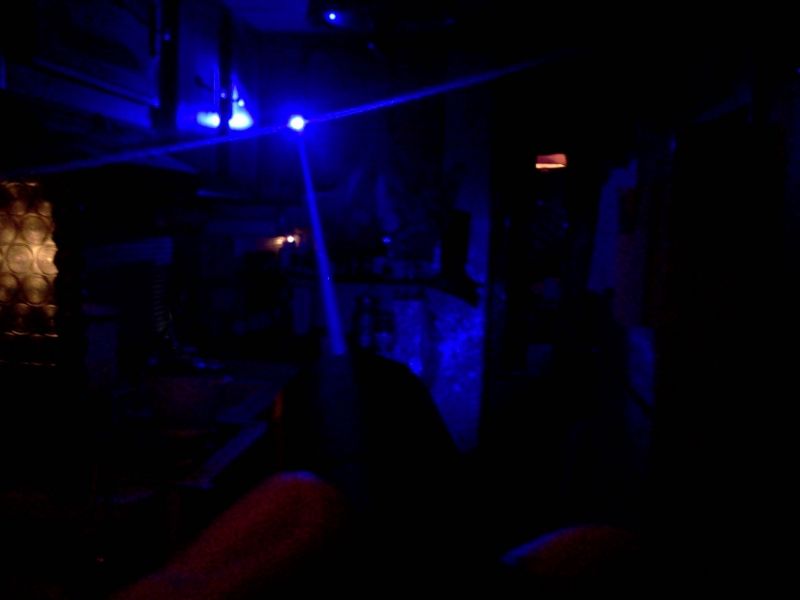
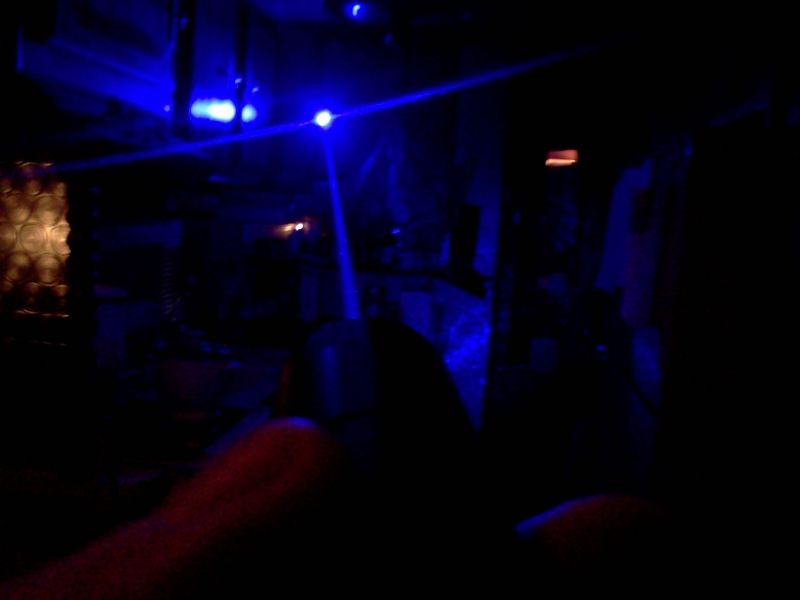
Two more also unfocused.

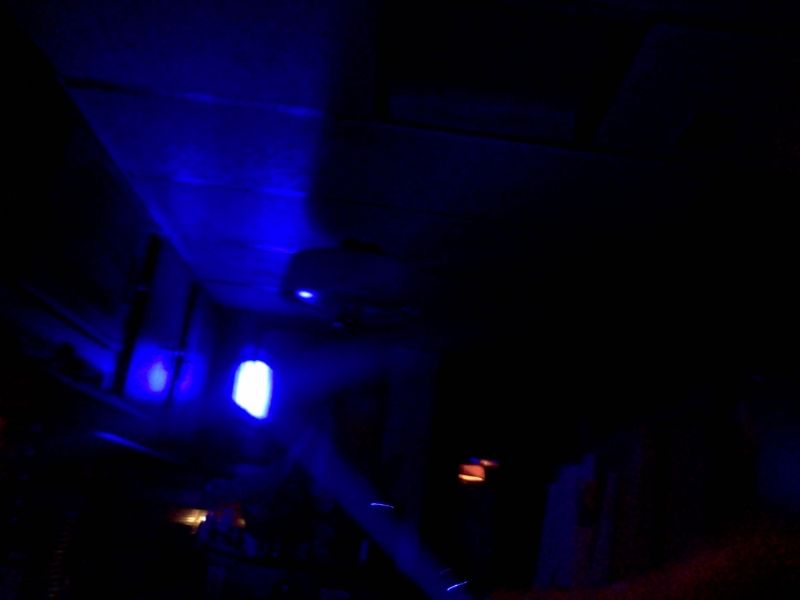
I don't know for sure what is going on in these three but there was no wings or line there, just a small dot. I suspect it was just too bright for the camera and maybe light is reflecting off the camera lens.
That's all. Thanks for looking.
Alan
Top right for $54. Here is a photo:
I then purchased from Survival Laser one of their no-diode host bundles, specifically this one:
Survival Laser 1.4 Host Bundle - Components Only- No Diode
and using a discount code I found here on LPF the total price shipped was $98.39 bringing the total cost of this laser to $152.39 not counting batteries. Not much of a DIY project, the driver and pill module is already put together and getting the diode already in a module then most of the work is already done for you. If you are assembling your first laser and don't want it to be too complicated then you can't go wrong doing it like this. Its just a matter of soldering together two pairs of wires and assembling a few parts. Its almost idiot proof, almost but not quite. For anyone handling a C6 host for the first time be aware that it is possible to assemble parts in the wrong order and twist your wires when screwing it together. Also it has the tail cap switch, when you first insert your batteries + side first and screw on the tail cap you don't know if it is on or off so please remember to point it in a safe direction first, and use your safety glasses.
If you are buying or building your first powerful laser I have to say that all the endless hundreds of photos and videos don't quite prepare you for what to expect when you see it in person the first time. I had a green laser that I thought was impressive because you could easily see the beam in dim lighting. Well that was nothing and I really mean nothing compared to this. I won't repeat here what I shouted when I first turned this on.
Here is a charger and batteries I found on Amazon:
They are protected 16340s.
The charger only fits 16340s, now that I think about it I should have got a better charger that fits multiple sizes.
Opening the box of the SL host bundle.
Well worth the price in my opinion.
The 1.5 Amp driver and pill assembly. SL also sells these separately for $34.99 or $19.99 for just the driver.
This kit also comes with: one 3-element 445nm AR coated glass lens, a blue anodized extended length focusing ring, an external lens spring, a glow-in-the-dark silicone rubber lens cap, an Allen wrench for tightening the heat sink set screw, and a small amount of heat shrink tubing.
Here are some more photos of the host and parts.
The M140 in the copper module from DTR.
Notice that DTR is generous with the wire leads, be aware that there isn't much room in a C6, if your wires are too long they might not even fit.
Lens and focus ring and spring added to the module.
Module placed in the copper heat sink.
Ready to put it all together.
Wires soldered.
Almost done.
Ready to put the batteries in.
Finished.
If you have never seen a C6 before, it really is quite small, I took some photos next to some things for scale so you can tell just how small it really is.
I tried to get some beam shots but didn't have much success. I tried with an older Nikon cool pix 800 and that just doesn't work well, so I tried my LG Optimus V and it still didn't work very well. I will have to experiment with a different location and lighting or maybe another camera. Here is what the beam is shaped like when unfocused. This was taken with the Nikon, the others are taken with the LG. You can see the color is wrong in the photo.
Two more also unfocused.
I don't know for sure what is going on in these three but there was no wings or line there, just a small dot. I suspect it was just too bright for the camera and maybe light is reflecting off the camera lens.
That's all. Thanks for looking.
Alan


 I too still need to do a "real" build. My first "real" build will be a labby i am going to sell (starting a business
  ). Anyway, it's great to hear you love your new laser and i hope you enjoy it for many years to come
 ")