Welcome to Laser Pointer Forums - discuss green laser pointers, blue laser pointers, and all types of lasers

LPF Donation via Stripe | LPF Donation - Other Methods

Links below open in new window

ArcticMyst Security by Avery

3W Menace

DTR

0
Joined
Jun 24, 2010
Messages
5,684
Points
113


3W Menace


Ok so I have had this host for almost a year now. I kind of shelved it as I have been pretty busy and have had little time for some reviews but I have been really wanting to build this unit. I know there have been other builds on this host but this one really turned out amazing.


Host


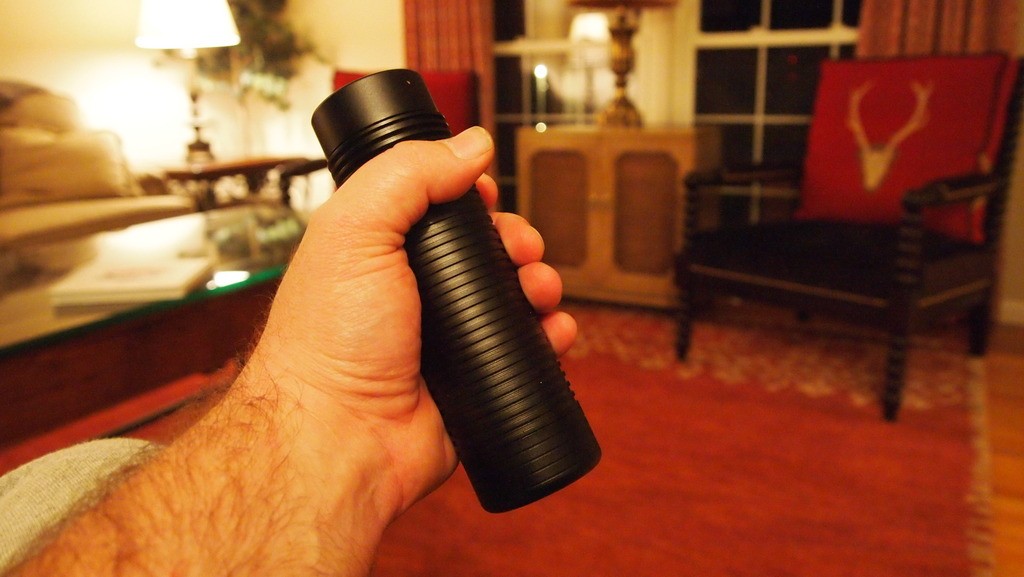
This host is massive. About the size of the Frankenstein host I built. Here are some quick shots of the body.

0iye.jpg


2zw4.jpg


wwd1.jpg


t86v.jpg


3tnx.jpg


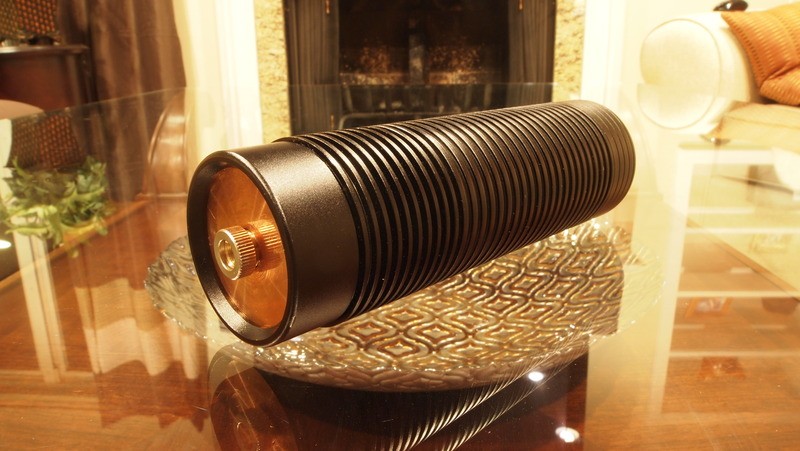
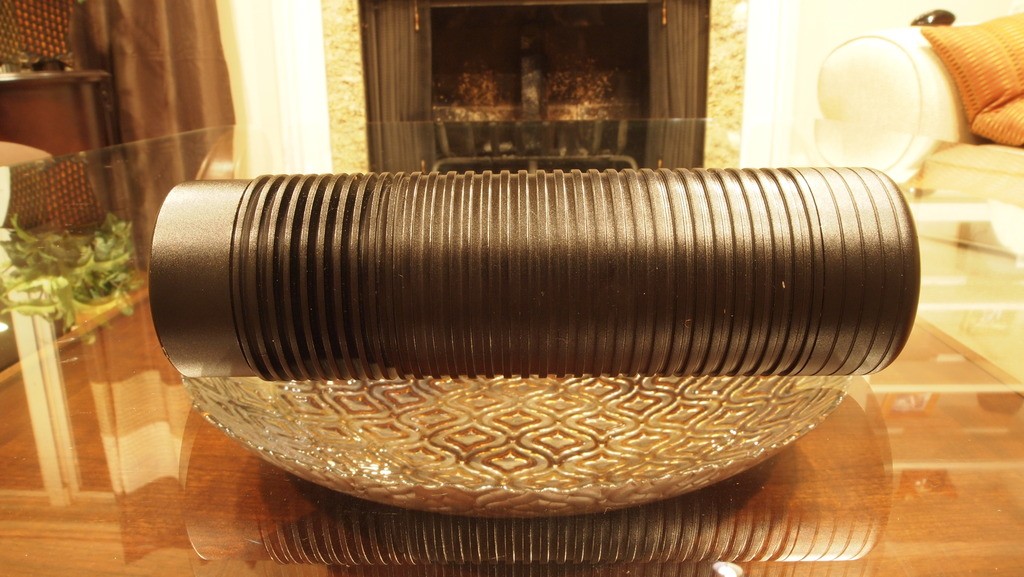
It has a great feel holding it. I know my bear paws don't really give a good judge of the size.

eoiu.jpg


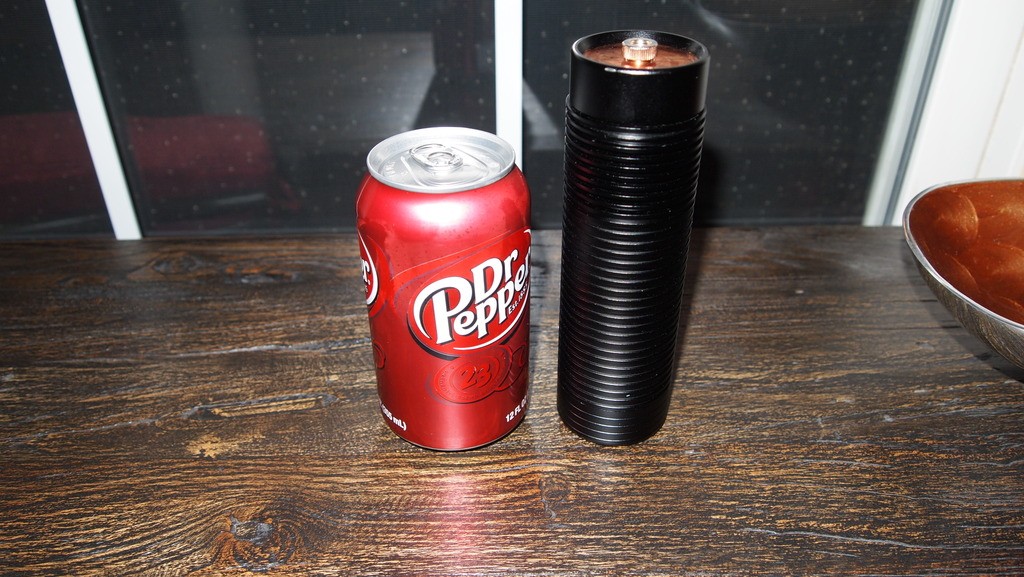
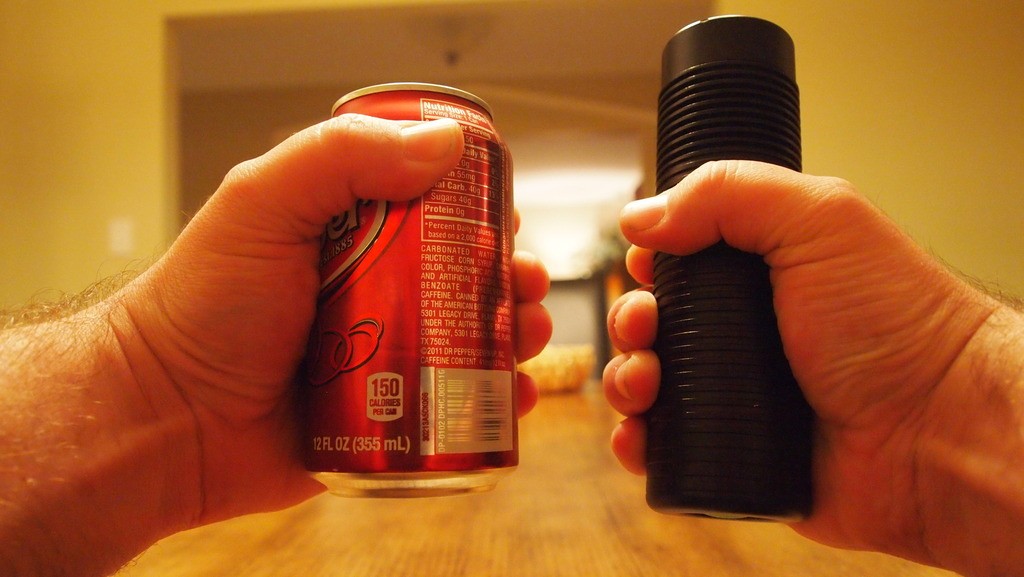
So here is my favorite soda can comparison.:cool:


h68m.jpg


9uny.jpg


Build


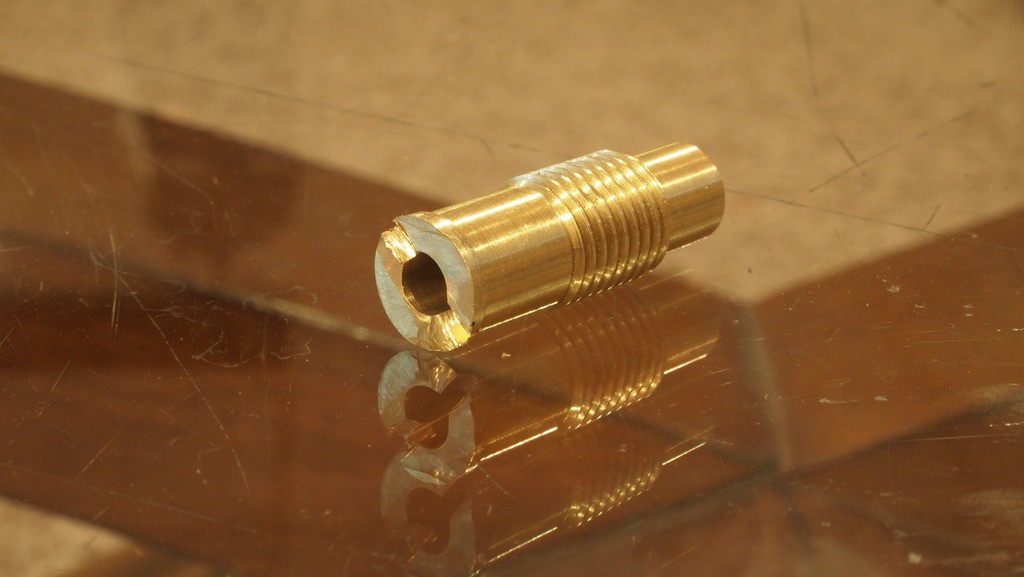
So I sent it off to Flaminpyro to fit for a heatsink and he suggested a full copper direct heatink for a 9mm. I agreed this build being my first in a while should go all out. When I got it back here is what I found.


2dze.jpg


I was amazed at the heatsink size. It weighs over a pound of solid copper. He also included a sweet press to keep the diode in place in the heatsink and it allows for some amazing heastinking on this diode.


xhgq.jpg


So I got a 9mm diode and placed it on the press to see how it goes.


w2co.jpg


I screwed it in to see how the diodes fits and it is a great fit but I noticed that I did not have much room left on the back of the heatsink for sticking the driver on with the press sticking out.


h4re.jpg


So I lopped off the end and put some slots in for a flat head to turn it.

qbmz.jpg


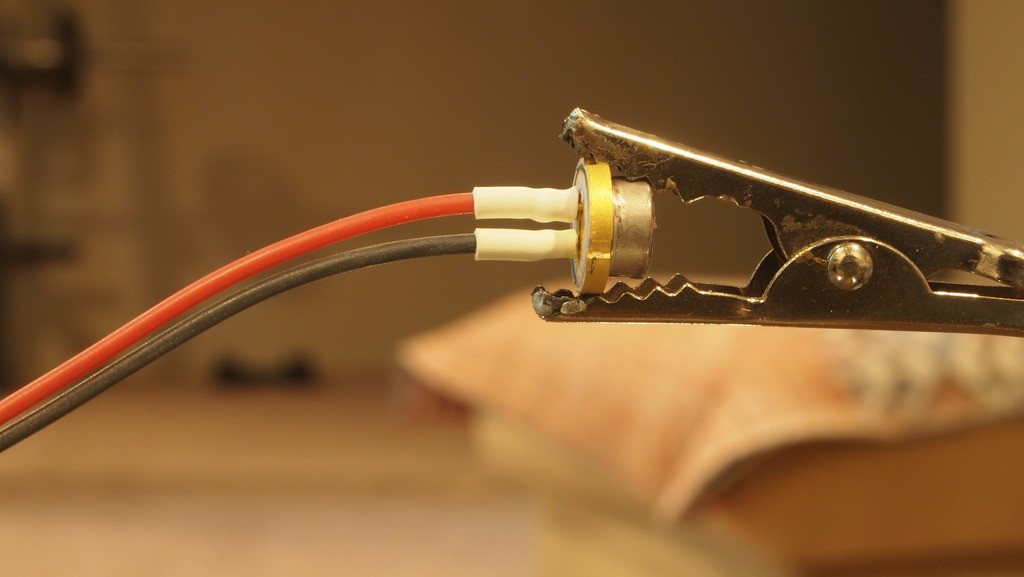
Next I added some leads to the diode.

0hyl.jpg


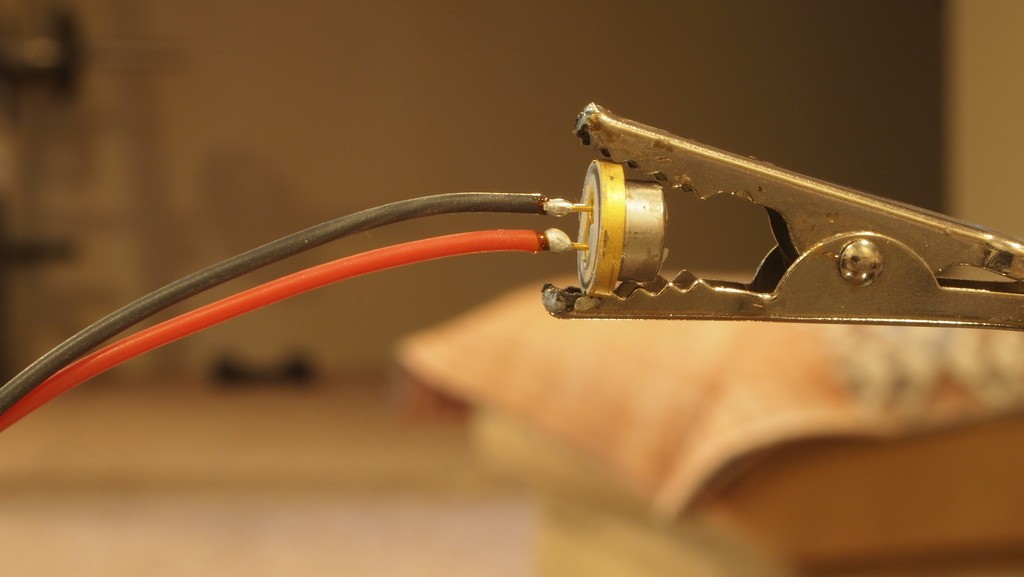
Then put some shrink tubing over the pins to keep them nice and protected.

hjvv.jpg


So now I put the unit back in the heatsink and screwed the press down tight on the diode. This leaves me some good space on the back of the sink to adhere the driver to.

2ron.jpg


Next I stripped the leads, added a small amount of flux and fed them though the driver holes. I am using an X-drive set to 2.2A. They X-drive is awesome. Low heat generation, very efficient and uses a soft start for long diode life.:D

vbp51.jpg


Next I soldered the leads in place.

cxrk.jpg


Came out nice and clean.

m16r.jpg


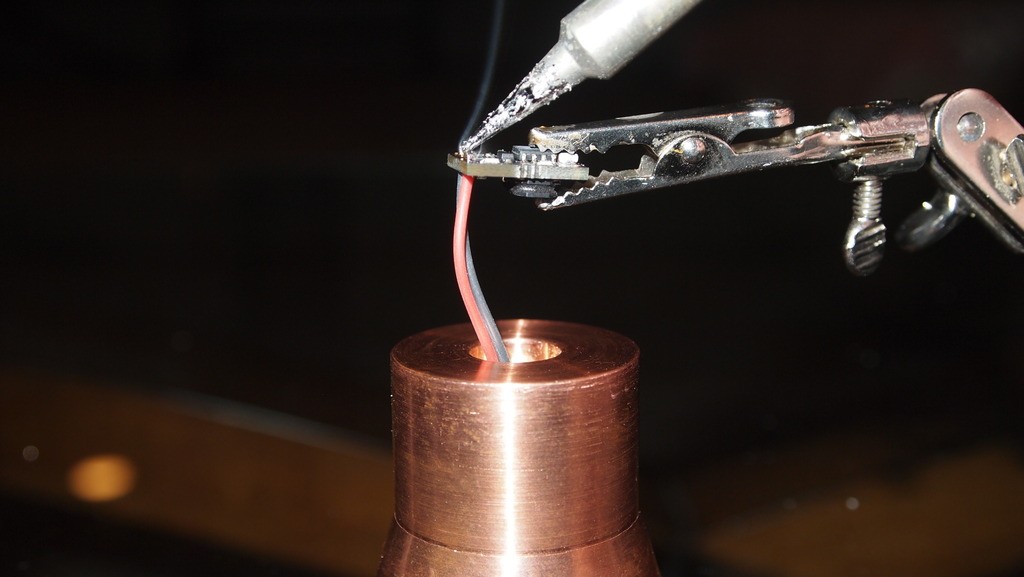
Next I soldered some leads on the driver input.

v6sx.jpg


And it is ready for sinking the driver.

y38b.jpg


So I got some thermal adhesive out. I am using Arctic silver. I usually just use the Arctic alumina as I think it does just as well for our purposes and it is much cheaper but this was all they had at microcenter when I ran down there. So I went with it.

znke.jpg


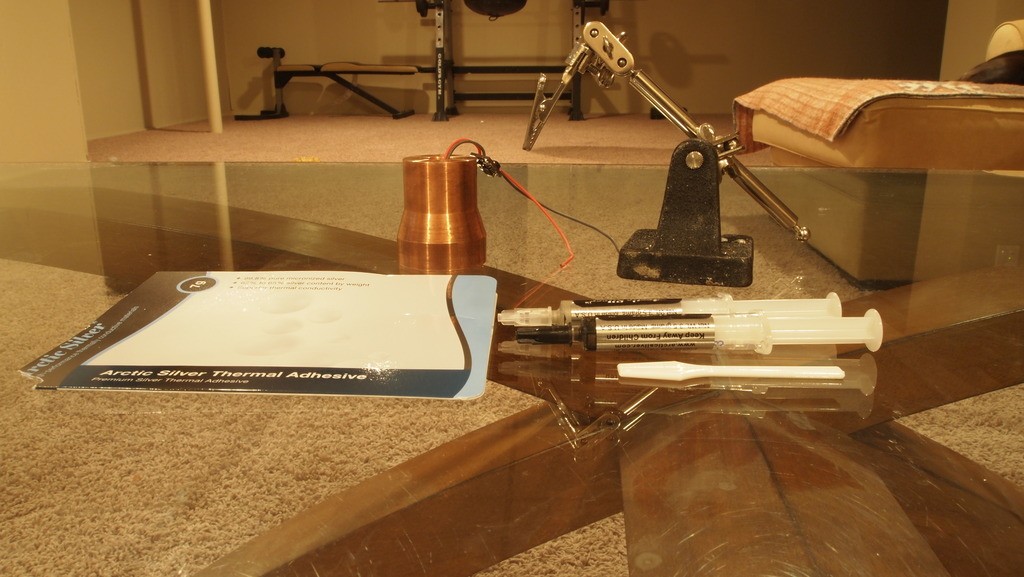
So I mixed up a small amount of the two part.

92mc.jpg


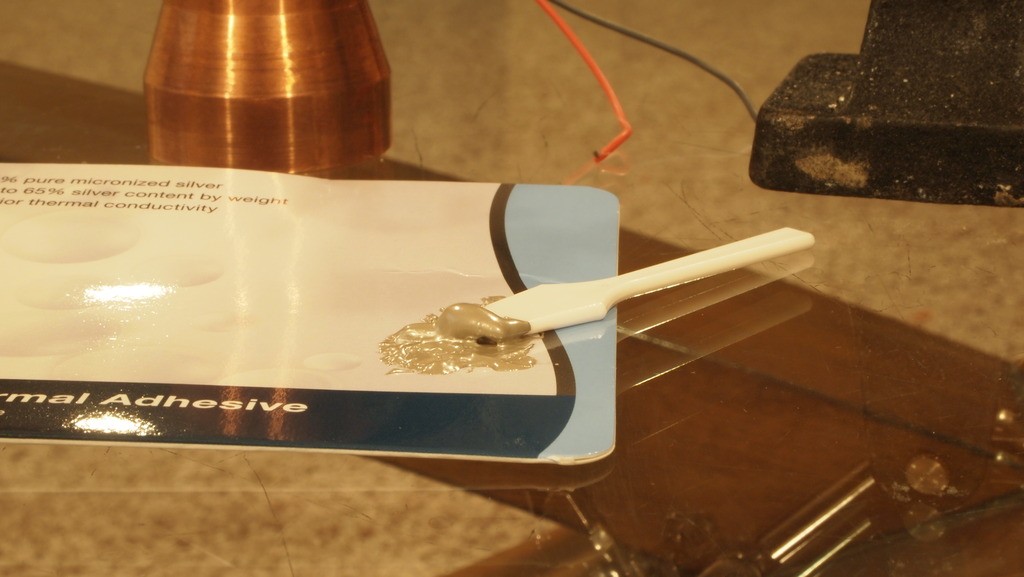
After mixing it up I applied a bit to the back of the heatsink.

vv32.jpg


I pressed the driver in place then used my helping hands to keep the pressure on it till it hardens.

ybpj.jpg


Gave it 15 minutes and I was good to go.

f76f.jpg


Next put the heasink in the head and it fit like a glove.

rsxf.jpg


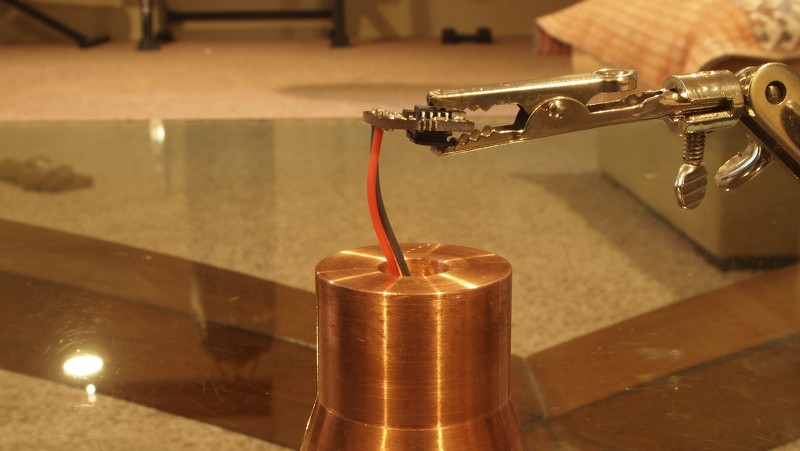
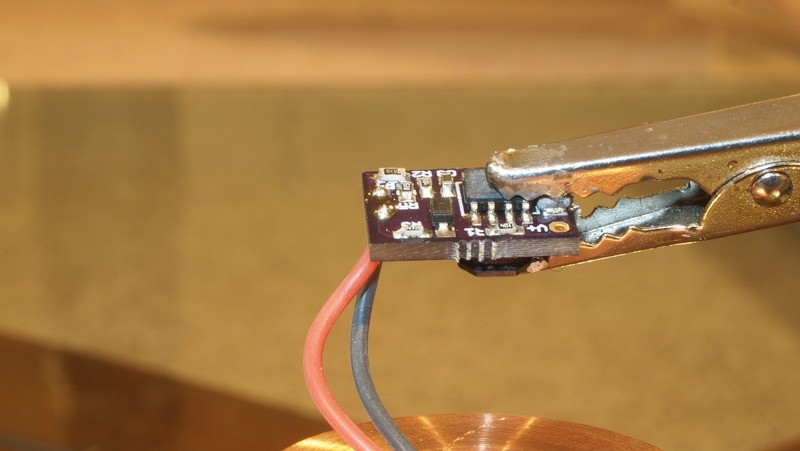
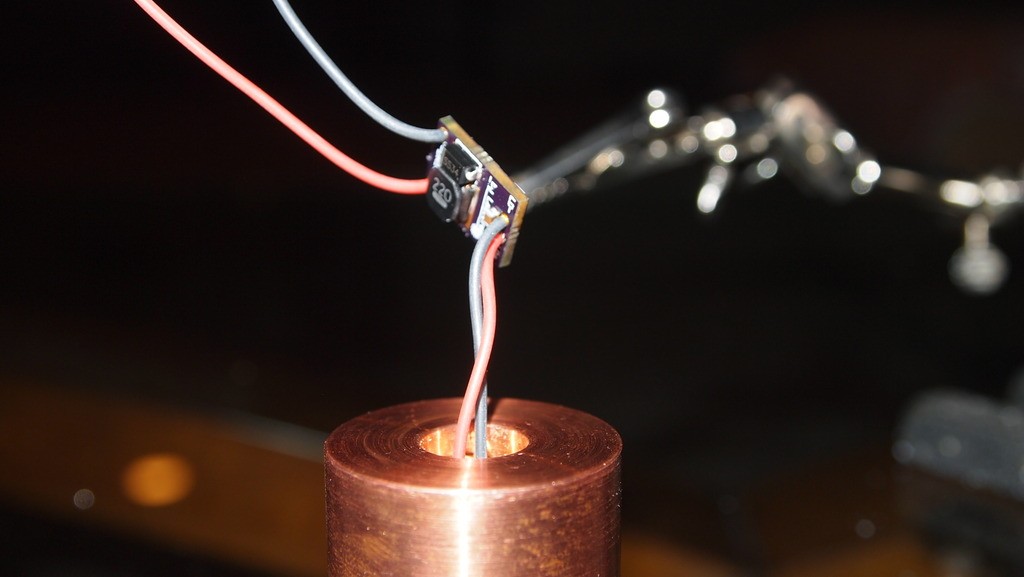
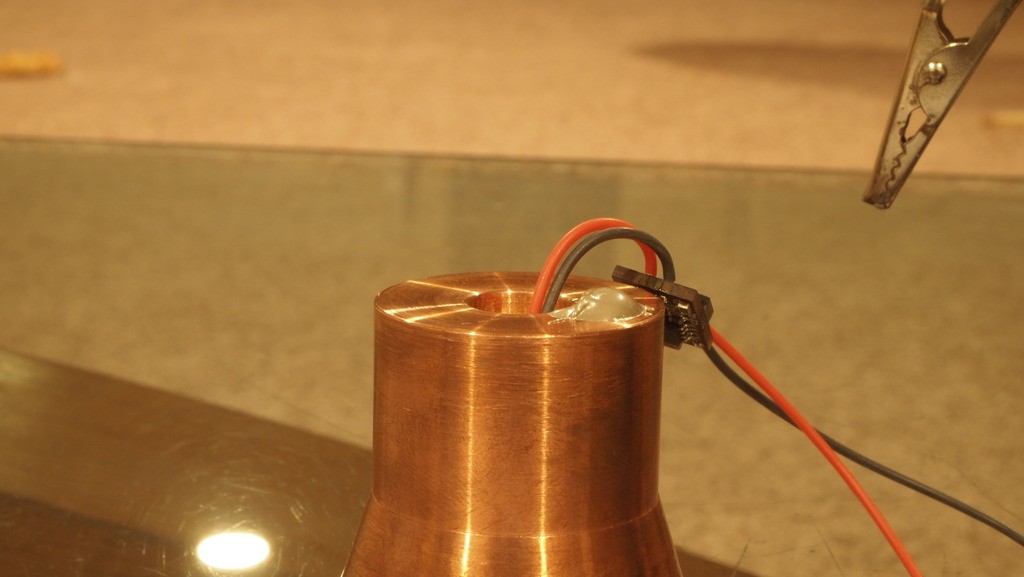
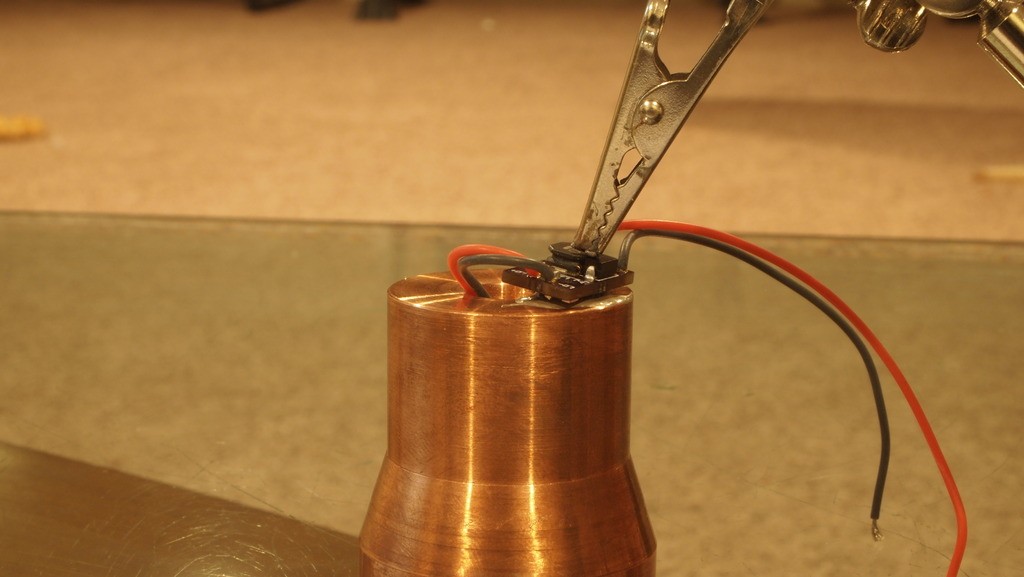
Now all that is left is the contact board. So again I stripped the ends of the leads, added a bit of flux and put the lead through the little holes for the wires.

wlpy.jpg


I put a bit of solder to secure the leads.

c3cn.jpg


nhjy.jpg


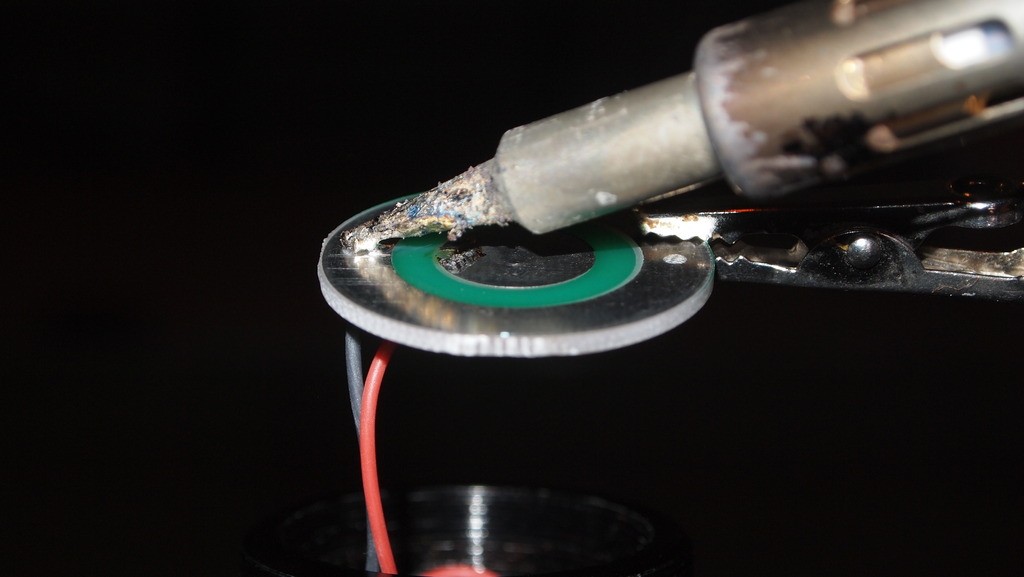
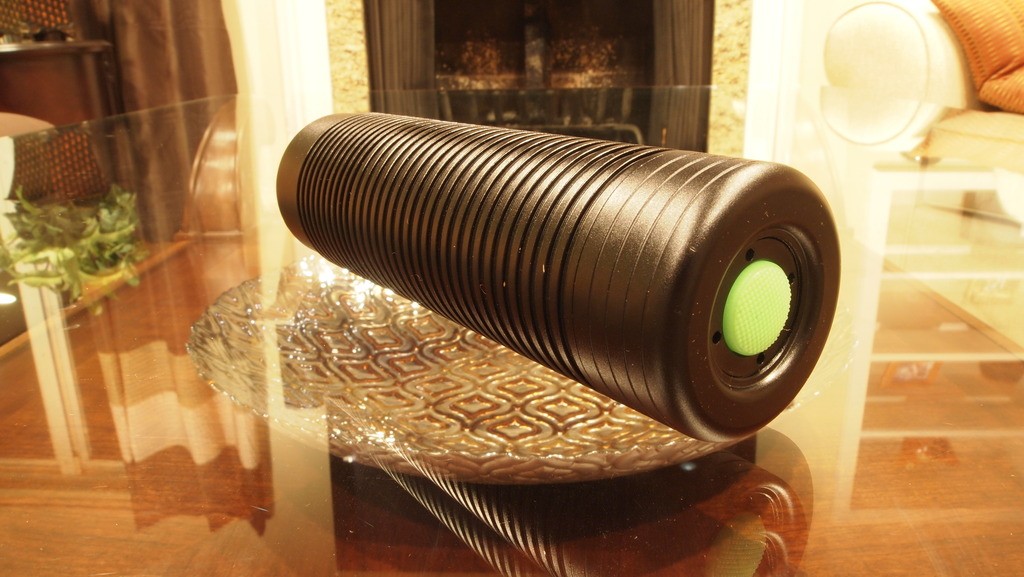
Now I am good to go and ready to seal it up.

x03w.jpg


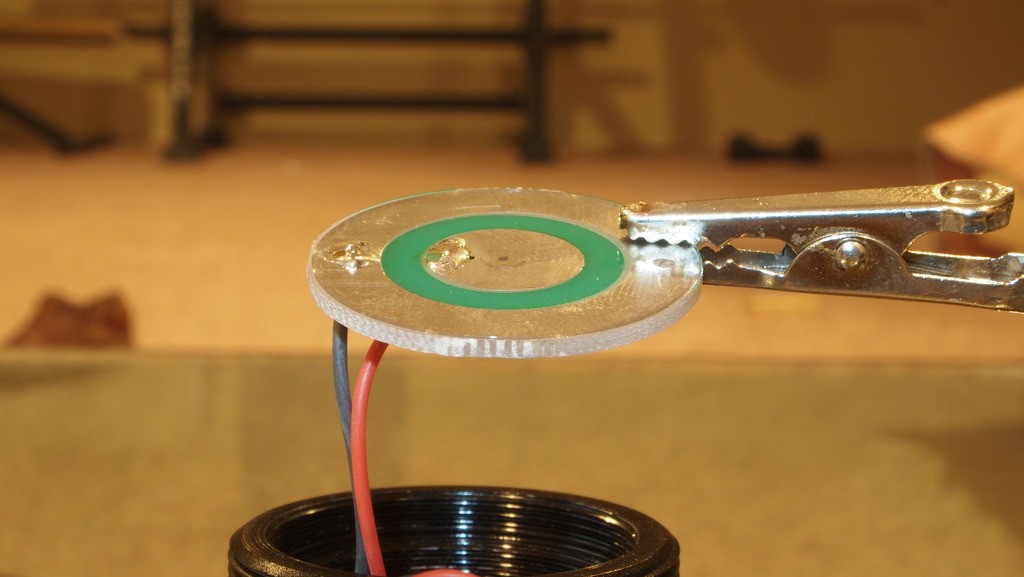
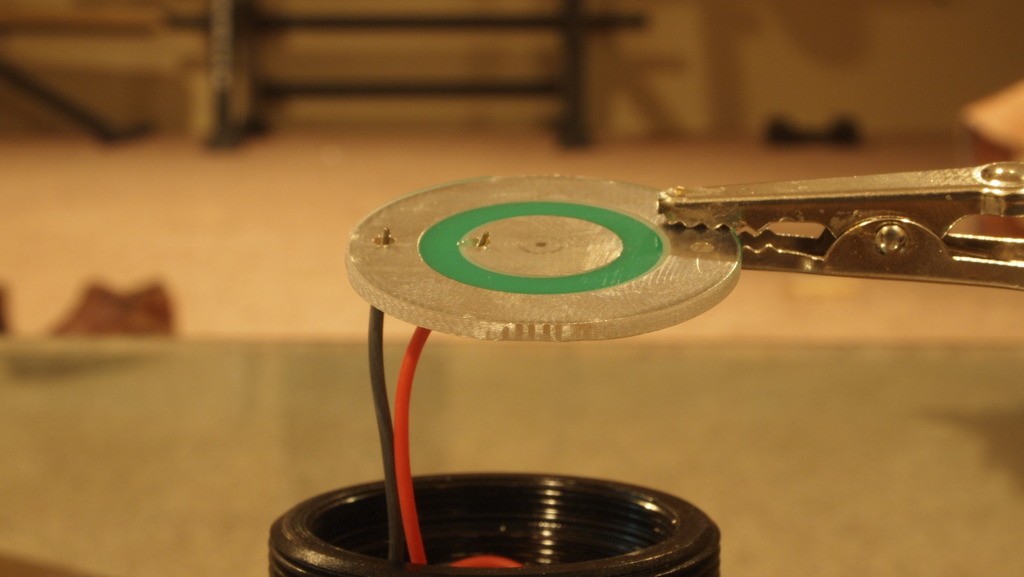
I placed it in the head.

u4ff.jpg


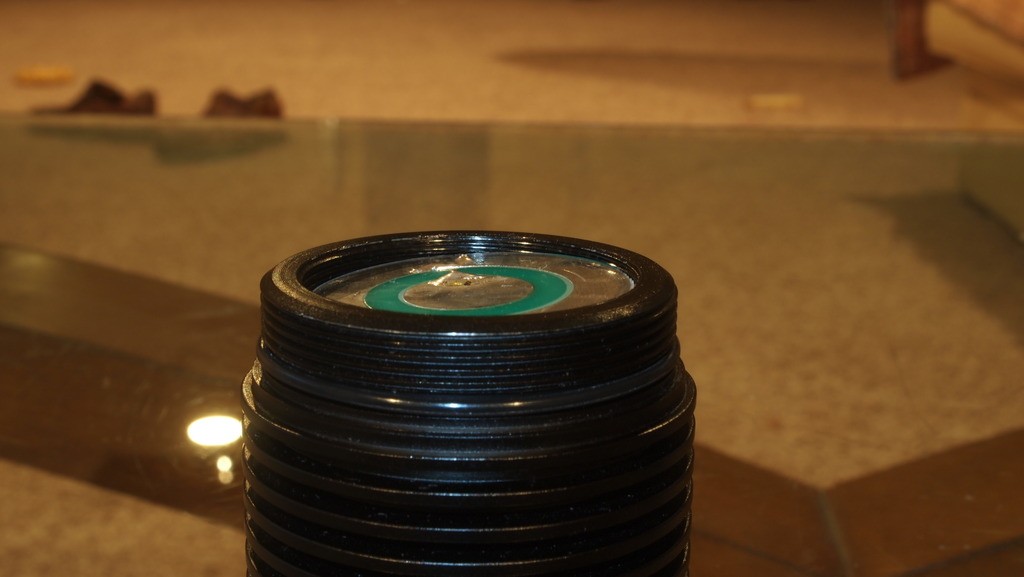
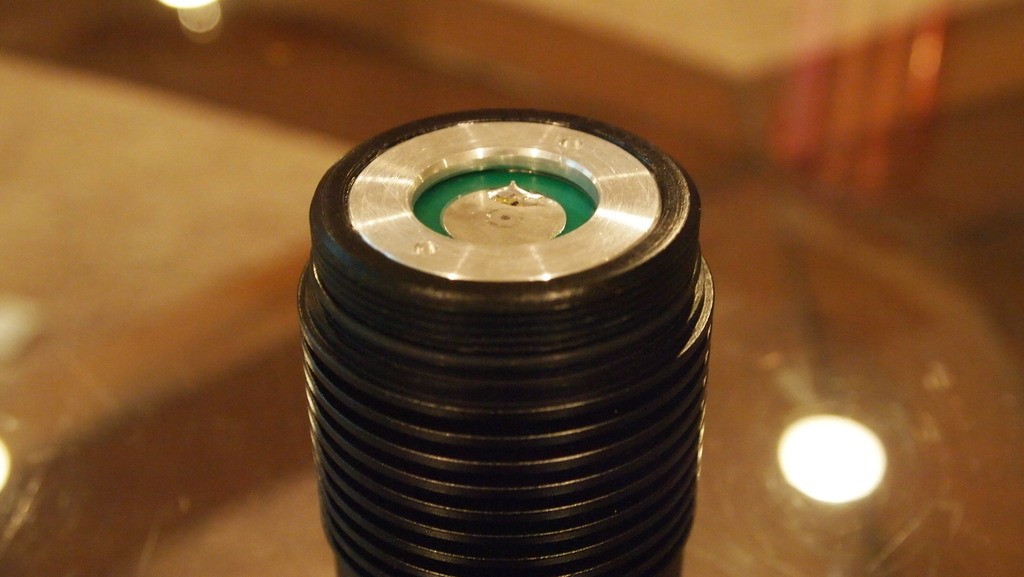
And tightend down the retaining ring.;)

230a18.jpg


Now here is the crazy part. I origonally thought the 3X18650 holder was wired in series but I quickly realized it was set up for parallel.

p1010077nl.jpg


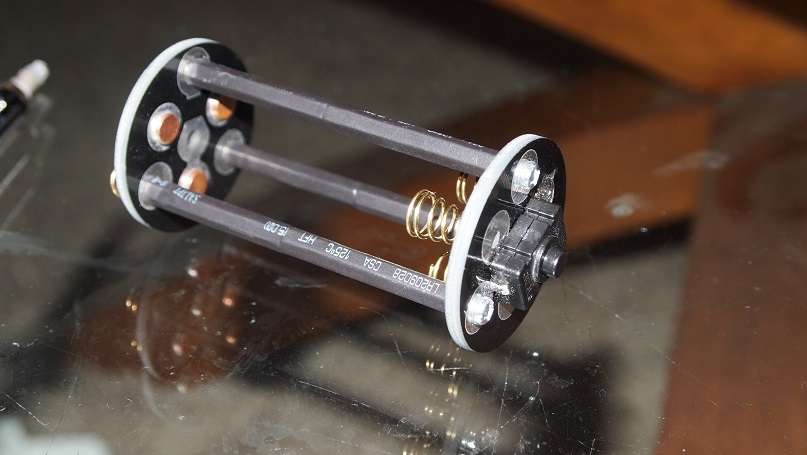
So I had to switch it up and it actually came out great. This host can now work of 2X, 4X or 6X 18350's. So I went with just two AW IMR 18350's I had laying around.
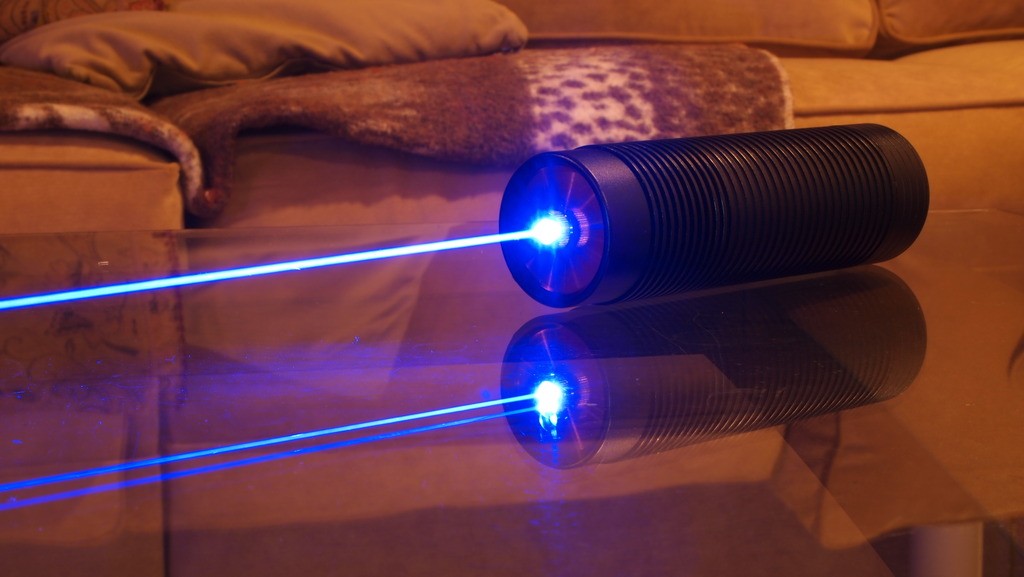
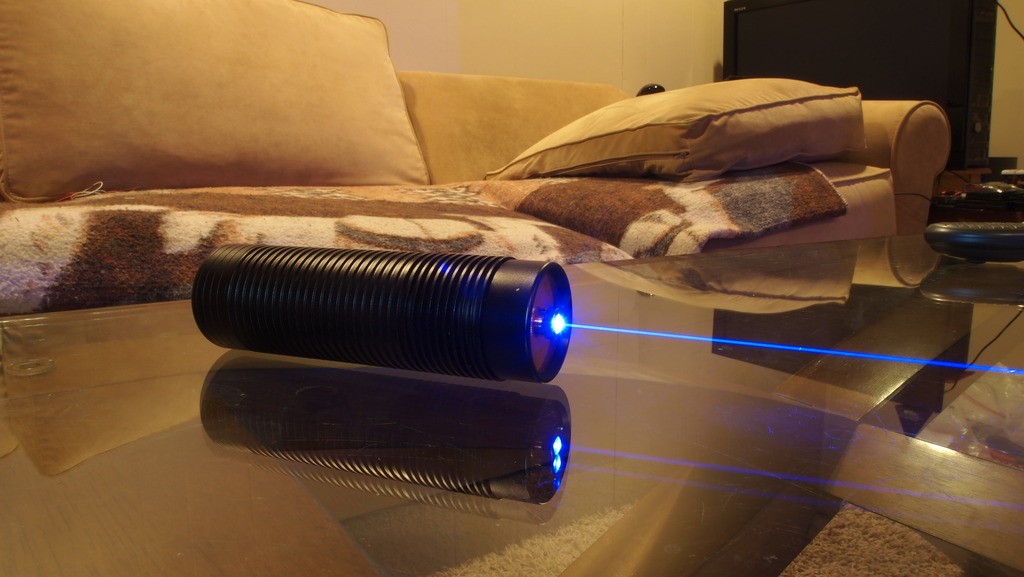


Power Test


So I put it all together and ran a test and I have to say this is the most stable laser I have ever seen and I am sure it all due to the amazing heatsink that Flaminpyro made for me. Check this out. 14+ minutes and only a 300mW drop in power. This thing is amazing and it has a peak just over 3W and this was not a cherry picked diode just a random pull plus it is using a G-2-LFL lens.:eg:


Conclusion


So I could not be happier with this unit. It has been a while since I have made a personal build and this one absolutely rocks. Massive, stylish powerful. 3W peak at 2.2A using a G-2-LFL you can't ask for more.

I give a lot of credit to Jeff(Flaminpyro) for the stability and peak power of the unit due to the great heatsink he made for this thing.

Anyway that is about it hoped you like seeing my newest build. Thanks for reading.:beer:


.


Last edited:


DJNY

0
Joined
Nov 2, 2009
Messages
5,991
Points
83
Glad to see one of these threads of yours again I loved to read 2-3 years ago.

Interesting to read, great pics, awesome built :beer:
 
Joined
May 4, 2009
Messages
5,443
Points
113
Yes it has been a while since we heard something like this from you old man and it was well worth the wait, 3W for 14 minutes that's got be a record breaker :gj: +3 if I can :D

You always have the best pictures and that's what makes a good review, good one you man for another fine review.

And thanks for the kind words :beer:


Glad to see one of these threads of yours again I loved to read 2-3 years ago.

Interesting to read, great pics, awesome built :beer:
 

Blord

0
Joined
Dec 24, 2007
Messages
5,356
Points
0
That is a nice and clean build. Thanks for showing us the build !
The copper sink is surely massive and the one pound weight is impressive.
 
Joined
Sep 20, 2008
Messages
17,622
Points
113
Nice build DTR...
I'm very impressed with the detailed assembly pics.
Could even be in the Tutorials section for building a
Laser.


Jerry

You can contact us at any time on our Website: J.BAUER Electronics
 
Last edited:

sinner

0
Joined
Oct 27, 2011
Messages
2,565
Points
83
This thread is so relaxing to the eyes, DTR :beer: Great build once again..

+1
 

toutan

0
Joined
Dec 1, 2010
Messages
202
Points
28
A very splendid host.

Mr. Flaminpyro makes a very good heat sink.

I like lasers using the copper heat sink.

 
Joined
Feb 10, 2013
Messages
2,125
Points
63
Most impressive, DTR! Well done indeed, and props to Jeff. I cannot wait until my copper heatsink is finished!

Not to thread steal, but the 405nm I got from you is purring beautifully at .498A! Now, if the USPS will just get your 445nm to me! You are a great and kind vendor here and your help is priceless.
 
Joined
Jan 8, 2009
Messages
3,145
Points
83
Yeeaay, Jordan is back to builds:wave::wave::wave: and an epic one at that, good job my man,:drool: looking good Jeff. One thing, I know how tempting it have been to put that driver on the sink, but as u already know you will have to pull that driver off to get the diode out... not that you will ever have to.

Also, as you already know mixing those batt. especially at that current draw :eek:could end badly. I love the big boy for a host, best flashlight host for a big scary laser. Your going to have the same problem I did.... putting it down;).

Rep incomming, sweet job. That thing is totaly gnarly:beer::beer::beer:

edit: rep when I can, sorry brother.
 
Last edited:

BowtieGuy

0
LPF Site Supporter
Joined
Oct 14, 2012
Messages
6,090
Points
113
That's a mighty fine looking build DTR ! :beer:
Especially when you throw in a 1lb. "Menacing" sink. It's like getting a mini work-out every time you use it. :yh:

I agree with laserbee, with those great pics and step by step build process, this would make an excellent tutorial.

A +1 for a super job.

:gj:
 

DTR

0
Joined
Jun 24, 2010
Messages
5,684
Points
113
Thanks guys. It has been too long. I have found it so hard to get the time to build anything for a long time but this is what I really enjoy most and is why I started down this path.

This was not really a very complicated build. Actually it was pretty easy compared to some that i have done with extreme modifications needed and most the bigger ones are pretty easy as you are not trying to pack everything in a really confined space.

I do have a few units that I have shelved because I just did not have the time but I hope to try to do one every month or so going forward as it relaxes me building an entire unit instead of press diode, add leads, put lens in, package and ship a few million times in a row.:horse:

I need to let my creativity out every once in a while or I could loose my mind and I am going to try to get back to that.:tinfoil:


Also these reviews/tutorials I do pretty much qualify for both categories as I am reviewing the parts I buy like the heatsink, driver host, etc... and they are a tutorial with step by step instructions. So I post them in the reviews and they are listed in my sticky in the tutorials sections so you can go both places and find them. As you see I have added this as the first in my thread.:)
http://laserpointerforums.com/f51/d...difications-compilation-53944.html#post759223


Hey that is an awesome SAIK you got there. Bet that thing sucks the heat right out of the room when you step through the door with it. Jeff does make some awesome sinks and he loves his copper.:beer:


Yeeaay, Jordan is back to builds:wave::wave::wave: and an epic one at that, good job my man,:drool: looking good Jeff. One thing, I know how tempting it have been to put that driver on the sink, but as u already know you will have to pull that driver off to get the diode out... not that you will ever have to.

Also, as you already know mixing those batt. especially at that current draw :eek:could end badly. I love the big boy for a host, best flashlight host for a big scary laser. Your going to have the same problem I did.... putting it down;).

Rep incomming, sweet job. That thing is totaly gnarly:beer::beer::beer:

edit: rep when I can, sorry brother.


Thanks brother I hope I am back. Yep I should put a warning about mixing cells. It is what I had on hand and wanted to finish the review/tutorial. Actually after the 14 minute run the ultrafire battery was so damn hot it melted the cover on it.:crackup:

And the AW was only mildly warm and I think it was just from sitting in contact with the ultrafire. Need to get some more AW 18350's.:D
 
Last edited:

Cel

0
Joined
Jan 28, 2012
Messages
742
Points
28
This is overcool/kill! Too impressive... You did a great job! That heatsink...


Top