

- Joined
- Jun 24, 2010
- Messages
- 5,705
- Points
- 113
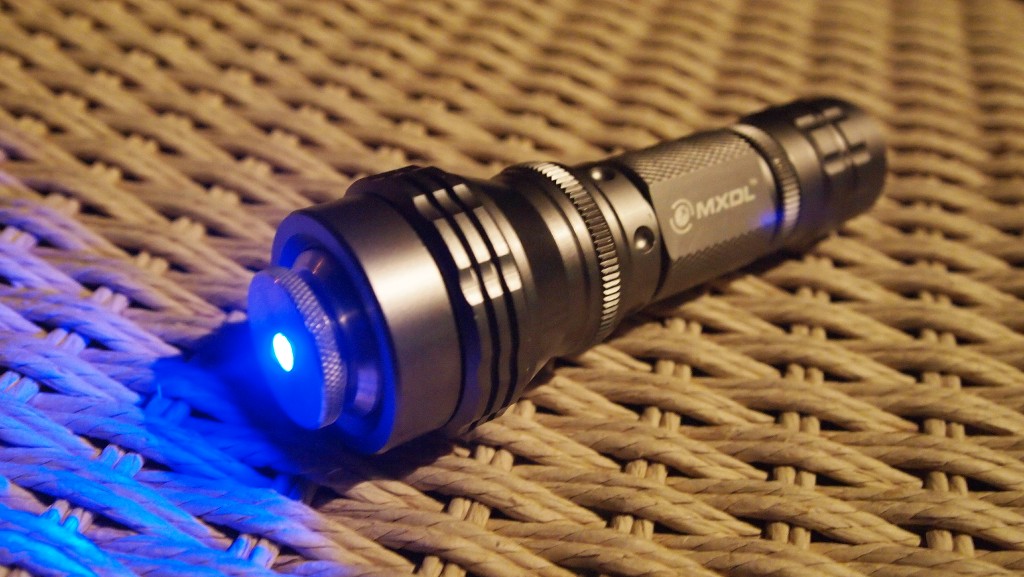
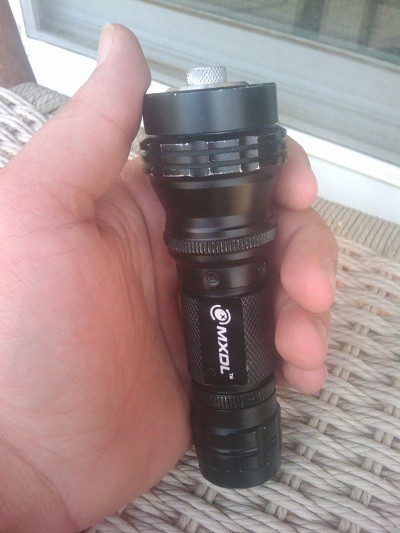
Alright Guys meet the big brother to the Beast.
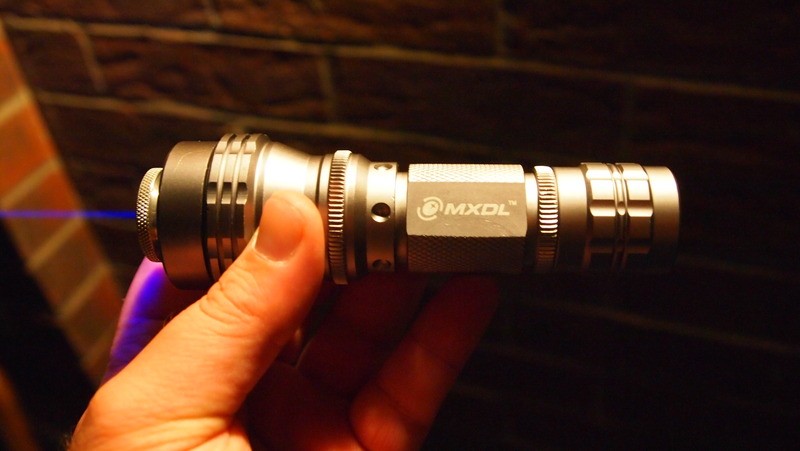
This is another great host from Jayrob LINK. It is a 3405 MXDL host with a very large heat sink on the driver. This unit is set to 1460mA and puts out a peak of 1635mW.
Also if you would like to see more of my reviews and tutorials please visit my compilation page.
http://laserpointerforums.com/f51/d...ting-compilation-thread-56450.html#post797151
----------EDIT----------
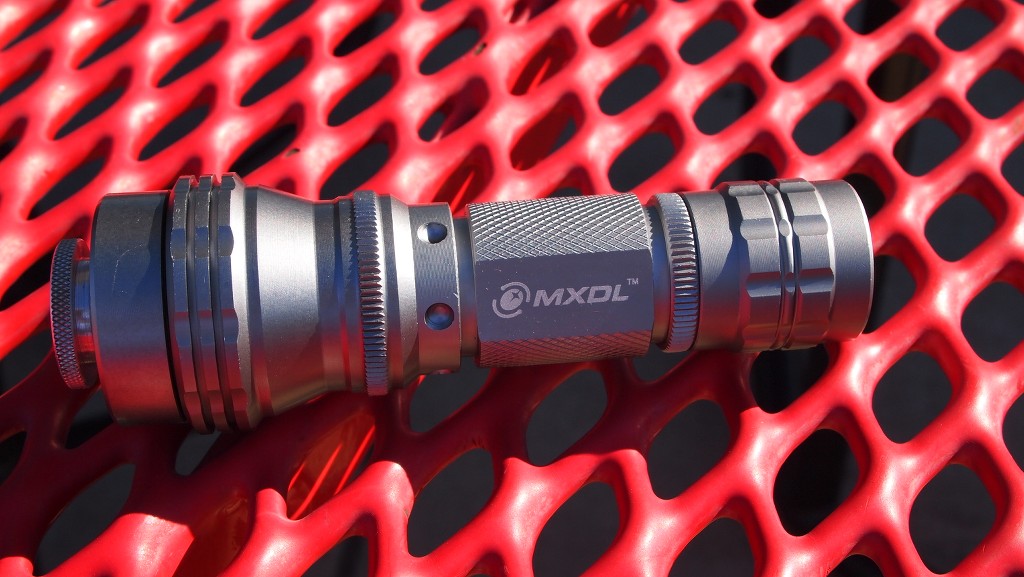
I have recently moved this unit into a silver MXDL. Just had to unscrew the pill and change it out with the one in the new host. Also added a copper module. All the 16X9 pics are of the new host.
----------EDIT----------
This host is a great solutions for high powered 445 builds. It has a very large amount of room between the bottom of the heatsink and the pill. The size gives a lot of options for coming up with a design for a large heatsink on the driver. This large amount of space also is good for new builders since it is not as tight as some hosts and gives a little extra room to work with.
It also have a massive custom made heatsink which works very well at keeping the diode cool. It has a rugged feel and massive body that makes this unit feels like it should be a dangerous laser.(Speaking of dangerous please use responsibly with lasers and always wear the correct safety goggles for the wavelength you are using)
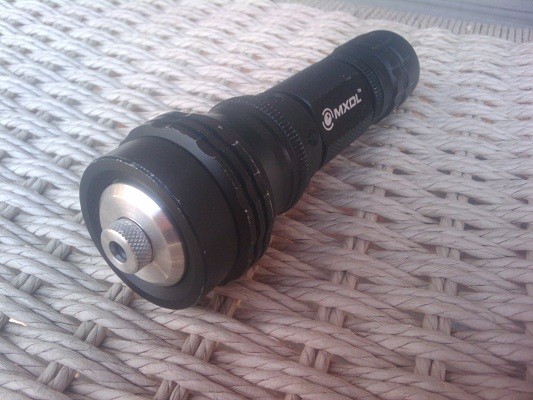
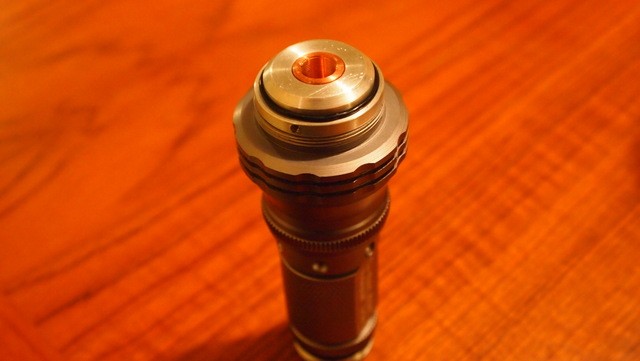
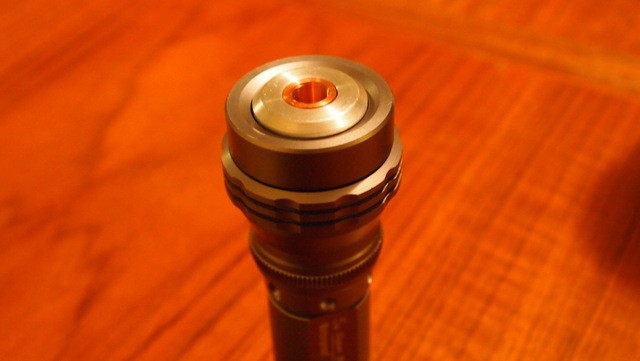
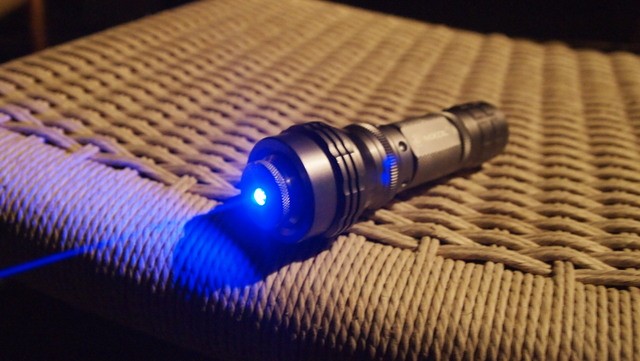
*Host Images*


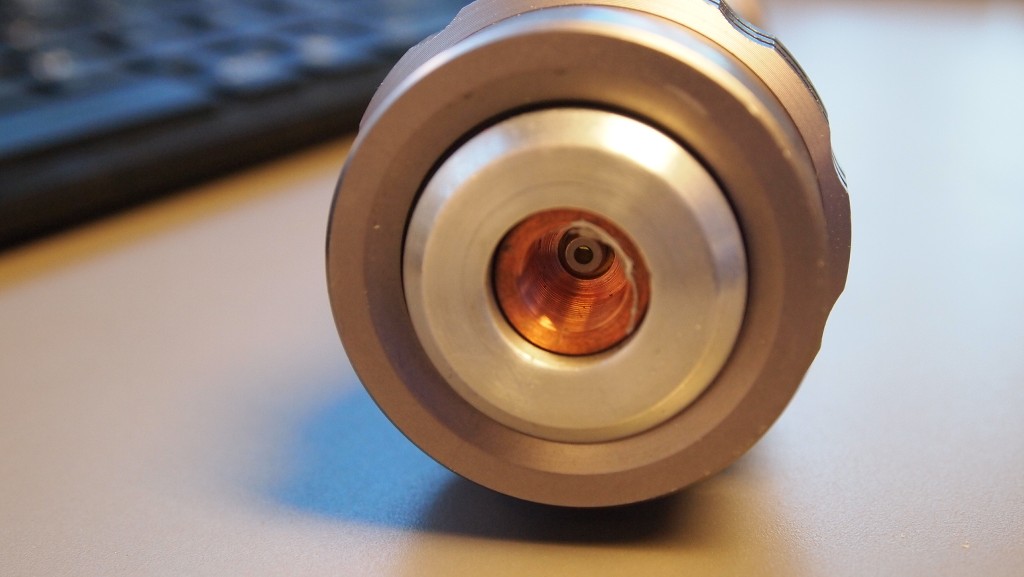
The unit now has a copper module. There is some overkill for you.

It was not made for this host but I do enjoy using the EzFocus adapter that was made for one of my 18650 hosts. It allows for easy one handed focusing with your index finger.

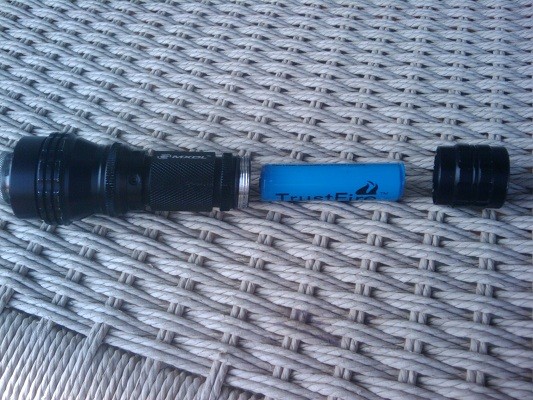
I have also fitted this host to take an 18650 battery. A must for high power 445 builds.
This host comes as a kit from Jay but I asked him add a large heatsink to the driver which he now offers on his SolorForce L2P kit. Just look at that thing.:drool: And it has a very professional look the way it is fitted into the pill.


Here is a pic from Jay's 3405/4170 page with a picture of the heatsink. This sucker is huge and really does a great job.

I have also modified the tailcap to accept an 18650 battery. For 445's set this high an 18650 is a must but if your driver is set under 1A I have found you can use 3 10440's in parallel using the holder modified by Jay or a single 18500 w/spacer for this project.
Millirad thanks for giving me the idea.")
All you have to do is take out the plastic retainer by using a drill to cut it out.(if you get lucky you may have one without glue on the retainer and then all you would do is just pop it out with a screwdriver or something) Then put a blob of solder on the side contact point on the switch and press it in. It works great and the cap screws down to the perfect tight point.
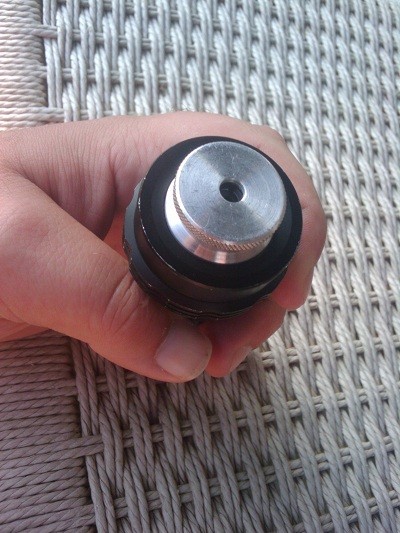
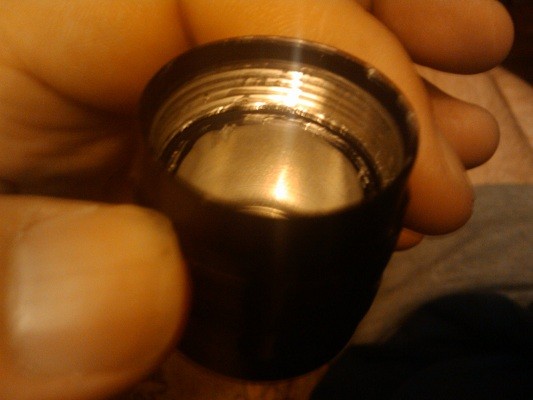
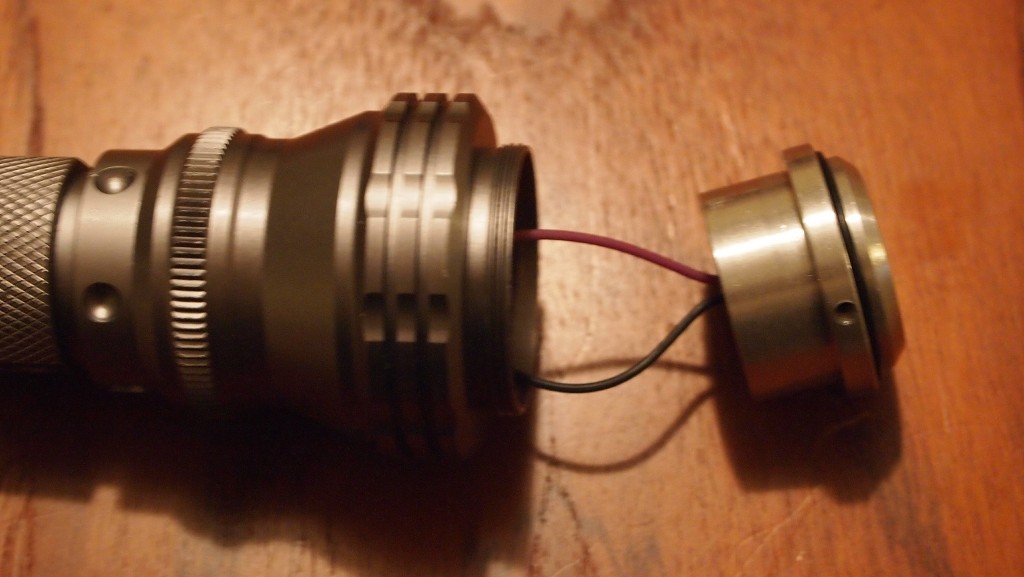
Here is the tailcap before the mod.
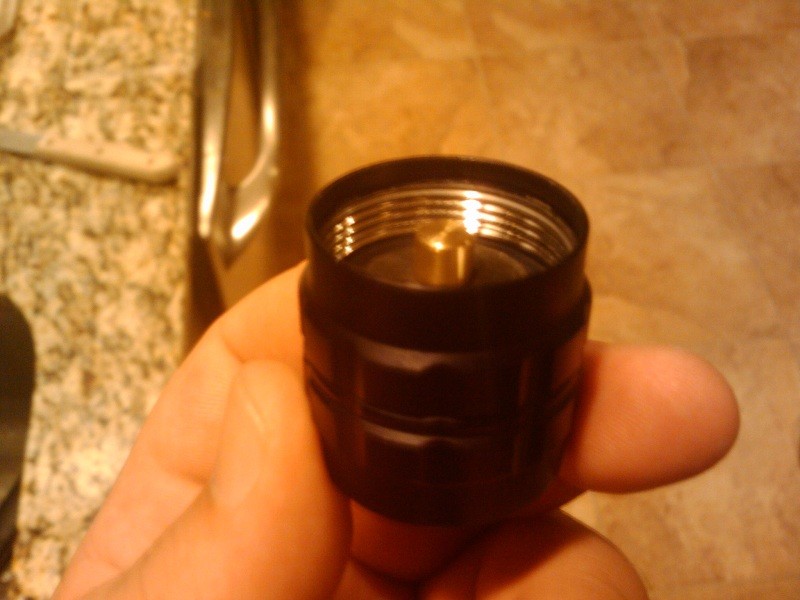
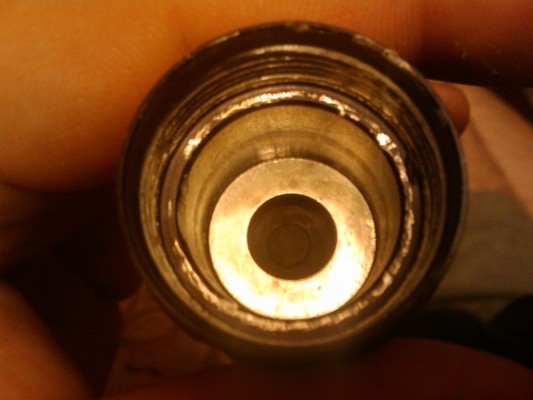
Here is the tailcap with the retainer and the clicky removed.
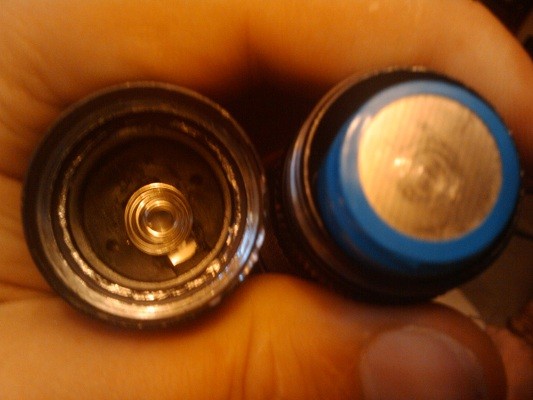
Here on the Clicky switch just put a blob of solder on the contact point(marked in yellow) for a snug fit and press it into the tailcap. When you screw it in with a battery in it the first time it will press the clicky all the way down in the tailcap.

And there you have it a perfect fit for a 18650 battery.
Some 18650's have no positive tab so you could put a little solder mound on the positive contact board at the bottom of the pill for the best connection.
You can also use a spacer to center the battery but I have found that when it is screwed in the battery is held very snug and does not rattle in the host.
Since this is the same host that I did my mini-tut for putting together a hot kit on I will add it to this review as well.
I thought I would document the process that I use for the people that are thinking about picking up one of Jay's hot kits. This was my third build and am in no way and expert. Constructive criticism is graciously accepted.
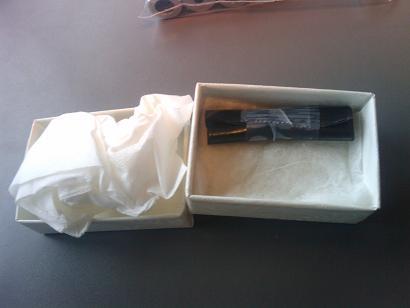
First off got some diodes form Daguin. Extremely well packed as always.

Then the Aixiz modules from Jay. Remember you will discard the back of the Aixiz module as it is unnecessary for this project.
Now to the presses.
I currently use a diode press tool from Flaminpryo $15 LINK. This tool is great and would suggest to anyone who plans to build a laser. Plus it will countersink the diode past flush.

You can use a pair of large pliers instead of a vice as well to press the diode.
If you don't have a diode press tool you can use a 3/16 socket for pressing the diodes into the Aixiz module. The previous method is better but this will work in a pinch.
Press it with a vice until the diode is flush with the module.
When it is in it should look like this.
Now comes the fun part. Get all your stuff out. You will need a soldering iron, shrink tubing, solder, pressed diode in the Aixiz module and your hot kit host.
Put the shrink tubing on the wires and push them back toward the host.
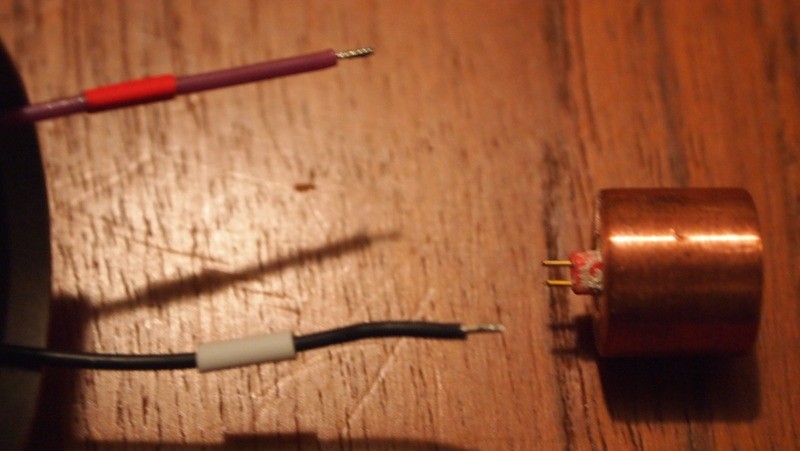
Next we will solder the diode to the hot kit wires. Here is a pinout for this diode. It does say Blu Ray but the pinout is the same.

First get your flux and dab a small amount on the diode pins and your wires. Then get some solder loaded onto your iron. Hold the wire up to the diode pin and quickly touch it with your iron. The flux will draw the solder to the joint very quick. Repeat with the other wire pin.
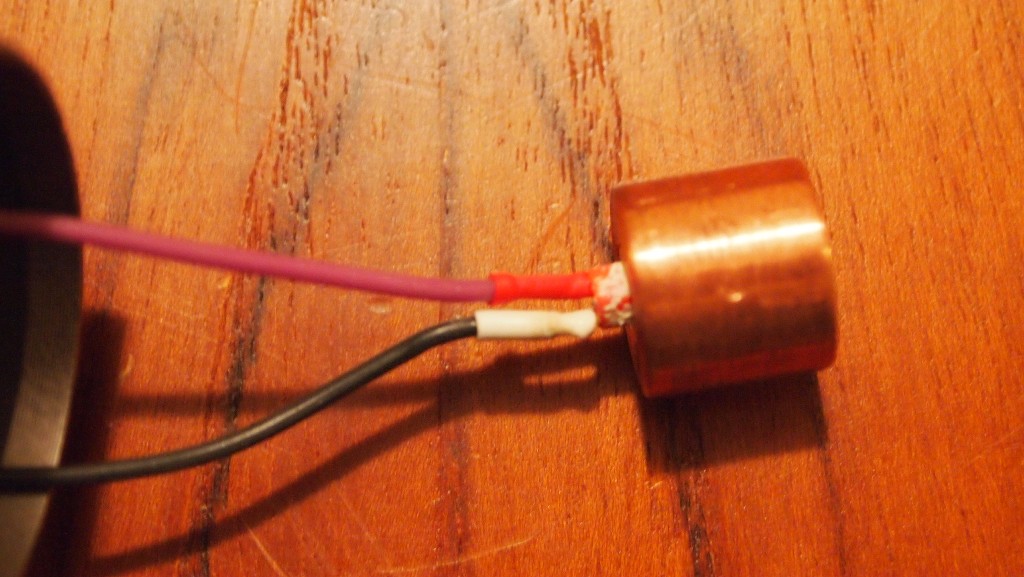
When you are done it will look like this.

Next after the connections have cooled move your shrink tubing to the head of the diode covering the solder points and pins.(important to let it cool before you try to slide the shrink tubing down because it will shrink as soon as it hits something hot and will not go all the way up)
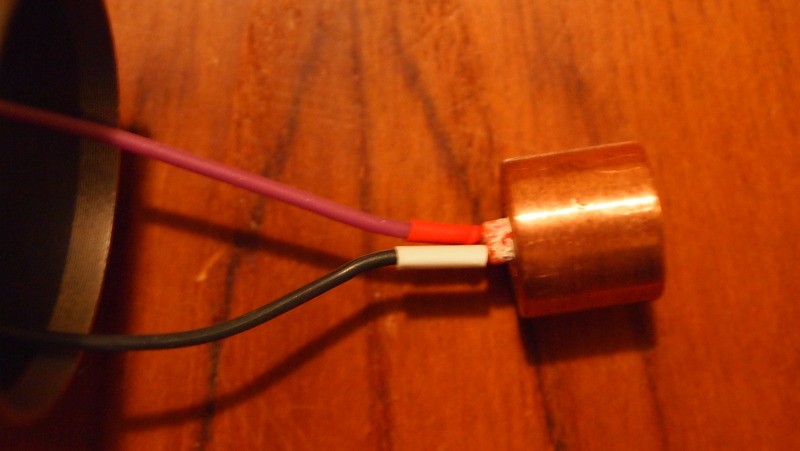
Finally I like to use a butane jet lighter and hit the shrink tubing with it. If you don't have one you can just rub your iron over the shrink tubing until it is snug.
The hard part is over. Now just put your Aixiz module in your heat-sink and tighten the set screw with your allen wrench.
Place the heatink gently in the host making sure not to pinch or twist any wires.
Screw the top on and put in a lens.
Now you are ready to lase.:eg:
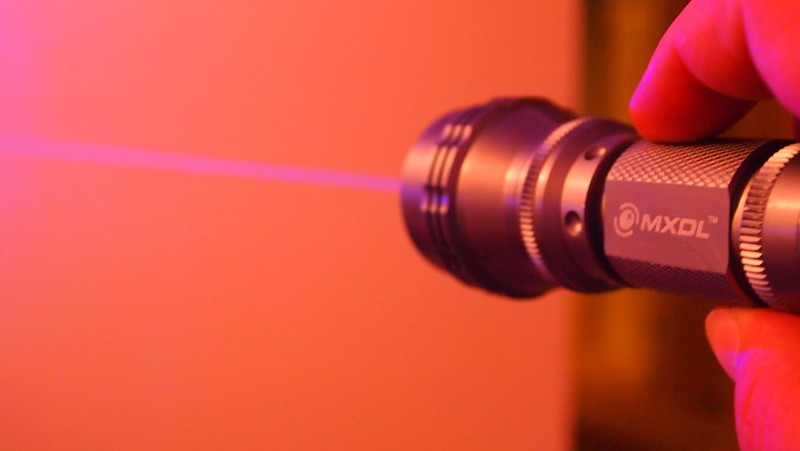
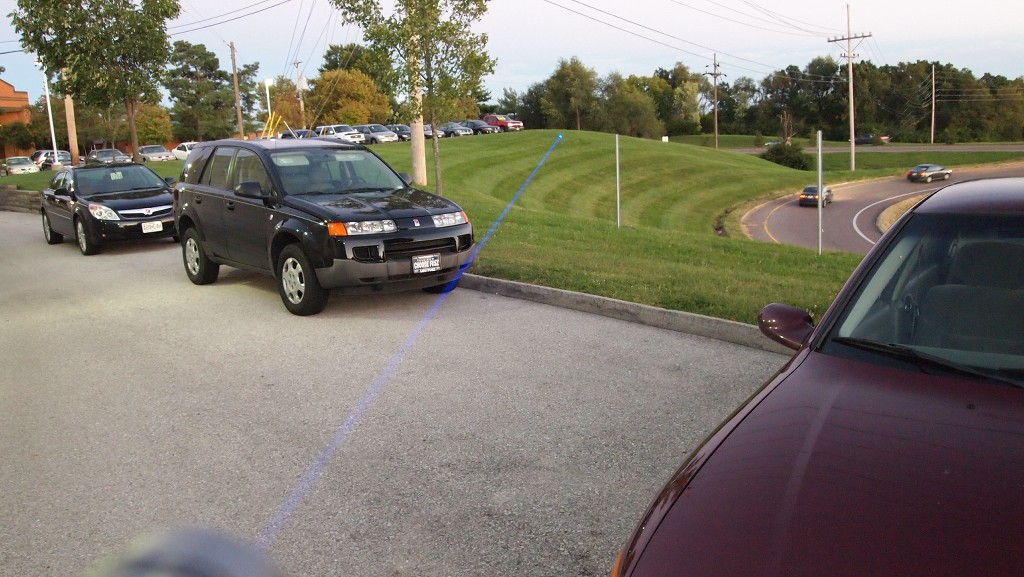
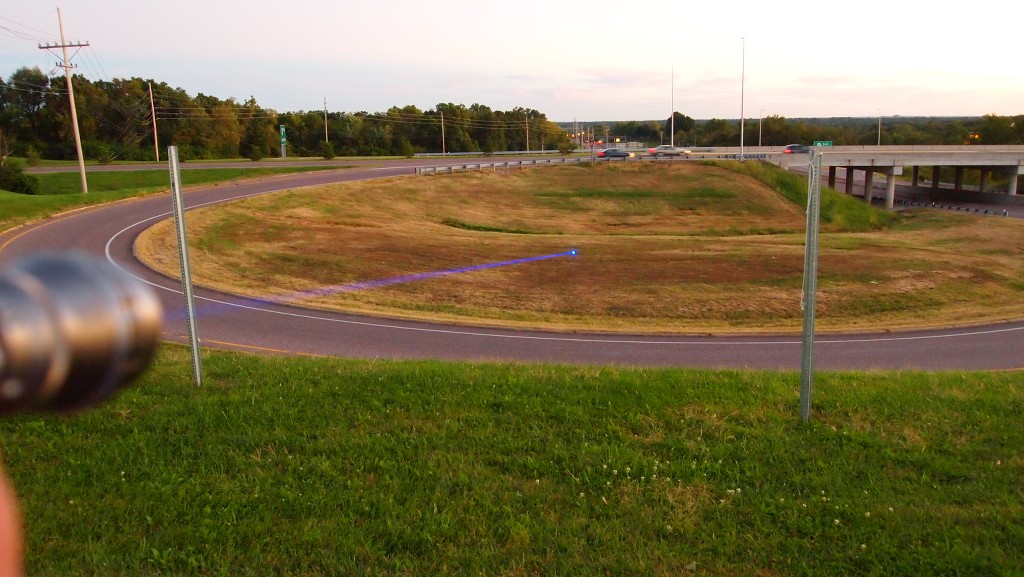
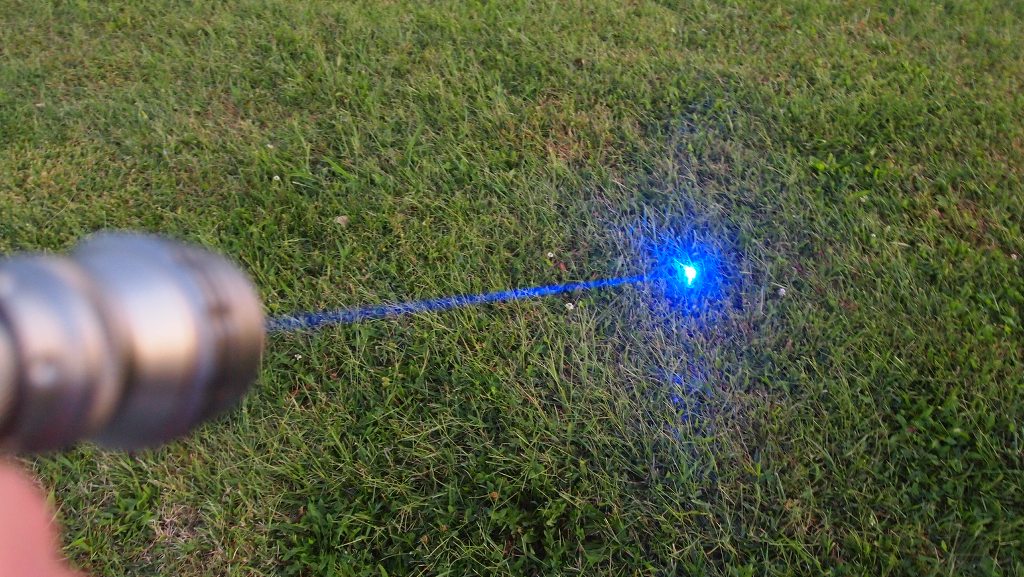
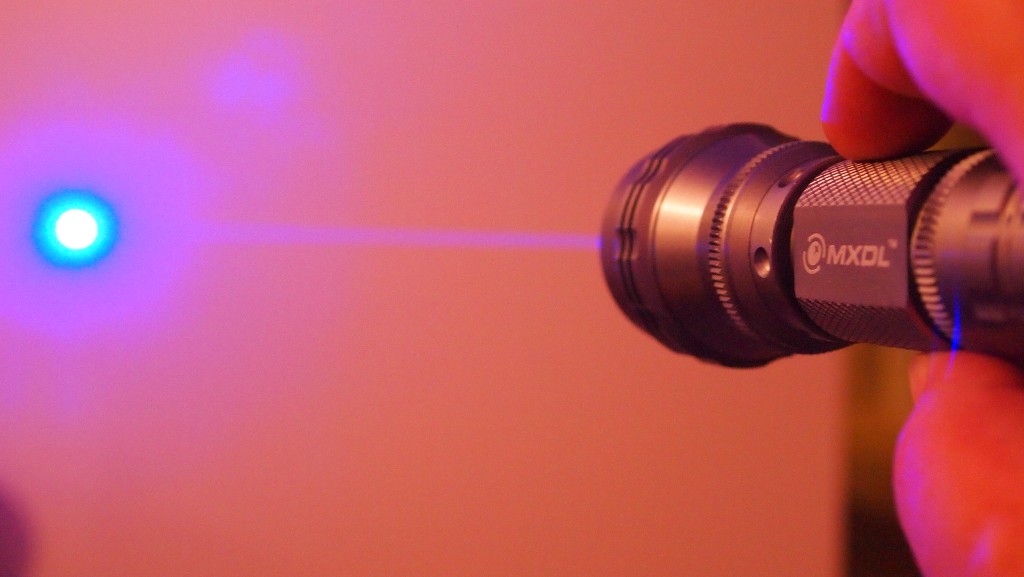
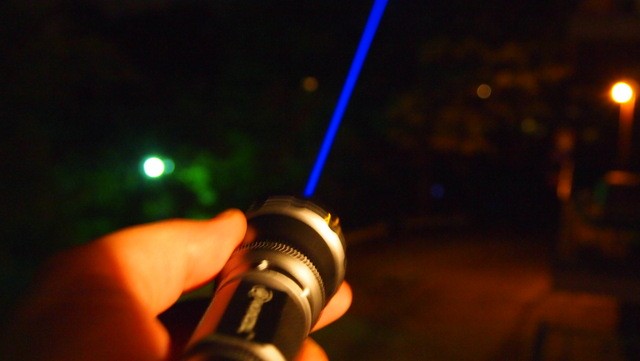
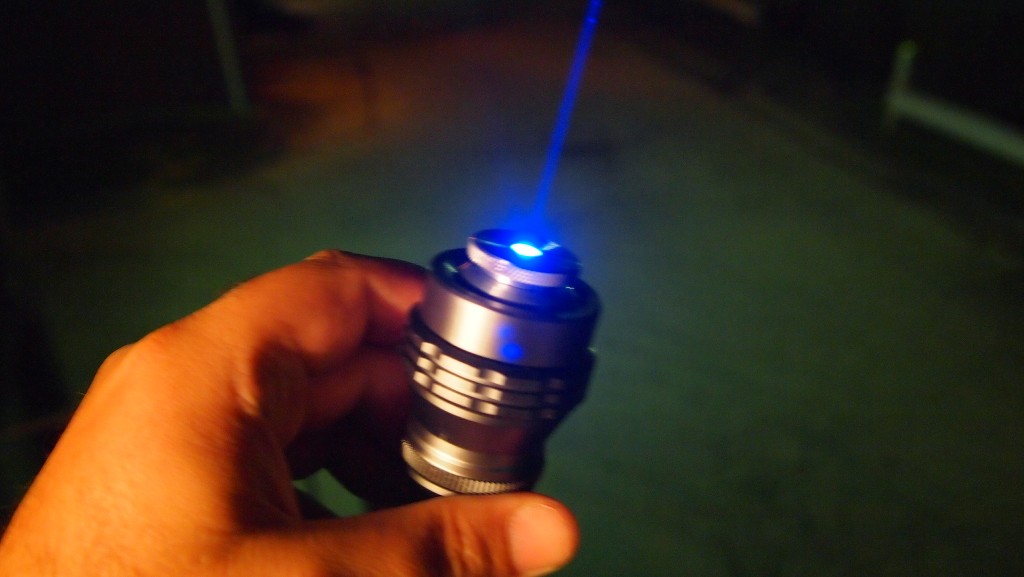
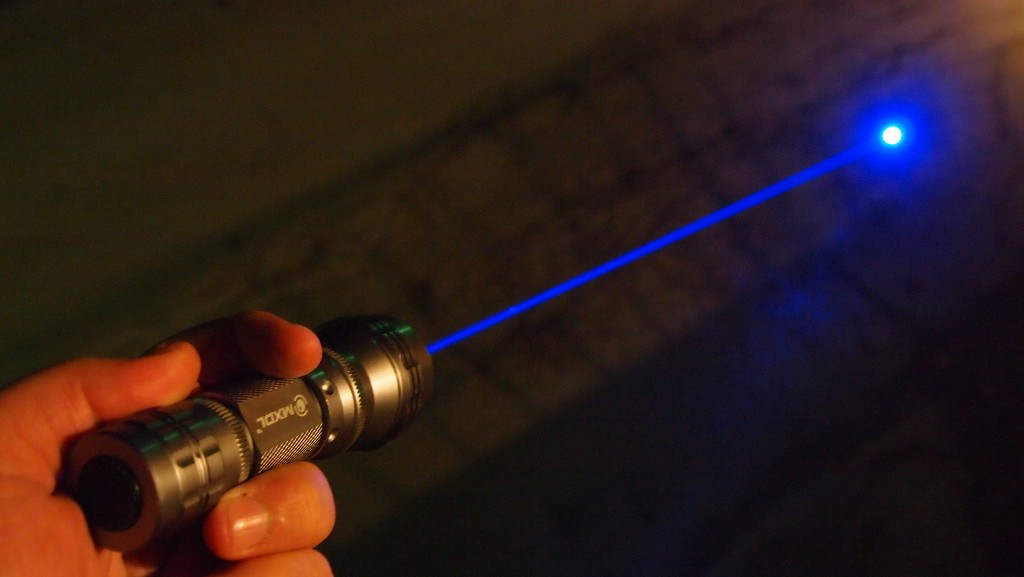
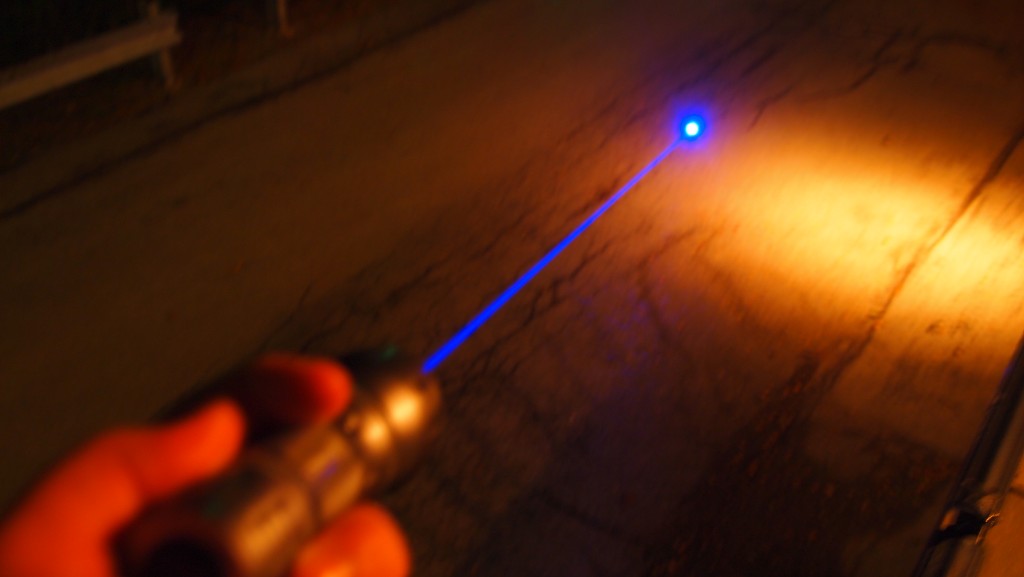
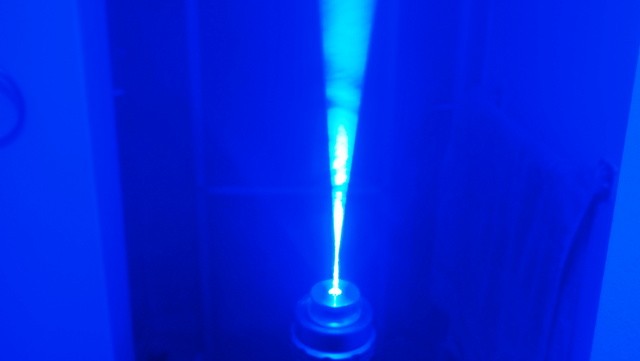
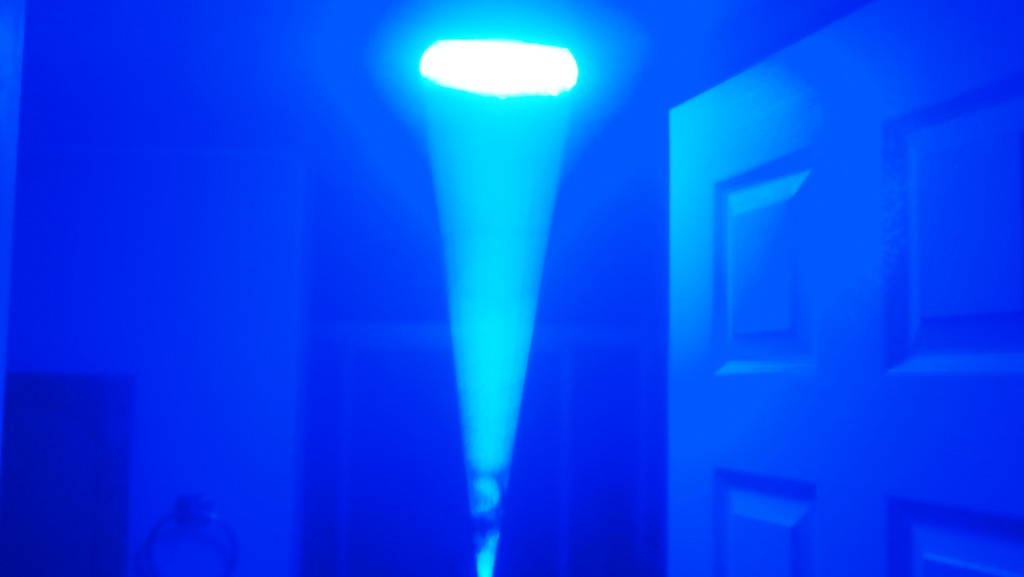
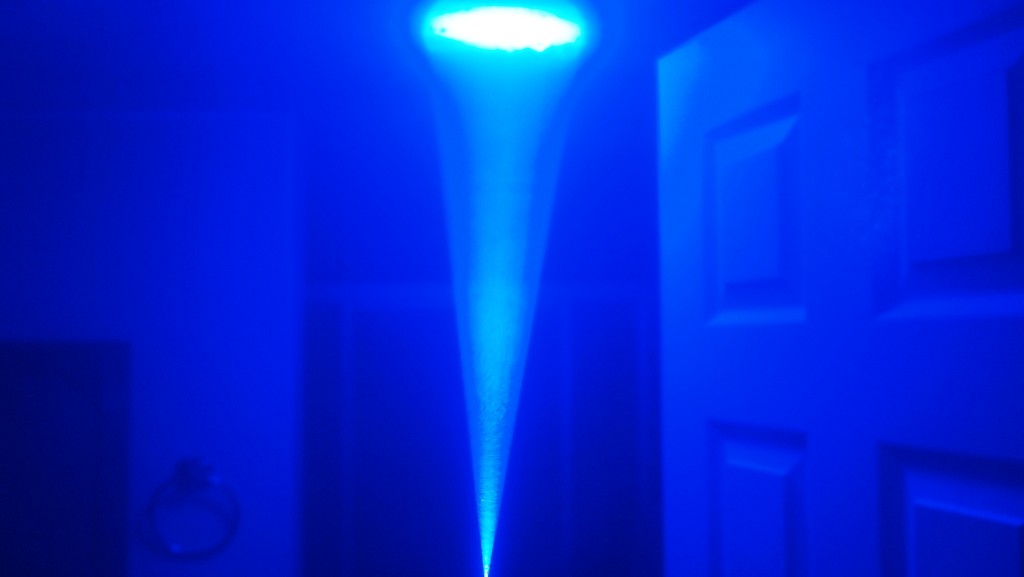
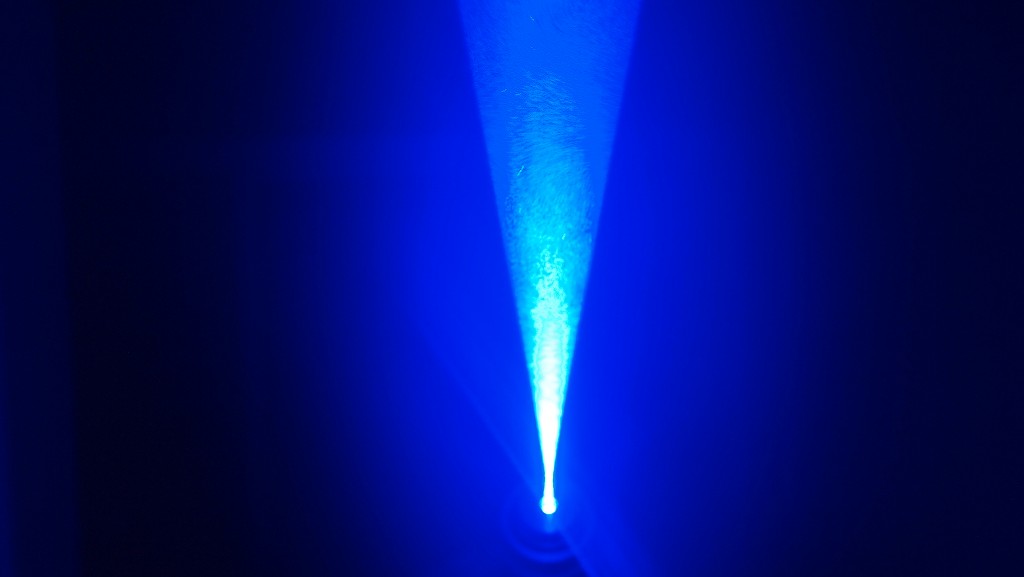
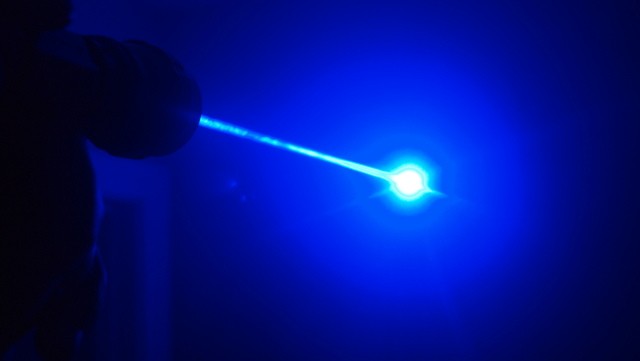
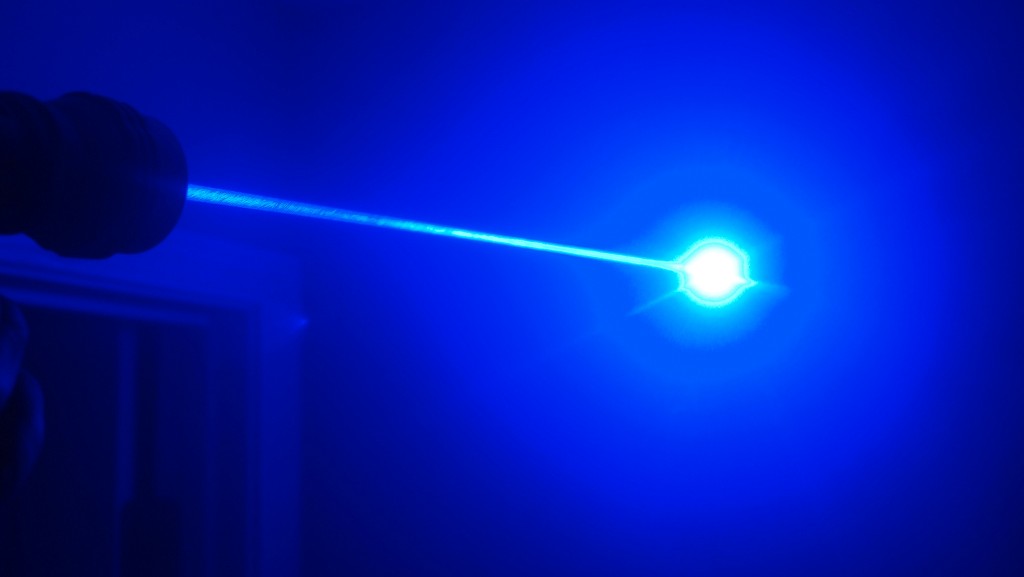
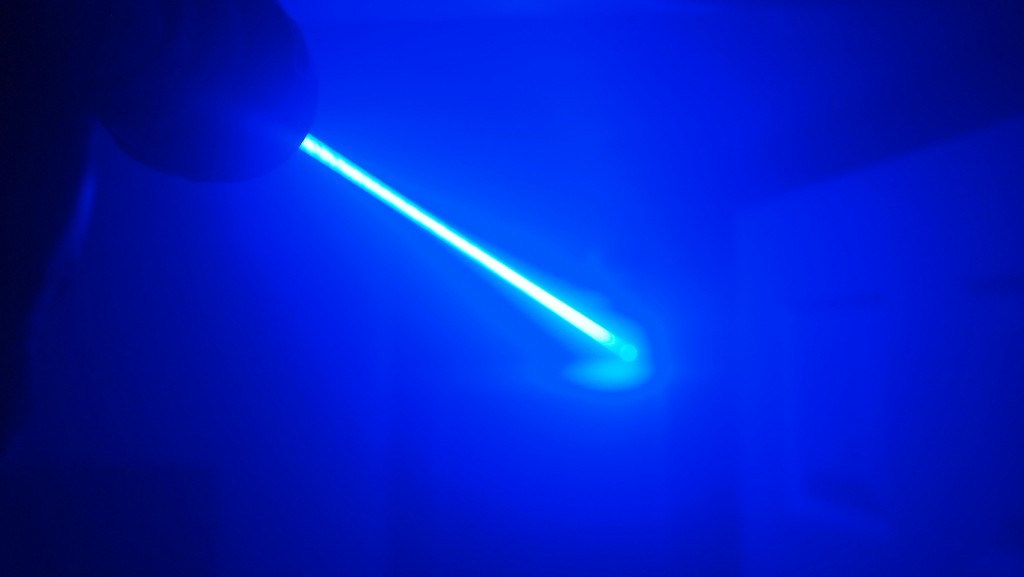
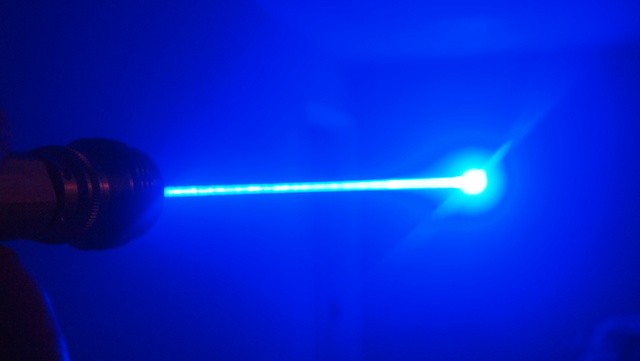
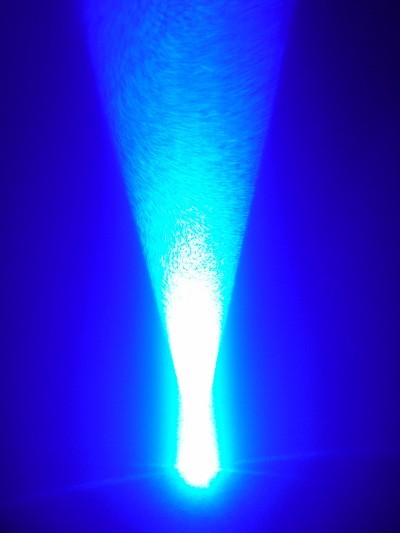
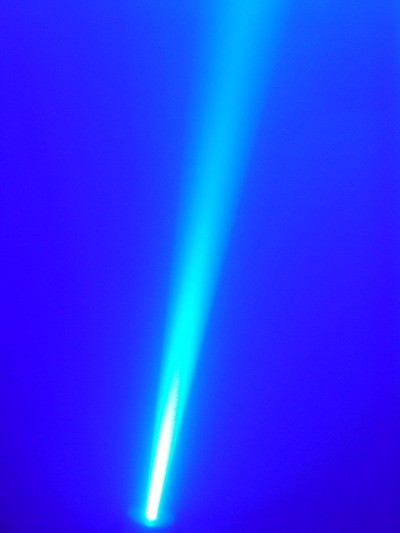
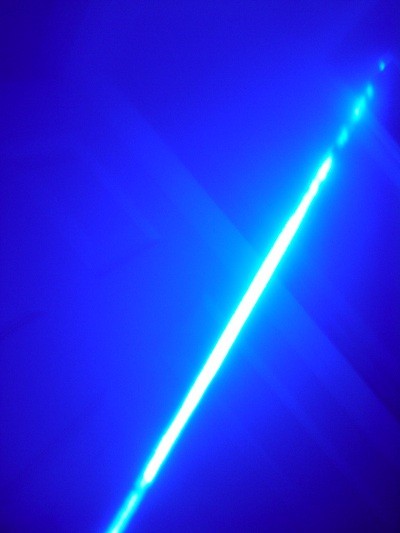
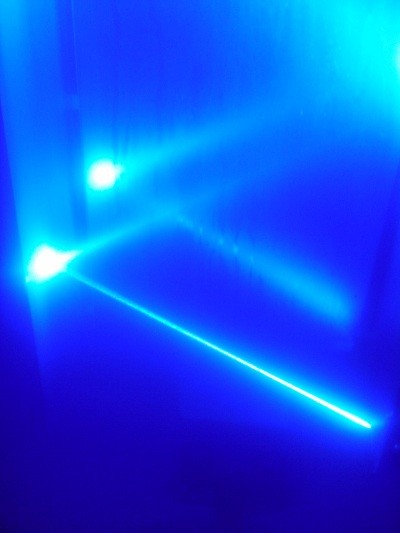
And as always here are some of my beam shots.:eg:


Vidoes
Burning wood
Cutting Electrical Tape
Blowing Holes in a CD Case
Blowing Holes in Thick Plastic
Here is the LPM test. 5 minute run.:eg:
Final Thoughts.
This unit is a very capable host. I plan on using one for my next build and if all goes as expected will be running at 1.7A:eg: which should be quite a jump in output compared to this one running at 1460mA.
Anyway Hope you liked the review on this unit.
This is another great host from Jayrob LINK. It is a 3405 MXDL host with a very large heat sink on the driver. This unit is set to 1460mA and puts out a peak of 1635mW.
Also if you would like to see more of my reviews and tutorials please visit my compilation page.
http://laserpointerforums.com/f51/d...ting-compilation-thread-56450.html#post797151
----------EDIT----------
I have recently moved this unit into a silver MXDL. Just had to unscrew the pill and change it out with the one in the new host. Also added a copper module. All the 16X9 pics are of the new host.
----------EDIT----------
This host is a great solutions for high powered 445 builds. It has a very large amount of room between the bottom of the heatsink and the pill. The size gives a lot of options for coming up with a design for a large heatsink on the driver. This large amount of space also is good for new builders since it is not as tight as some hosts and gives a little extra room to work with.
It also have a massive custom made heatsink which works very well at keeping the diode cool. It has a rugged feel and massive body that makes this unit feels like it should be a dangerous laser.(Speaking of dangerous please use responsibly with lasers and always wear the correct safety goggles for the wavelength you are using)
*Host Images*
The unit now has a copper module. There is some overkill for you.
It was not made for this host but I do enjoy using the EzFocus adapter that was made for one of my 18650 hosts. It allows for easy one handed focusing with your index finger.
I have also fitted this host to take an 18650 battery. A must for high power 445 builds.
This host comes as a kit from Jay but I asked him add a large heatsink to the driver which he now offers on his SolorForce L2P kit. Just look at that thing.:drool: And it has a very professional look the way it is fitted into the pill.
Here is a pic from Jay's 3405/4170 page with a picture of the heatsink. This sucker is huge and really does a great job.
I have also modified the tailcap to accept an 18650 battery. For 445's set this high an 18650 is a must but if your driver is set under 1A I have found you can use 3 10440's in parallel using the holder modified by Jay or a single 18500 w/spacer for this project.
Millirad thanks for giving me the idea.
All you have to do is take out the plastic retainer by using a drill to cut it out.(if you get lucky you may have one without glue on the retainer and then all you would do is just pop it out with a screwdriver or something) Then put a blob of solder on the side contact point on the switch and press it in. It works great and the cap screws down to the perfect tight point.
Here is the tailcap before the mod.
Here is the tailcap with the retainer and the clicky removed.
Here on the Clicky switch just put a blob of solder on the contact point(marked in yellow) for a snug fit and press it into the tailcap. When you screw it in with a battery in it the first time it will press the clicky all the way down in the tailcap.
And there you have it a perfect fit for a 18650 battery.
Some 18650's have no positive tab so you could put a little solder mound on the positive contact board at the bottom of the pill for the best connection.
You can also use a spacer to center the battery but I have found that when it is screwed in the battery is held very snug and does not rattle in the host.
Since this is the same host that I did my mini-tut for putting together a hot kit on I will add it to this review as well.
I thought I would document the process that I use for the people that are thinking about picking up one of Jay's hot kits. This was my third build and am in no way and expert. Constructive criticism is graciously accepted.
First off got some diodes form Daguin. Extremely well packed as always.
Then the Aixiz modules from Jay. Remember you will discard the back of the Aixiz module as it is unnecessary for this project.
Now to the presses.
I currently use a diode press tool from Flaminpryo $15 LINK. This tool is great and would suggest to anyone who plans to build a laser. Plus it will countersink the diode past flush.
You can use a pair of large pliers instead of a vice as well to press the diode.
If you don't have a diode press tool you can use a 3/16 socket for pressing the diodes into the Aixiz module. The previous method is better but this will work in a pinch.
Press it with a vice until the diode is flush with the module.
When it is in it should look like this.
Now comes the fun part. Get all your stuff out. You will need a soldering iron, shrink tubing, solder, pressed diode in the Aixiz module and your hot kit host.
Put the shrink tubing on the wires and push them back toward the host.
Next we will solder the diode to the hot kit wires. Here is a pinout for this diode. It does say Blu Ray but the pinout is the same.
First get your flux and dab a small amount on the diode pins and your wires. Then get some solder loaded onto your iron. Hold the wire up to the diode pin and quickly touch it with your iron. The flux will draw the solder to the joint very quick. Repeat with the other wire pin.
When you are done it will look like this.
Next after the connections have cooled move your shrink tubing to the head of the diode covering the solder points and pins.(important to let it cool before you try to slide the shrink tubing down because it will shrink as soon as it hits something hot and will not go all the way up)
Finally I like to use a butane jet lighter and hit the shrink tubing with it. If you don't have one you can just rub your iron over the shrink tubing until it is snug.
The hard part is over. Now just put your Aixiz module in your heat-sink and tighten the set screw with your allen wrench.
Place the heatink gently in the host making sure not to pinch or twist any wires.
Screw the top on and put in a lens.
Now you are ready to lase.:eg:
And as always here are some of my beam shots.:eg:
Vidoes
Burning wood
Cutting Electrical Tape
Blowing Holes in a CD Case
Blowing Holes in Thick Plastic
Here is the LPM test. 5 minute run.:eg:
Final Thoughts.
This unit is a very capable host. I plan on using one for my next build and if all goes as expected will be running at 1.7A:eg: which should be quite a jump in output compared to this one running at 1460mA.
Anyway Hope you liked the review on this unit.
Last edited:


") It will be about a month before they are available...
It will be about a month before they are available...