

- Joined
- Jun 24, 2010
- Messages
- 5,705
- Points
- 113
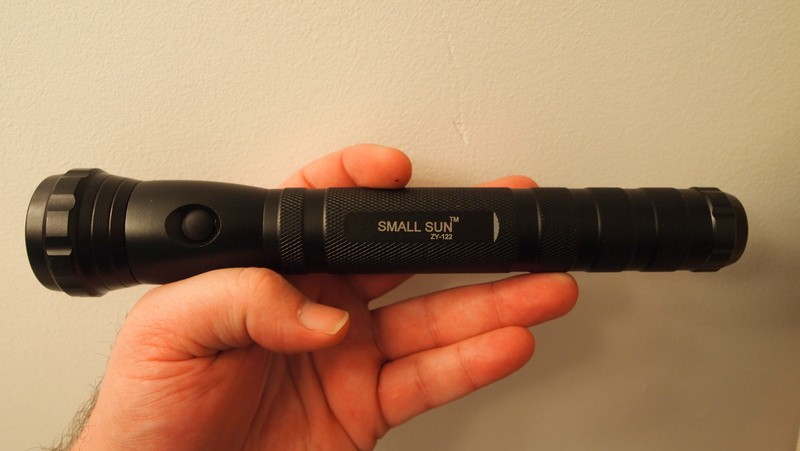
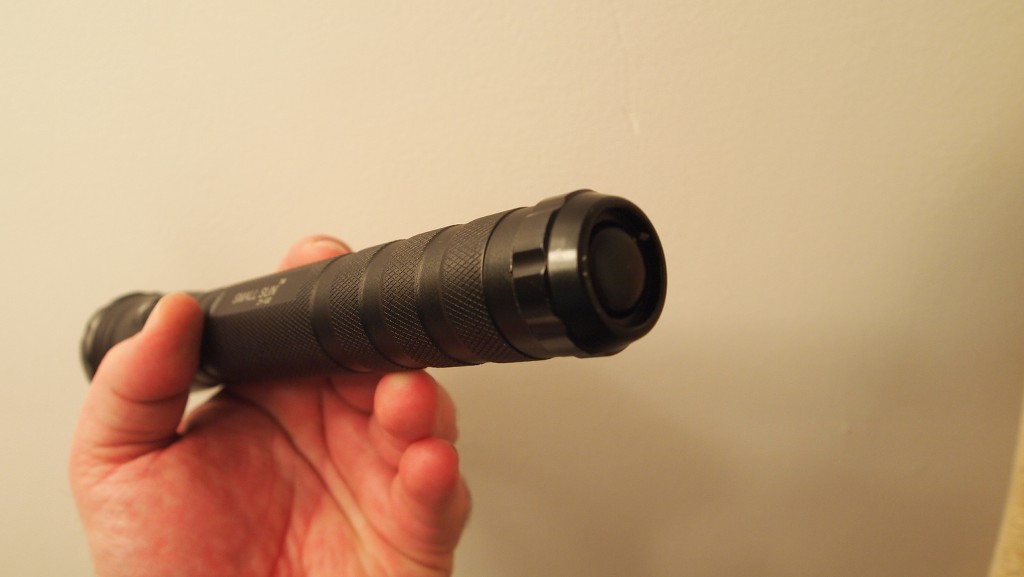
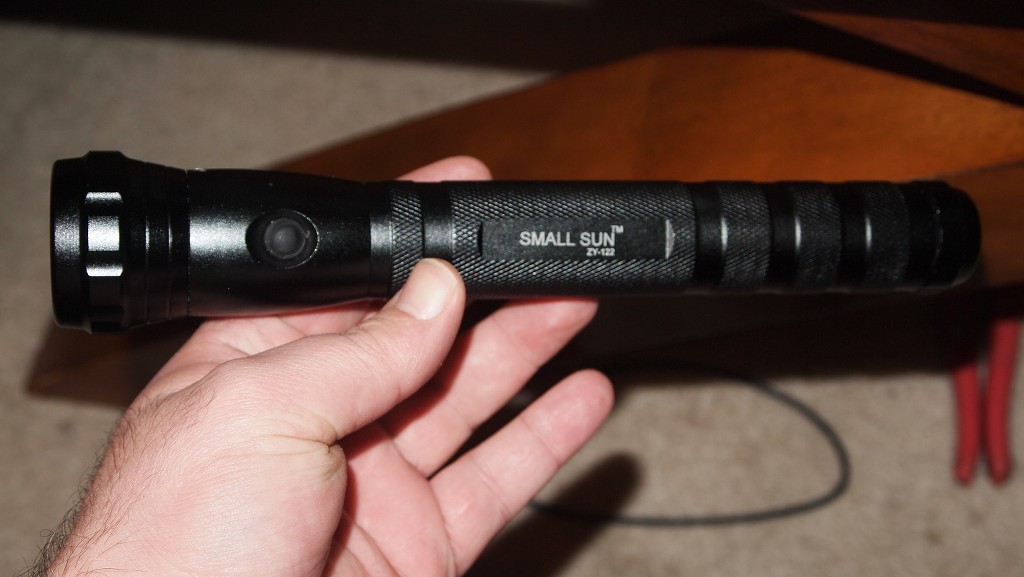
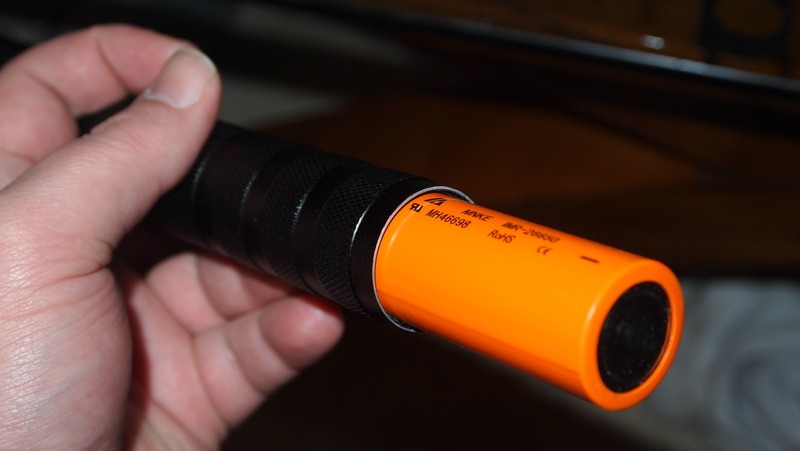
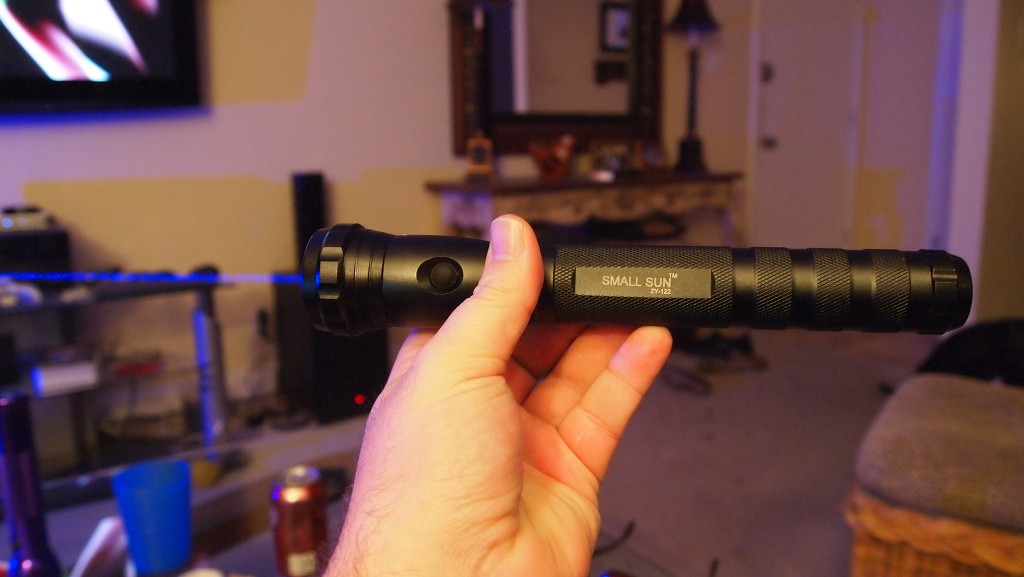
1.5W Small Sun ZY-122 2X26650 Host
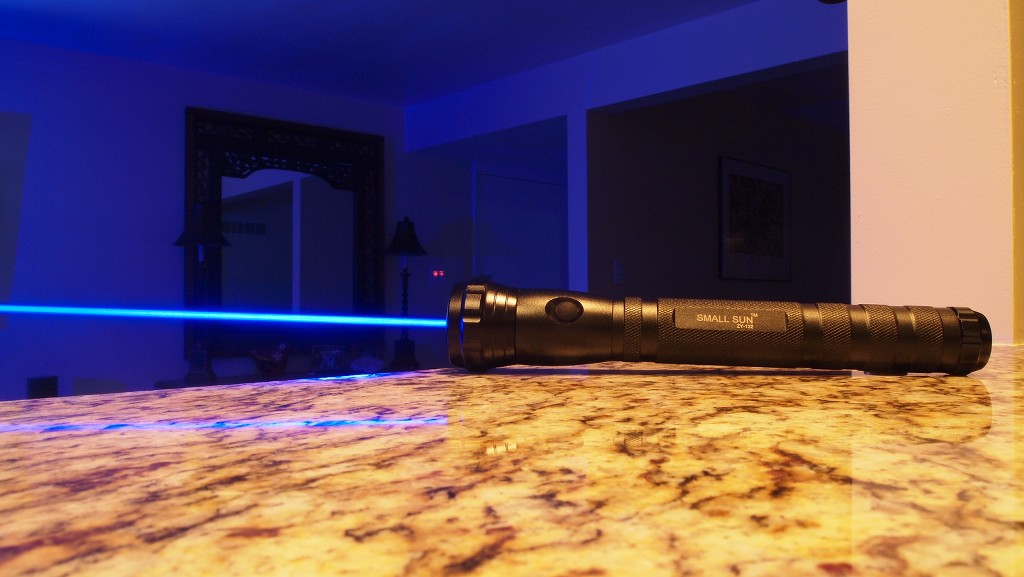
Here is a unit that I made with long run times between charging in mind. I originally was going to do just a 1W unit for close to 4 hours of run time but ended up going with 1.5A. This unit will go for 2.5 hours between charges.:eg: It runs off two 26650 4000mAh batteries in series. It also uses two Groove 2 drivers set to 750mA each sinked in the host. I am pretty sure I found this host on DX but for some reason I am having trouble finding it again.:thinking: Anyway I was looking for hosts that fit the 26650 batteries and came across a 3C cell host. I will put up a link later.
When I got the host I must say it was much nicer than I thought it would be for the price. I opened it up and thought about how I would like to set it up. I was thinking maybe 3 Groove 2 drivers in this thing but I decided to go for duration. I decided to use a gold dollar mod to sink 2 groove 2 drivers set to 1A-1.5A.
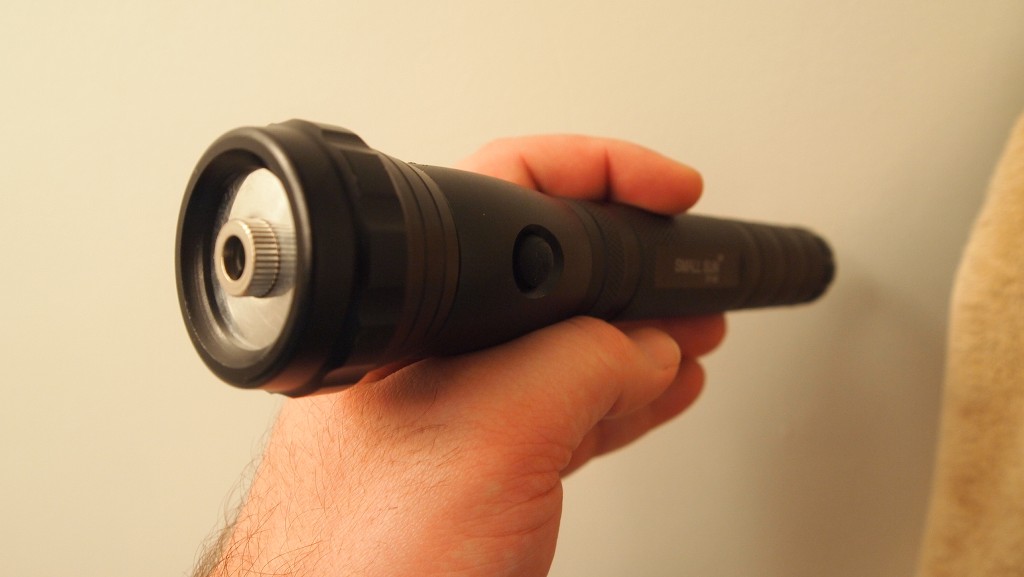
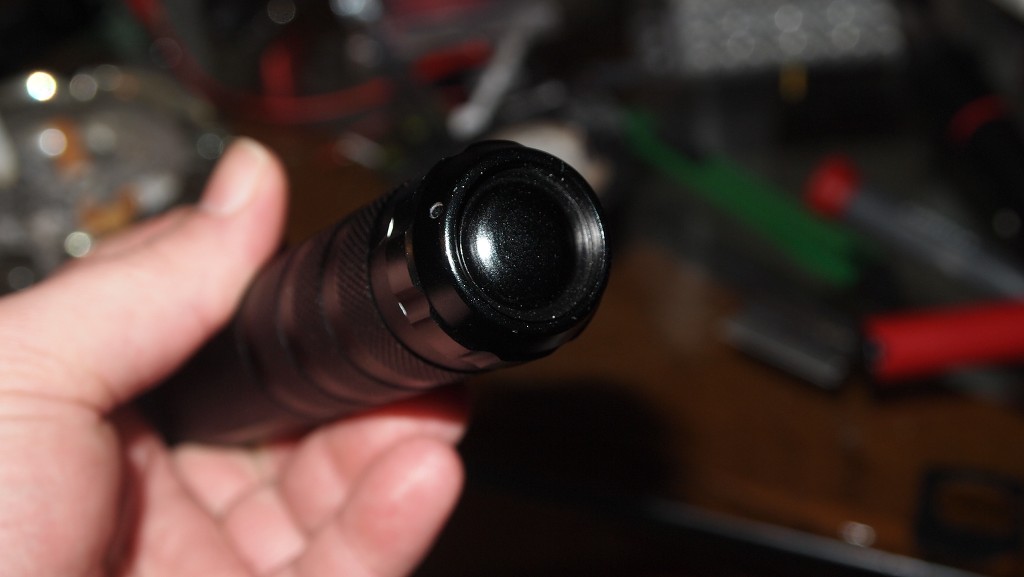
So I had a plan and I sent the host off to Mohrenberg to have the heatsink made. This units head is pretty large and the heatsink is about the size of the MXDL's heatsink.
I got it back and here is how the host looked.
Assembly
Ok so I got a little lazy on documenting some of the steps but I will do my best to explain everything.
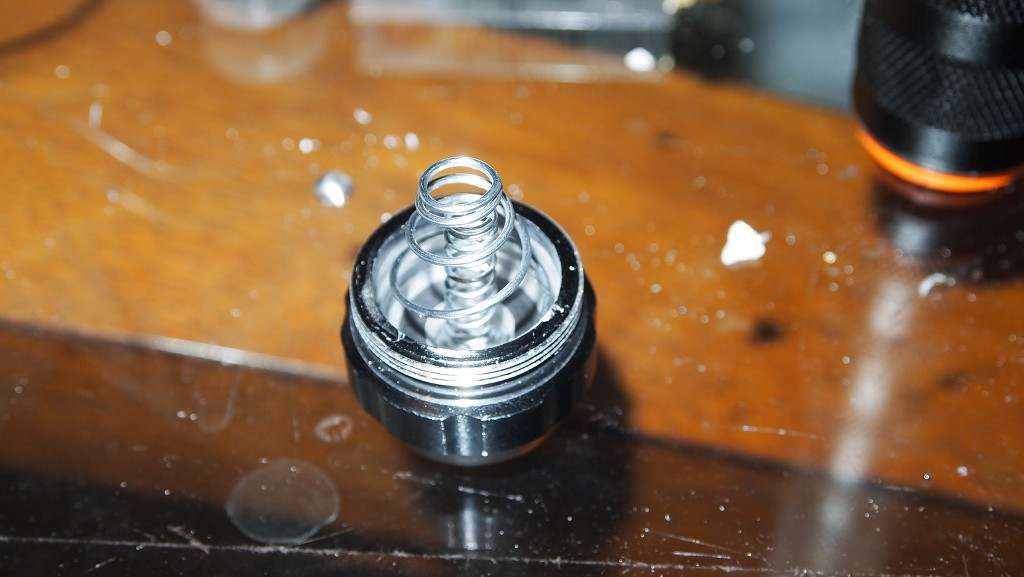
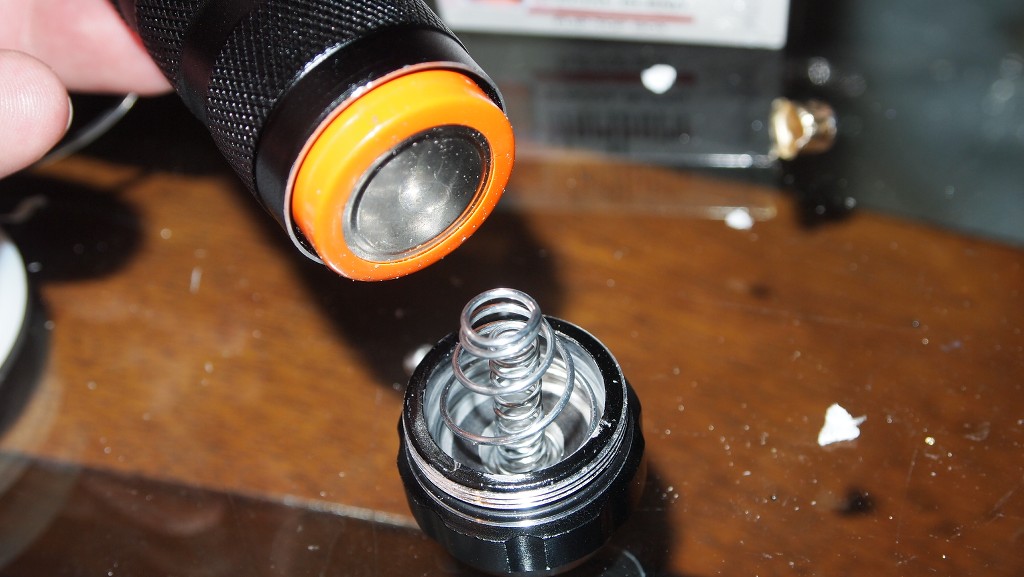
Setting up the pill area and the clicky is identical to the Blue Hotlights host. See the hotlight review linked below on how to get it out and add a small spring to the contact point for the battery. It will also show you how to make the pill a little larger by cutting down the spacer.
http://laserpointerforums.com/f52/1w-445nm-mohrenberg-hotlights-blue-18500-host-kit-55922.html#post789119
Now the reason I used a spring for the positive contact was because this host usually has around 1500mm in length for the batteries and two 26650's are 1300mm in length and we need to make up 200mm. So we will also make up a little with the tailcap and possibly some rare earth magnets between the two 26650's. This mod is similar to the MXDL where we remove the plastic cover to reveal a long skinny spring. I also added a larger spring that will keep the one already in the host center when pressing against the batteries.

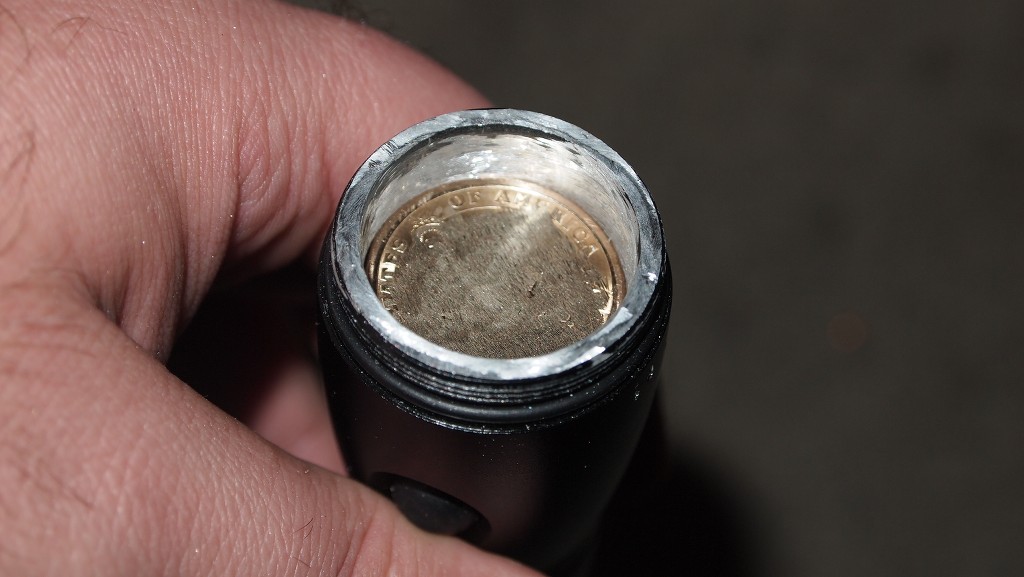
Once I had the pill and the tailcap set up I used my dremel to remove the paint on the top of the body so that it would have electrical contact with the heatsink and this also allows the heatsink to better conduct heat into the host body. I also ground down a gold dollar for sinking the driver.
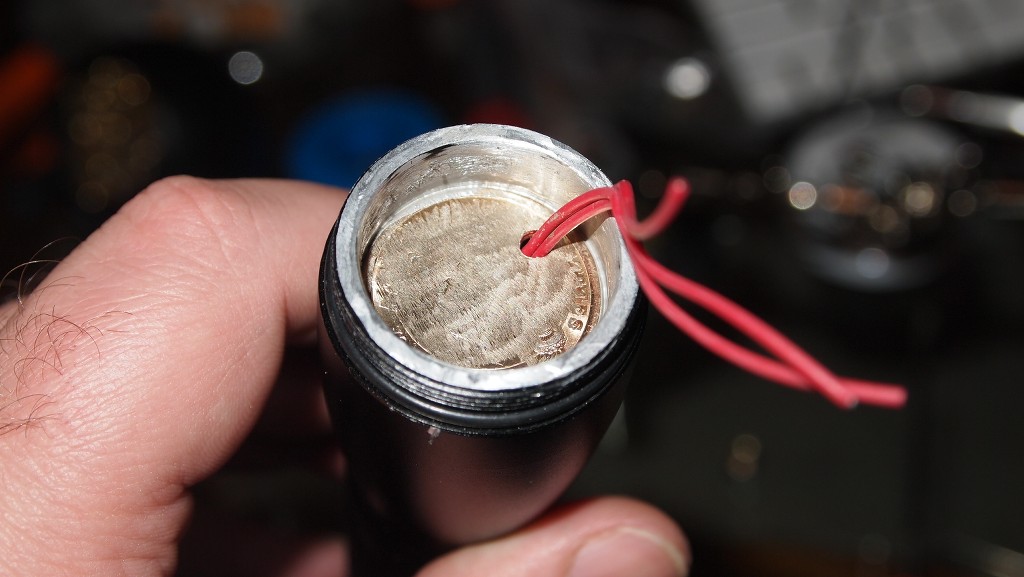
Next I drilled a hole in the gold dollar to run the positive wires to the drivers.

I then proceeded to solder the wires to the positive contact point in the pill and run them through the coin.

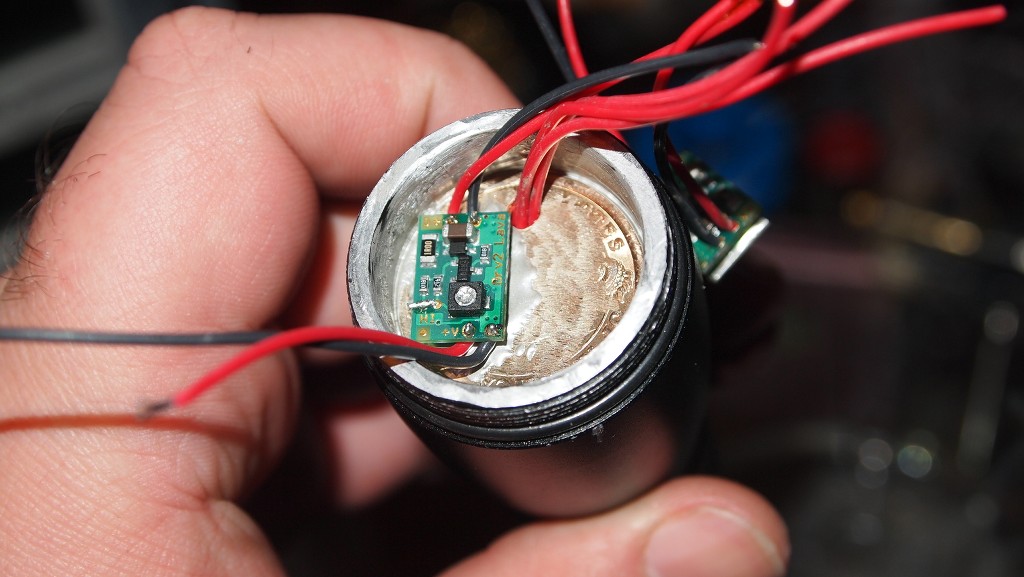
Next I got out my thermal adhesive and glued the coin in with good solid contact with the walls of the host and let it set for 15 minutes.
I set up the Groove drivers with leads and set the current to 750mA each. Once I had them set up I used my thermal adhesive to sink one of the drivers to the gold dollar.
This may look strange but it is good to show you there are two ways of sinking drivers in this host. I had a Groove left over from the 2X26500 host I did that still had a half moon sink attached so I decided what the hell and used it. This one I attached to the host walls using my adhesive. I did use my dremel to clear any paint of the host walls for good contact. I could have fit two drivers flat on the coin though and if anyone is trying to build one of these that is the way you would want to go.:beer:
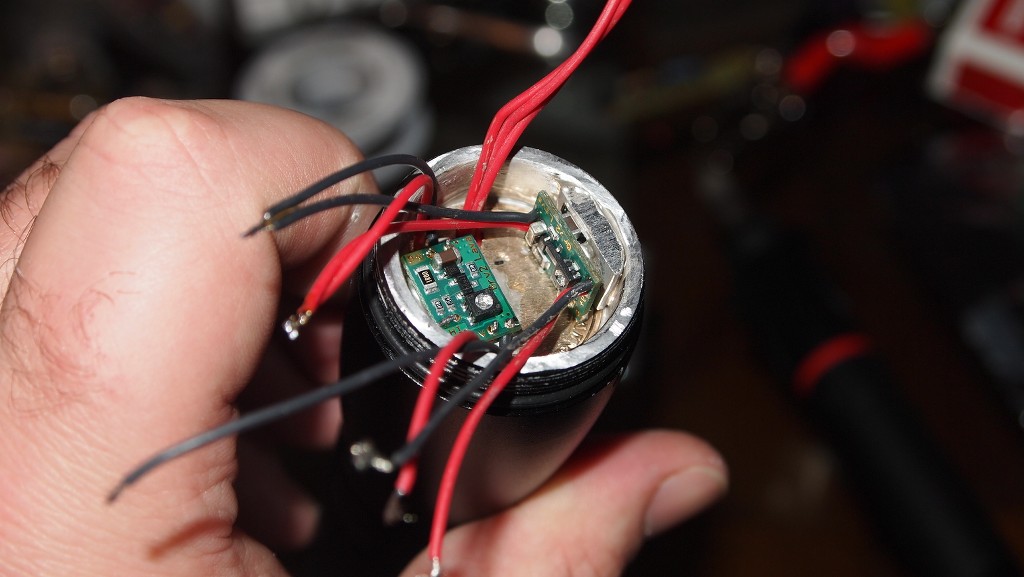
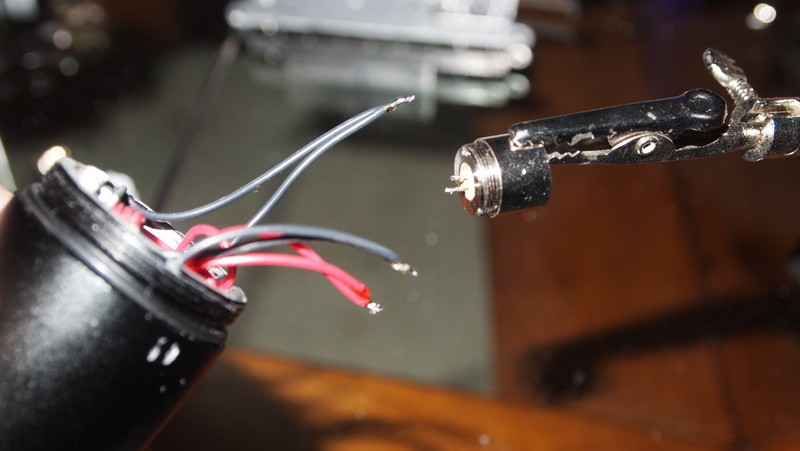
I got the positive wire from the host to the battery connected. There is no negative lead coming from the pill so we will be using negative case pin on the diode for the path to ground for the driver.
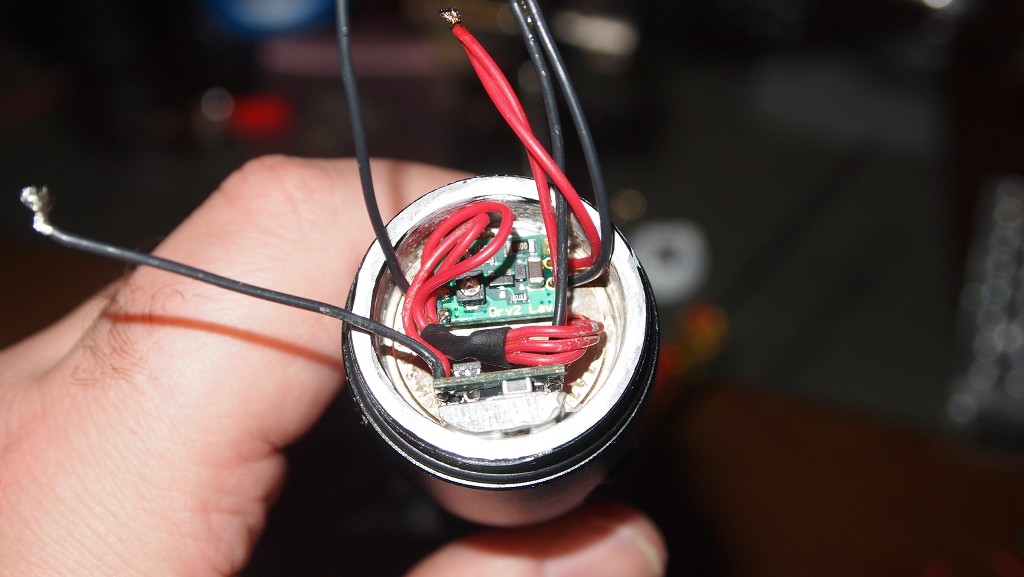
I wired all the leads together and proceeded to solder them to the diode.
Next just pop your module in the heatsink.
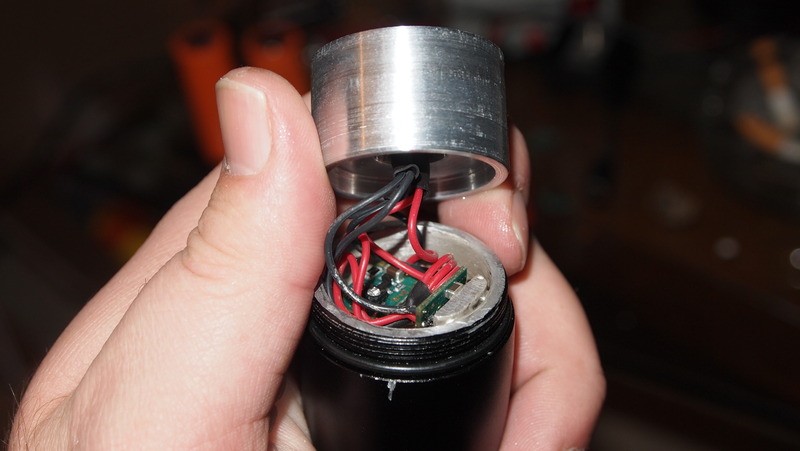
Screw the head on.
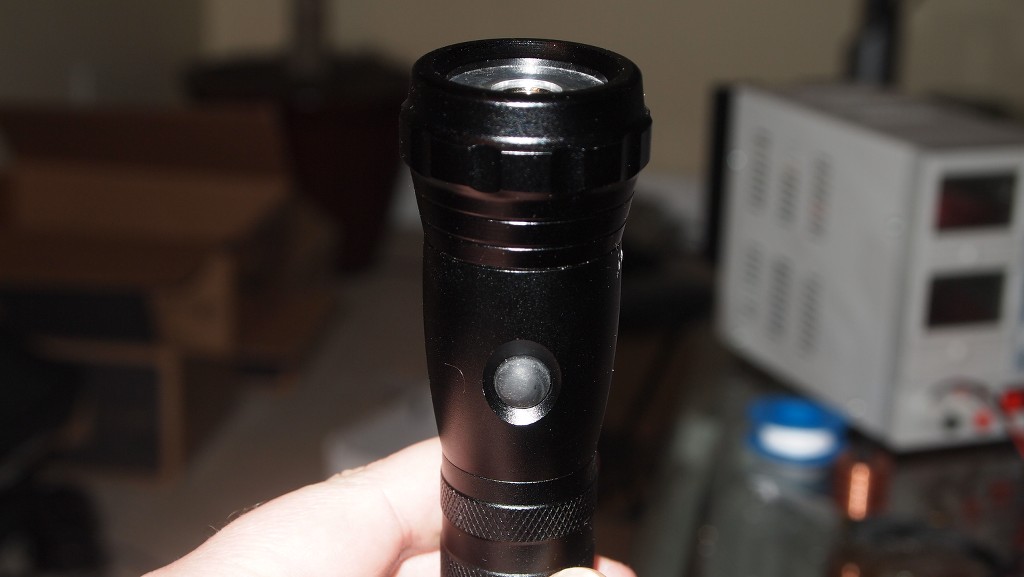
Throw in your batteries.
Screw on the tailcap.
And your are ready to go.
")
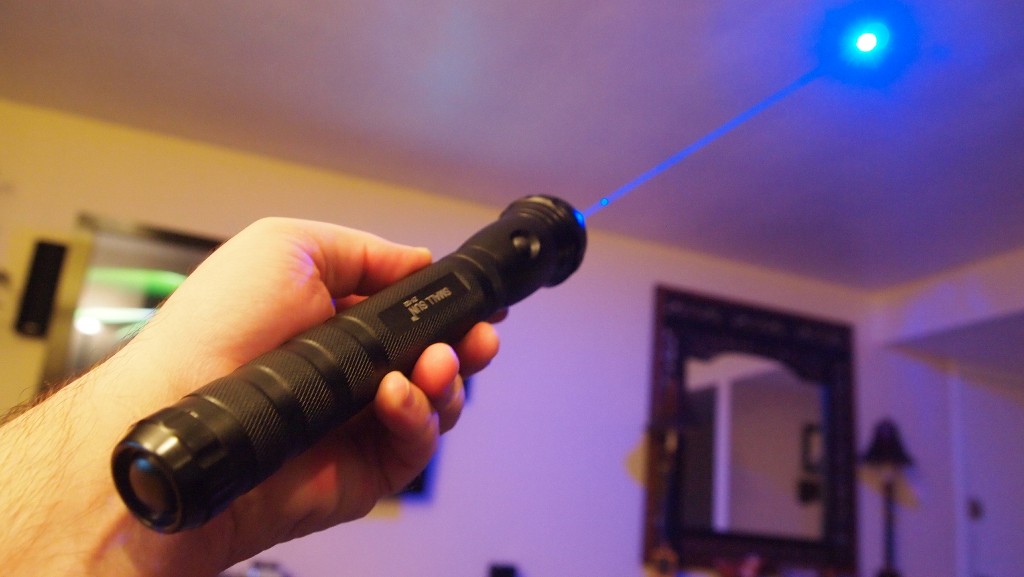
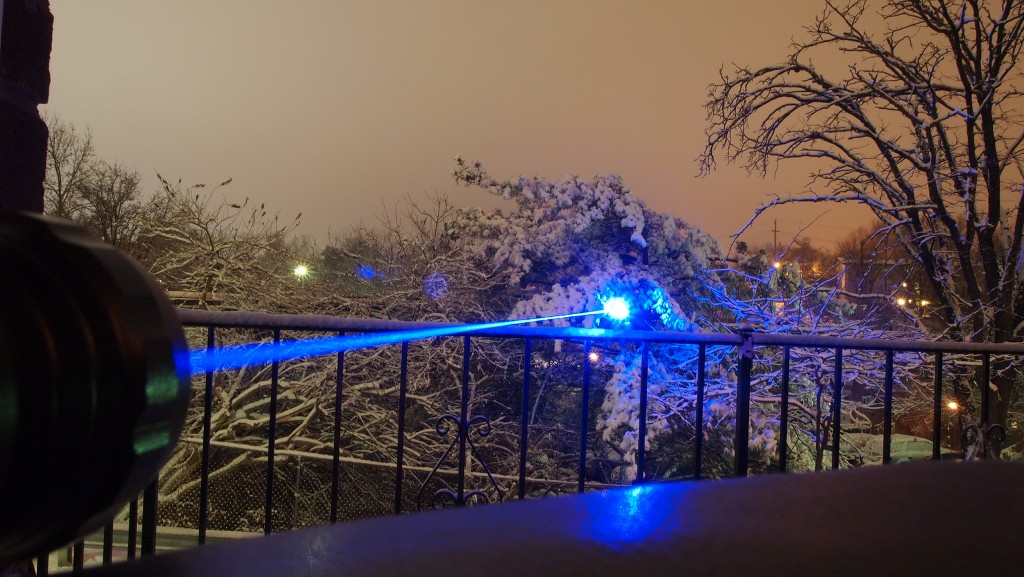
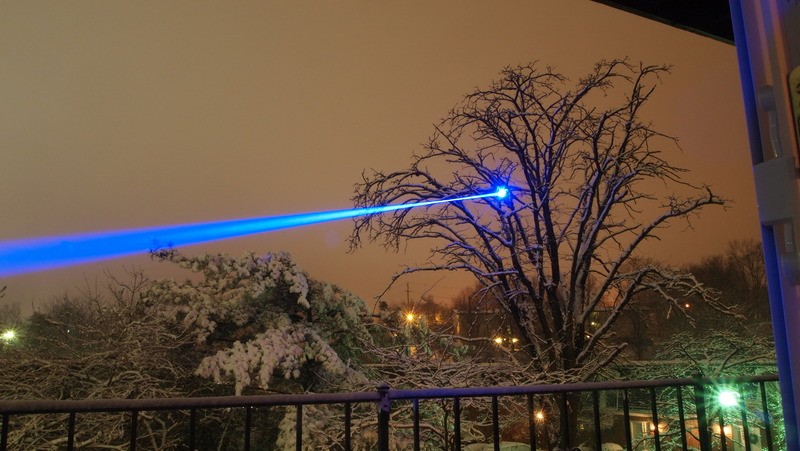
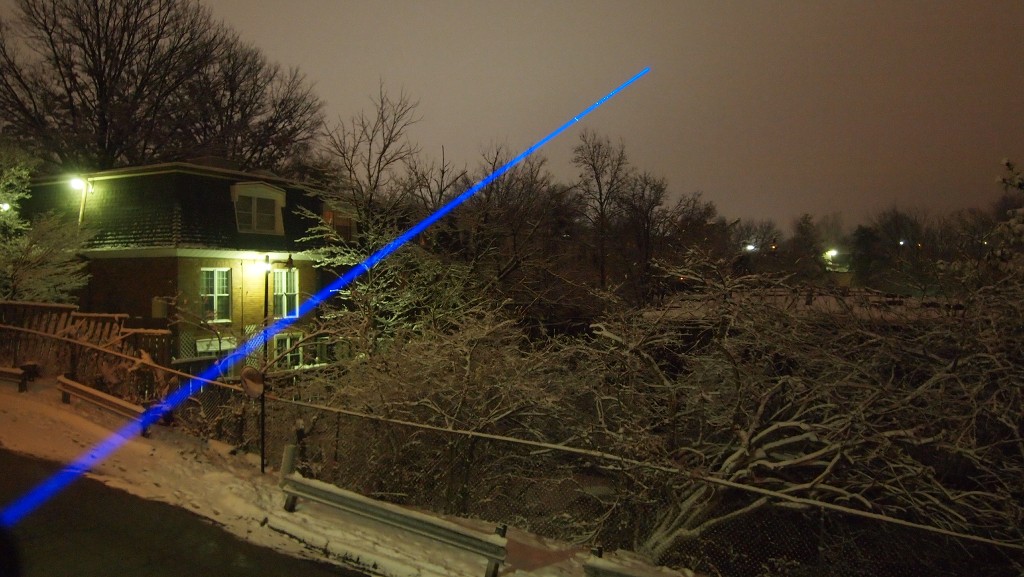
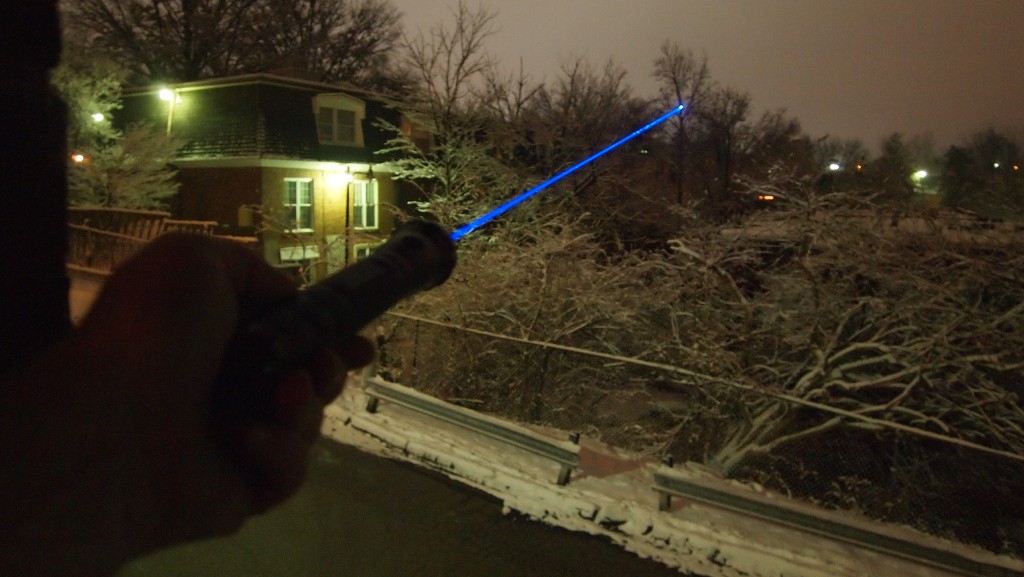
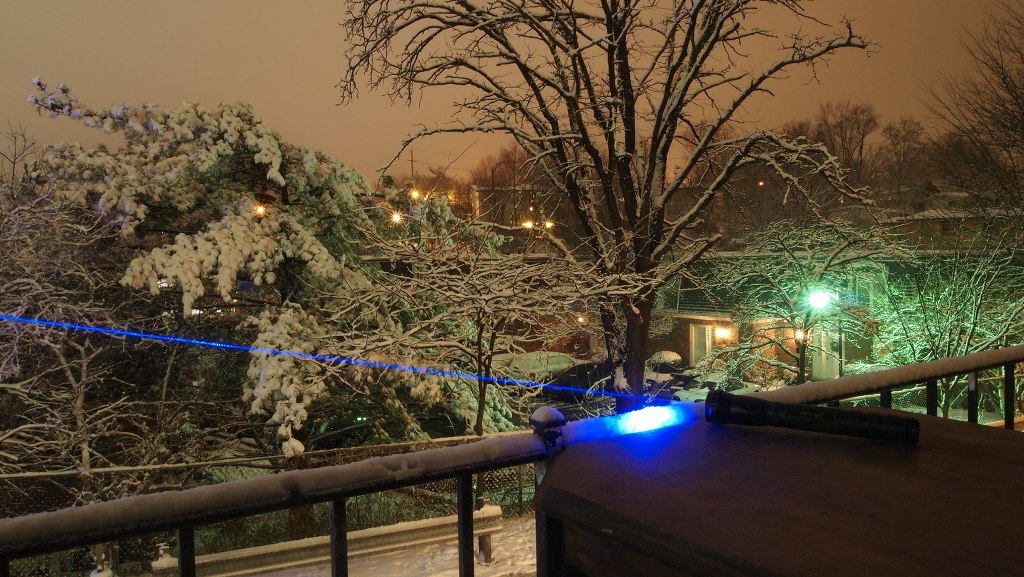
Beamshots

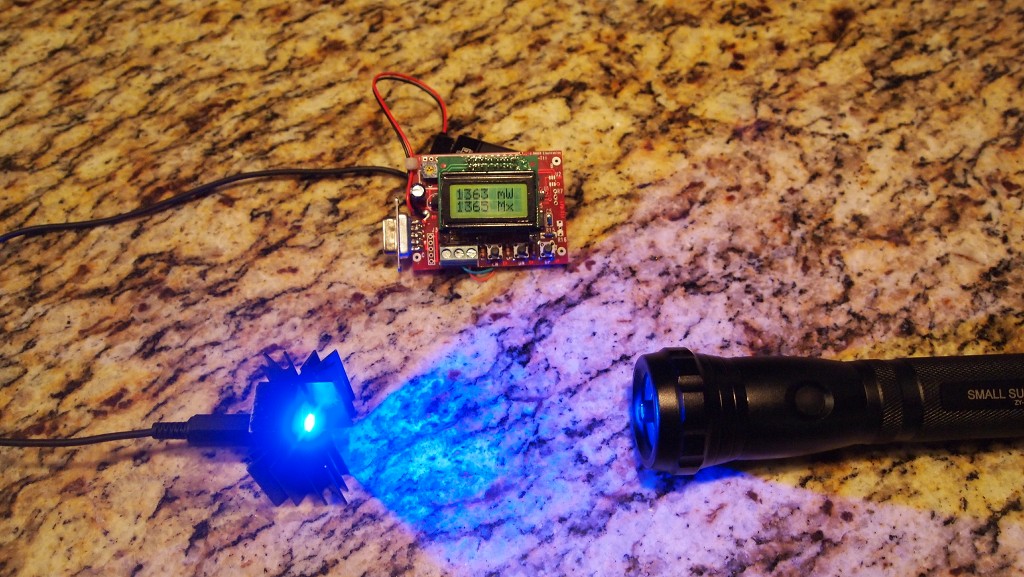
LPM Test
I am waiting on my G-1's to arrive and will update this as soon as they get here. But for now here is a test with an Aixiz Glass.
Final Thoughts
I want to thank Mohrenberg making this heatsink to order for me.:beer:
This is a very unique unit that was not designed to be a power house but it certainly could be. It can fit up to three of the groove 2 drivers using the half moon aluminum sinked to the host walls for possible 2W builds. The large heatsink could certainly handle it. But with it set to 1A or 1.5A it will run for very long periods of time between charging.
Thanks for reading my review/tutorial. If you would like to see more check the compilation thread in my sig.:beer:
Last edited:


")

 the fact that it has so much runtime is amazing