- Joined
- Jun 24, 2010
- Messages
- 5,705
- Points
- 113
Here is another very inexpensive but nice host from Mohrenberg. I was very excited today to see two diodes from Daguin and this host from Mohrenberg. So I got to build two lasers today.
Also if you would like to see more of my reviews and tutorials please visit my compilation page.
http://laserpointerforums.com/f51/d...difications-compilation-60258.html#post852148
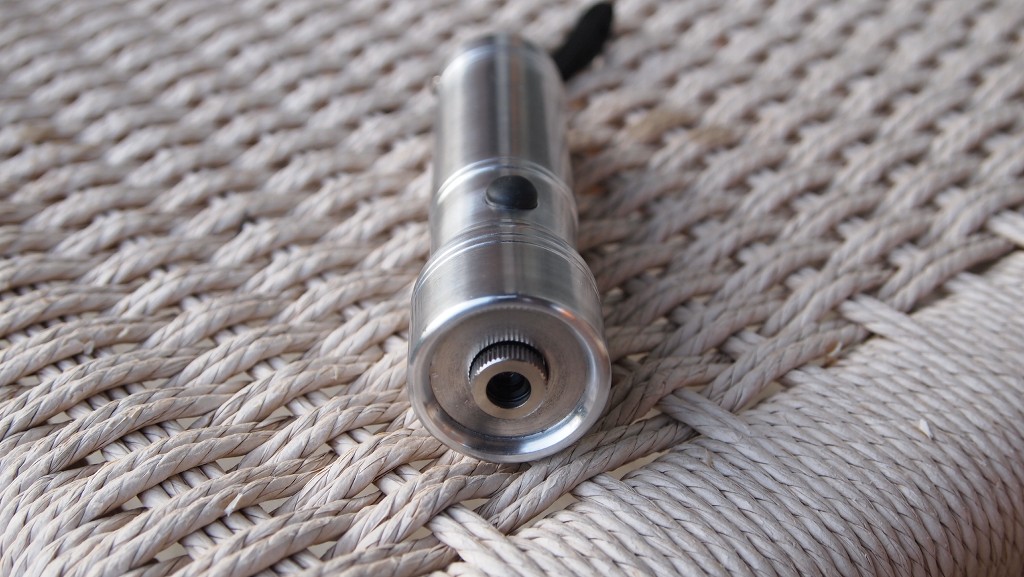
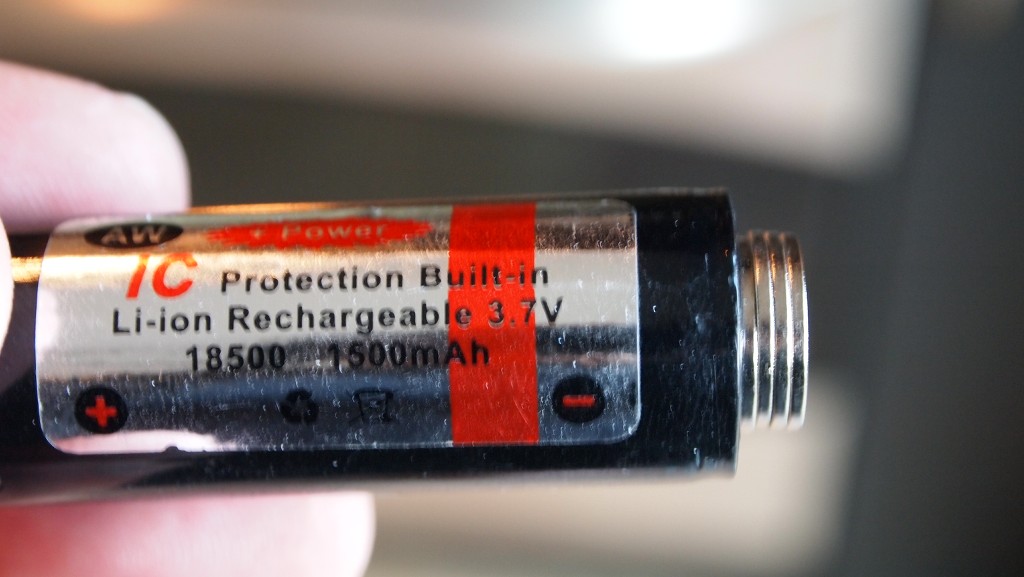
I have to say I was not expecting much for $20 but this thing actually feels great. It is compact and looks good. The side clicky is great. And even thou the host will not accept an 18650 I found a 18500 will work nicely.
*Host Picture*
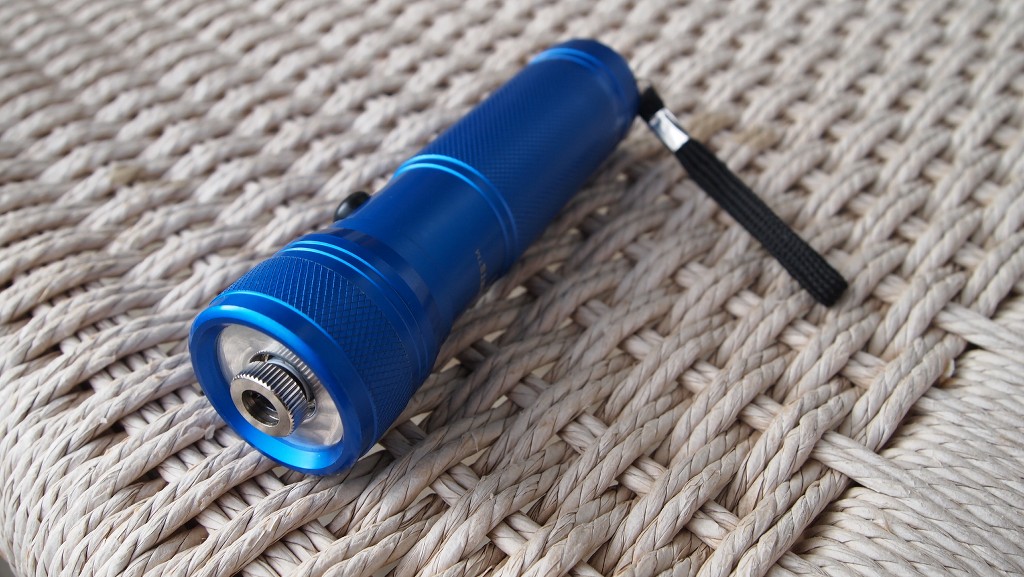
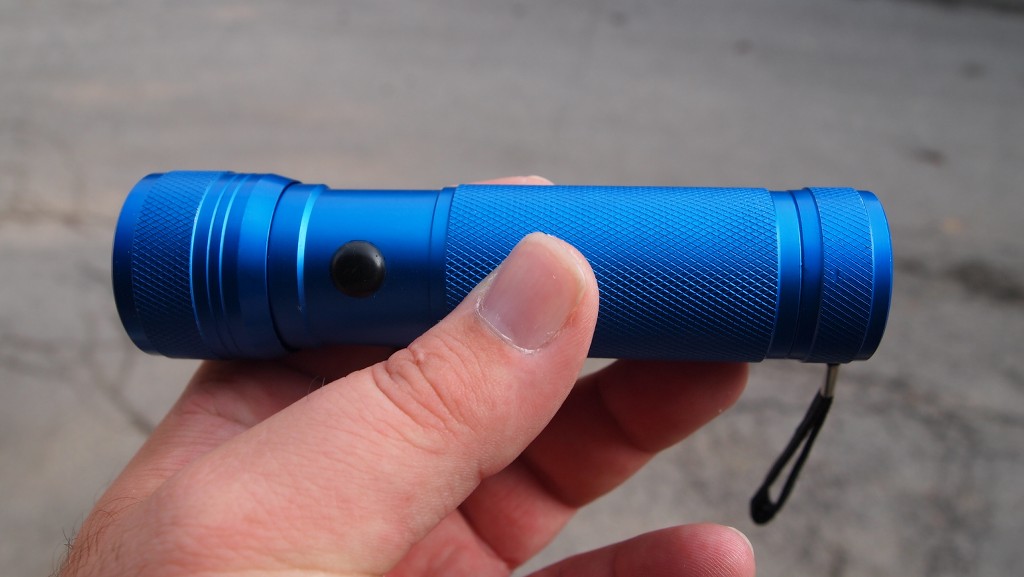
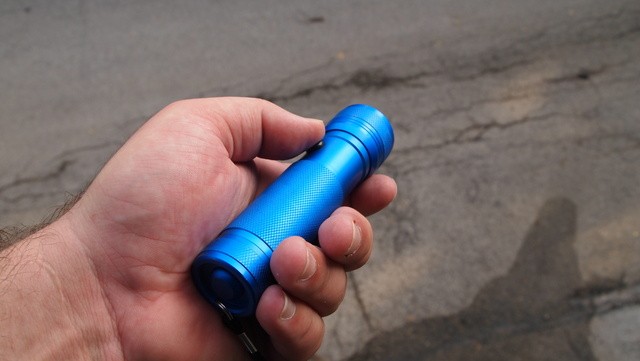
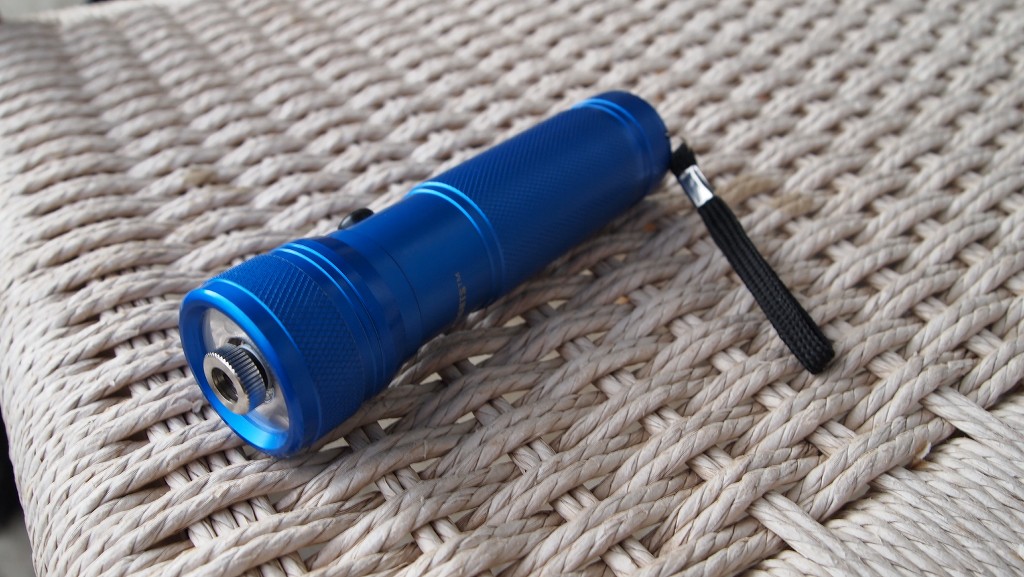
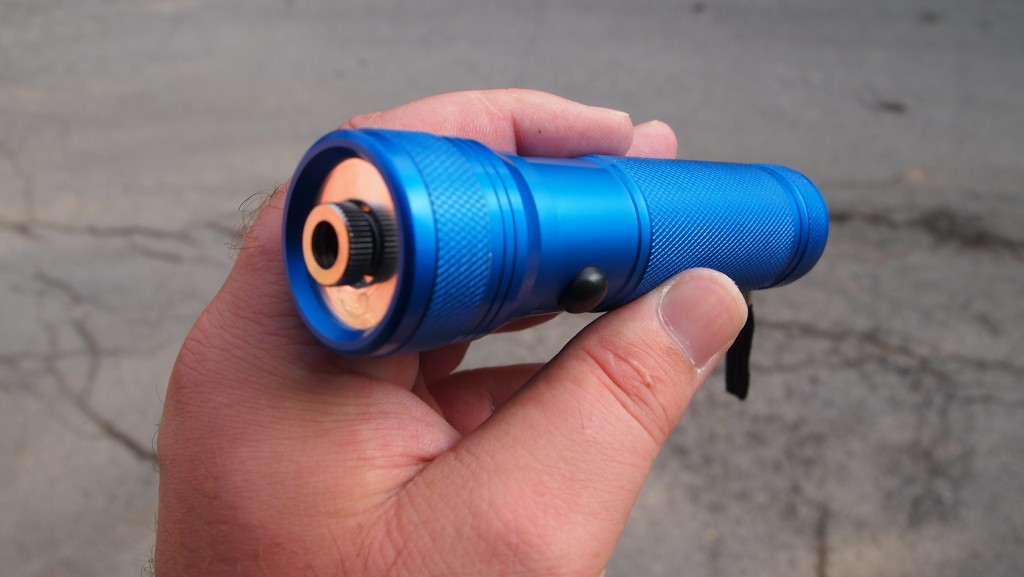
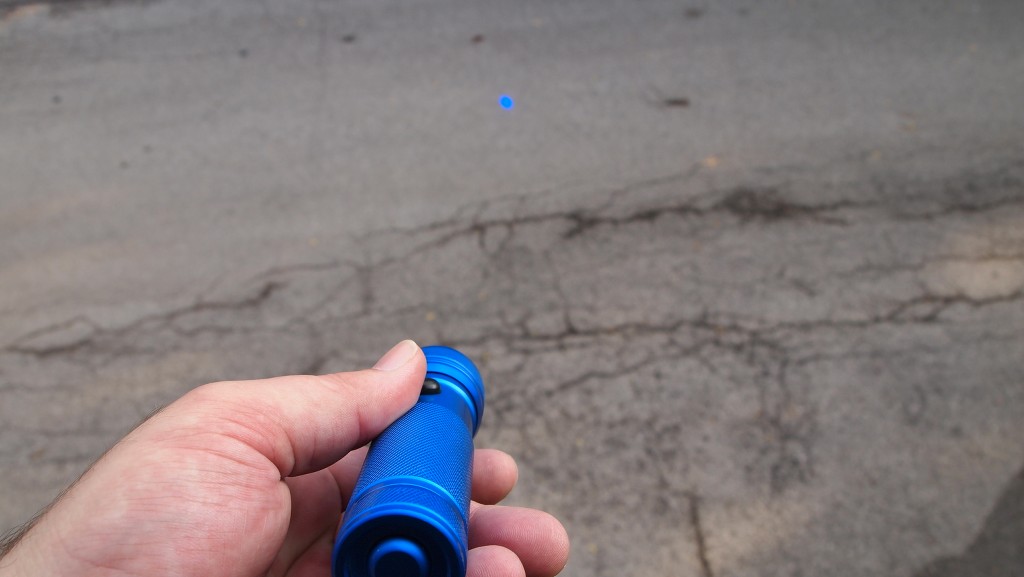
This host can have the body striped of the paint and polished for an extra $10. EDIT just talked to Mohrenberg and he may not be offering the polished look any longer. There is a lot of work and time involved to strip and polish them.
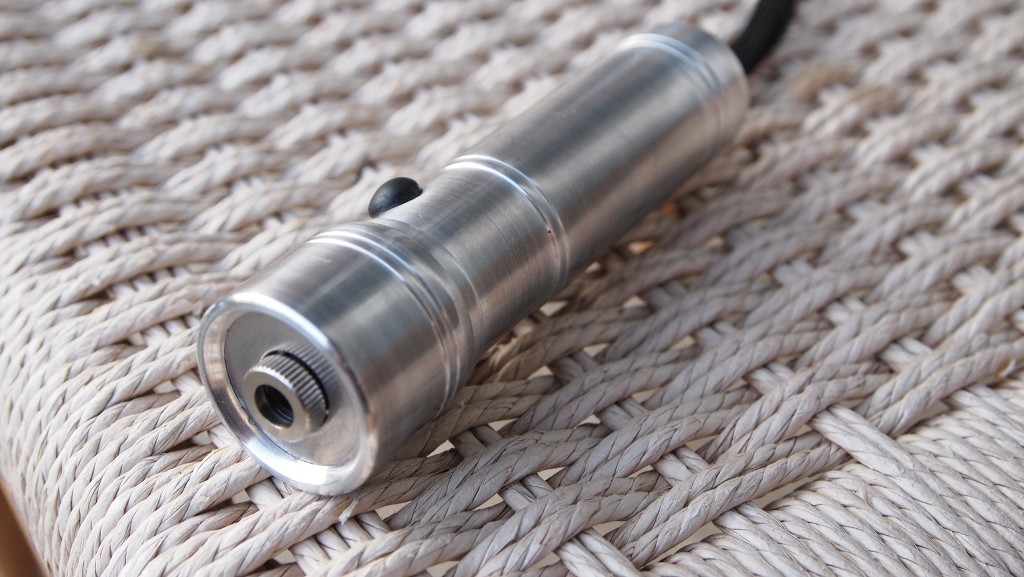
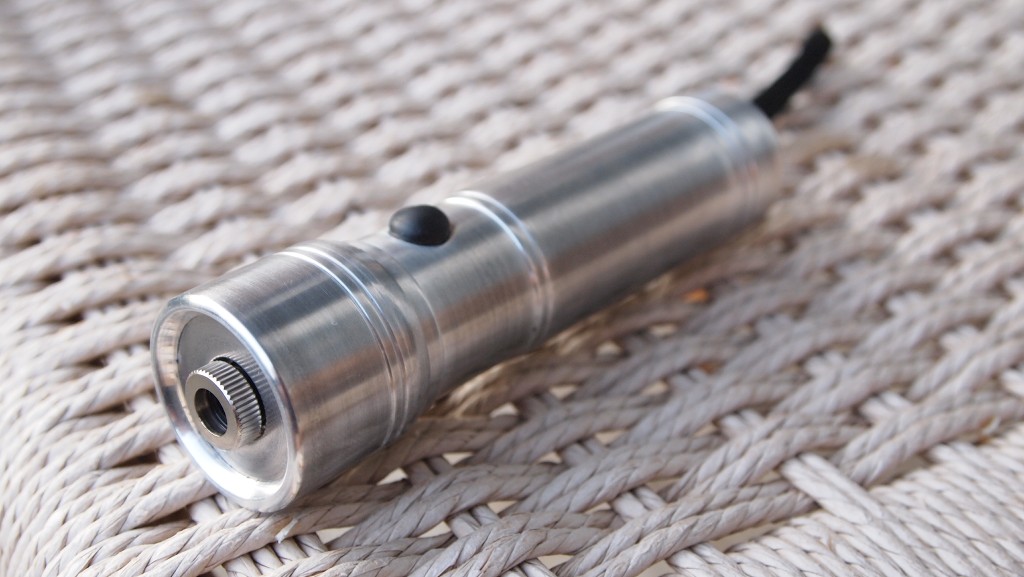

*Assembly Pictures*
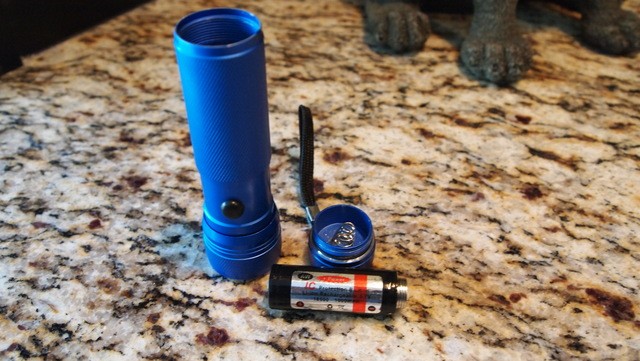
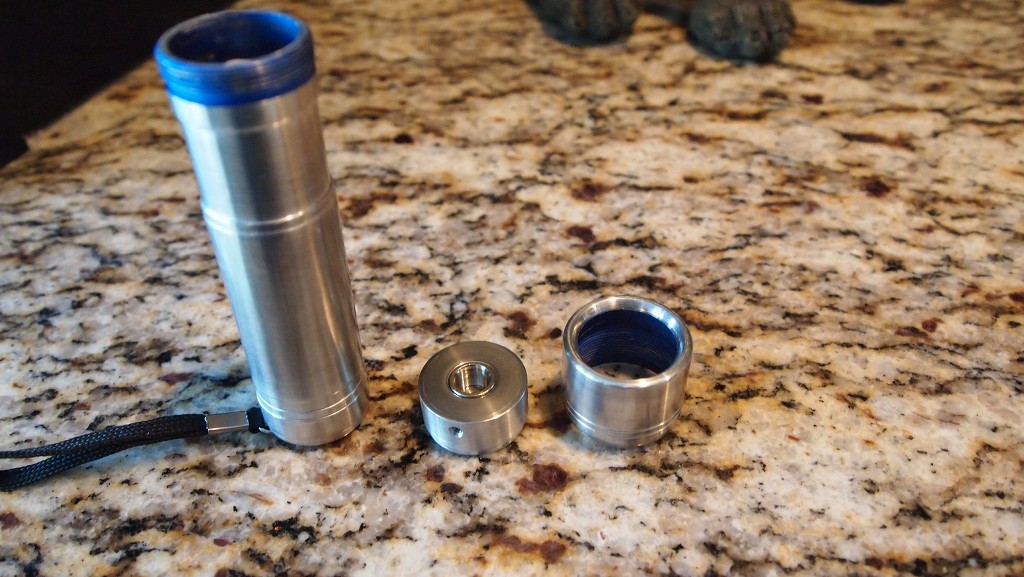
Here are the components of this build. The host body, tail cap, the heatsink, and the head. I found that a 18500 with 3 thin magnets works great with this host.
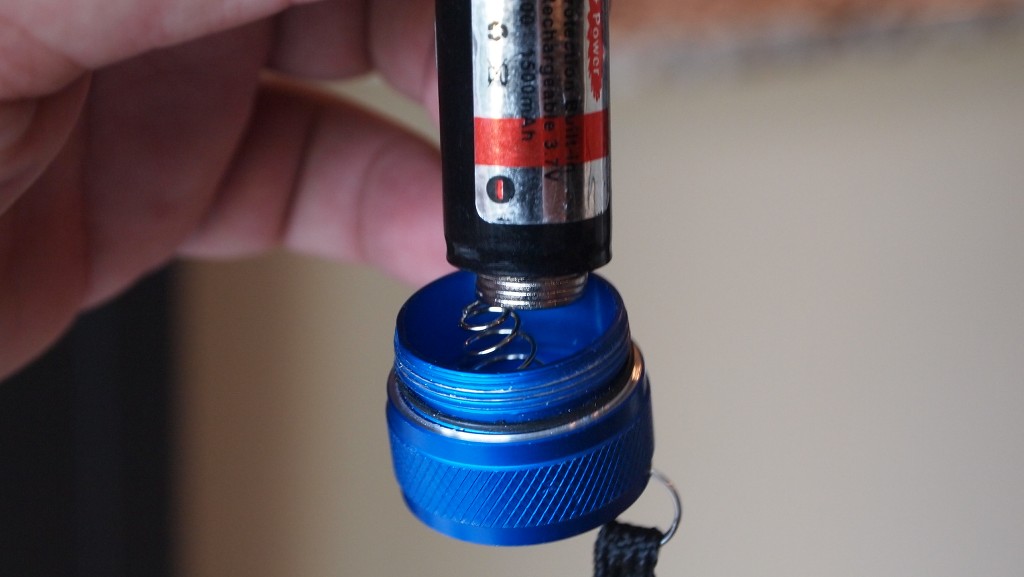
-----------------------------UPDATE---------------------------
I have a great update for this host. I have found a higher capacity battery that fits like a glove. It is a 22600 2500mAh battery. The real great thing with this battery is that it takes no modification of the host to make it fit. Here are some shots and a video of the unit I built tonight with this battery.
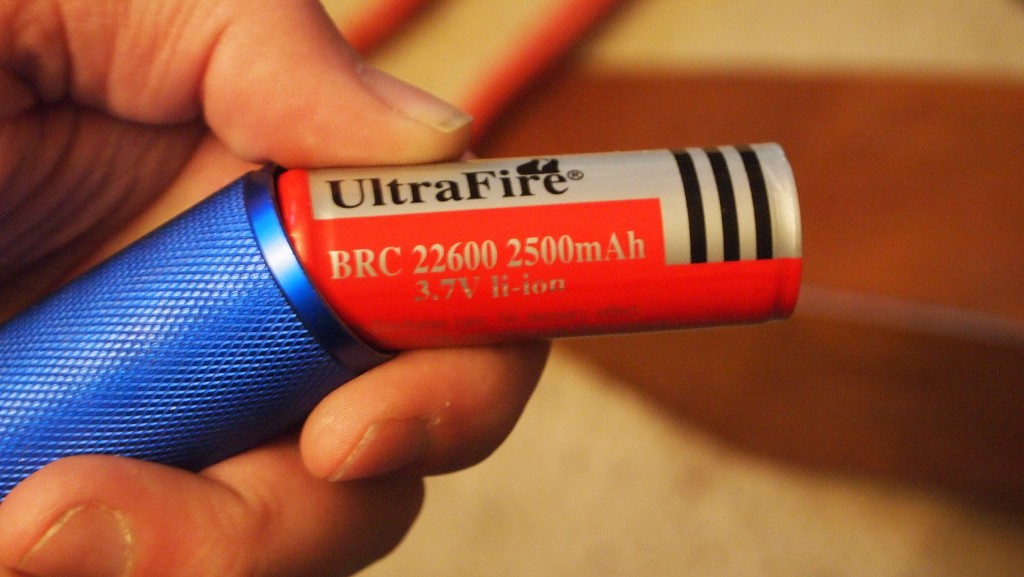

-----------------------------------------------
New way of modding for the 18500.
When you first open the host it has a retainer that helps keep the switch in place. You will need to use a screwdriver to pop it out.

Once you have the retainer out. You can see the pill area and the contact pad.
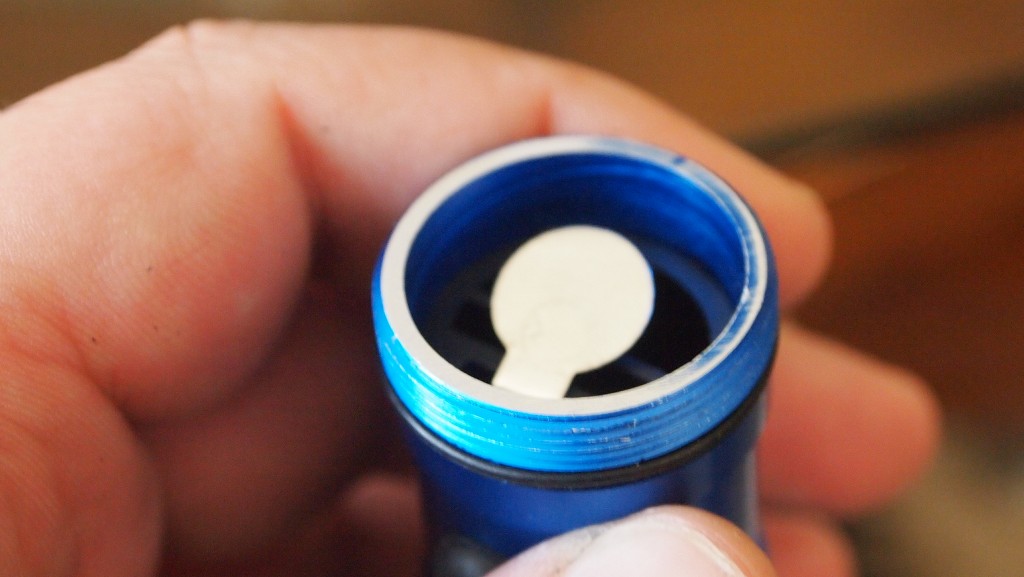
Bend the tab into an upright position.
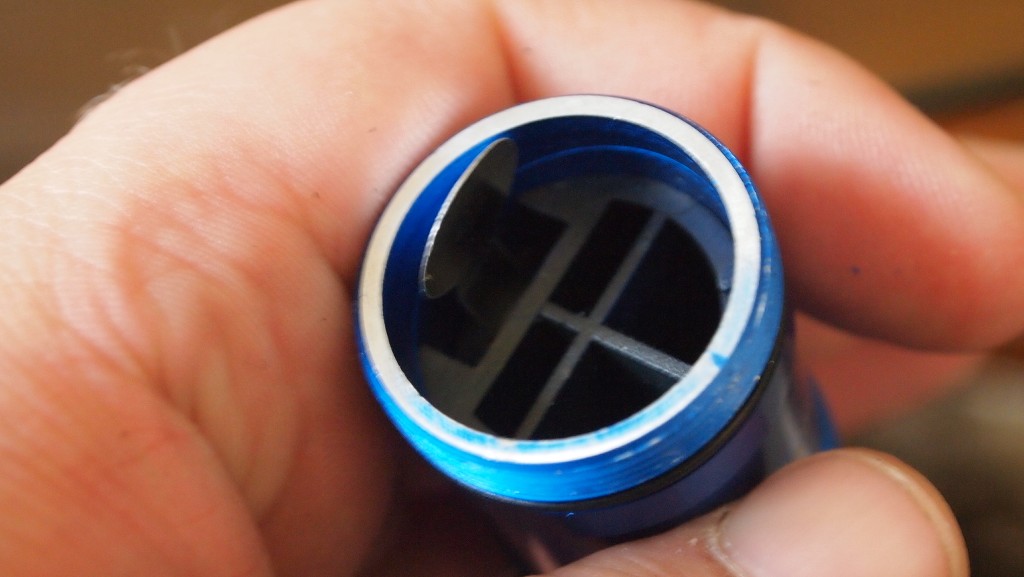
With the tab in the upright positon you can now slide the spacer out with ease.
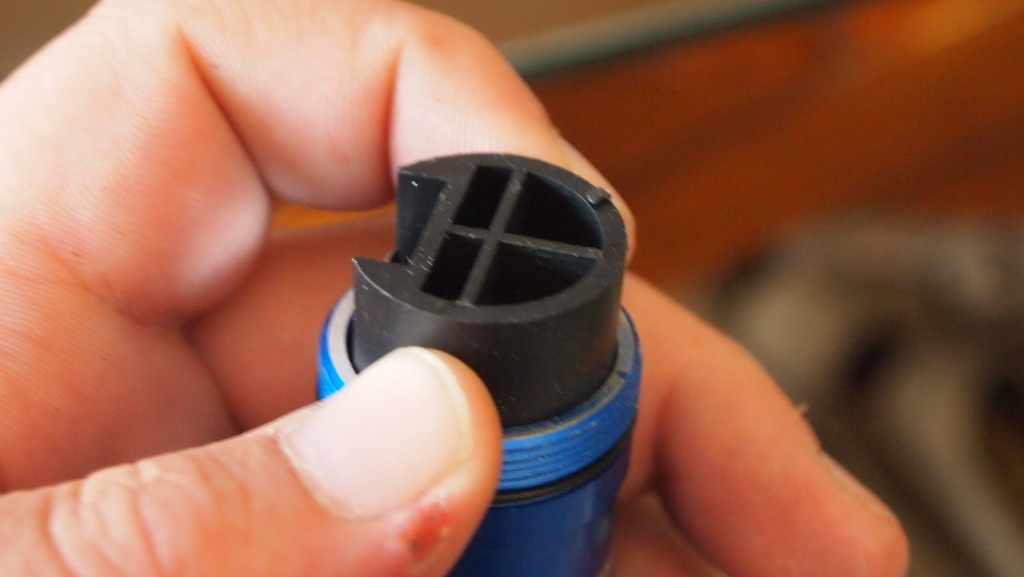
Now that the spacer is out you are left looking at the clicky.
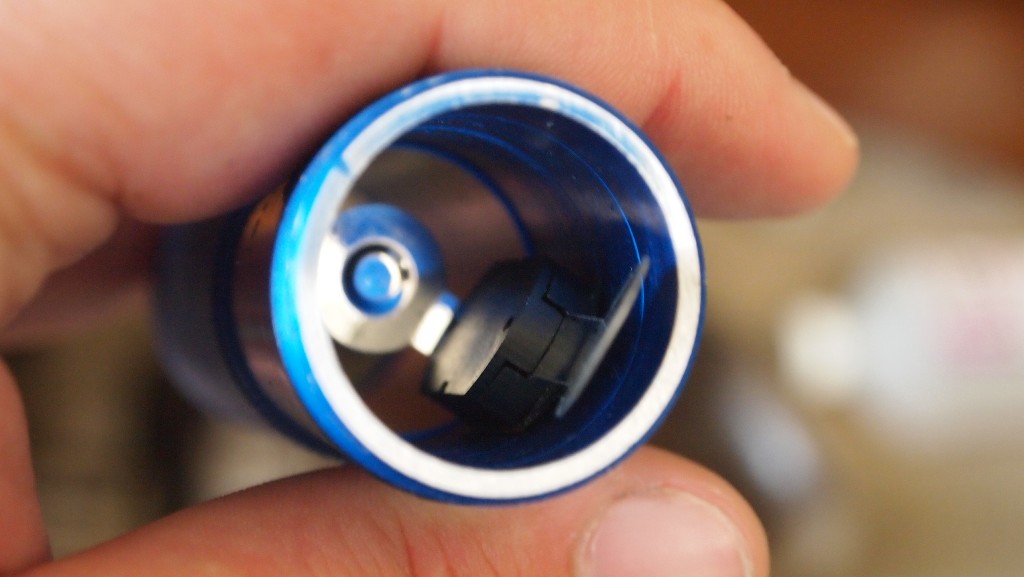
Remove the clicky from the host.
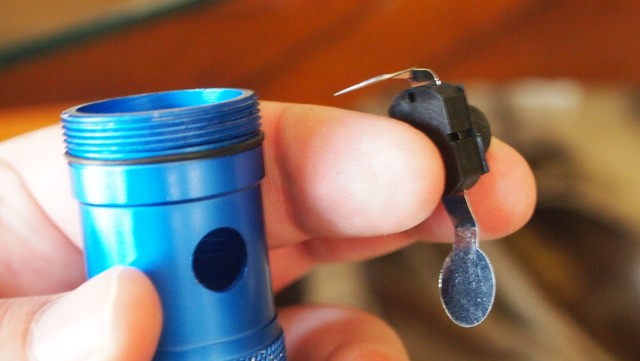
Next get the AAA holder so you can get a spring.

Just grap it with some needle nose pliers and it will come right out.

Next I like to mount the clicky in my helping hands.
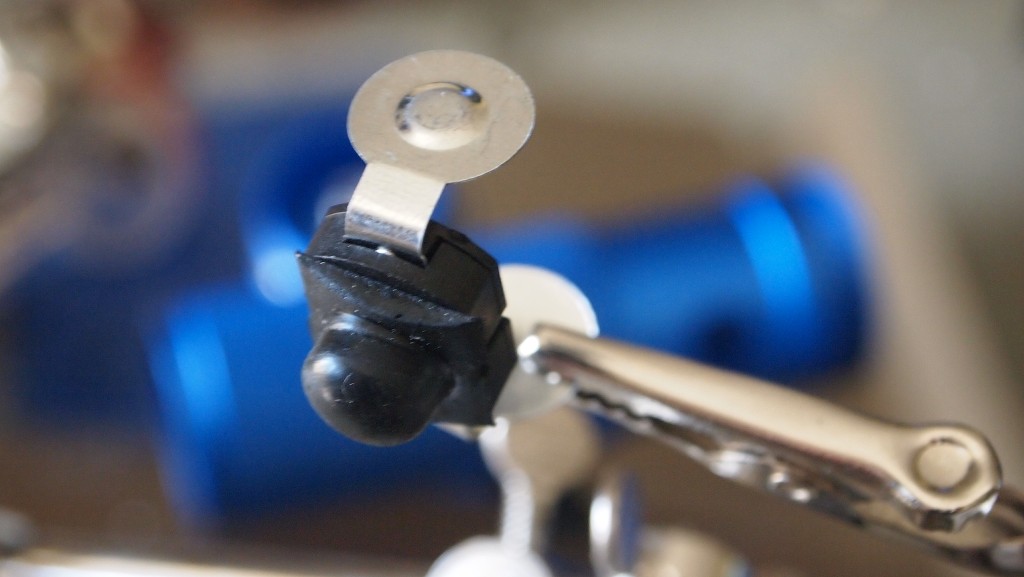
Then solder the spring to the contact pad that will connect with the battery in the host.
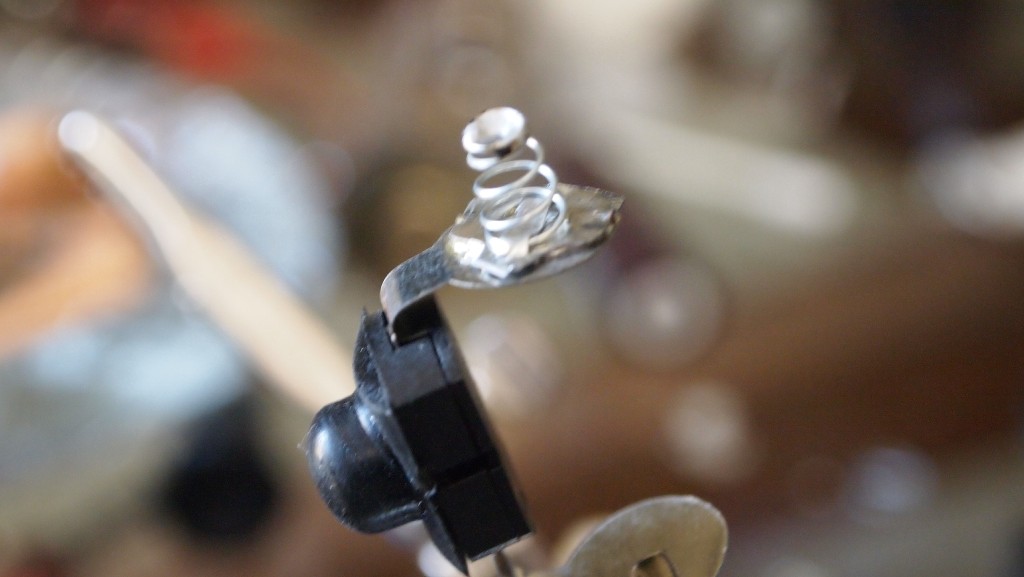
For an added bonus I take an 8mm super strong rare earth magnet that you can get in packs of 100 from DX and solder it to the top of the spring. It works amazingly to center the battery when inserting it in the host.
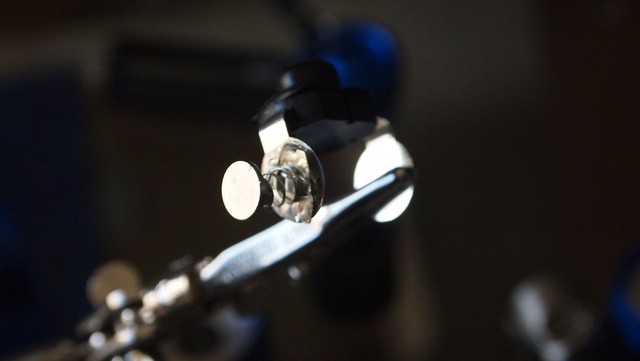
Next I like to increase the size of the pill for working room. So I get the spacer out.
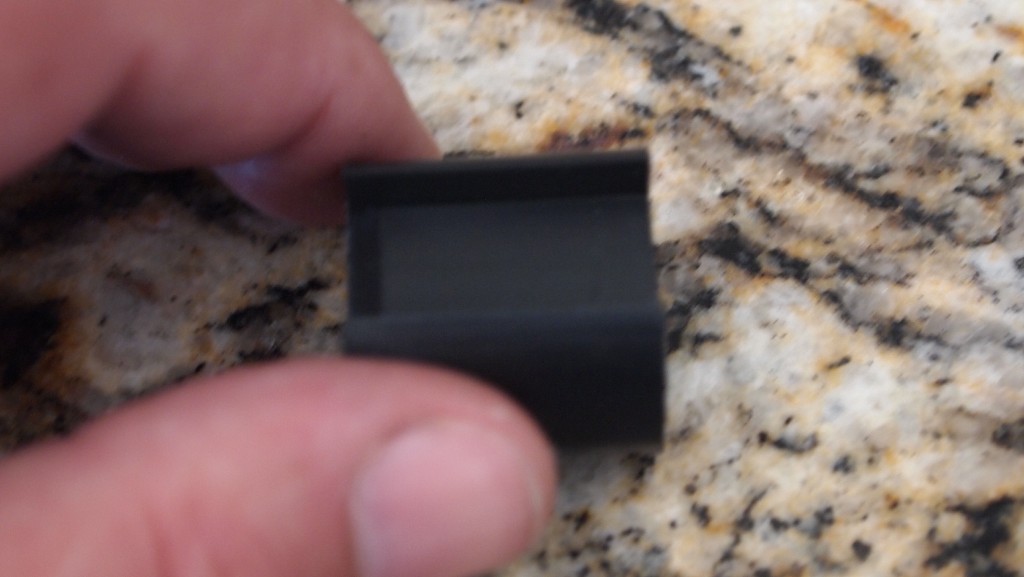
Then I cut it a little shorter.
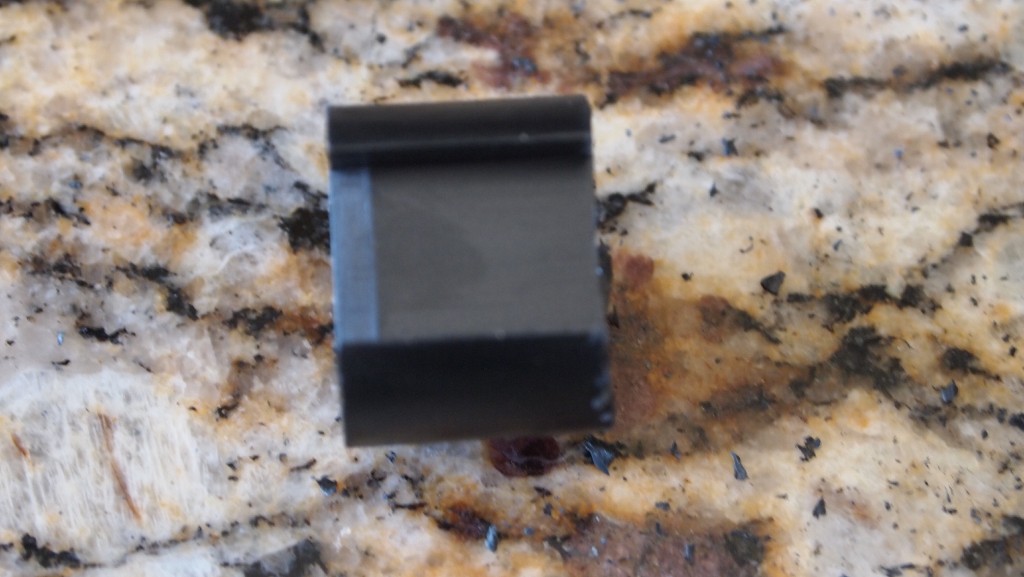
Now reinsert the clicky in the host with the spring facing the back of the host.
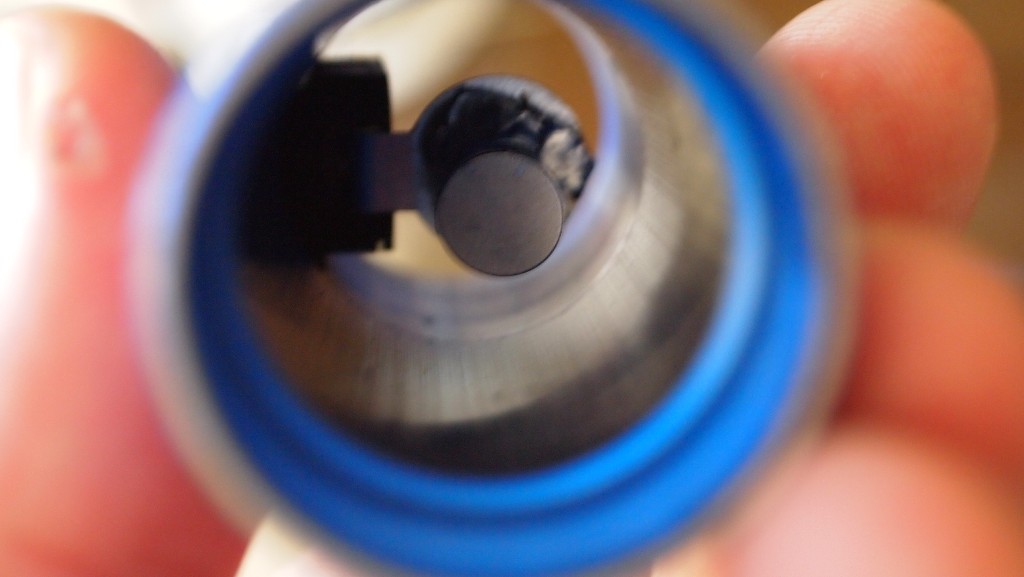
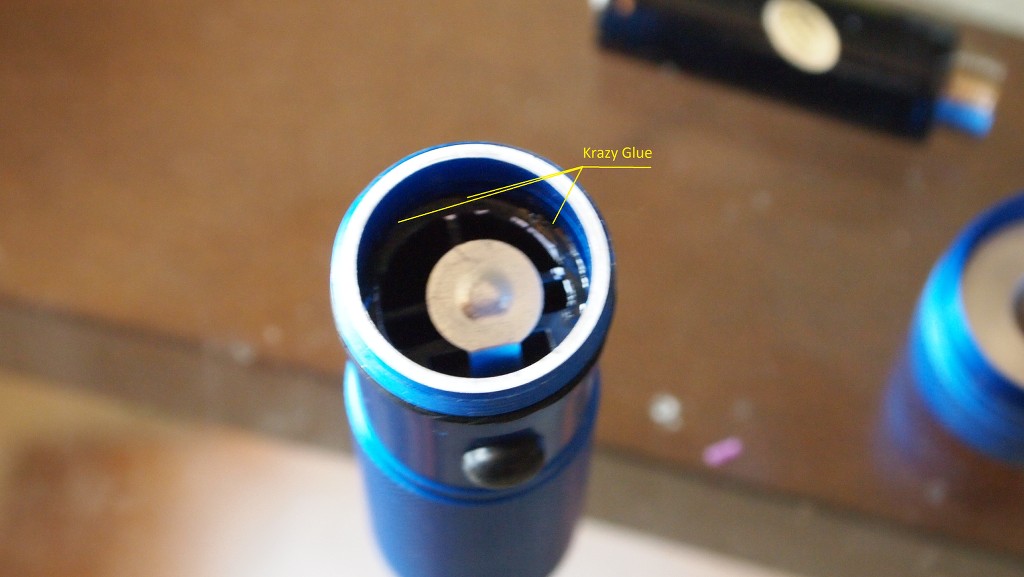
Slide your retainer ring in and add some Krazy Glue to hold the spacer in place since we will not be using the original retainer.

Now since we shortened the pill the contact pad in the pill is a little longer to keep it from touching the side of the host just bend it over with some pliers and you are done.
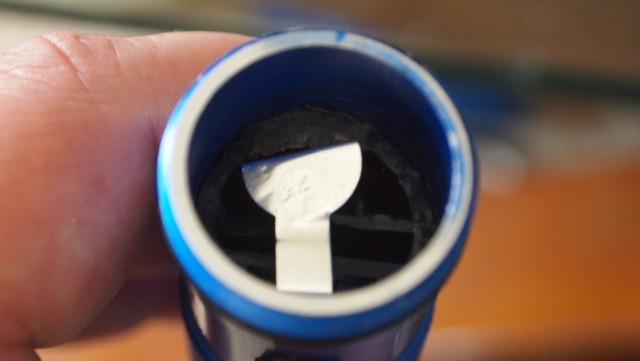
Now you have a much larger pill and a perfectly centered battery with no magnets attached for spacing that has better pressure on it when the tail cap is tightened down.
Here is the custom made heatsink. The front is nicely polished.
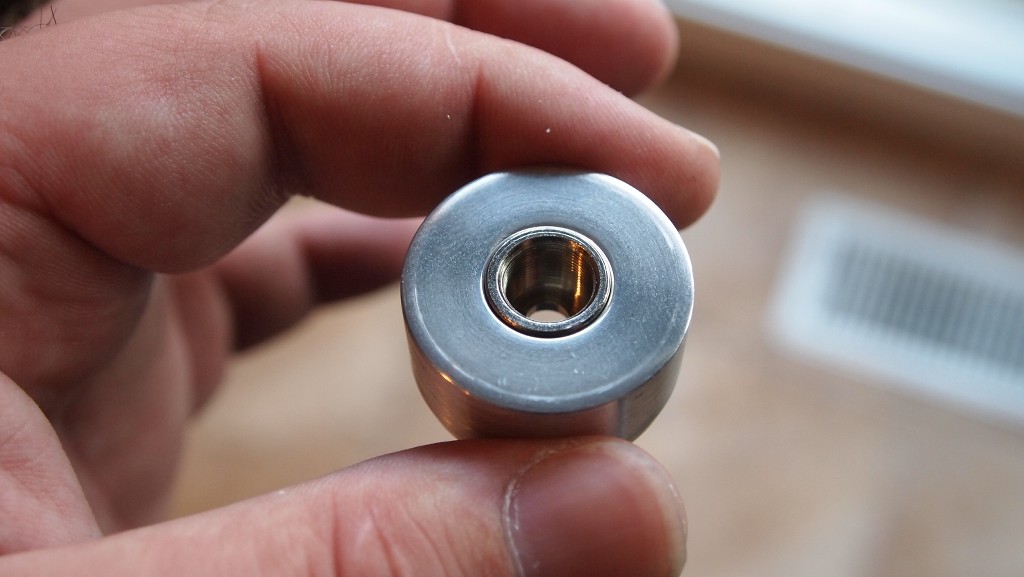
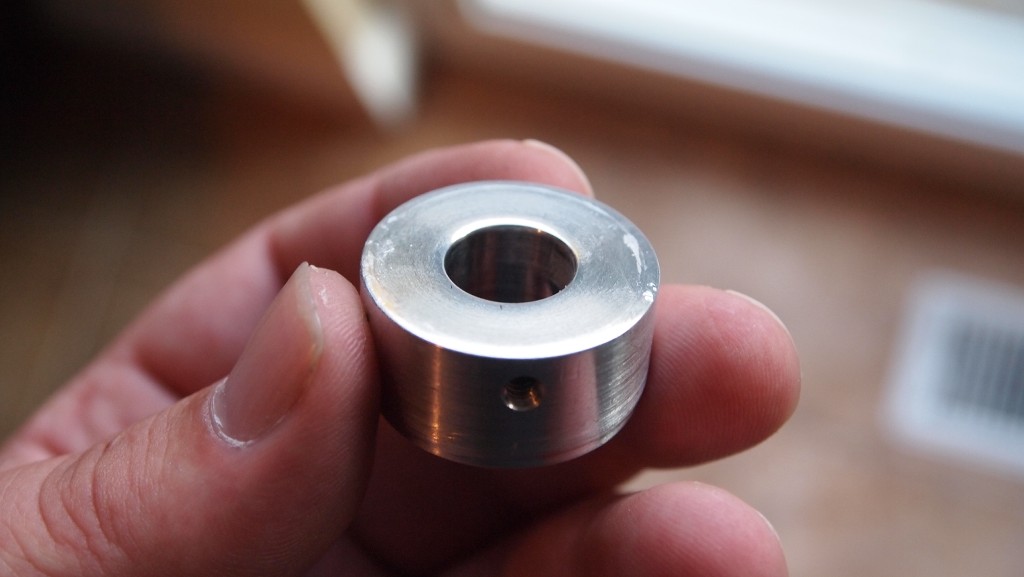
The pill has enough room for the host and fairly long set of wires to fit inside. The clicky connect to this plastic retainer. It is loose being only connected to the clicky so I like to put a little crazy glue to hold it solidly in place which keep from having uneven pressure exerted on it.
I use an isolated line from the case pin back to the driver negative input on builds that don't have an easy to get your negative feed from the pill of the host. I do this weather I am using a microboost or the flexdirve which has an alternative method of shorting the case pin and the negative. Did the same method with my 1.5W Ehgemus using a flex that I built today as well.(Review forthcoming)

I set the microboost to 1006mA and wrapped it up in some electrical tape and soldered the positive line to the contact point in the host.
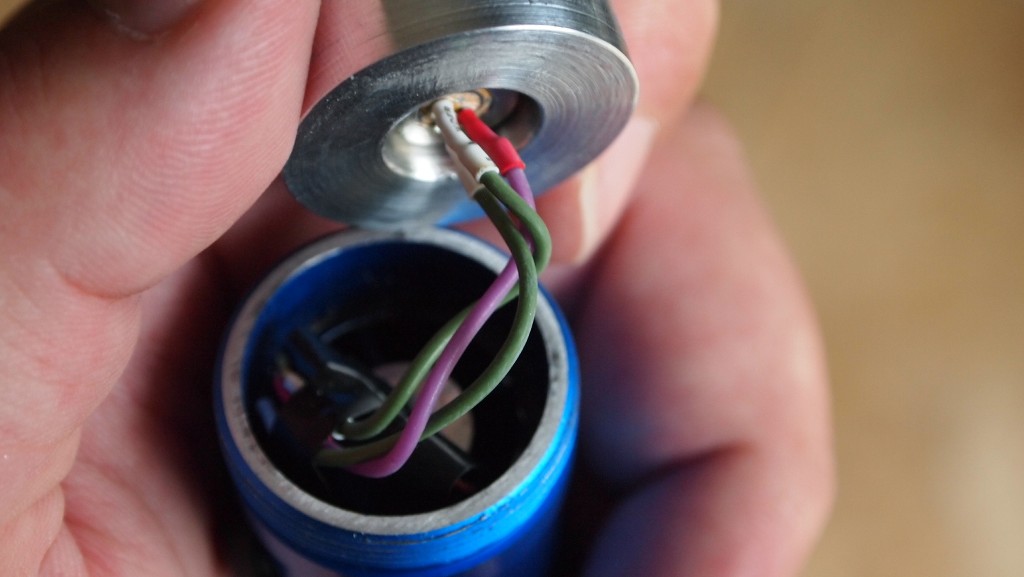
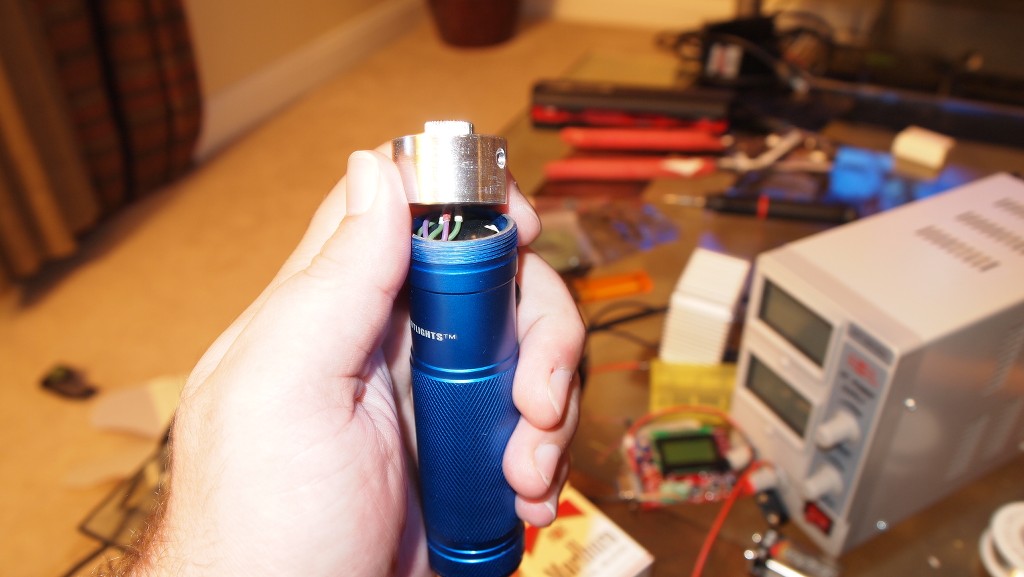
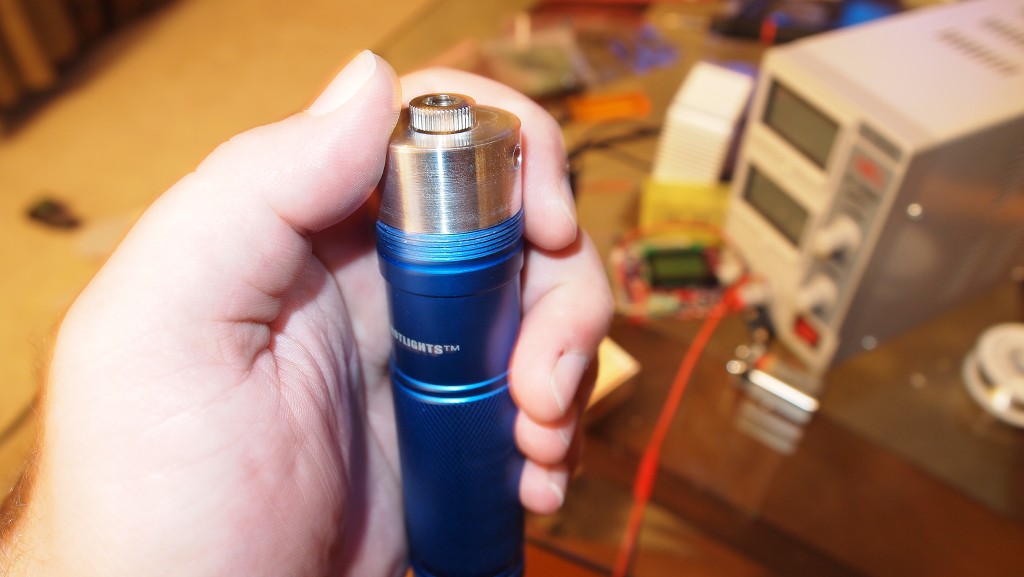
Remember when you screw your head on to put pressure on the heatsink against the pill so it does not spin possibly twisting your wires.
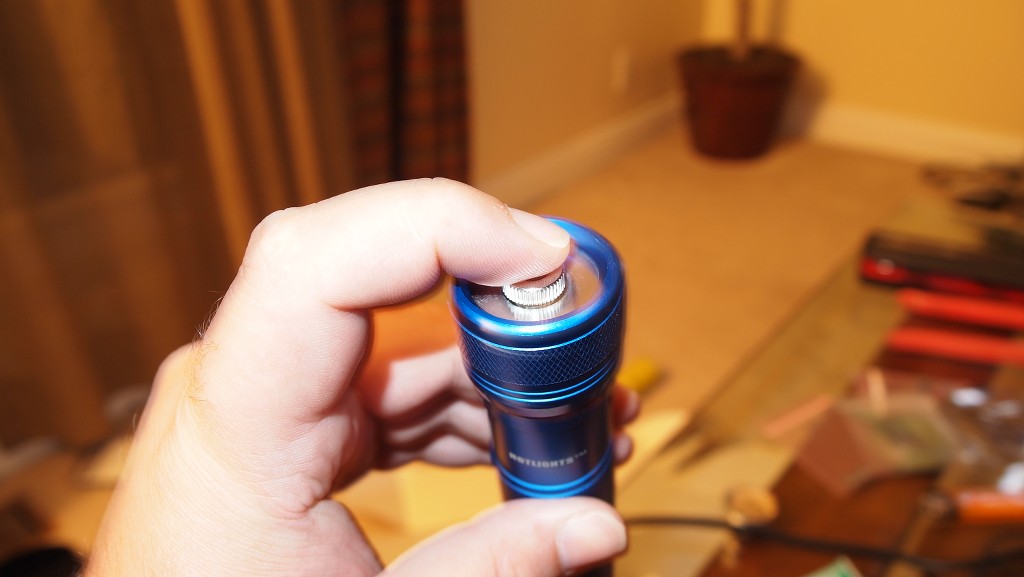
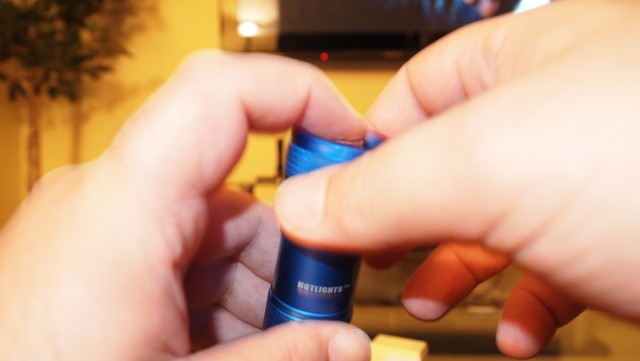
Now that it is all put together you are ready to go.
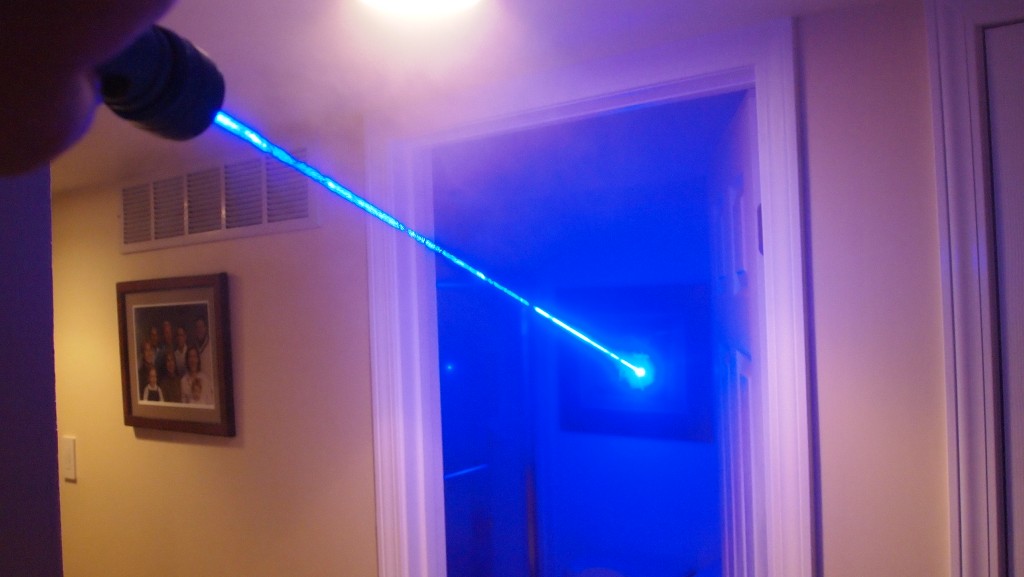
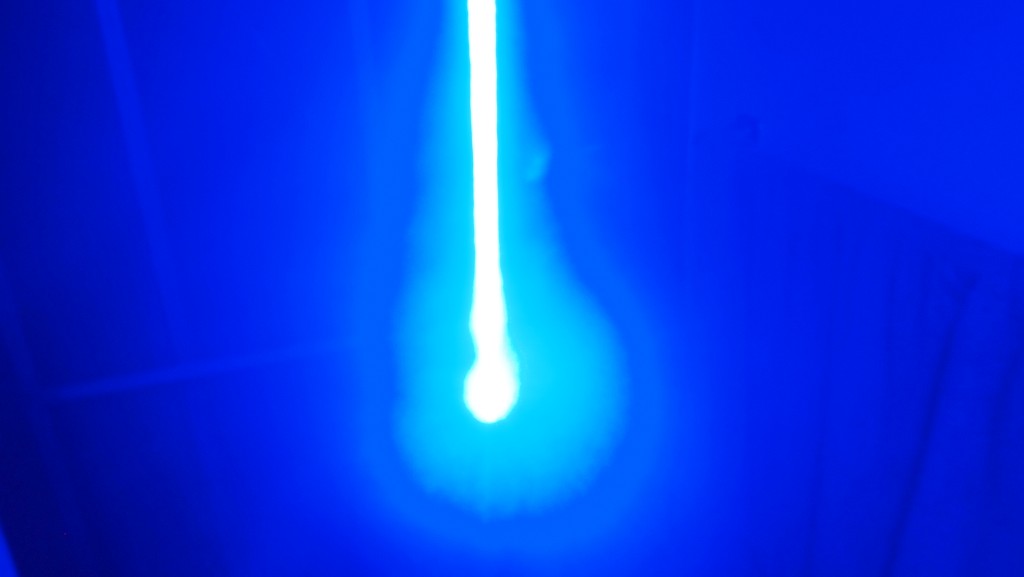
*Beam Shots*
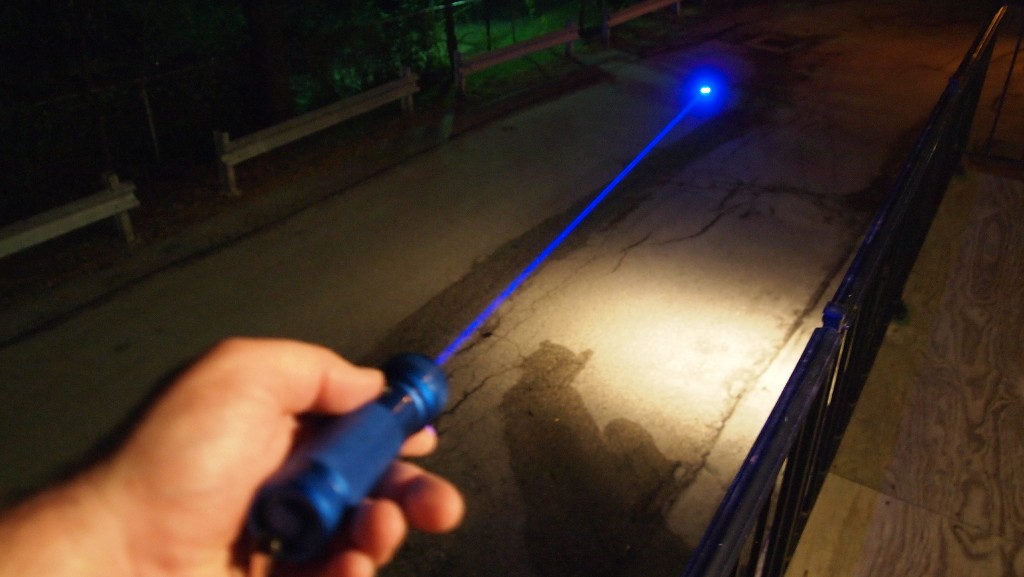
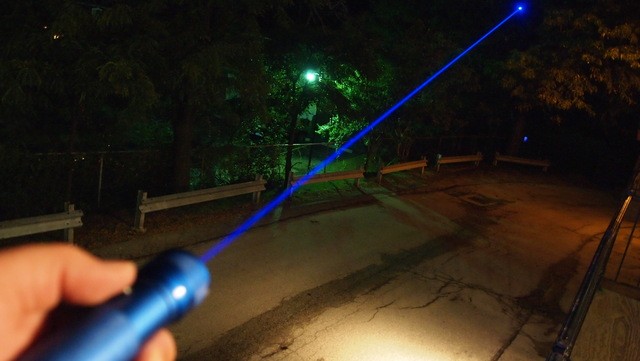
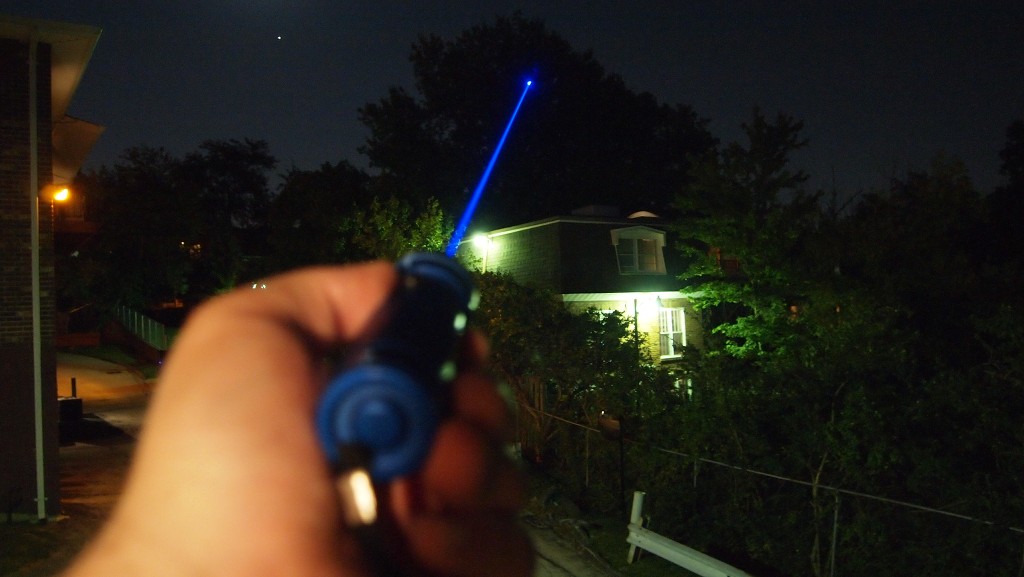

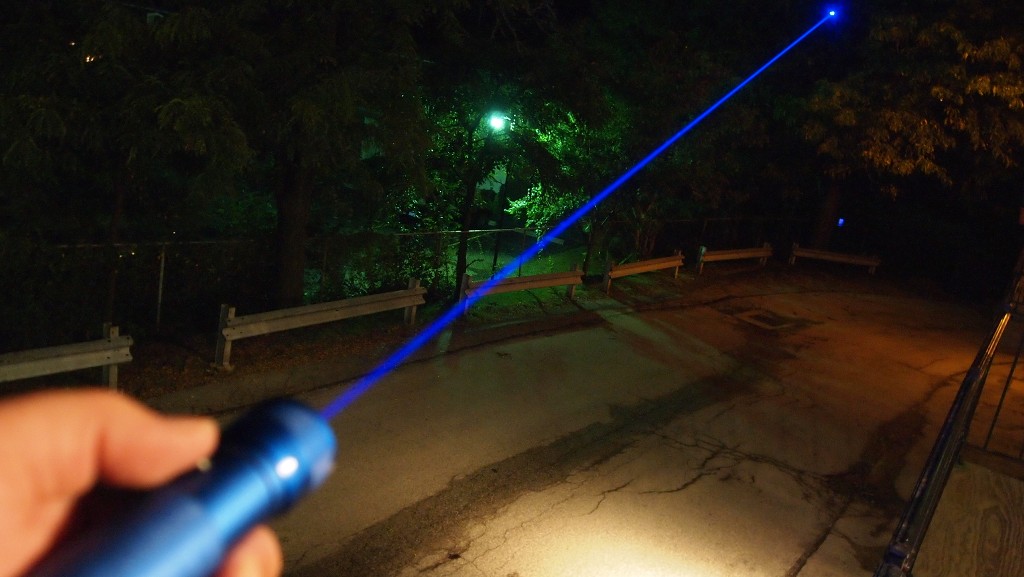
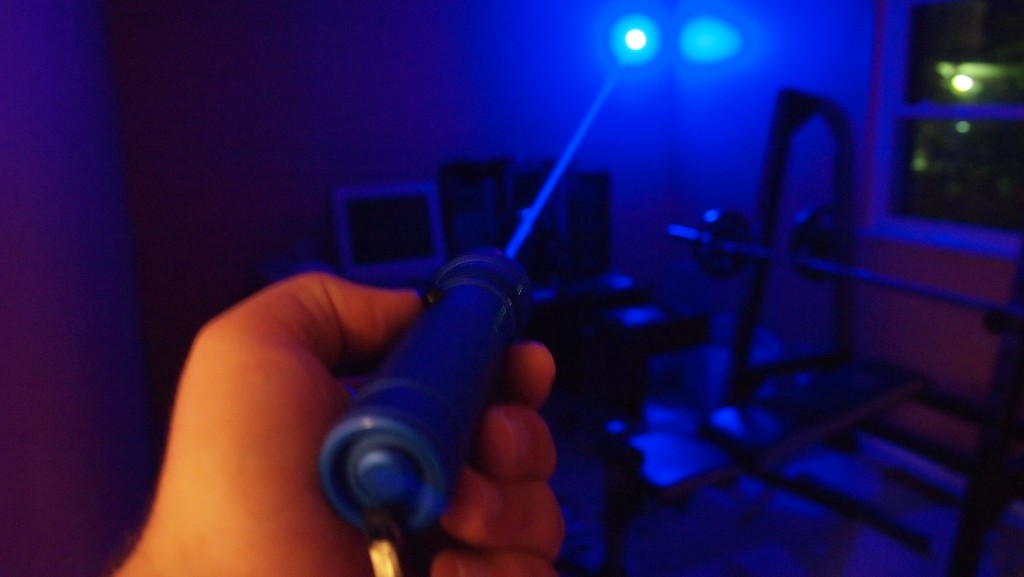
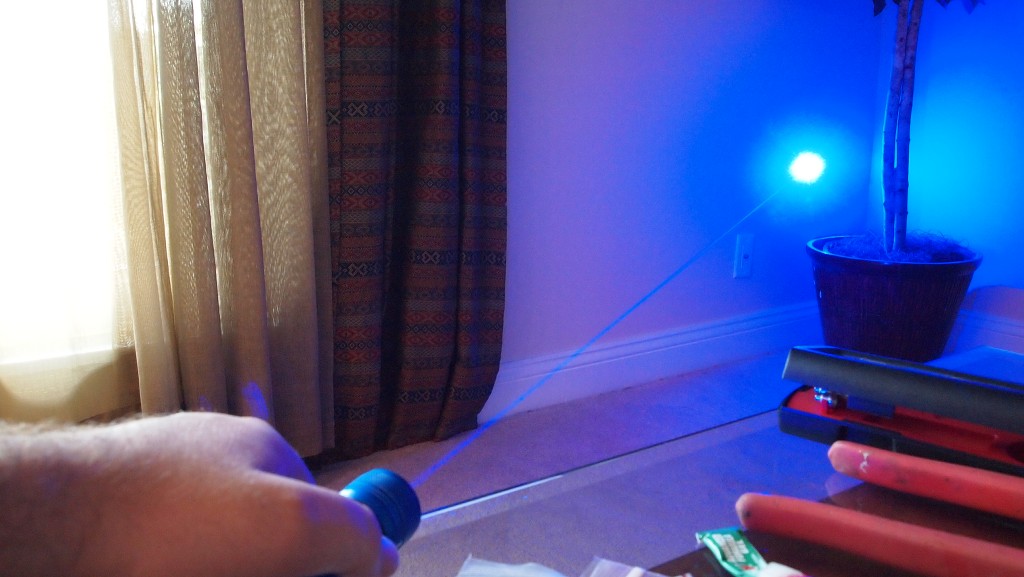
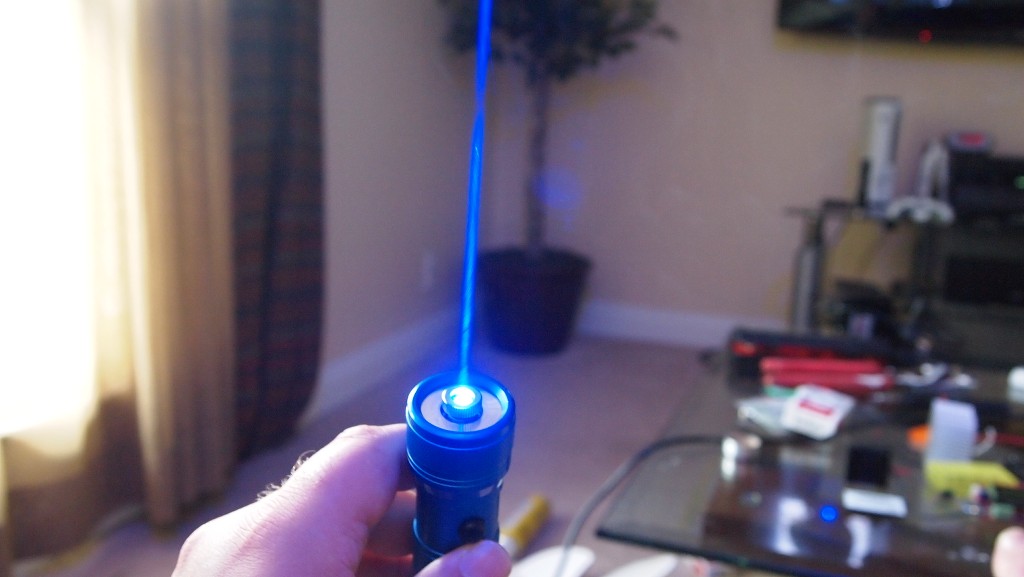
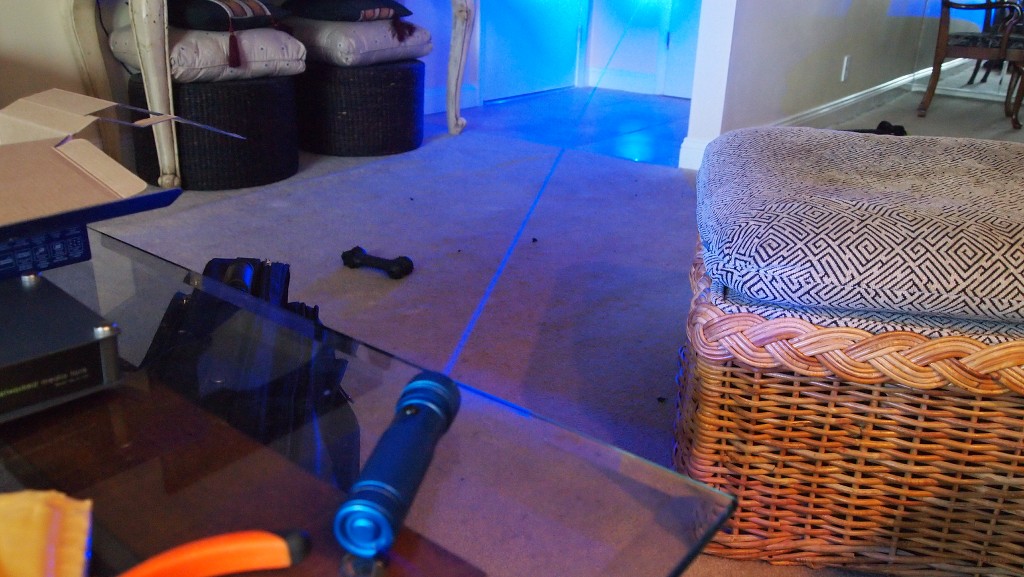
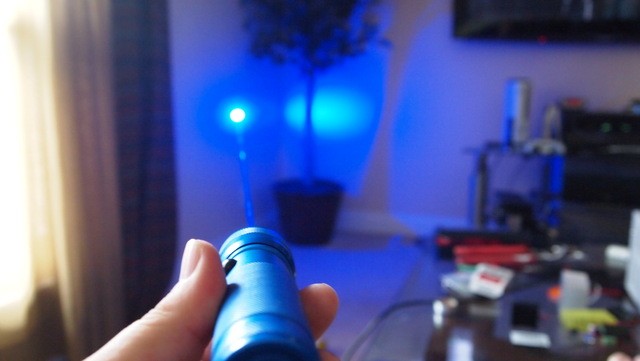

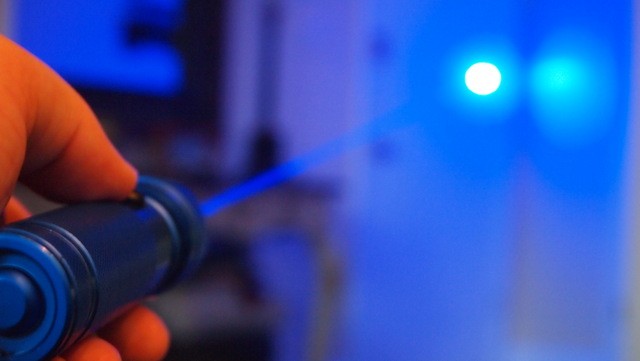
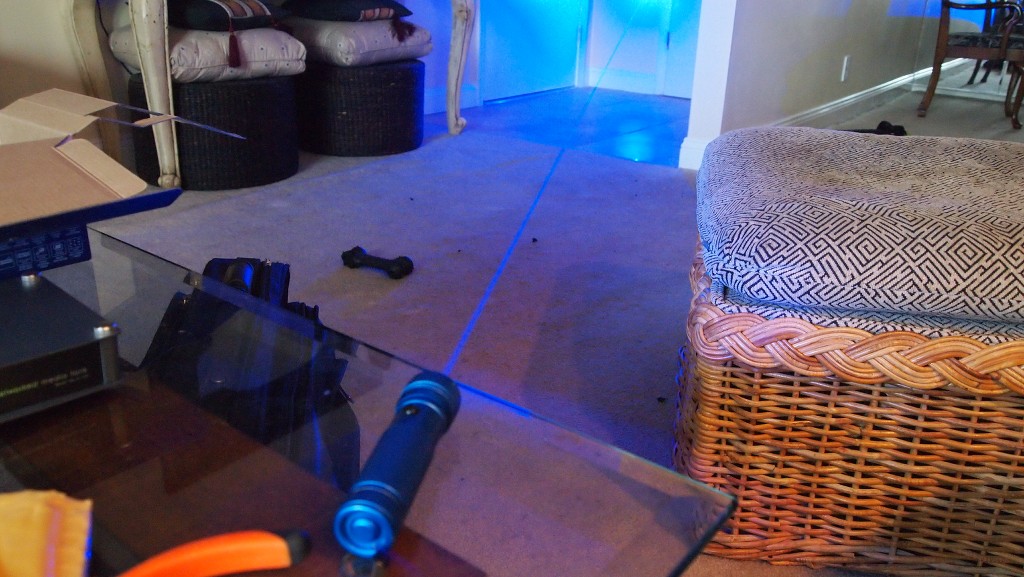
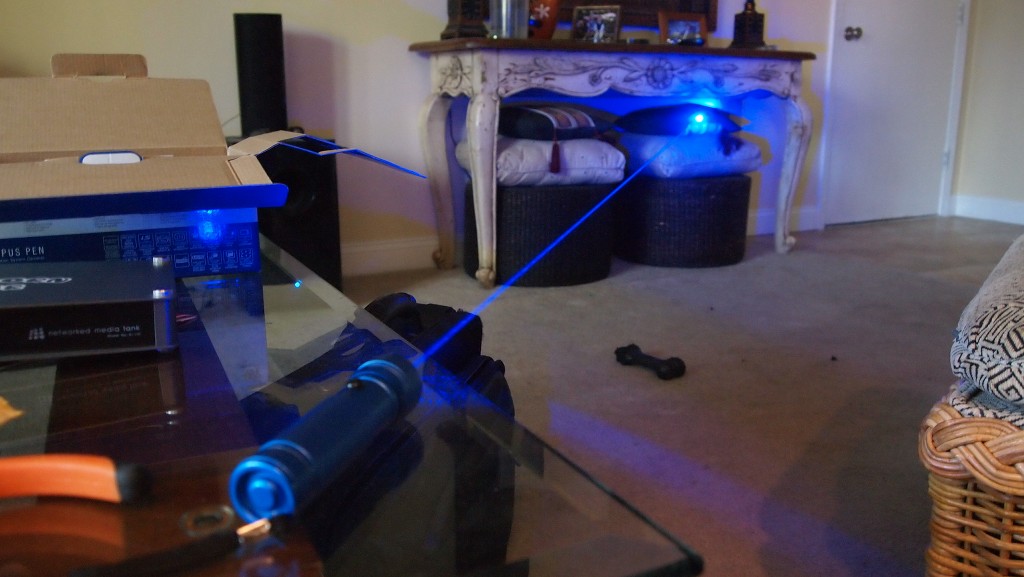
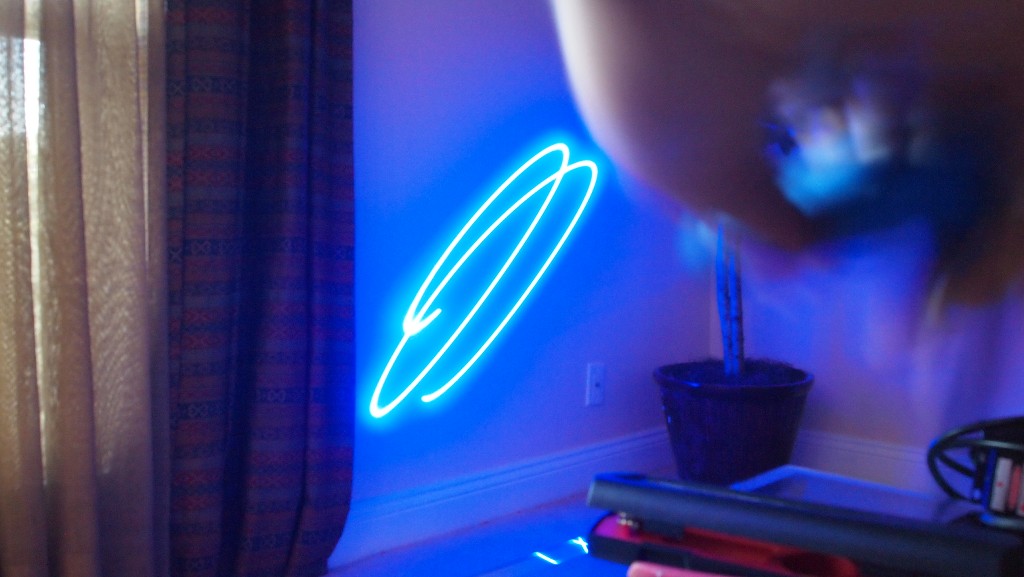
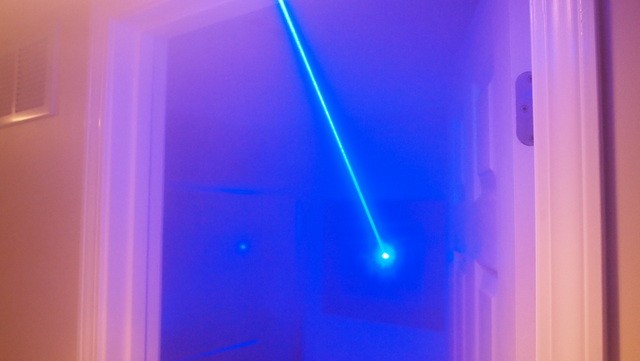


LPM TESTS
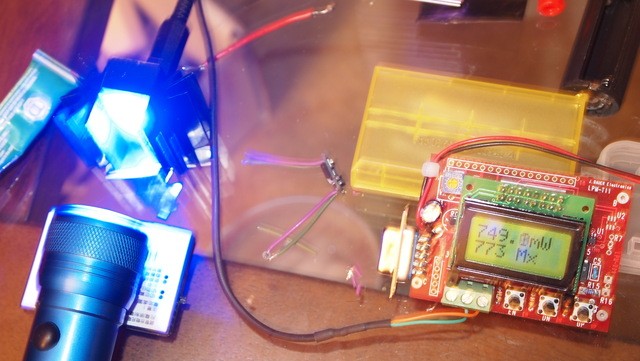
Aixiz 445 Glass
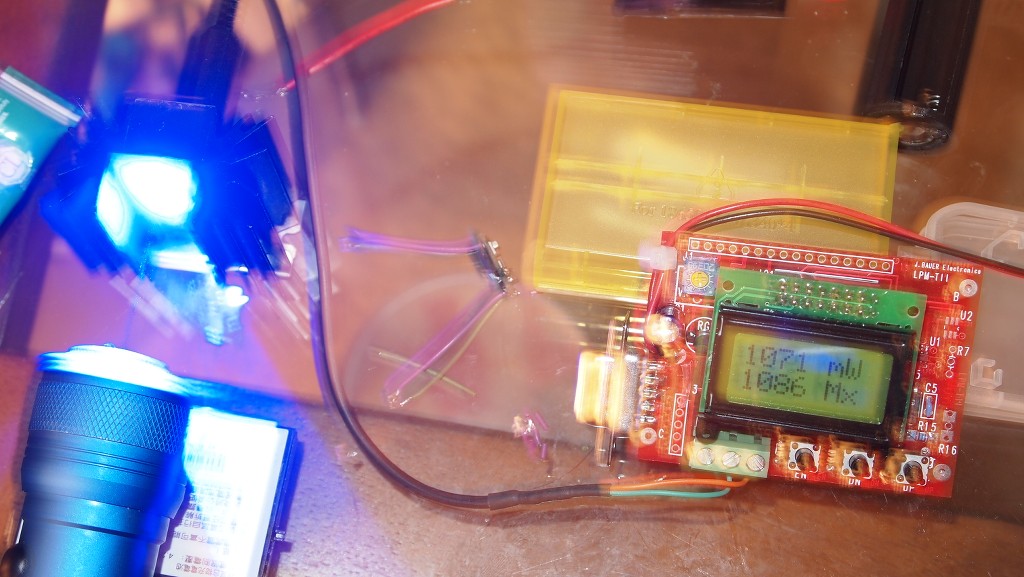
405 G-1
Final Thoughts
This build costs are broken down as follows.
$20 Host
$50 Diode from Daguin
$26 Microboost Drive
$14 18500 Battery
$5 Aixiz Module
$13 445 Aixiz Glass Lens
Total $118
Optional 405-G-1 $55
Total $170
For under $120 you would not expect much but this unit is actually very nice. Has a good feel in the hand and the clicky action is smooth. Also I found that the AW 18500 1600mAh had plenty of juice to run @ 1A.
Hope you all liked my review on the Mohrenberg Hotlights $20 Host.:beer:
Also if you would like to see more of my reviews and tutorials please visit my compilation page.
http://laserpointerforums.com/f51/d...difications-compilation-60258.html#post852148
I have to say I was not expecting much for $20 but this thing actually feels great. It is compact and looks good. The side clicky is great. And even thou the host will not accept an 18650 I found a 18500 will work nicely.
*Host Picture*


This host can have the body striped of the paint and polished for an extra $10. EDIT just talked to Mohrenberg and he may not be offering the polished look any longer. There is a lot of work and time involved to strip and polish them.


*Assembly Pictures*
Here are the components of this build. The host body, tail cap, the heatsink, and the head. I found that a 18500 with 3 thin magnets works great with this host.


-----------------------------UPDATE---------------------------
I have a great update for this host. I have found a higher capacity battery that fits like a glove.


-----------------------------------------------
New way of modding for the 18500.
When you first open the host it has a retainer that helps keep the switch in place. You will need to use a screwdriver to pop it out.

Once you have the retainer out. You can see the pill area and the contact pad.

Bend the tab into an upright position.

With the tab in the upright positon you can now slide the spacer out with ease.

Now that the spacer is out you are left looking at the clicky.

Remove the clicky from the host.

Next get the AAA holder so you can get a spring.

Just grap it with some needle nose pliers and it will come right out.

Next I like to mount the clicky in my helping hands.

Then solder the spring to the contact pad that will connect with the battery in the host.

For an added bonus I take an 8mm super strong rare earth magnet that you can get in packs of 100 from DX and solder it to the top of the spring. It works amazingly to center the battery when inserting it in the host.

Next I like to increase the size of the pill for working room. So I get the spacer out.

Then I cut it a little shorter.

Now reinsert the clicky in the host with the spring facing the back of the host.

Slide your retainer ring in and add some Krazy Glue to hold the spacer in place since we will not be using the original retainer.

Now since we shortened the pill the contact pad in the pill is a little longer to keep it from touching the side of the host just bend it over with some pliers and you are done.

Now you have a much larger pill and a perfectly centered battery with no magnets attached for spacing that has better pressure on it when the tail cap is tightened down.
Here is the custom made heatsink. The front is nicely polished.


The pill has enough room for the host and fairly long set of wires to fit inside. The clicky connect to this plastic retainer. It is loose being only connected to the clicky so I like to put a little crazy glue to hold it solidly in place which keep from having uneven pressure exerted on it.

I use an isolated line from the case pin back to the driver negative input on builds that don't have an easy to get your negative feed from the pill of the host. I do this weather I am using a microboost or the flexdirve which has an alternative method of shorting the case pin and the negative. Did the same method with my 1.5W Ehgemus using a flex that I built today as well.(Review forthcoming)

I set the microboost to 1006mA and wrapped it up in some electrical tape and soldered the positive line to the contact point in the host.


Remember when you screw your head on to put pressure on the heatsink against the pill so it does not spin possibly twisting your wires.


Now that it is all put together you are ready to go.
*Beam Shots*


LPM TESTS
Aixiz 445 Glass

405 G-1

Final Thoughts
This build costs are broken down as follows.
$20 Host
$50 Diode from Daguin
$26 Microboost Drive
$14 18500 Battery
$5 Aixiz Module
$13 445 Aixiz Glass Lens
Total $118
Optional 405-G-1 $55
Total $170
For under $120 you would not expect much but this unit is actually very nice. Has a good feel in the hand and the clicky action is smooth. Also I found that the AW 18500 1600mAh had plenty of juice to run @ 1A.
Hope you all liked my review on the Mohrenberg Hotlights $20 Host.:beer:
Last edited:


