

- Joined
- May 14, 2013
- Messages
- 3,438
- Points
- 0
As you may have read in the first build thread, this last Christmas eve (12/24/2013) I purchased three hosts from Mrcrouse and started planning the three lasers, this is the second one of the three.
The parts were again purchased from DTR
12X S06J Bluray Diode In Copper Module W/Microboost & 405-G-2 Glass Lens with the extended barrel for $120.
https://sites.google.com/site/dtrlpf/home/diodes/s06j-12x-405-diodes
The host from Mrcrouse was clearance priced at only $16.
And three additional parts from Survival Laser.
Survival Laser USA Home
Specifically the Extended Length Focusing Ring - Black Anodized for $9.99.
Extended Length Focusing Ring - Black Anodized
And the External Lens Spring that comes in a 5-pack for $19.99 so that is $4.00 for one.
External Lens Spring 5-Pack
And a lens cap. I don't see them now on their site, they may be out of them right now.
The total cost was approximately $151.
If you want to build an equivalent laser, I suggest using any Mrcrouse host that uses a single battery and comes pre-wired with a battery contact board.
Tools and supplied used are:
Soldering iron
Helping hands with lighted magnifier
Solder
Heat shrink tubing
Laser power meter
DMM
Round nose pliers
Stainless steel tweezers
Wire stripper
If you missed the first of the three build threads you can find it here:
http://laserpointerforums.com/f45/pl520-build-1-3-lasers-very-pic-heavy-88336.html
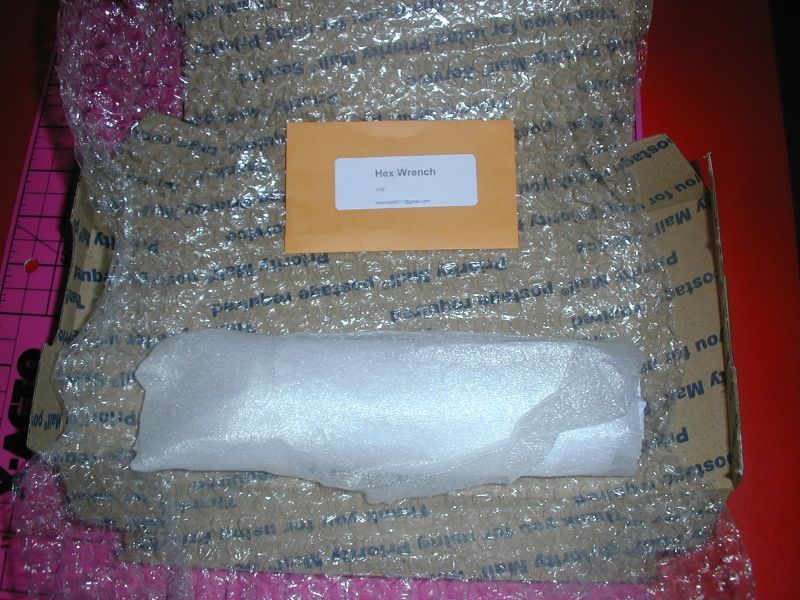
Once again lets begin with the package from Mrcrouse, at the end of the first build we had two hosts left:
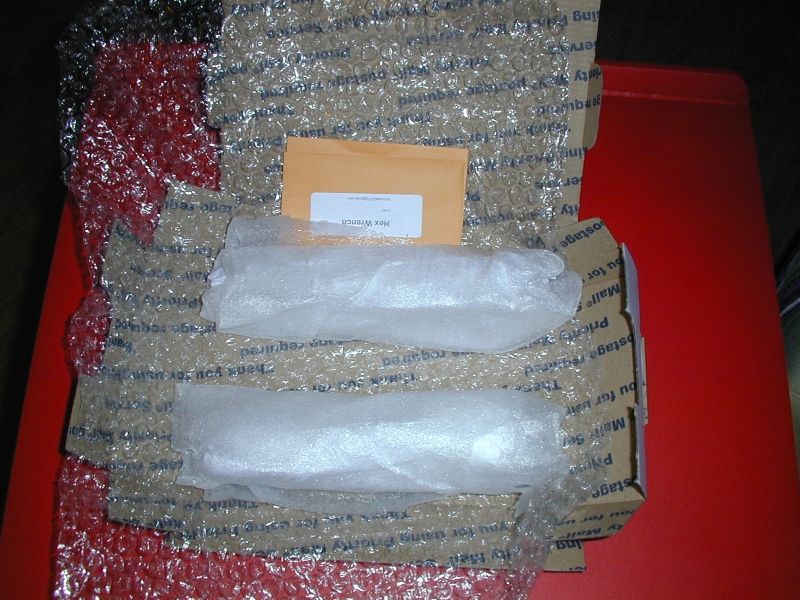
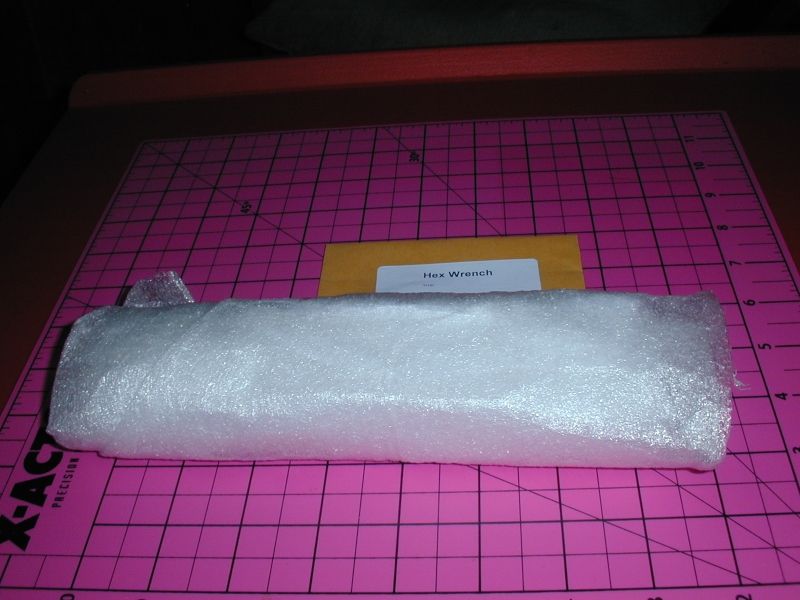
Lets grab one and see what might this be:
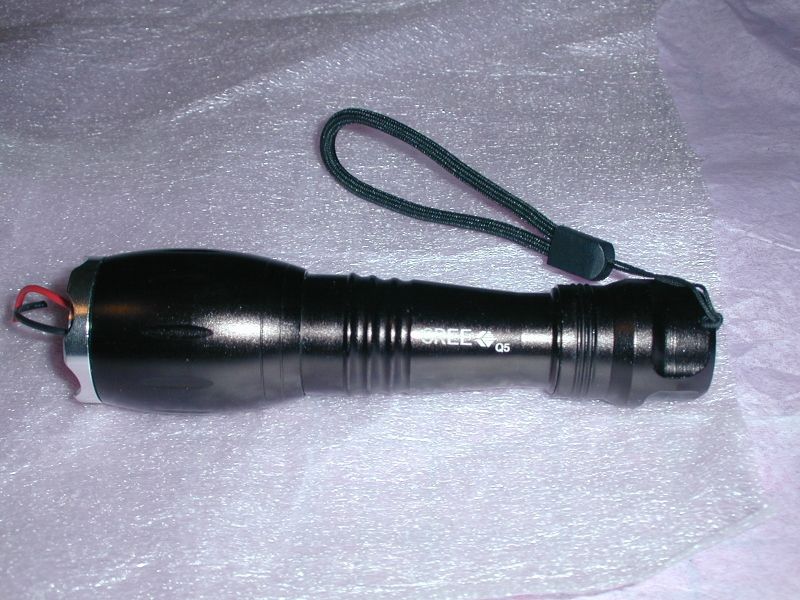
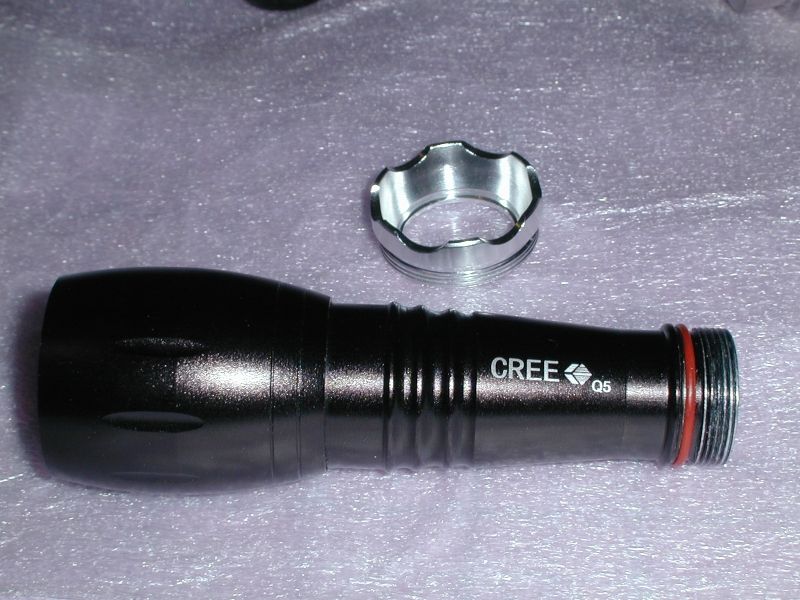
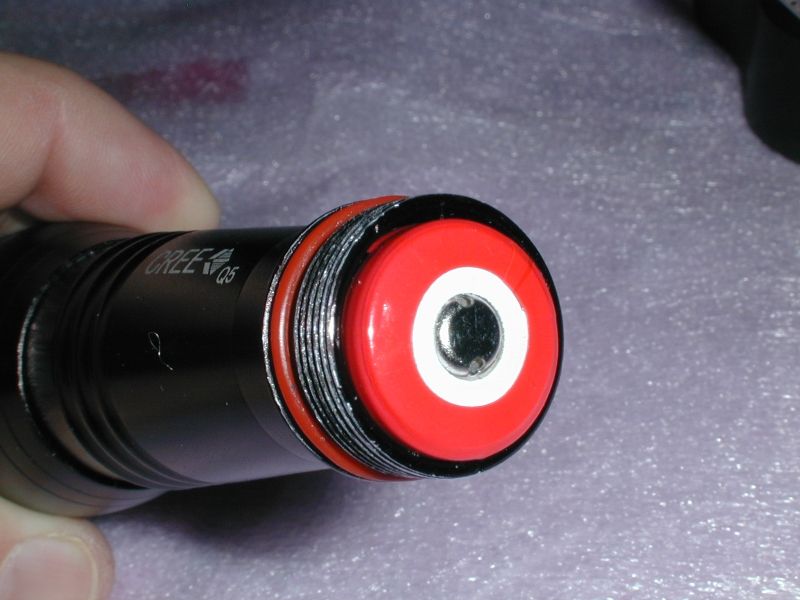
There it is, a UltraFire 903 host. On one side it says CREE Q5:
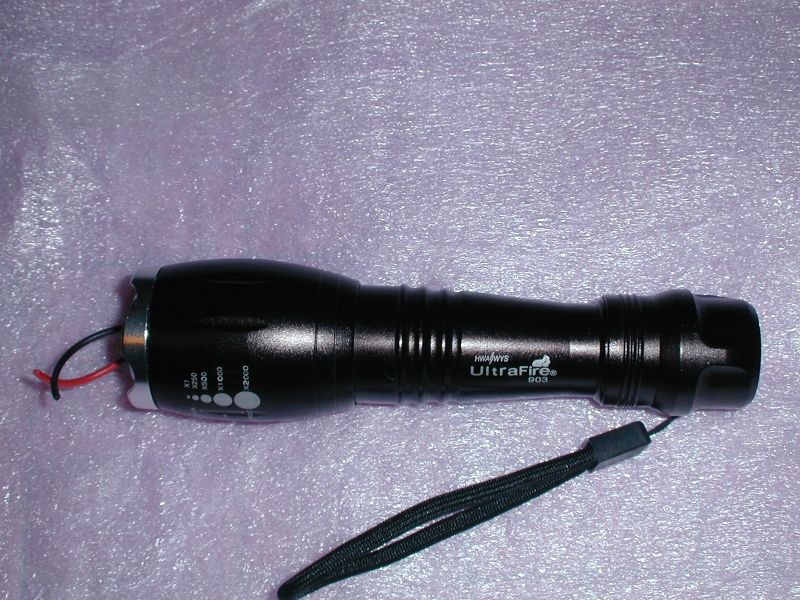
And on the other side it says UltraFire 903:
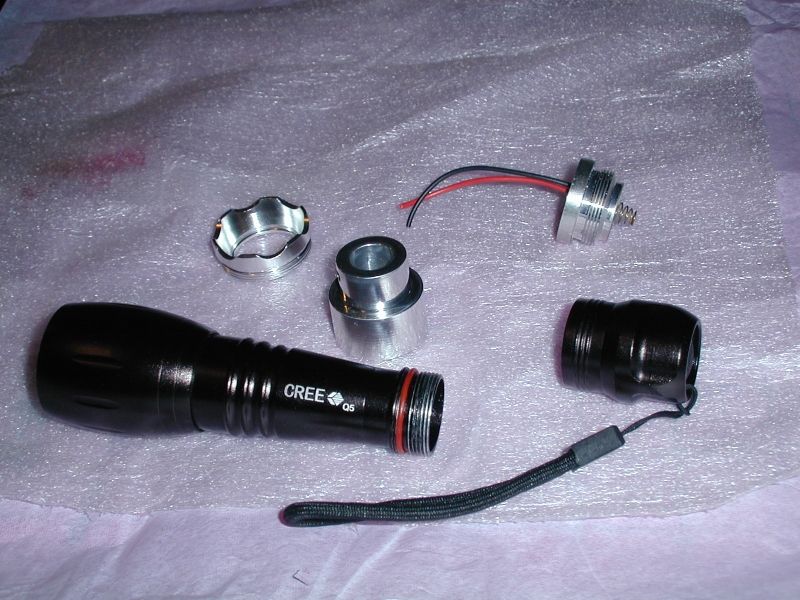
Lets look at the host disassembled:
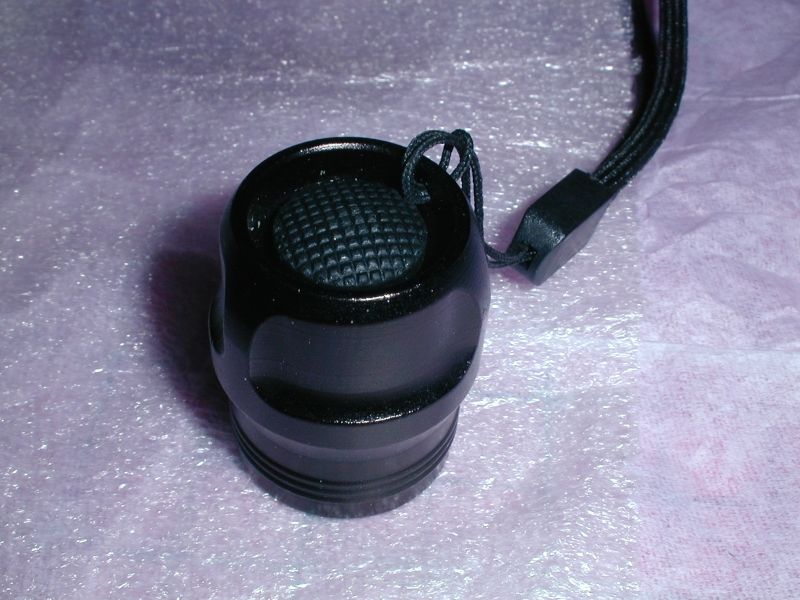
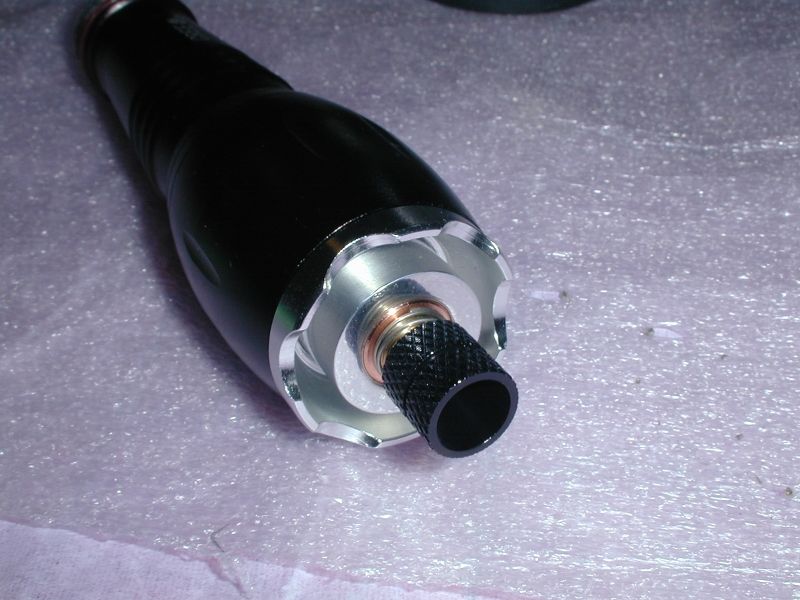
The tail cap:
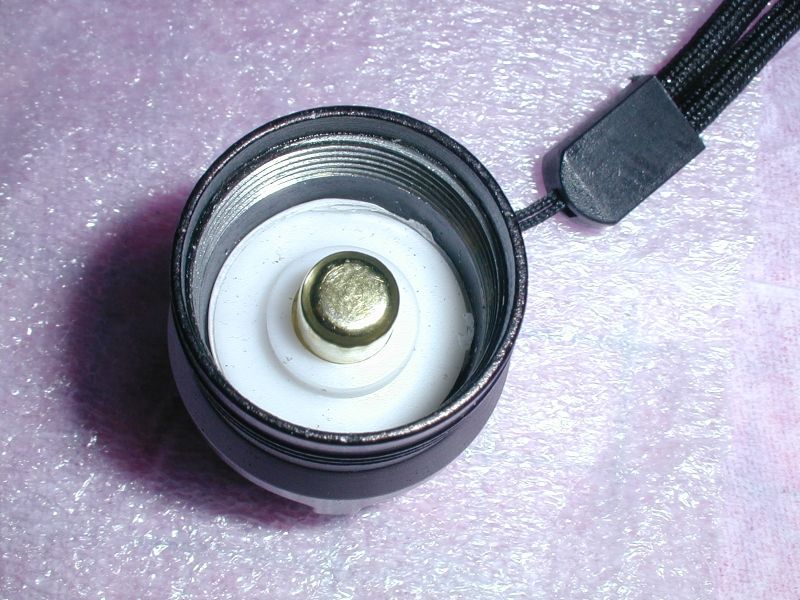
The inside of the tail cap looks different than most, am not sure if it would be easily fixable if it were to break:
The pill in this host is not made to easily screw in or out with your fingers, you need either round nose pliers or sharp pointed stainless steel tweezers like you would use to fix the tail cap on some hosts. In case you are unfamiliar with round nose pliers, you wont find them in the tool section, you can get them at any craft store that sells jewelry making supplies or they sell them at Walmart in the craft section next to the jewelry making supplies. They are used for bending wire and have a very pointed tip:
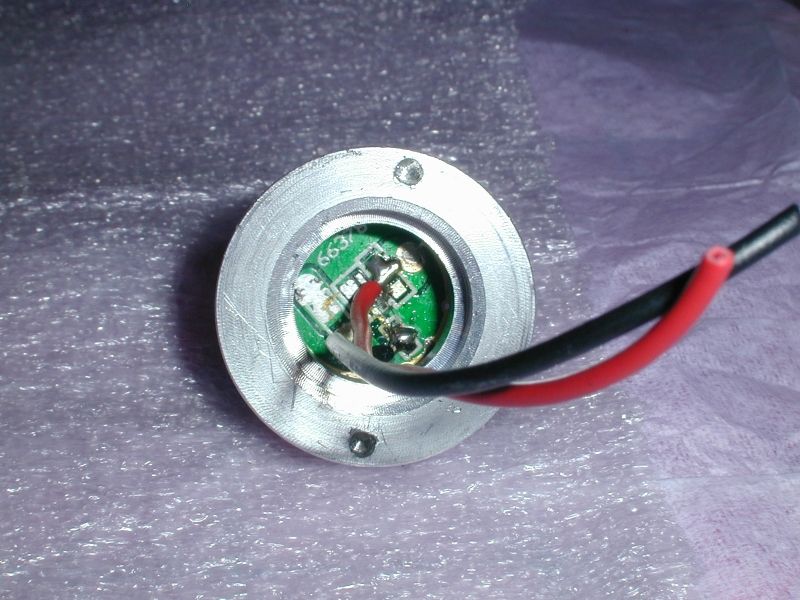
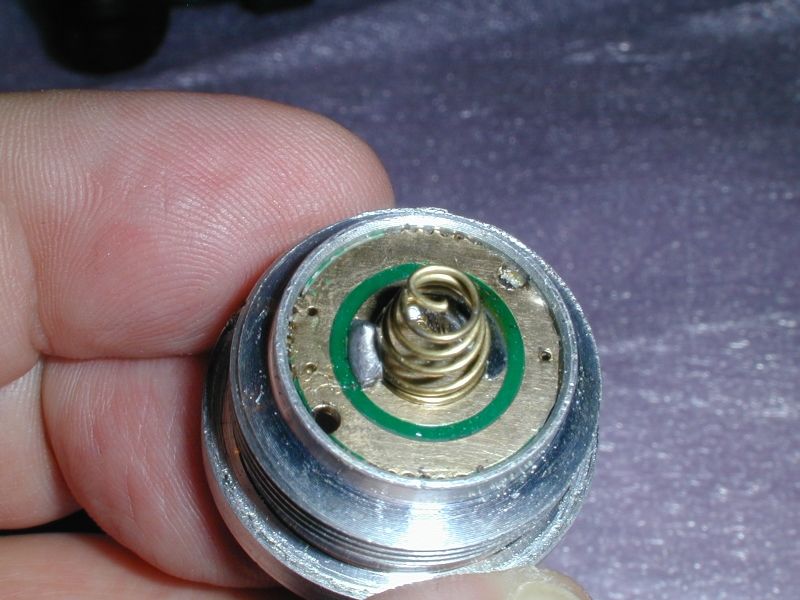
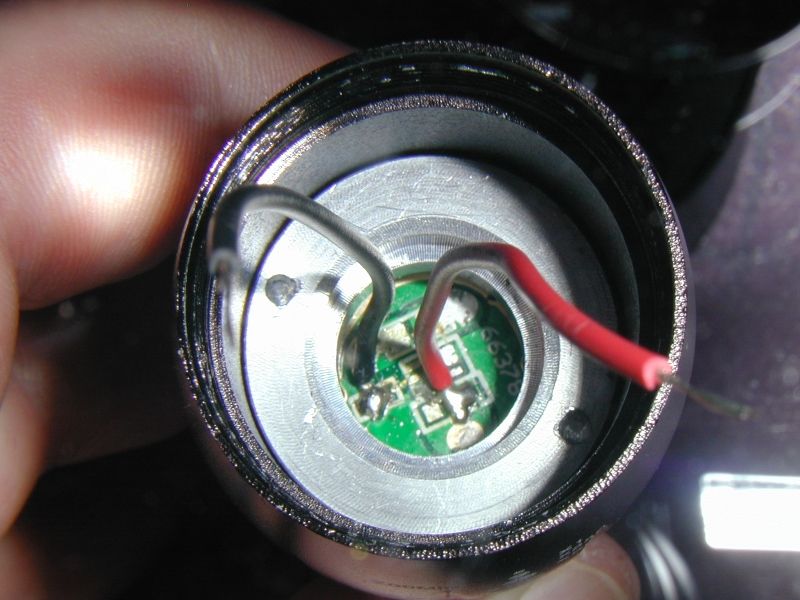
The other side of the pill. The hosts from Mrcrouse that are wired with a battery contact board have a spring attached. If it is a single battery host like this one, that means you can use a flat top or a button top battery:
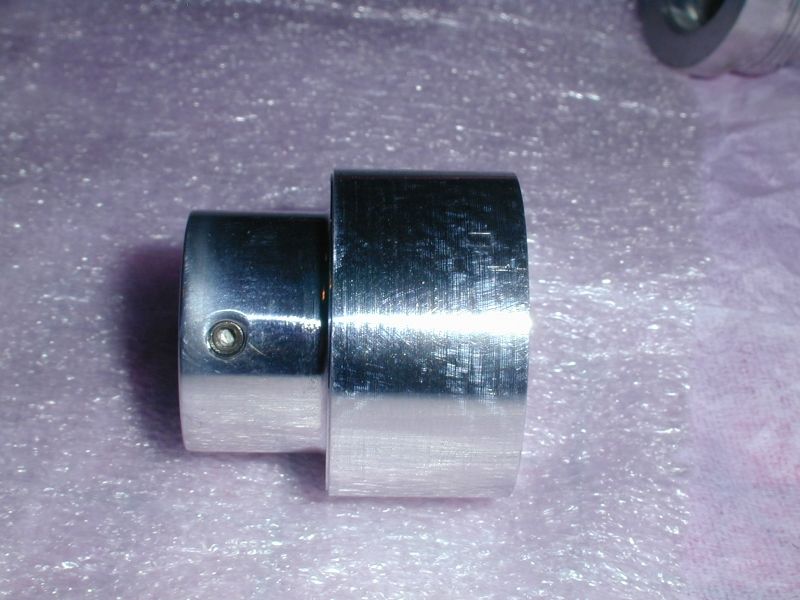
The heat sink:
The main body of the host:
Lets move on to the module. Most of you know DTR's packaging. I suspect that he lives next door to a post office, you can count on him for fast shipping:

Lets open it and see what we have:
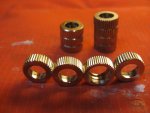
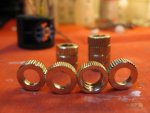
Now we need to separate the parts:
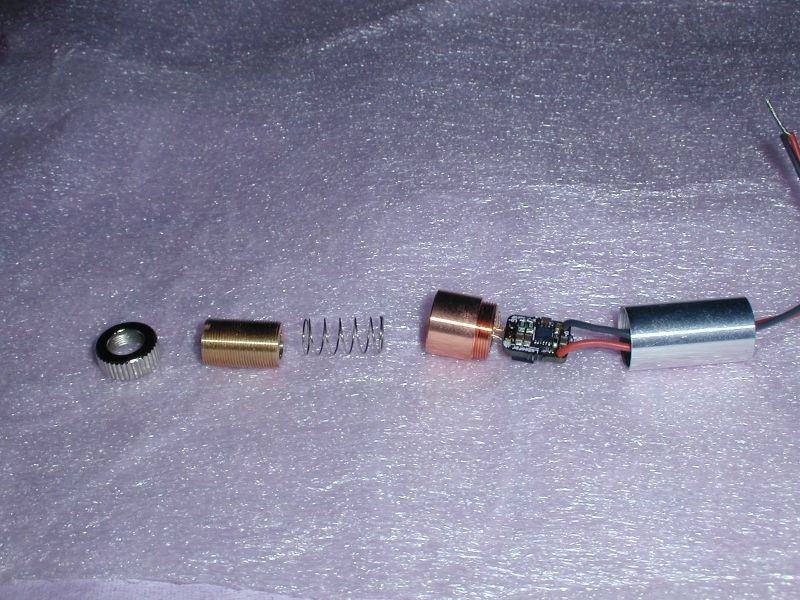
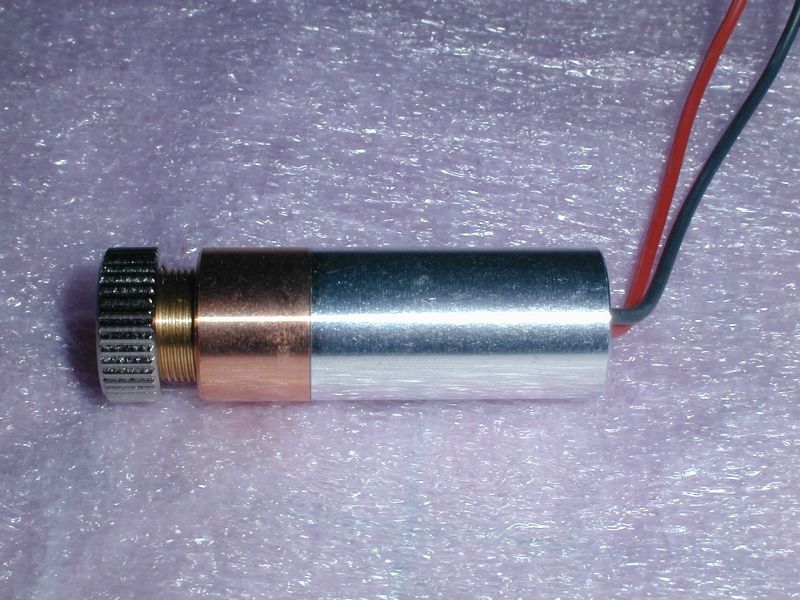
The front end of the module:

The Microboost driver:
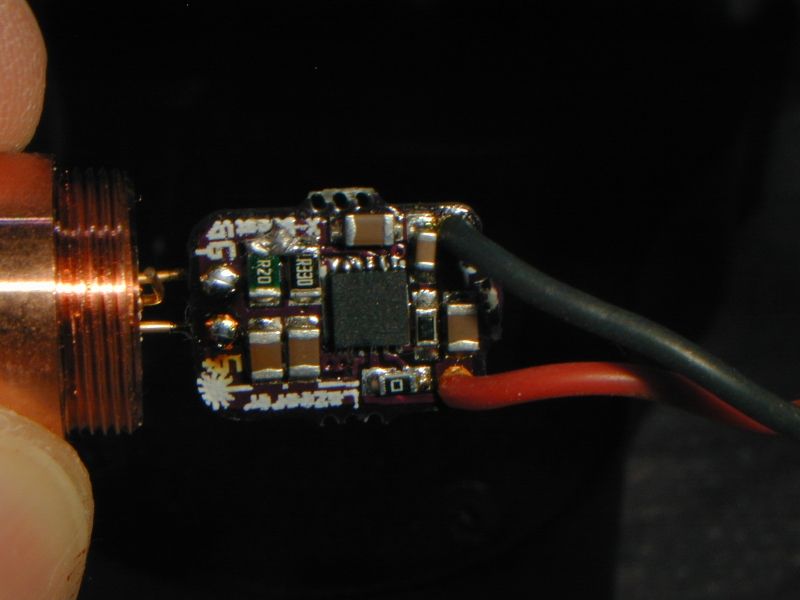
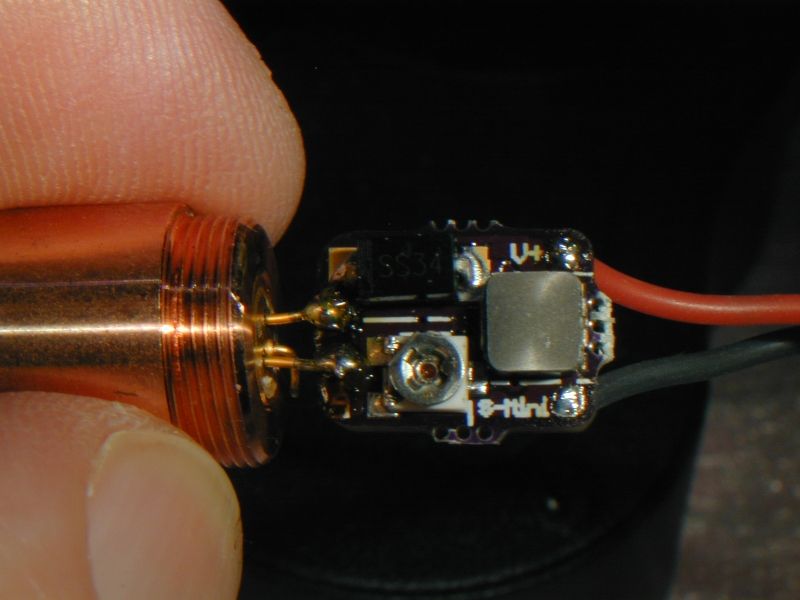
And the other side:
Now I am going to take that standard focus knob and internal lens spring and put them away in my box of spare parts:
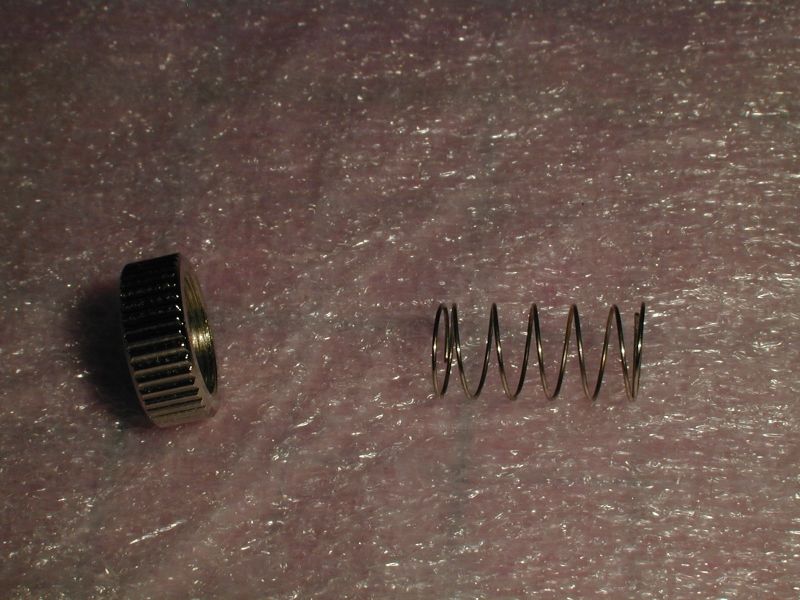
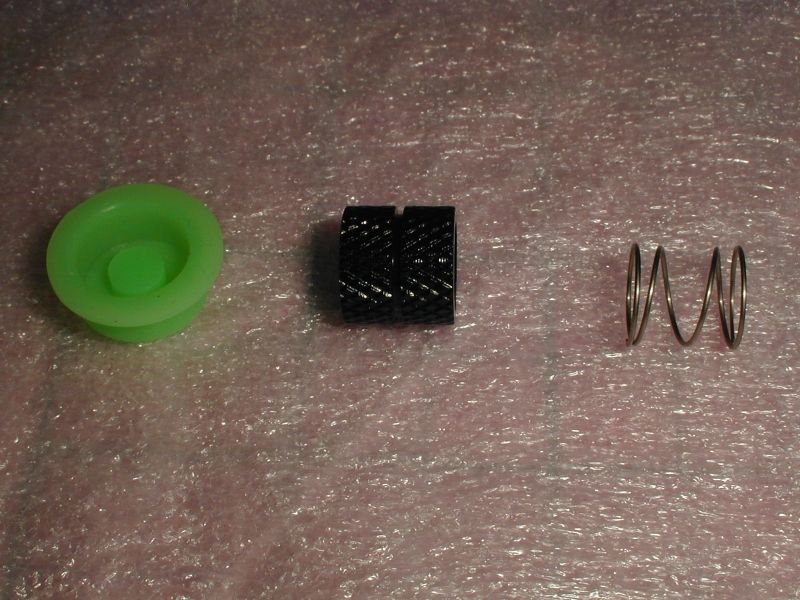
And replace them with the parts from Survival Laser:
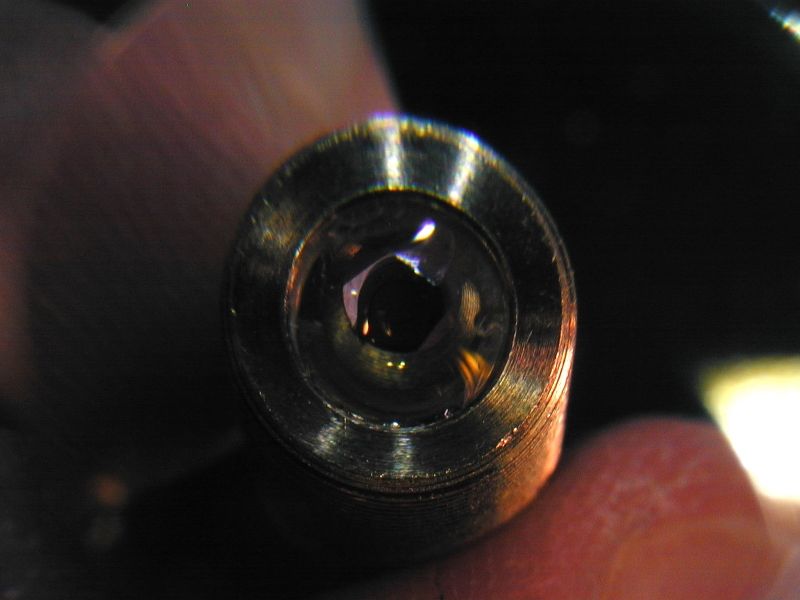
:wtf: Something is wrong with this lens:
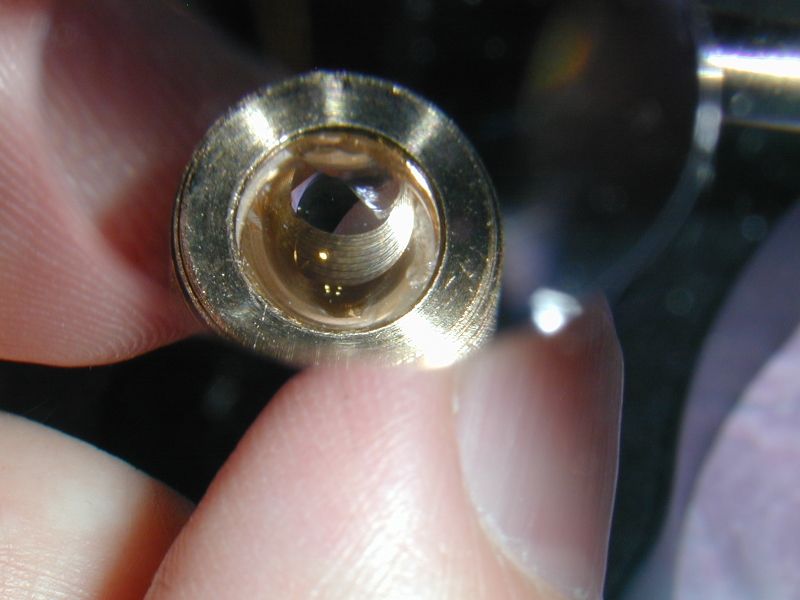
OK I managed to get a better picture but this is the best I could do, I don't have enough magnification for a real good picture. The lens is cracked or chipped on the front side. This is the back side of the lens. The break is off to one side though so maybe it will work, we will find out:
Now to put the focus knob on the lens:
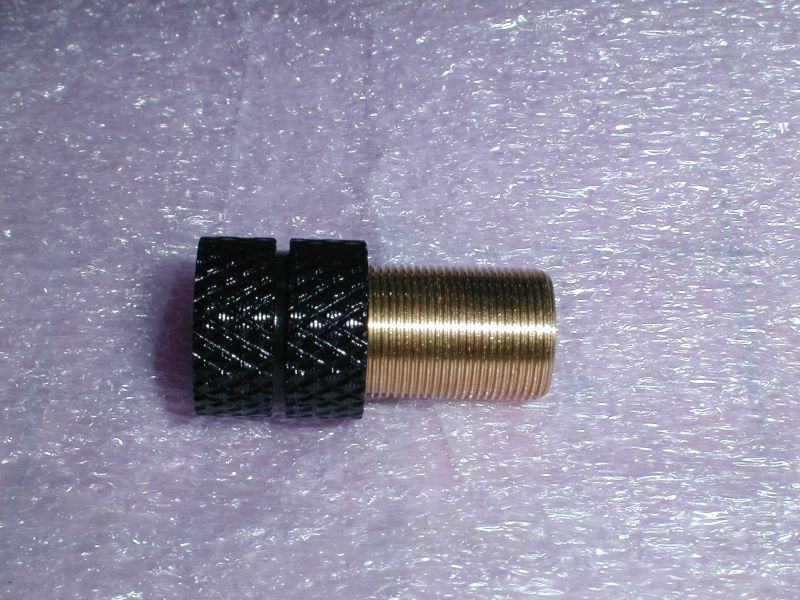
Then slide the spring over the lens. On a G2 lens these springs can be a tight fit but are a perfect fit with the extended barrel:
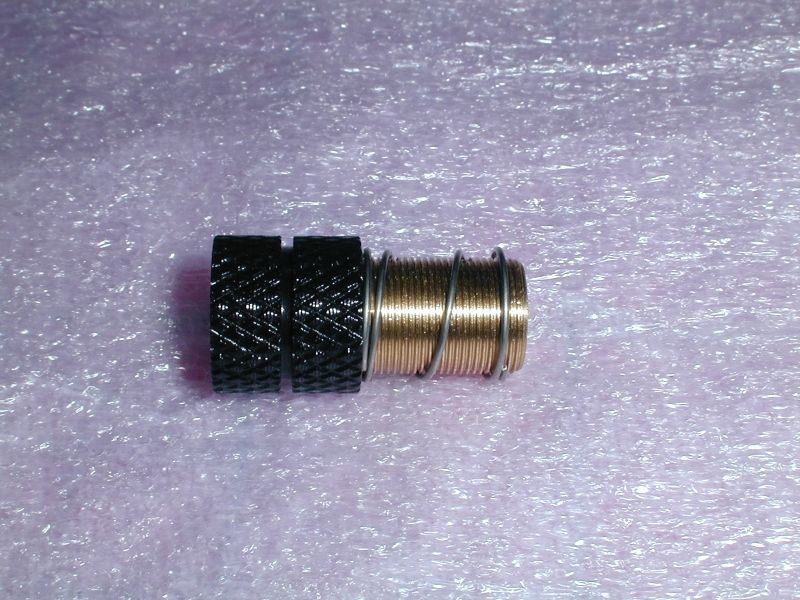
Screw the lens back into the module:
Then screw the back part of the module back on. This turned out to be a mistake, I also should have shortened the wires some but it looked like there was enough room:
Now back to the pill:
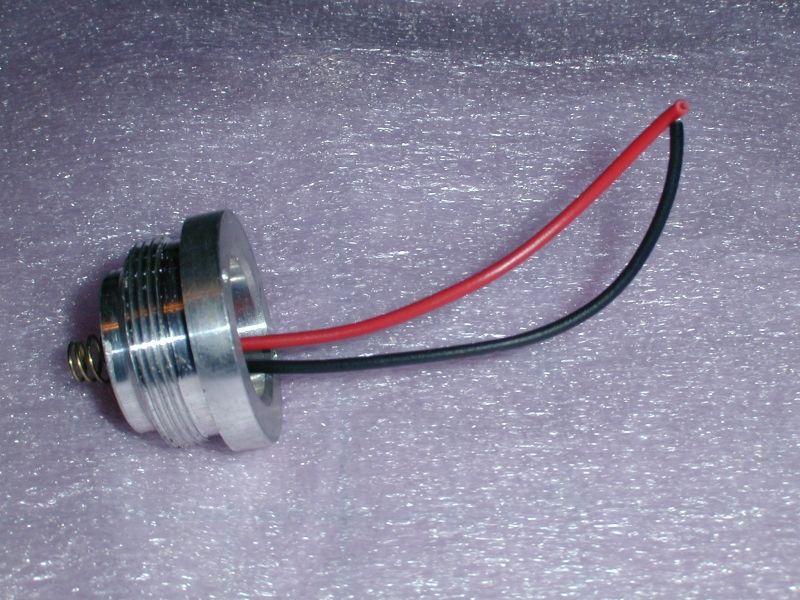
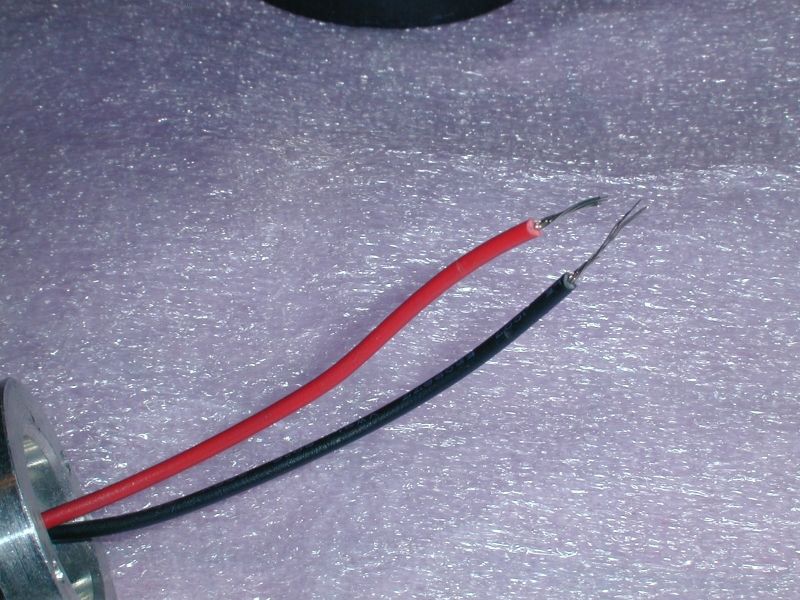
We have to strip the wires to prepare for soldering:
And put the pill back in the host:
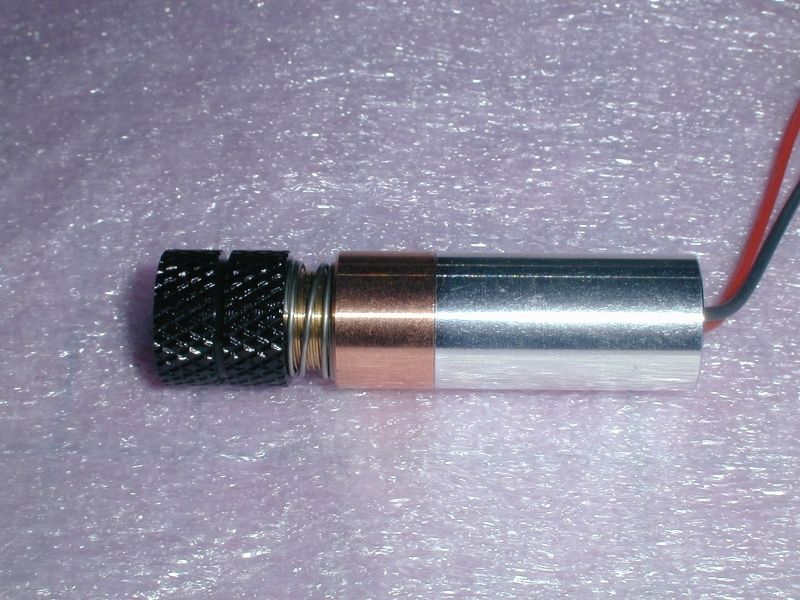
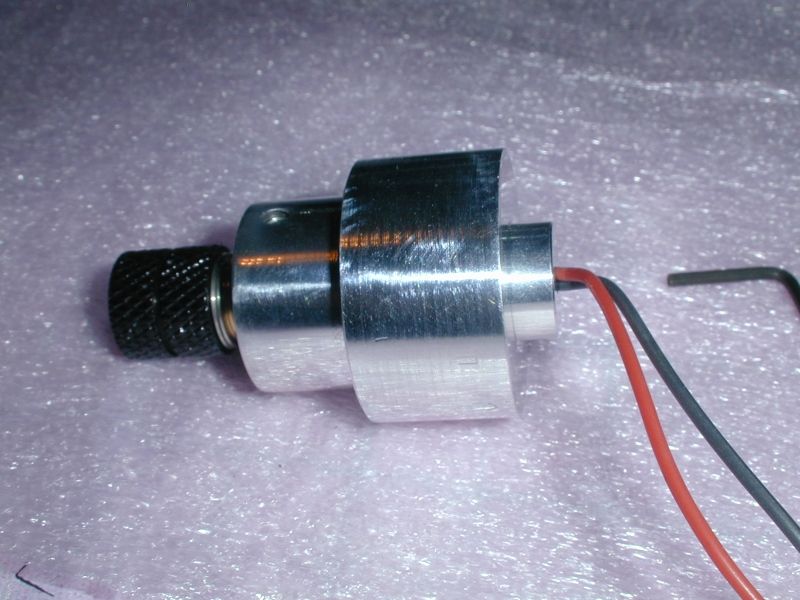
Insert the module into the heat sink from the front of the heat sink and tighten the set screw:
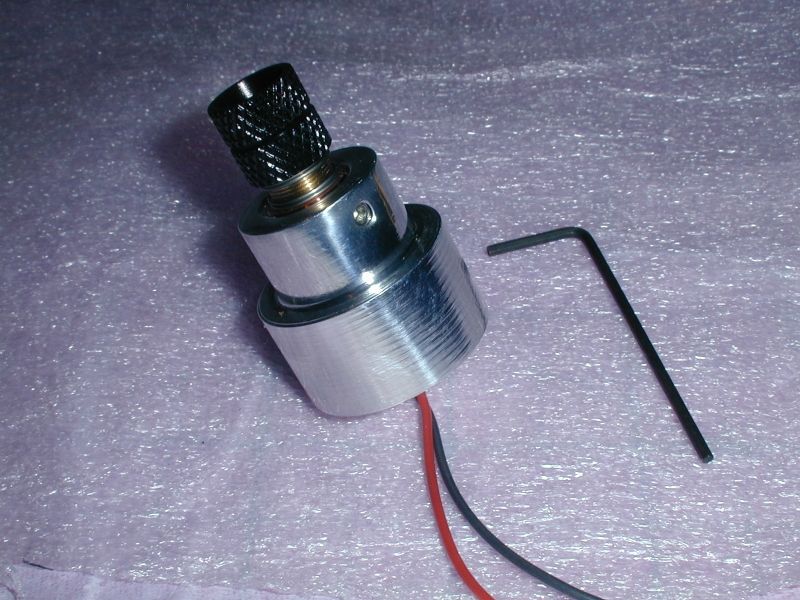
Notice that the rear of the module sticks out the back some:
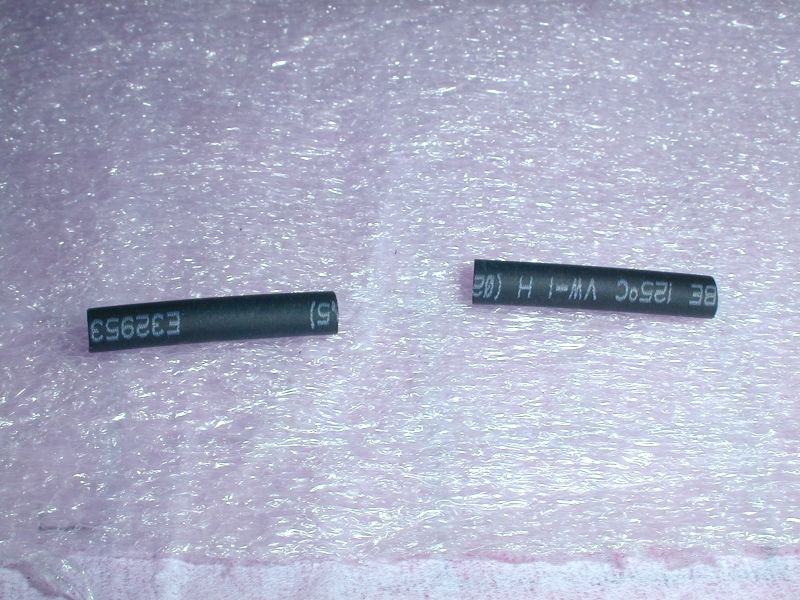
Cut two pieces of heat shrink:
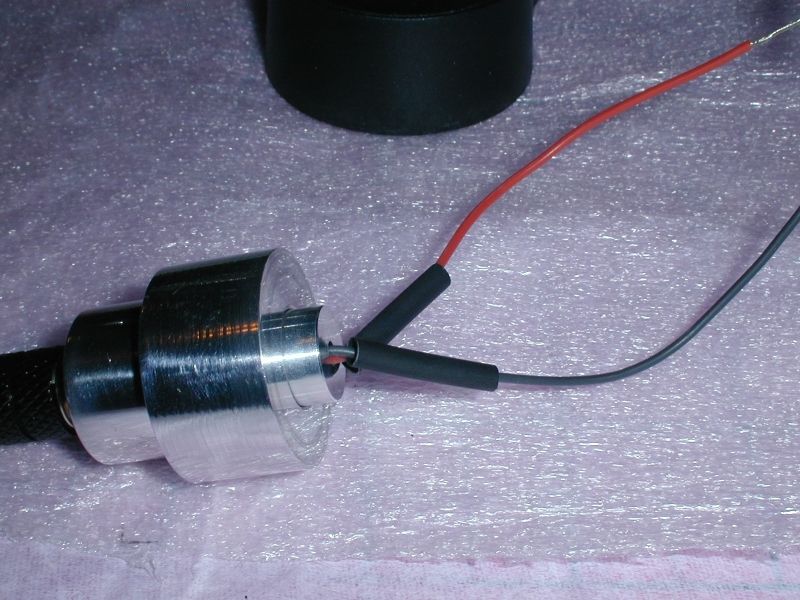
Slide the heat shrink onto the wires from the module:
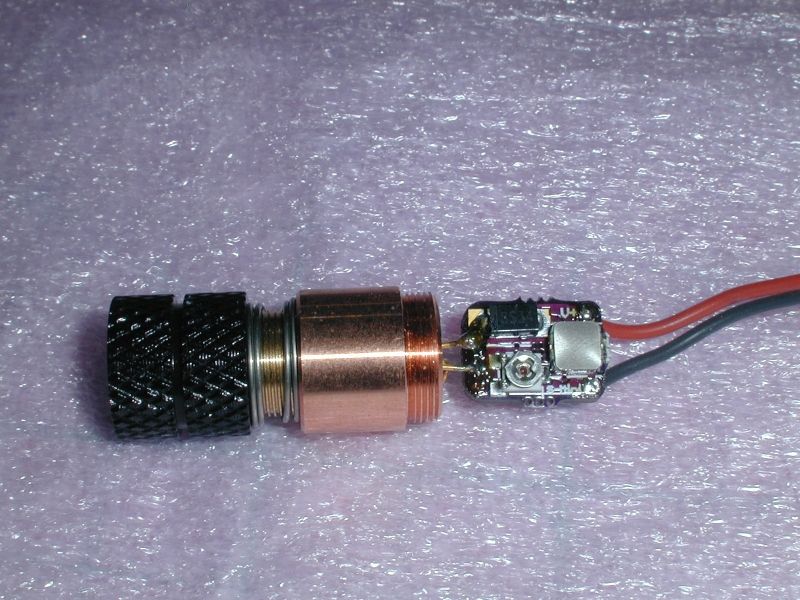
Then solder the wires from the module to the wires from the battery contact board and slide the heat shrink in place and brush it with your soldering iron a couple of times. Notice here that I have soldered the red wire to the black and the black to the red. When assembling a laser here is one place you must know what your doing. A laser can be wired host negative or host positive. If your using a round driver that doubles as a contact board then you don't have that choice, but when using a separate contact board you do. This one is host positive. The diode can be case neutral, case negative or case positive, so some must be wired one way or the other, also with some hosts the diode will be electrically isolated from the host so its important to be aware of these things:
Now insert the heat sink back into the host. Here is where I discovered there is less room than it looked like, but I am too lazy to take it apart and do it over again. I tried several times to make it fit but it wouldn't so I twisted the wires together (very carefully to not over twist them), its easy to break something that way. I then stuffed much of the wire down onto the pill and finally it slipped all the way into place:
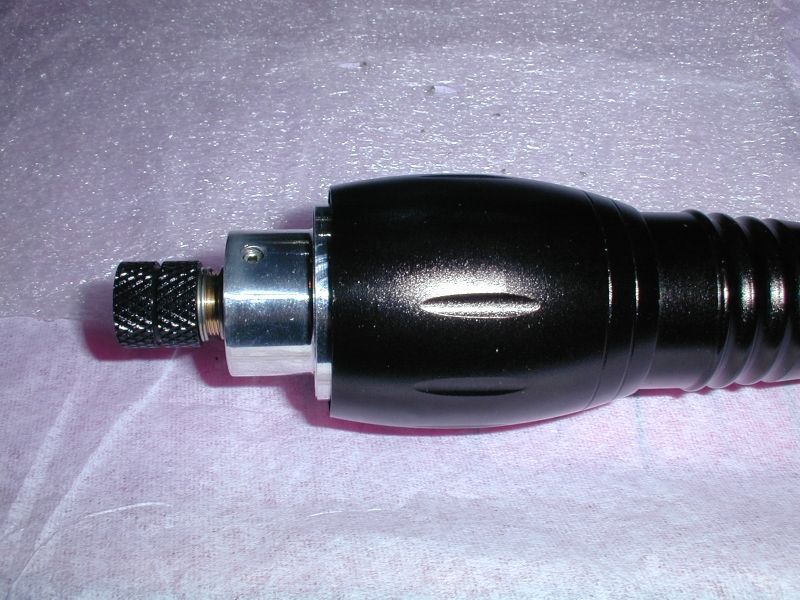
Finish screwing the host together and we should have a working laser:
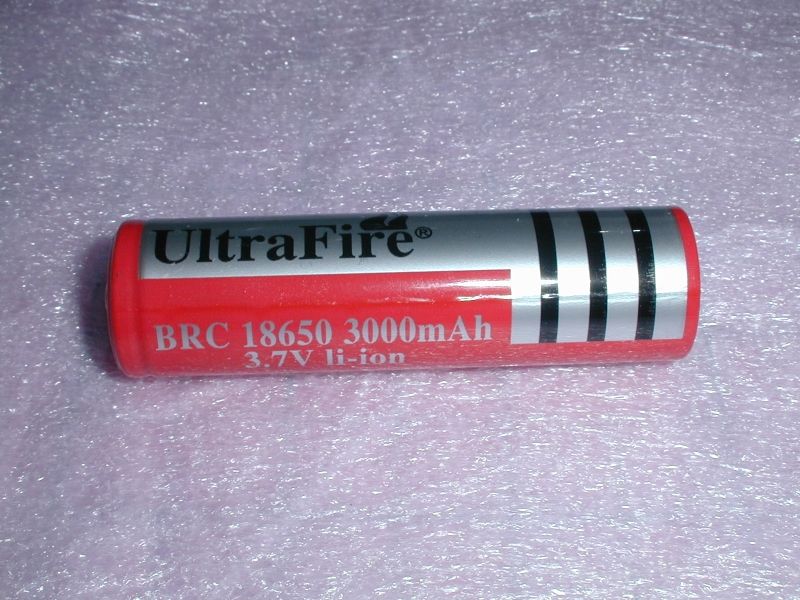
Now get one 18650 battery. These batteries are really cheap and I am not recommending them. I have since purchased some better batteries:
Insert the battery negative end first and put the tail cap on. Always be careful when you first screw the tail cap on a new laser, either test the tail cap with your DMM to see if its on or off or else just point it in a safe direction. This is the second time I have had a laser turn on when screwing on the tail cap:
Ready for testing:
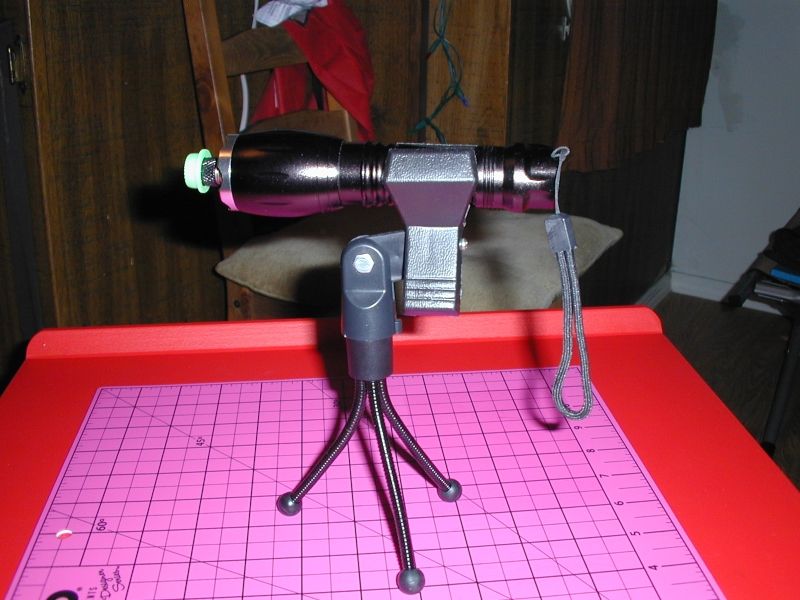
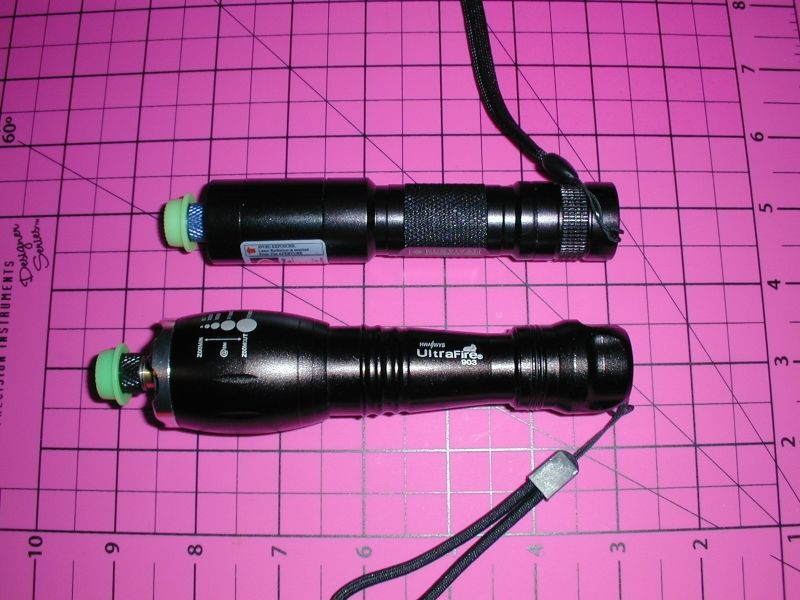
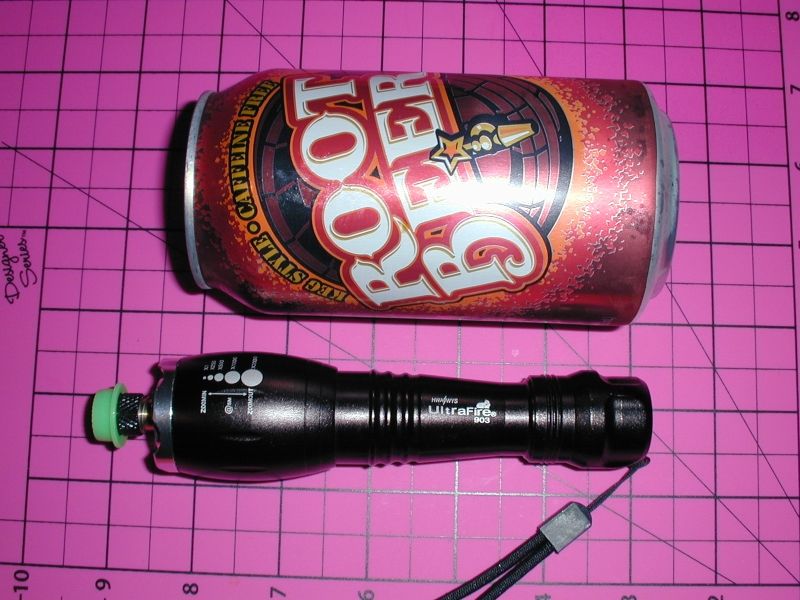
Here are some photos for scale. Its bigger than a C6:
It looks bigger in the photo but its exactly six inches:
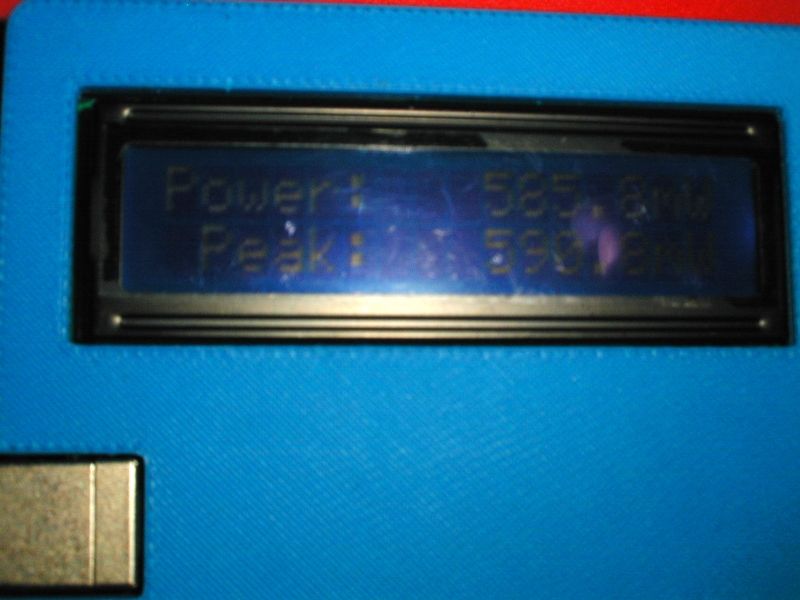
Now for LPM testing. It meters at a reasonable 590.8mw:
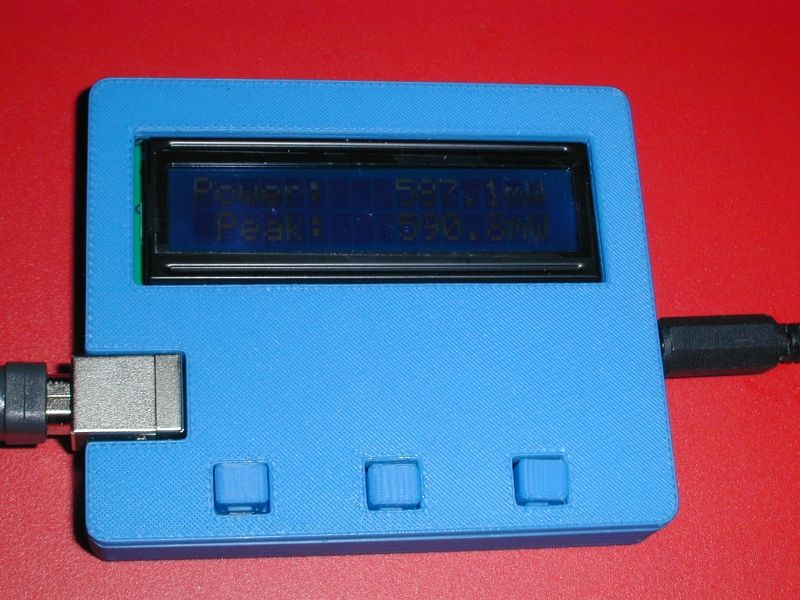
It takes a couple of minutes to start slowly dropping in power and still doesn't feel warm at that point:
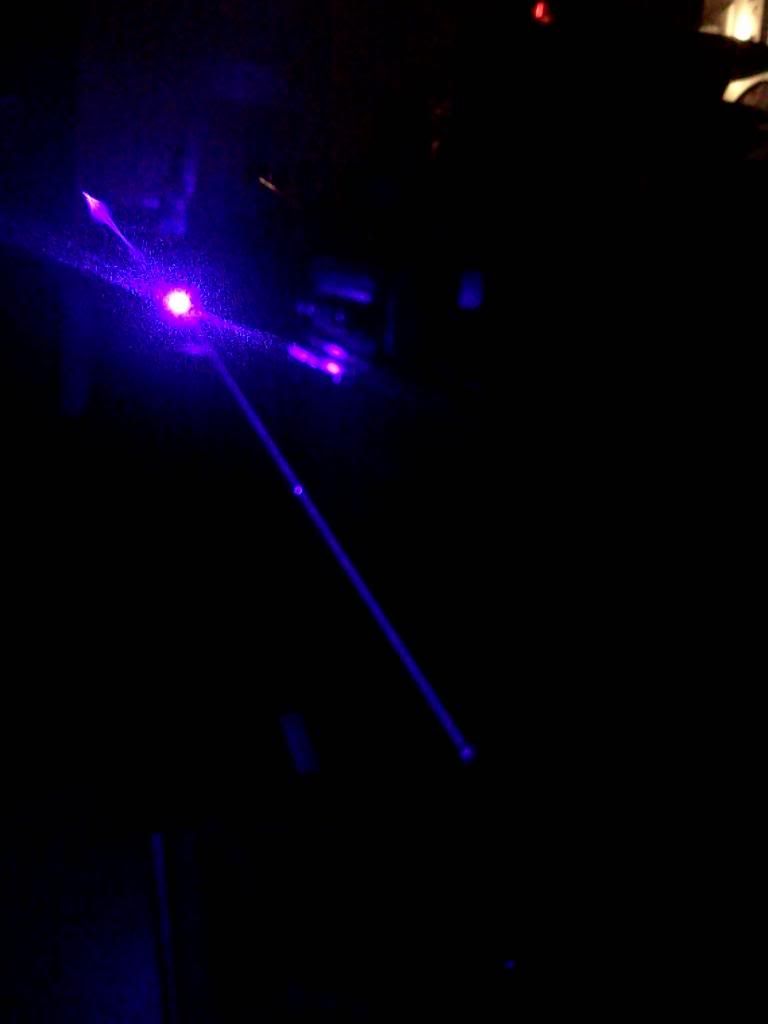
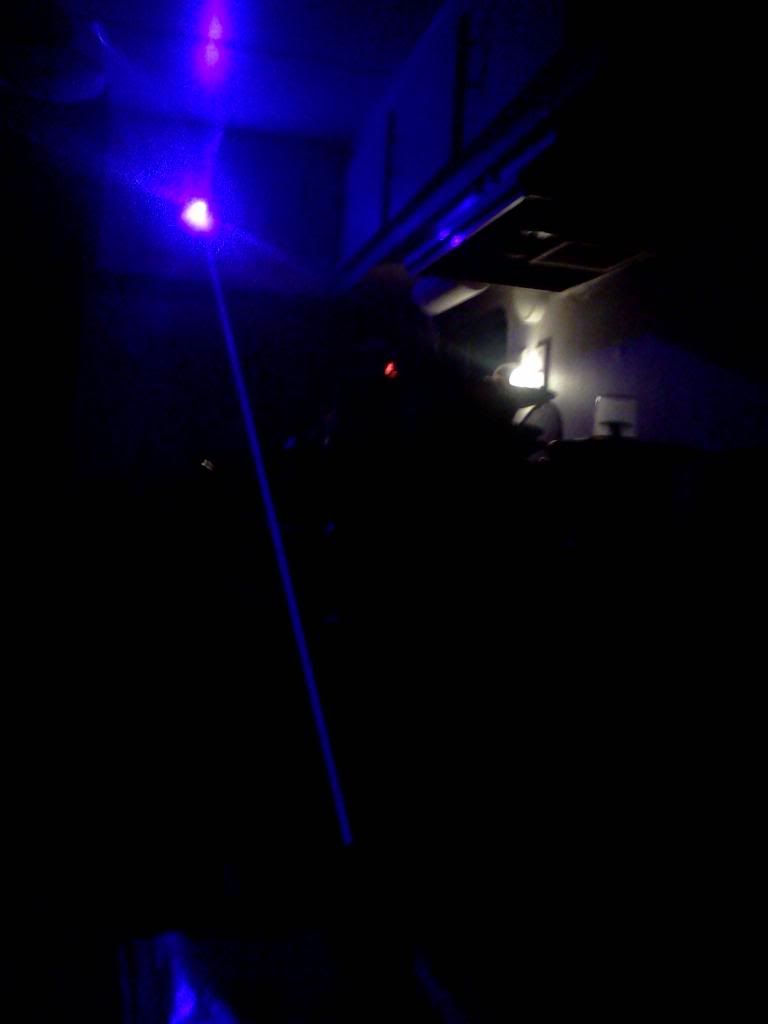
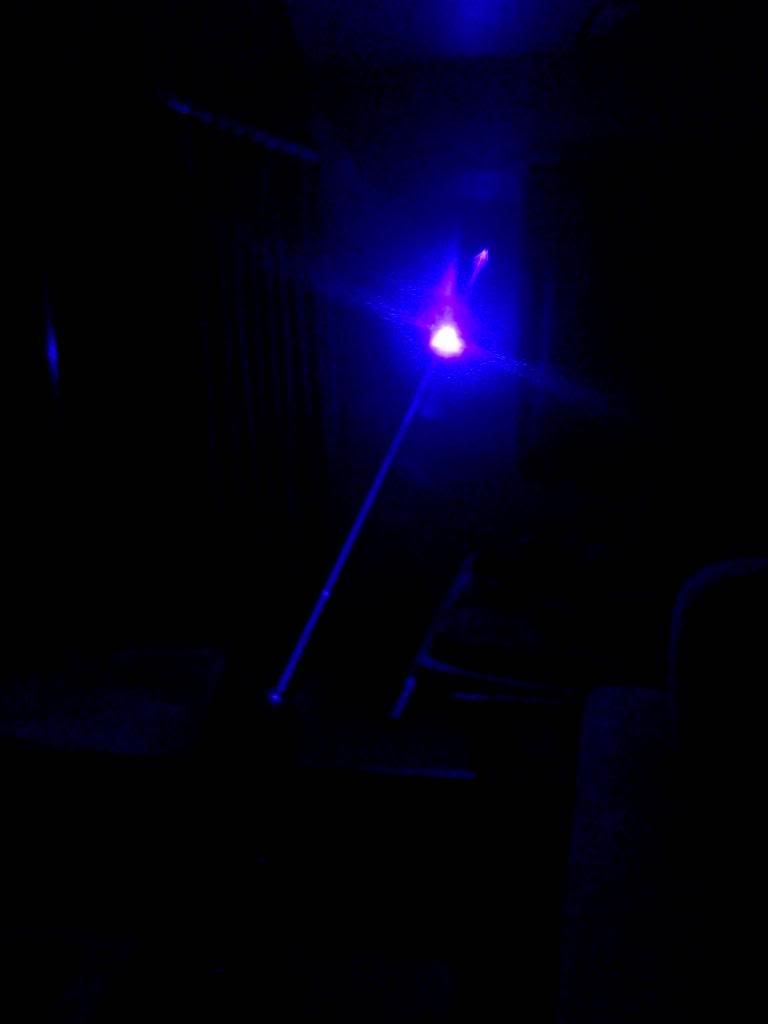
Here is the dot unfocused. Its doesn't show it in the photo but really it is round and a little less bright on two sides, also there is a narrow splash going off to one side:
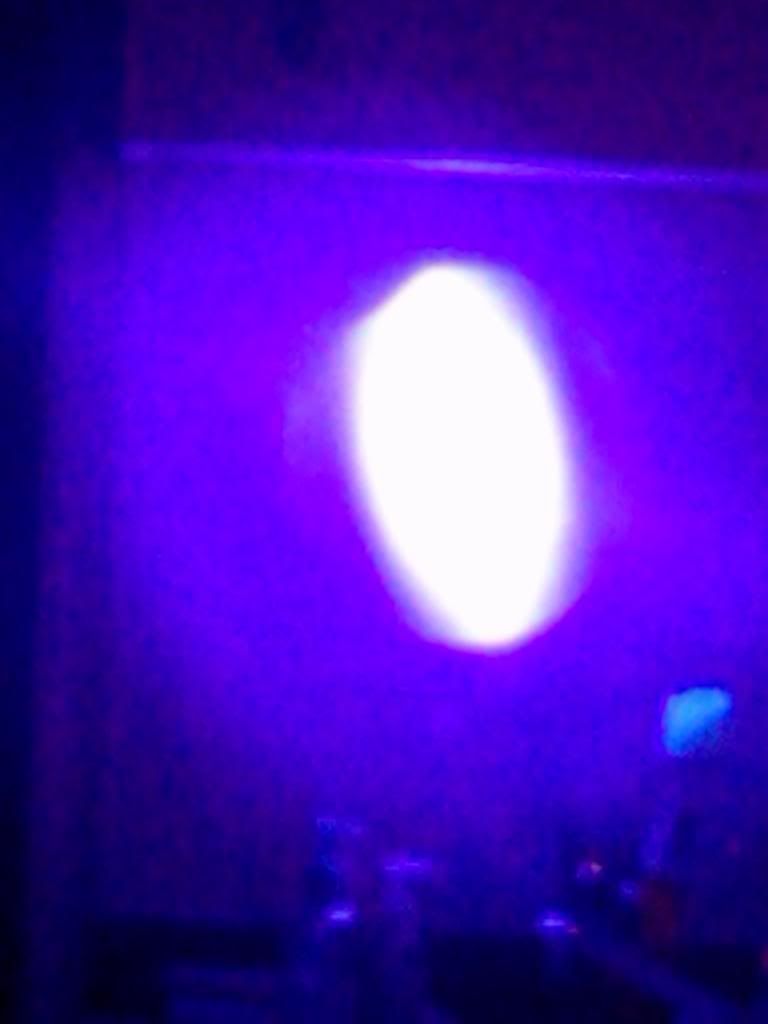
It doesn't really look blue, that's just the camera, it looks very violet:
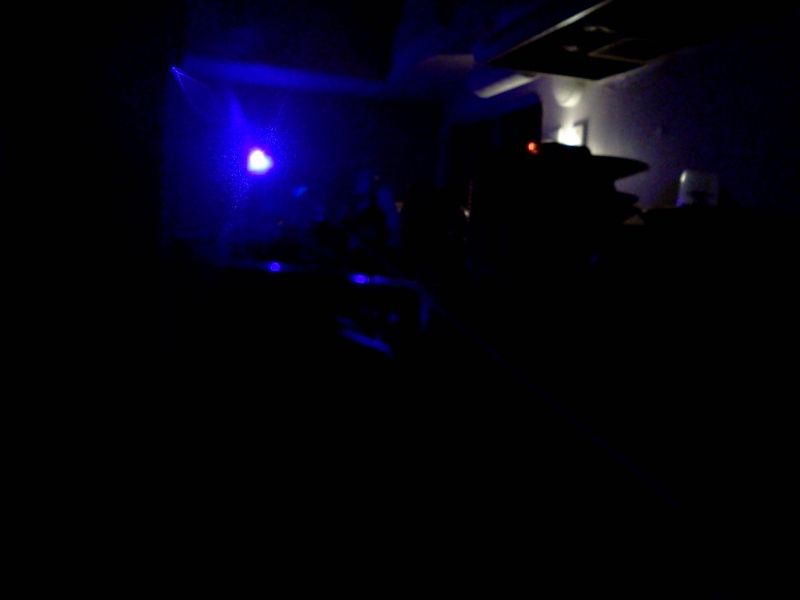
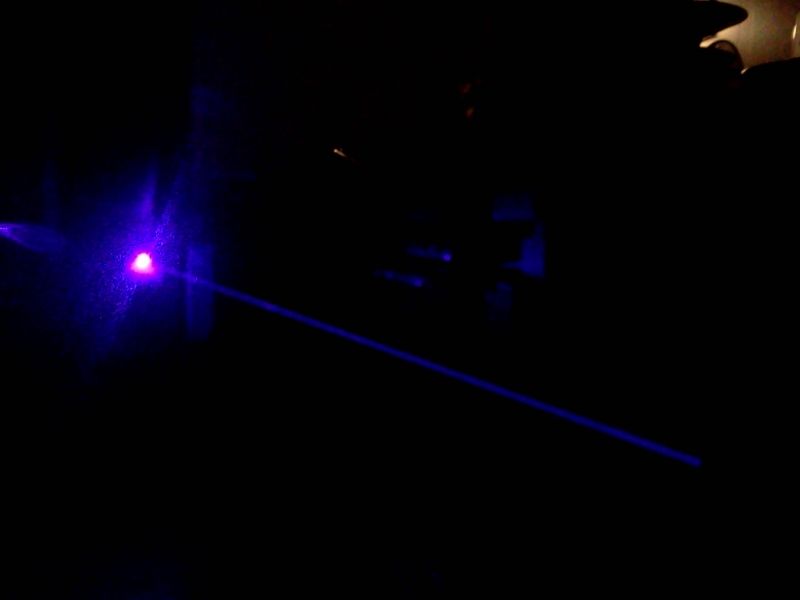
And some more photos:
I was worried about this lens but I guess I'll keep it, it seems to work OK.
Be careful with one of these, I didn't know I was leaving scorch marks when taking these photos until I smelled something burning. Its more powerful than I would have expected from 590mw:
I will return with number three in the near future:
Thanks for looking. And remember: Safety first, wear your goggles.
The parts were again purchased from DTR
12X S06J Bluray Diode In Copper Module W/Microboost & 405-G-2 Glass Lens with the extended barrel for $120.
https://sites.google.com/site/dtrlpf/home/diodes/s06j-12x-405-diodes
The host from Mrcrouse was clearance priced at only $16.
And three additional parts from Survival Laser.
Survival Laser USA Home
Specifically the Extended Length Focusing Ring - Black Anodized for $9.99.
Extended Length Focusing Ring - Black Anodized
And the External Lens Spring that comes in a 5-pack for $19.99 so that is $4.00 for one.
External Lens Spring 5-Pack
And a lens cap. I don't see them now on their site, they may be out of them right now.
The total cost was approximately $151.
If you want to build an equivalent laser, I suggest using any Mrcrouse host that uses a single battery and comes pre-wired with a battery contact board.
Tools and supplied used are:
Soldering iron
Helping hands with lighted magnifier
Solder
Heat shrink tubing
Laser power meter
DMM
Round nose pliers
Stainless steel tweezers
Wire stripper
If you missed the first of the three build threads you can find it here:
http://laserpointerforums.com/f45/pl520-build-1-3-lasers-very-pic-heavy-88336.html
Once again lets begin with the package from Mrcrouse, at the end of the first build we had two hosts left:
Lets grab one and see what might this be:
There it is, a UltraFire 903 host. On one side it says CREE Q5:
And on the other side it says UltraFire 903:
Lets look at the host disassembled:
The tail cap:
The inside of the tail cap looks different than most, am not sure if it would be easily fixable if it were to break:
The pill in this host is not made to easily screw in or out with your fingers, you need either round nose pliers or sharp pointed stainless steel tweezers like you would use to fix the tail cap on some hosts. In case you are unfamiliar with round nose pliers, you wont find them in the tool section, you can get them at any craft store that sells jewelry making supplies or they sell them at Walmart in the craft section next to the jewelry making supplies. They are used for bending wire and have a very pointed tip:
The other side of the pill. The hosts from Mrcrouse that are wired with a battery contact board have a spring attached. If it is a single battery host like this one, that means you can use a flat top or a button top battery:
The heat sink:
The main body of the host:
Lets move on to the module. Most of you know DTR's packaging. I suspect that he lives next door to a post office, you can count on him for fast shipping:
Lets open it and see what we have:
Now we need to separate the parts:
The front end of the module:
The Microboost driver:
And the other side:
Now I am going to take that standard focus knob and internal lens spring and put them away in my box of spare parts:
And replace them with the parts from Survival Laser:
:wtf: Something is wrong with this lens:
OK I managed to get a better picture but this is the best I could do, I don't have enough magnification for a real good picture. The lens is cracked or chipped on the front side. This is the back side of the lens. The break is off to one side though so maybe it will work, we will find out:
Now to put the focus knob on the lens:
Then slide the spring over the lens. On a G2 lens these springs can be a tight fit but are a perfect fit with the extended barrel:
Screw the lens back into the module:
Then screw the back part of the module back on. This turned out to be a mistake, I also should have shortened the wires some but it looked like there was enough room:
Now back to the pill:
We have to strip the wires to prepare for soldering:
And put the pill back in the host:
Insert the module into the heat sink from the front of the heat sink and tighten the set screw:
Notice that the rear of the module sticks out the back some:
Cut two pieces of heat shrink:
Slide the heat shrink onto the wires from the module:
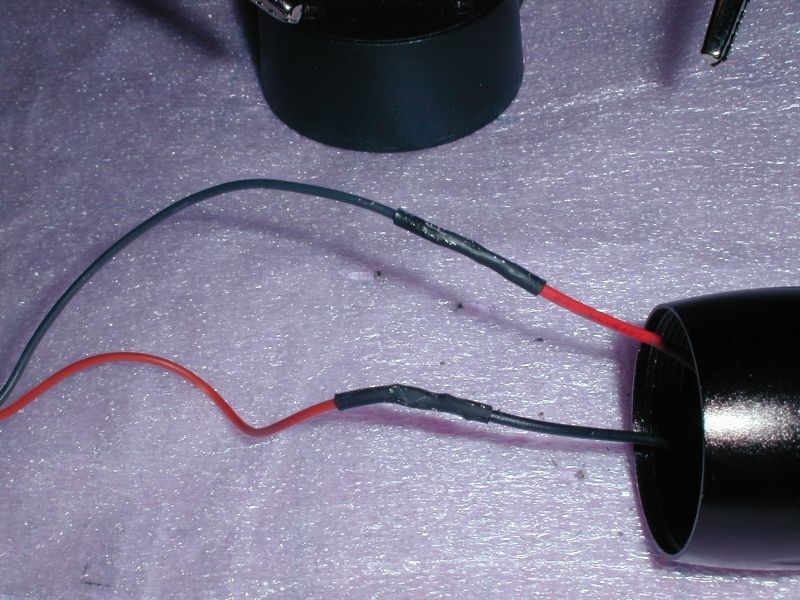
Then solder the wires from the module to the wires from the battery contact board and slide the heat shrink in place and brush it with your soldering iron a couple of times. Notice here that I have soldered the red wire to the black and the black to the red. When assembling a laser here is one place you must know what your doing. A laser can be wired host negative or host positive. If your using a round driver that doubles as a contact board then you don't have that choice, but when using a separate contact board you do. This one is host positive. The diode can be case neutral, case negative or case positive, so some must be wired one way or the other, also with some hosts the diode will be electrically isolated from the host so its important to be aware of these things:
Now insert the heat sink back into the host. Here is where I discovered there is less room than it looked like, but I am too lazy to take it apart and do it over again. I tried several times to make it fit but it wouldn't so I twisted the wires together (very carefully to not over twist them), its easy to break something that way. I then stuffed much of the wire down onto the pill and finally it slipped all the way into place:
Finish screwing the host together and we should have a working laser:
Now get one 18650 battery. These batteries are really cheap and I am not recommending them. I have since purchased some better batteries:
Insert the battery negative end first and put the tail cap on. Always be careful when you first screw the tail cap on a new laser, either test the tail cap with your DMM to see if its on or off or else just point it in a safe direction. This is the second time I have had a laser turn on when screwing on the tail cap:
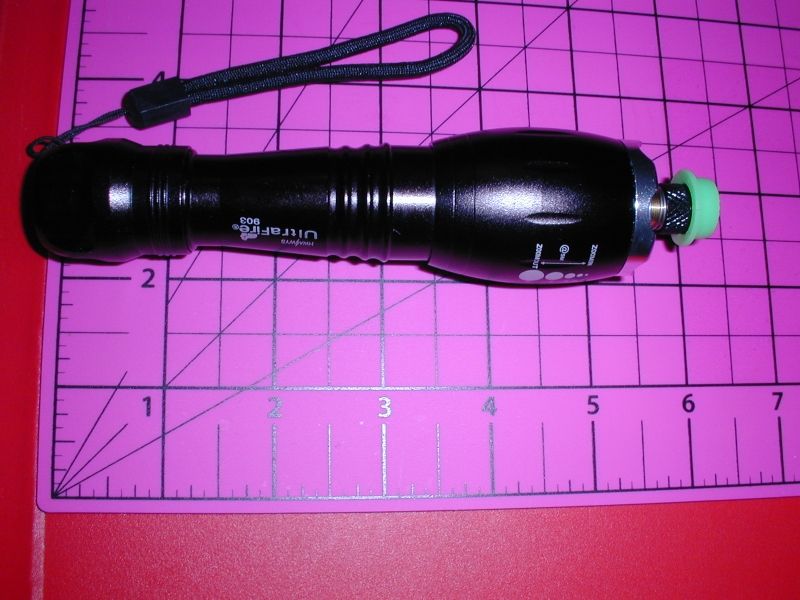
Ready for testing:
Here are some photos for scale. Its bigger than a C6:
It looks bigger in the photo but its exactly six inches:
Now for LPM testing. It meters at a reasonable 590.8mw:
It takes a couple of minutes to start slowly dropping in power and still doesn't feel warm at that point:
Here is the dot unfocused. Its doesn't show it in the photo but really it is round and a little less bright on two sides, also there is a narrow splash going off to one side:
It doesn't really look blue, that's just the camera, it looks very violet:
And some more photos:
I was worried about this lens but I guess I'll keep it, it seems to work OK.
Be careful with one of these, I didn't know I was leaving scorch marks when taking these photos until I smelled something burning. Its more powerful than I would have expected from 590mw:
I will return with number three in the near future:
Thanks for looking. And remember: Safety first, wear your goggles.


")