

- Joined
- May 14, 2013
- Messages
- 3,438
- Points
- 0
This last Christmas eve (12/24/2013) I purchased three hosts from Mrcrouse and started planning the three lasers, this is the first one of the three. I had intended to post this several weeks ago but I wasn't satisfied with the results. It was only a lens issue that I have since corrected and now the laser is perfect. The three hosts arrived only a few days after I purchased them from Mrcrouse.
The parts were purchased from DTR
520nm Osram PL520 Diode In Copper Module W/Microboost Driver & Acrylic Lens for $99 https://sites.google.com/site/dtrlpf/home/diodes/pl520-520nm-laser-diode
The host from Mrcrouse was $25.
And some additional parts from Survival Laser.
Survival Laser USA Home
Tools and supplied used are:
Soldering iron
Helping hands with lighted magnifier
Solder
Heat shrink tubing
Laser power meter
DMM
The total cost is approximately $150
If you decide to build an equivalent laser you can use any Mrcrouse host that uses a single battery and comes pre-wired with a battery contact board.
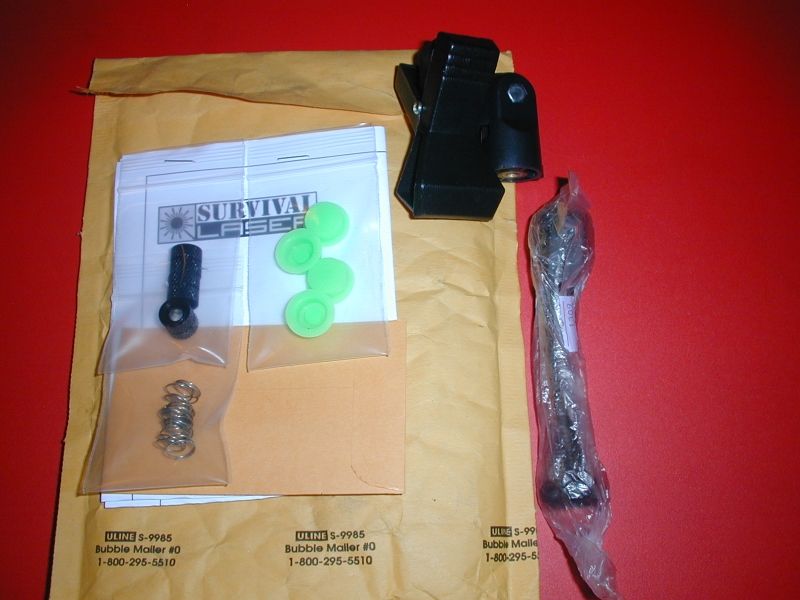
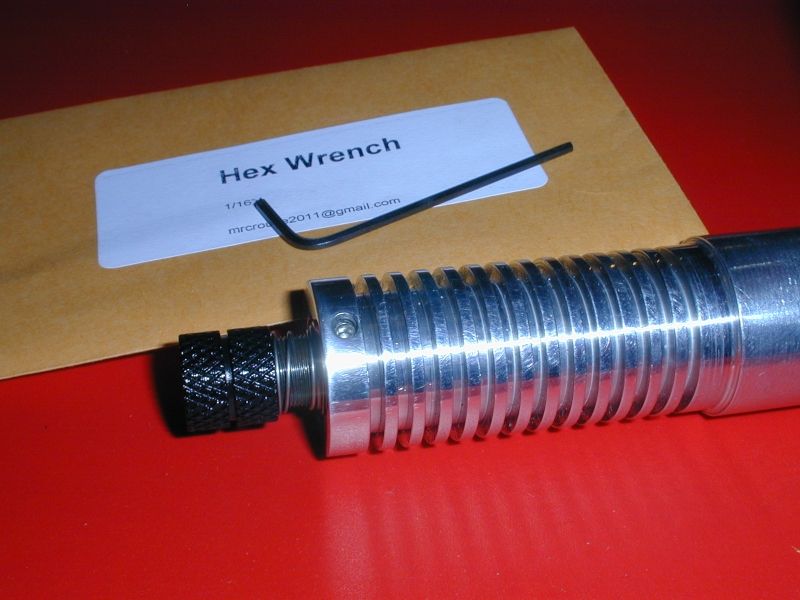
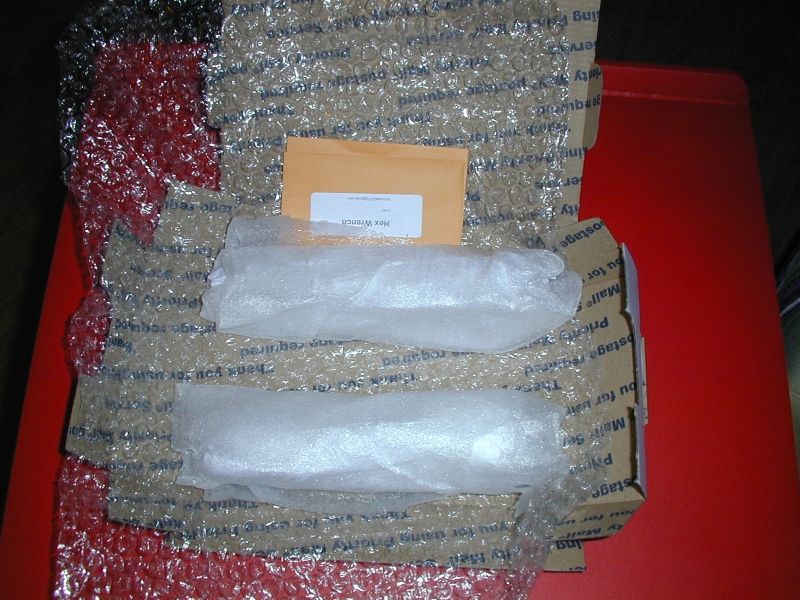
Lets begin with the package from Mrcrouse:
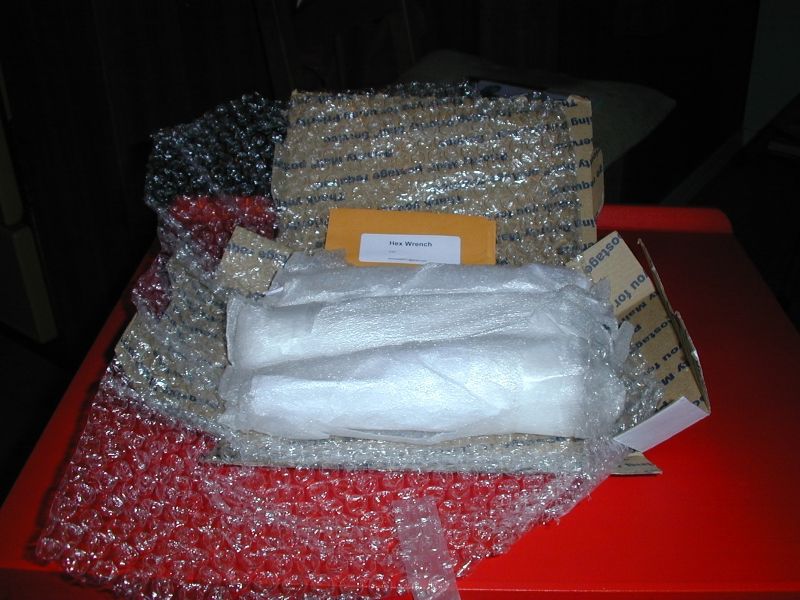
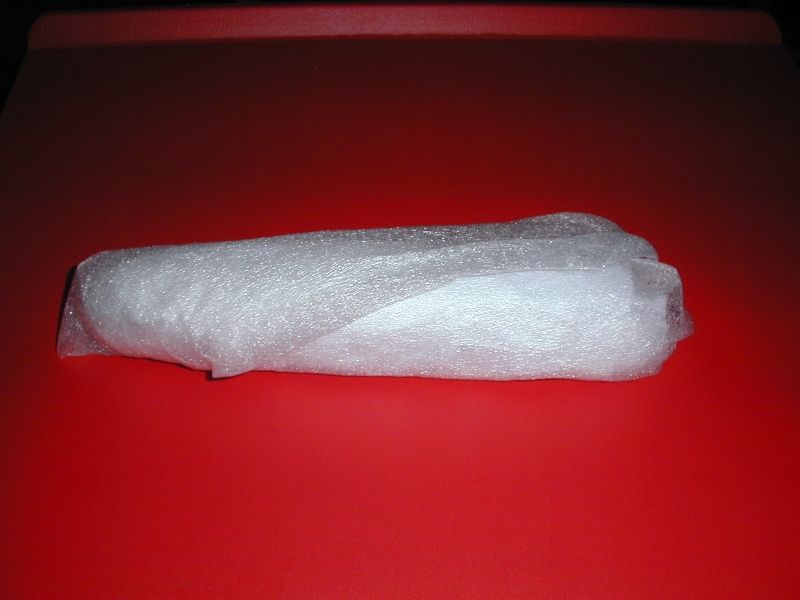
There they are. Lets begin with this one:
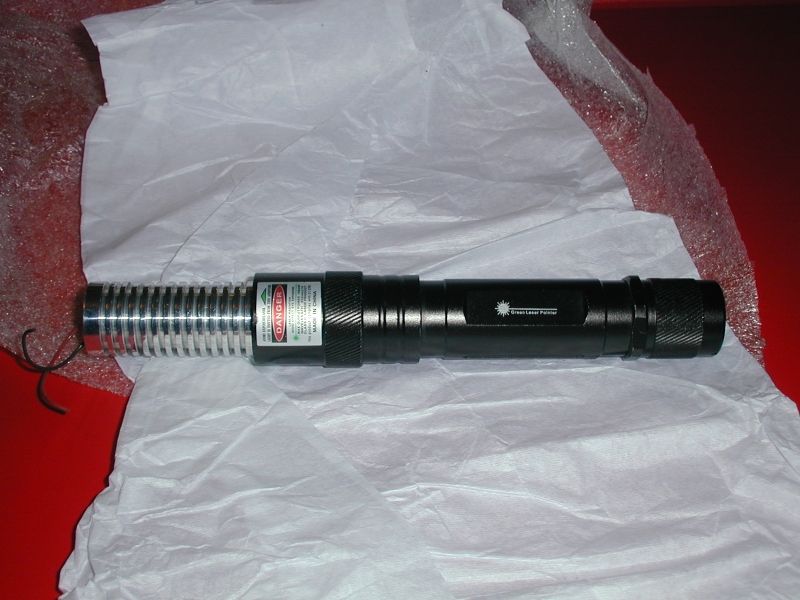
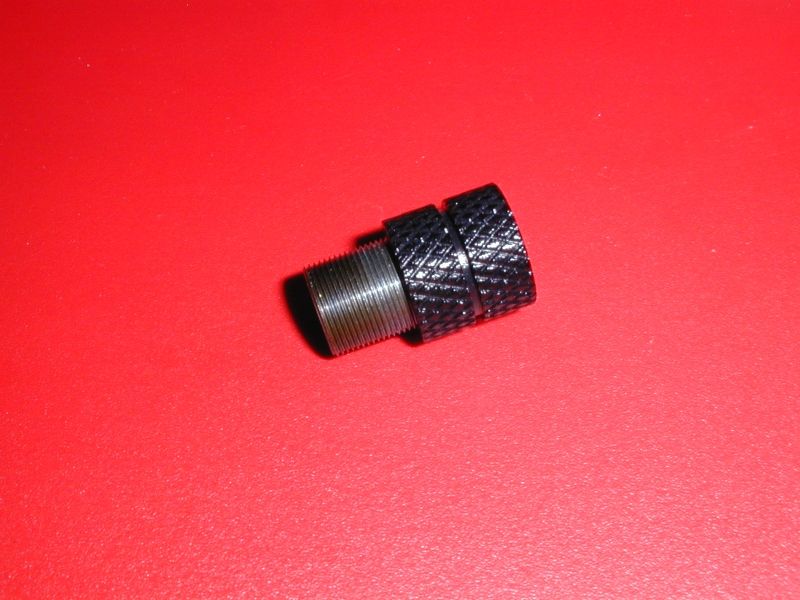
It is a recycled host from some other green laser with the addition of an impressive Mrcrouse extended finned aluminum heat sink.
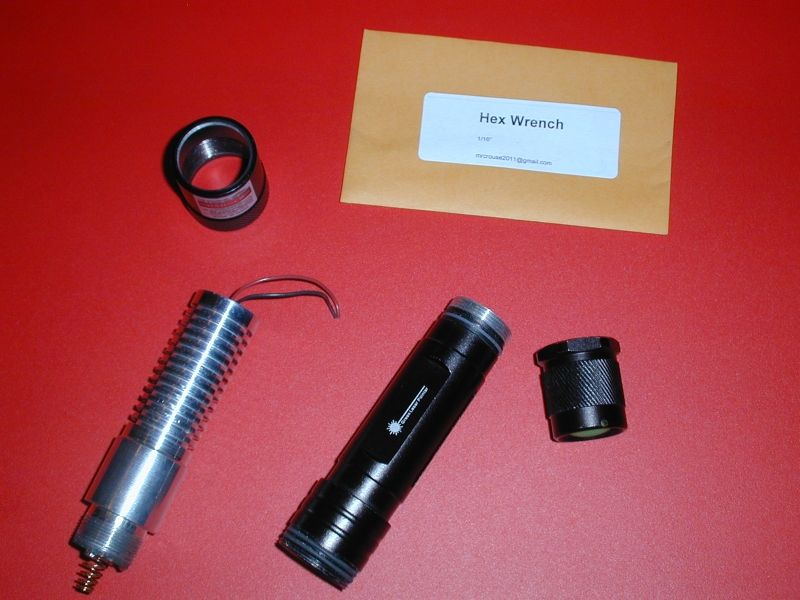
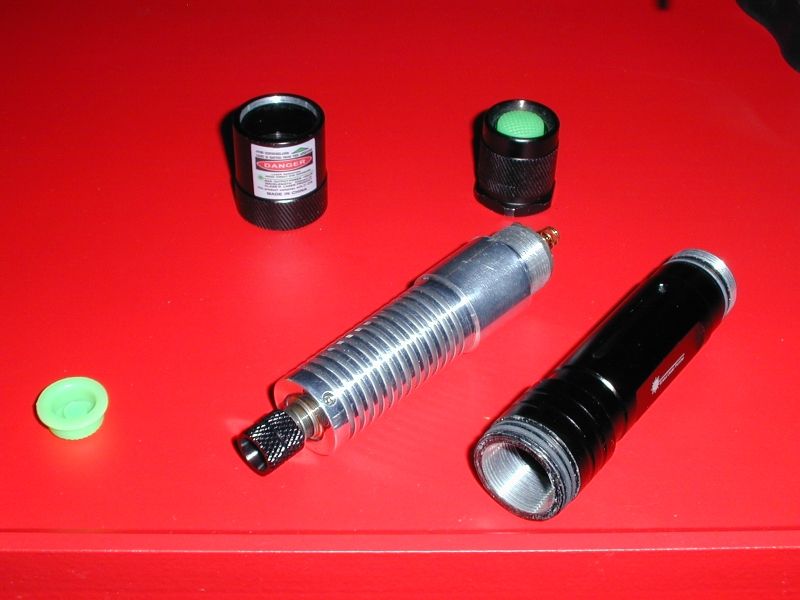
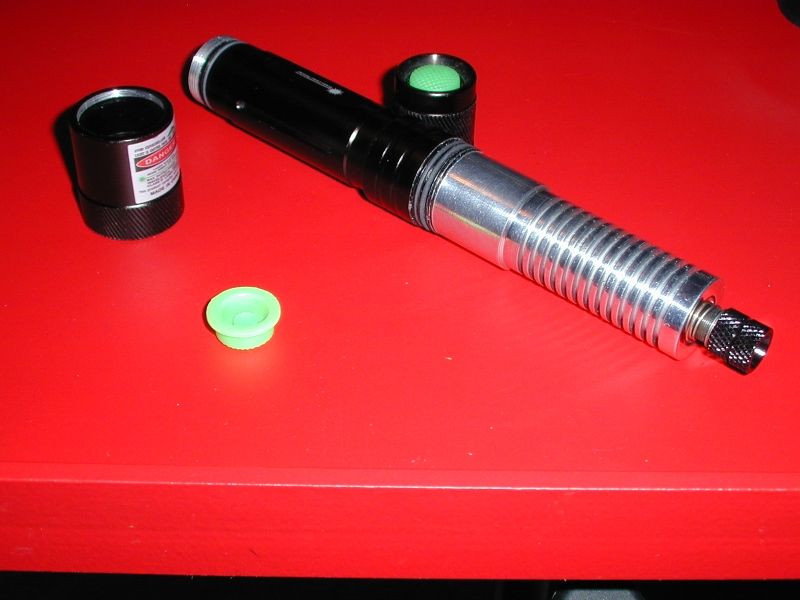
Here is the host disassembled:
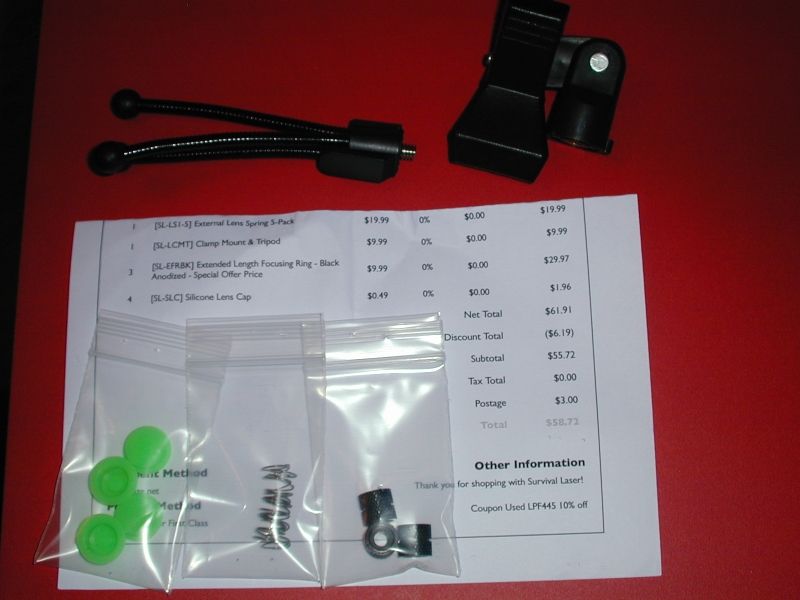
And some parts from Survival Laser that will be used in more than one laser.
Everyone needs at least one tripod to use with your lasers. I also prefer the Survival Laser extended focus knobs, they make it easy to focus while avoiding contact with the beam and they also accept a lens cap so you can avoid getting your lens dirty. I also like their external lens springs, they are much better than the internal ones.
Another photo of the tripod, the clamp is better than the tripod and for heavier lasers can be used on a larger tripod, see this other thread I recently posted: http://laserpointerforums.com/f44/targus-tripod-88257.html
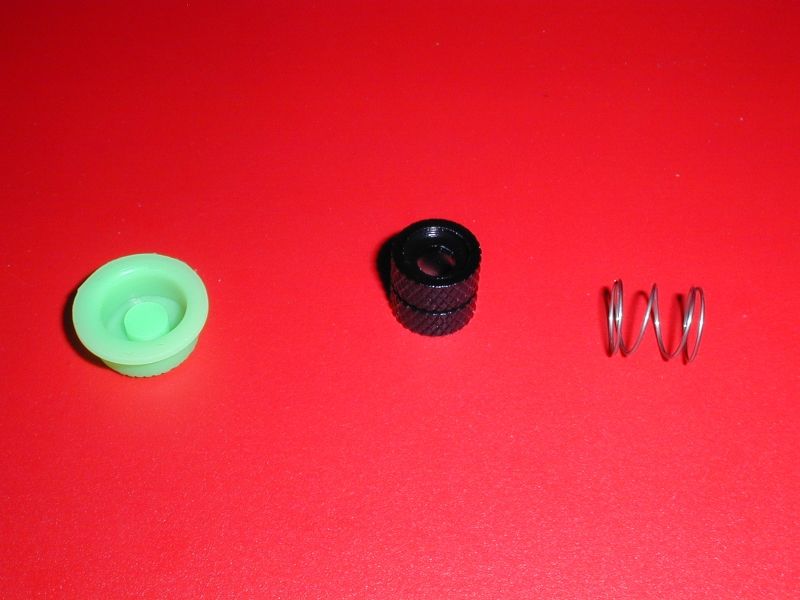
Here is the lens cap, focus knob and external lens spring that I prefer to use on all my lasers.
The package from DTR containing the module with diode, driver and lens.
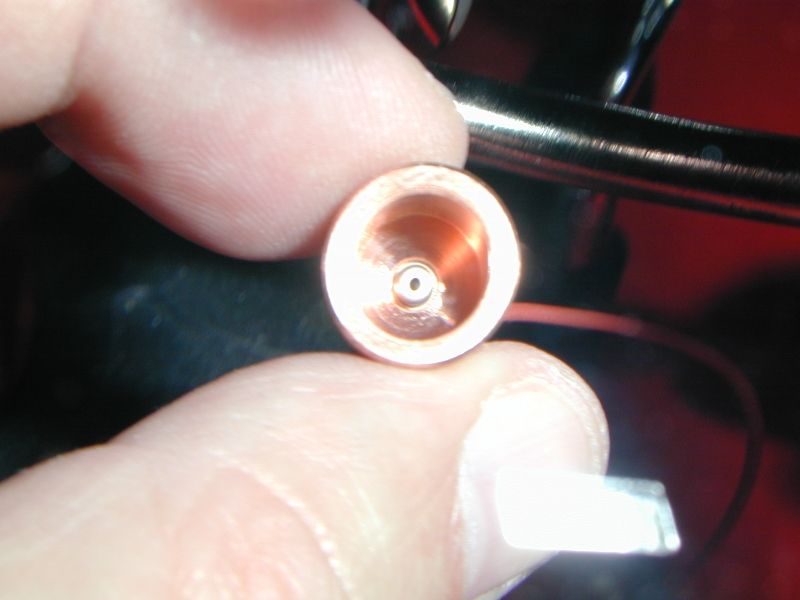
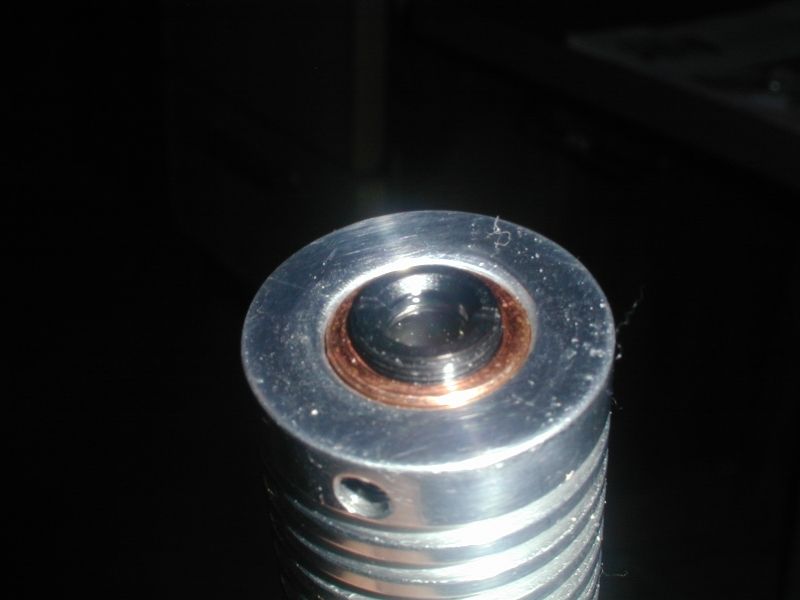
The module.
Lets separate the parts and have a closer look.
And swap the focus knob and spring. Wait a minute what is that!? That's not an acrylic lens! DTR has sent me a 3 element glass lens, maybe he ran out of the acrylic lenses or perhaps he upgraded my lens because I am such a good customer. Well lets see how it works out.
The tiny diode inside the module.
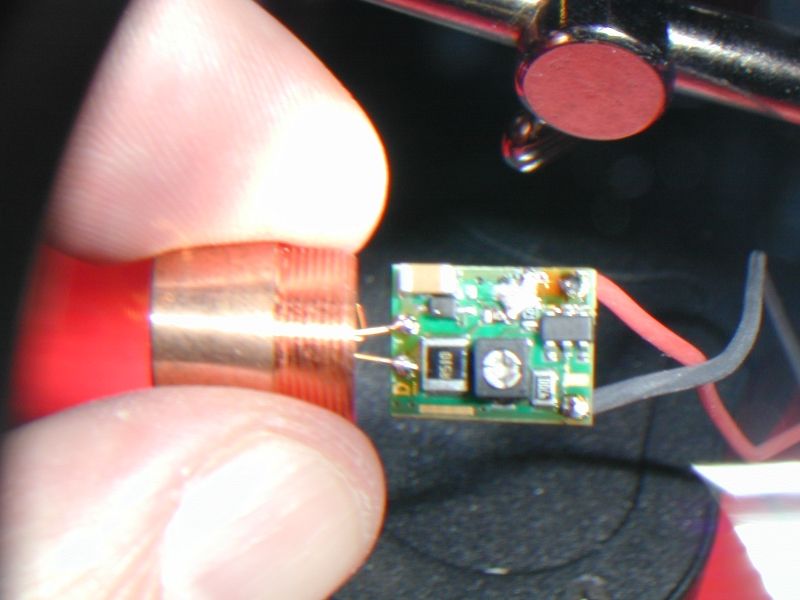
The driver.
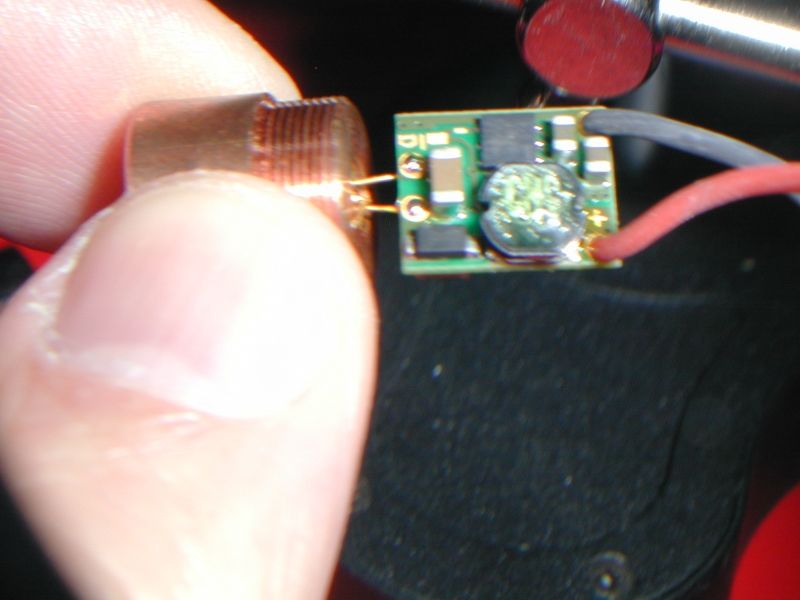
The other side.
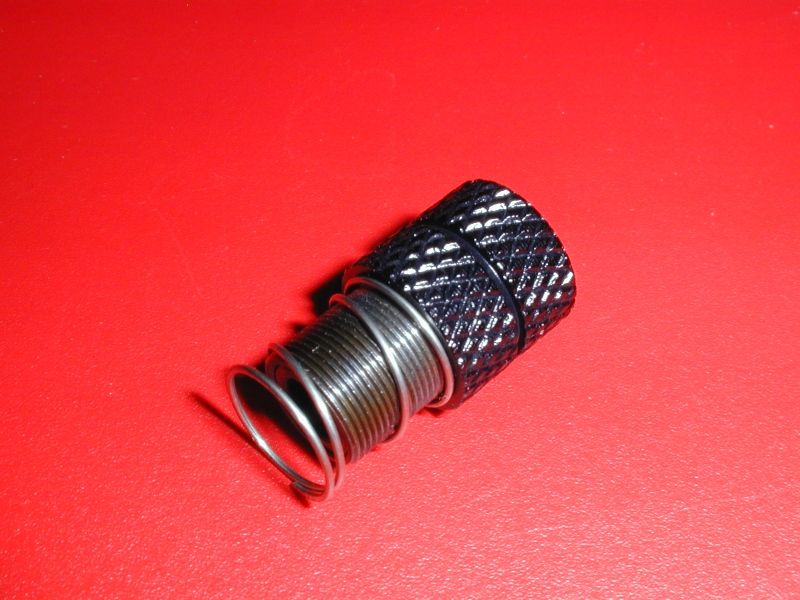
Now we can screw the focus knob onto the lens.
And slide on the external spring.
And screw it into the module.
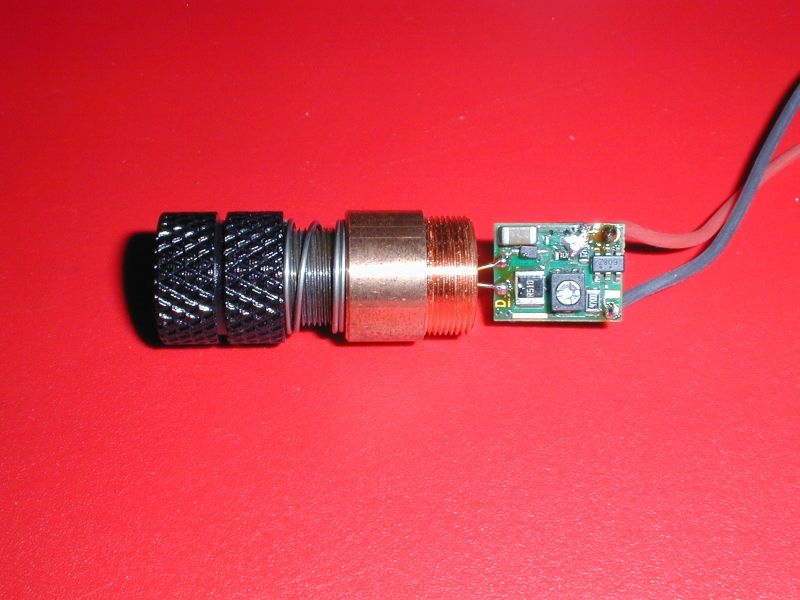
Now we put the back part of the module back on.
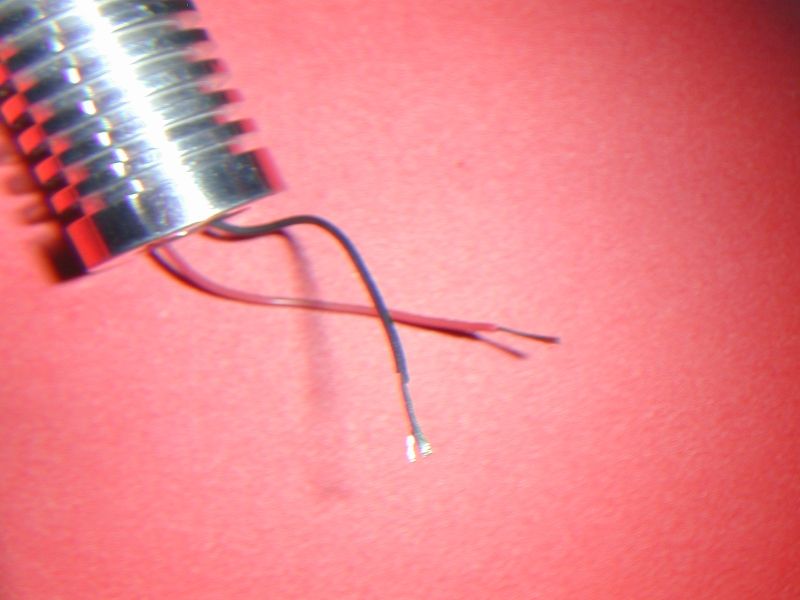
And have a look at the wires from the battery contact board.
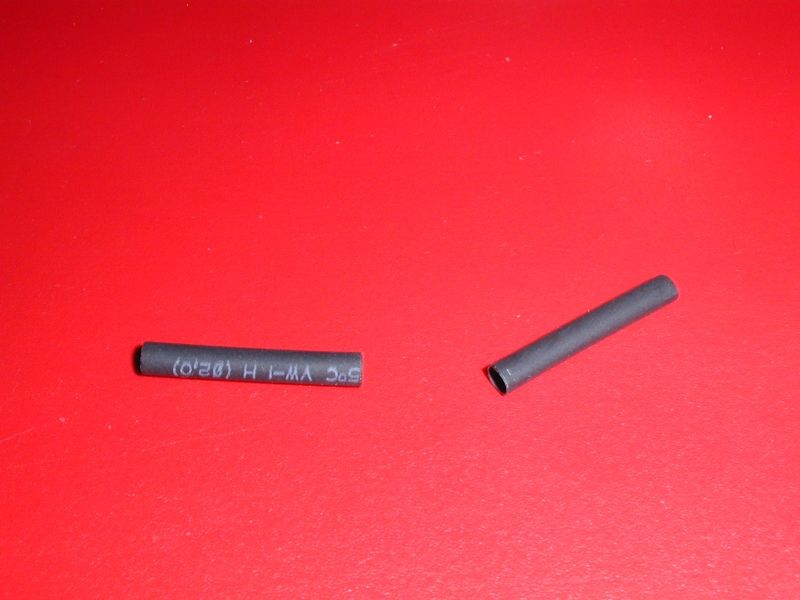
Then cut two pieces of heat shrink.
Slide them onto the wires from the module.
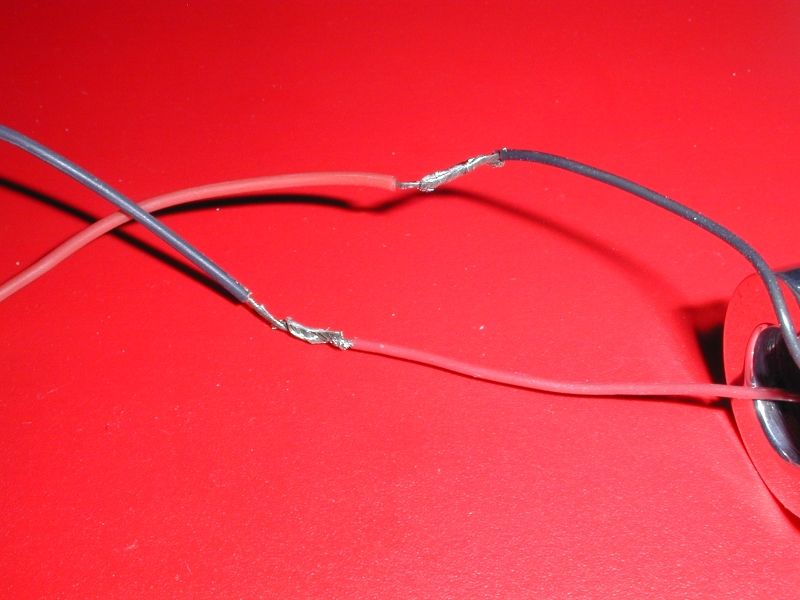
Solder the wires from the module to the wires from the battery contact board.
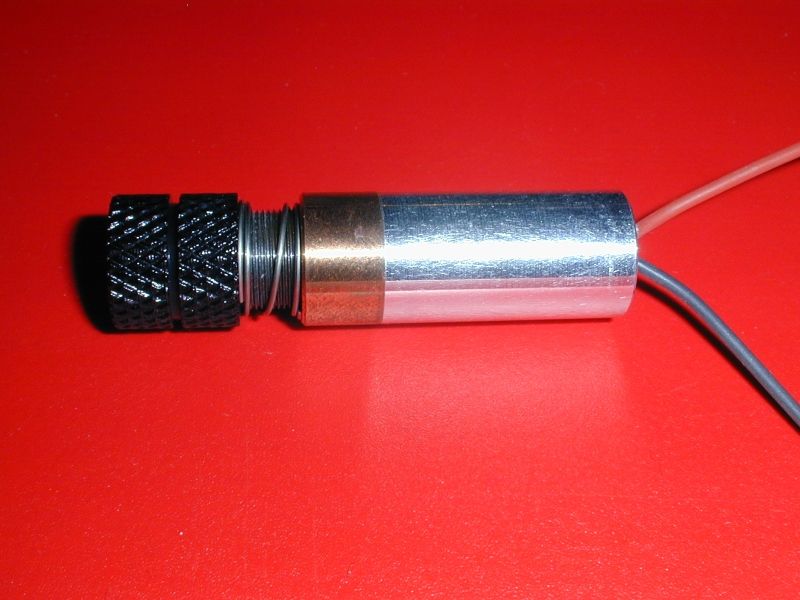
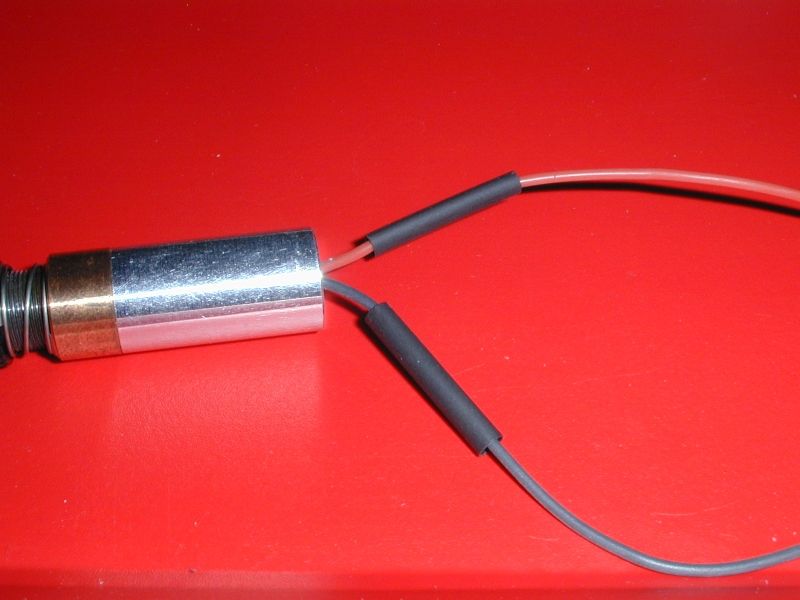
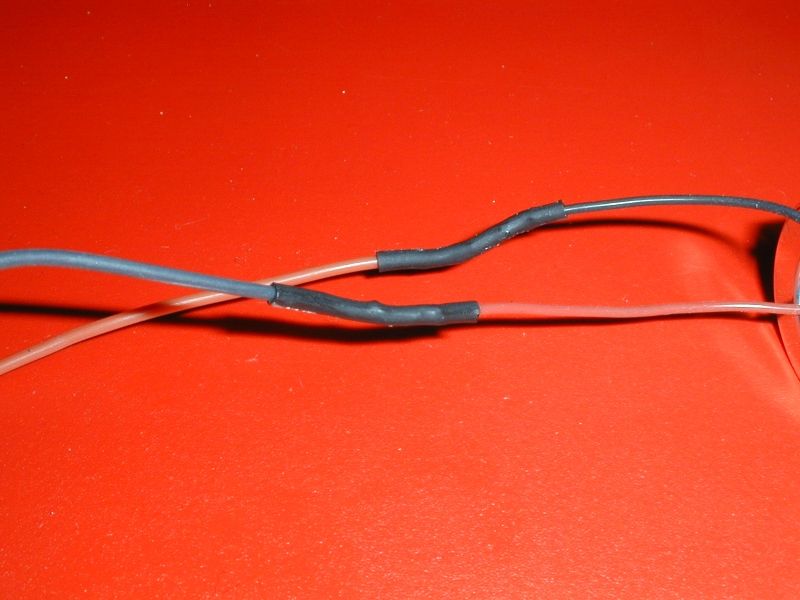
Slide the heat shrink in place and brush it a couple of times with the soldering iron.
Now its time to insert the module into the heat sink and tighten the set screw.
Almost finished.
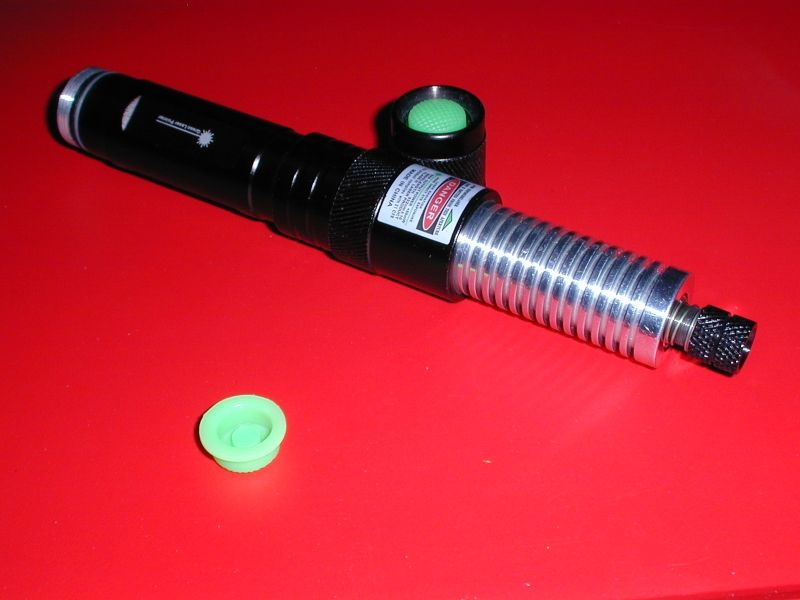
Screw the heat sink into the host.
Slide the other part over the heat sink and screw it in place.
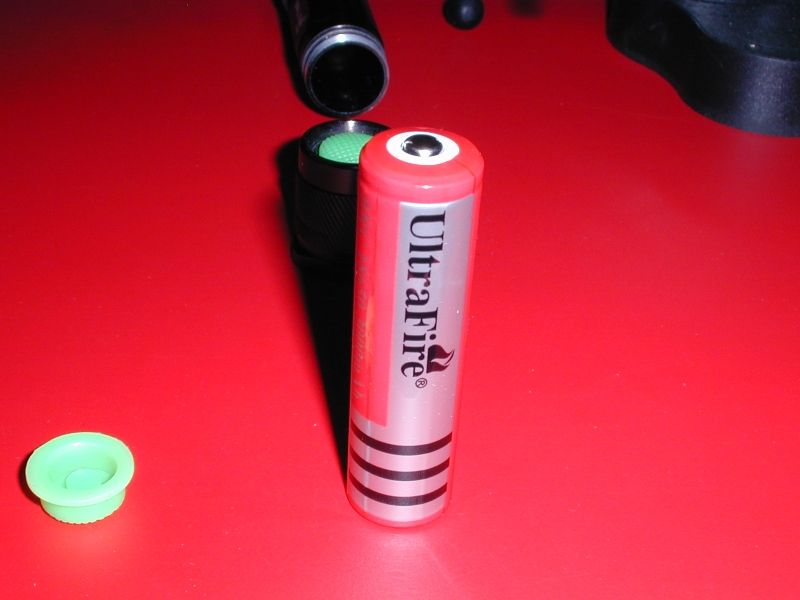
This is the 18650 battery I will be using for now, I don't recommend these but it will be fine for a low power laser like this.
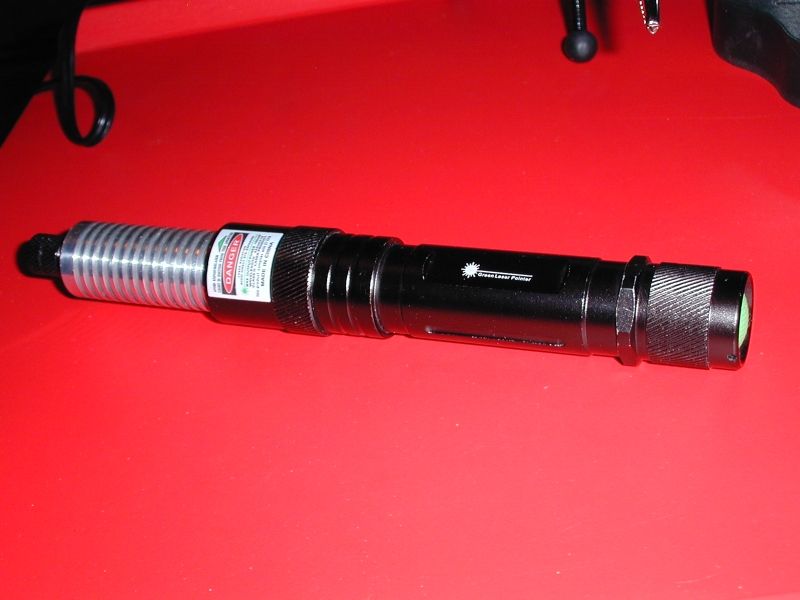
Now I should have a complete working laser.
Insert the battery negative end first and screw on the tail cap.
It should be ready to go.
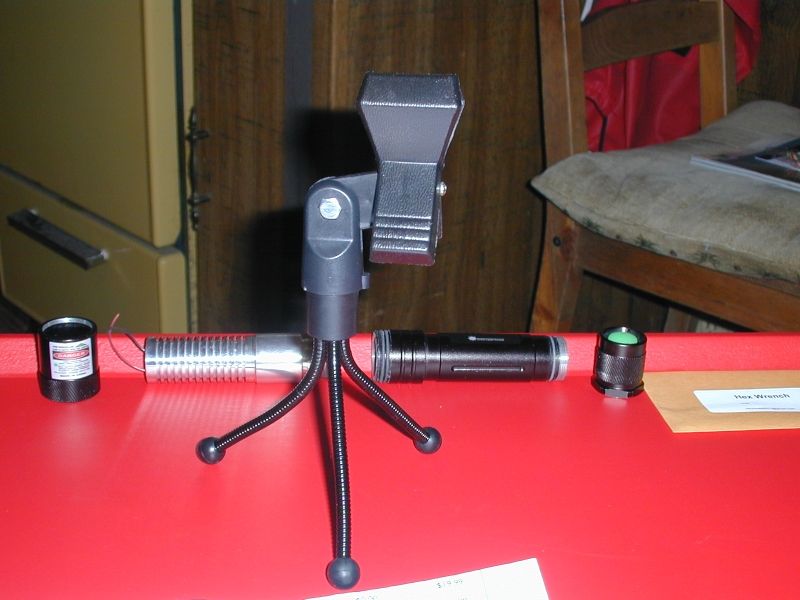
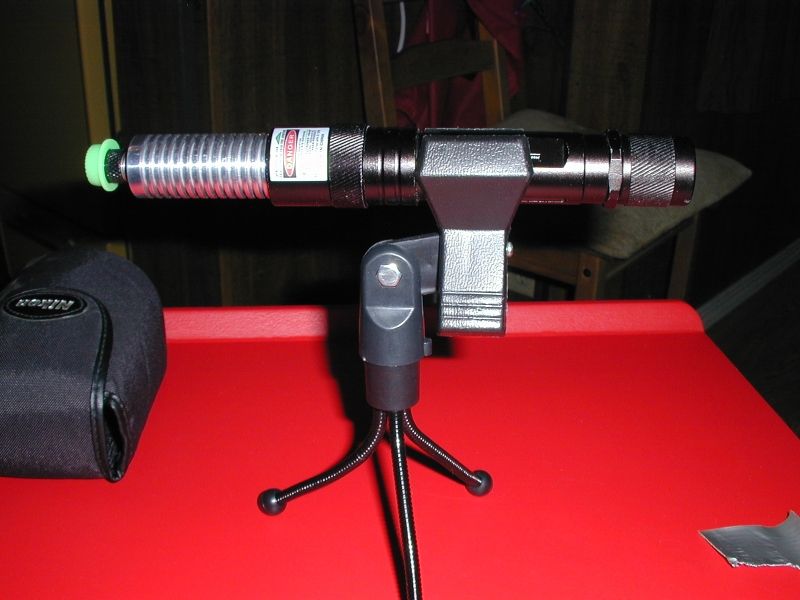
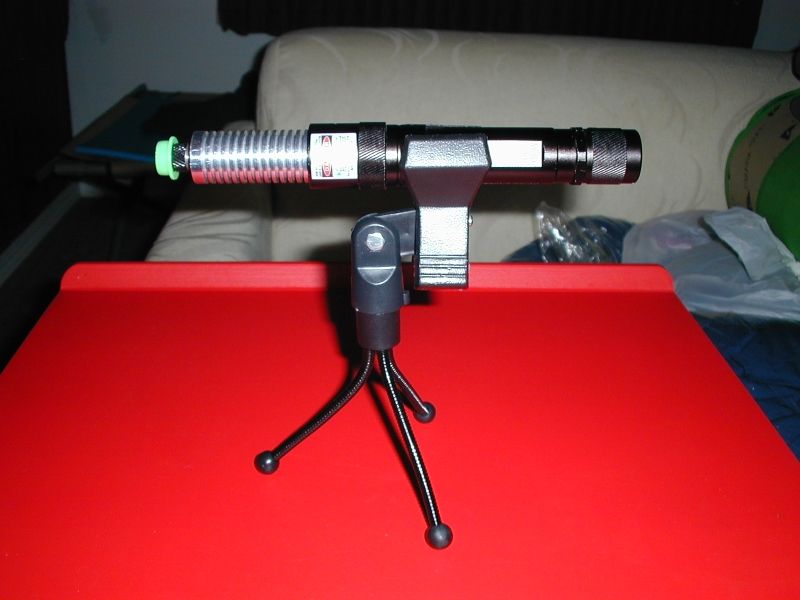
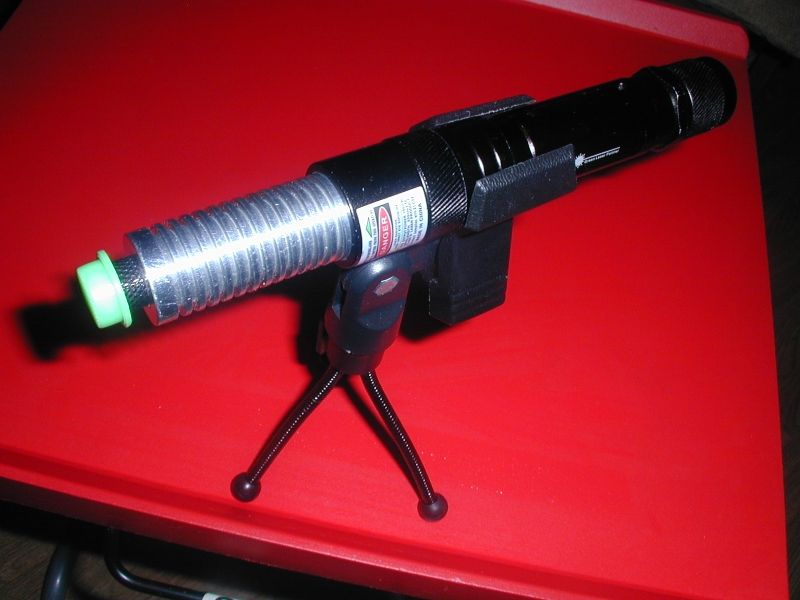
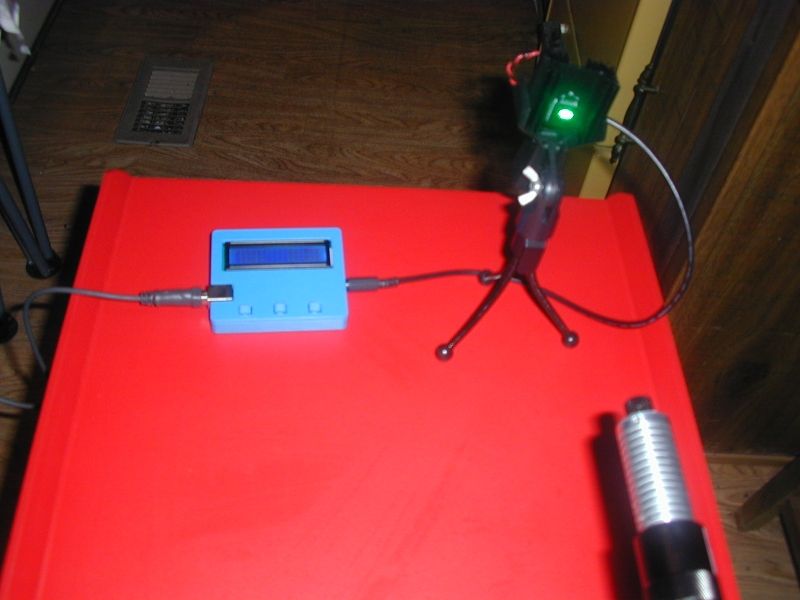
Lets see how it fits the tripod.
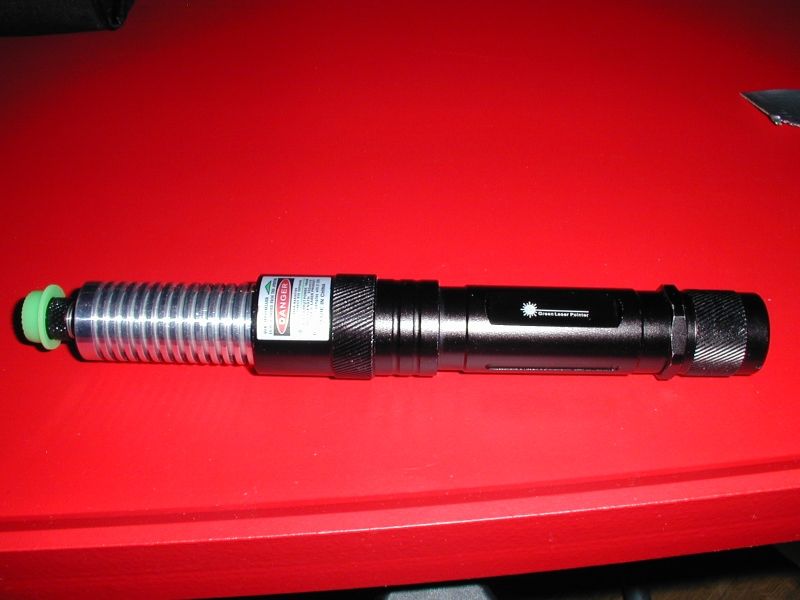
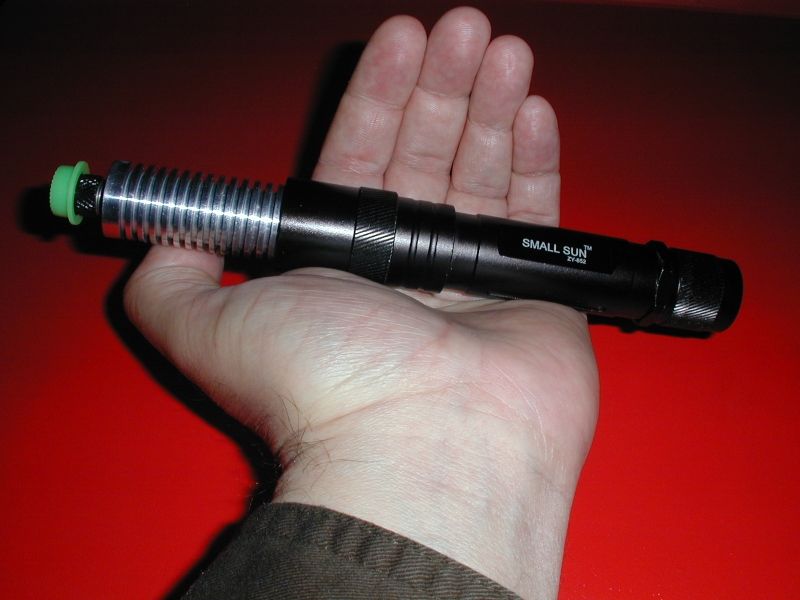
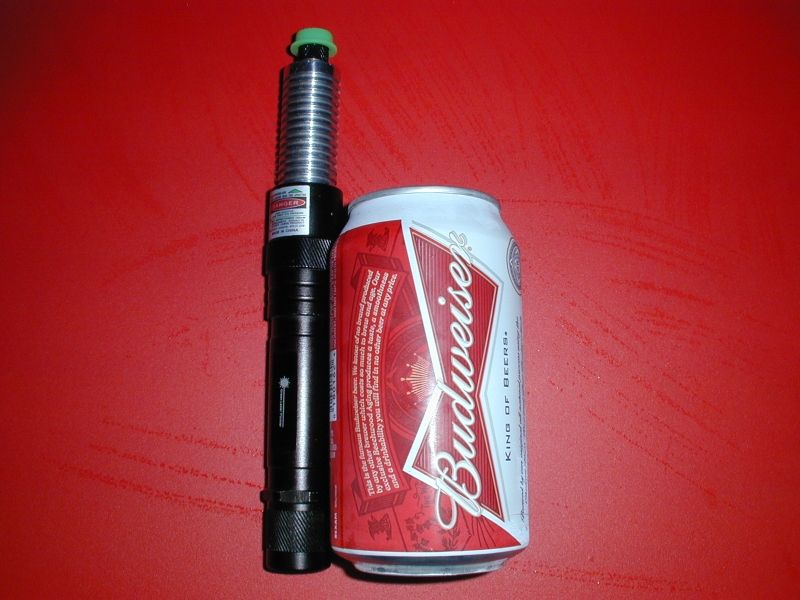
Here are some photos with objects for scale so you can see the size of the laser.
These other lasers were my first two builds. See the white links in my signature for more info. The one on the left is a C6.
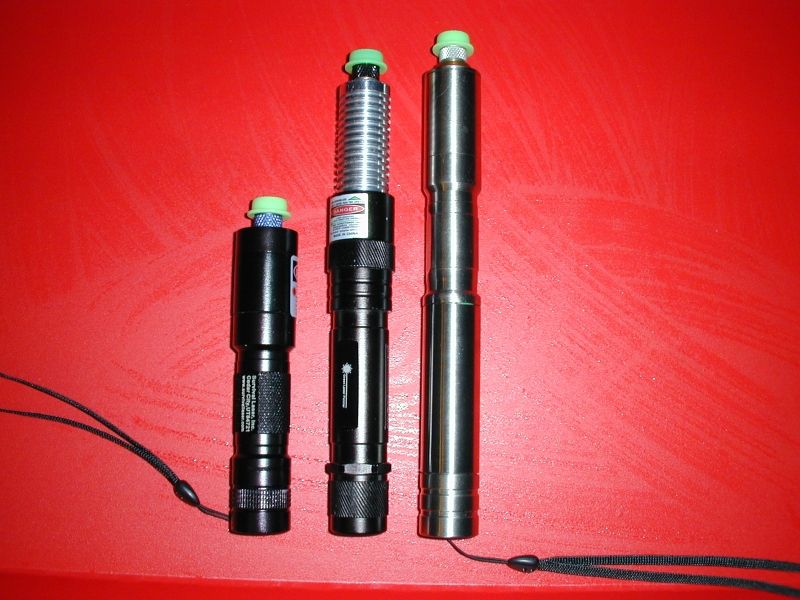
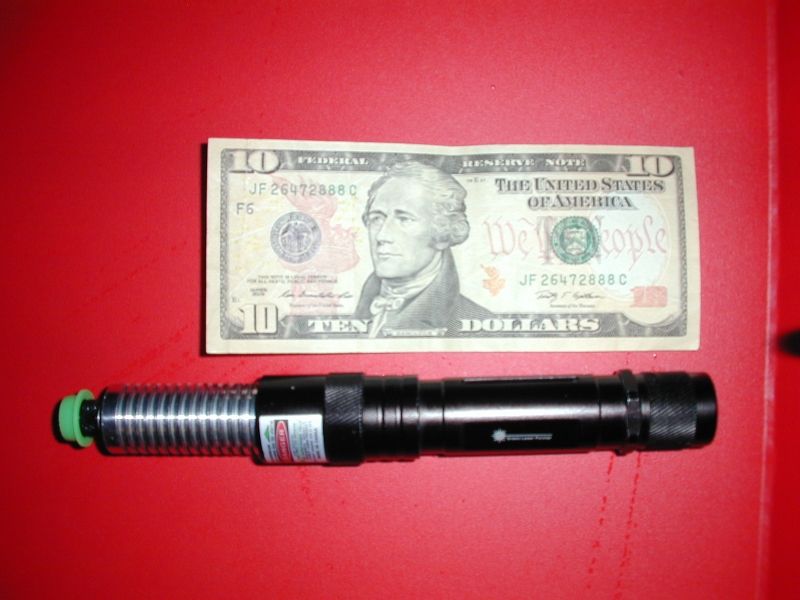
So you can see its reasonably large for a laser that runs on a single 18650. Now lets get ready for some testing.
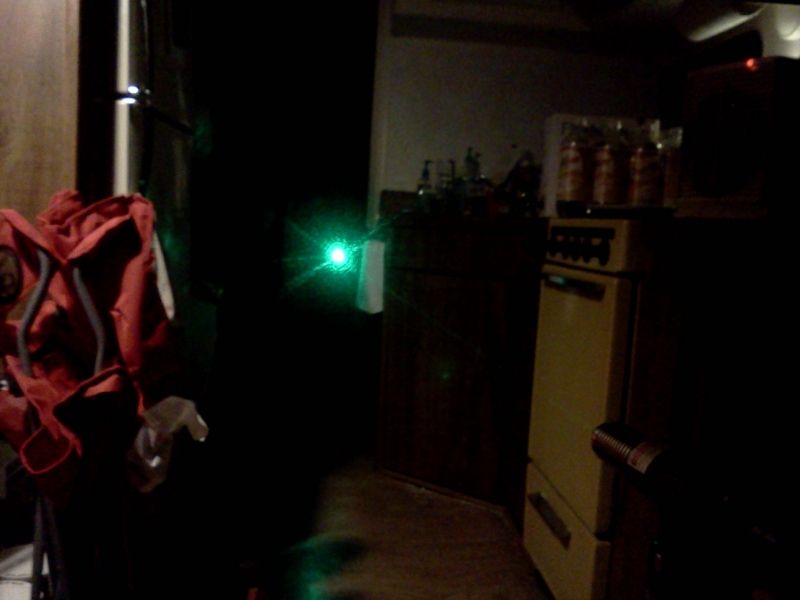
Now the first test.
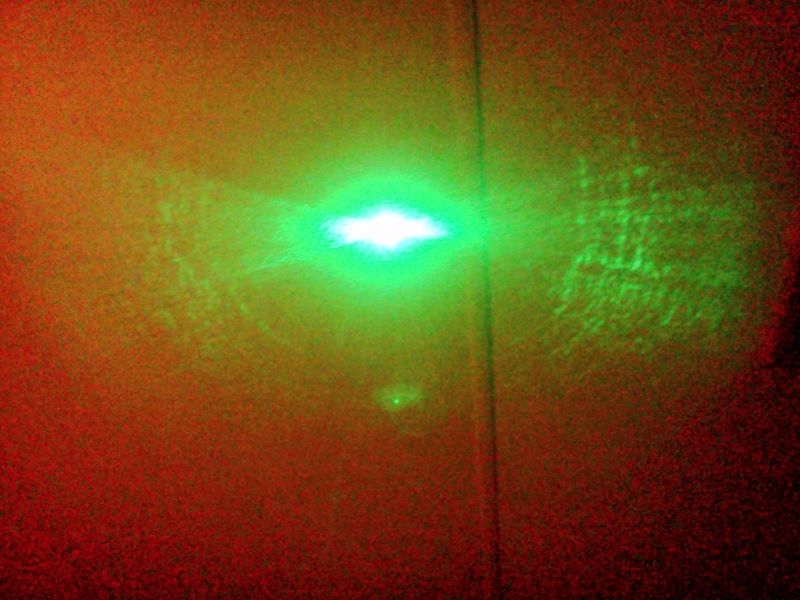
Oh no! :wtf: The splash is brighter than the dot! If I shine it at a wall 10 feet away the splash illuminates an area 10 feet across! :wtf: I have another laser with a 3 element lens and it produces the same splash/bat wings effect but its barely noticeable, nothing like this! This is completely unacceptable and must be fixed.
OK now I will remove the 3 element lens and external spring and replace them with an acrylic lens and internal spring.

Now another small issue, to focus properly, the lens has to be screwed almost all the way in.
Not really a problem, just a slight inconvenience, if I screw the focus knob all the way on the lens, then I can't screw the lens in far enough to focus. I can just barely screw the focus knob on the lens enough that it will stay on but still be loose. I want to use it anyway just so I can keep a lens cap on it when not in use.
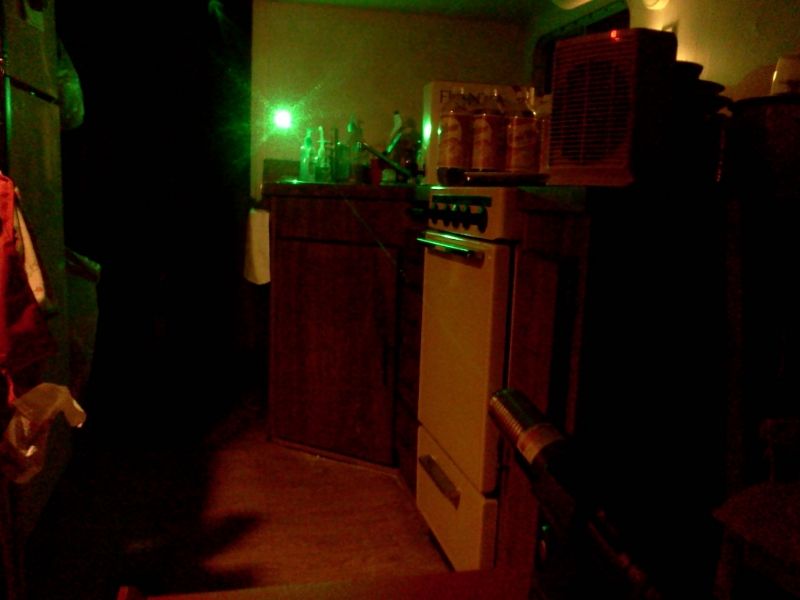
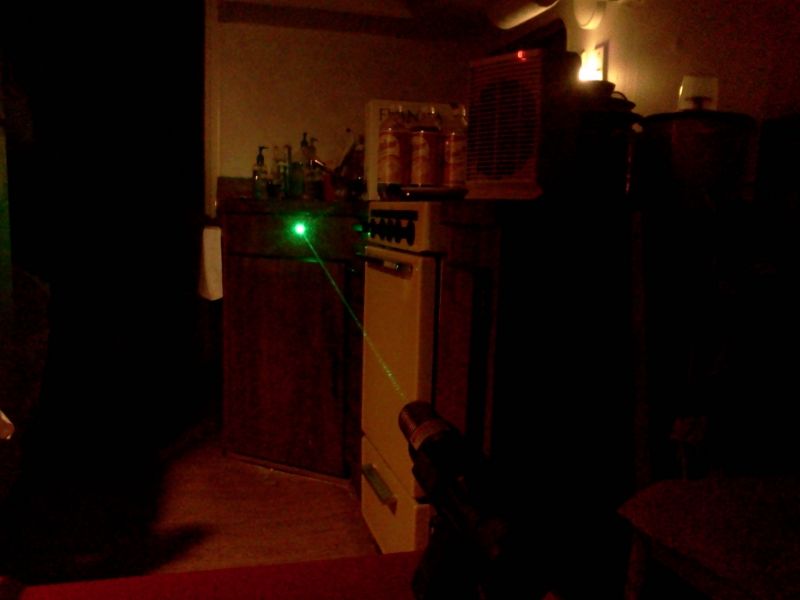
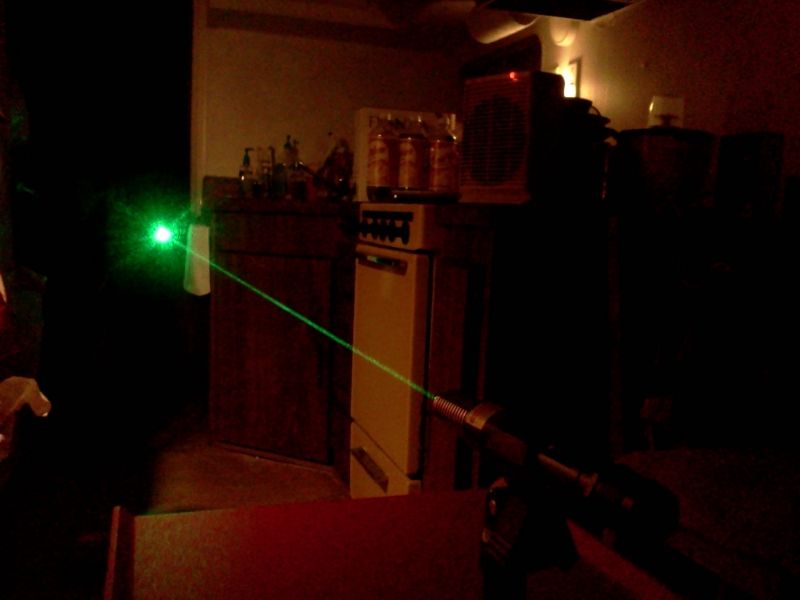
OK good enough, now its time for more tests.
Great! It now makes a clean tiny round dot. My cameras don't like this laser but after some difficulty I managed to get some photos.

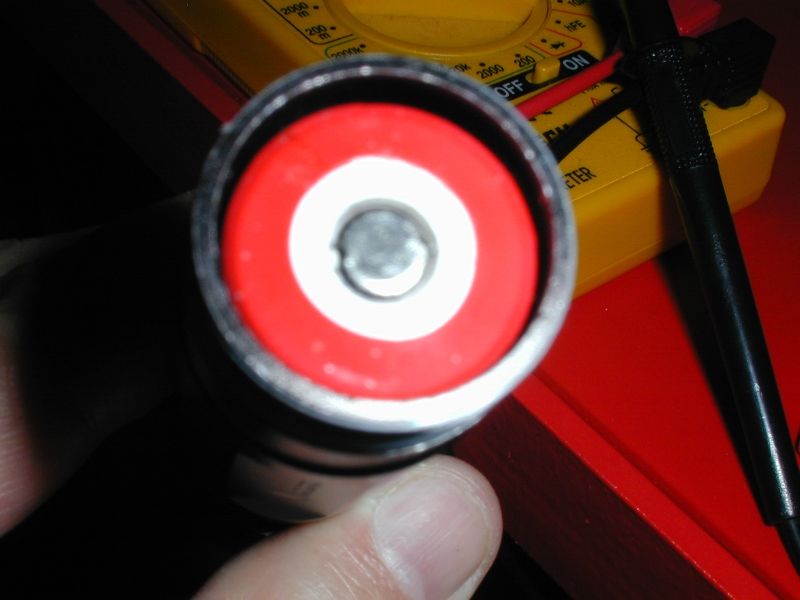
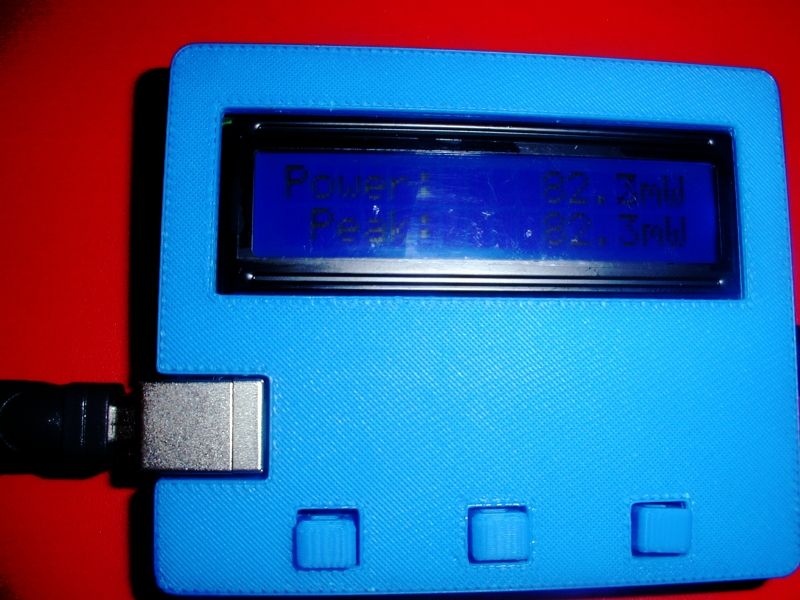
Now for the LPM test.
And it reads 82.3mw.
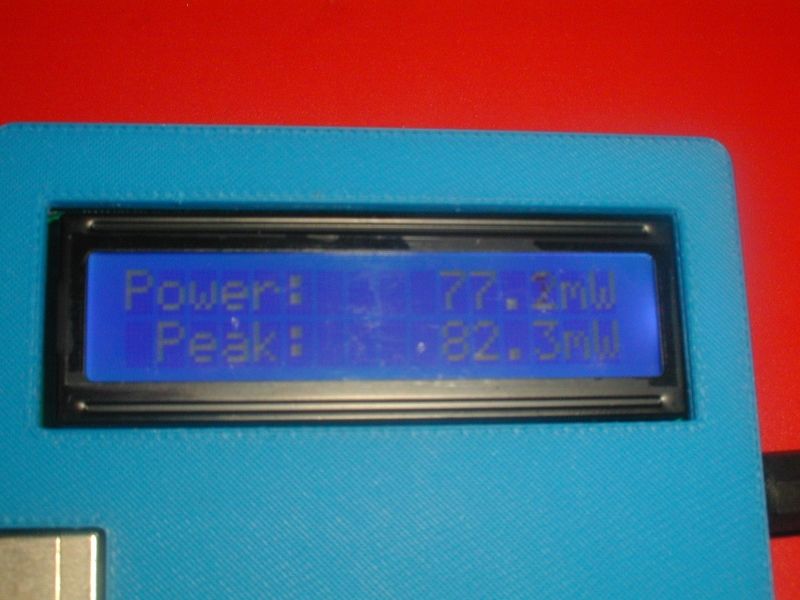
It remained stable at 82.3mw for a long time before falling to 77.2mw by the time it was warm to the touch.
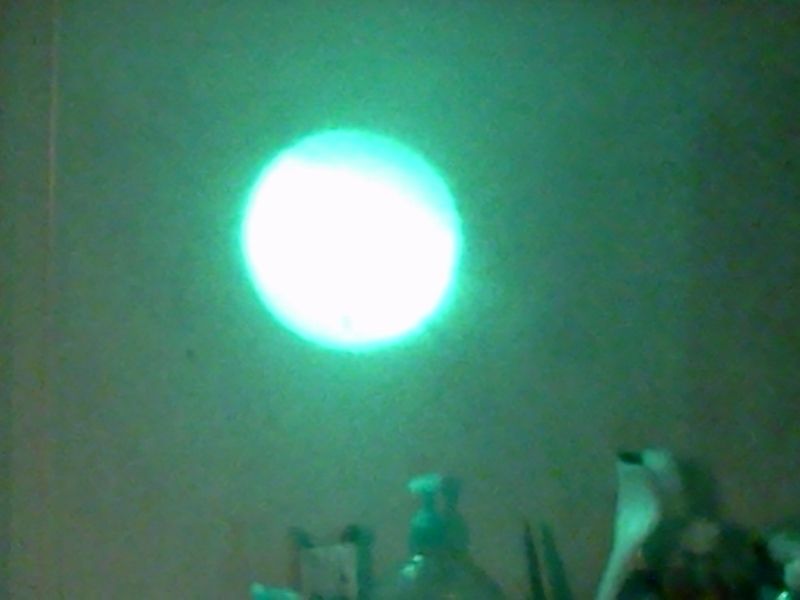
Here is one more photo of the dot unfocused, as you can see it is round, not rectangular.
The PL520 is a 3.8mm 50mW 520nm green laser diode. Over driven and with a G2 lens, DTR has reached power as high as 118mw.
I will return with another build in the near future.
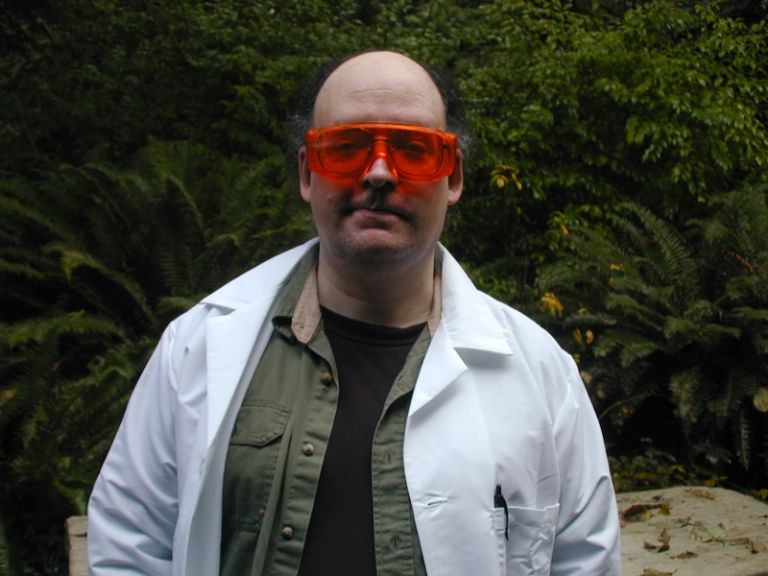
And remember: Safety first, wear your goggles.
The parts were purchased from DTR
520nm Osram PL520 Diode In Copper Module W/Microboost Driver & Acrylic Lens for $99 https://sites.google.com/site/dtrlpf/home/diodes/pl520-520nm-laser-diode
The host from Mrcrouse was $25.
And some additional parts from Survival Laser.
Survival Laser USA Home
Tools and supplied used are:
Soldering iron
Helping hands with lighted magnifier
Solder
Heat shrink tubing
Laser power meter
DMM
The total cost is approximately $150
If you decide to build an equivalent laser you can use any Mrcrouse host that uses a single battery and comes pre-wired with a battery contact board.
Lets begin with the package from Mrcrouse:
There they are. Lets begin with this one:
It is a recycled host from some other green laser with the addition of an impressive Mrcrouse extended finned aluminum heat sink.
Here is the host disassembled:
And some parts from Survival Laser that will be used in more than one laser.
Everyone needs at least one tripod to use with your lasers. I also prefer the Survival Laser extended focus knobs, they make it easy to focus while avoiding contact with the beam and they also accept a lens cap so you can avoid getting your lens dirty. I also like their external lens springs, they are much better than the internal ones.
Another photo of the tripod, the clamp is better than the tripod and for heavier lasers can be used on a larger tripod, see this other thread I recently posted: http://laserpointerforums.com/f44/targus-tripod-88257.html
Here is the lens cap, focus knob and external lens spring that I prefer to use on all my lasers.
The package from DTR containing the module with diode, driver and lens.
The module.
Lets separate the parts and have a closer look.
And swap the focus knob and spring. Wait a minute what is that!? That's not an acrylic lens! DTR has sent me a 3 element glass lens, maybe he ran out of the acrylic lenses or perhaps he upgraded my lens because I am such a good customer. Well lets see how it works out.
The tiny diode inside the module.
The driver.
The other side.
Now we can screw the focus knob onto the lens.
And slide on the external spring.
And screw it into the module.
Now we put the back part of the module back on.
And have a look at the wires from the battery contact board.
Then cut two pieces of heat shrink.
Slide them onto the wires from the module.
Solder the wires from the module to the wires from the battery contact board.
Slide the heat shrink in place and brush it a couple of times with the soldering iron.
Now its time to insert the module into the heat sink and tighten the set screw.
Almost finished.
Screw the heat sink into the host.
Slide the other part over the heat sink and screw it in place.
This is the 18650 battery I will be using for now, I don't recommend these but it will be fine for a low power laser like this.
Now I should have a complete working laser.
Insert the battery negative end first and screw on the tail cap.
It should be ready to go.
Lets see how it fits the tripod.
Here are some photos with objects for scale so you can see the size of the laser.
These other lasers were my first two builds. See the white links in my signature for more info. The one on the left is a C6.
So you can see its reasonably large for a laser that runs on a single 18650. Now lets get ready for some testing.
Now the first test.
Oh no! :wtf: The splash is brighter than the dot! If I shine it at a wall 10 feet away the splash illuminates an area 10 feet across! :wtf: I have another laser with a 3 element lens and it produces the same splash/bat wings effect but its barely noticeable, nothing like this! This is completely unacceptable and must be fixed.
OK now I will remove the 3 element lens and external spring and replace them with an acrylic lens and internal spring.
Now another small issue, to focus properly, the lens has to be screwed almost all the way in.
Not really a problem, just a slight inconvenience, if I screw the focus knob all the way on the lens, then I can't screw the lens in far enough to focus. I can just barely screw the focus knob on the lens enough that it will stay on but still be loose. I want to use it anyway just so I can keep a lens cap on it when not in use.
OK good enough, now its time for more tests.
Great! It now makes a clean tiny round dot. My cameras don't like this laser but after some difficulty I managed to get some photos.
Now for the LPM test.
And it reads 82.3mw.
It remained stable at 82.3mw for a long time before falling to 77.2mw by the time it was warm to the touch.
Here is one more photo of the dot unfocused, as you can see it is round, not rectangular.
The PL520 is a 3.8mm 50mW 520nm green laser diode. Over driven and with a G2 lens, DTR has reached power as high as 118mw.
I will return with another build in the near future.
And remember: Safety first, wear your goggles.


")