- Joined
- May 14, 2013
- Messages
- 3,438
- Points
- 0
This was my last build and I should have posted this a long time ago, it's just difficult to spend the time to post a thread like this, but since I have these photos and am hoping to do another build I thought I would go ahead and post it.
I had purchased three hosts from Mrcrouse a long time ago and started planning the three lasers, this is the third one of the three, and my fifth build.
In addition to Mrcrouse, the parts were again purchased from DTR, and Survival Laser.
Total cost was $140.
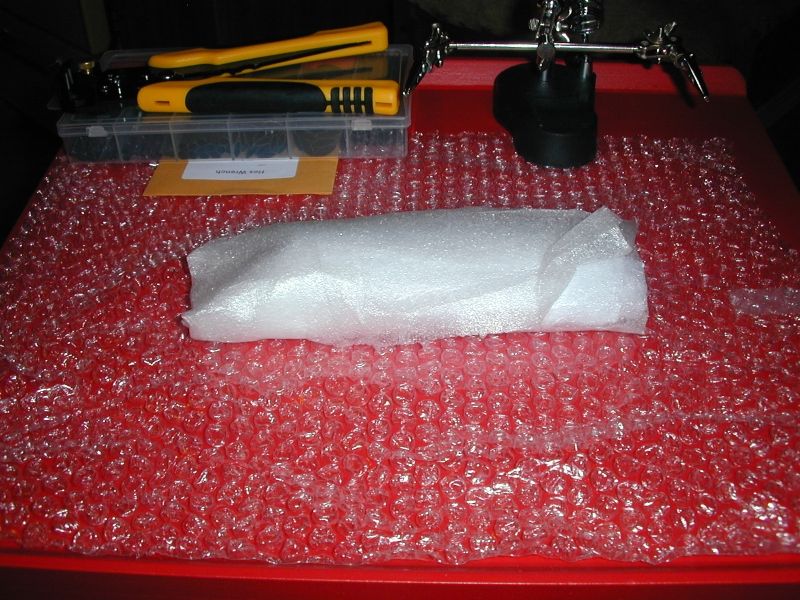
Tools and supplies used:
Soldering iron
Helping hands with lighted magnifier
Solder
Heat shrink tubing
Laser power meter
DMM
Wire stripper
Hex wrench
Let's have a look at the host:
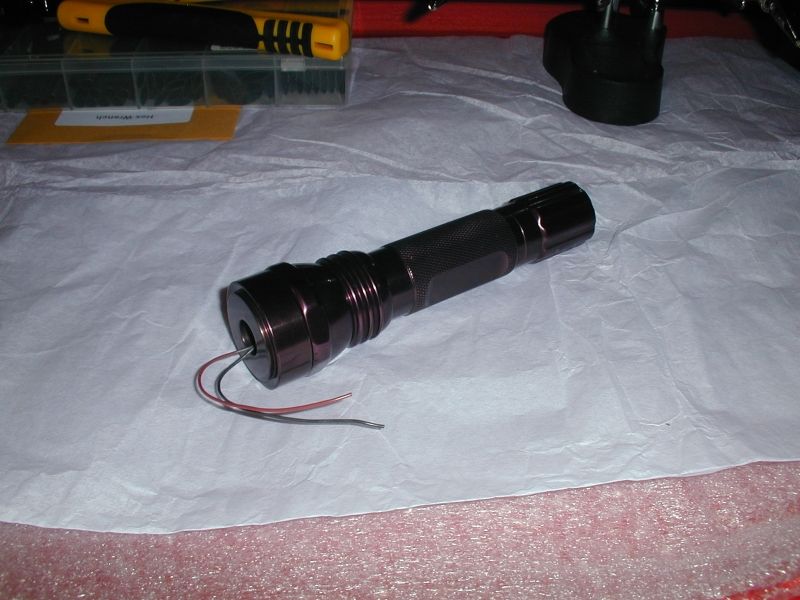
Notice that the host is similar to a 501B but not the same. Mrcrouse had called it a single 18650 host, but when trying batteries in it I discovered it had a little extra space for the batteries and could easily fit two 18350's, that's why I chose it for this build.
Let's take it apart:
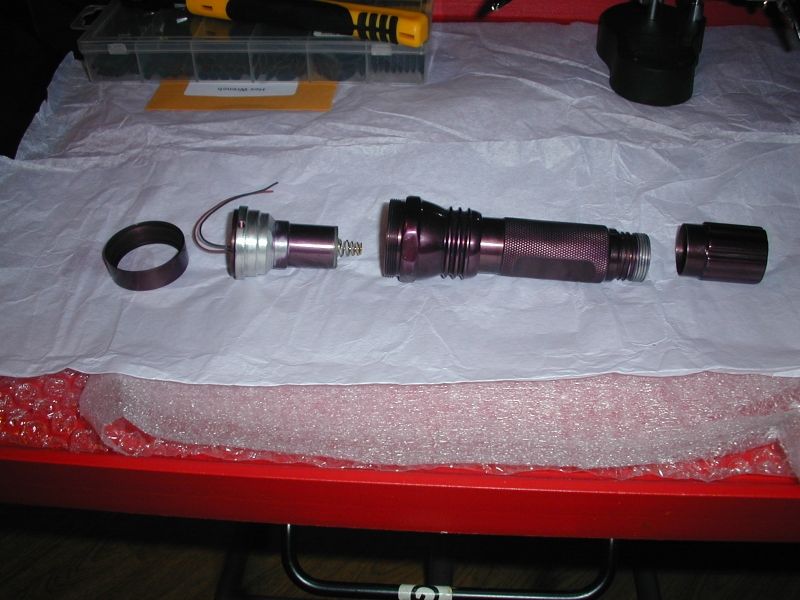
Only 4 pieces.
The tail cap:
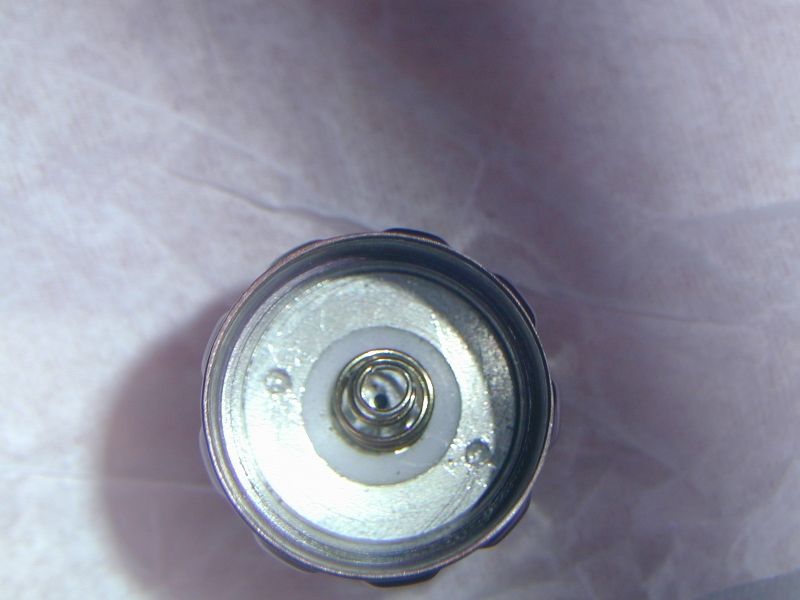
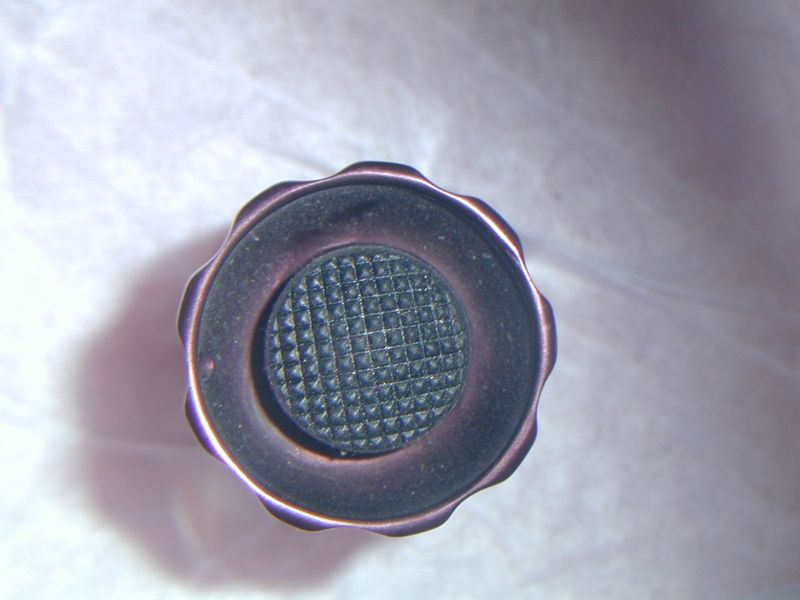
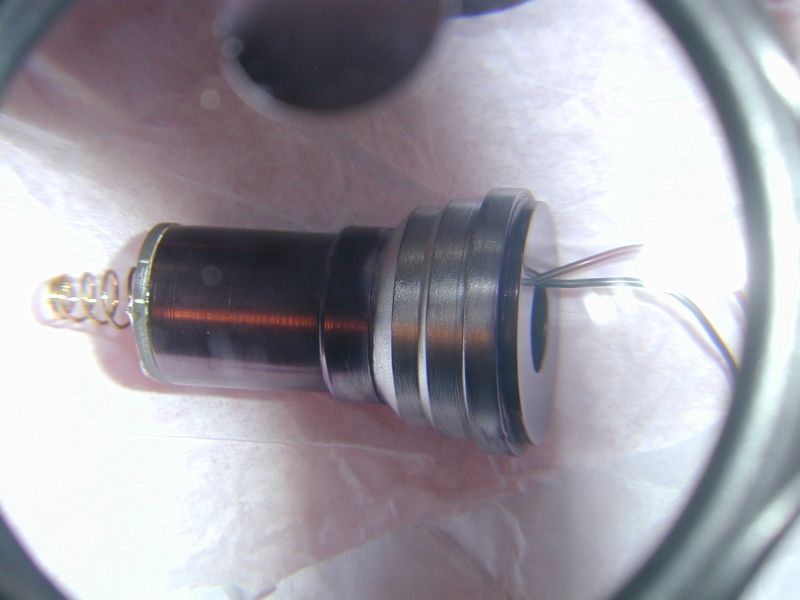
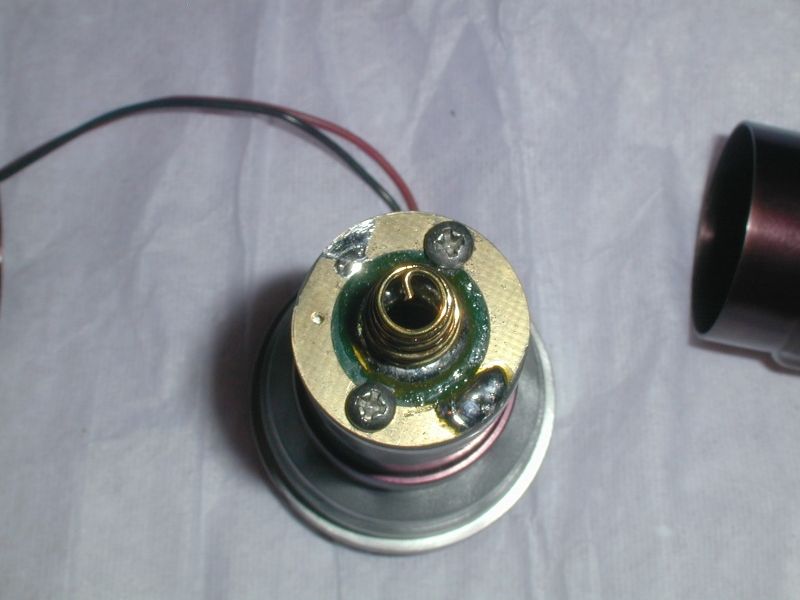
The combined pill and heat sink pre-wired with a battery contact board:
I am sure many of you know something from DTR when you see it:
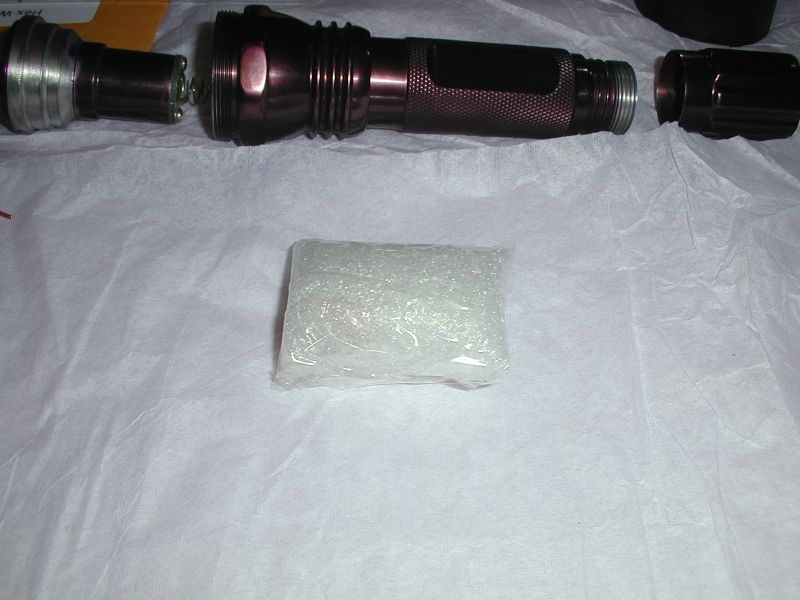
The PLTB450B module with a G2 and 1.8A X-Drive:
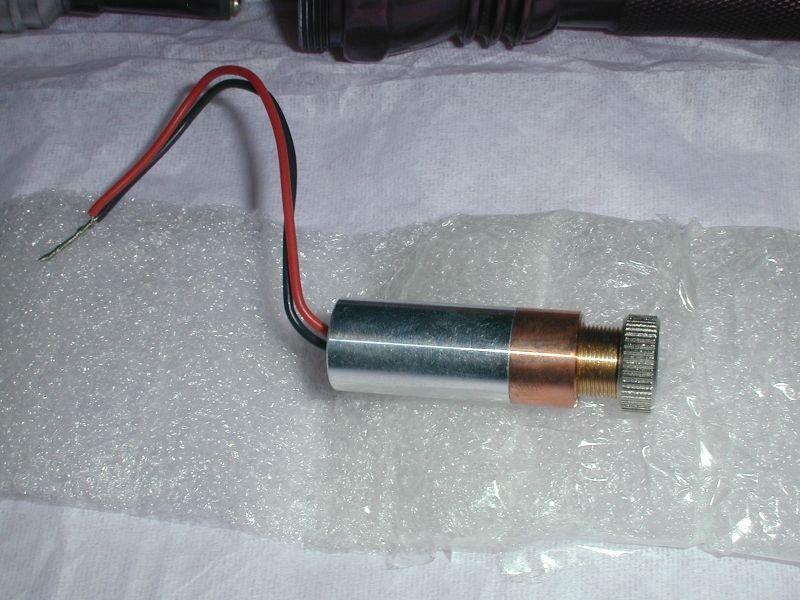
For a time DTR sold some G2 lenses with an extended lens barrel but then his source of those lens barrels disapeared, I was lucky to get two of them while he had them:
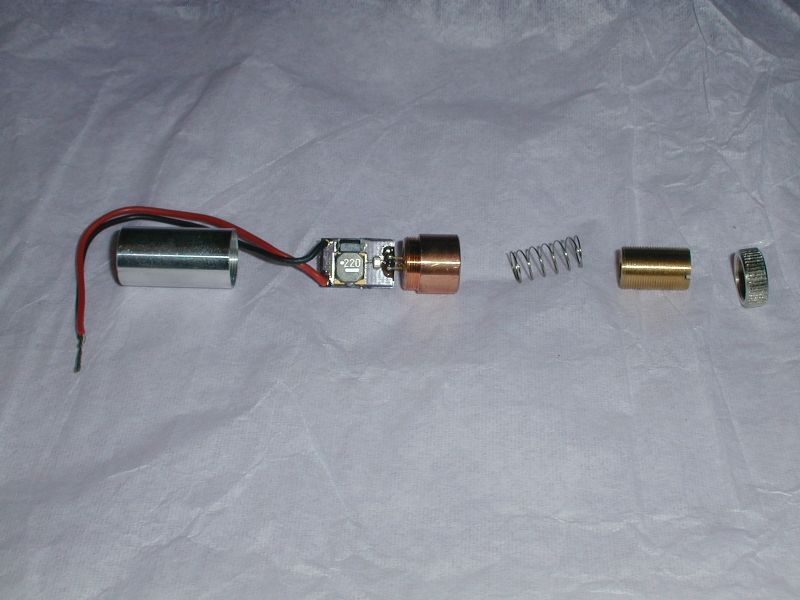
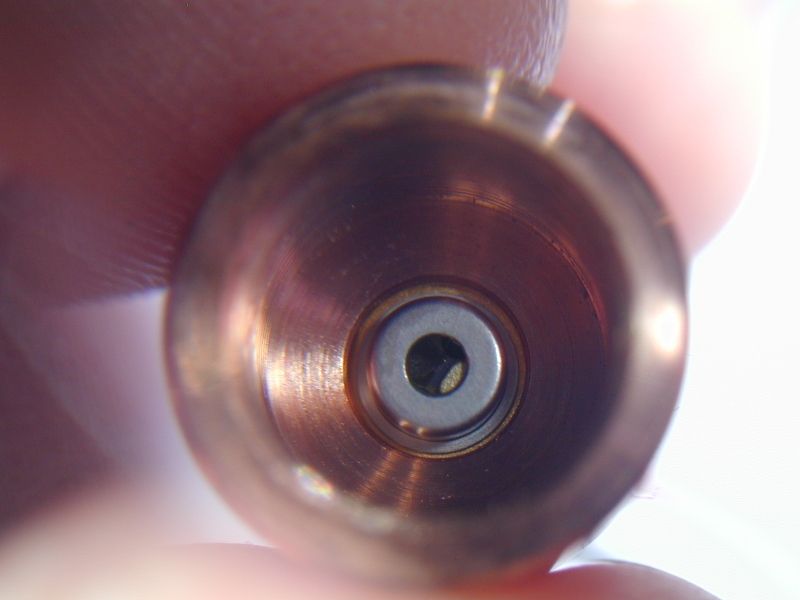
The diode:
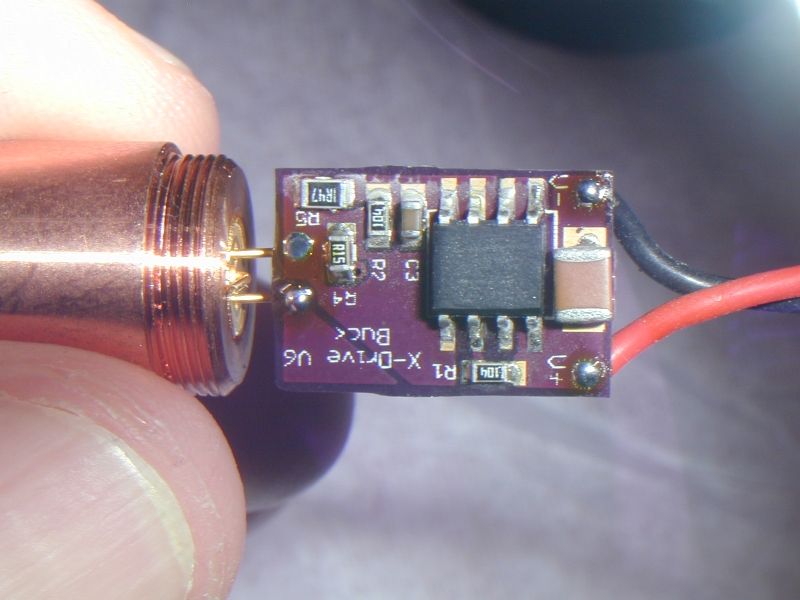
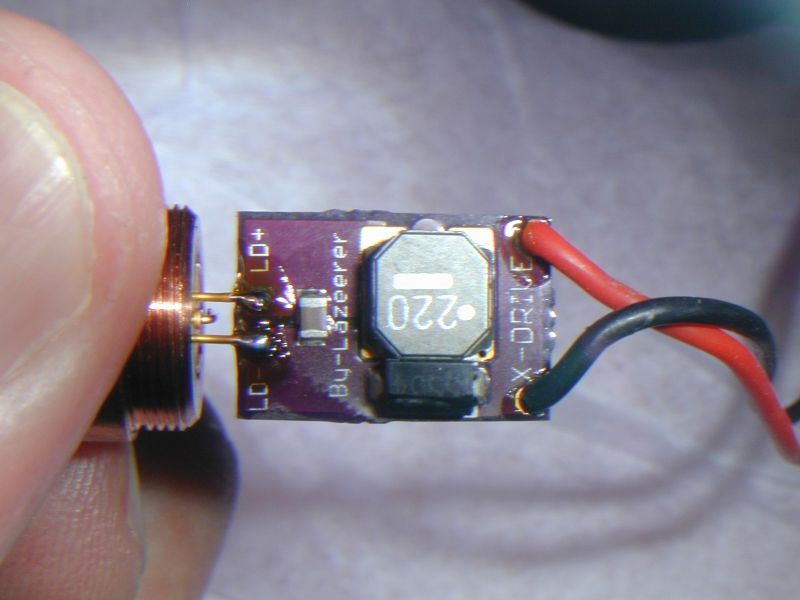
The X-Drive:
I replaced the internal lens spring and focus ring:
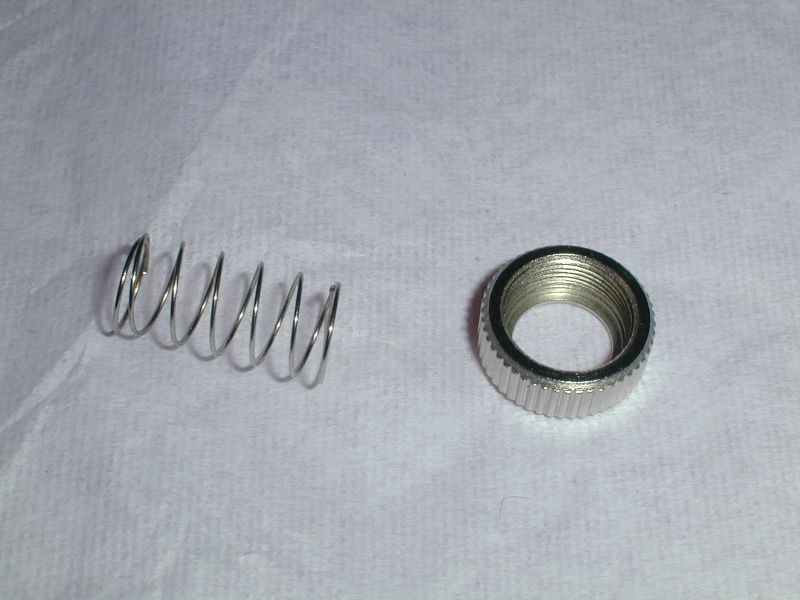
With these parts from Survival Laser:
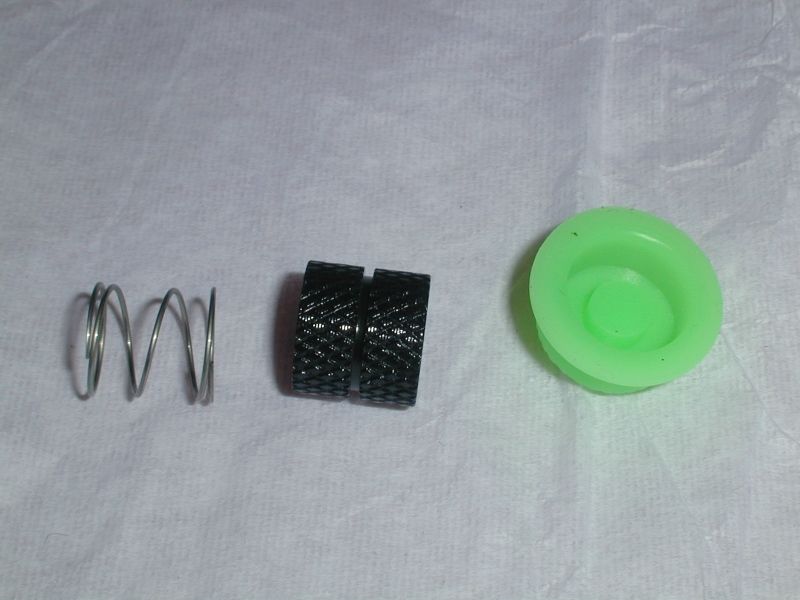
Let's do that now:
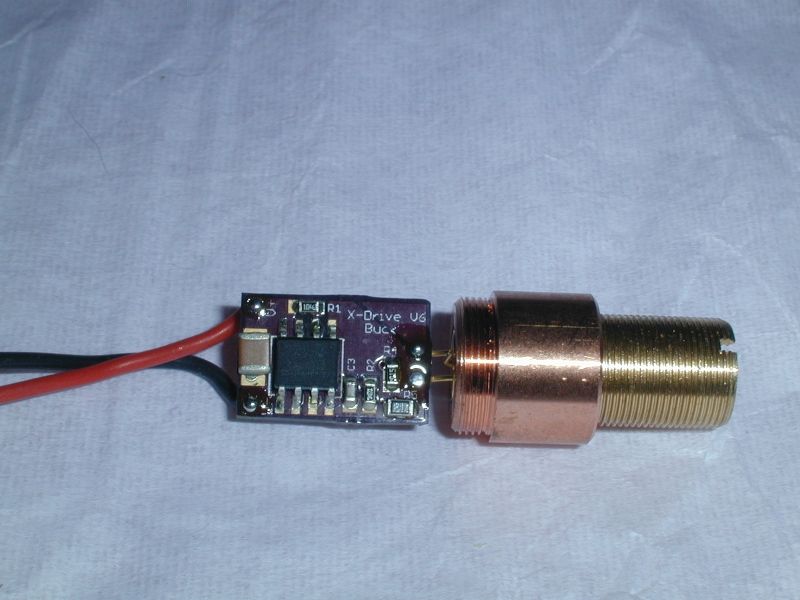
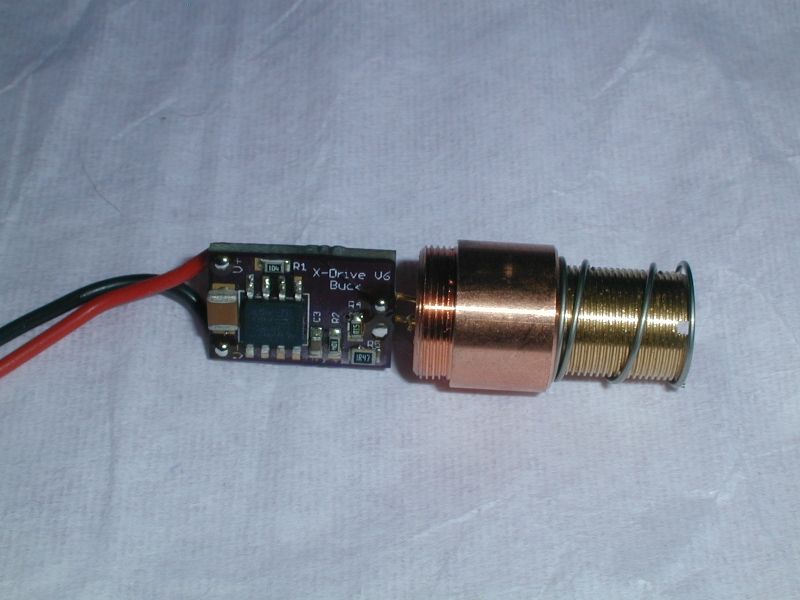
Oops I almost made a mistake and realized what I was doing. I took the lens back out and screwed on the focus ring first, always do it that way or you may accidentally screw the lens in to tight and damage the diode or lens.
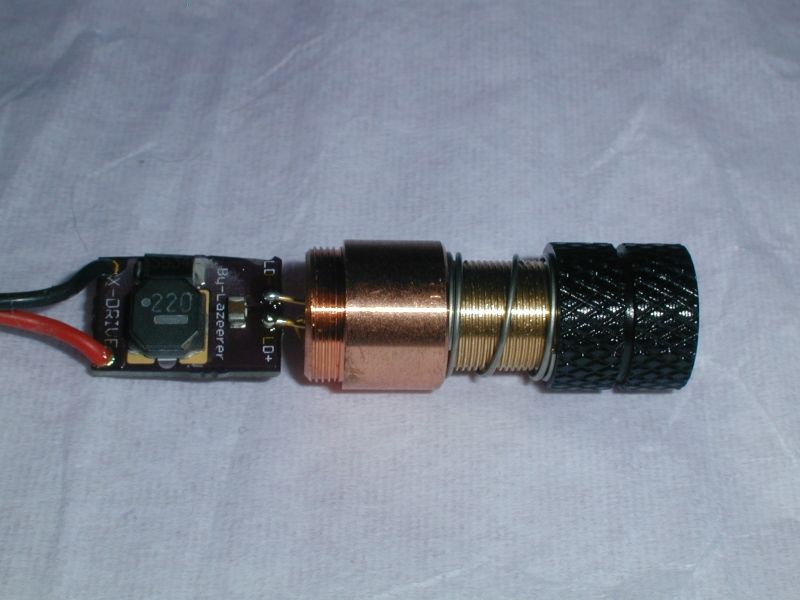
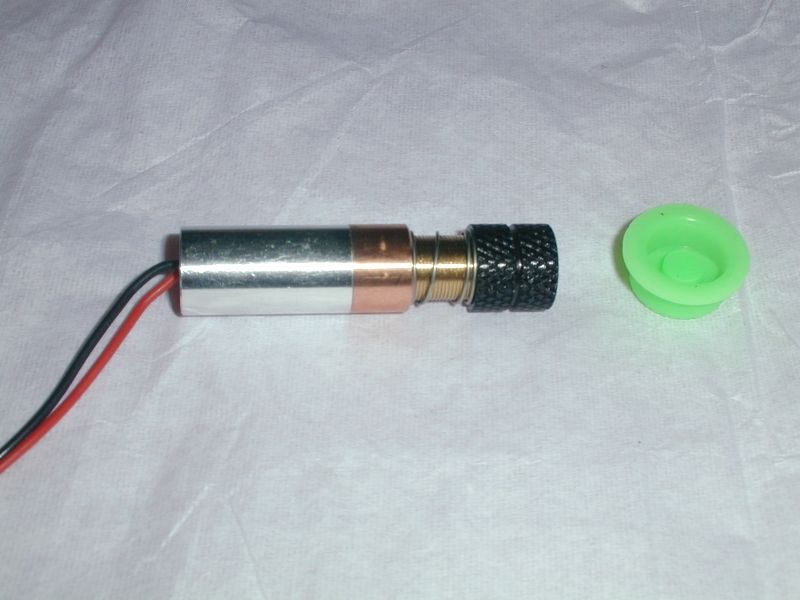
Ok let's move on to the wires:
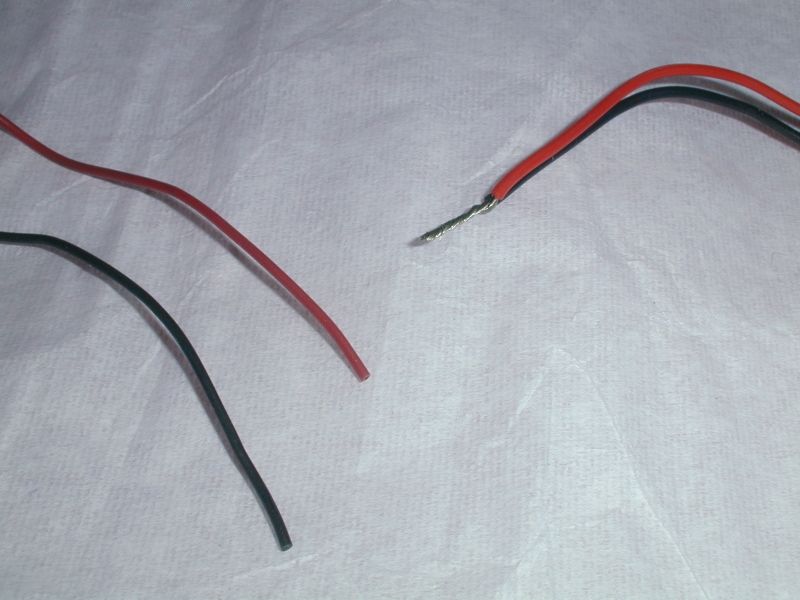
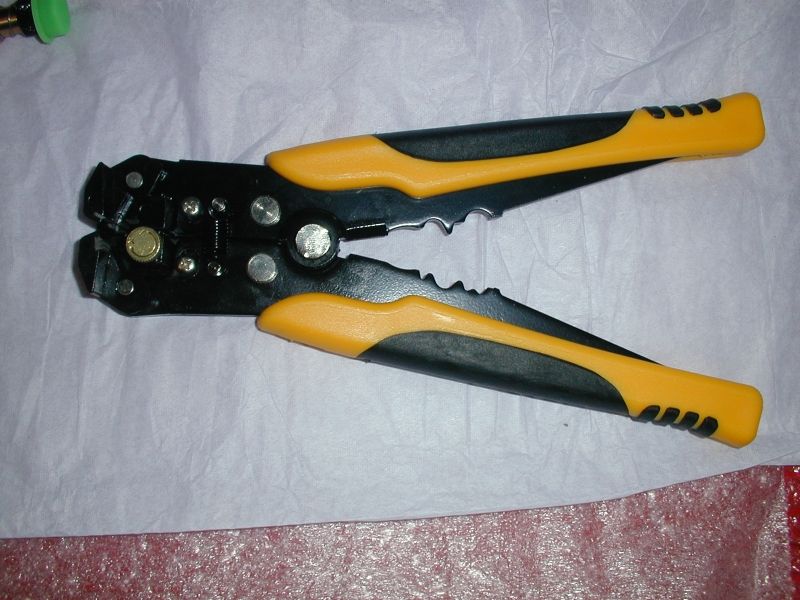
I want to take a moment to say something about the wire stripper tool I had just recently purchased at Walmart. I had one almost just like it years ago but it couldn't strip wire below a certain size. This one will strip the smallest wires, I don't think it was supposed to be that way but I am glad it is, it is slightly adjustable, I think it was only about $15:
Ok back to the wires, this one is going to be negative to the tailcap, so we will be soldering the red to red and black to black. First of all strip the wires, there are sometimes when you may even need to shorten them first.
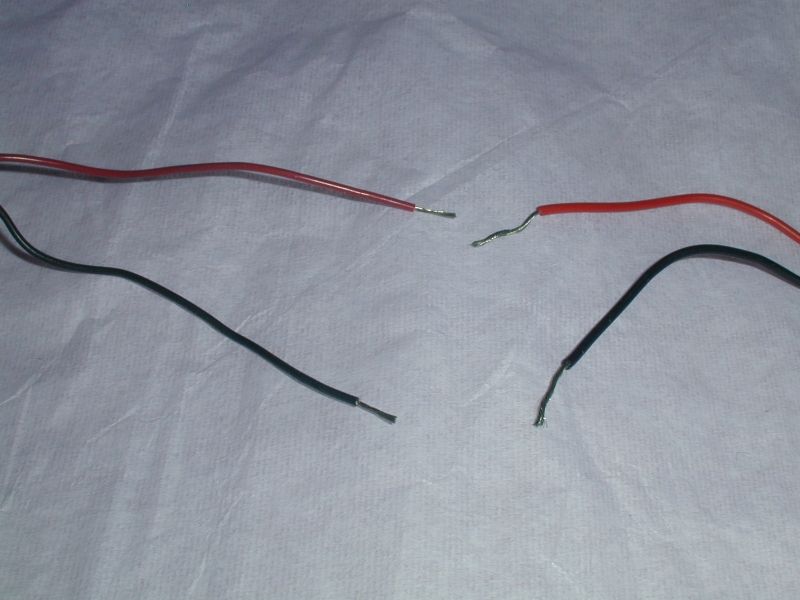
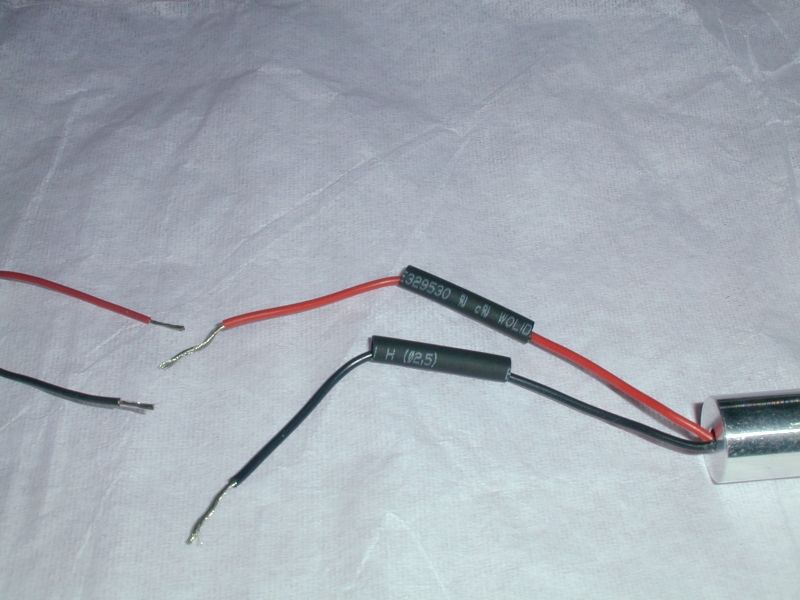
Now get a piece of heat shrink:
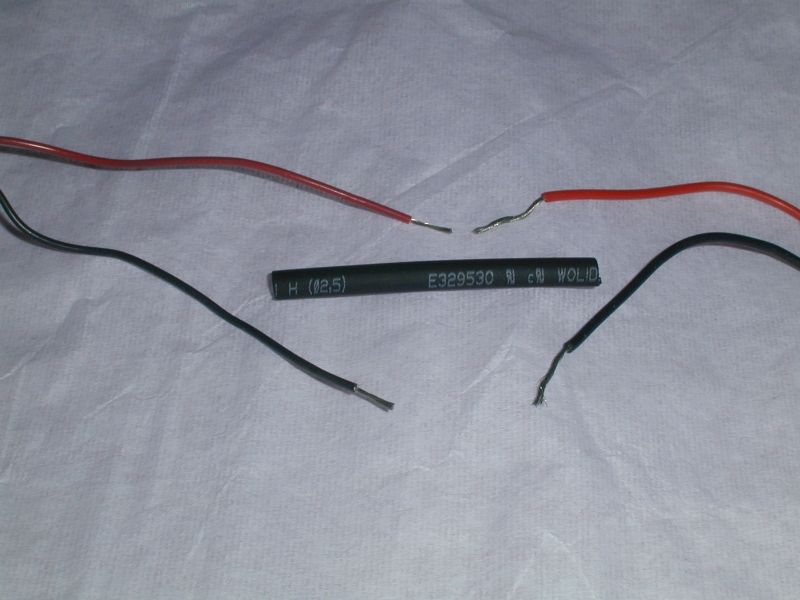
Cut it in half and slide it over the wires on one side or the other:
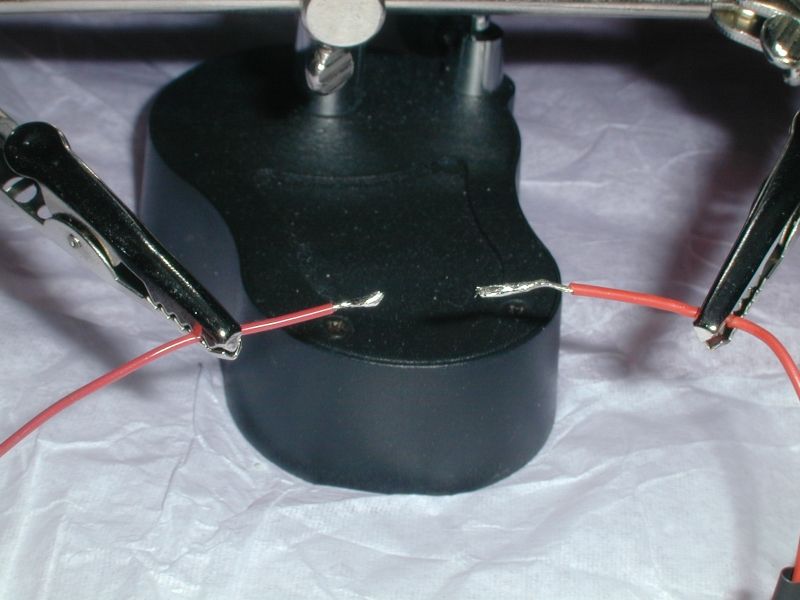
Use your helping hands with a magnifier lamp unless you have steady hands like a surgeon:
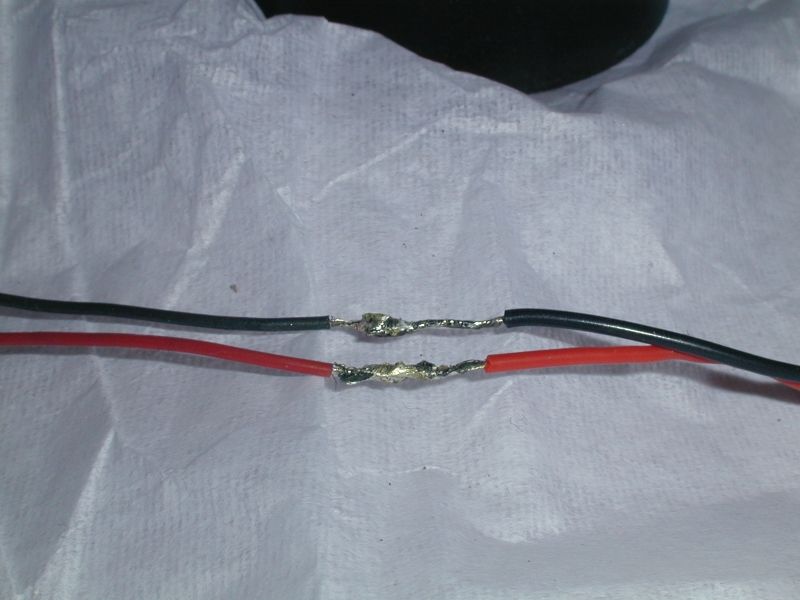
After the wires are soldered together, slide the heat shrink in place and brush it a couple of time quickly with your soldering iron:
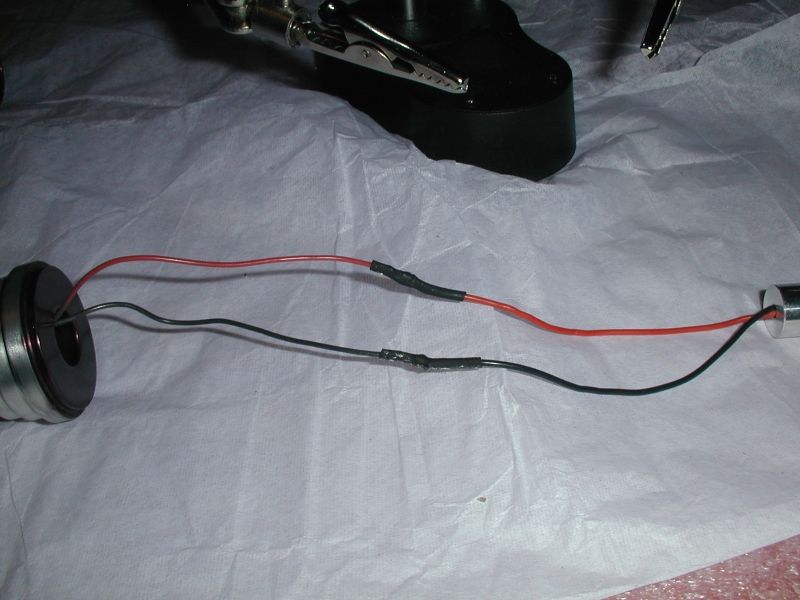
Now it's time to insert the module in the heat sink and tighten the set screw:
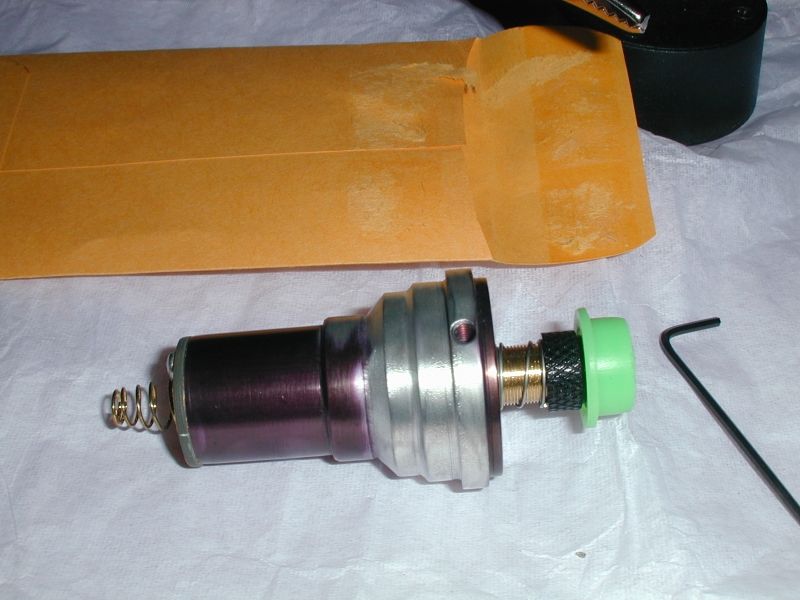
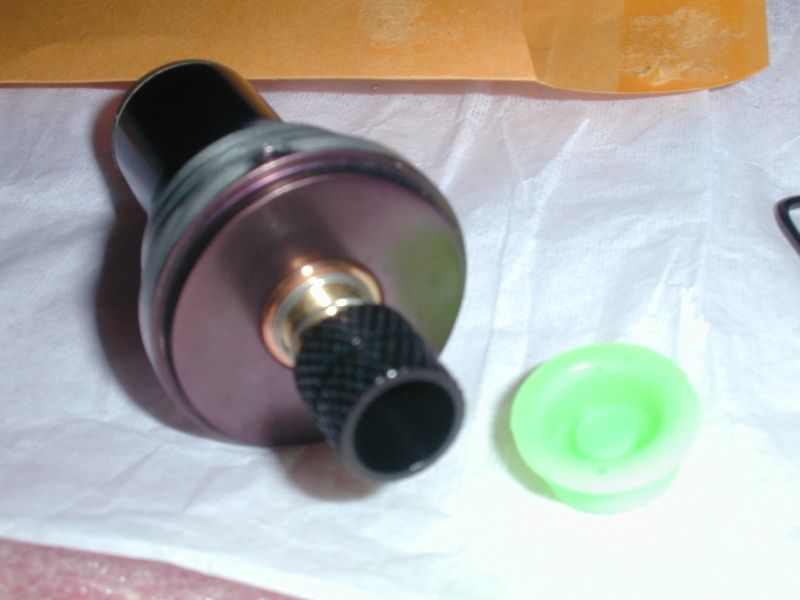
Now we can simply put the host together and we will have a working laser:
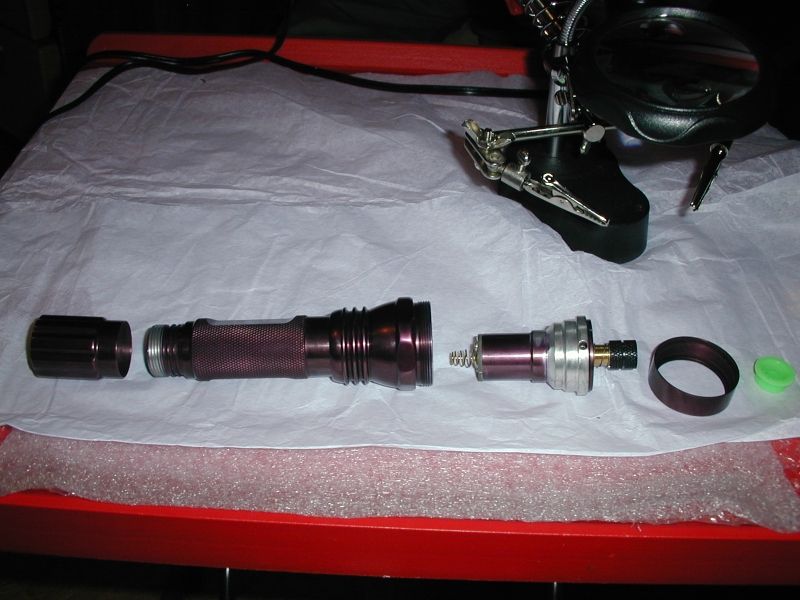
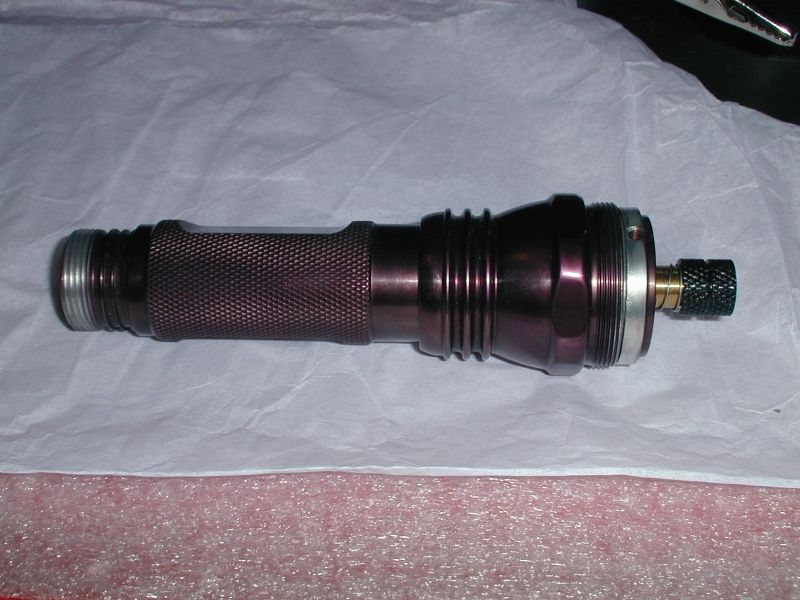
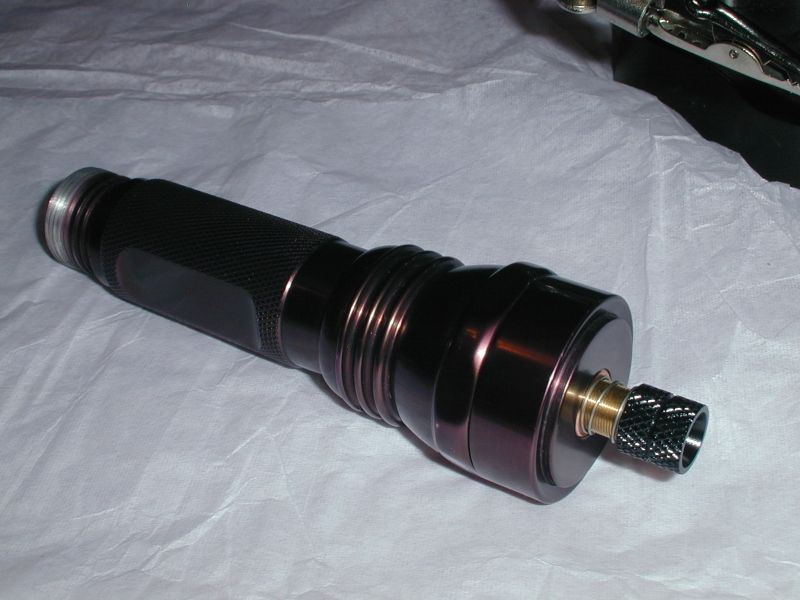
Now we are ready to insert batteries:
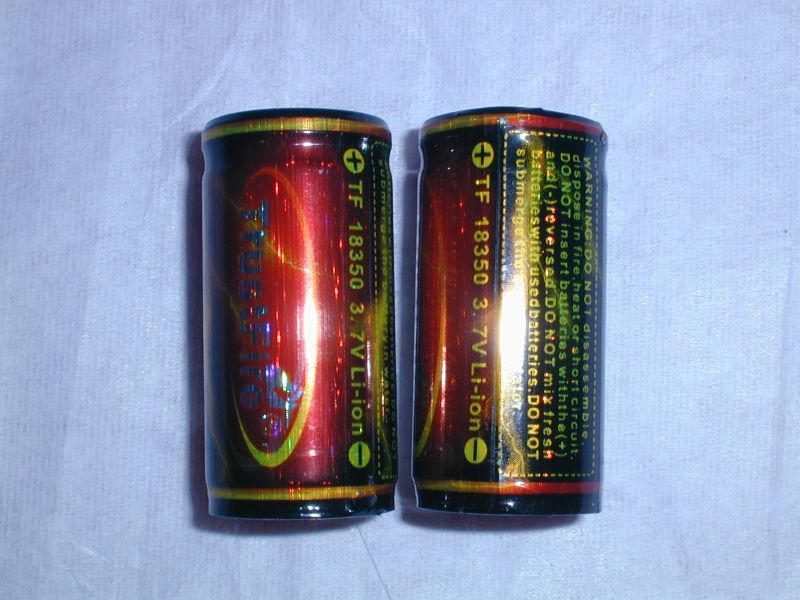
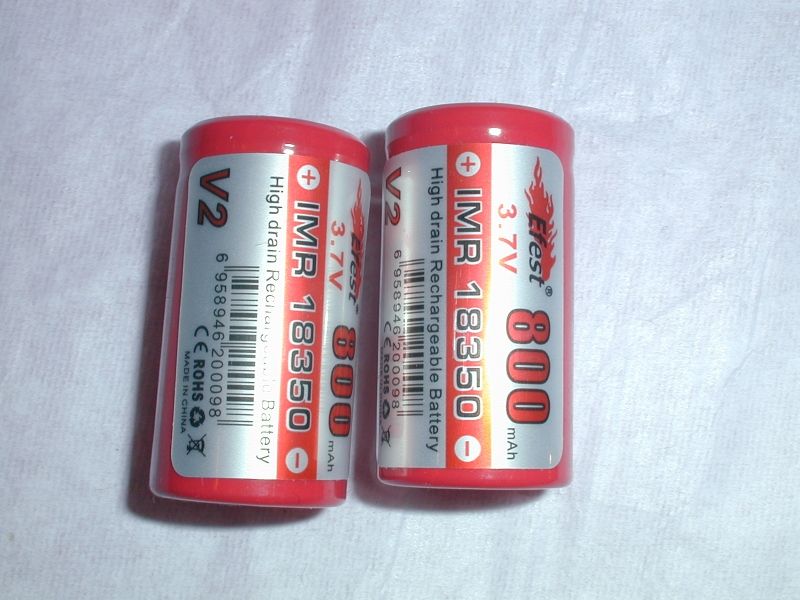
Notice that not all 18350 are the same length:
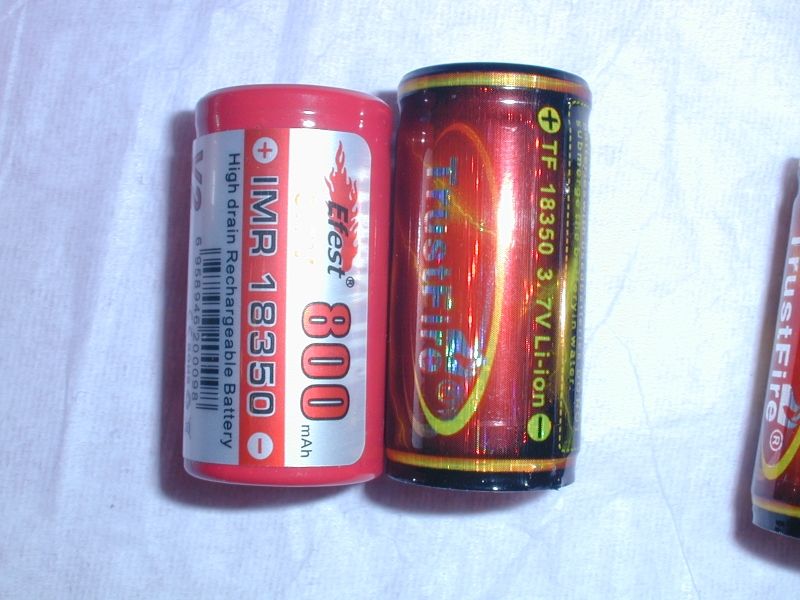
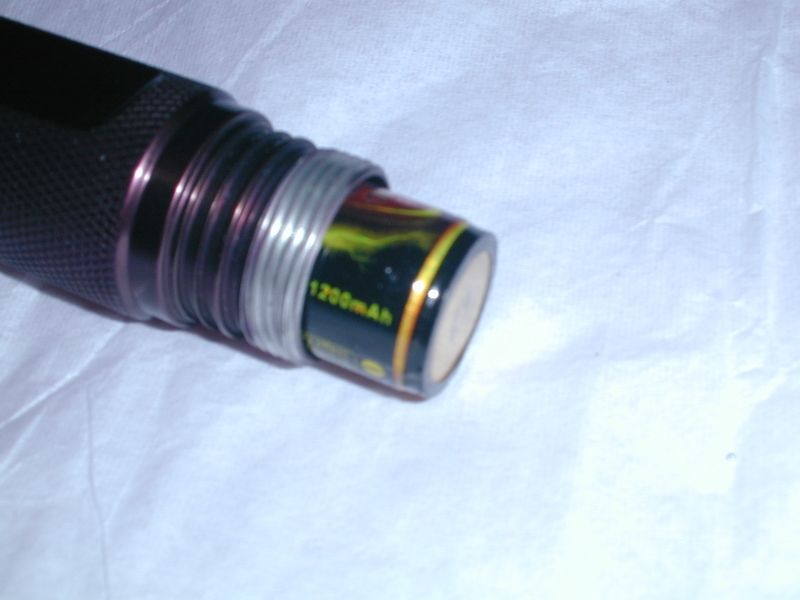
Time to insert the batteries:
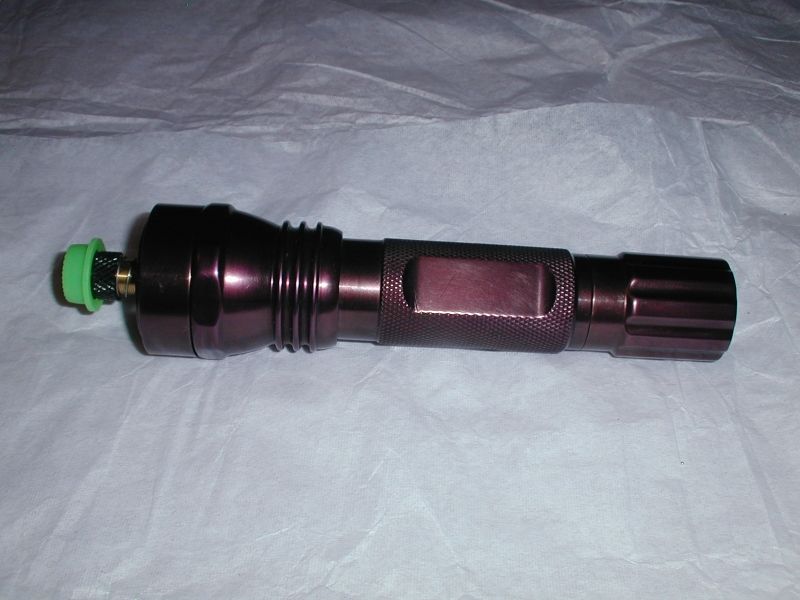
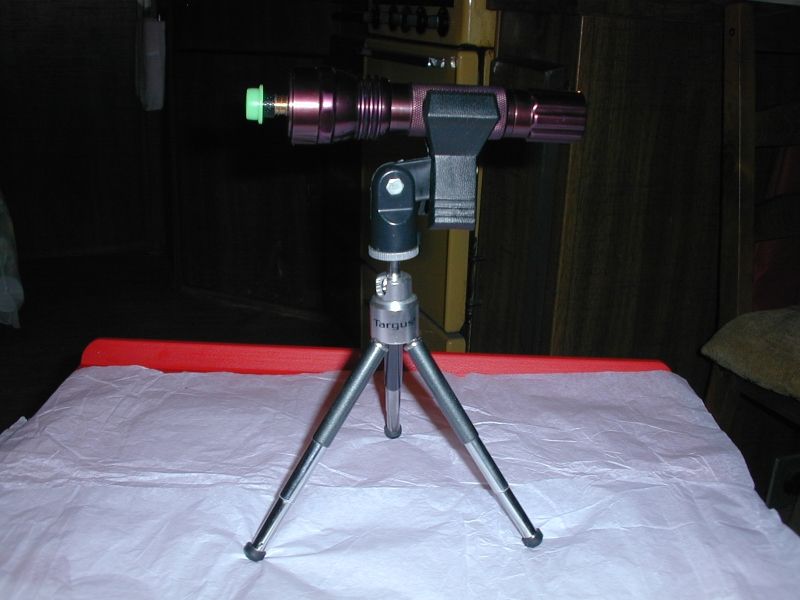
We now have a working laser. Let's see how it fits the tripod:
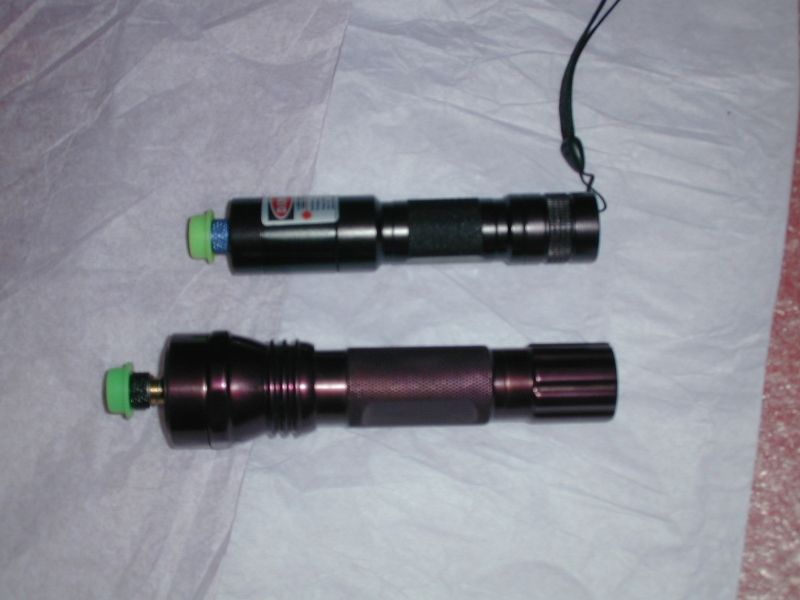
Here are some photos for scale so you can tell what size this host is:
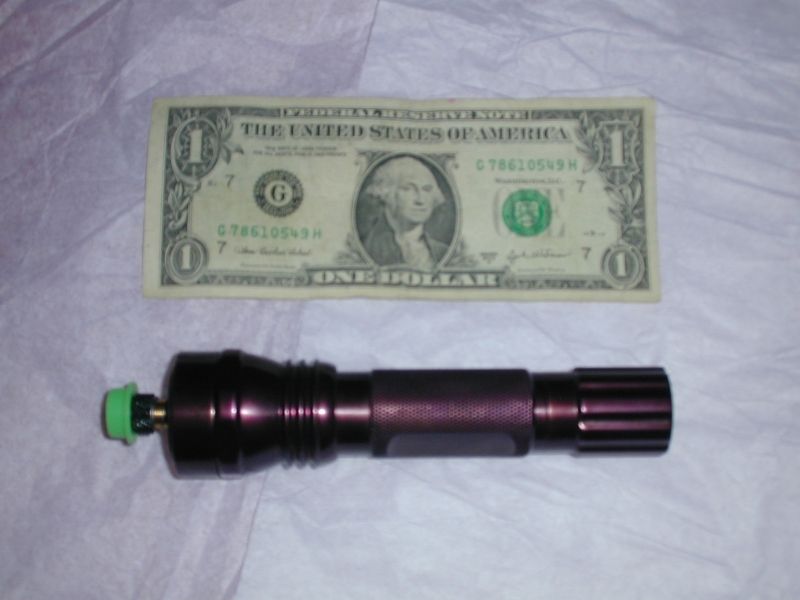
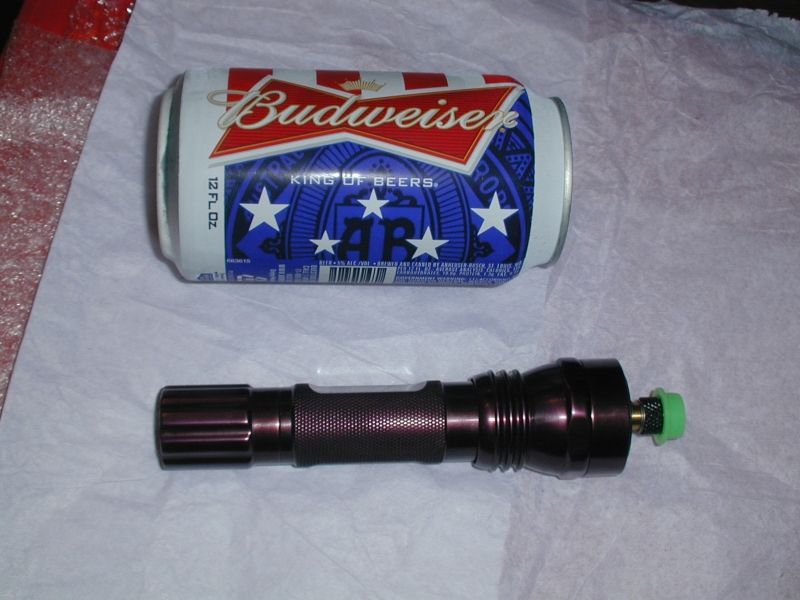
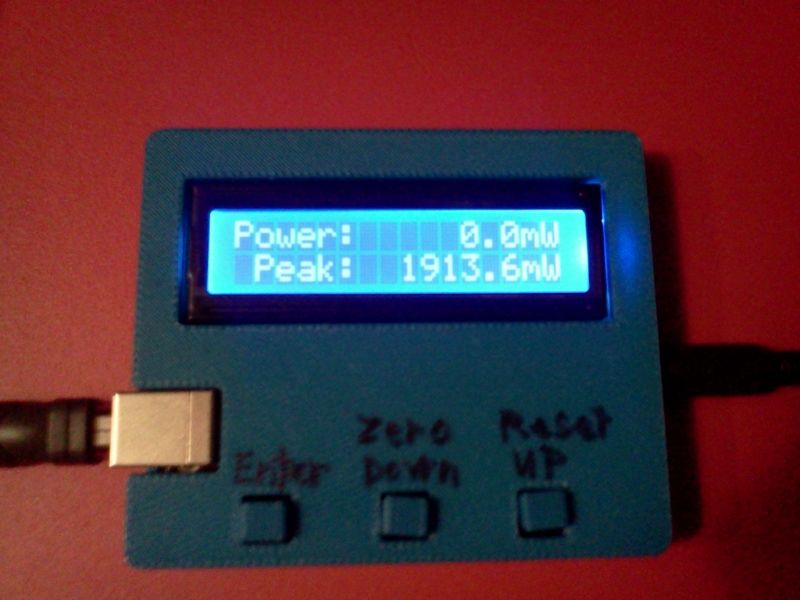
Now for an LPM test, 1913mW, not bad:
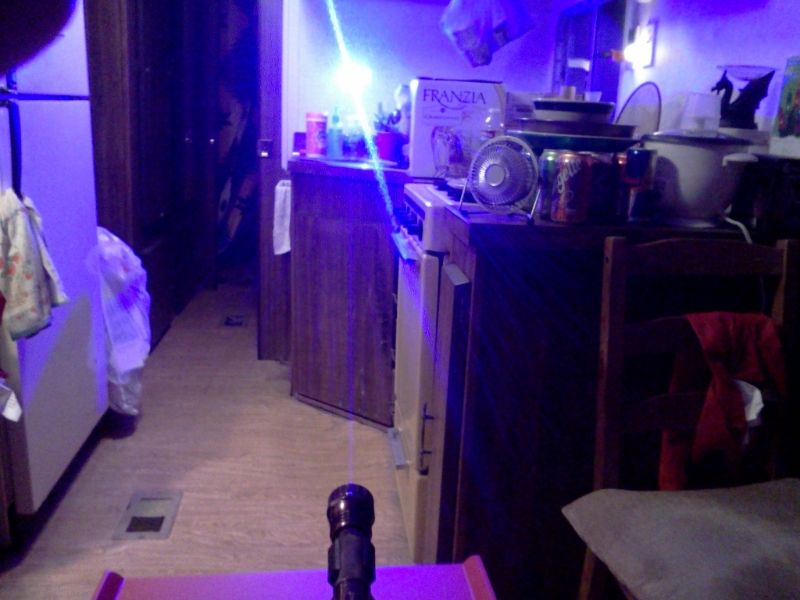
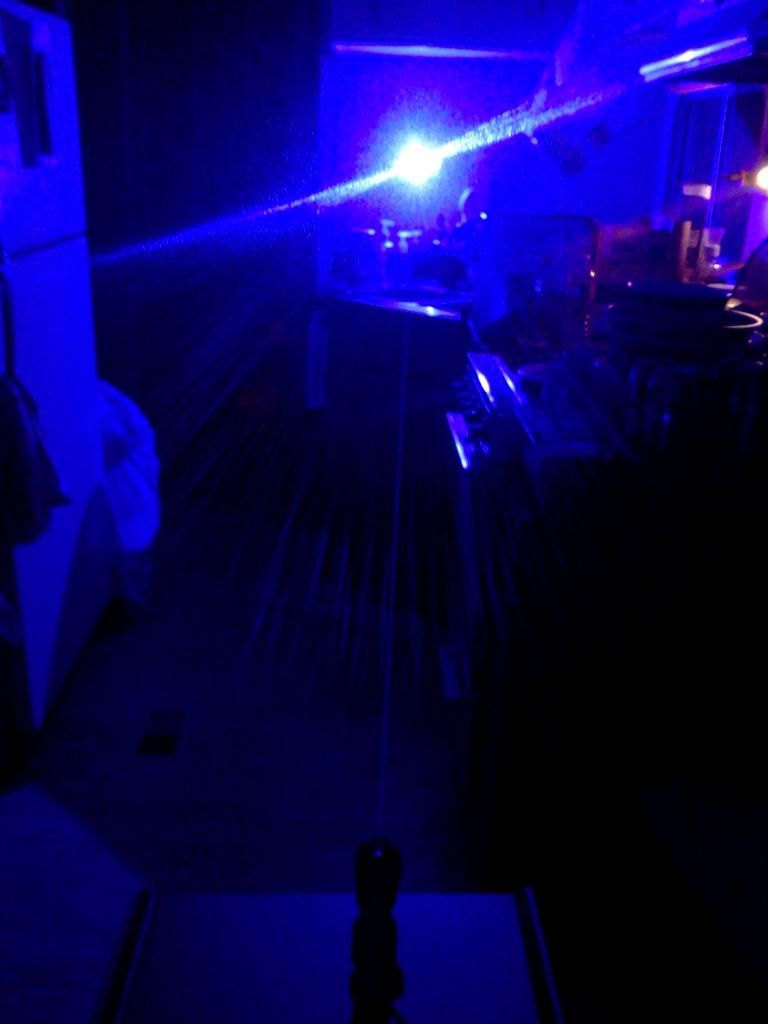
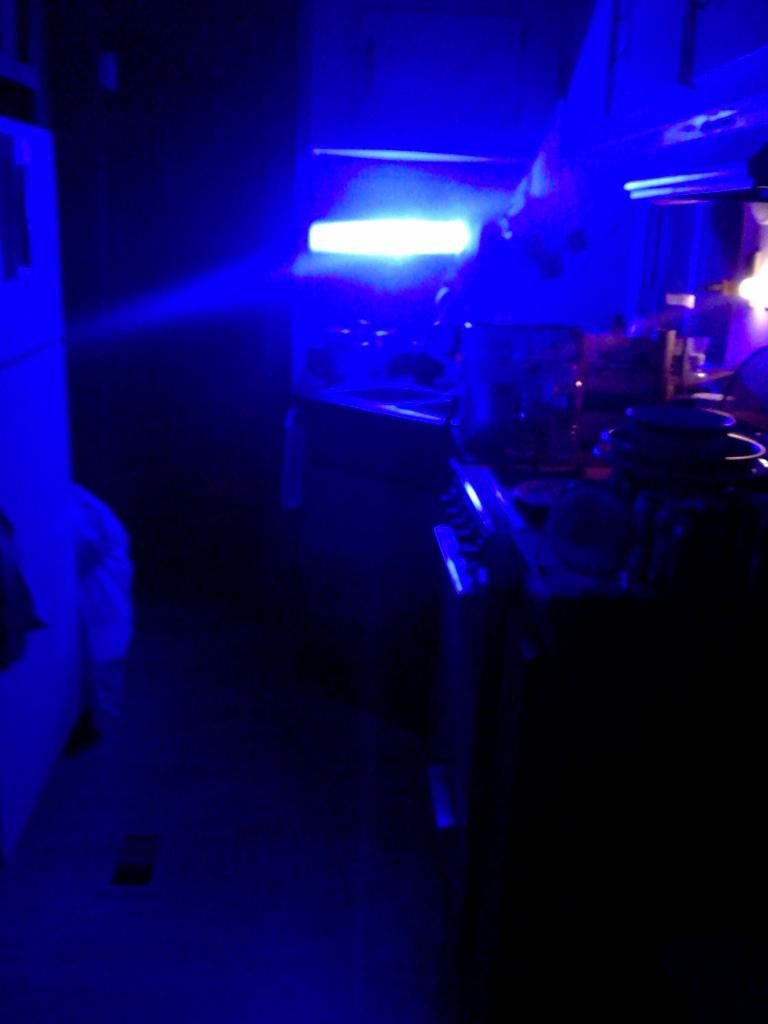
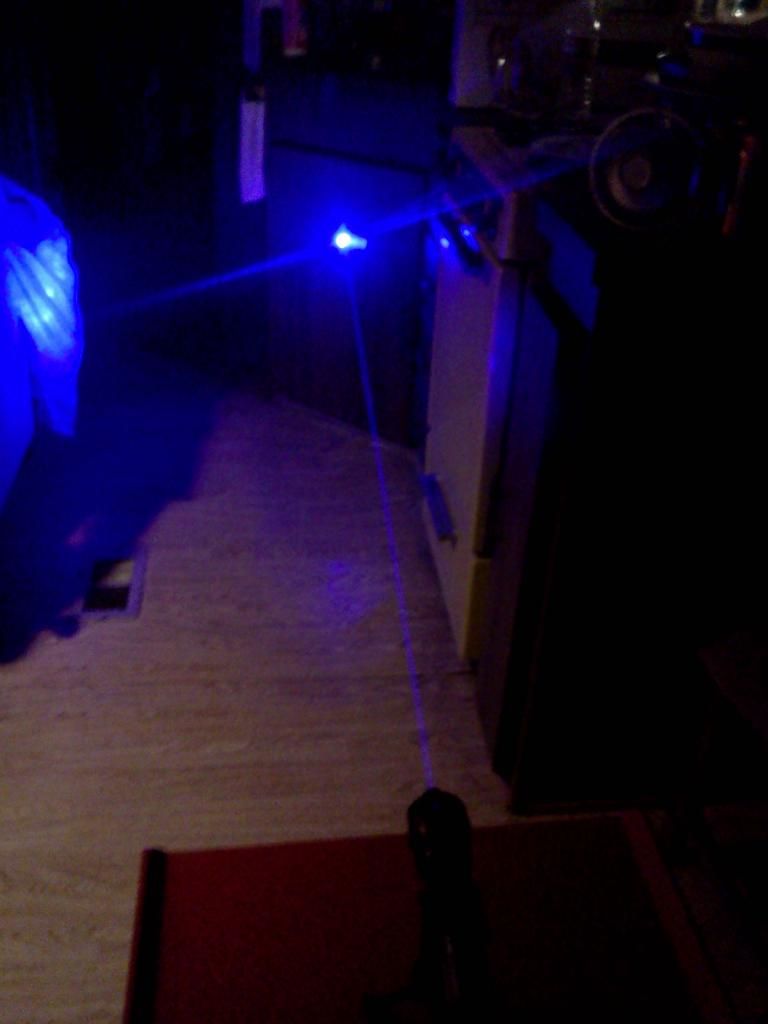
I attempted some beam shots but I can never get good ones:
That's all of it, thanks for looking. This is the longest thread with photos that I ever posted from my iPad. When I started, the iPad was fully charged, now it's at 34%.
Alan
I had purchased three hosts from Mrcrouse a long time ago and started planning the three lasers, this is the third one of the three, and my fifth build.
In addition to Mrcrouse, the parts were again purchased from DTR, and Survival Laser.
Total cost was $140.

Tools and supplies used:
Soldering iron
Helping hands with lighted magnifier
Solder
Heat shrink tubing
Laser power meter
DMM
Wire stripper
Hex wrench
Let's have a look at the host:

Notice that the host is similar to a 501B but not the same. Mrcrouse had called it a single 18650 host, but when trying batteries in it I discovered it had a little extra space for the batteries and could easily fit two 18350's, that's why I chose it for this build.
Let's take it apart:

Only 4 pieces.
The tail cap:


The combined pill and heat sink pre-wired with a battery contact board:


I am sure many of you know something from DTR when you see it:

The PLTB450B module with a G2 and 1.8A X-Drive:

For a time DTR sold some G2 lenses with an extended lens barrel but then his source of those lens barrels disapeared, I was lucky to get two of them while he had them:

The diode:

The X-Drive:


I replaced the internal lens spring and focus ring:

With these parts from Survival Laser:

Let's do that now:


Oops I almost made a mistake and realized what I was doing. I took the lens back out and screwed on the focus ring first, always do it that way or you may accidentally screw the lens in to tight and damage the diode or lens.


Ok let's move on to the wires:

I want to take a moment to say something about the wire stripper tool I had just recently purchased at Walmart. I had one almost just like it years ago but it couldn't strip wire below a certain size. This one will strip the smallest wires, I don't think it was supposed to be that way but I am glad it is, it is slightly adjustable, I think it was only about $15:

Ok back to the wires, this one is going to be negative to the tailcap, so we will be soldering the red to red and black to black. First of all strip the wires, there are sometimes when you may even need to shorten them first.

Now get a piece of heat shrink:

Cut it in half and slide it over the wires on one side or the other:

Use your helping hands with a magnifier lamp unless you have steady hands like a surgeon:


After the wires are soldered together, slide the heat shrink in place and brush it a couple of time quickly with your soldering iron:

Now it's time to insert the module in the heat sink and tighten the set screw:


Now we can simply put the host together and we will have a working laser:


Now we are ready to insert batteries:


Notice that not all 18350 are the same length:

Time to insert the batteries:


We now have a working laser. Let's see how it fits the tripod:

Here are some photos for scale so you can tell what size this host is:


Now for an LPM test, 1913mW, not bad:

I attempted some beam shots but I can never get good ones:


That's all of it, thanks for looking. This is the longest thread with photos that I ever posted from my iPad. When I started, the iPad was fully charged, now it's at 34%.
Alan


