- Joined
- May 14, 2013
- Messages
- 3,438
- Points
- 0
I have been planning this for about four months. This is by far my most impressive laser and may well be the most expensive one I ever build. I am always reading threads here where a new person posts in the welcome area, or they post what laser should I buy, or I am looking for a laser etc. and frequently they say something like "I hope to eventually learn how to build my own laser". Well you can and you can do it easier than you think. So this will not be just a build thread but also a tutorial on how you can put together a high quality and powerful laser yourself from off the shelf parts with the most difficult part already done for you. I will provide complete details and links to every part to buy so that anyone can build this exact same laser, I am including a large number of photos and explaining every step of assembly. I did this some in my last build here:
http://laserpointerforums.com/f65/assembled-m140-c6-pic-heavy-83543.html This time I took more photos and will explain in more detail.
OK let us begin. First here are the parts used:
Module and G2 lens from DTR
Amazon.com: Nichia NDB7875 445nm 9mm Laser Diode In a Copper Module W/Leads & 405-G-2 Lens: Everything Else $144.49 shipped in US. I want to point out here that not all of DTR's stuff is available on Amazon, also you can save a few dollars if you buy directly from his web site here:
https://sites.google.com/site/dtrlpf/ but you have to pay with paypal or Google Checkout/Wallet.
Except for batteries, charger and safety glasses all other parts were puchaced from Survival Laser from their US site here:
Survival Laser USA Home their international site is here: Survival Laser International Home
Survival Laser Stainless Steel Host Assembly, Extended and Tapered Heat Sink $49.99
DIY 2.2A Driver & Pill Module
$44.99
Battery Extension Tube- Stainless Steel
$19.99
Clamp Mount & Tripod
$9.99
Extended Length Focusing Ring - Clear Anodized
$9.99
External Lens Spring
$5.79
Silicone Lens Cap
$0.49
Normally that would add up to $285.72 not counting batteries, charger and safety glasses. The total from Survival Laser adds up to $141.23, however using the discount code for LPF members the total was only $133.11 shipped, add that to $144.49 and the total is $277.60 for the laser itself.
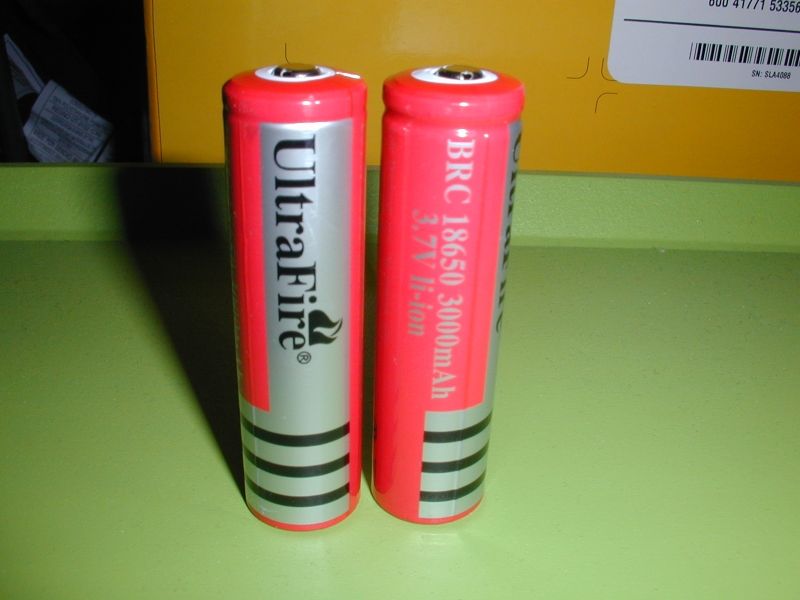
The batteries I am using can be found here:
Amazon.com: 4Pcs 3.7V 18650 3000mah Rechargeable Batterys: Electronics
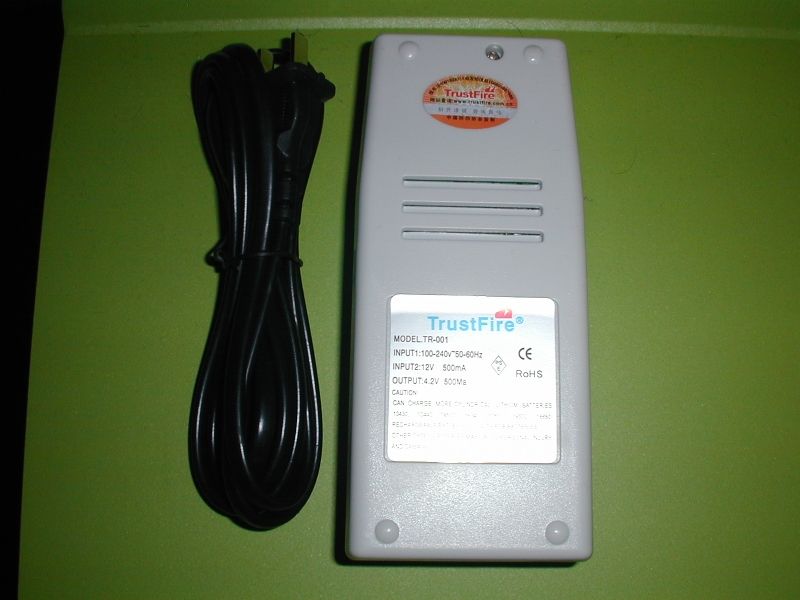
The charger I am using is here:
Amazon.com: Trustfire Multifunctional Universal Lithium Ion Rechargeable Battery Charger for CR123A, 16340, 14500, 10400, or 18650: Camera & Photo
You will of course also need safety glasses if you don't yet have them.
You will also need:
Some heat shrink tubing.
Solder.
Soldering iron.
A helping hands tool with magnifier may be helpful but is not required.
You might also need a wire cutters and wire stripper.
Now that we have everything we need lets open the packages and start assembling.
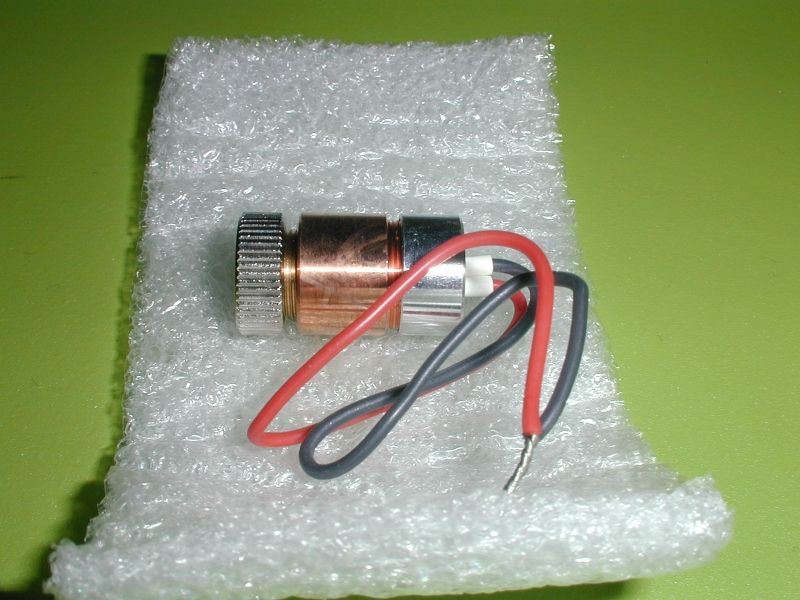
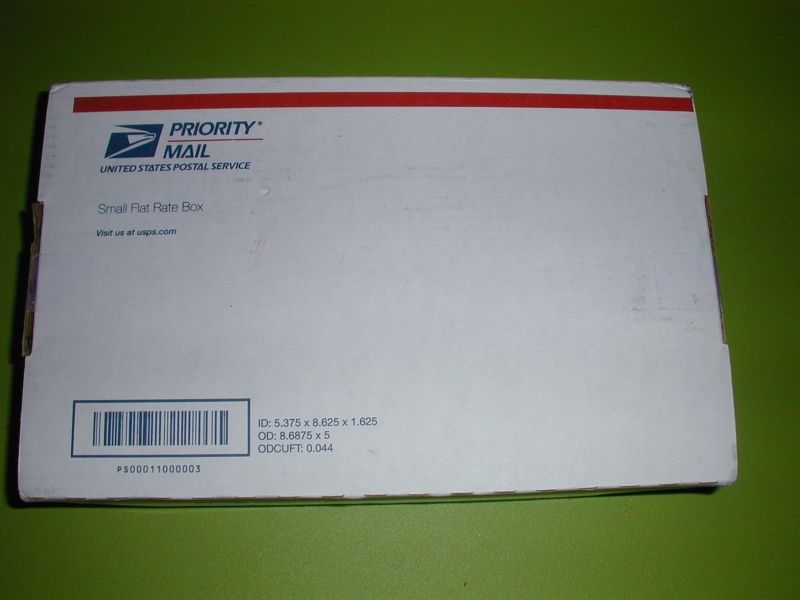
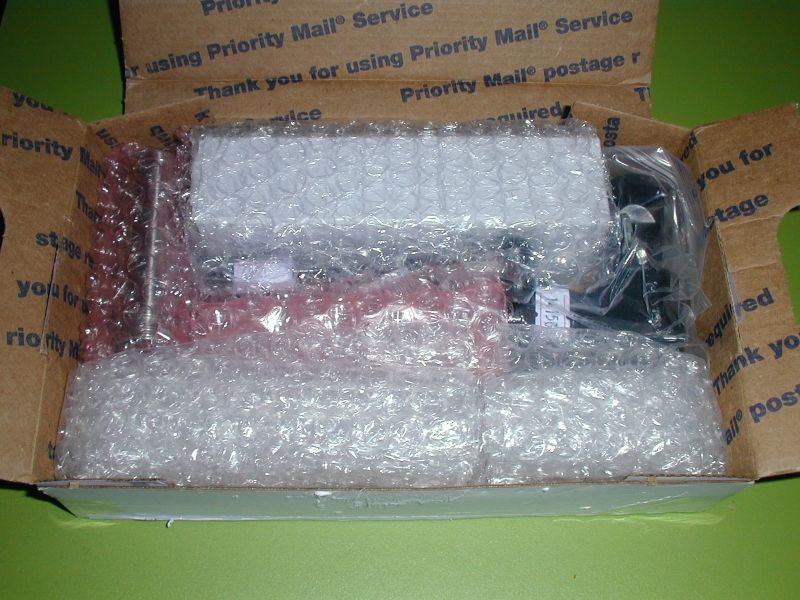
I got this from DTR many weeks ago but had to wait until I could buy all the parts. It got here in only three days like last time, I am sure many of you recognize his packaging.

I was a little startled when I opened it as it was a shorter module, I didn't know he had these but I soon realized I had the correct item.
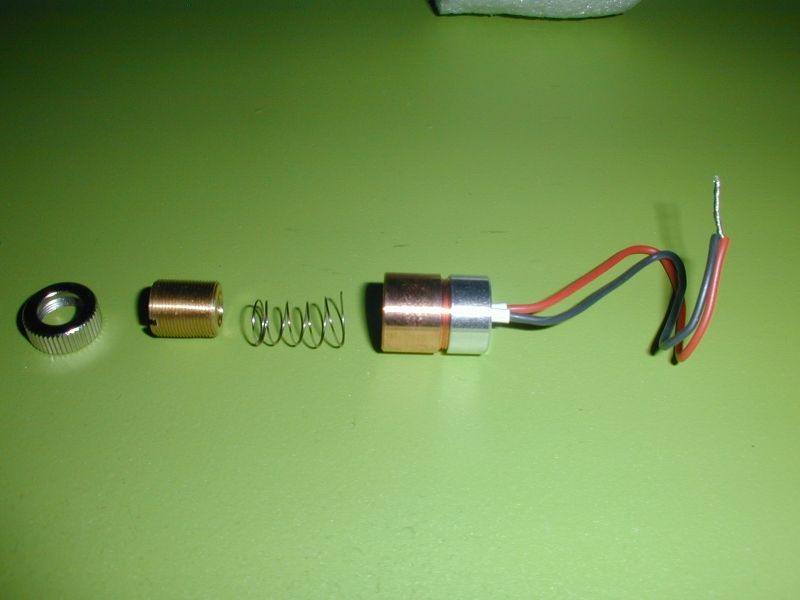
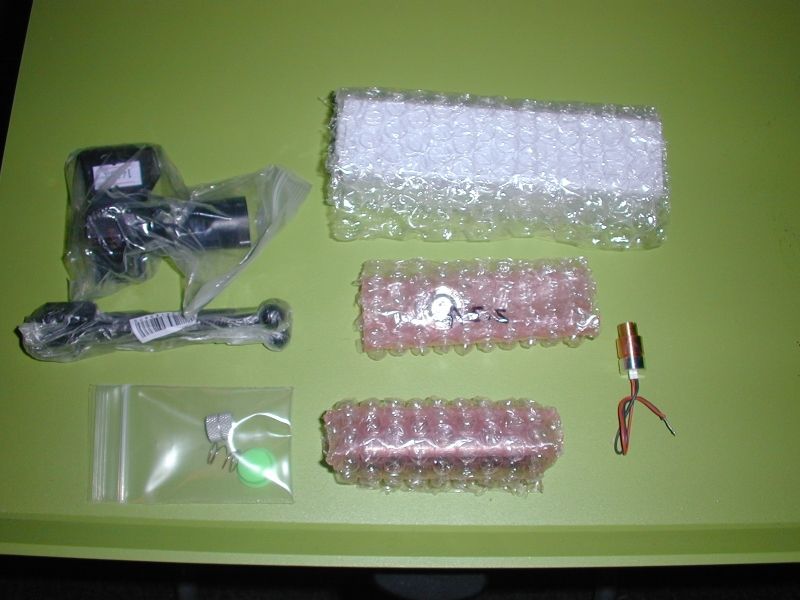
Now lets take it apart and set aside the internal spring and the focus ring as spare parts because I prefer to use something better in this case.
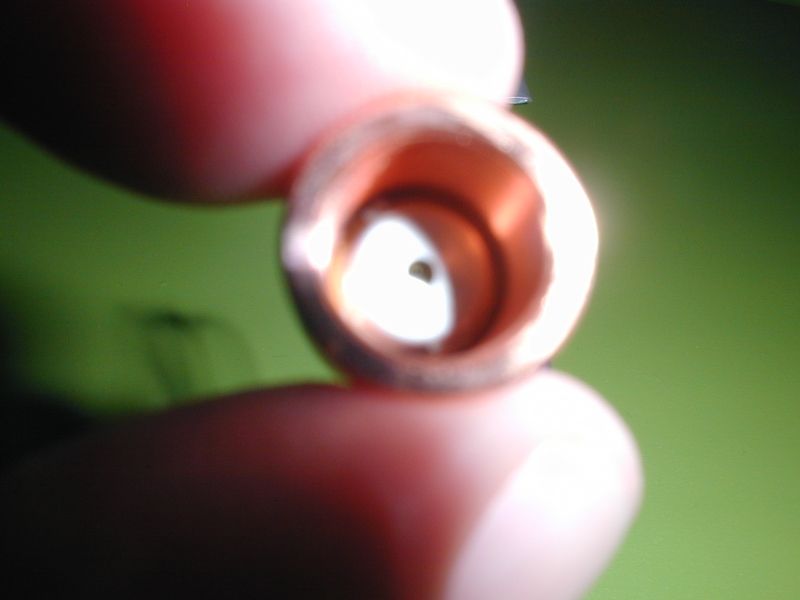
Here is just the diode in the module by itself.
All the parts from Survival Laser arrived together in one package.
Opening the box.
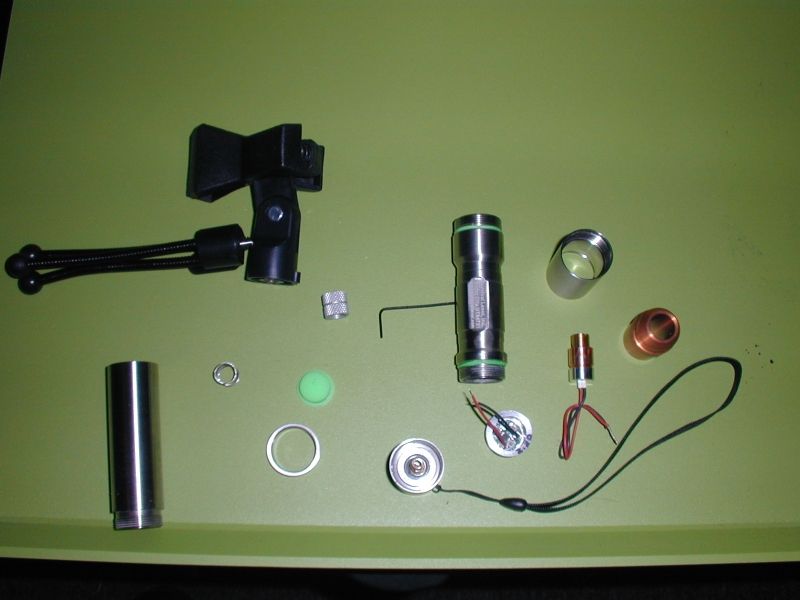
Separate the parts and everything is there as expected.
Now lets unwrap the parts and have everything ready.
Notice I included a clamp/tripod as part of this laser, more about that later. Lets take a brief moment to mention batteries and a charger. My first build linked to above at the beginning runs on two 16340's, those are not suitable for this laser, its possible but not very practical, you would need the highest quality 16340's and probably still get very short battery life. By comparison 18650's are very large and can put out more current, so this laser will run on two 18650's, be aware they also take longer to charge so you may want more than one pair. I have four of these and I linked to them above. Please note I am not specifically recommending these batteries, they are cheap but they will work fine in this laser. You may prefer something higher quality, just be sure to buy the button top and not the kind that are flat on both ends.
If you don't have a charger for 18650's you will need one of those too. I made the mistake last time of buying a cheap charger that is made for only 16340's. Its a good idea to get a better charger to begin with that can charge many sizes of batteries because at some point you will probably be charging more than one size. Here is the one I am using, again it is linked to above, and again I am not recommending this charger, just saying I am pleased with it. Just buy whatever charger you will. There are many threads discussing both batteries and chargers.

It charges most sizes we use for lasers and has a cord instead of plugging directly into an outlet.
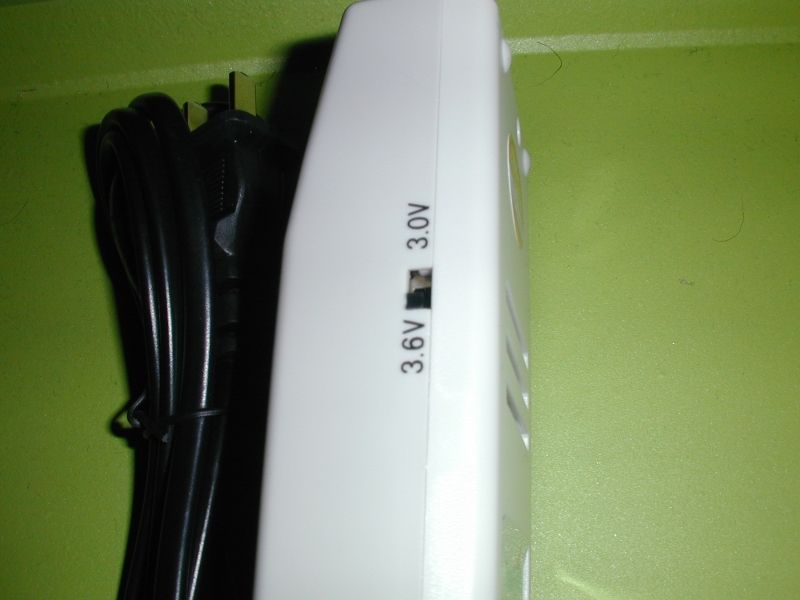
I tested it and it does charge them at 4.2V when on the 3.6V setting.
Now back to the laser. Lets get the module, lens, external spring and extended focus ring.
Now take the lens and screw on the focus ring so its tight and wont easily come loose.
Then slide the external spring over the lens.
Then screw it into the module.
Take the heat sink and slide the wires in from the front and slide the module in so its level with the front of the heat sink and tighten the set screw.
Then take the front section of the host and unscrew the small part off the front if you haven't already done so, you need to remove it to insert the heat sink and put it back to hold it in place. It is a small part, it may be difficult to unscrew it until its loosened some.
Take that front section and slide the heat sink in from the front like this.
Whatever you do don't screw this piece back on the front yet.
Lets set that aside and look at the driver/pill assembly. This driver requires two batteries, it is preset to 2.2A although you can see the pot in there and it is adjustable from 1.6A to 2.3A, don't mess with it if you don't know what your doing, also notice this is a drilled out pill and not a standard pill. Obviously that is partly so it can be user adjustable, but I also recommend using the drilled out pill even if you use another driver because the extended heat sink touches the pill leaving you very little room for your wires although at the same time this will help transfer more heat away from the diode.
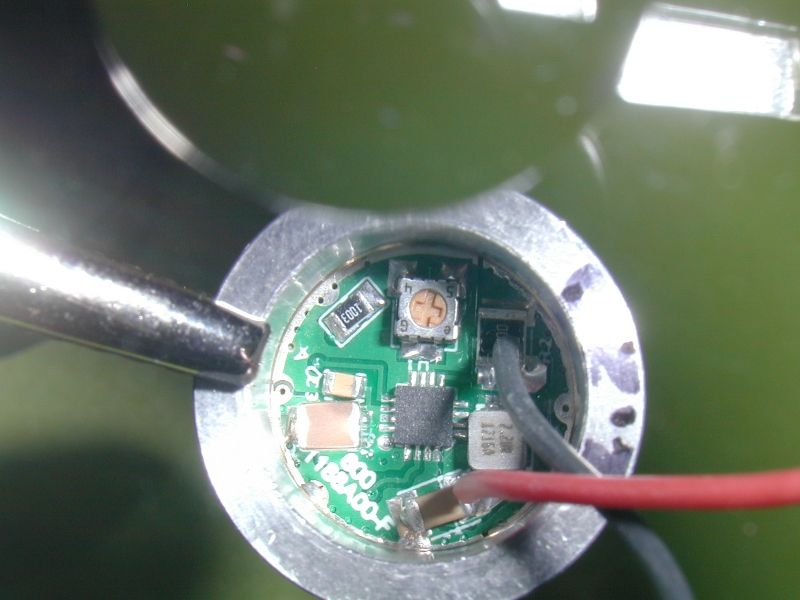
And the battery contact side.

Now you will need to solder two wires together. Get a piece of heat shrink and cut it to two pieces of appropriate length.
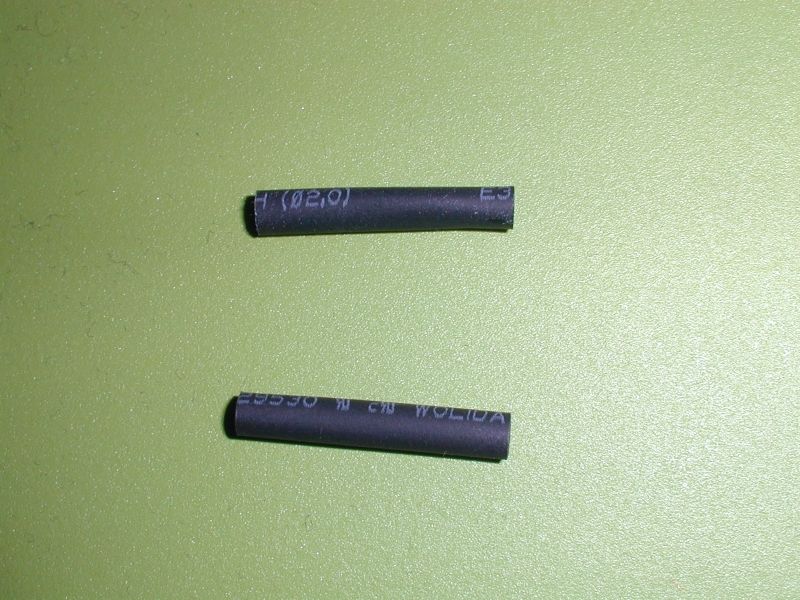
Then slide the heat shrink over the wires on the driver.
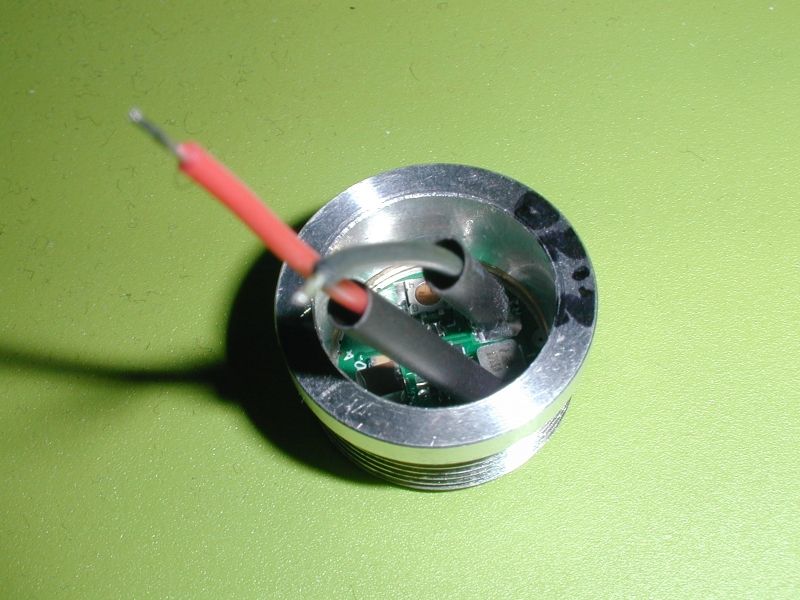
Then we have to solder the wires from the module to the driver like this.
Slide the heat shrink over the soldered connections, then brush the heat shrink lightly a couple of times with your soldering iron but be quick, I am using a 30W iron, some people use a heat gun or paper matches work if you are fast.
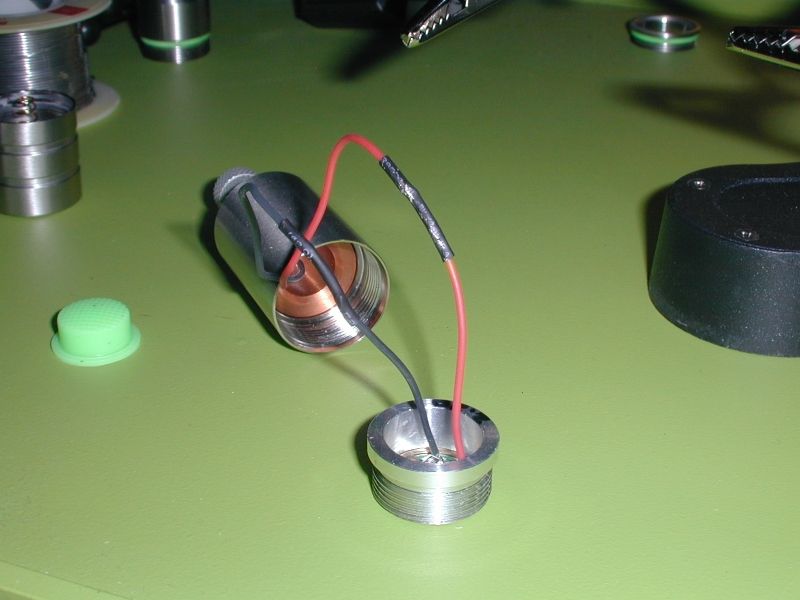
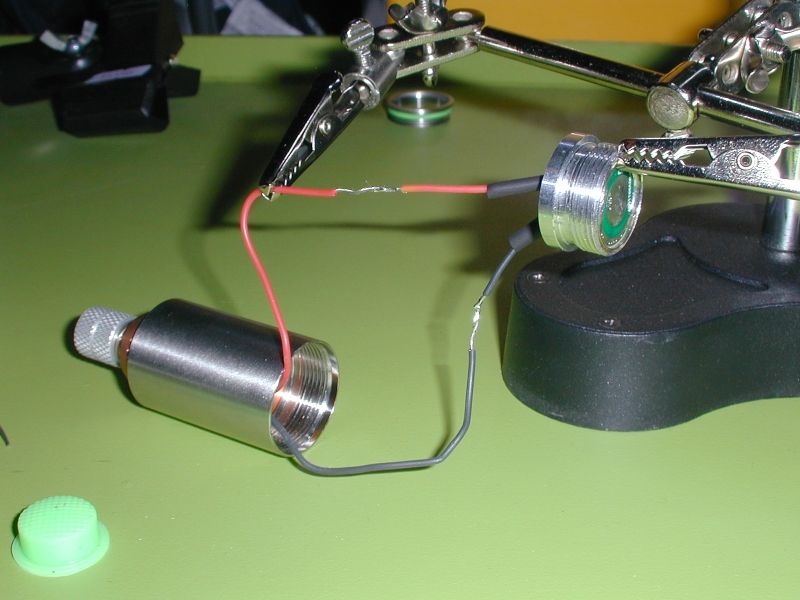
Now get this mid section of the host.
Then while holding the pill without turning it, screw the mid section onto the pill like this.
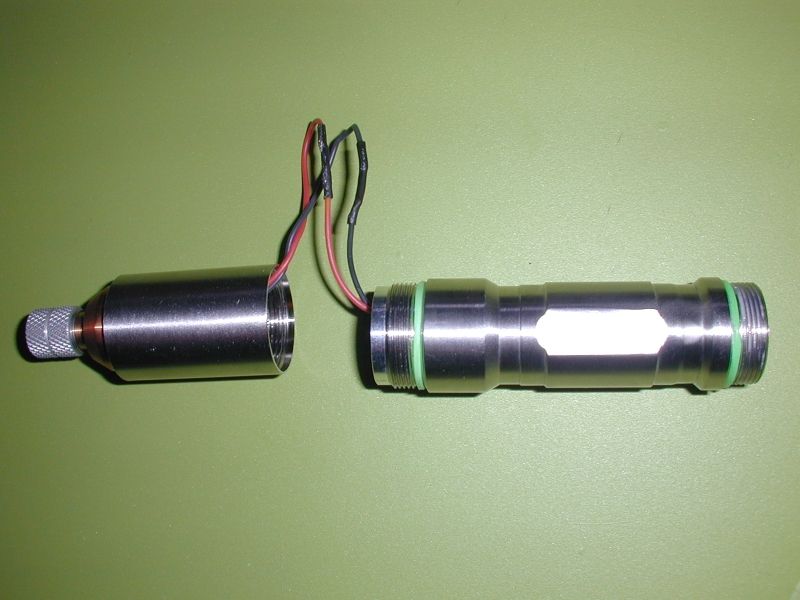
Slide the heat sink out of the front section so you have this.
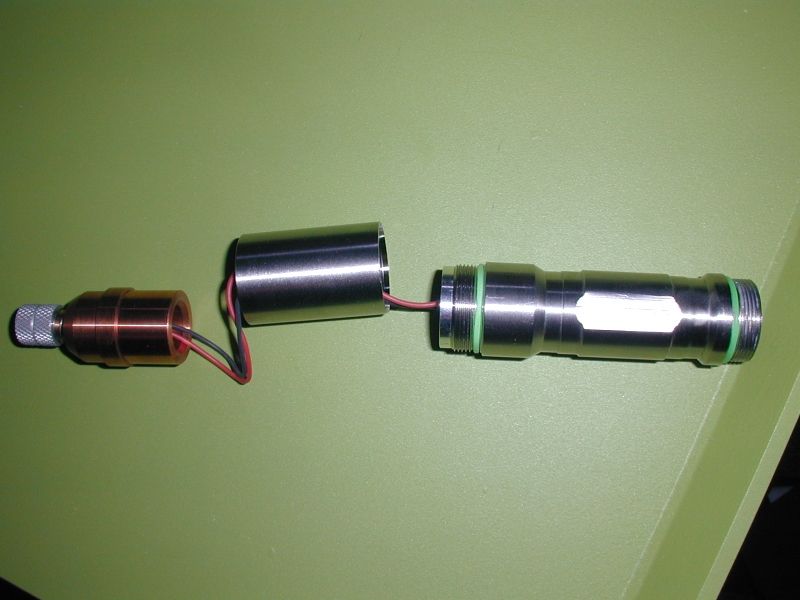
Hold onto the mid section without turning it and screw the front section onto it without turning the heat sink and wires.
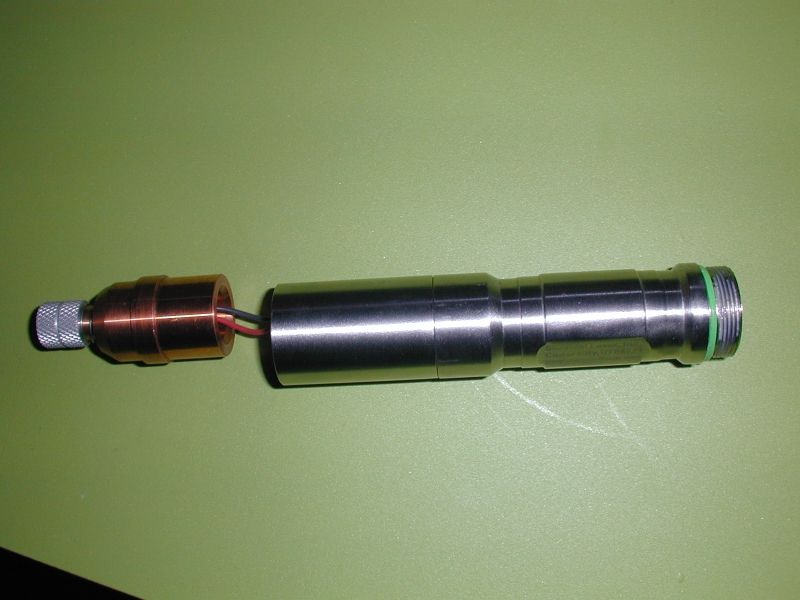
Then slide the heat sink back into the front section like this. It was here that I suddenly realized my wires were a little longer than they should be but I didn't think it necessary to fix, I was able to stick my finger in there and stuff some wire into the pill.
Make sure the heat sink is seated properly in place and then you can screw that small part back on the front that holds it in place.

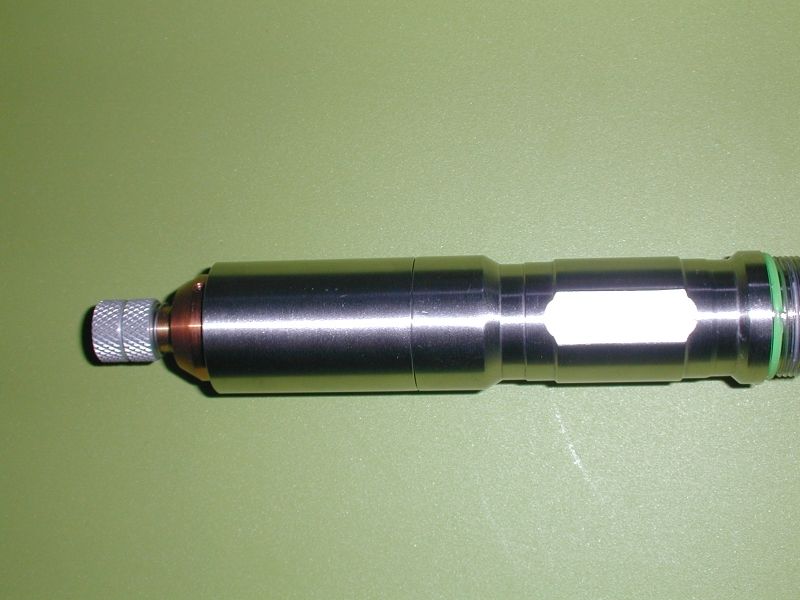
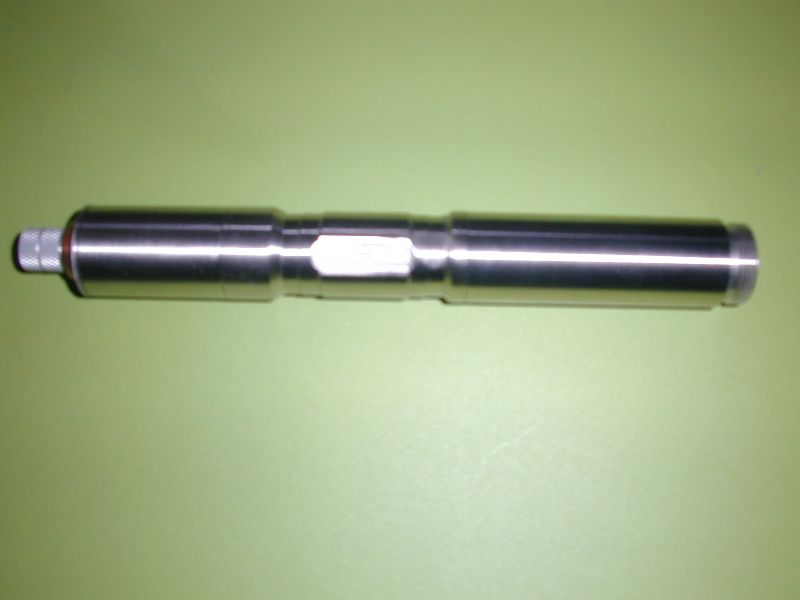
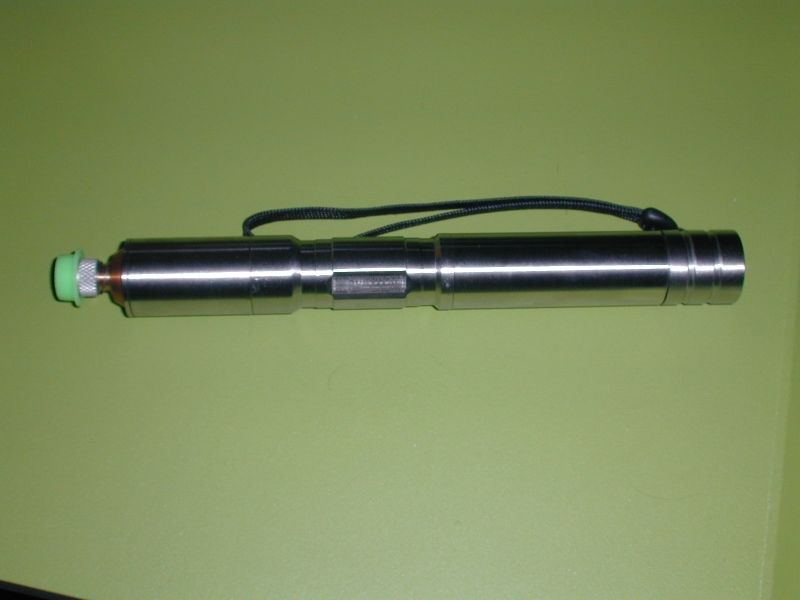
Now we have this.
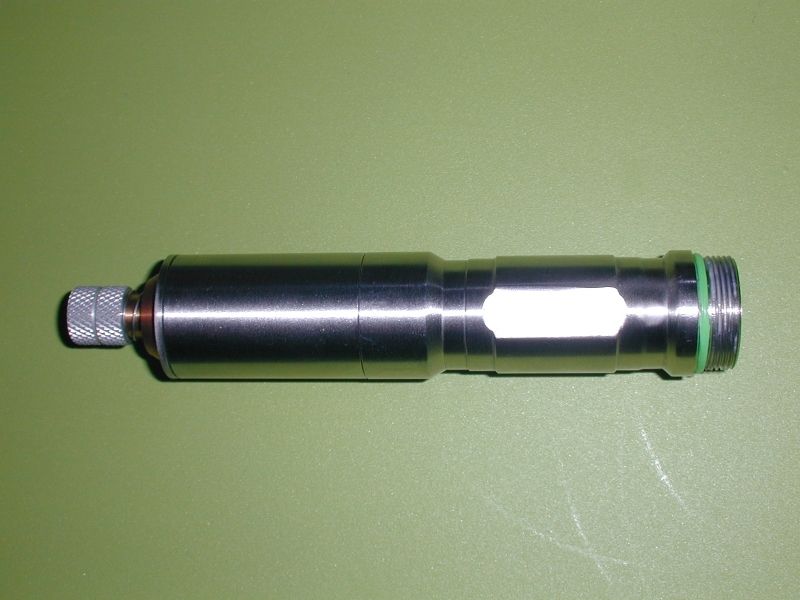
Get the battery extension tube ready.
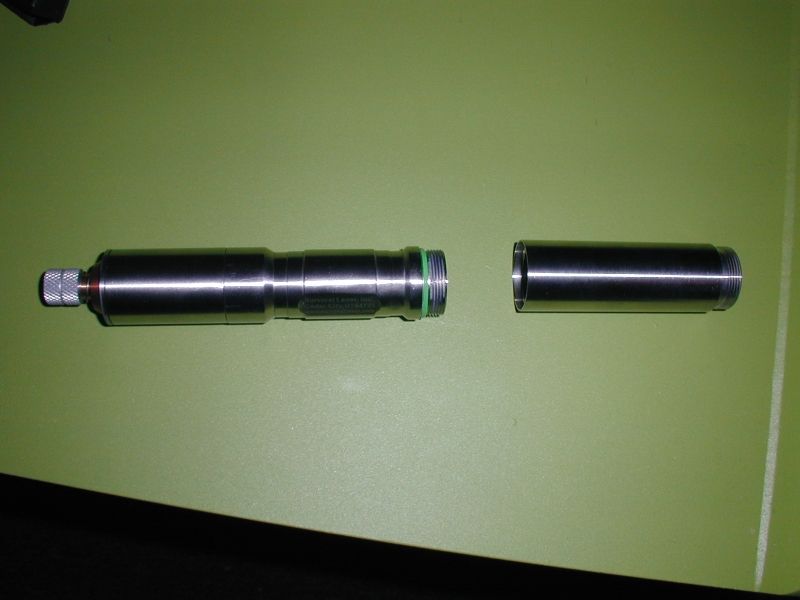
Then screw it onto the mid section.
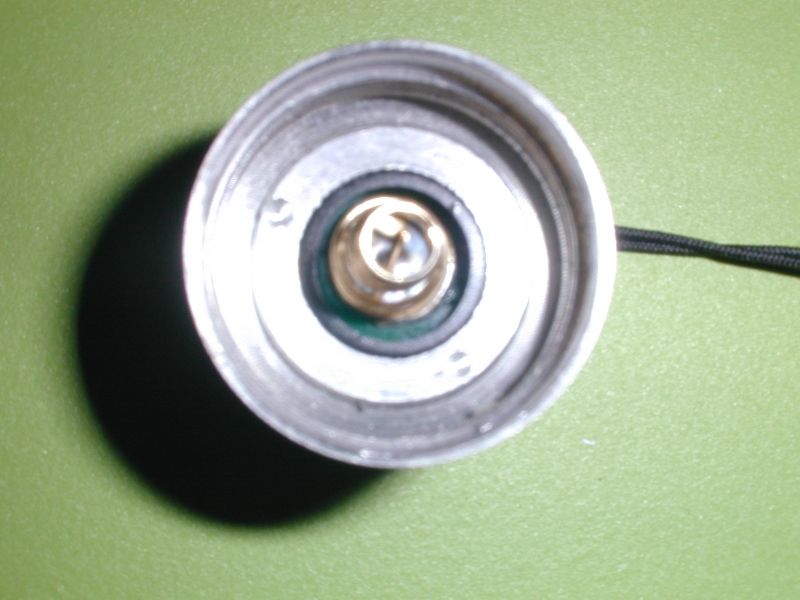
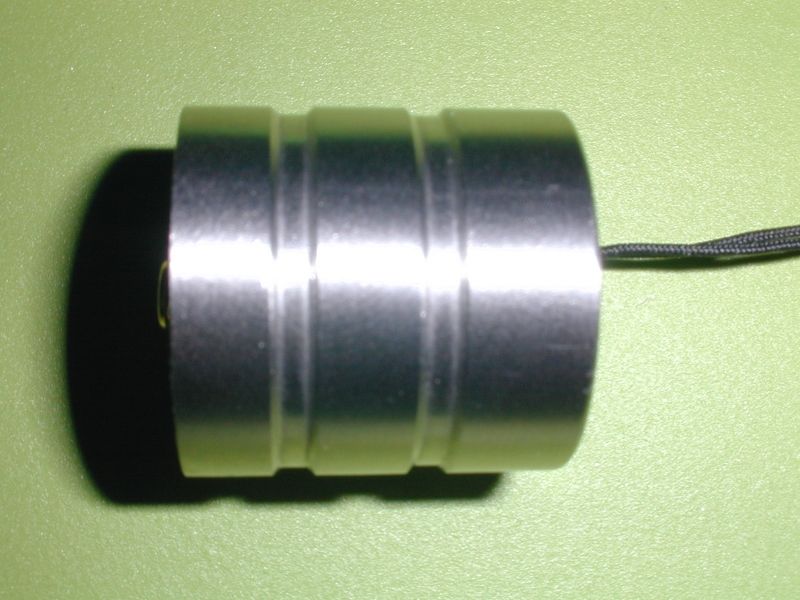
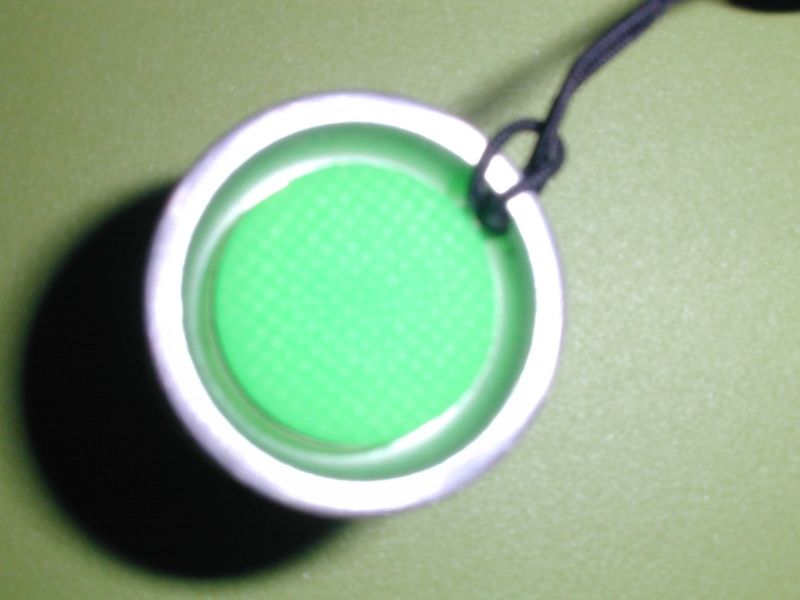
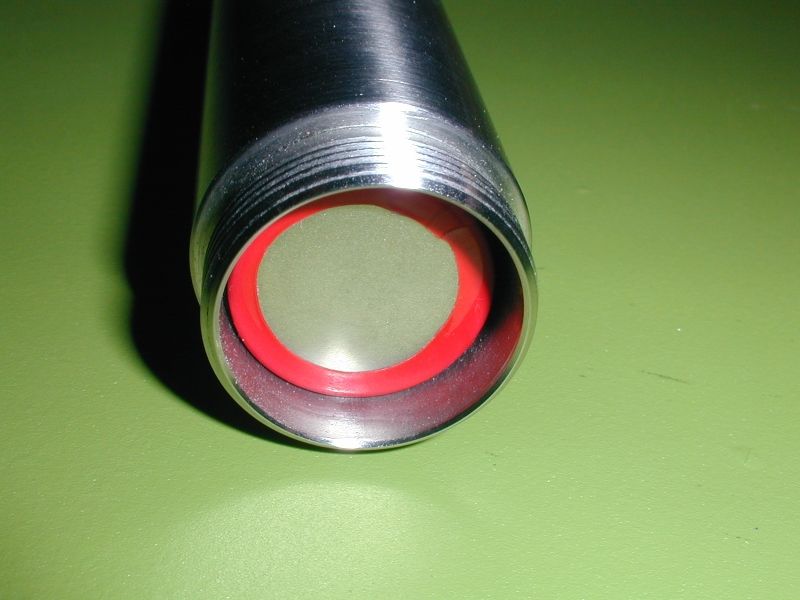
Lets take a look at the tail cap and switch.
We are almost done now so lets get out the batteries. Hopefully at this point you have already charged your batteries. My batteries didn't come charged and took so long to charge I began to wonder if something was wrong so I got out my DMM and tested the charger (4.2V) and checked the voltage on the batteries and found they were almost done by then, the green lights soon came on and they were charged to a full 4.2V.
Now we can insert the batteries positive + end first.
Here is where caution is recommended. Don't be too quick to screw on that tail cap or you may cause an unpleasant accident. You don't know yet if that switch is turned on or off, and this is a potentially dangerous laser so be careful. I raised this issue before and cheech226 offered a useful safety tip, he said "There should be No guessing if the switch is on or off when putting the batteries in. Use your dmm to check continuity of the switch before inserting batteries". Now if you don't have a DMM you should get one now because you probably shouldn't be assembling a laser then if you don't have one and know how to use it, however there is a first time for everything and we have to learn. So if you don't bother with the DMM or don't have one just be sure that laser is pointed in a safe direction with no animals or children in the room, and keep in mind it can really burn stuff fast.
If everything has gone as planned we should now have a working laser. Lets first go back to the clamp/tripod for a moment.
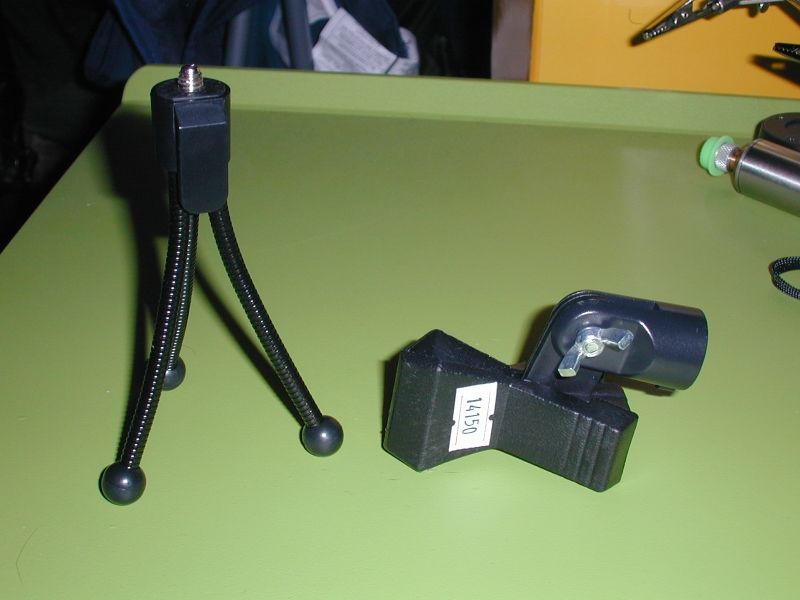
The clamp and tripod are two pieces, the tripod is very small and can't hold something much heavier than this laser but will work fine but the clamp can also be used on a larger tripod. So I recommend this one or something similar, there are others to choose from.
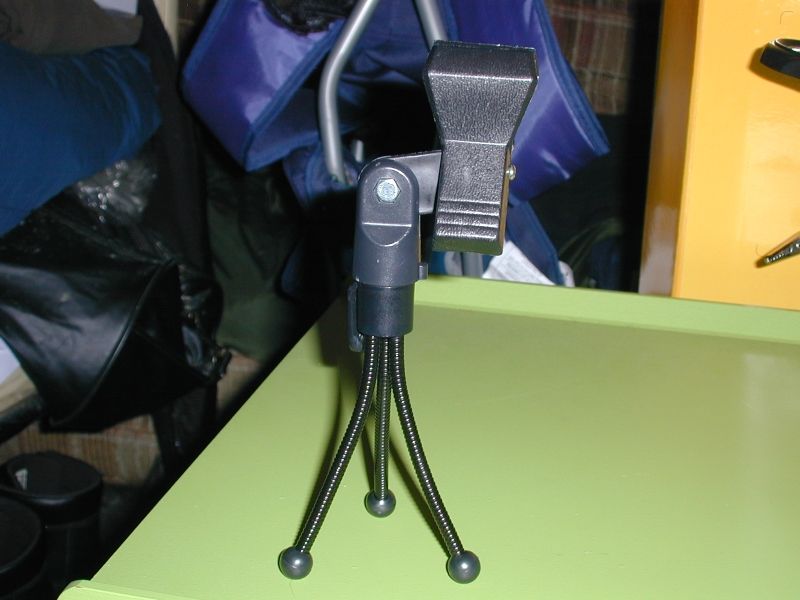
I now consider one of these a necessity with a laser this powerful. With my other blue laser I once burned my finger in an unlikely accident while doing two things at once, that was only 1 to 2 seconds, no way I am ever coming in contact with the beam from this as this is possibly as much as twice the power of my M140 laser and I thought that one was impressive. So have both hands available when using your laser or put it in the tripod while working with something else like a camera or whatever. Here is the complete laser in the tripod. Notice the tapered heat sink sticks out some and combined with the extended focus ring it is easy to focus and no risk of getting your fingers in the beam. I also like these focus rings because I prefer to keep a dust cap over the lens when not in use because I live in a dusty environment and don't want my lenses dirty or damaged.

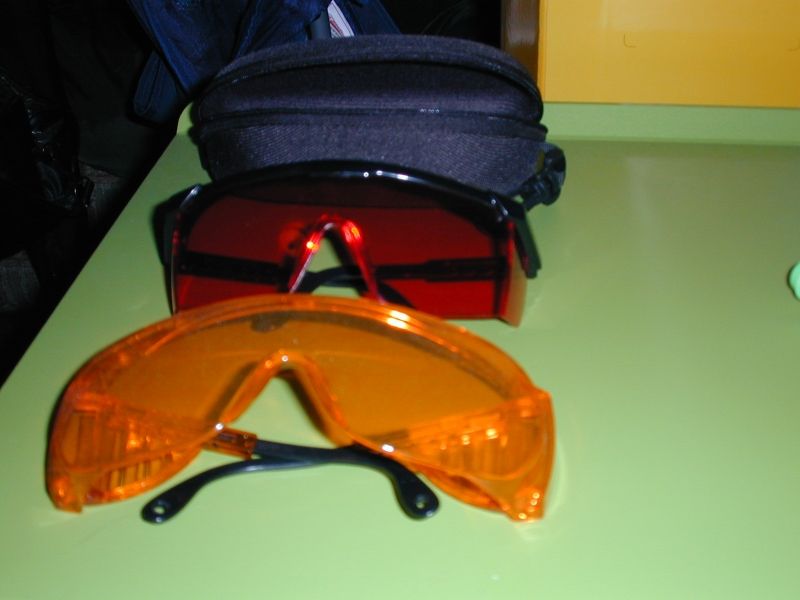
One more word about safety, be sure you have safety glasses first and have more than one pair so you can safely share your laser with someone else. Enough about that as it is a topic for other threads and a matter of personal preference.
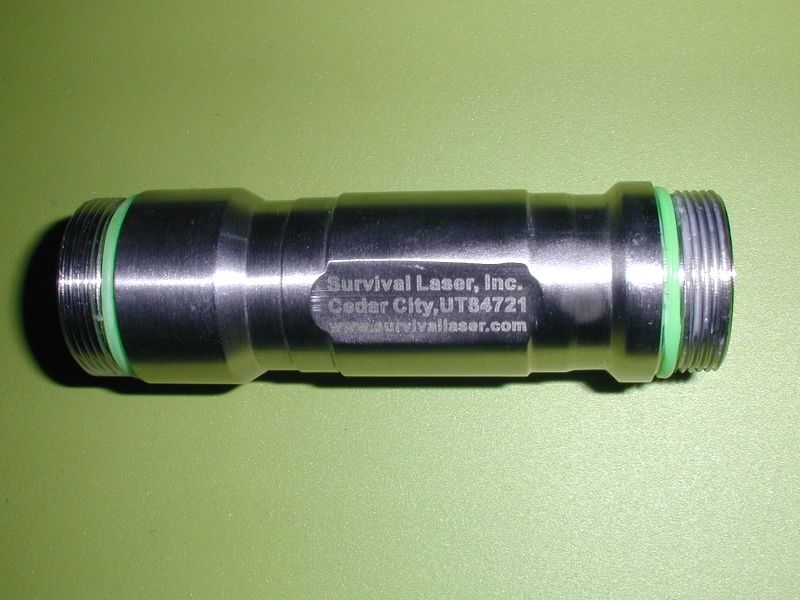
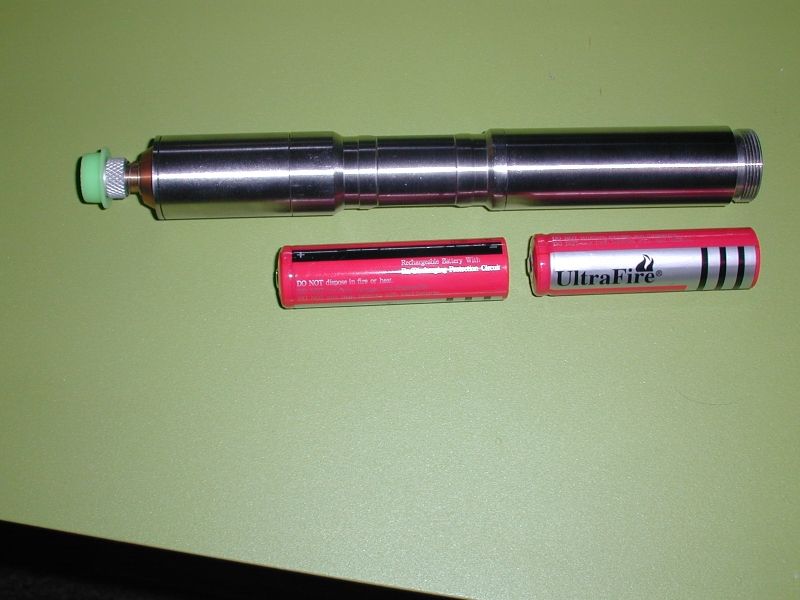
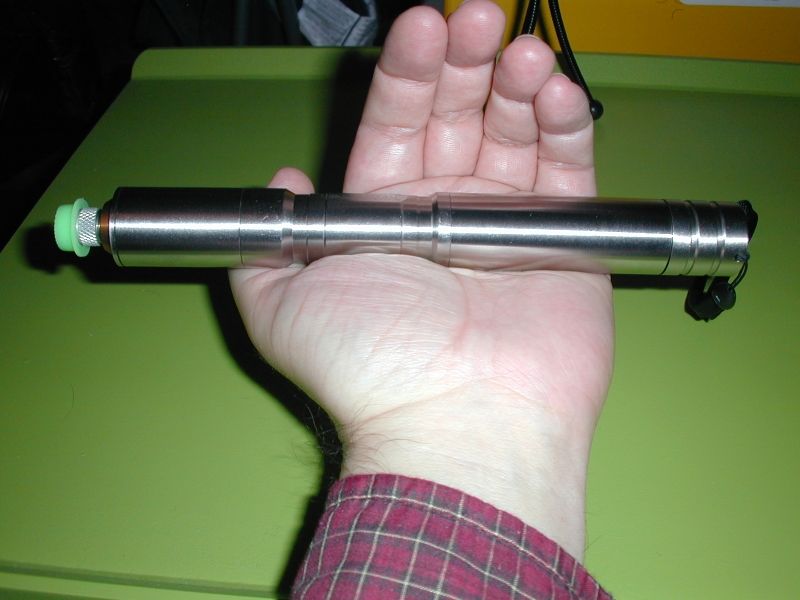
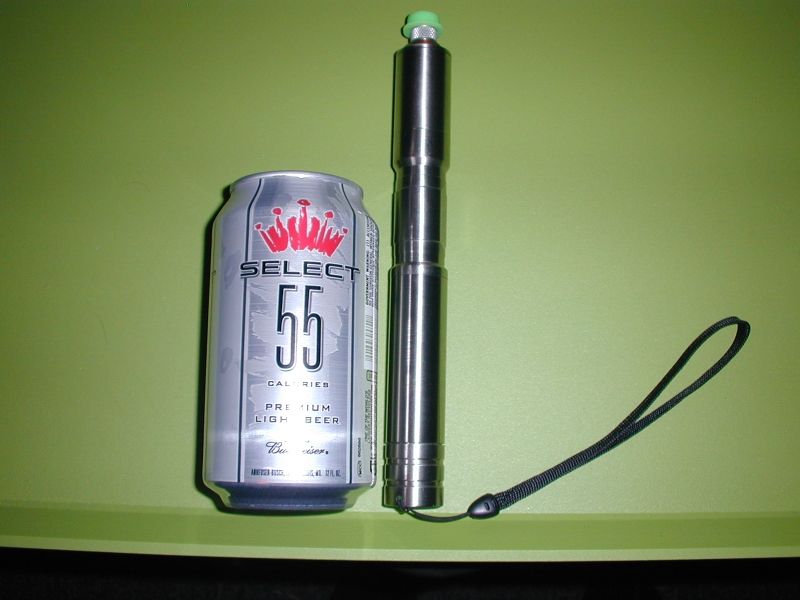
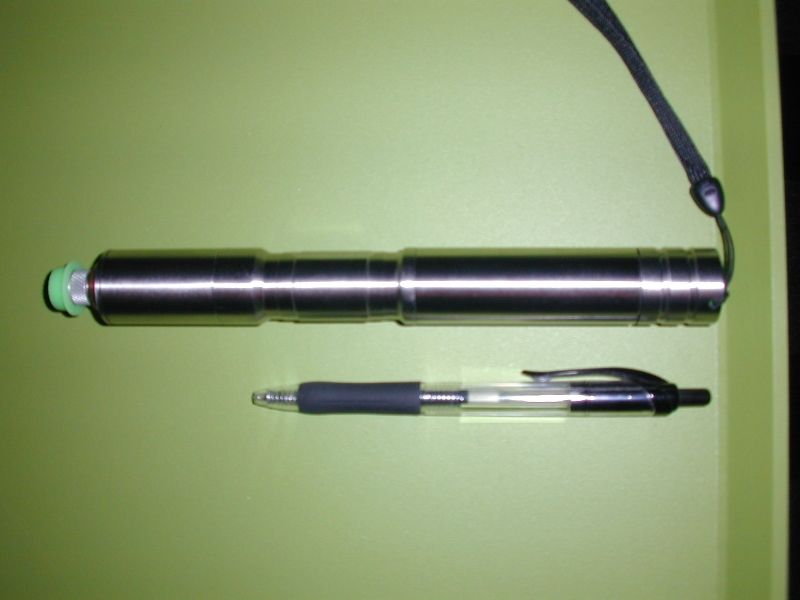
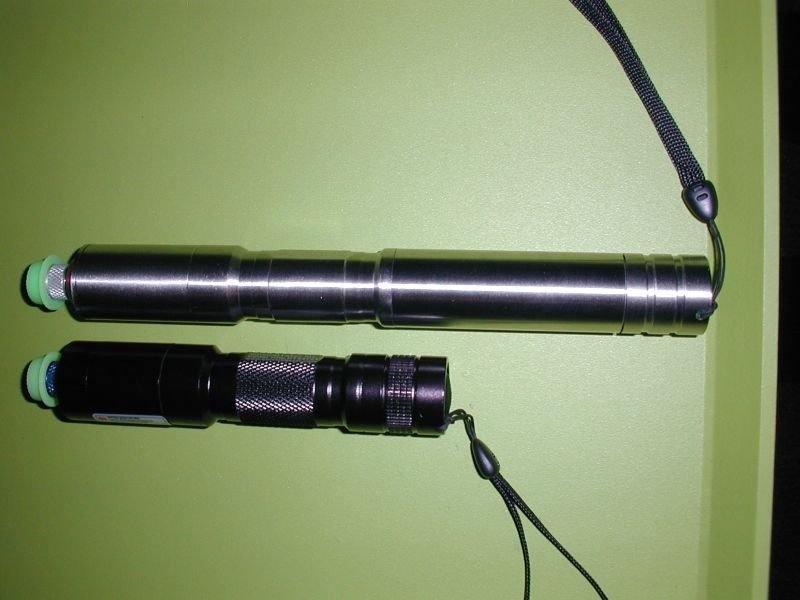
The Survival Laser stainless steel host is very good quality, it is similar to a C6 but different. With the larger heat sink and battery extension tube and two 18650 batteries it is much larger and heavier than my C6. Here are some photos with items for scale so you can tell its approximate size.

And here it is next to my C6 M140.
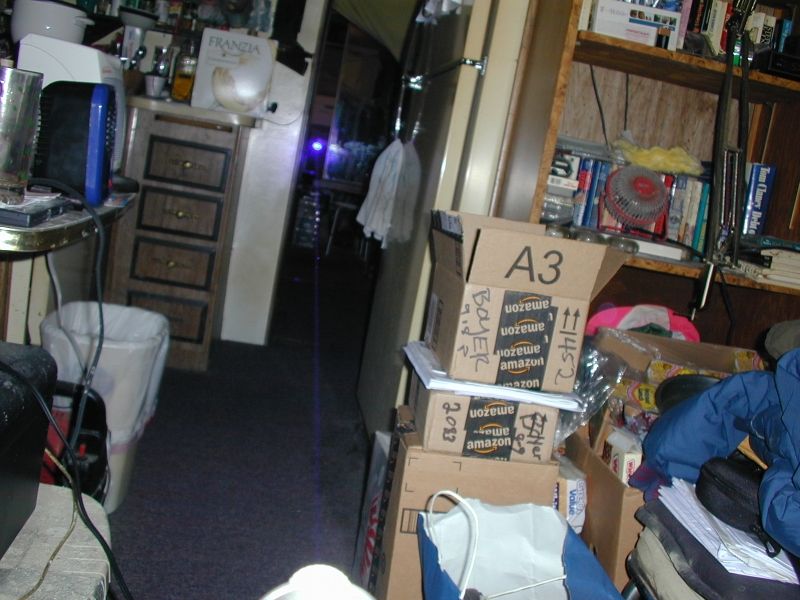
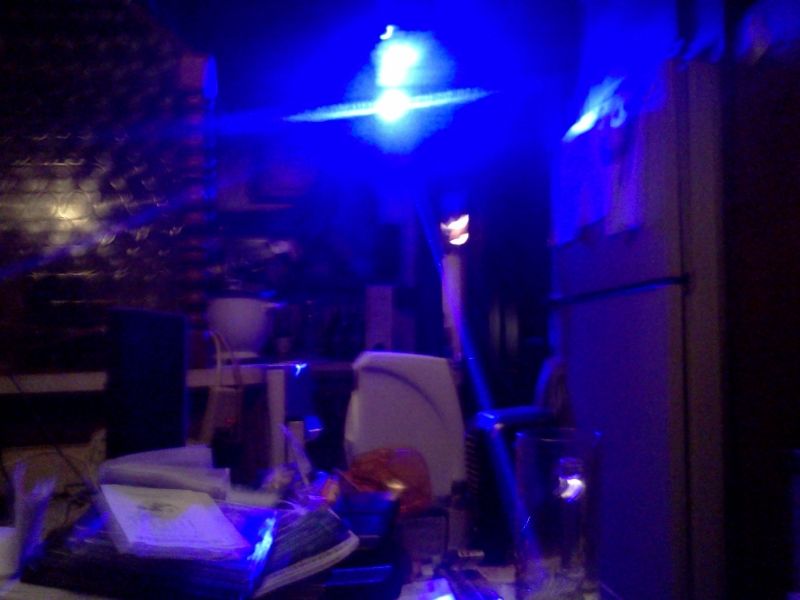
I tried to take some beam shots but without much luck, my cameras don't like lasers so this is the best I could do. This laser is also brighter than my M140 making it difficult. This one turned out good in bright light, there is a light on directly above me with two 60W bulbs and the flash on the camera went off and it still wasn't bright enough to drown out the laser, no smoke or fog.
These next four were taken with a different camera without a flash also there was no smoke or fog for any of these photos.
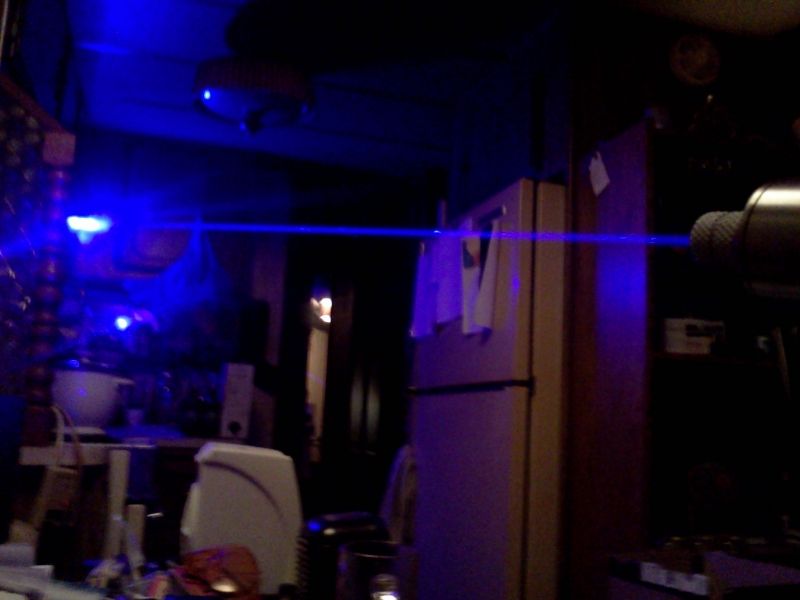
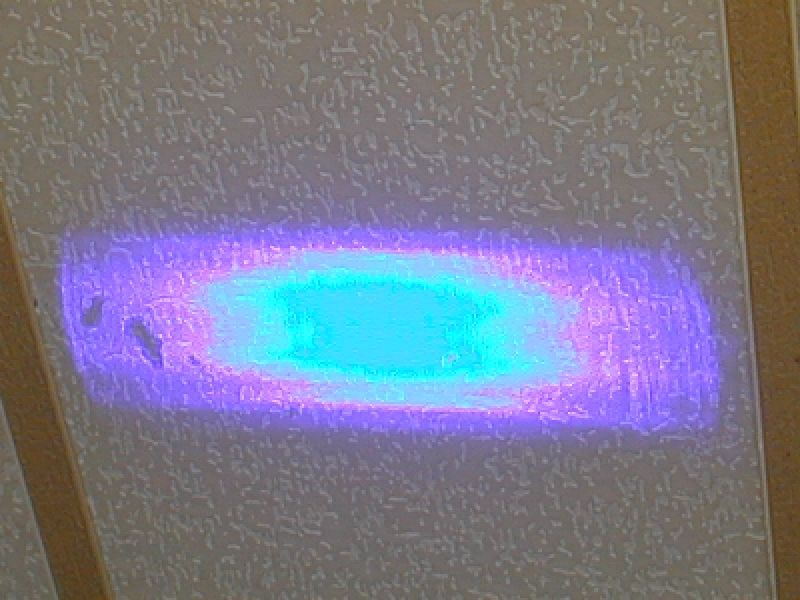
Here is the beam unfocused. Notice the black spot on the left.
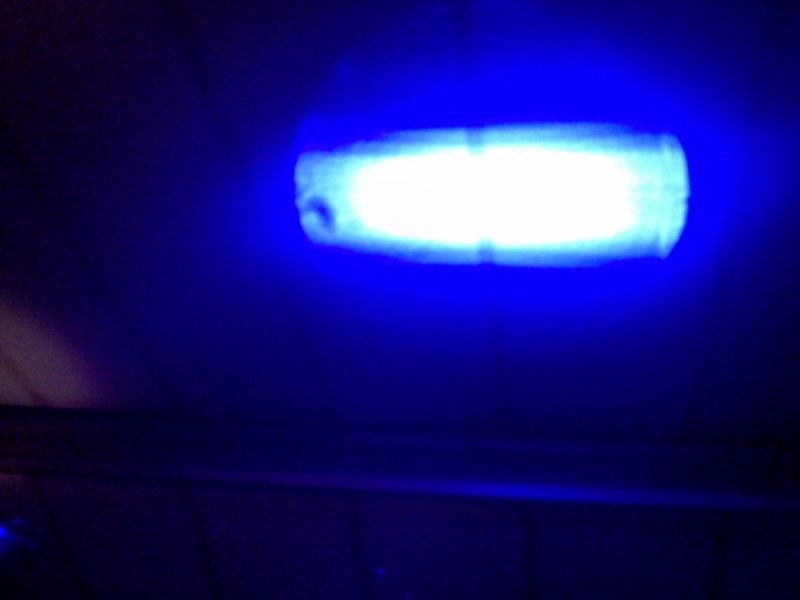
Here it is slightly focused, unfortunately it doesn't show in the picture, it is just too bright for the camera. This is really a perfect rectangle, that black spot is still there and two smaller ones, very visible when unfocused like that but nothing wrong when focused. Its not the lens because they don't rotate when its focused, so the spots are in the diode or the diode window. Anyway I don't consider it a problem, if its not broke don't fix it.
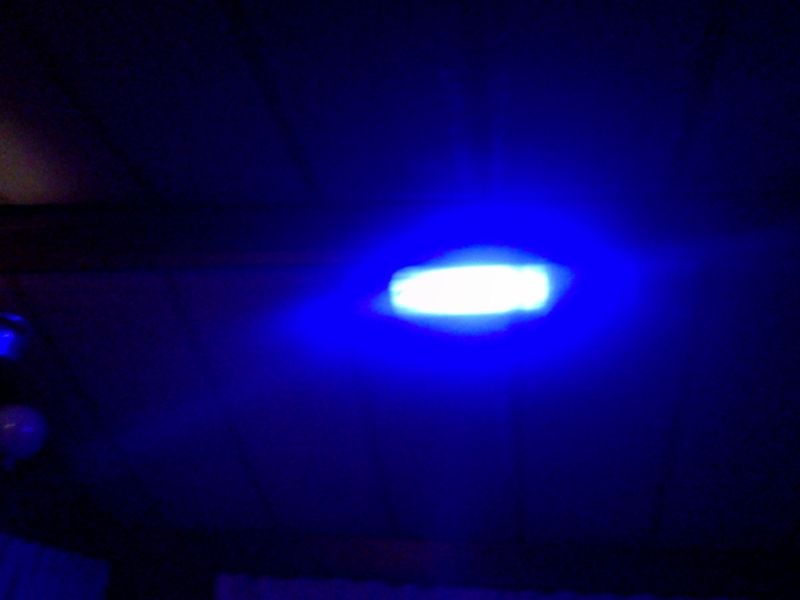
And one more.
In conclusion I will say I am very pleased with the way this turned out. This Survival Laser stainless steel host is a great host. If you want to put together a high quality and powerful blue laser without too much difficulty this is a good way to do it. I hope this thread will encourage and make it possible for some to build the same or similar lasers.
I would also like to say that DTR and Survival Laser are two of the best sellers to buy from, I have purchased from them before and will again.
Thanks for taking the time to read this.
Alan
http://laserpointerforums.com/f65/assembled-m140-c6-pic-heavy-83543.html This time I took more photos and will explain in more detail.
OK let us begin. First here are the parts used:
Module and G2 lens from DTR
Amazon.com: Nichia NDB7875 445nm 9mm Laser Diode In a Copper Module W/Leads & 405-G-2 Lens: Everything Else $144.49 shipped in US. I want to point out here that not all of DTR's stuff is available on Amazon, also you can save a few dollars if you buy directly from his web site here:
https://sites.google.com/site/dtrlpf/ but you have to pay with paypal or Google Checkout/Wallet.
Except for batteries, charger and safety glasses all other parts were puchaced from Survival Laser from their US site here:
Survival Laser USA Home their international site is here: Survival Laser International Home
Survival Laser Stainless Steel Host Assembly, Extended and Tapered Heat Sink $49.99
DIY 2.2A Driver & Pill Module
$44.99
Battery Extension Tube- Stainless Steel
$19.99
Clamp Mount & Tripod
$9.99
Extended Length Focusing Ring - Clear Anodized
$9.99
External Lens Spring
$5.79
Silicone Lens Cap
$0.49
Normally that would add up to $285.72 not counting batteries, charger and safety glasses. The total from Survival Laser adds up to $141.23, however using the discount code for LPF members the total was only $133.11 shipped, add that to $144.49 and the total is $277.60 for the laser itself.
The batteries I am using can be found here:
Amazon.com: 4Pcs 3.7V 18650 3000mah Rechargeable Batterys: Electronics
The charger I am using is here:
Amazon.com: Trustfire Multifunctional Universal Lithium Ion Rechargeable Battery Charger for CR123A, 16340, 14500, 10400, or 18650: Camera & Photo
You will of course also need safety glasses if you don't yet have them.
You will also need:
Some heat shrink tubing.
Solder.
Soldering iron.
A helping hands tool with magnifier may be helpful but is not required.
You might also need a wire cutters and wire stripper.
Now that we have everything we need lets open the packages and start assembling.
I got this from DTR many weeks ago but had to wait until I could buy all the parts. It got here in only three days like last time, I am sure many of you recognize his packaging.
I was a little startled when I opened it as it was a shorter module, I didn't know he had these but I soon realized I had the correct item.
Now lets take it apart and set aside the internal spring and the focus ring as spare parts because I prefer to use something better in this case.
Here is just the diode in the module by itself.
All the parts from Survival Laser arrived together in one package.
Opening the box.
Separate the parts and everything is there as expected.
Now lets unwrap the parts and have everything ready.
Notice I included a clamp/tripod as part of this laser, more about that later. Lets take a brief moment to mention batteries and a charger. My first build linked to above at the beginning runs on two 16340's, those are not suitable for this laser, its possible but not very practical, you would need the highest quality 16340's and probably still get very short battery life. By comparison 18650's are very large and can put out more current, so this laser will run on two 18650's, be aware they also take longer to charge so you may want more than one pair. I have four of these and I linked to them above. Please note I am not specifically recommending these batteries, they are cheap but they will work fine in this laser. You may prefer something higher quality, just be sure to buy the button top and not the kind that are flat on both ends.
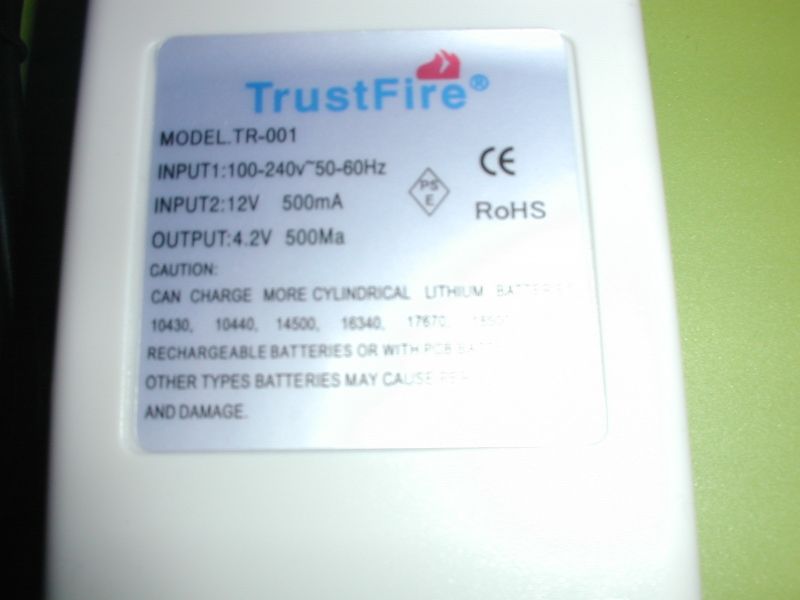
If you don't have a charger for 18650's you will need one of those too. I made the mistake last time of buying a cheap charger that is made for only 16340's. Its a good idea to get a better charger to begin with that can charge many sizes of batteries because at some point you will probably be charging more than one size. Here is the one I am using, again it is linked to above, and again I am not recommending this charger, just saying I am pleased with it. Just buy whatever charger you will. There are many threads discussing both batteries and chargers.
It charges most sizes we use for lasers and has a cord instead of plugging directly into an outlet.
I tested it and it does charge them at 4.2V when on the 3.6V setting.
Now back to the laser. Lets get the module, lens, external spring and extended focus ring.
Now take the lens and screw on the focus ring so its tight and wont easily come loose.
Then slide the external spring over the lens.
Then screw it into the module.
Take the heat sink and slide the wires in from the front and slide the module in so its level with the front of the heat sink and tighten the set screw.
Then take the front section of the host and unscrew the small part off the front if you haven't already done so, you need to remove it to insert the heat sink and put it back to hold it in place. It is a small part, it may be difficult to unscrew it until its loosened some.
Take that front section and slide the heat sink in from the front like this.
Whatever you do don't screw this piece back on the front yet.
Lets set that aside and look at the driver/pill assembly. This driver requires two batteries, it is preset to 2.2A although you can see the pot in there and it is adjustable from 1.6A to 2.3A, don't mess with it if you don't know what your doing, also notice this is a drilled out pill and not a standard pill. Obviously that is partly so it can be user adjustable, but I also recommend using the drilled out pill even if you use another driver because the extended heat sink touches the pill leaving you very little room for your wires although at the same time this will help transfer more heat away from the diode.
And the battery contact side.
Now you will need to solder two wires together. Get a piece of heat shrink and cut it to two pieces of appropriate length.
Then slide the heat shrink over the wires on the driver.
Then we have to solder the wires from the module to the driver like this.
Slide the heat shrink over the soldered connections, then brush the heat shrink lightly a couple of times with your soldering iron but be quick, I am using a 30W iron, some people use a heat gun or paper matches work if you are fast.
Now get this mid section of the host.
Then while holding the pill without turning it, screw the mid section onto the pill like this.
Slide the heat sink out of the front section so you have this.
Hold onto the mid section without turning it and screw the front section onto it without turning the heat sink and wires.
Then slide the heat sink back into the front section like this. It was here that I suddenly realized my wires were a little longer than they should be but I didn't think it necessary to fix, I was able to stick my finger in there and stuff some wire into the pill.
Make sure the heat sink is seated properly in place and then you can screw that small part back on the front that holds it in place.
Now we have this.
Get the battery extension tube ready.
Then screw it onto the mid section.
Lets take a look at the tail cap and switch.
We are almost done now so lets get out the batteries. Hopefully at this point you have already charged your batteries. My batteries didn't come charged and took so long to charge I began to wonder if something was wrong so I got out my DMM and tested the charger (4.2V) and checked the voltage on the batteries and found they were almost done by then, the green lights soon came on and they were charged to a full 4.2V.
Now we can insert the batteries positive + end first.
Here is where caution is recommended. Don't be too quick to screw on that tail cap or you may cause an unpleasant accident. You don't know yet if that switch is turned on or off, and this is a potentially dangerous laser so be careful. I raised this issue before and cheech226 offered a useful safety tip, he said "There should be No guessing if the switch is on or off when putting the batteries in. Use your dmm to check continuity of the switch before inserting batteries". Now if you don't have a DMM you should get one now because you probably shouldn't be assembling a laser then if you don't have one and know how to use it, however there is a first time for everything and we have to learn. So if you don't bother with the DMM or don't have one just be sure that laser is pointed in a safe direction with no animals or children in the room, and keep in mind it can really burn stuff fast.
If everything has gone as planned we should now have a working laser. Lets first go back to the clamp/tripod for a moment.
The clamp and tripod are two pieces, the tripod is very small and can't hold something much heavier than this laser but will work fine but the clamp can also be used on a larger tripod. So I recommend this one or something similar, there are others to choose from.
I now consider one of these a necessity with a laser this powerful. With my other blue laser I once burned my finger in an unlikely accident while doing two things at once, that was only 1 to 2 seconds, no way I am ever coming in contact with the beam from this as this is possibly as much as twice the power of my M140 laser and I thought that one was impressive. So have both hands available when using your laser or put it in the tripod while working with something else like a camera or whatever. Here is the complete laser in the tripod. Notice the tapered heat sink sticks out some and combined with the extended focus ring it is easy to focus and no risk of getting your fingers in the beam. I also like these focus rings because I prefer to keep a dust cap over the lens when not in use because I live in a dusty environment and don't want my lenses dirty or damaged.
One more word about safety, be sure you have safety glasses first and have more than one pair so you can safely share your laser with someone else. Enough about that as it is a topic for other threads and a matter of personal preference.
The Survival Laser stainless steel host is very good quality, it is similar to a C6 but different. With the larger heat sink and battery extension tube and two 18650 batteries it is much larger and heavier than my C6. Here are some photos with items for scale so you can tell its approximate size.
And here it is next to my C6 M140.
I tried to take some beam shots but without much luck, my cameras don't like lasers so this is the best I could do. This laser is also brighter than my M140 making it difficult. This one turned out good in bright light, there is a light on directly above me with two 60W bulbs and the flash on the camera went off and it still wasn't bright enough to drown out the laser, no smoke or fog.
These next four were taken with a different camera without a flash also there was no smoke or fog for any of these photos.
Here is the beam unfocused. Notice the black spot on the left.
Here it is slightly focused, unfortunately it doesn't show in the picture, it is just too bright for the camera. This is really a perfect rectangle, that black spot is still there and two smaller ones, very visible when unfocused like that but nothing wrong when focused. Its not the lens because they don't rotate when its focused, so the spots are in the diode or the diode window. Anyway I don't consider it a problem, if its not broke don't fix it.
And one more.
In conclusion I will say I am very pleased with the way this turned out. This Survival Laser stainless steel host is a great host. If you want to put together a high quality and powerful blue laser without too much difficulty this is a good way to do it. I hope this thread will encourage and make it possible for some to build the same or similar lasers.
I would also like to say that DTR and Survival Laser are two of the best sellers to buy from, I have purchased from them before and will again.
Thanks for taking the time to read this.
Alan