- Joined
- Jun 24, 2010
- Messages
- 5,705
- Points
- 113
630mW 445 Keychain CR2
If you would like to see more of my reviews and tutorials please visit my compilation page.
http://laserpointerforums.com/f51/d...ting-compilation-thread-56450.html#post797151
Here is another little compact unit from Jayrob's awesome collection of kits. A very tight little build that fits on your keychain. For additional information on this host kit Jay's sales thread for this unit can be found here.
http://laserpointerforums.com/f64/fs-key-chain-cr2-build-kit-schweet-42773.html#post562715

Unfortunately I did not think to get the EzFocus adapter that looks really sweet on this unit. Might have to pick that up later.
This is the version 1 kit which lets you solder the flex via wires. With the version 2 you would solder the driver directly to the diode pins. I am always weary of that option because wires give you a great deal more flexibility to keep from breaking the diode pins.
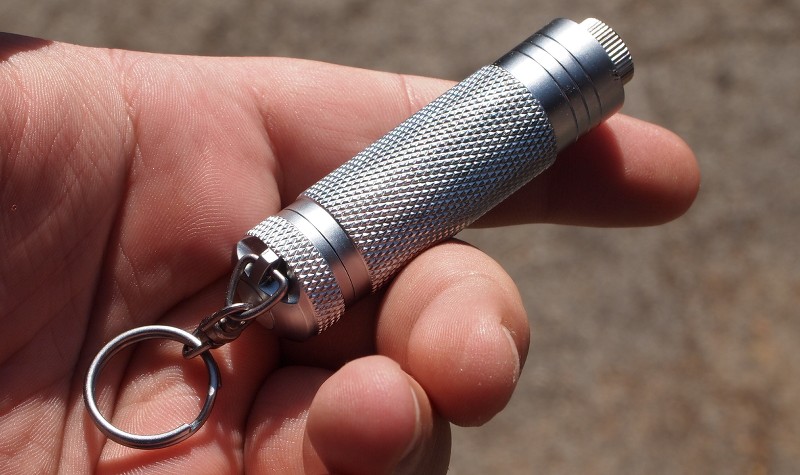
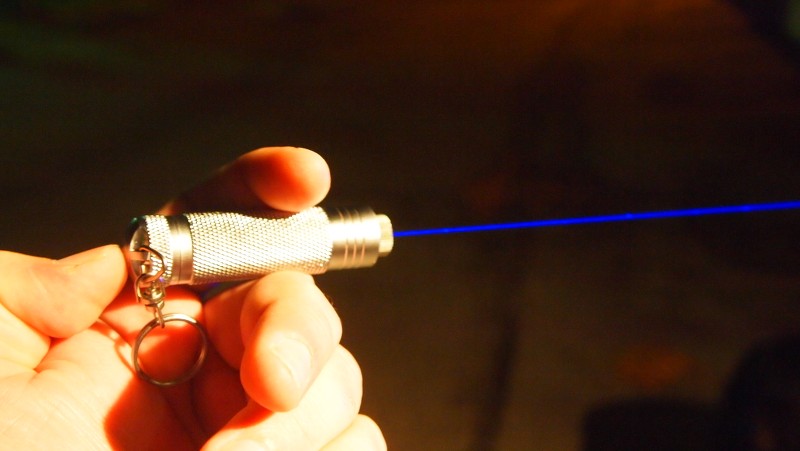
This unit fits on you keychain great and it has a recessed clicky to keep you from accidentally turning it on in your pocket.(done that before. Ouch.
 ) It has a great texture to it for gripping and is now the smallest 445 build I have yet. Even thou it is small it seems to disperse the heat from the heatsink quite well and you can feel the whole host body getting warm on a duration run. It runs of a RCR2 300mAh AW battery that can be found here.
RCR2 Unprotected Rechargeable Lithium Battery
Here are some shots of this great unit.
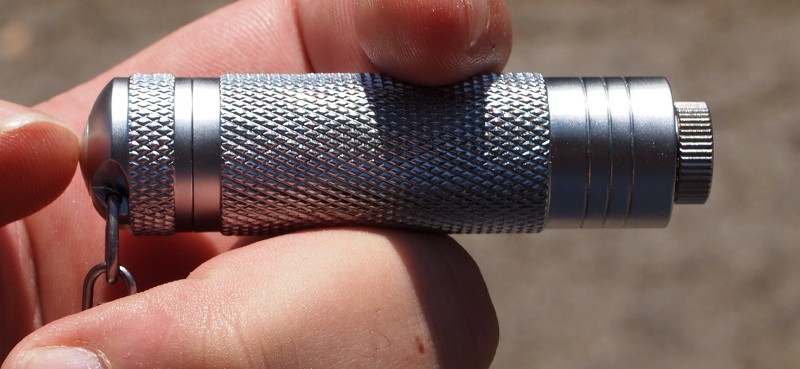
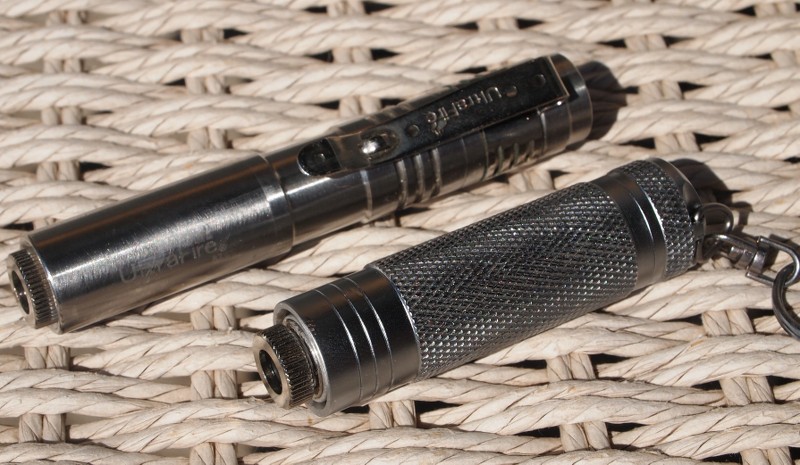
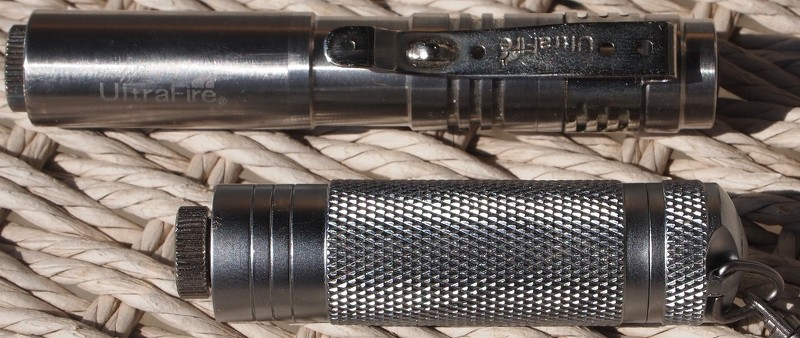
Host Images

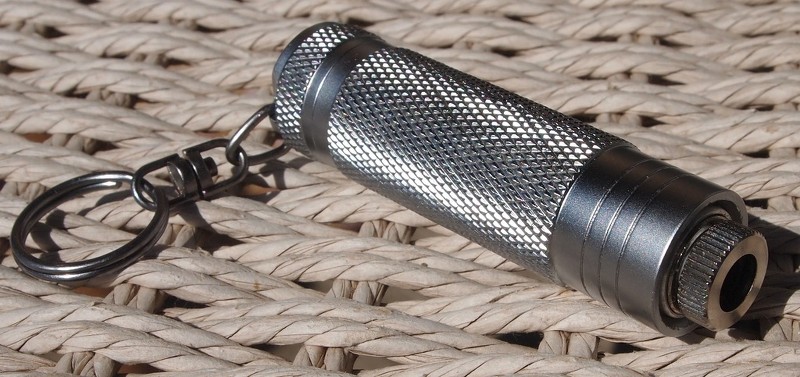
The textured body really allows you to grip the unit while trying to click the clicky on the back.

Here ares some comparison shots with my SS 10440 that all of you know goes everywhere with me.
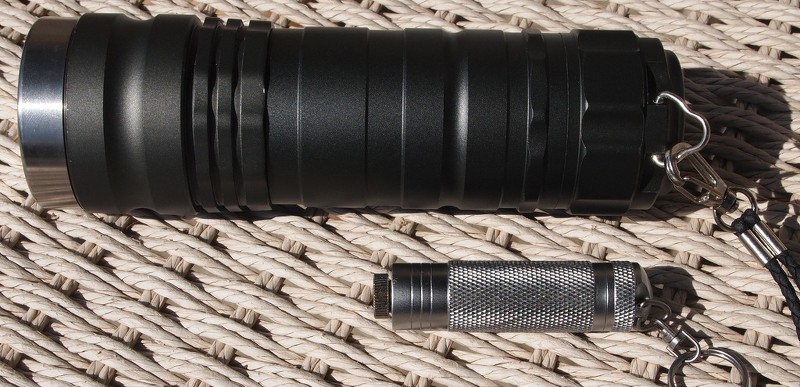
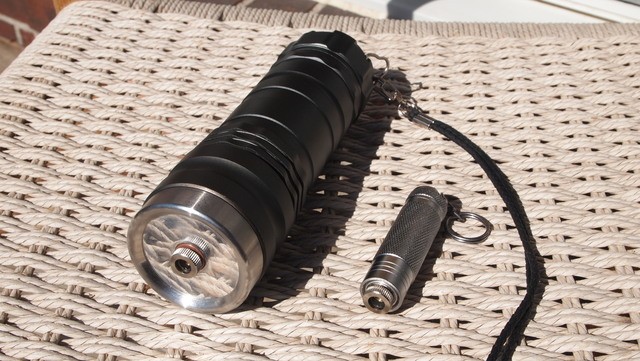
Just for fun here is a size comparison with my Frankenstein.
Assembly Tutorial
Here are the components needed for this build. The host body, heatsink, RCR2 300mAh 3.7V Lithium battery, board with spring and the tailcap. Ignore the black spacer.

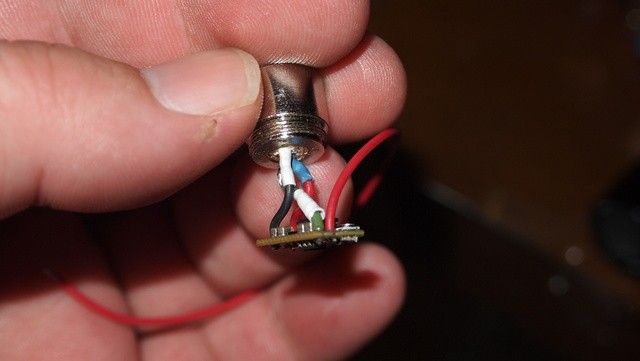
Start off by getting your diode mounted in an Aixiz module and a flexdrive with the wires cut real short. You will solder the positive and negative from the driver out to the LD. Also solder the driver negative input to the case pin for an isolated negative feed to the driver. I like to do it this way but with the flex you can also short the case pin and the negative and let the negative flow into the drivers negative output.
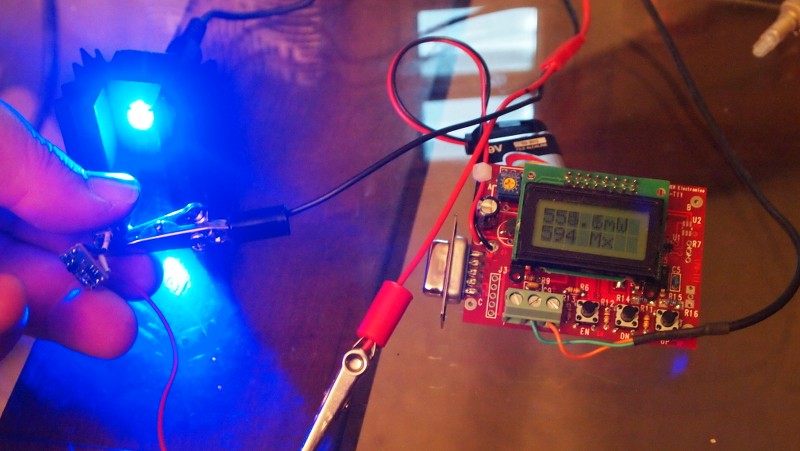
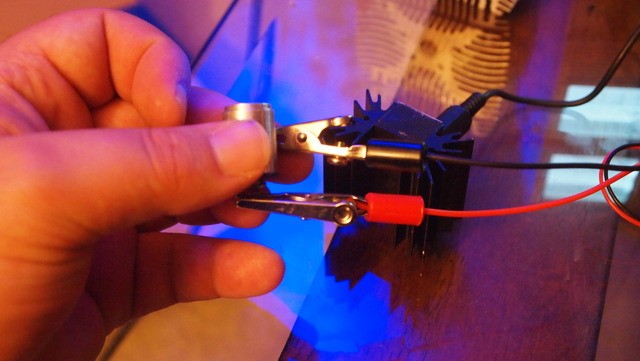
Next check to make sure your wiring is working and set the current. I wanted to try to hit a specific output so I just used the LPM to tell me where to adjust the pot to. I wanted around 600mW.
I cut some electrical tape into 1/3 and 2/3's width. I used the 1/3 to wrap around the diode pins to give some stability for when we are pushing down on it. Then I used the 2/3 width strip to wrap the edges of the flexdrive to keep it from making contact with the side walls of the heatsink.
It does not need to completely wrap the driver as that would make it take up more space trying to fit it in the heatsink.
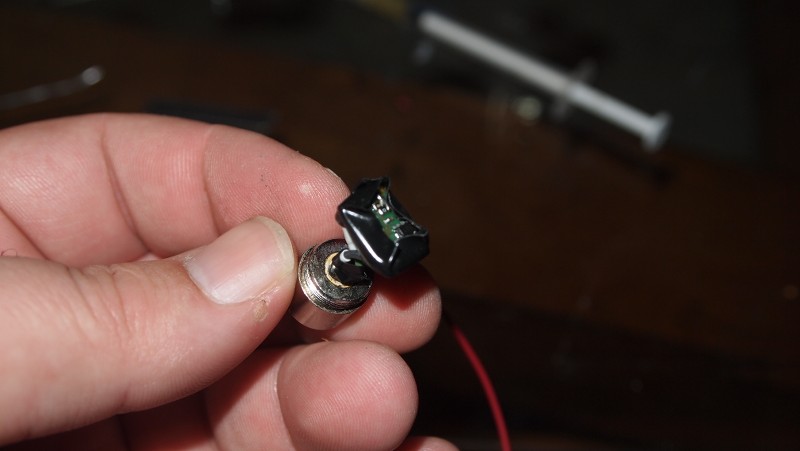
Next this is the part you want to be careful with so you don't damage your driver or break you diode pins. Slide the module into the heatsink so that it is flush with the top. Then take the driver and push it in gently at an angle.
You want to make sure that it is as flat across the top as possible. So the board will be able to fit flat when laid over the back.
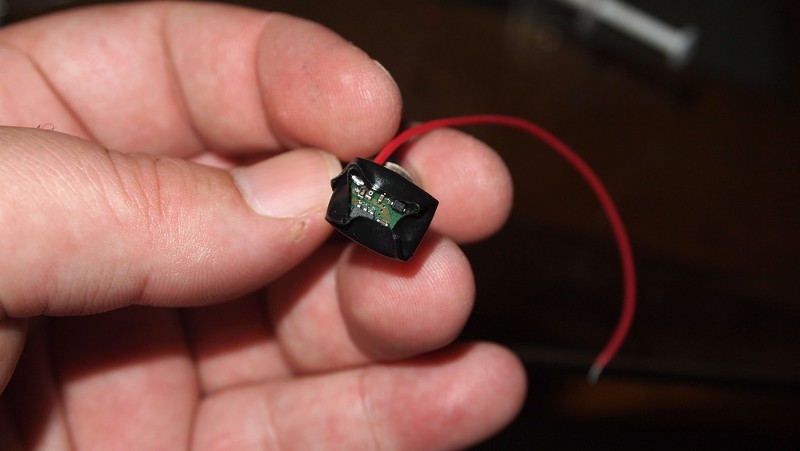
Put a very light amount of krazy glue on the top of the board where it will be in contact with the heatsink. Try to use the glue sparingly so if you have to open it back up you won't destroy the board getting it off. I used a pair of pliers to hold it down securely until it dried. You could also use a vice or something that does not require you to hold it the whole time the glue is hardening.
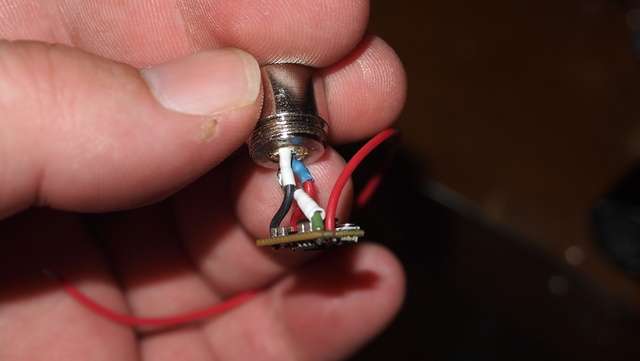
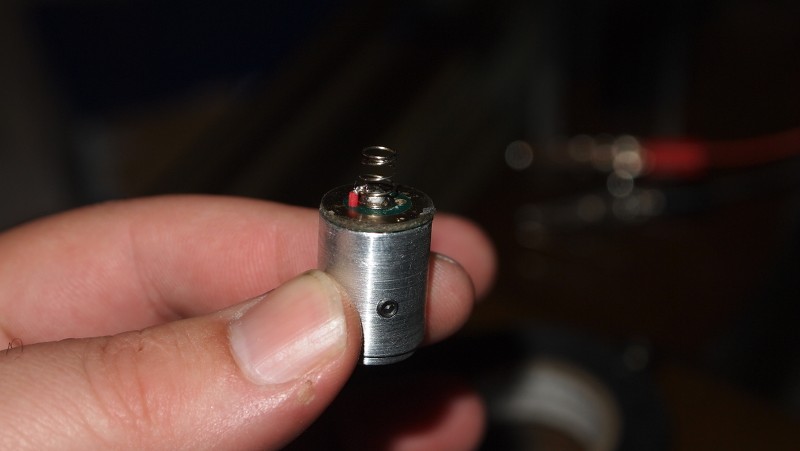
As you can see I ran the positive line out through the little hole in the board and soldered the lead to the bottom of the spring.
TEST, TEST, AND RETEST!:tinfoil:
Now that the glue has dried check it again an see that you still have working unit. It is a tight space in the heatsink and you can easily do damage to the diode pins, driver or pull a wire out of place by pushing to hard on the driver when trying to get it all the way in the heatsink.
Now that the glue has dried and you have tested it to make sure that it is working properly you have this nice little module that is ready to be slid into your host.
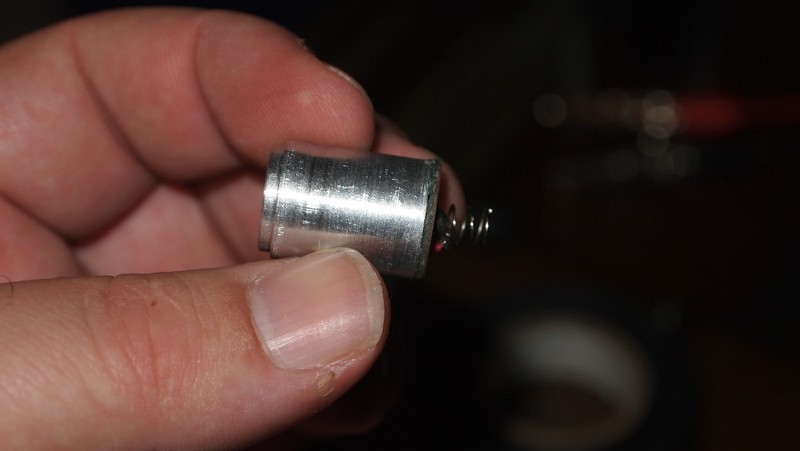
Here is how it all fits together.
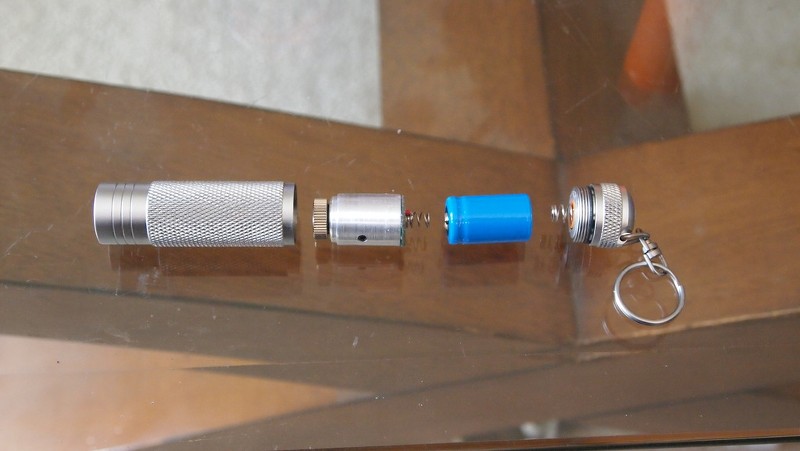
Drop in your module. Should just slide in if it does not check your set screw to make sure that it is all the way tightened down. If it is not it can stick out slightly hitting the wall in the host keeping the module from going all the way in.

Next slide your RCR2 in positive end toward the module.

Screw you tailcap on and were ready to have some fun.


Now for the best part.
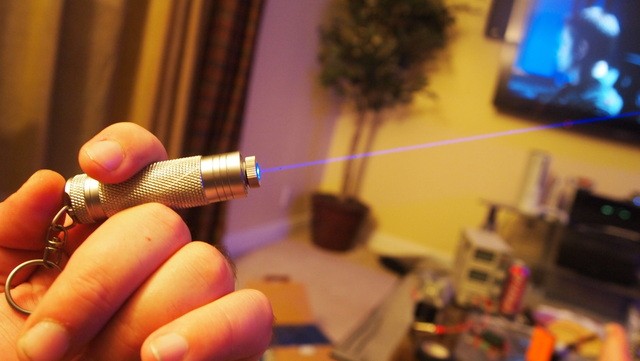
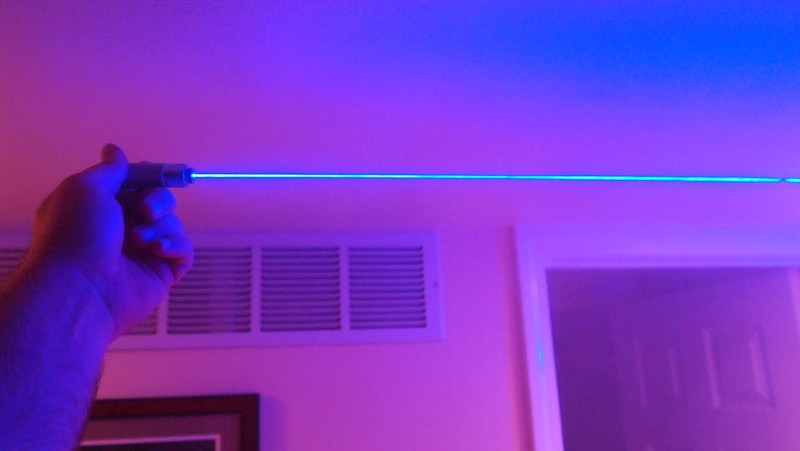
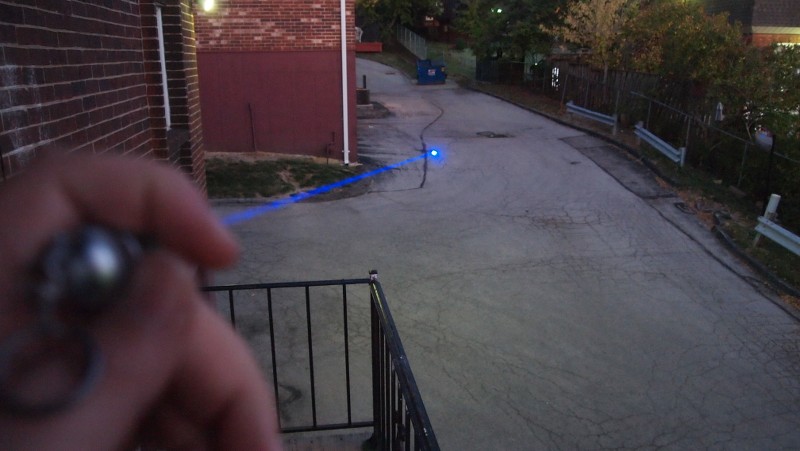
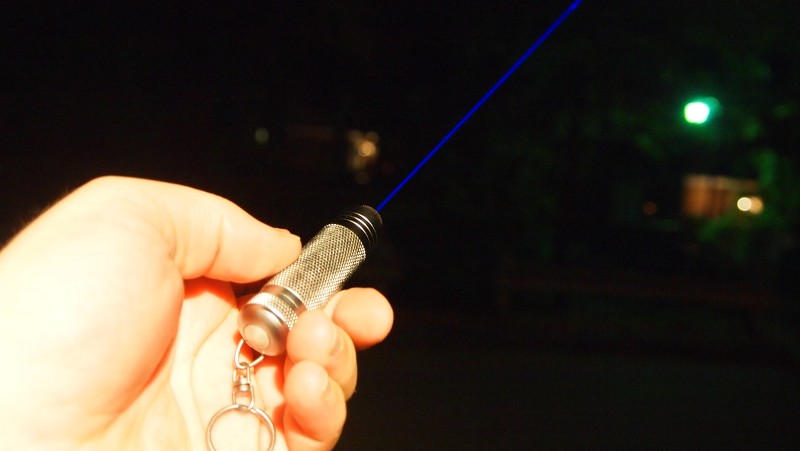
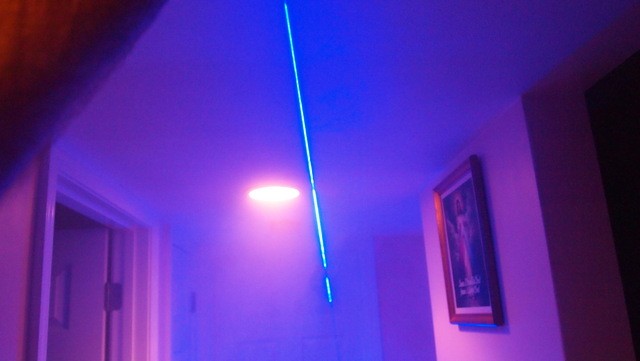
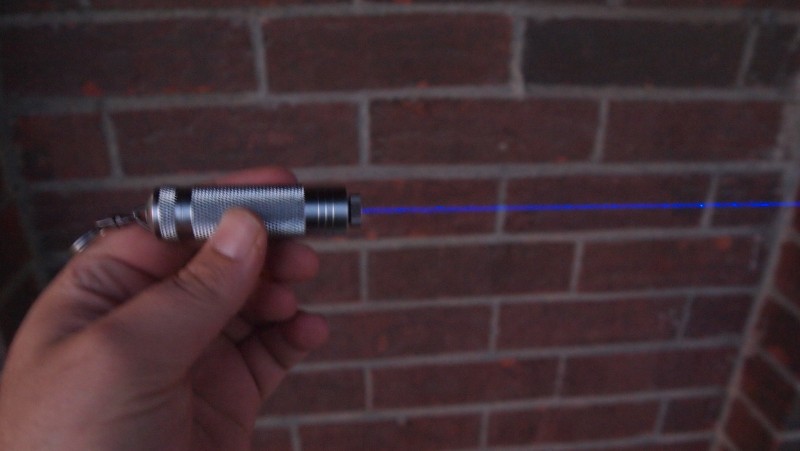
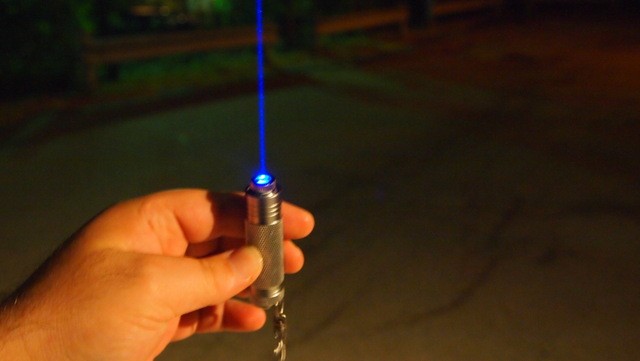
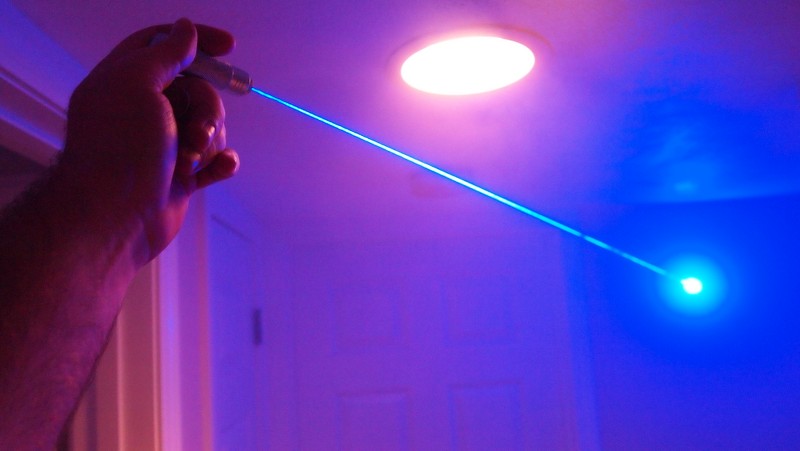
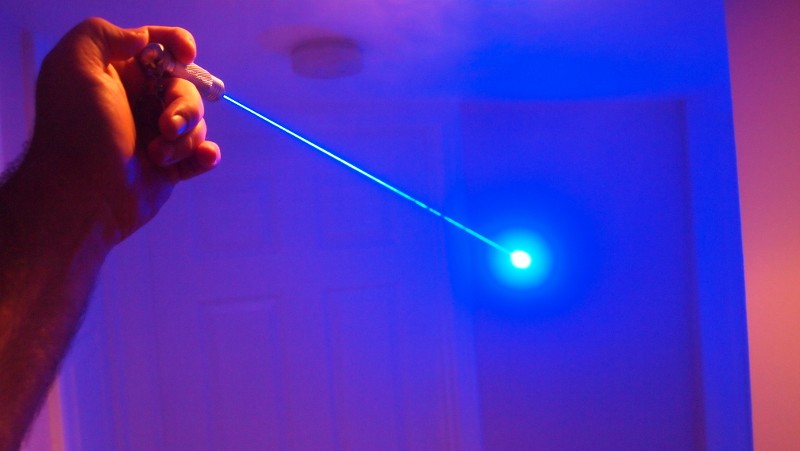
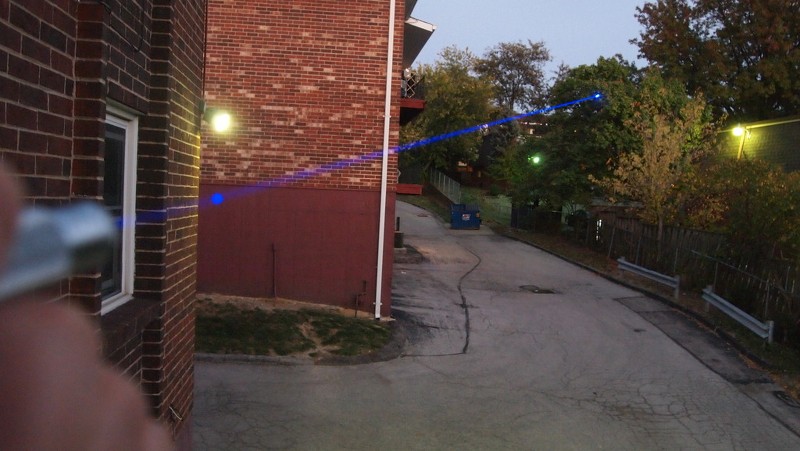
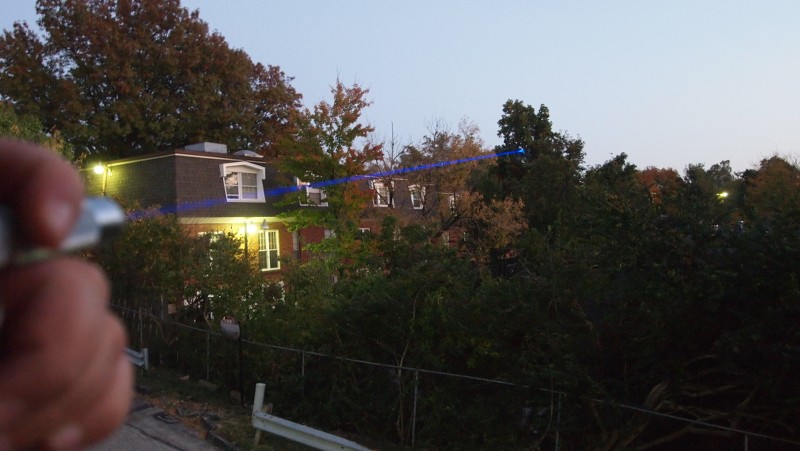
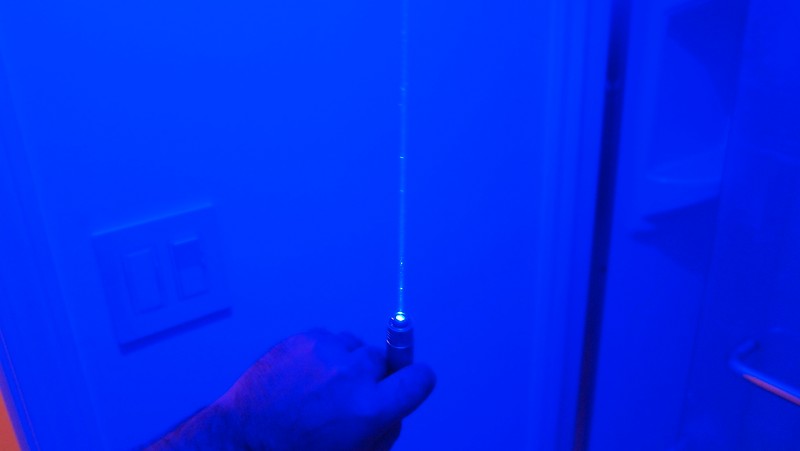
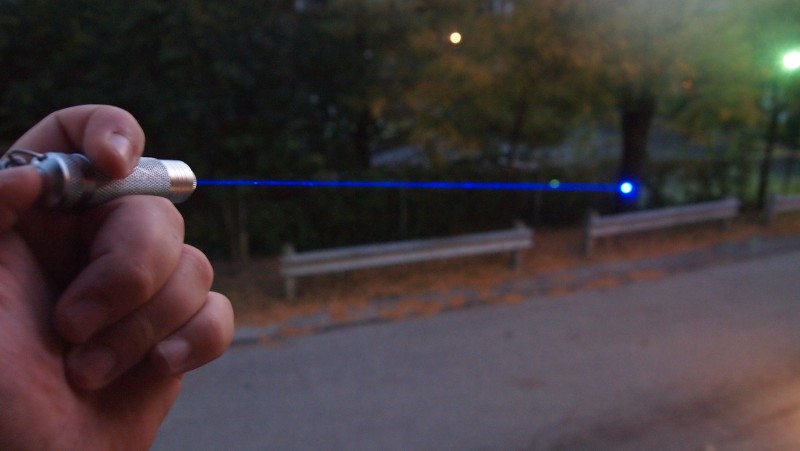
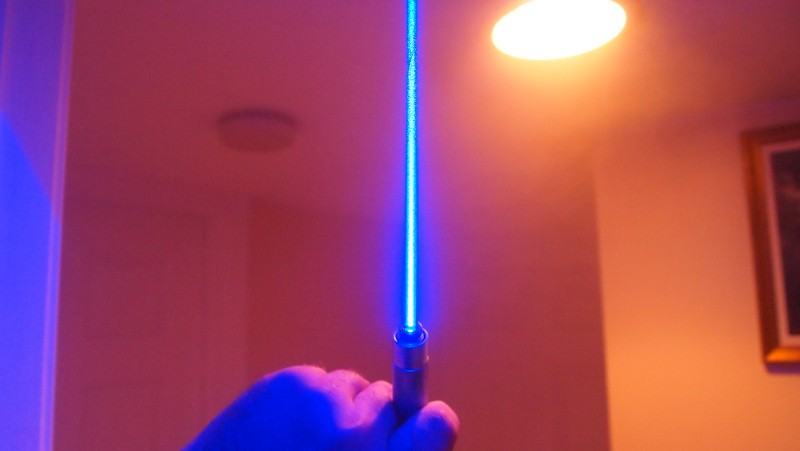
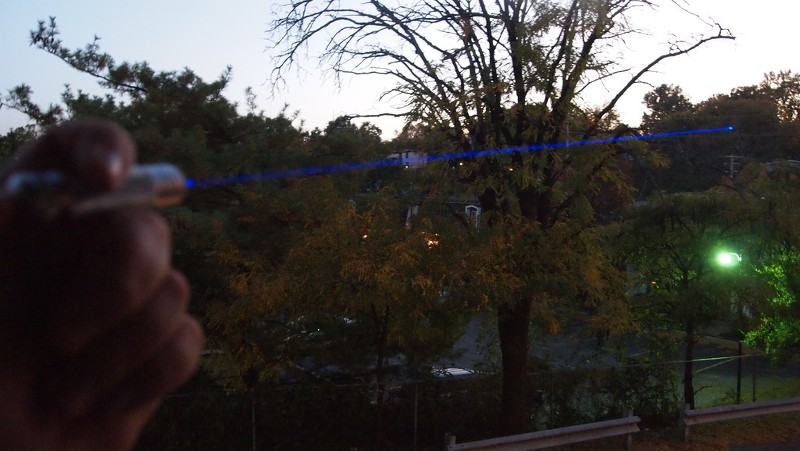
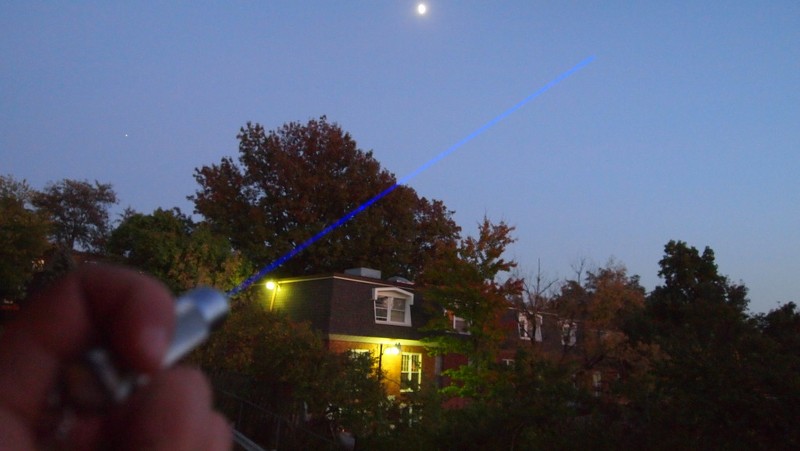
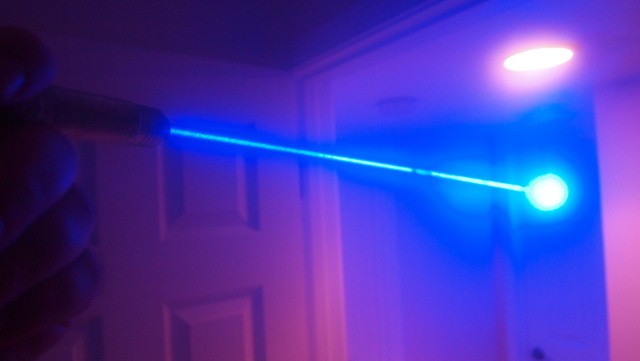
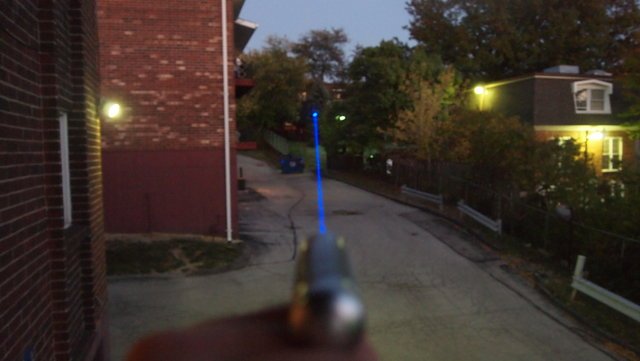
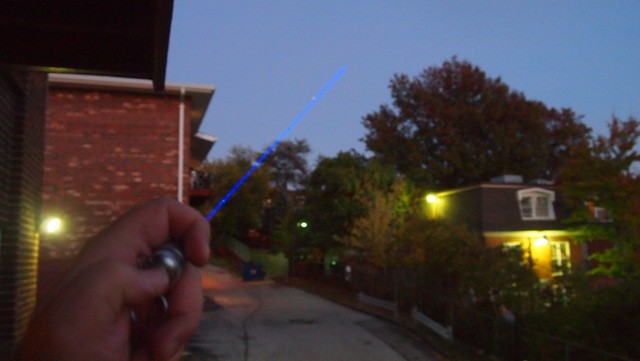
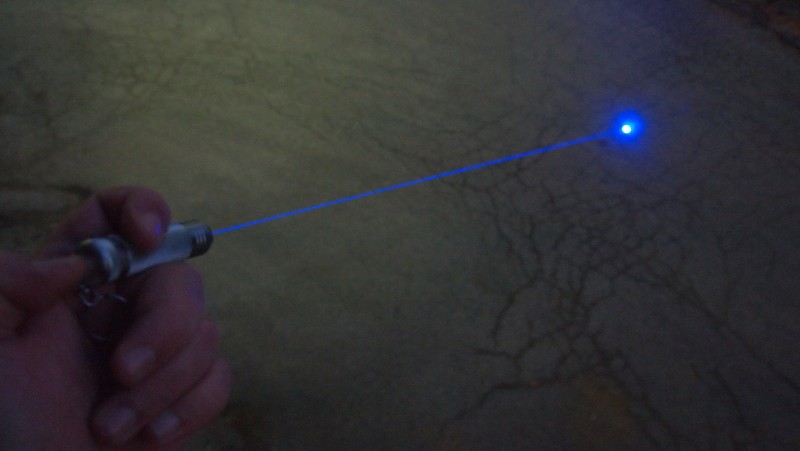
Beamshots


LPM Test
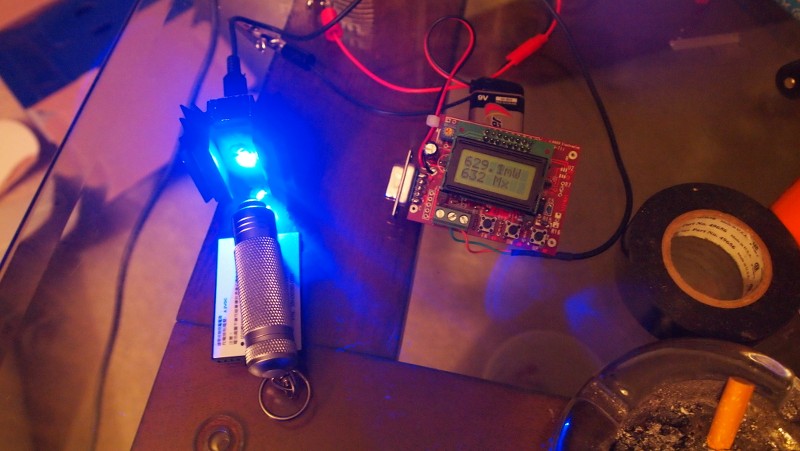
Sorry Youtube's encoding sucks. The LPM screen is not as clear as I would like. I will try to put a better one up later.
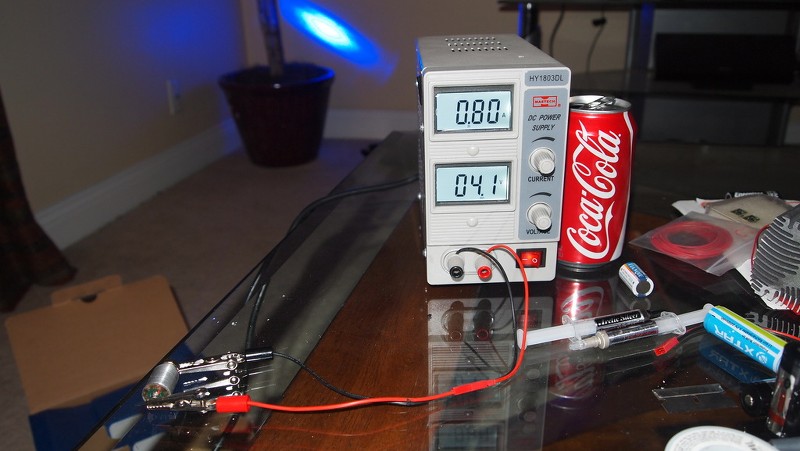
Also I did a consumption test and the driver is pulling 800mA from the battery.
Final Thoughts
This battery is only 300mAh and as you can see in the consumption test I ran the driver is drawing 800mA from the battery when running. So do the math assuming that the batteries capacity is correct and you should have 22.2 minutes of runtime. As you turn down the power on the driver you runtime will improve exponentially. When the battery gets low in this unit it drops the output to around 100mW letting you know you need to recharge.
This unit is awesome with its compact take it anywhere on your keychain nature. I also really like the look of the host body. It will make a great addition to my ever expanding collection.
")
Hope you found this interesting and helpful. Thanks for reading.:beer:
Last edited:


") I always liked tiny builds.
I always liked tiny builds.