

- Joined
- Jun 24, 2010
- Messages
- 5,705
- Points
- 113
2W 470nm+ C6 20mm Overdrive Special
I have been wanting to post this build idea for a bit and just got some time tonight to get it all together. It is a amazing option for those that want a very powerful 470nm+ build without breaking the bank. It is super easy to put together and so far I have not found a limit to the duty cycle.
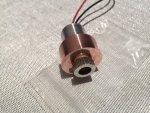
This build is possible due to the new 20mm adapters from Survival Lasers for use with their hosts and a custom NDB7675 20mm module that is driven with a 2.8A blackbuck driver I will be offering. Uses the full copper 20mm with driver shelf in the back half to both thermally bond the driver and keep the diode nice and stable with this current. This makes an amazing super bright sky blue color and my favorite units that I have right now. Puts out over 2W and while I don't have a spectro testing in the NDB7675 spectro threads show over 470nm with 2.8A.
Parts list and cost.
SL C6 Host Assembly with Drilled Pill. $15.99
DIY C6 Host Assembly
20mm Modlue Adapter. $9.99
20mm Diode Module Adapter
Overdrive Special NDB7675 462nm Laser Diode In 20mm Copper Module
W/Thermal Backhalf & 2.8A Blackbuck Driver $129.00
https://sites.google.com/site/dtrlpf/home/diodes/ndb7675-1-4w-462nm
Total build cost $154.98.
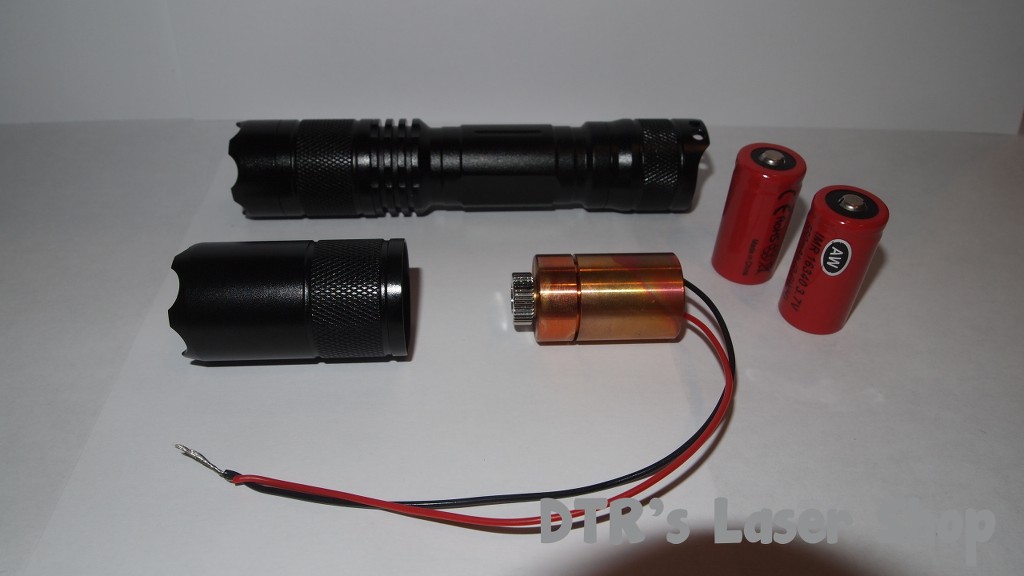
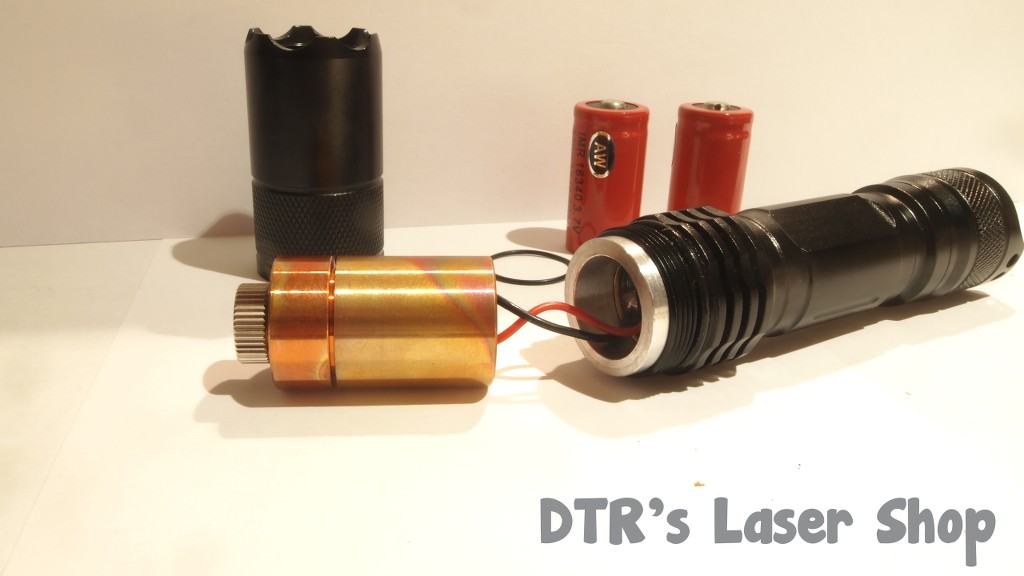
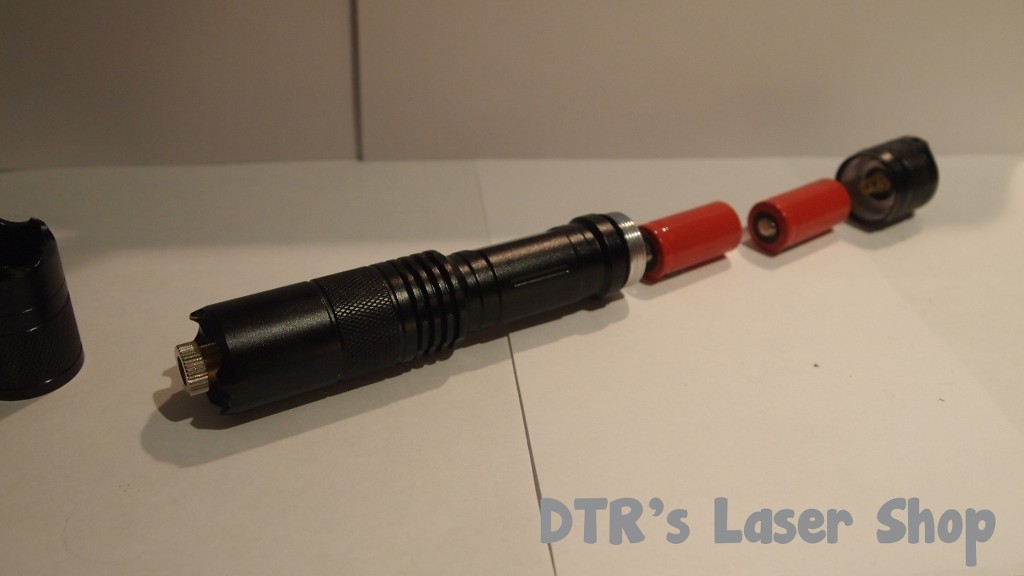
You will also need batteries. Suggest two AW IMR 18350's. Show pictures of two AW IMR 16340's thinking the 18350's would not fit but they do fit great.
The best part about this is the duty cycle with the 20mm module. I have not found a limit that I would not pass yet. I ran it for more than 5 minutes at a time quite a few times while taking pictures and it was only moderately warm. These sinks are amazing.
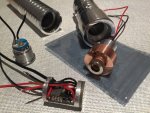
So here are all the parts laid out.
Here is the driver pill and contact board with ring.
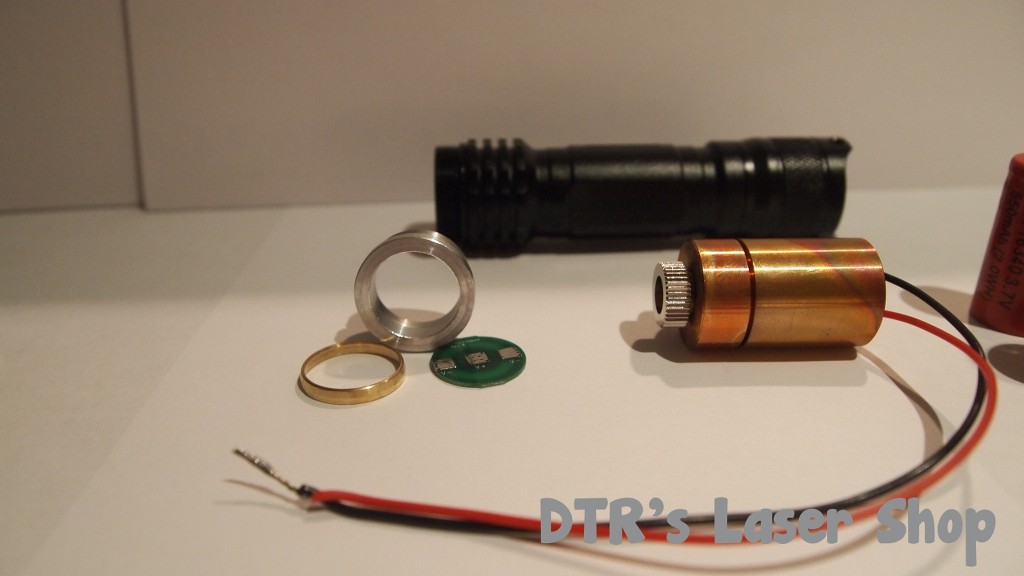
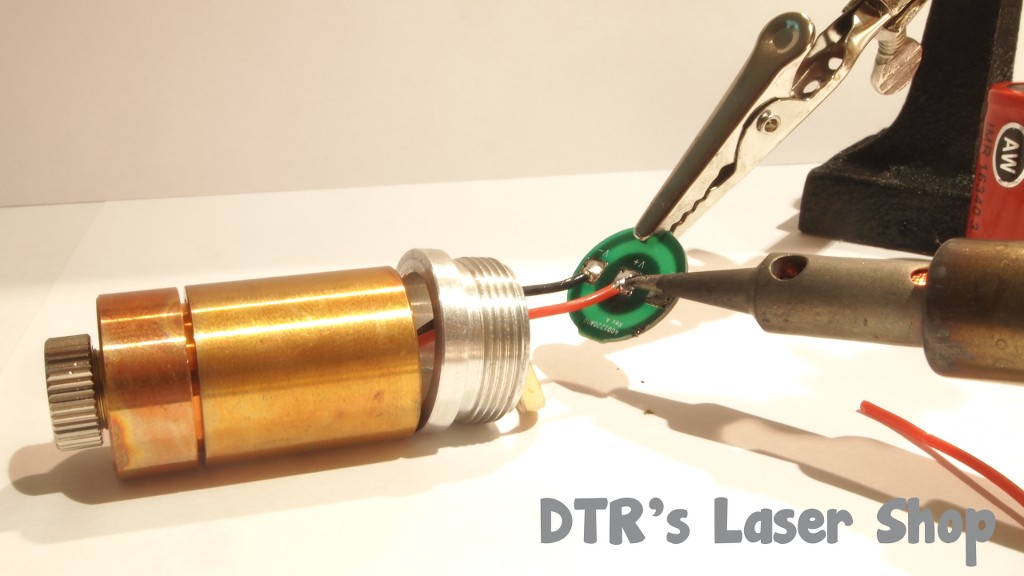
Start by clipping the leads from the module about an inch and a half from the module. Strip about 1 mm of the leads and put some flux on the exposed wire. Slide the drilled pill on followed by the retaining ring.
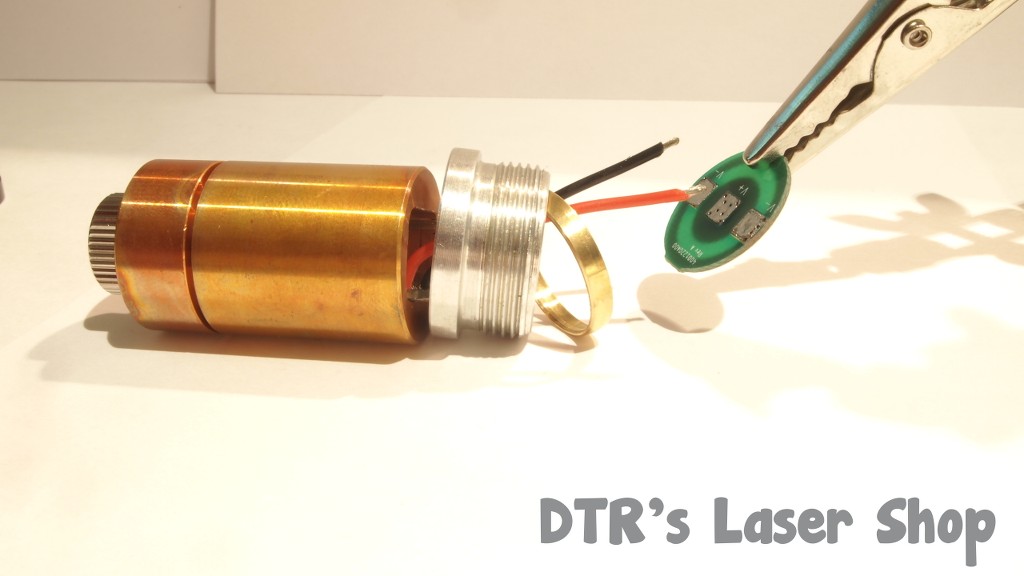
Next solder the leads to the positive and neagative contact points on the contact board.
Pinch the board in the retaining ring.

Pinch the retaining ring with board into the drilled pill.

Screw the pill into the host body.
Next is really the only step to be careful on. Screw on the 20mm adapter but do so holding the module with your finger so it does not spin as you screw down the head. it is ok if there is a little spin right at the end but if allowed to spin the whole time it can rip the wires out or the driver board off its mount.
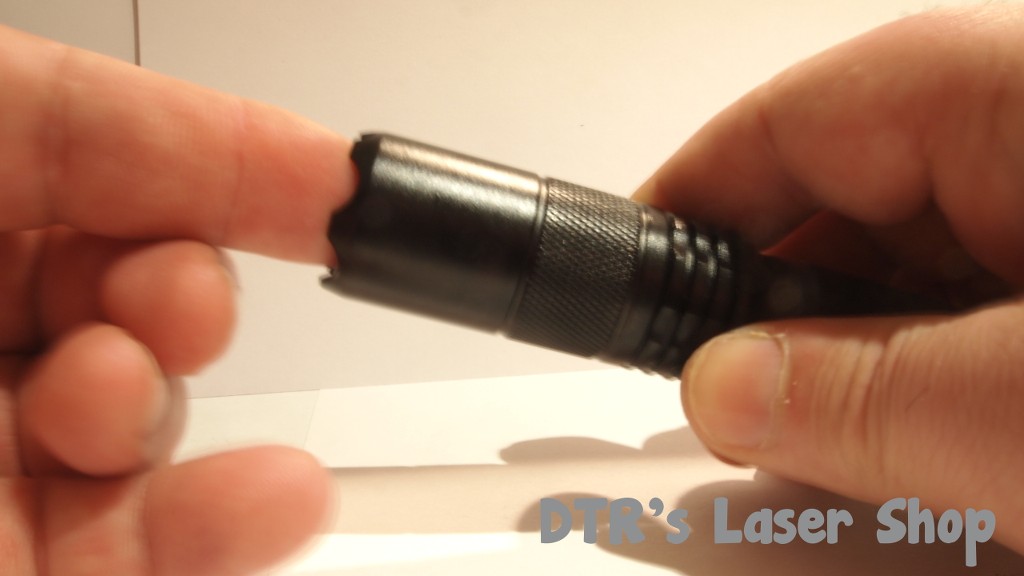
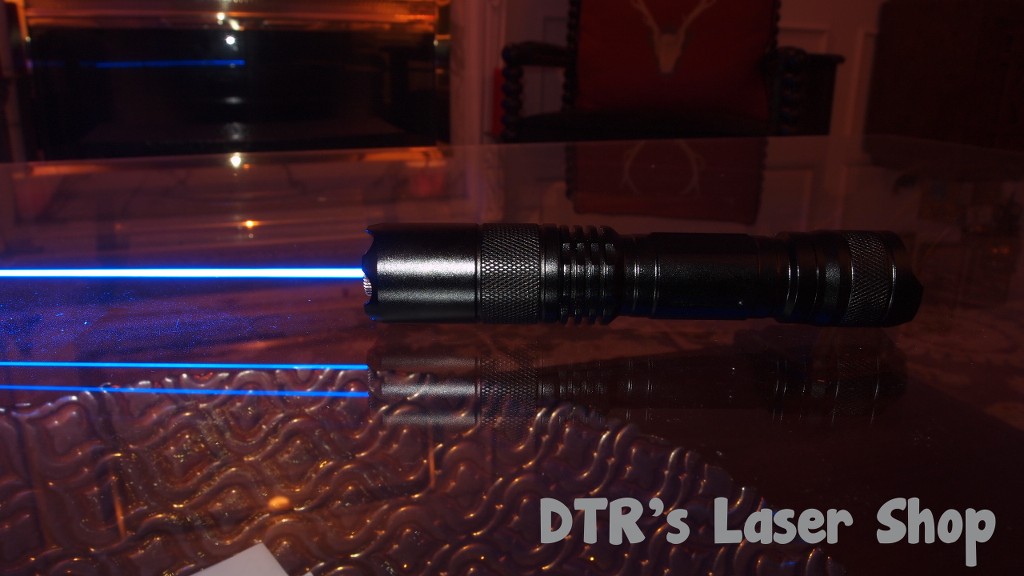
Then you are all done. Pop in your batteries and you are ready to go.:eg:
 [/URL]
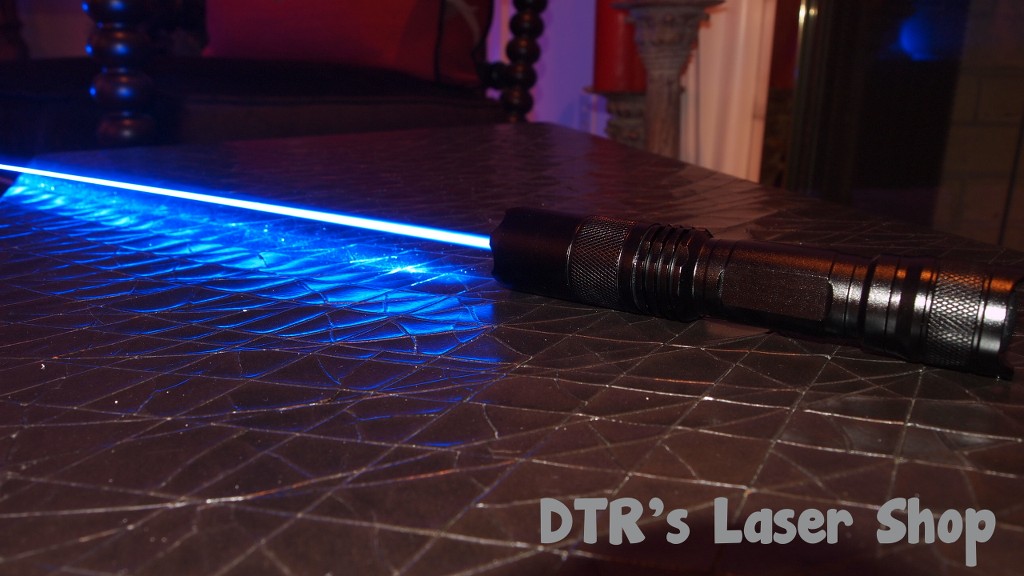
Some laser p0rn. My camera really does not do the color justice but it is amazing. Will add more when I get a moment as well as a LPM test.:beer:
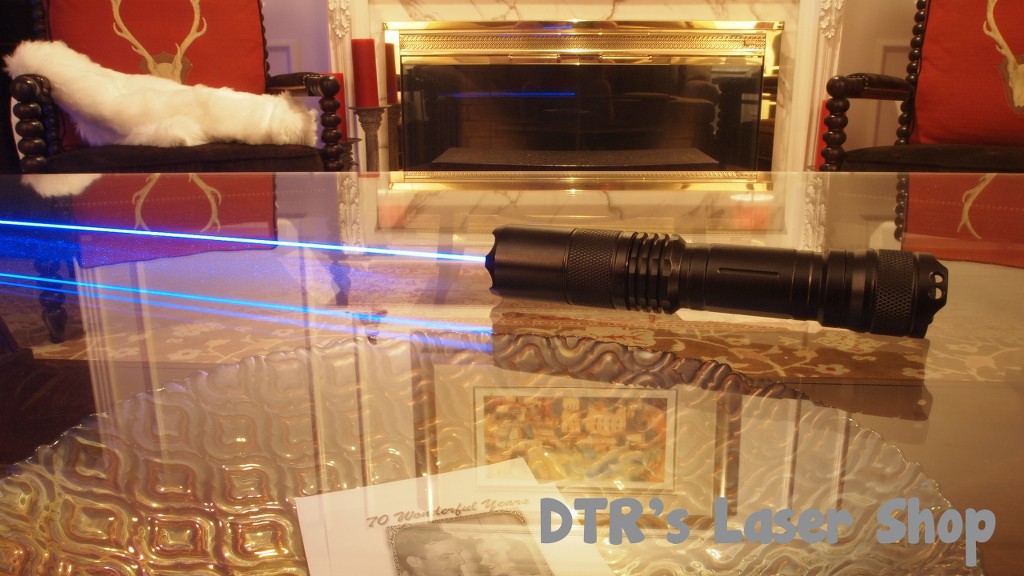
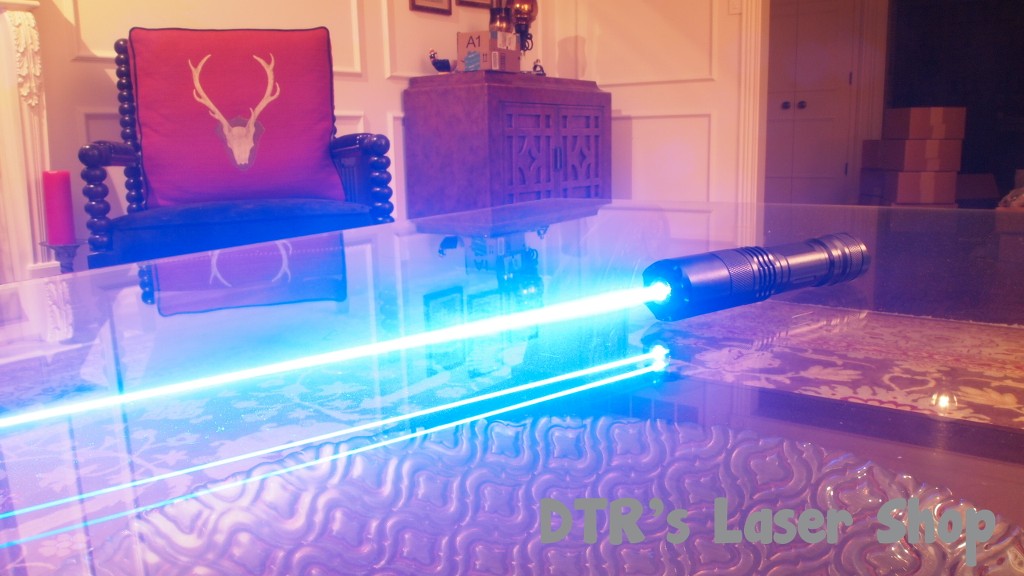
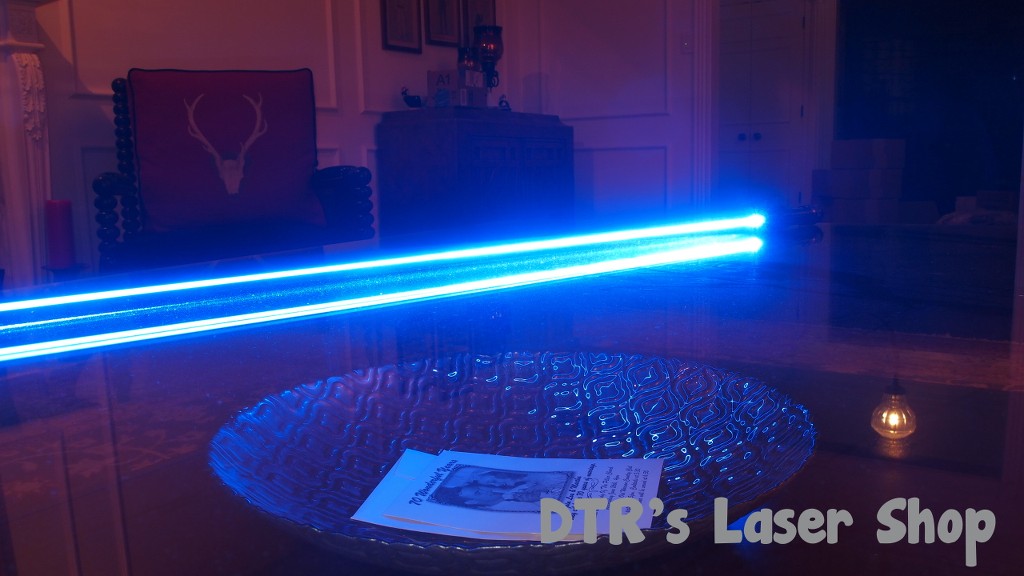

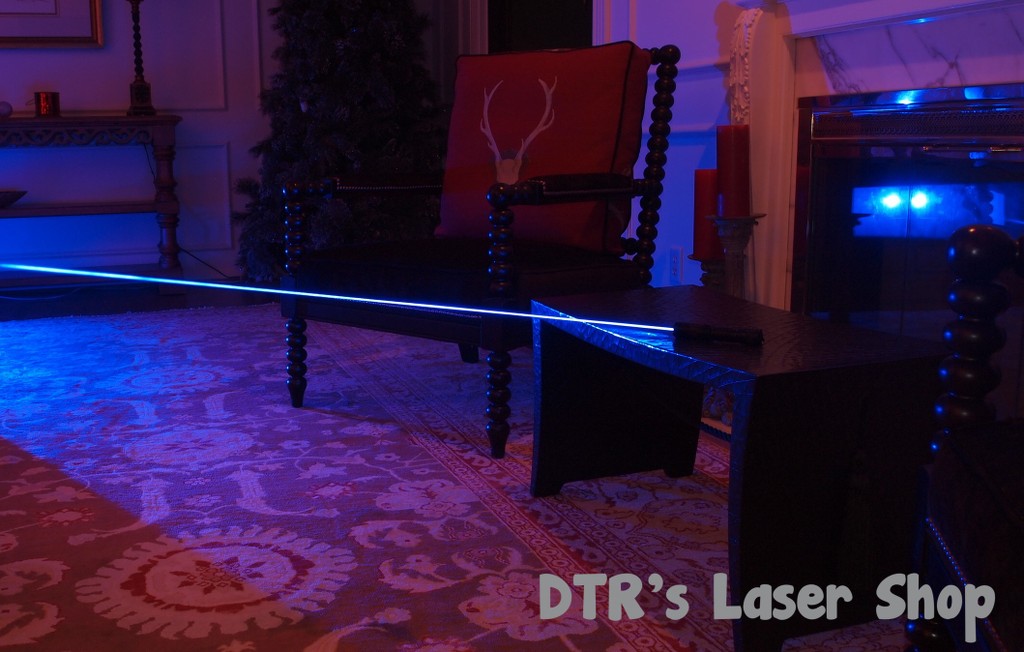
So there you have it. Just an amazing build. Hope you like it. Will add more content when I get some more free time.:beer:
I have been wanting to post this build idea for a bit and just got some time tonight to get it all together. It is a amazing option for those that want a very powerful 470nm+ build without breaking the bank. It is super easy to put together and so far I have not found a limit to the duty cycle.
This build is possible due to the new 20mm adapters from Survival Lasers for use with their hosts and a custom NDB7675 20mm module that is driven with a 2.8A blackbuck driver I will be offering. Uses the full copper 20mm with driver shelf in the back half to both thermally bond the driver and keep the diode nice and stable with this current. This makes an amazing super bright sky blue color and my favorite units that I have right now. Puts out over 2W and while I don't have a spectro testing in the NDB7675 spectro threads show over 470nm with 2.8A.
Parts list and cost.
SL C6 Host Assembly with Drilled Pill. $15.99
DIY C6 Host Assembly
20mm Modlue Adapter. $9.99
20mm Diode Module Adapter
Overdrive Special NDB7675 462nm Laser Diode In 20mm Copper Module
W/Thermal Backhalf & 2.8A Blackbuck Driver $129.00
https://sites.google.com/site/dtrlpf/home/diodes/ndb7675-1-4w-462nm
Total build cost $154.98.
You will also need batteries. Suggest two AW IMR 18350's. Show pictures of two AW IMR 16340's thinking the 18350's would not fit but they do fit great.
The best part about this is the duty cycle with the 20mm module. I have not found a limit that I would not pass yet. I ran it for more than 5 minutes at a time quite a few times while taking pictures and it was only moderately warm. These sinks are amazing.
So here are all the parts laid out.
Here is the driver pill and contact board with ring.
Start by clipping the leads from the module about an inch and a half from the module. Strip about 1 mm of the leads and put some flux on the exposed wire. Slide the drilled pill on followed by the retaining ring.
Next solder the leads to the positive and neagative contact points on the contact board.
Pinch the board in the retaining ring.
Pinch the retaining ring with board into the drilled pill.
Screw the pill into the host body.
Next is really the only step to be careful on. Screw on the 20mm adapter but do so holding the module with your finger so it does not spin as you screw down the head. it is ok if there is a little spin right at the end but if allowed to spin the whole time it can rip the wires out or the driver board off its mount.
Then you are all done. Pop in your batteries and you are ready to go.:eg:
Some laser p0rn. My camera really does not do the color justice but it is amazing. Will add more when I get a moment as well as a LPM test.:beer:
So there you have it. Just an amazing build. Hope you like it. Will add more content when I get some more free time.:beer:
Last edited:


")
")