

danefex
0
- Joined
- Aug 30, 2010
- Messages
- 1,595
- Points
- 63
Greetings Folks!
Here's my latest build & one of the most powerful handhelds that I own. I'm calling this gem my little fathead because that's exactly what it is, there's nothing more suitable for how it turned out")
The Host - Trustfire TR-1200 5 Mode Cree Q5

I originally bought this as a flashlight last year because it was cheap for a 5 LED 1200lm flashlight. It's a 3x18650 unit so it stays damn bright for a long time. I was going to make it into a laser after I received it but I enjoyed months of heavy use from it as a flashlight instead. The fun ended recently though because the tailcap could no longer be screwed on the back of the host due to damaged threading from so much use & some mishandling. I needed to take it apart in the middle when switching the batteries but whatever, it was just a chinese cheapy flashlight. It also just died a couple weeks ago, no idea why or what happened. I didn't bother looking into what was wrong with it or fixing it because I have several other flashlights and I originally planned on making this into a laser when I got it. The only problem now was the damaged threading on the back. :thinking:
I soon figured that I could remove the back half of the body (2 parts to the center of this host) & screw the tailcap on back of the front half instead. Perfect, the tailcap screws on & off smoothly once again - except now the unit is shorter & won't hold 3 18650 batteries. :thinking:
After some measuring it turns out I can fit 3 RC123s/16340s or 1 18650 and 1 16340 - and I now saw this build could be done. Here's how it went... :beer:
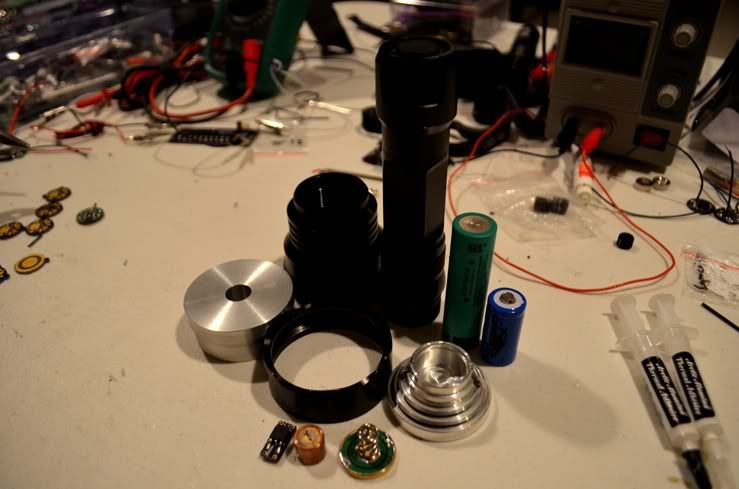
Parts -
Trustfire TR-1200 Q5 Cree Flashlight
9mm 445nm diode
1.8A Mohgasm driver
Jayrob custom heatsink
3x16340 3.7V batteries / 1x18650 & 1x16340 (pictured)
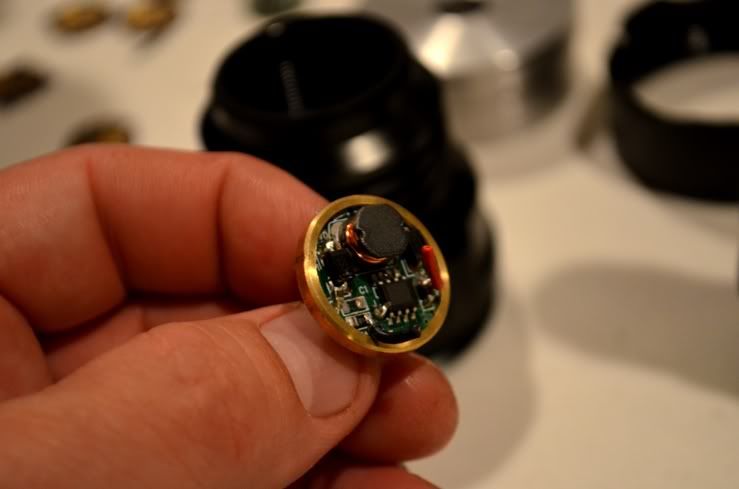
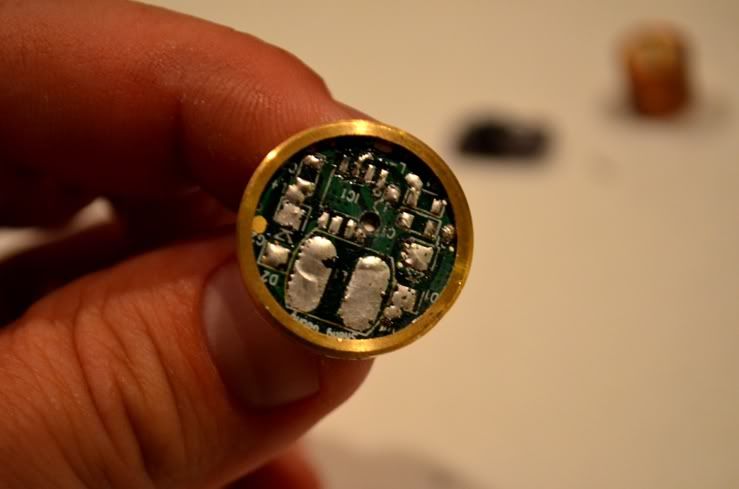
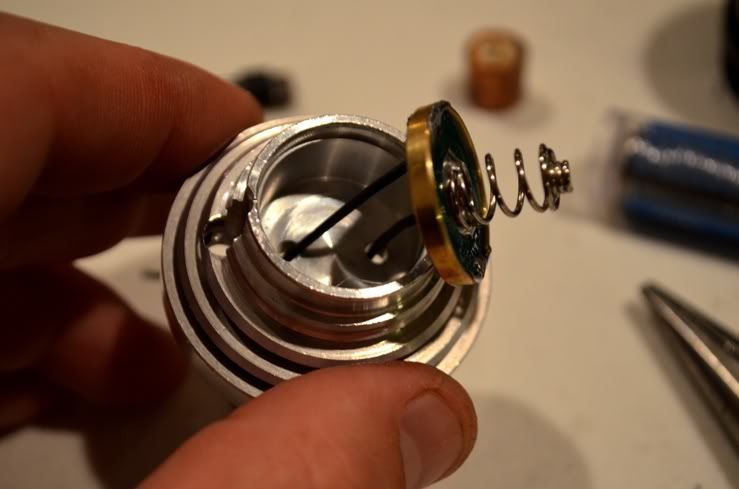
After the flashlight was completely taken apart, the first thing I did was gut out the stock
driver & turn it into a blank battery contact board
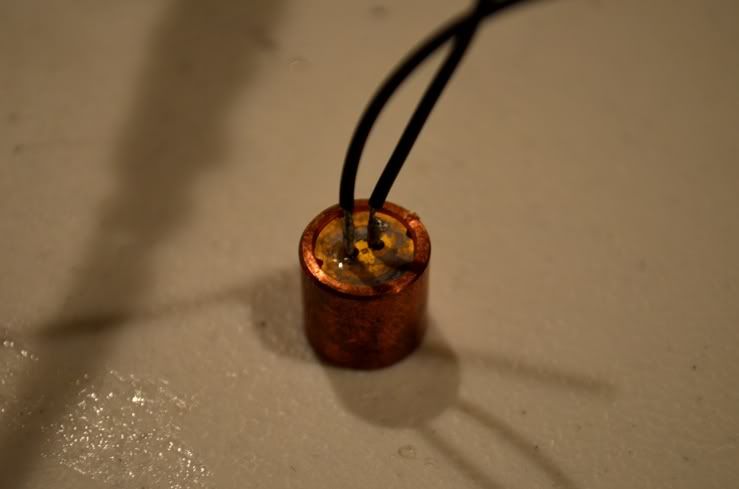
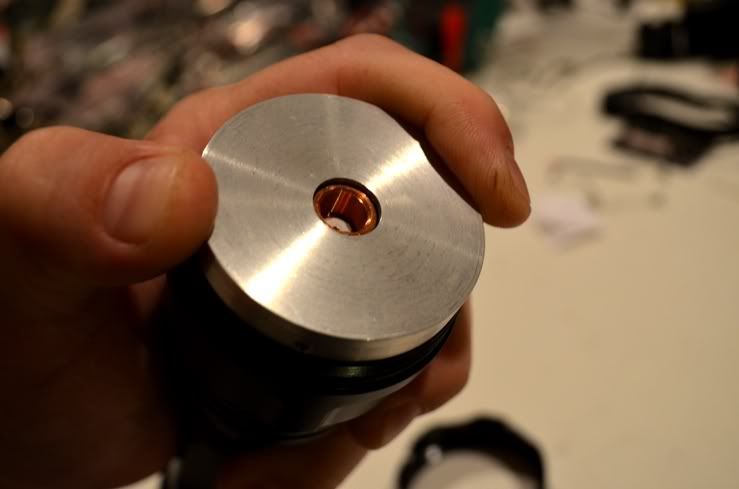
Parts removed, I drilled a hole through the board to run the positive lead through to the
srping on the other side
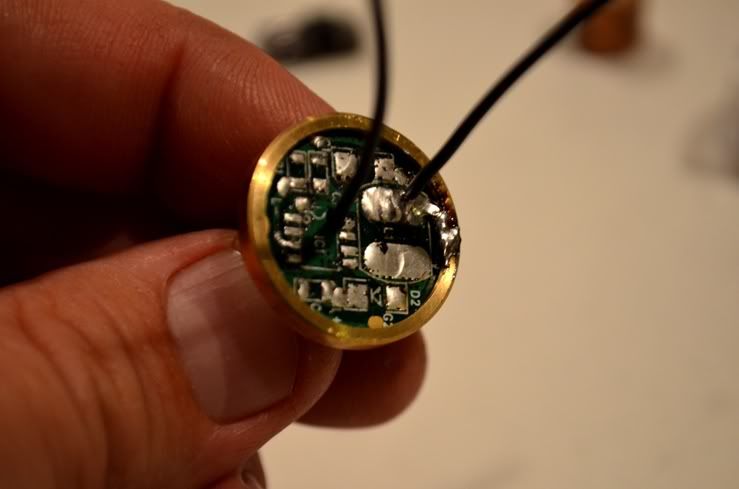
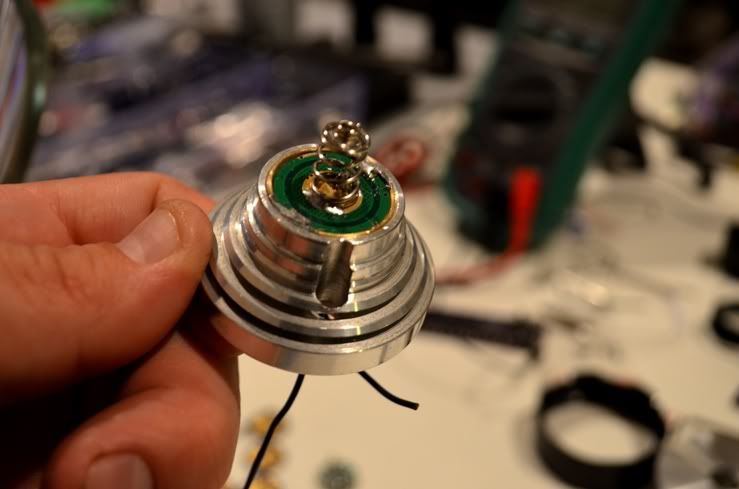
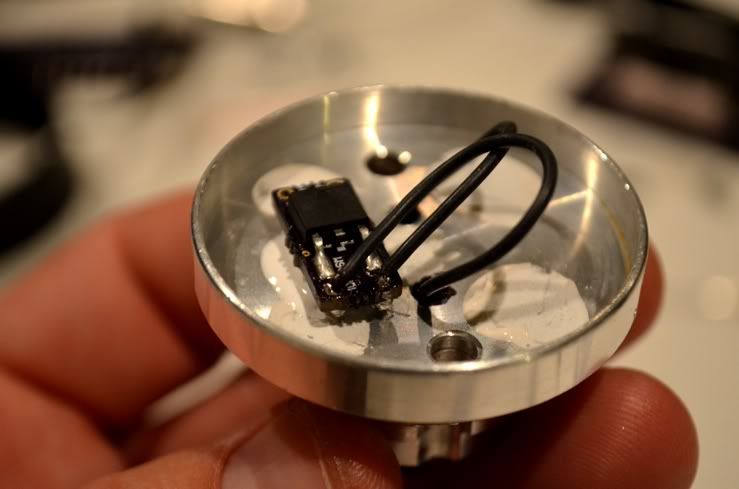
I added both leads, negative soldered to board & brass ring holding the board and the
positive to the spring
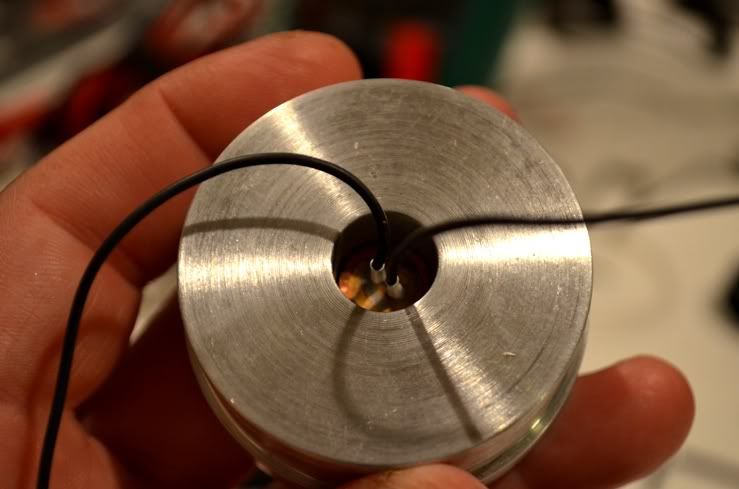
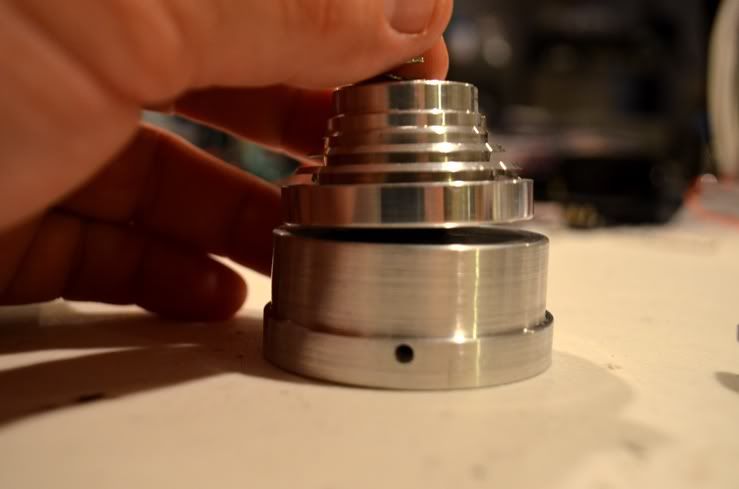
I ran the leads through the massive pill
Mounting this board into the pill took a lot of force but it's now tightly pressed into place
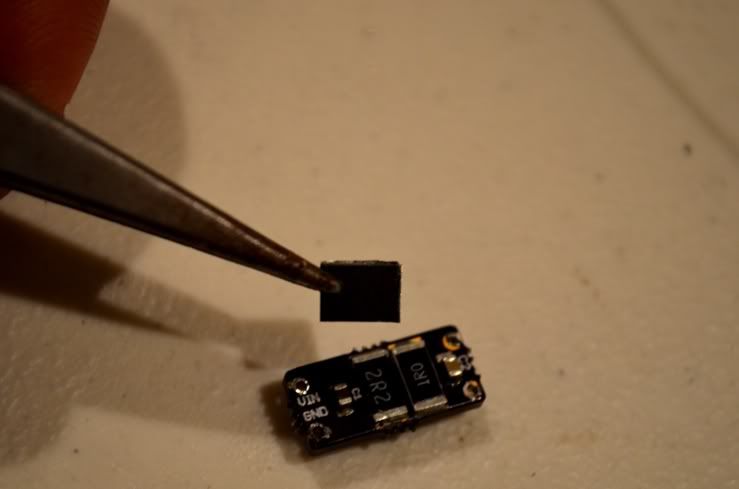
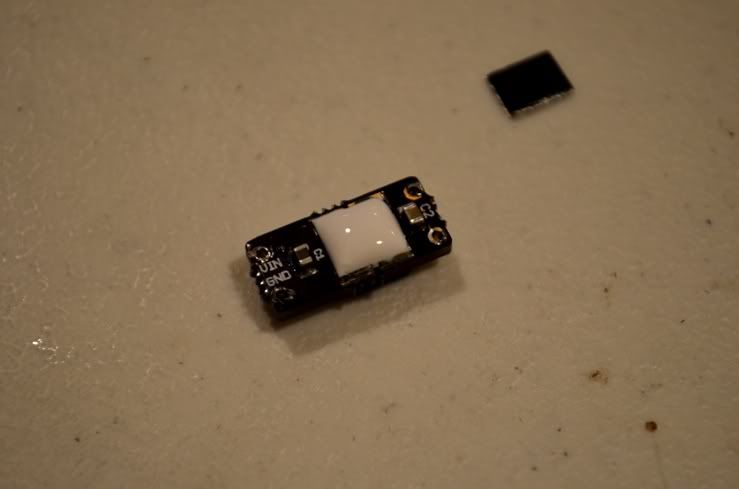
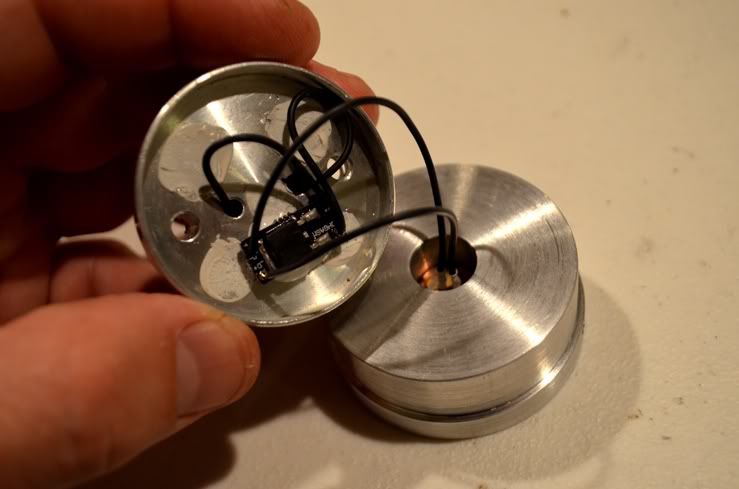
This is how the driver is going to sit in the pill. This is the largest housing I've ever had
for heatsinking a drver so there should be no problems
Before mounting the driver I need to heatsink the resistors so there's enough room
between the contact & the caps to prevent any shorts in this circuit
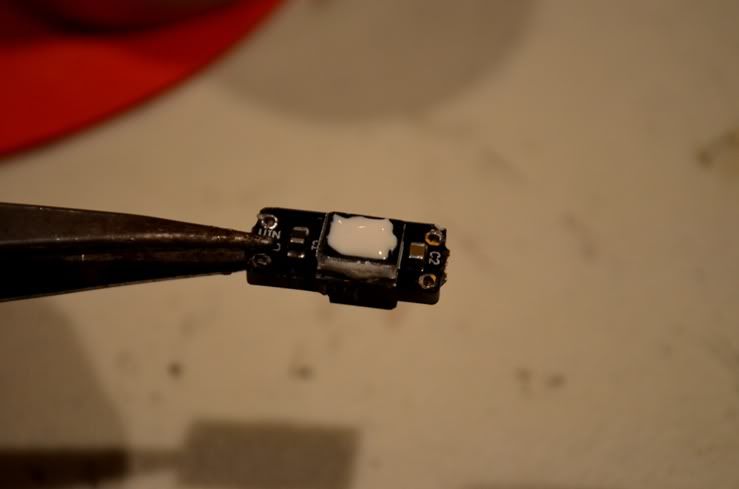
A thick layer of thermal compound it used to create the necessary cushion of space
needed to mount high enough off the pill
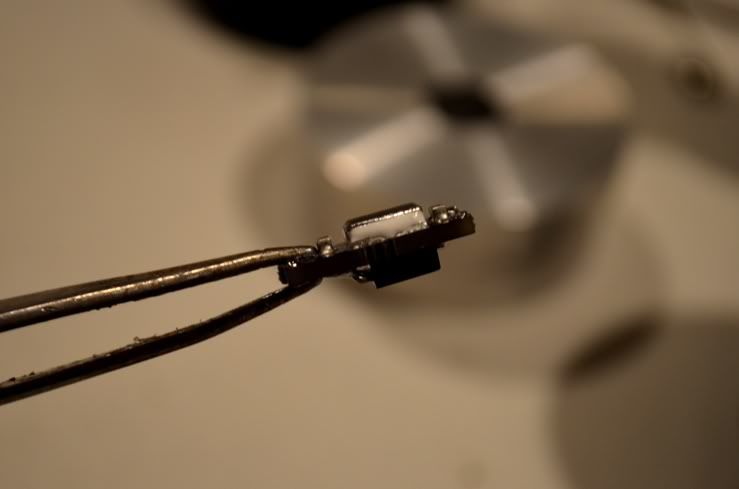
After drying I can see the layer was thick enough, the caps wont touch the pill when
being mounted
Another thin layer of compound to mount the driver on the pill
Mounted, now it just need a good 1/2 hr to completely dry
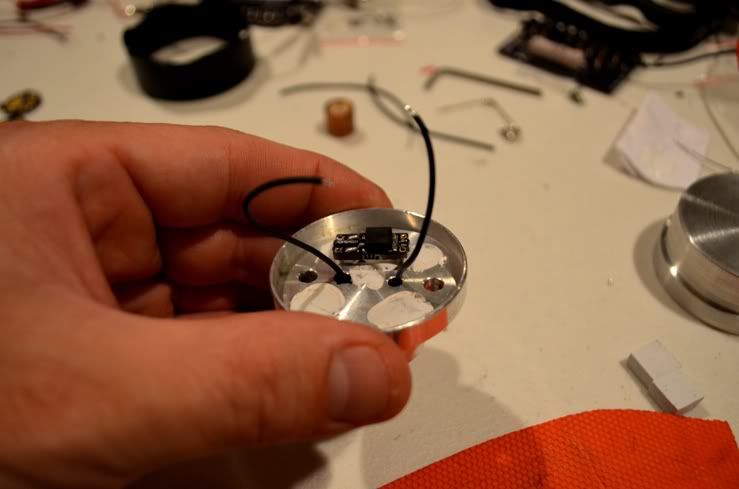
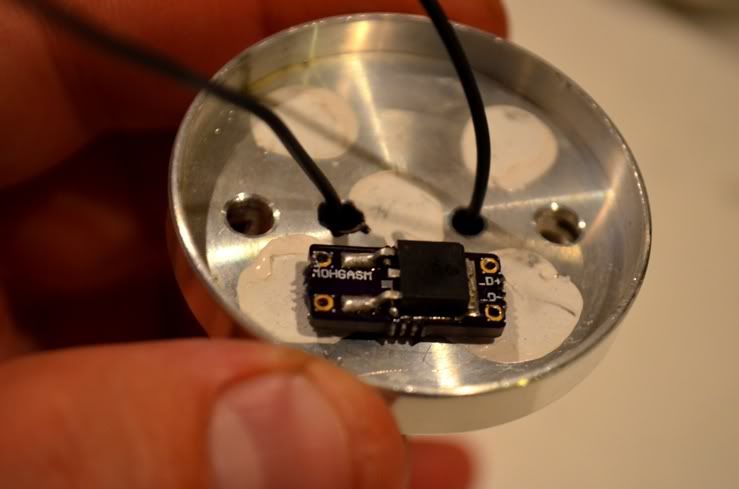
After drying I soldered the battery leads to the driver
Now to the diode, going to solder the leads

Soldered, now to heatshrinking the wires & mounting the diode module into the heatsink
It's in, now to connect the diode leads
Soldered & ready!
I'm going to use these non conductive thermal pads for additional support when the
heatsink & the giant aluminum pill are pressed together
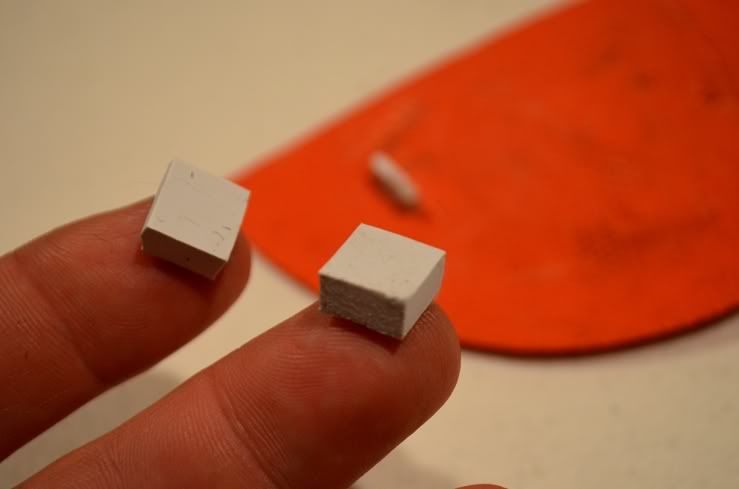
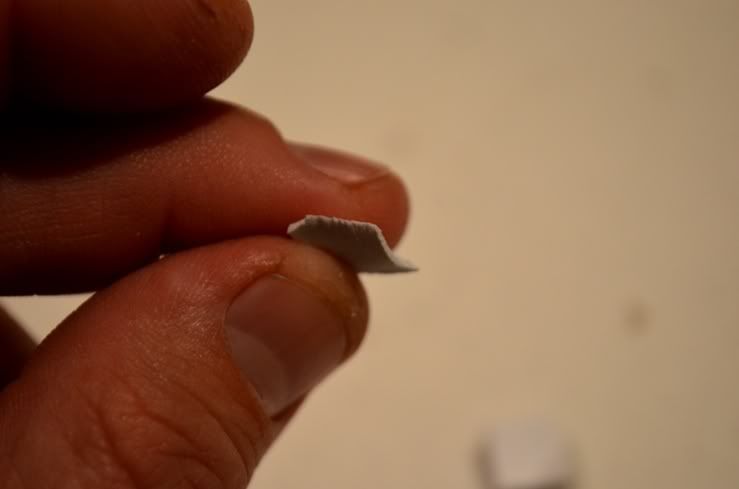
I'm also going to use a thin strip of padding to cover the regulator on the driver,
preventing it from shorting out on the heatsink
When this build is assembled, this is how the pill will press against the heatsink without
the gap of space. This is why the padding is necessary to support the open area around
where the driver is almost being 'smashed' between the sink & the pill
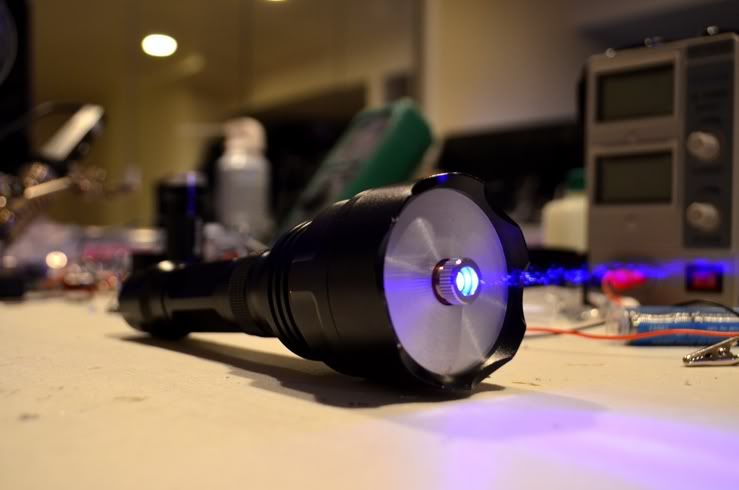
I pressed them together & added the crown, the laser is done & ready for testing!!
Mandatory 1st beamshot
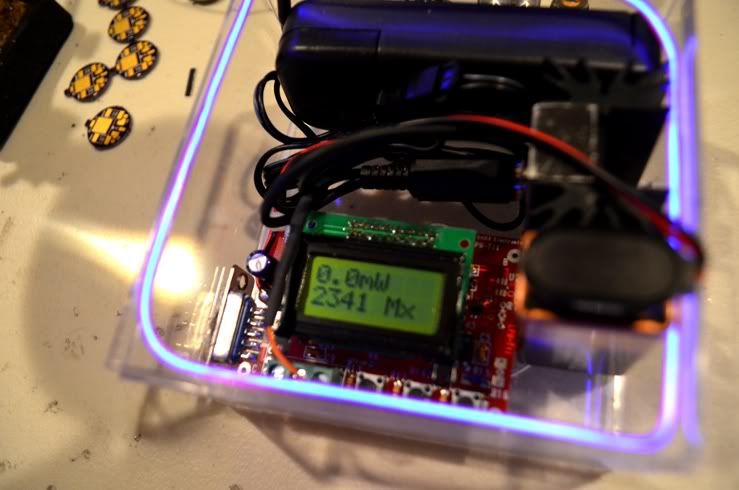
Here's an LPM test to see where it hits using 3 16340 batteries
The laser starts blinking when it hits 2.3W which I assume is the driver overheating :thinking: This is dissappointing
after all that heatsinking WTF. I followed this up testing the laser with 1 18650 & 1 16340 to lower the voltage,
it doesn't blink now but the output also drops from 2340mw to 2289mw. It definitely surpasses 2300mW though
so I'm calling it my 2.3W little fathead
Thanks for reading!!! :beer:
Here's my latest build & one of the most powerful handhelds that I own. I'm calling this gem my little fathead because that's exactly what it is, there's nothing more suitable for how it turned out
The Host - Trustfire TR-1200 5 Mode Cree Q5
I originally bought this as a flashlight last year because it was cheap for a 5 LED 1200lm flashlight. It's a 3x18650 unit so it stays damn bright for a long time. I was going to make it into a laser after I received it but I enjoyed months of heavy use from it as a flashlight instead. The fun ended recently though because the tailcap could no longer be screwed on the back of the host due to damaged threading from so much use & some mishandling. I needed to take it apart in the middle when switching the batteries but whatever, it was just a chinese cheapy flashlight. It also just died a couple weeks ago, no idea why or what happened. I didn't bother looking into what was wrong with it or fixing it because I have several other flashlights and I originally planned on making this into a laser when I got it. The only problem now was the damaged threading on the back. :thinking:
I soon figured that I could remove the back half of the body (2 parts to the center of this host) & screw the tailcap on back of the front half instead. Perfect, the tailcap screws on & off smoothly once again - except now the unit is shorter & won't hold 3 18650 batteries. :thinking:
After some measuring it turns out I can fit 3 RC123s/16340s or 1 18650 and 1 16340 - and I now saw this build could be done. Here's how it went... :beer:
Parts -
Trustfire TR-1200 Q5 Cree Flashlight
9mm 445nm diode
1.8A Mohgasm driver
Jayrob custom heatsink
3x16340 3.7V batteries / 1x18650 & 1x16340 (pictured)
After the flashlight was completely taken apart, the first thing I did was gut out the stock
driver & turn it into a blank battery contact board
Parts removed, I drilled a hole through the board to run the positive lead through to the
srping on the other side
I added both leads, negative soldered to board & brass ring holding the board and the
positive to the spring
I ran the leads through the massive pill
Mounting this board into the pill took a lot of force but it's now tightly pressed into place
This is how the driver is going to sit in the pill. This is the largest housing I've ever had
for heatsinking a drver so there should be no problems
Before mounting the driver I need to heatsink the resistors so there's enough room
between the contact & the caps to prevent any shorts in this circuit
A thick layer of thermal compound it used to create the necessary cushion of space
needed to mount high enough off the pill
After drying I can see the layer was thick enough, the caps wont touch the pill when
being mounted
Another thin layer of compound to mount the driver on the pill
Mounted, now it just need a good 1/2 hr to completely dry
After drying I soldered the battery leads to the driver
Now to the diode, going to solder the leads
Soldered, now to heatshrinking the wires & mounting the diode module into the heatsink
It's in, now to connect the diode leads
Soldered & ready!
I'm going to use these non conductive thermal pads for additional support when the
heatsink & the giant aluminum pill are pressed together
I'm also going to use a thin strip of padding to cover the regulator on the driver,
preventing it from shorting out on the heatsink
When this build is assembled, this is how the pill will press against the heatsink without
the gap of space. This is why the padding is necessary to support the open area around
where the driver is almost being 'smashed' between the sink & the pill
I pressed them together & added the crown, the laser is done & ready for testing!!
Mandatory 1st beamshot
Here's an LPM test to see where it hits using 3 16340 batteries
The laser starts blinking when it hits 2.3W which I assume is the driver overheating :thinking: This is dissappointing
after all that heatsinking WTF. I followed this up testing the laser with 1 18650 & 1 16340 to lower the voltage,
it doesn't blink now but the output also drops from 2340mw to 2289mw. It definitely surpasses 2300mW though
so I'm calling it my 2.3W little fathead
Thanks for reading!!! :beer:
Last edited:


") This is an All time favorite host.
This is an All time favorite host. Your just asking for it there. Thats pretty dangerous if i read correctly that is what you are doing.