

danefex
0
- Joined
- Aug 30, 2010
- Messages
- 1,595
- Points
- 63
Greetings folks.....! I was very fortunate to receive my first Survival Laser sub-assembly to review yesterday, so before I even begin I want to sincerely thank Garoq of Survival Laser for his generosity, for giving me this opportunity and for launching what is looking to be a reliable, quality laser company! ")
Here's the deal
Specific information on this product as well as other Survival Lasers can be found here on their website. This review (and tutorial) is long, detailed and has a LOT of pictures. If you're looking for something quick & simple please consider the drive through.
The build
The build was simple. Survival Laser takes the initiative of doing all of the detailed work with what they've sent me, so completing this was just a matter of assembling it. I didn't even need a soldering iron & this from start to finish took a mere 4 minutes. I will cover the details of this simple process as you go through the pictures below, they tell most of this story.
Pictures
(package shipped)
The packaging Survival Laser used for shipping my assembly was done very well. The dimensions of the box with everything was 8x8x7, plenty of room for packing material so any rough handling won't damage any components.
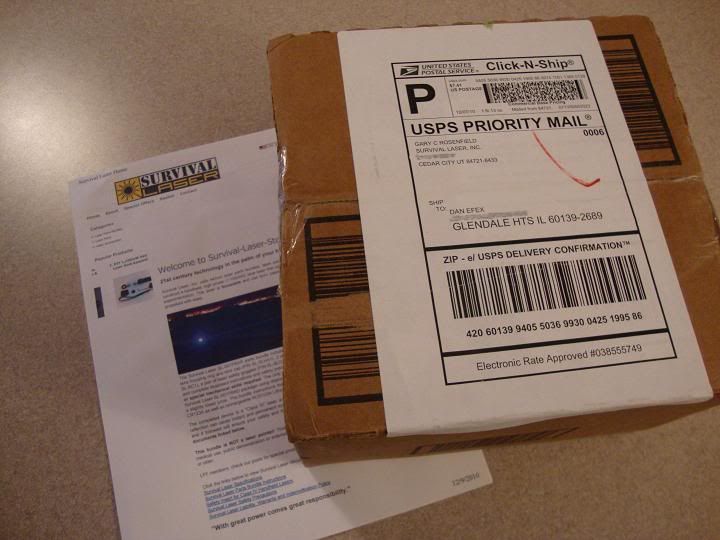
There was no rattling when I shook the box so I trust everything is packed securely inside....
...it was packaged well.
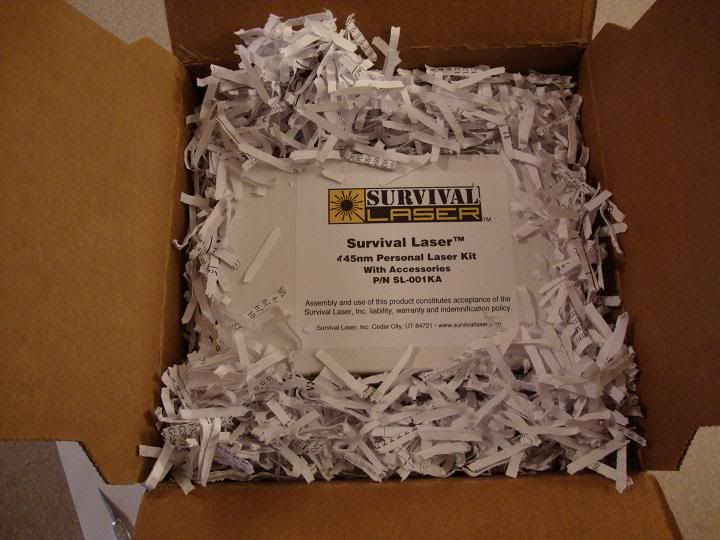
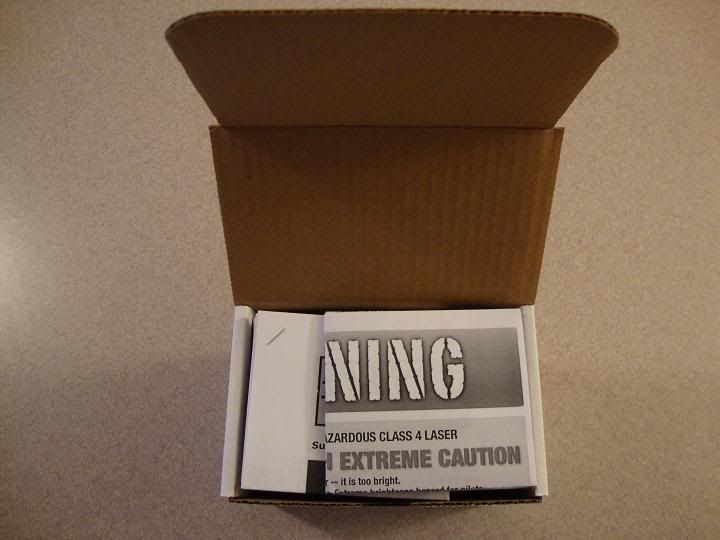
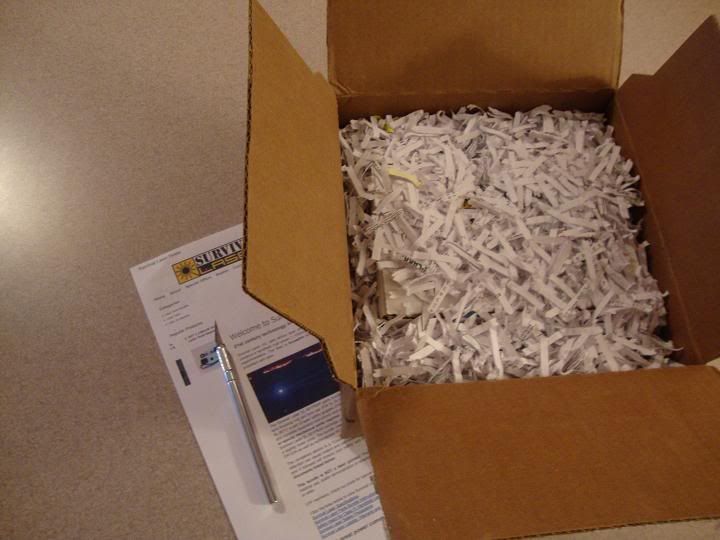
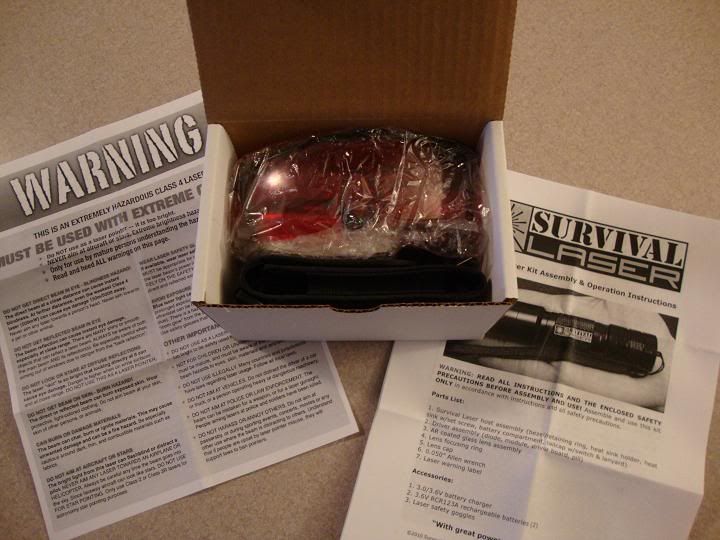
On top after opening the main packaging are 3 pamphlets - one informing me about laser safety, another covering the liability/indemnification information and of course the instructions.
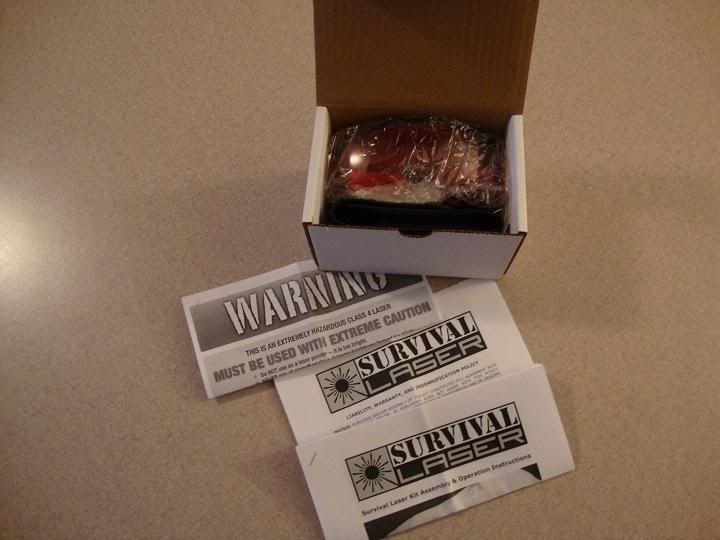
The packaging looks solid & well put together. Nothing was 'just thrown' into this box or rushed out, care was taken to assure a professional packaging process before shipping.
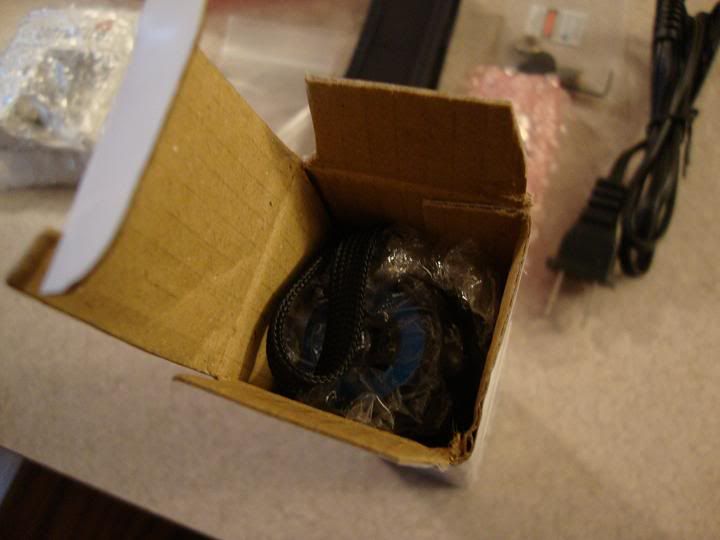
(components)
Pictured below is everything included with this specific assembly. Clockwise from the top is the host(still packaged), lens assembly, power cable for charger, driver/pill & diode, laser holster, 2xCR123A batteries, battery charger & safety glasses.

The host is boxed individually within the rest of the components.

It is also packaged very well, wrapped in plastic to protect the hosts finish.
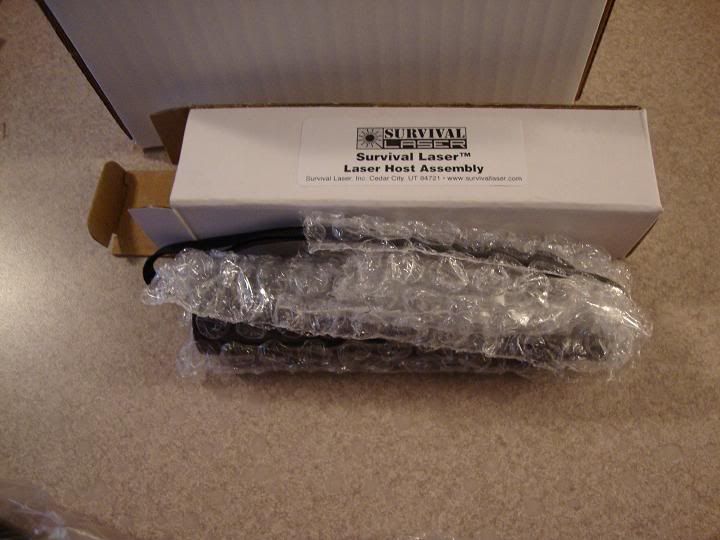
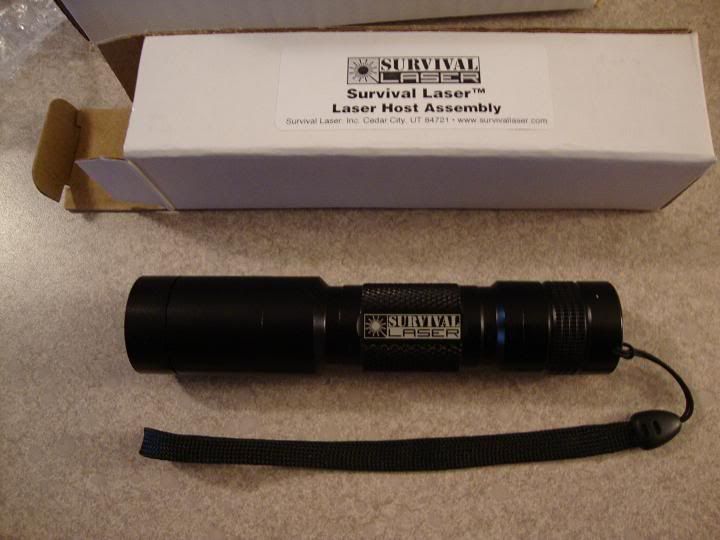
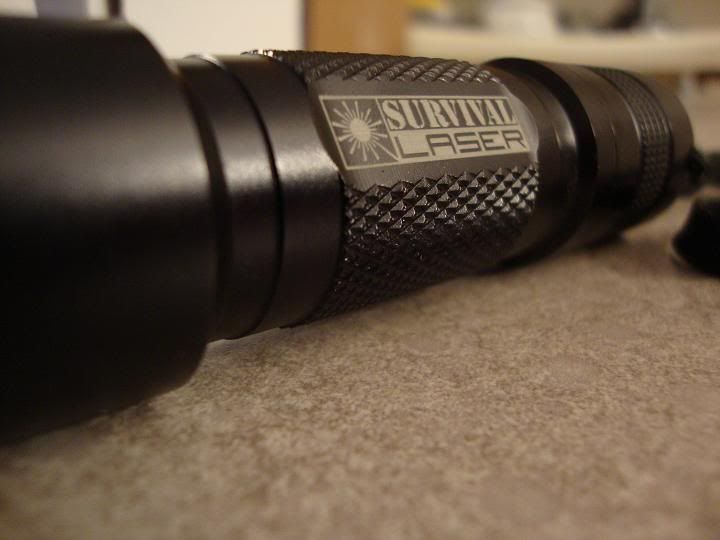
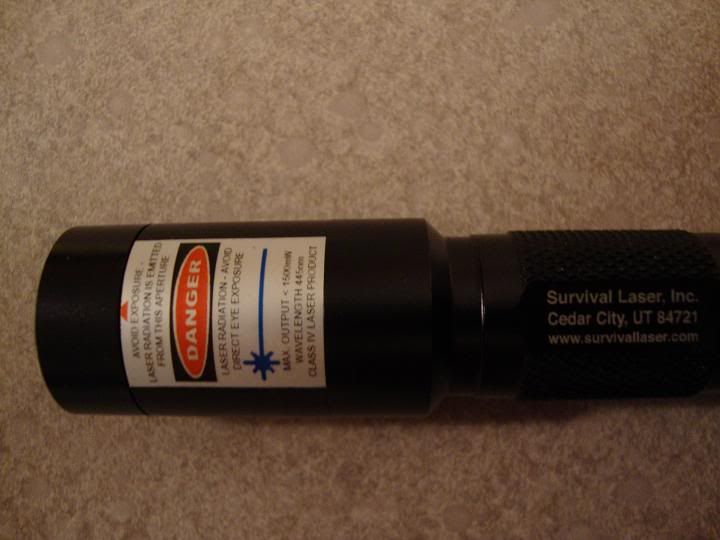
The host....... bearing the mark of it's maker, the Survival Laser logo is professionally and attractively printed on the side.
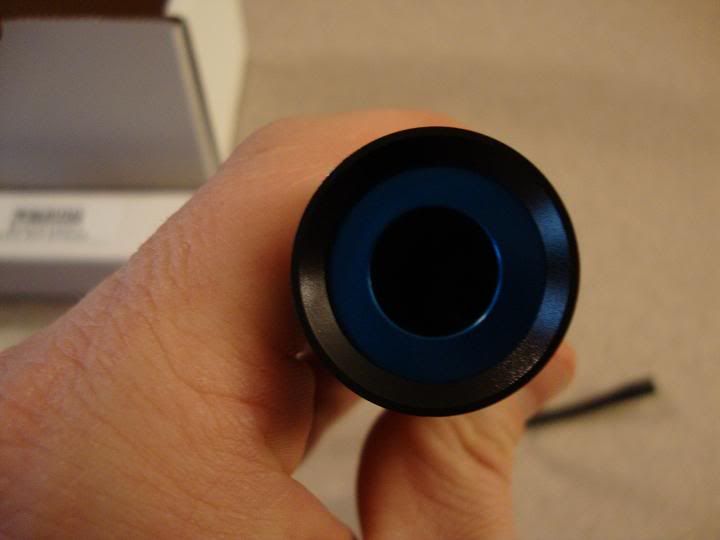
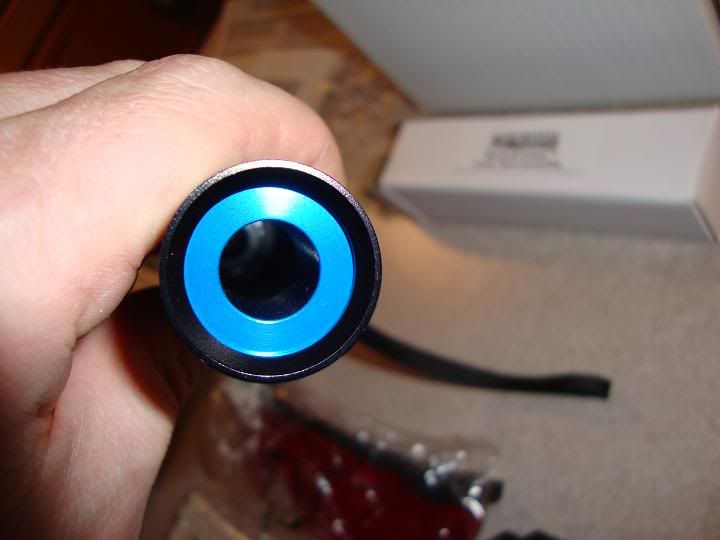
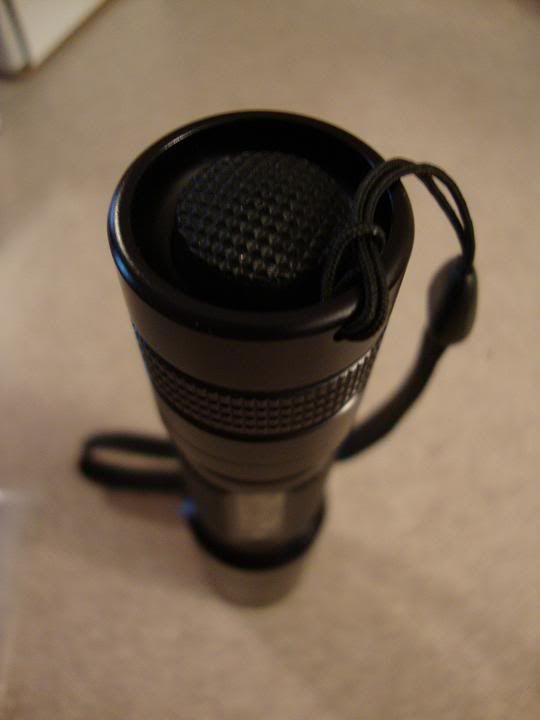
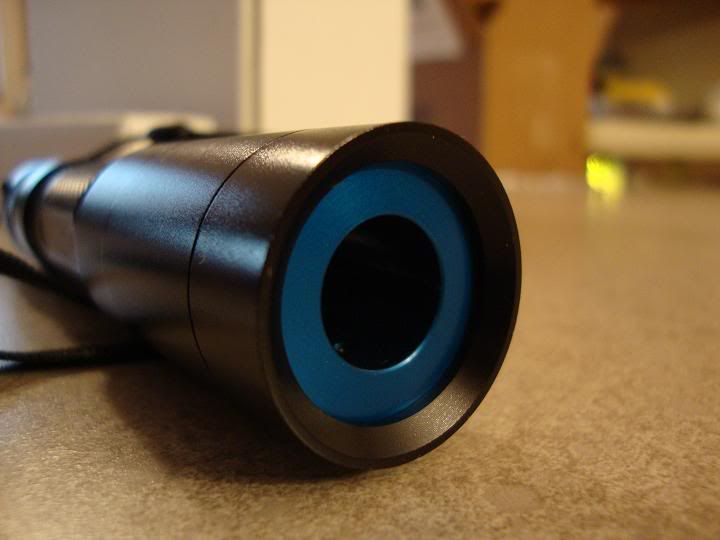
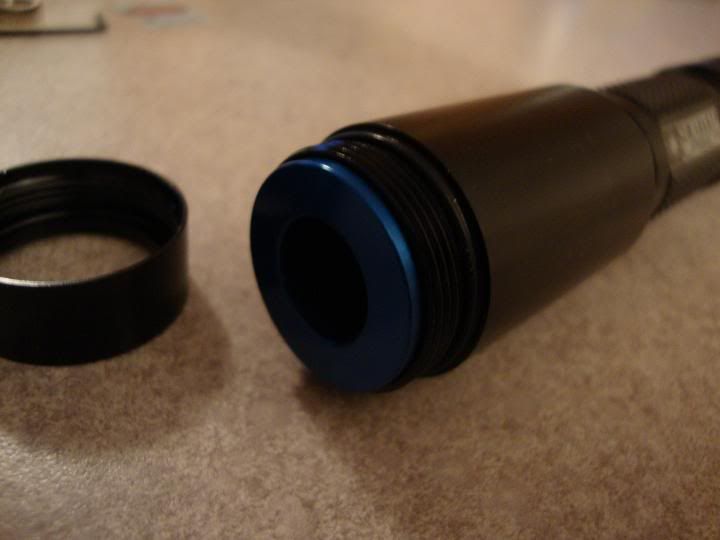
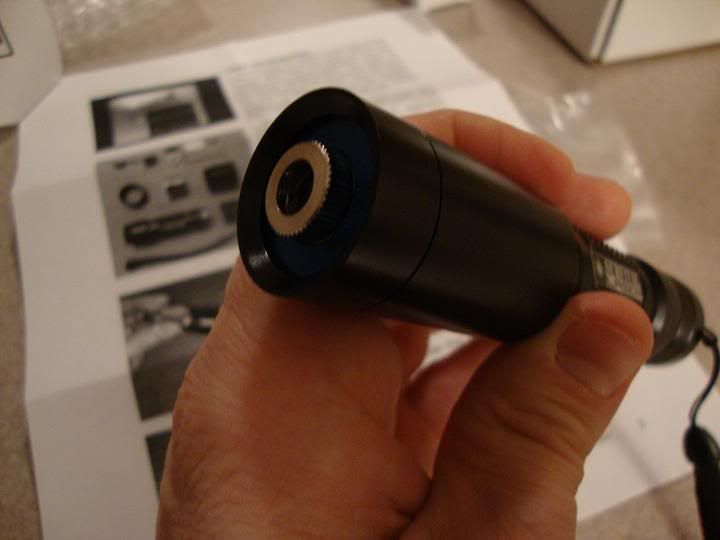
The aluminum heatsink came pre-set inside the host. I was pleased too see it was blue because it matches the wavelength of the light it will emit.
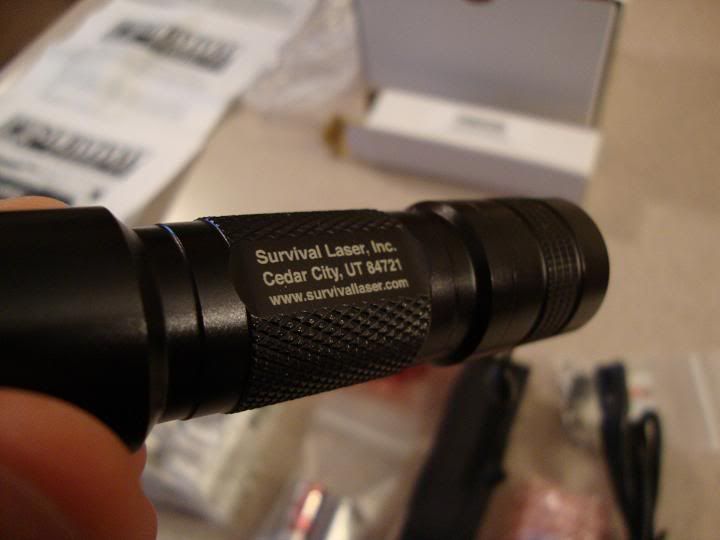
On the reverse side of the host is Survival Lasers location & website URL.
Some pictures of the tailcap & overall quality & finish of the host construction....

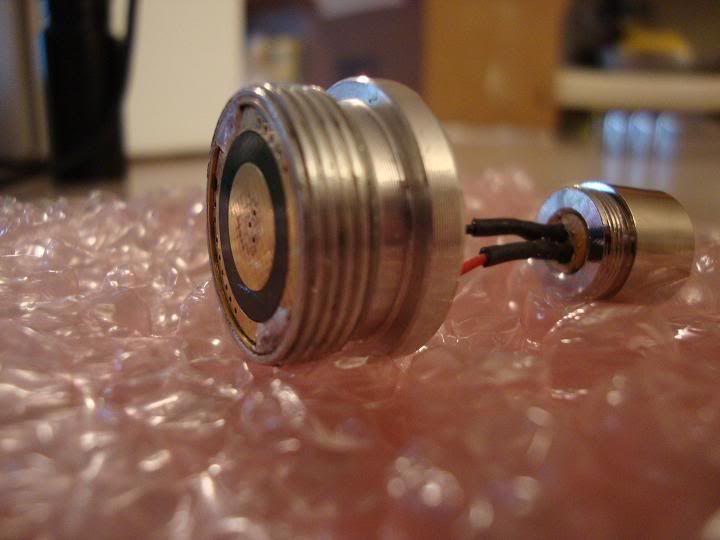
The driver/pill and diode... As you can see here the driver has already been mounted & soldered into the pill w/ both leads connected (and shrinktubed) to the diode. Survival Laser did an outstanding job with this assembly and the connections.
ALSO... At this point and from here on out, when you're handling these components be sure to 'de-static' yourself by touching something grounded to release any electric charge you might have built up. These pieces are extremely sensitive to static, even the slightest electric charge can damage these parts - - specifically the diode!
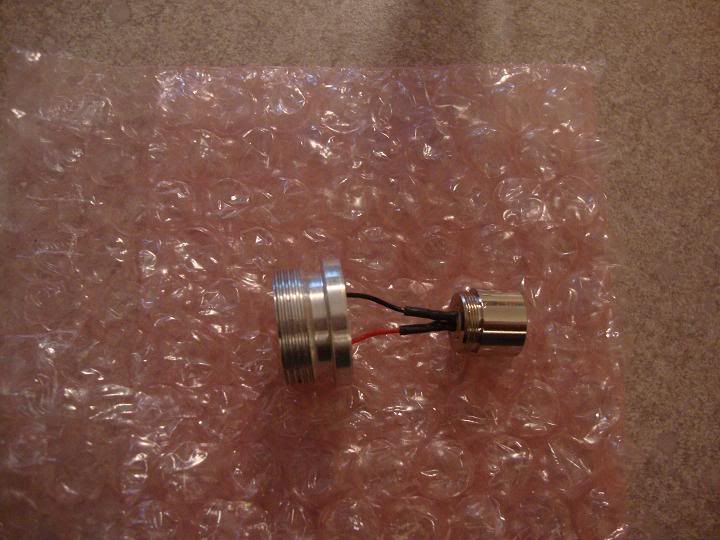
You can see that the back of the driver has been securely soldered to the pill. The solder not only completes the circuit with a ground connection to the host, but also 'extends' the backside of the driver out from the pill a little for better contact with the batteries. (If this were completely flat it can be difficult to acquire good contact points between the batteries & the connections on the back of the driver.) The leads are also soldered to the diode & shrinktubed for a snug, secure and solid connection.
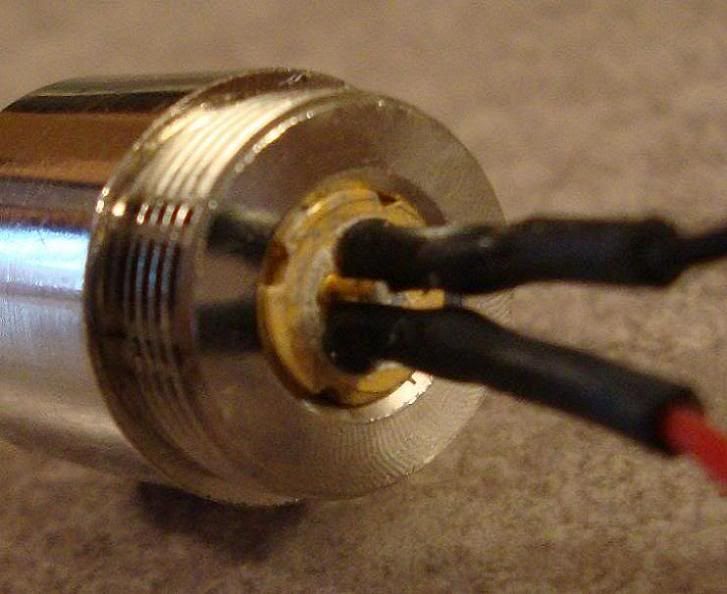
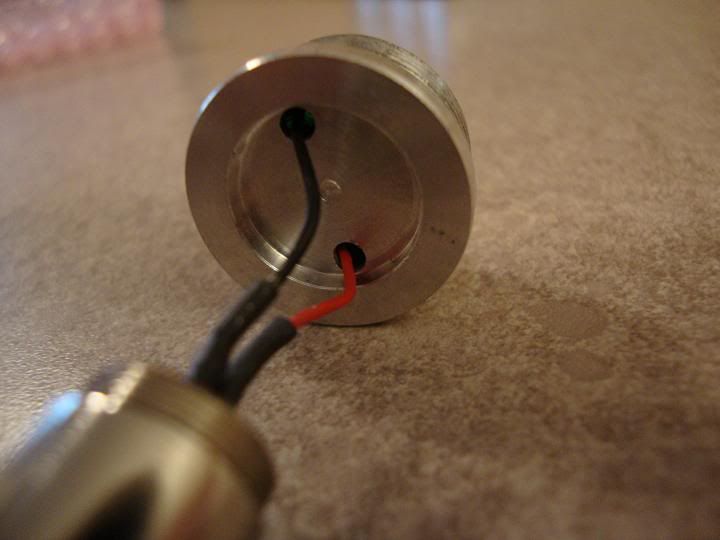
The leads installed in the front of the pill & the diode....
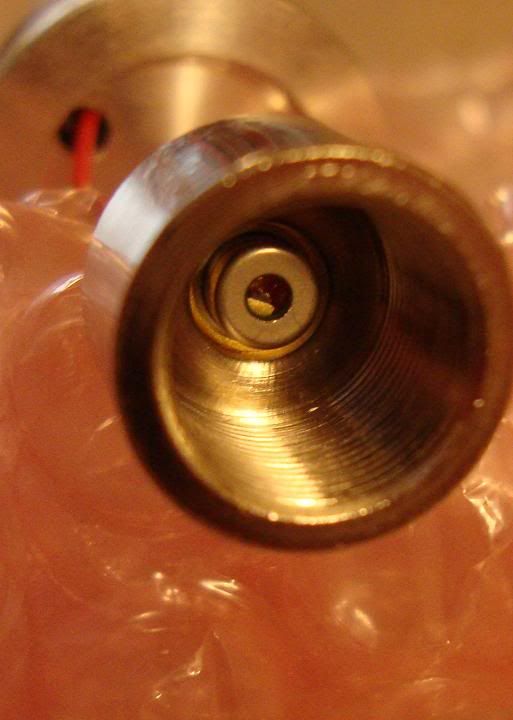
Close up of the diode....
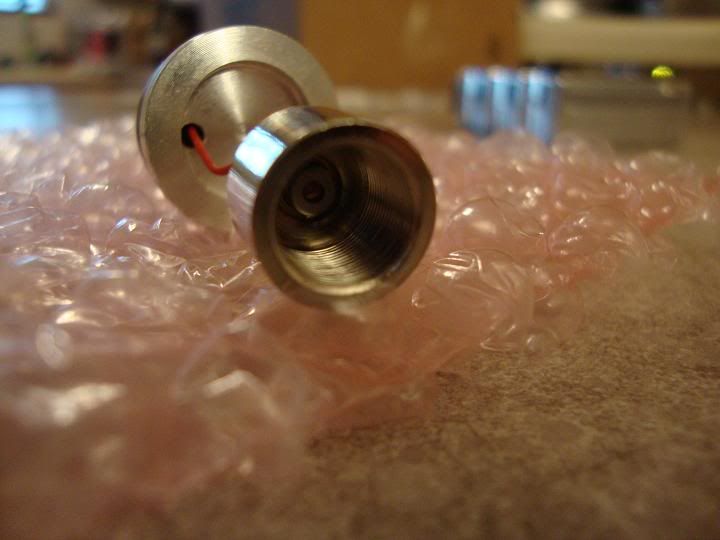
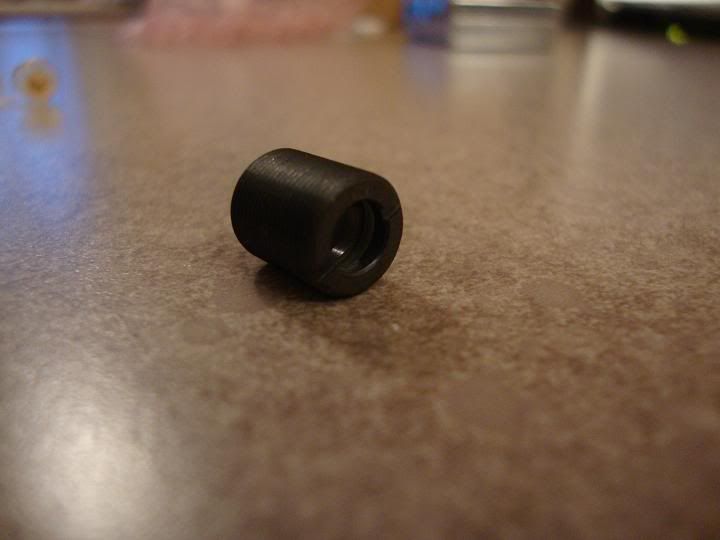
The pill......
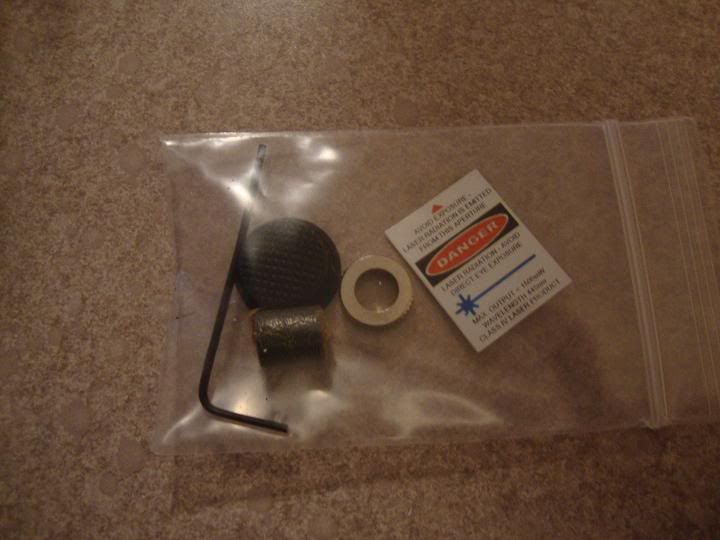
Lens components.... (includes pre-wrapped Aixiz module, AR coated lens, focusing ring, lens cap, .050 allen wrench for tightening the heatsink to the lens module and a ready-to-stick warning label displaying the lasers power)
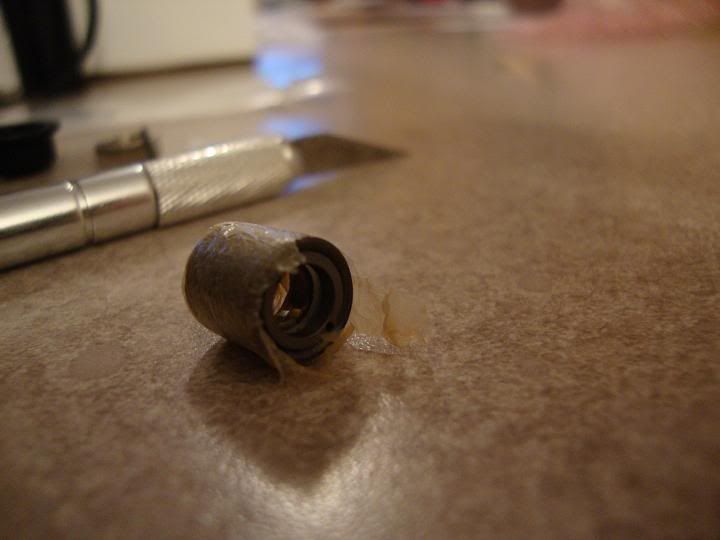
Pre-wrapped module...
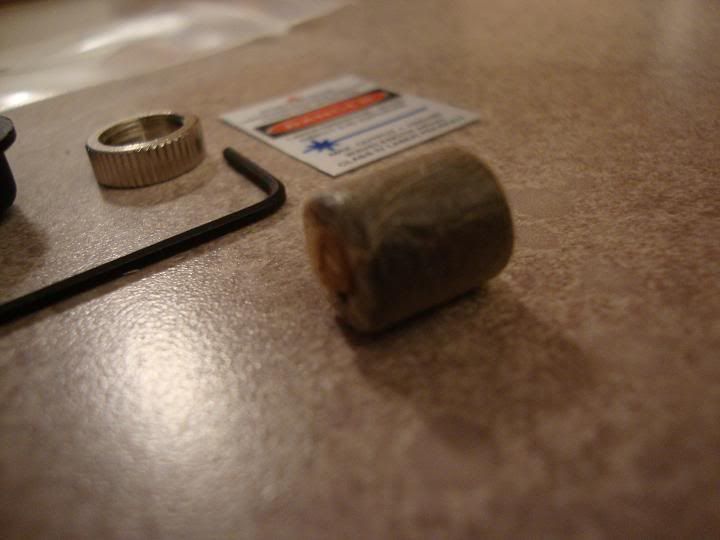
When unwrapping the protective plastic from this module make sure not to touch the lens! The slightest amount of oil from your skin (even clean hands) that could get on the lens will result in a 'splashy' dot and/or beam when this is all done. Unwrap and handle this piece carefully!
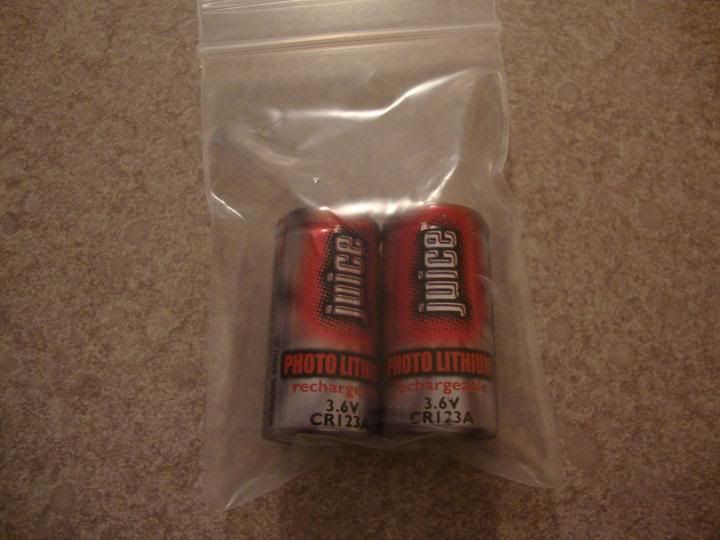
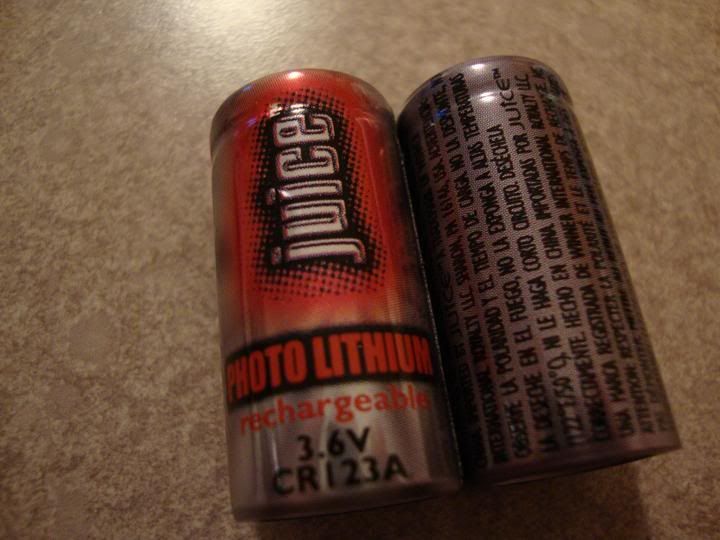
The batteries....
These have to be the coolest 3.6V CR123A batteries I've ever seen yet! The say JUICE on them & look like little energy drinks!
....the charger is also included. Not all 'full' laser assemblies generally include the batteries and the charger but Survival Laser gives them both to you, brand new.
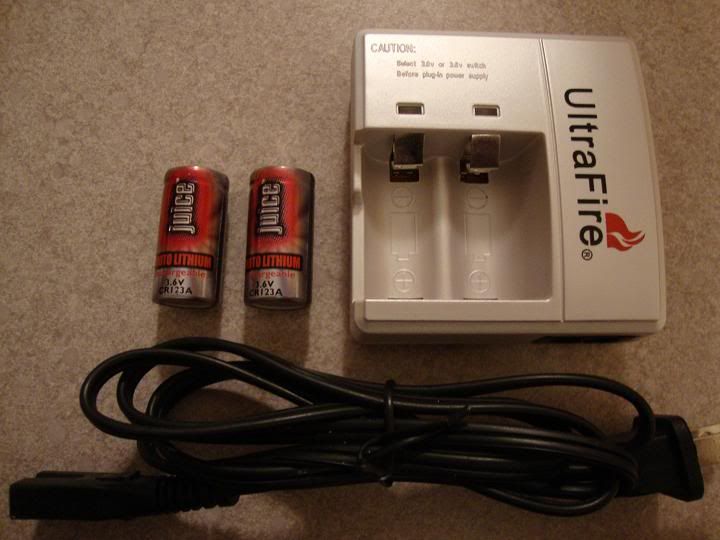
I plugged in the charger & batteries to 'juice' (sorry, had to) them up.

The safety glasses......
I don't have a meter to rate these glasses, but I tested them on my eyes along with my Zone Stealth glasses (rated OD4+) and the protection was near comparable except the Stealths were a little stronger. I'd guestimate these glasses are OD3+ & they seem to offer comfortable protection with my other ~1W lasers. I also don't use lasers for burning generally, so I did not test these within 5' from my face. Closeup use might yield a different opinion.
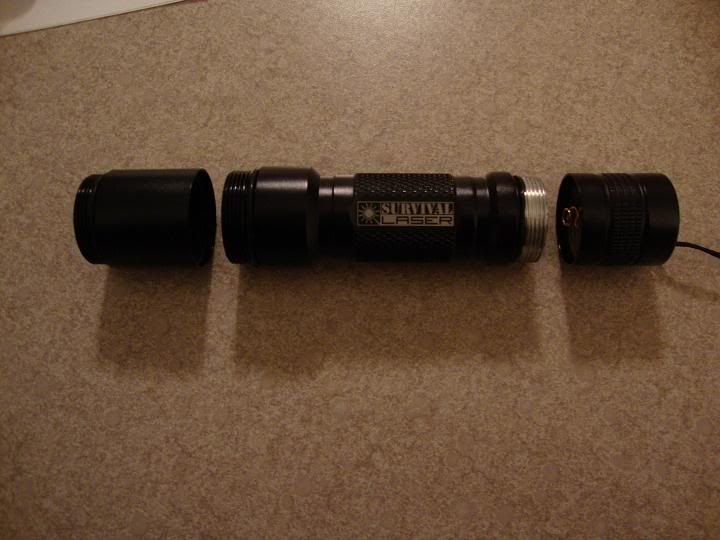
Sizing it all up, here is everything pictured (except the safety glasses) next to a tape measure to give you an accurate idea as to how big and how small each piece is. The holster is at the top of the picture.
The assembly...
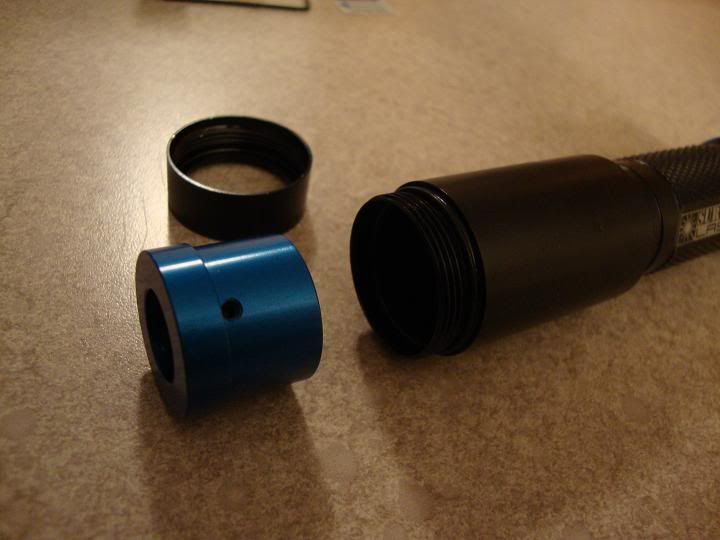
First thing I did here was remove the bezel (the 'lip' of the hosts headpiece) to get the heatsink out from the host so I can install the driver & diode components.
Then slide out the heatsink....
After removing this you should see all through the empty host to the tailcap spring inside at the bottom.
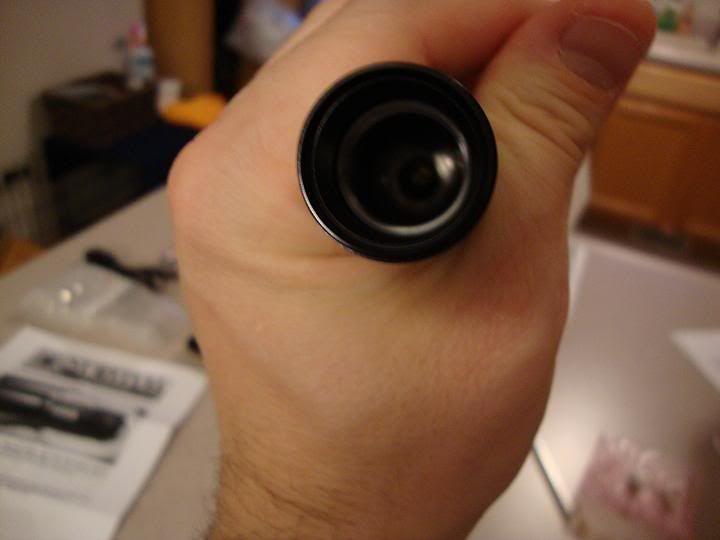
This is what the host looks like with the bezel(not in pic), headpiece & tailcap unscrewed.
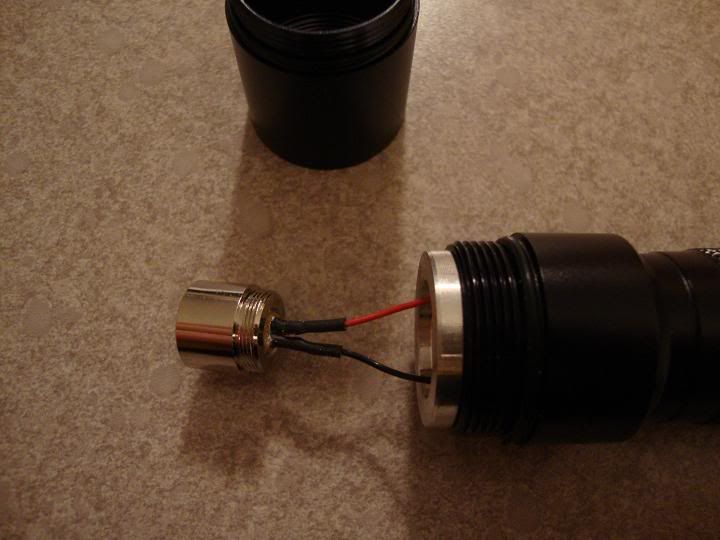
Next I inserted the pill into the host....
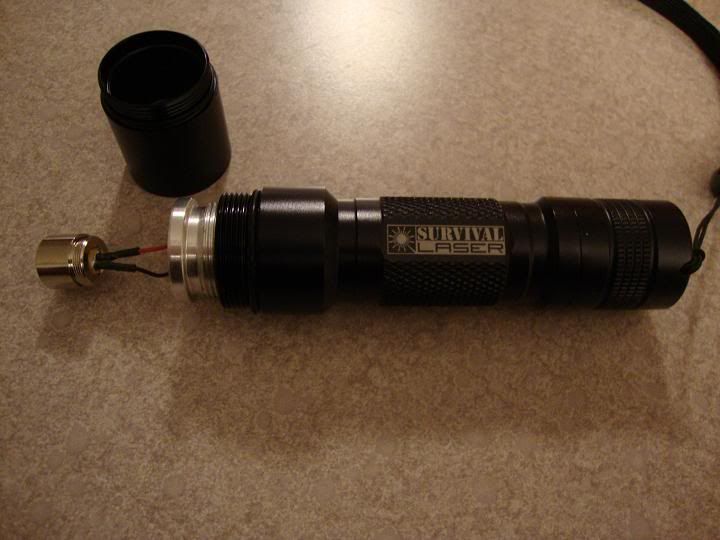
and screwed it in firmly. Make sure to use caution and not 'stress' the leads sticking out of the pill when doing this! The threading is smooth and the pill fit perfectly into place.
The next step is to guide the head of the laser module (encasing the diode) into the heatsink through the rear of the headpiece from the host. Be careful when doing this again not to 'stress' the leads between the driver & the diode!
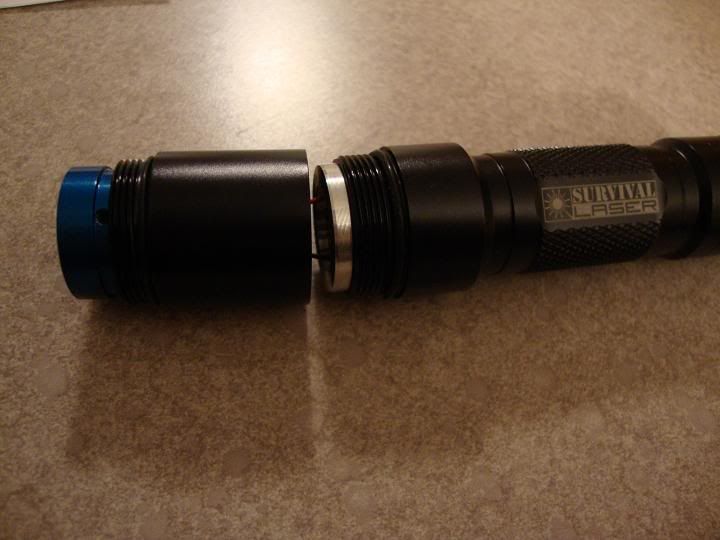
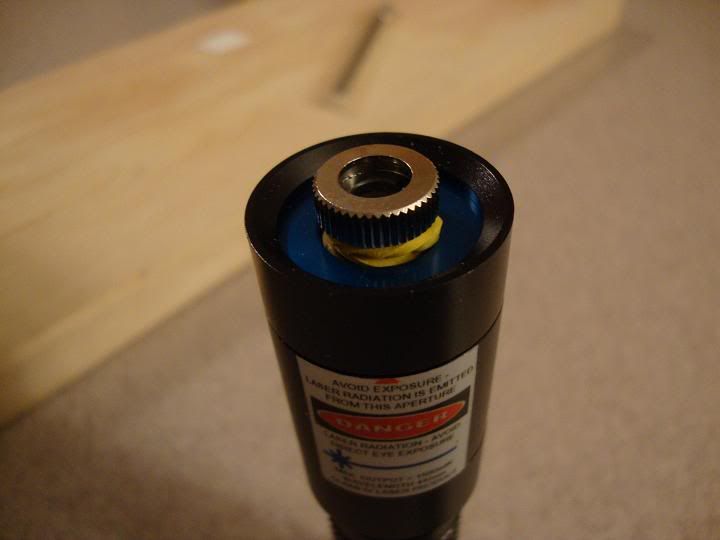
After screwing the headpiece back on the host and tightening the mounting screw on the heatsink with the provided .050 allen wrench, the front of the laser should look like this...
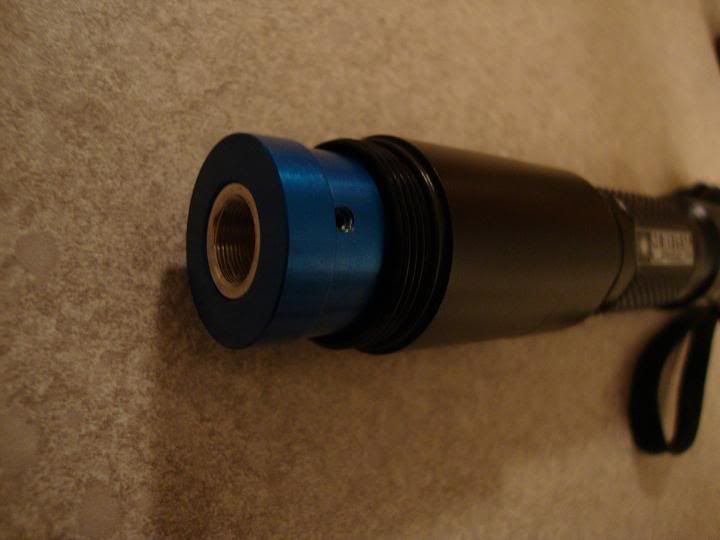
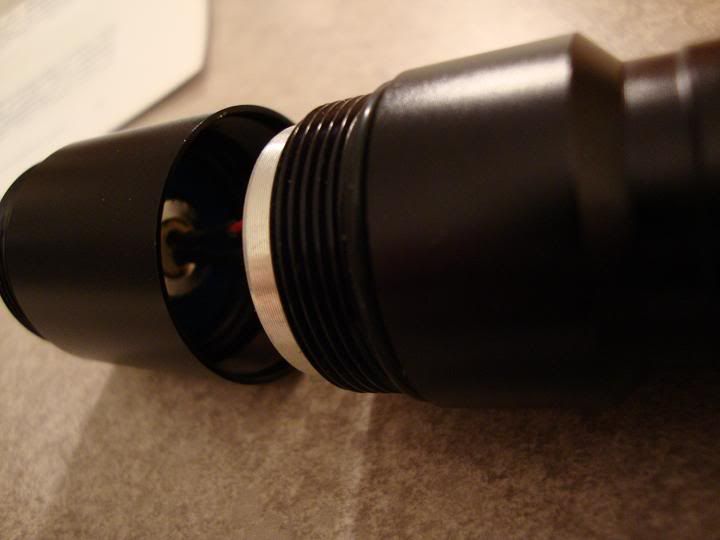
...and when gently pressing the heatsink into the host & screwing the bezel back on it will look like this.
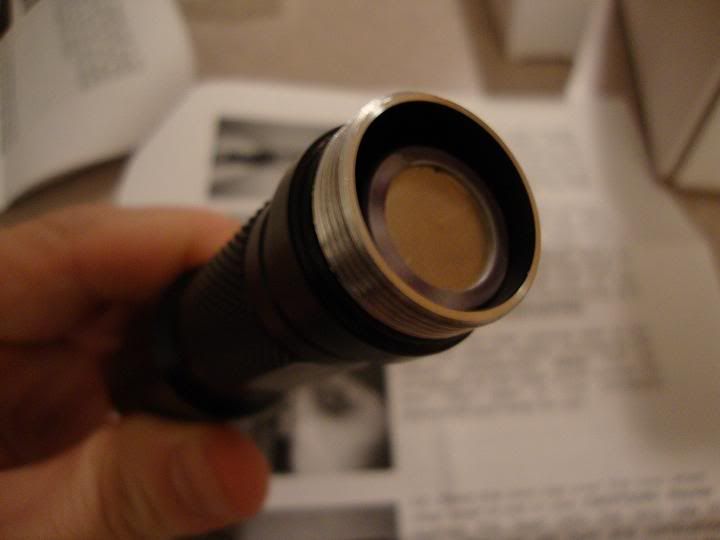
The next step is to install the lens module and the lenscap...
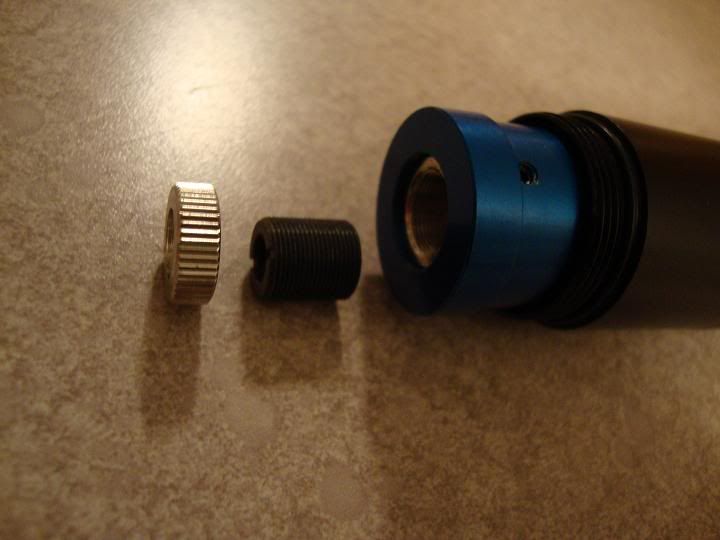
Screw the lenscap onto the module first.
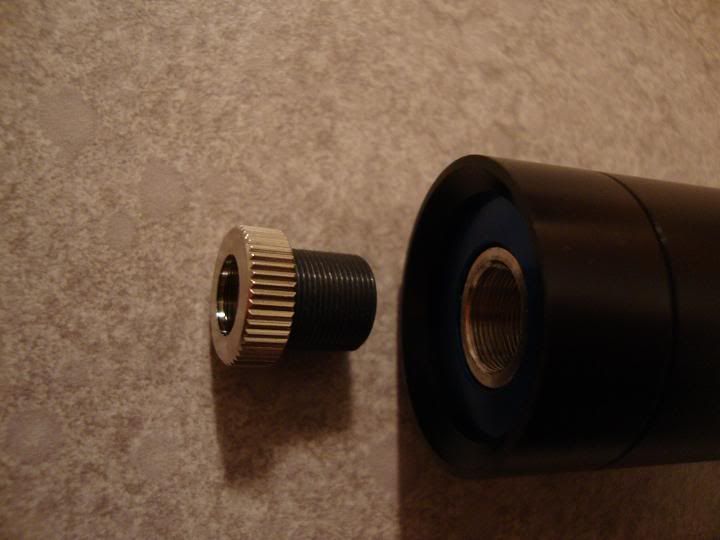
...then use the lenscap to screw the module into the heatsink. That's it... It's done!! This process took about 4 minutes to complete, probably a minute or two longer than it took you to read up to this point
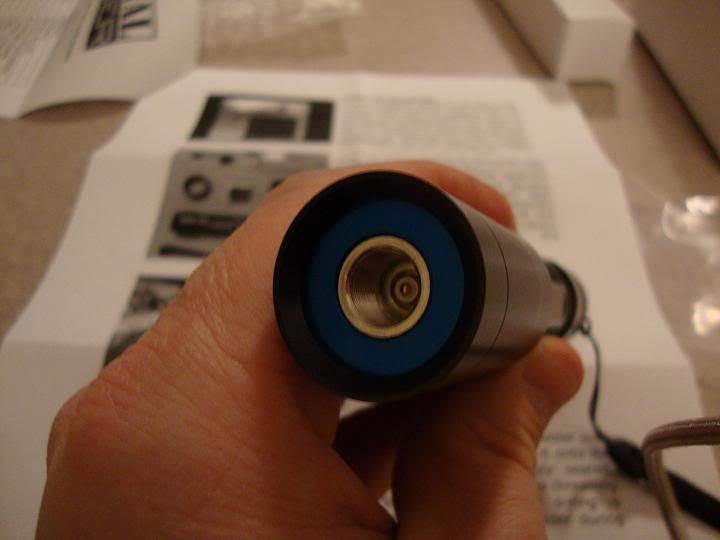
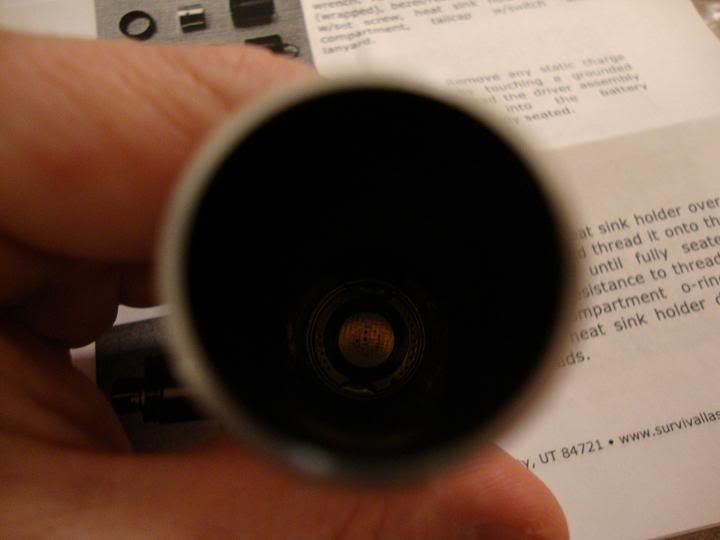
Here's what the inside of the laser looks from the bottom without the tailcap.
All I need to do now is insert the batteries into the host (case negative)
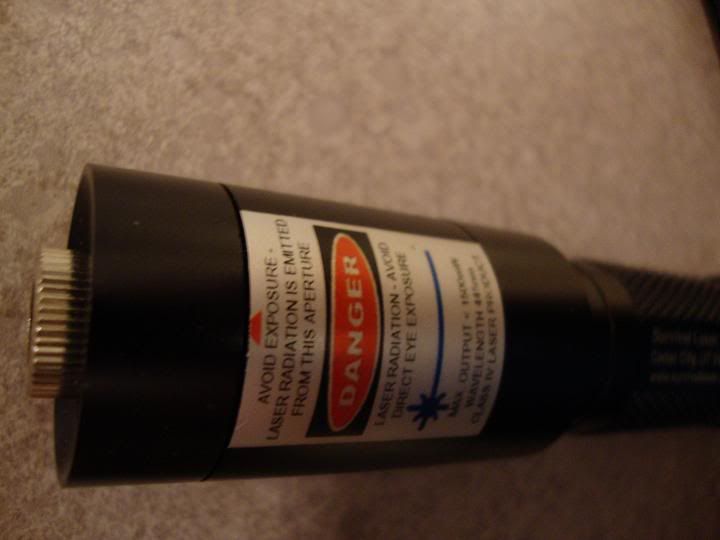
...screw on the tailcap and stick on the warning label.
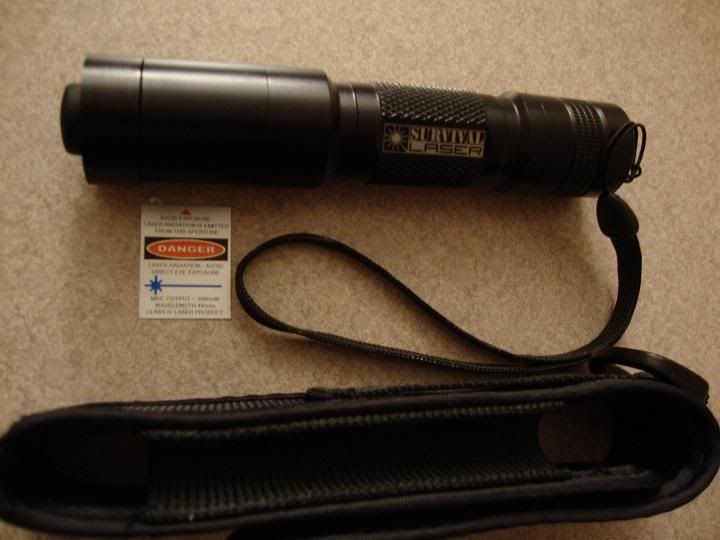
I will be sticking the label vertically on the host rather than horizontally, so I need to remove about 1/20 of an inch so it will stick between the top groove on the headpiece and the bezel...
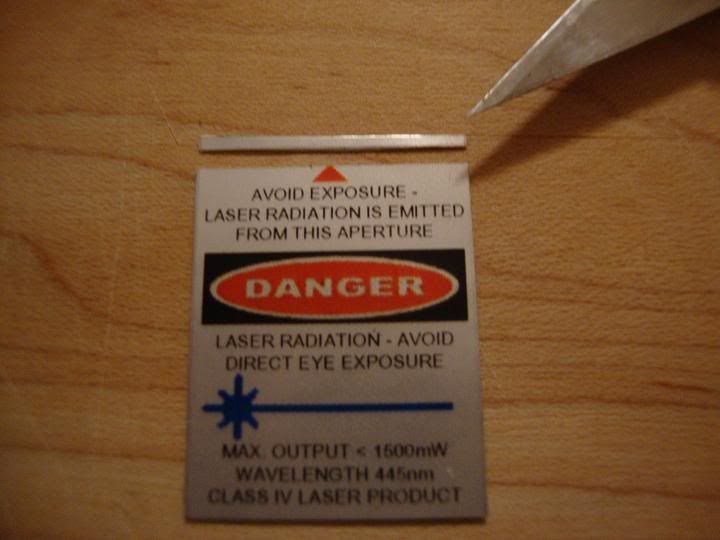
Cutting this means I lose the tip of the red arrow graphic on the sticker. This doesn't bother me because you can hardly tell.
Finally... I use a small rubber band double wrapped around the lens module for focusing. This is not necessary but I do this with my lasers now because it holds whatever setting you focus to in place very well.
Now it's time to fire this beauty up and see how it looks. Never forget to wear your glasses!!!
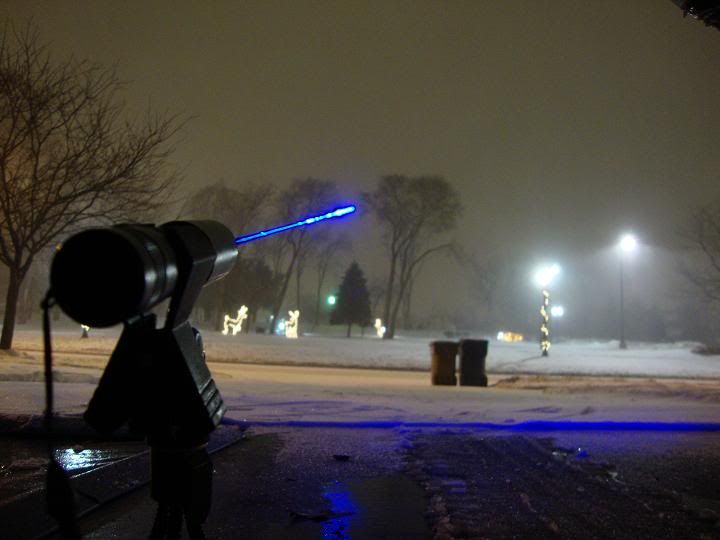
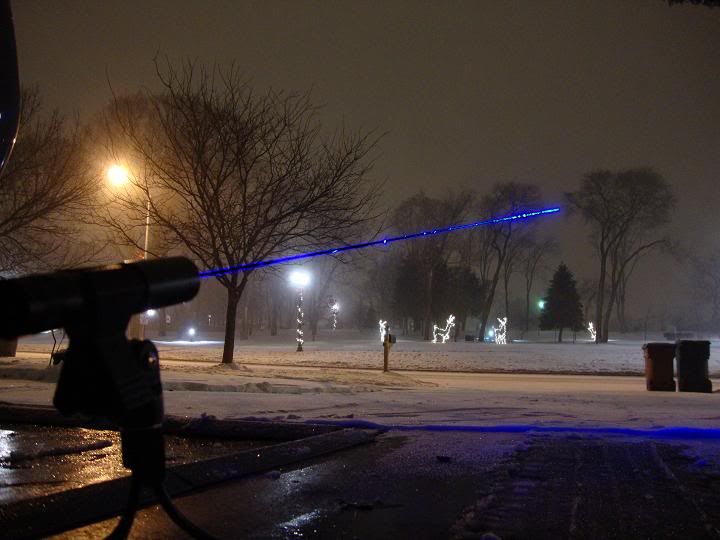
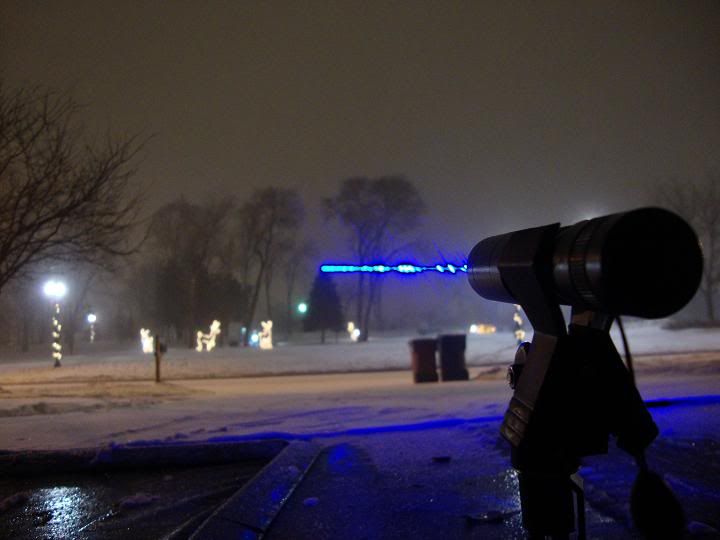
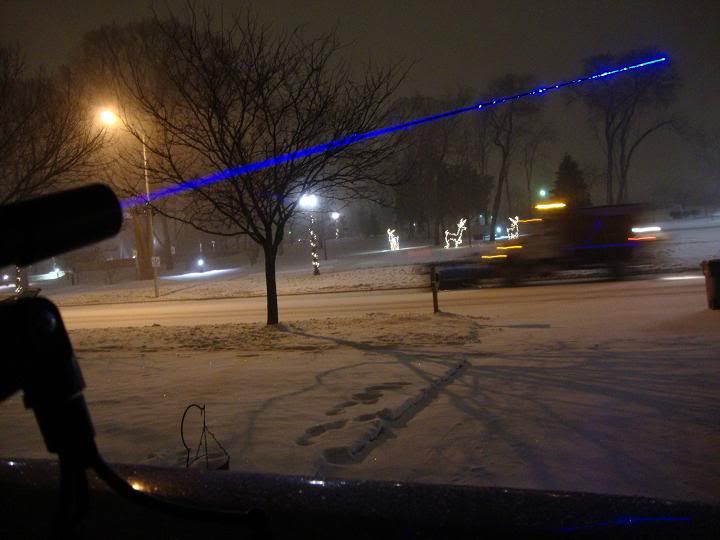
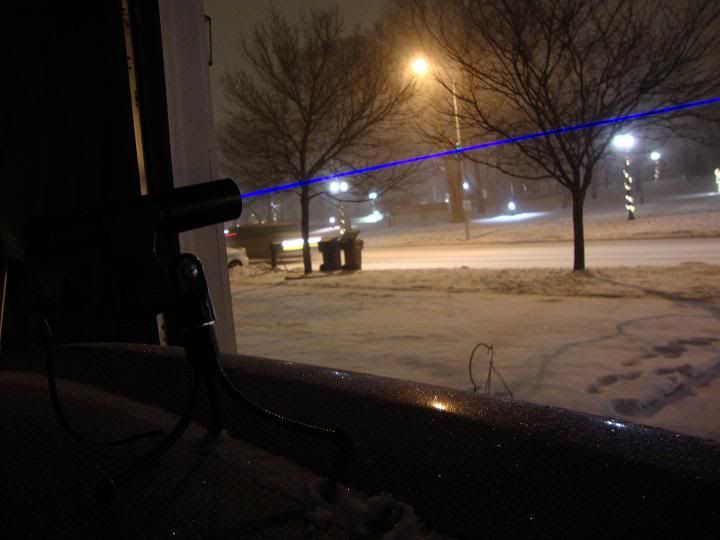
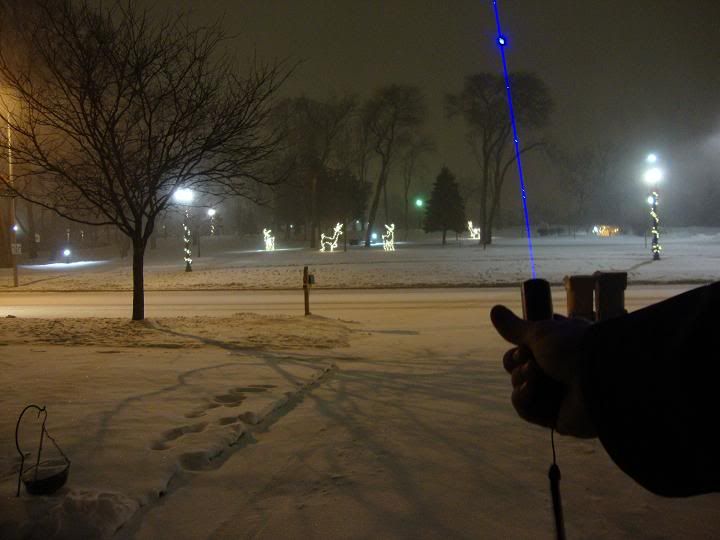
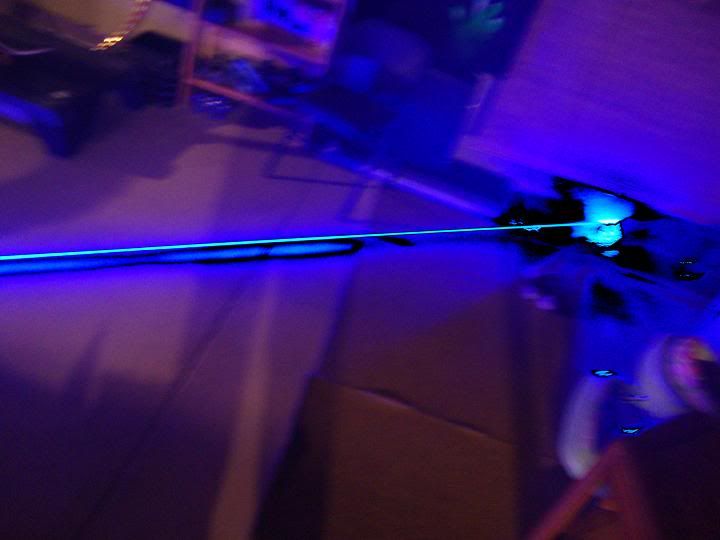
Beam Shots:drool:
(It was snowing last night when I took these, so while I was limited to shooting from inside my garage - the beam is complimented by the snow)
Now back inside, some shooting down in the basement with some fog....
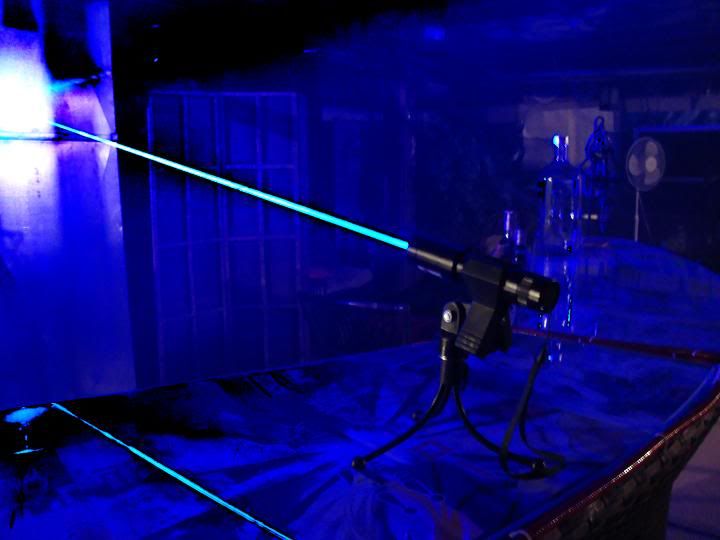
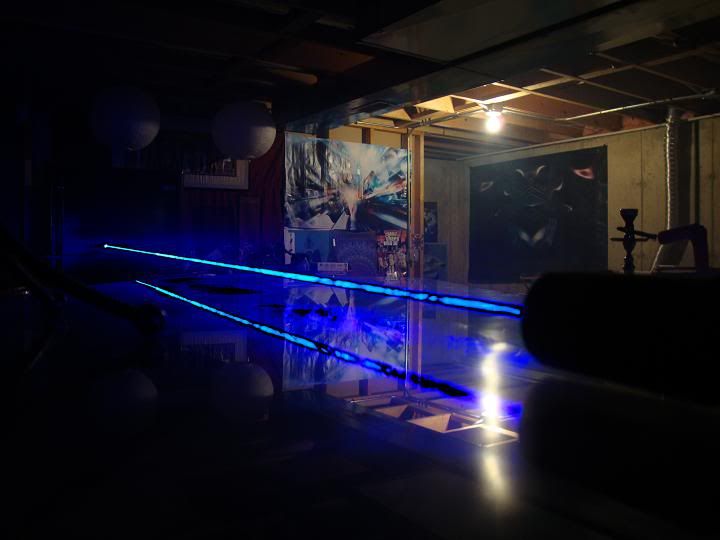
The alignment of the beam is very close to completely straight! Here's the laser flat on the floor shooting a level, horizonal line 1/2" above the ground....
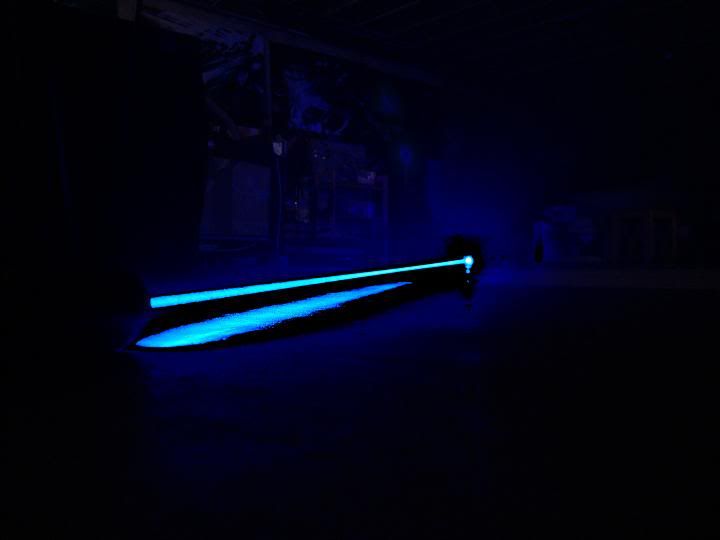
...about 35' to the other side of the basement, still a 1/2" off the ground.
Well that about covers it. I'll try and get more beamshots outside soon once the weather changes up.
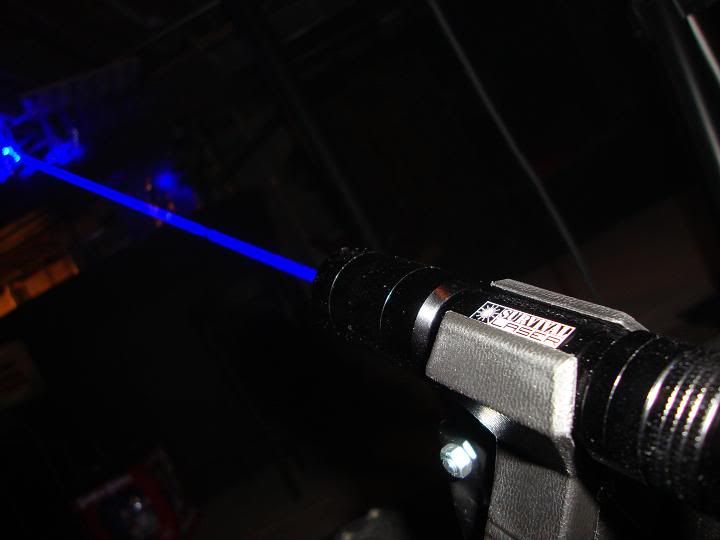
Unfortunately I don't own a LPM just yet to take any power readings, but when I do I will update this post with pictures of what this laser puts out. According to Survival Laser it's ~1.1W +/- 100mw. I believe this to be as accurate as my eyes can tell, because it is slightly brighter than my ~1W jayrob 18650.
The duty cycles are also ~1min on/off but I've already ran this for over 2 minutes when taking pictures. The host does get noticeably warm when doubling the recommended cycle, but this is a good sign of firm heatsinking pulling heat from the diode. This laser is also surprisingly lightweight for what it looks like it should weigh. It has a very comfortable feel & an awesome look to it overall!
In conclusion of this review, I would like to say that this is a top-notch sub-assembly for a professional laser build! Everything included came in perfect condition, the information that was provided is extremely informative - from the precautions and the warnings to the instructions AND executing the process was just plain simple.
MAD PROPS AND MANY THANKS AGAIN TO GAROQ, the mastermind behind Survival Laser!!!!
Here's the deal
Specific information on this product as well as other Survival Lasers can be found here on their website. This review (and tutorial) is long, detailed and has a LOT of pictures. If you're looking for something quick & simple please consider the drive through.
The build
The build was simple. Survival Laser takes the initiative of doing all of the detailed work with what they've sent me, so completing this was just a matter of assembling it. I didn't even need a soldering iron & this from start to finish took a mere 4 minutes. I will cover the details of this simple process as you go through the pictures below, they tell most of this story.
Pictures
(package shipped)
The packaging Survival Laser used for shipping my assembly was done very well. The dimensions of the box with everything was 8x8x7, plenty of room for packing material so any rough handling won't damage any components.
There was no rattling when I shook the box so I trust everything is packed securely inside....
...it was packaged well.
On top after opening the main packaging are 3 pamphlets - one informing me about laser safety, another covering the liability/indemnification information and of course the instructions.
The packaging looks solid & well put together. Nothing was 'just thrown' into this box or rushed out, care was taken to assure a professional packaging process before shipping.
(components)
Pictured below is everything included with this specific assembly. Clockwise from the top is the host(still packaged), lens assembly, power cable for charger, driver/pill & diode, laser holster, 2xCR123A batteries, battery charger & safety glasses.
The host is boxed individually within the rest of the components.
It is also packaged very well, wrapped in plastic to protect the hosts finish.
The host....... bearing the mark of it's maker, the Survival Laser logo is professionally and attractively printed on the side.
The aluminum heatsink came pre-set inside the host. I was pleased too see it was blue because it matches the wavelength of the light it will emit.
On the reverse side of the host is Survival Lasers location & website URL.
Some pictures of the tailcap & overall quality & finish of the host construction....
The driver/pill and diode... As you can see here the driver has already been mounted & soldered into the pill w/ both leads connected (and shrinktubed) to the diode. Survival Laser did an outstanding job with this assembly and the connections.
ALSO... At this point and from here on out, when you're handling these components be sure to 'de-static' yourself by touching something grounded to release any electric charge you might have built up. These pieces are extremely sensitive to static, even the slightest electric charge can damage these parts - - specifically the diode!
You can see that the back of the driver has been securely soldered to the pill. The solder not only completes the circuit with a ground connection to the host, but also 'extends' the backside of the driver out from the pill a little for better contact with the batteries. (If this were completely flat it can be difficult to acquire good contact points between the batteries & the connections on the back of the driver.) The leads are also soldered to the diode & shrinktubed for a snug, secure and solid connection.
The leads installed in the front of the pill & the diode....
Close up of the diode....
The pill......
Lens components.... (includes pre-wrapped Aixiz module, AR coated lens, focusing ring, lens cap, .050 allen wrench for tightening the heatsink to the lens module and a ready-to-stick warning label displaying the lasers power)
Pre-wrapped module...
When unwrapping the protective plastic from this module make sure not to touch the lens! The slightest amount of oil from your skin (even clean hands) that could get on the lens will result in a 'splashy' dot and/or beam when this is all done. Unwrap and handle this piece carefully!
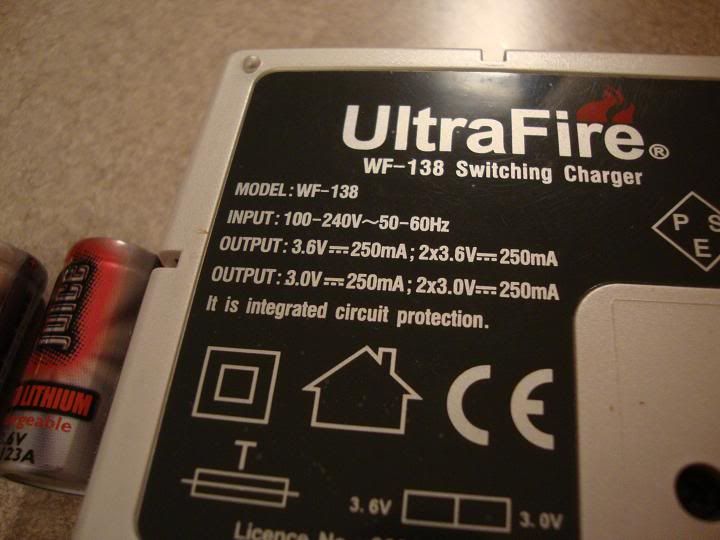
The batteries....
These have to be the coolest 3.6V CR123A batteries I've ever seen yet! The say JUICE on them & look like little energy drinks!
....the charger is also included. Not all 'full' laser assemblies generally include the batteries and the charger but Survival Laser gives them both to you, brand new.
I plugged in the charger & batteries to 'juice' (sorry, had to) them up.
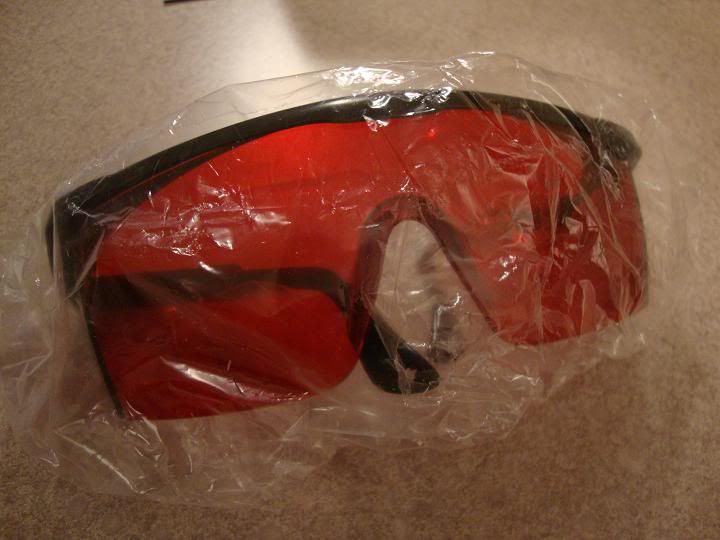
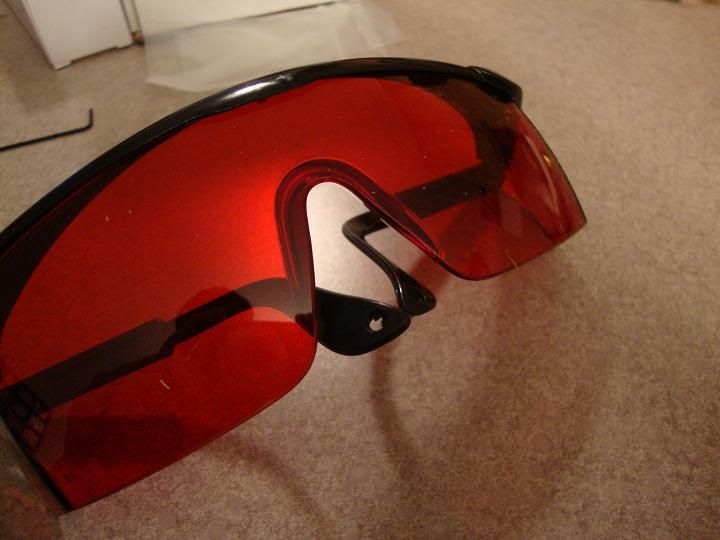
The safety glasses......
I don't have a meter to rate these glasses, but I tested them on my eyes along with my Zone Stealth glasses (rated OD4+) and the protection was near comparable except the Stealths were a little stronger. I'd guestimate these glasses are OD3+ & they seem to offer comfortable protection with my other ~1W lasers. I also don't use lasers for burning generally, so I did not test these within 5' from my face. Closeup use might yield a different opinion.
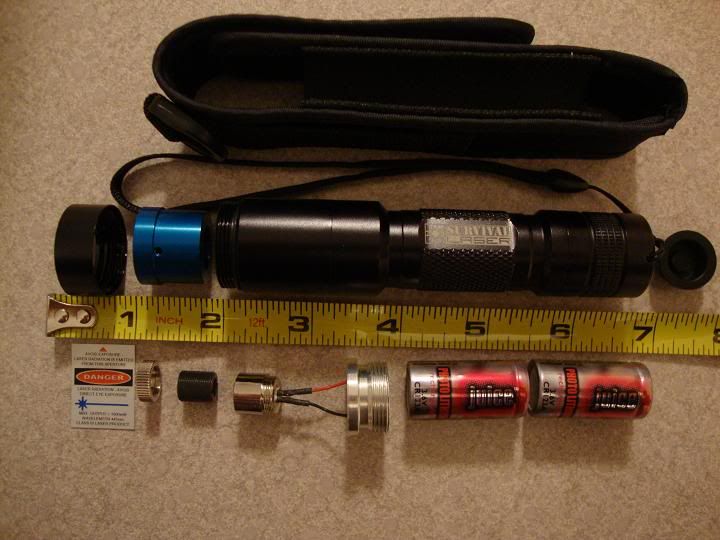
Sizing it all up, here is everything pictured (except the safety glasses) next to a tape measure to give you an accurate idea as to how big and how small each piece is. The holster is at the top of the picture.
The assembly...
First thing I did here was remove the bezel (the 'lip' of the hosts headpiece) to get the heatsink out from the host so I can install the driver & diode components.
Then slide out the heatsink....
After removing this you should see all through the empty host to the tailcap spring inside at the bottom.
This is what the host looks like with the bezel(not in pic), headpiece & tailcap unscrewed.
Next I inserted the pill into the host....
and screwed it in firmly. Make sure to use caution and not 'stress' the leads sticking out of the pill when doing this! The threading is smooth and the pill fit perfectly into place.
The next step is to guide the head of the laser module (encasing the diode) into the heatsink through the rear of the headpiece from the host. Be careful when doing this again not to 'stress' the leads between the driver & the diode!
After screwing the headpiece back on the host and tightening the mounting screw on the heatsink with the provided .050 allen wrench, the front of the laser should look like this...
...and when gently pressing the heatsink into the host & screwing the bezel back on it will look like this.
The next step is to install the lens module and the lenscap...
Screw the lenscap onto the module first.
...then use the lenscap to screw the module into the heatsink. That's it... It's done!! This process took about 4 minutes to complete, probably a minute or two longer than it took you to read up to this point
Here's what the inside of the laser looks from the bottom without the tailcap.
All I need to do now is insert the batteries into the host (case negative)
...screw on the tailcap and stick on the warning label.
I will be sticking the label vertically on the host rather than horizontally, so I need to remove about 1/20 of an inch so it will stick between the top groove on the headpiece and the bezel...
Cutting this means I lose the tip of the red arrow graphic on the sticker. This doesn't bother me because you can hardly tell.
Finally... I use a small rubber band double wrapped around the lens module for focusing. This is not necessary but I do this with my lasers now because it holds whatever setting you focus to in place very well.
Now it's time to fire this beauty up and see how it looks. Never forget to wear your glasses!!!
Beam Shots:drool:
(It was snowing last night when I took these, so while I was limited to shooting from inside my garage - the beam is complimented by the snow)
Now back inside, some shooting down in the basement with some fog....
The alignment of the beam is very close to completely straight! Here's the laser flat on the floor shooting a level, horizonal line 1/2" above the ground....
...about 35' to the other side of the basement, still a 1/2" off the ground.
Well that about covers it. I'll try and get more beamshots outside soon once the weather changes up.
Unfortunately I don't own a LPM just yet to take any power readings, but when I do I will update this post with pictures of what this laser puts out. According to Survival Laser it's ~1.1W +/- 100mw. I believe this to be as accurate as my eyes can tell, because it is slightly brighter than my ~1W jayrob 18650.
The duty cycles are also ~1min on/off but I've already ran this for over 2 minutes when taking pictures. The host does get noticeably warm when doubling the recommended cycle, but this is a good sign of firm heatsinking pulling heat from the diode. This laser is also surprisingly lightweight for what it looks like it should weigh. It has a very comfortable feel & an awesome look to it overall!
In conclusion of this review, I would like to say that this is a top-notch sub-assembly for a professional laser build! Everything included came in perfect condition, the information that was provided is extremely informative - from the precautions and the warnings to the instructions AND executing the process was just plain simple.
MAD PROPS AND MANY THANKS AGAIN TO GAROQ, the mastermind behind Survival Laser!!!!
Last edited:

