

- Joined
- Aug 25, 2010
- Messages
- 533
- Points
- 63
I have decided to redo my 520nm build because I found a much better paint.
I also redo all the the wirings and other minor cosmetic/build issues.
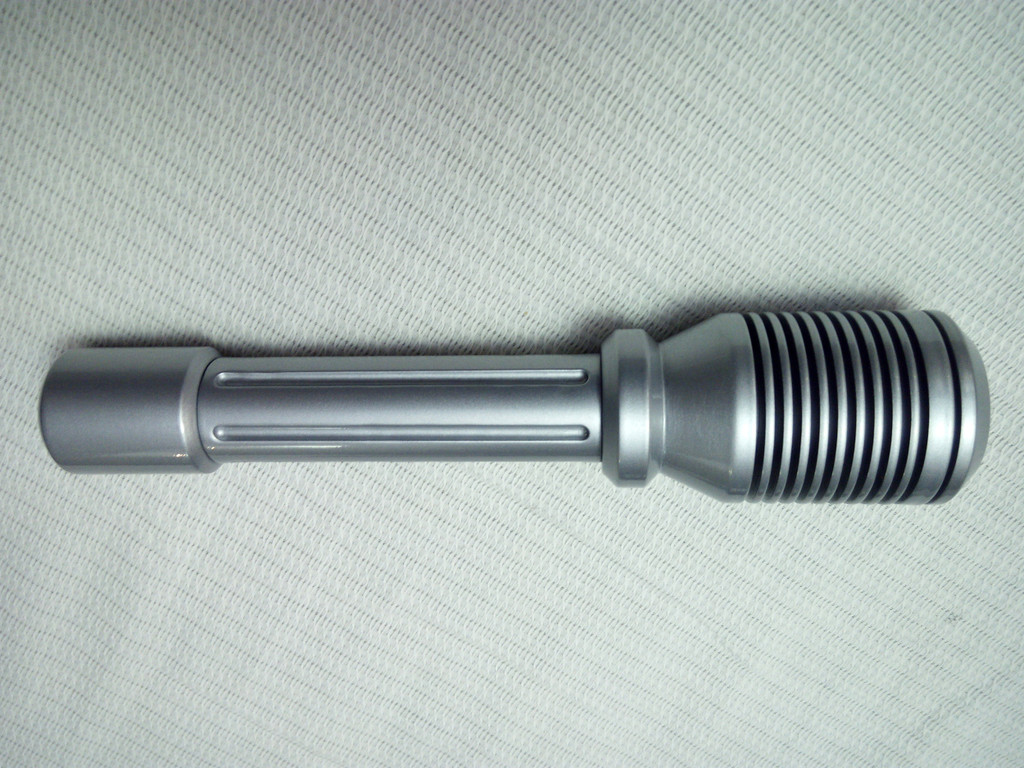
So here is the stunning 1W @1.5W @1.2W 520 nm diode mounted in a evergreen custom Zaser host.
Those are the parts:
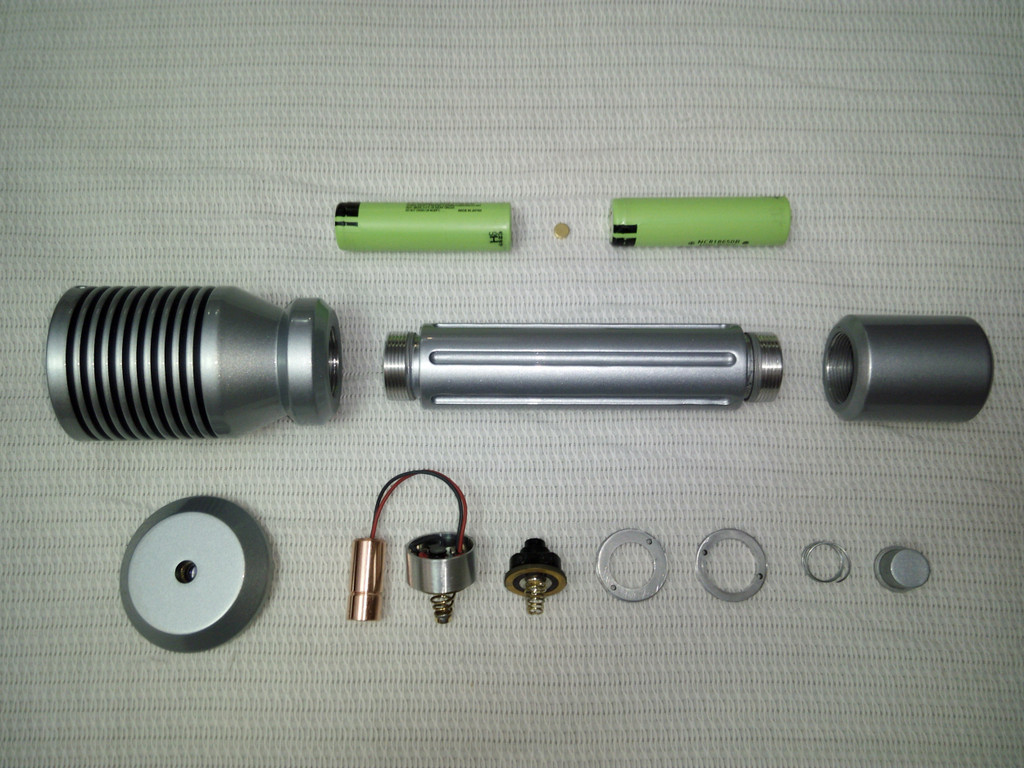
(full resolution pic here: http://imageshack.com/a/img912/9837/oE2TEm.jpg)
The head is slightly bigger than normal because I'm planning to put on a LG beam expander in the near future.
It were added also two more fins to compensate the original proportions of the head diameter vs lenght.
Some other cosmetic changes were made to meet my personal taste.
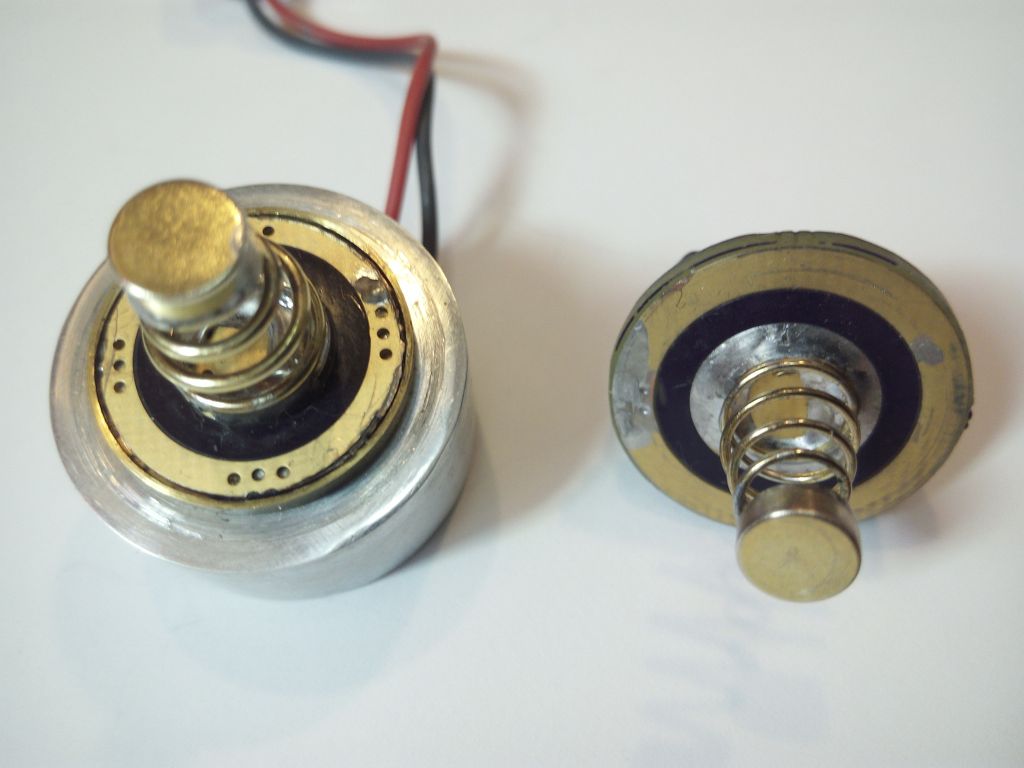
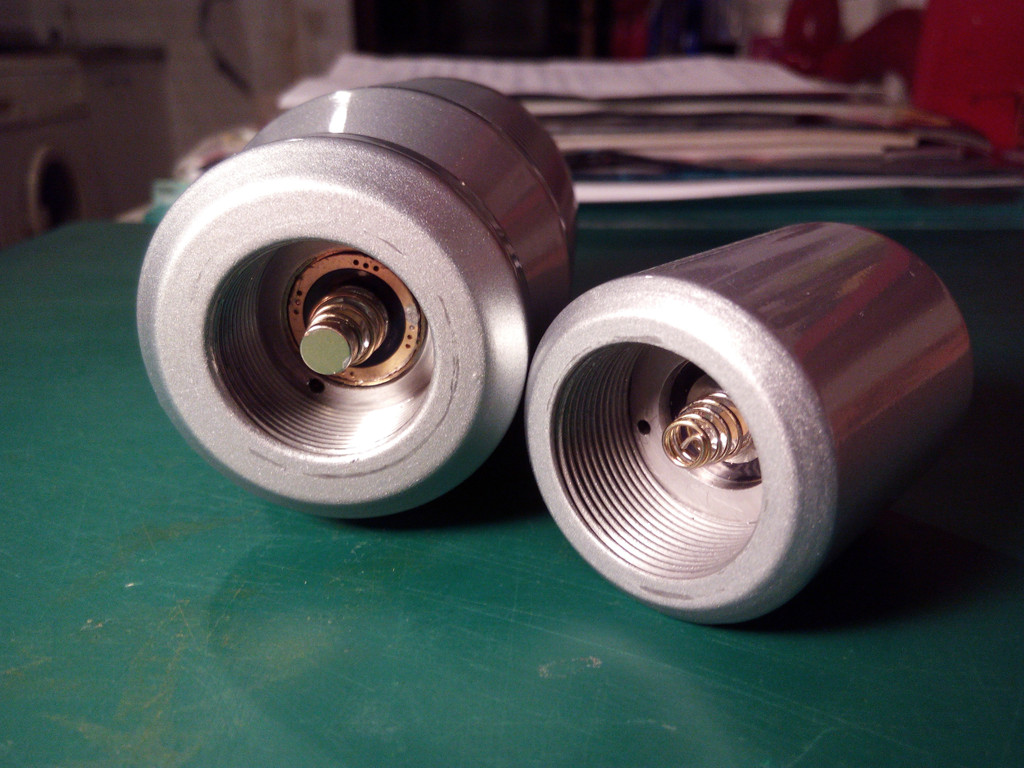
I soldered a neodimium gold plated magnet on the top of every spring to improve electrical path and spring pressure:
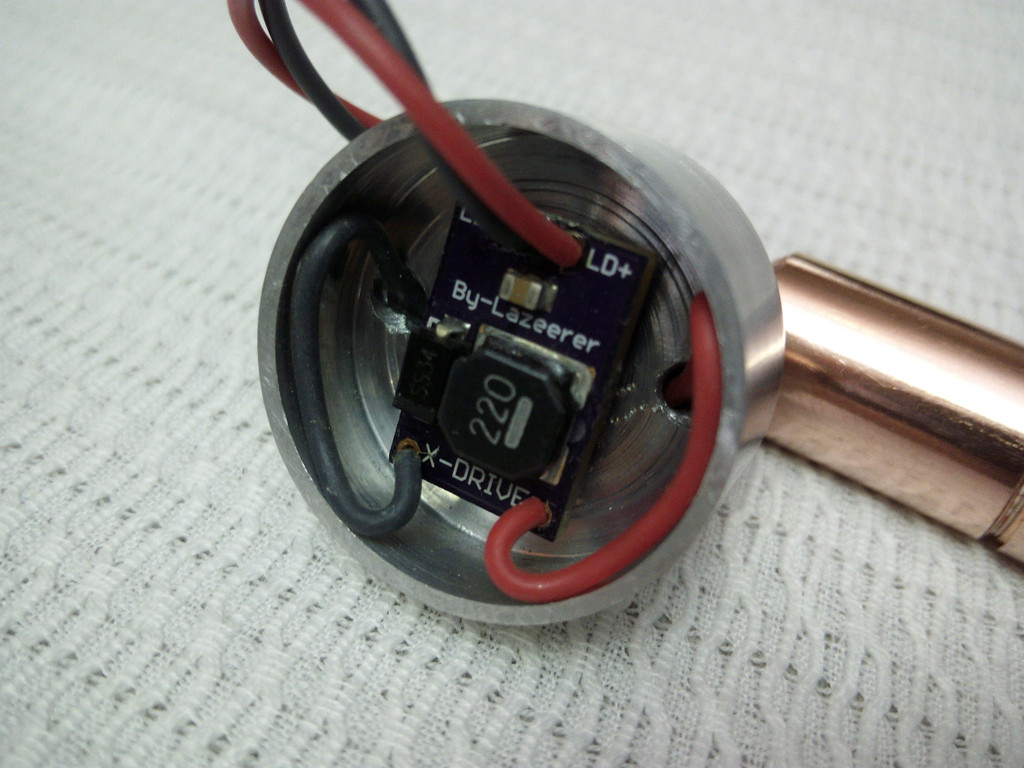
The X-drive @2.4A locked inside the heatsink with Arctic silver thermal glue:
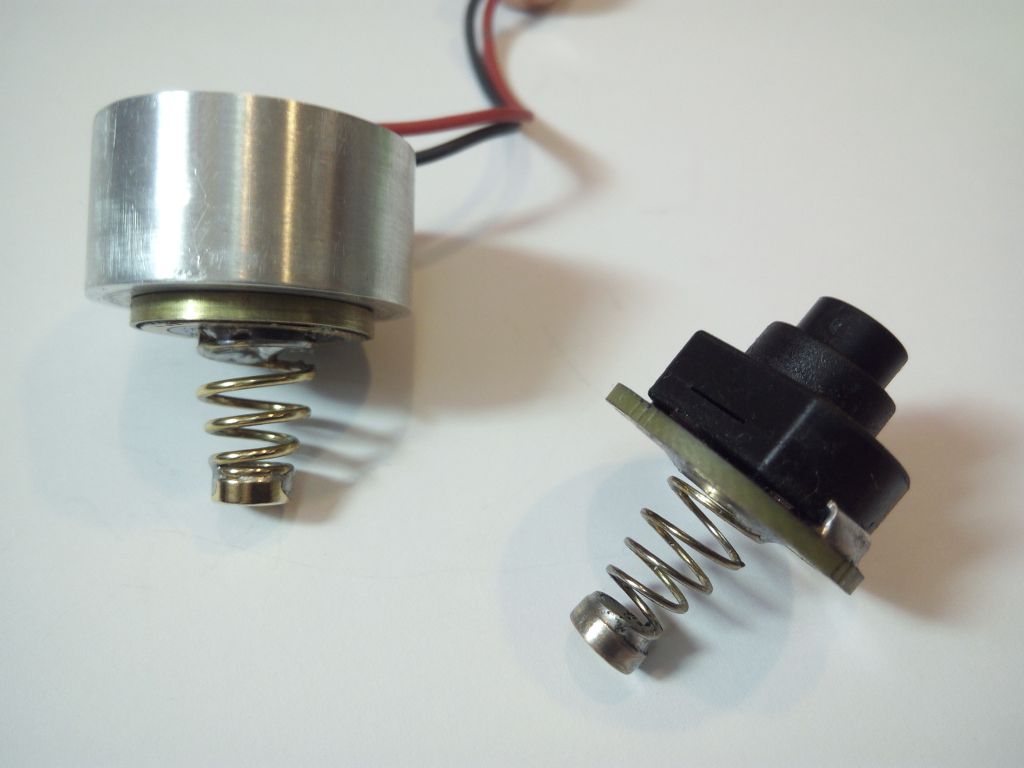
Driver pill and switch parts locked in place:
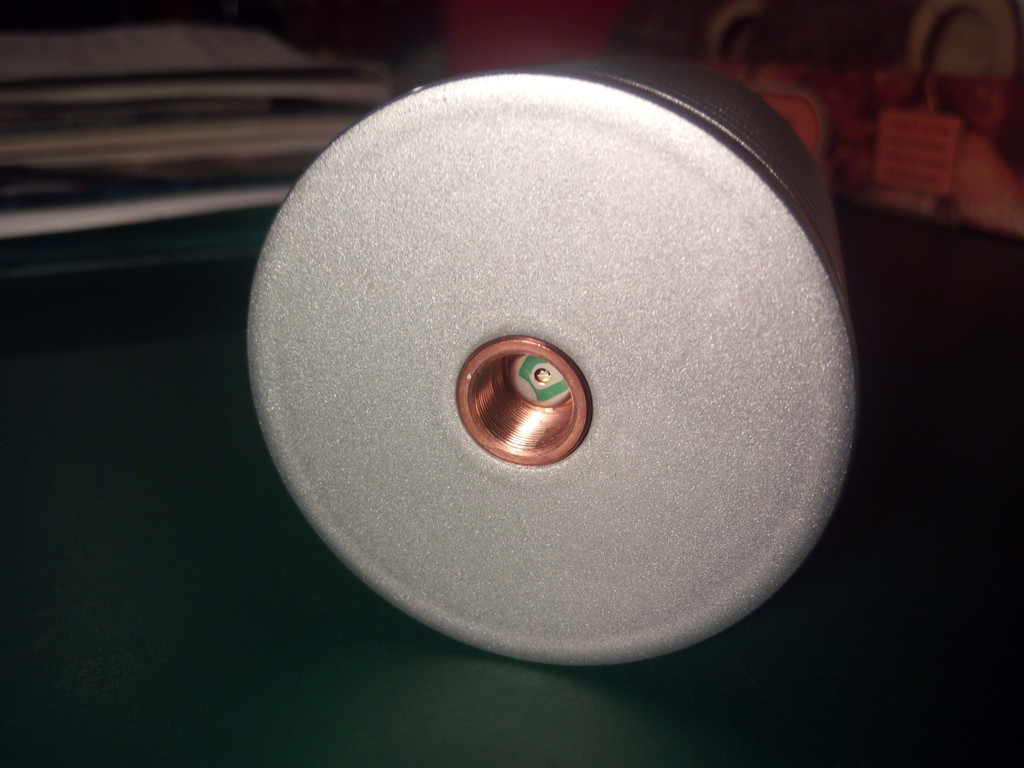
The diode mounted and locked thru the side screw inside the head hole:
(full pic here: http://imageshack.com/a/img661/5690/4J6r8X.jpg)
The tolerance is impressive: the diode fit inside the hole like a piston inside a cylinder!
Three elements glass lenses with a lot of teflon tape around the threaded barrel screwed into the focusing disk:

A small piece of acetate foil to avoid battery shakes and rattle:

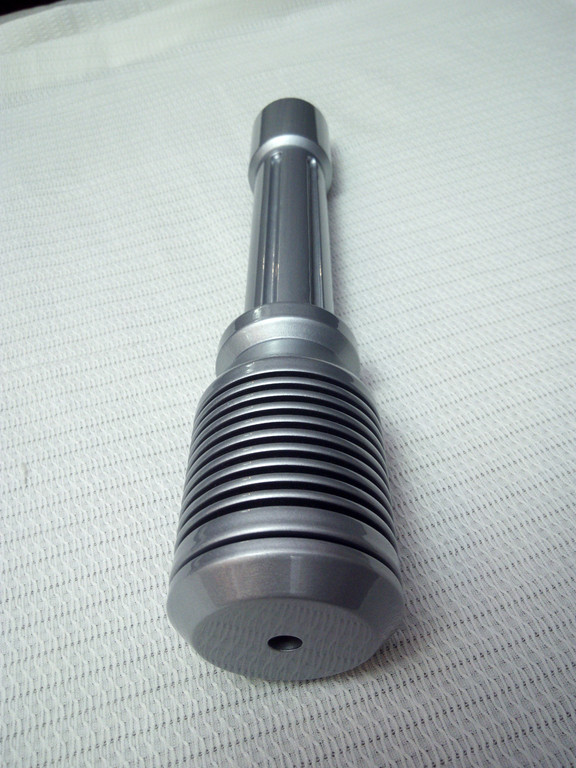
The laser fully assembled:
(full resolution pic here: http://imageshack.com/a/img661/6185/dmiVi3.jpg)
(full resolution pic here: http://imageshack.com/a/img905/9623/mKJ8MT.jpg)

(full pic here: http://imageshack.com/a/img540/1629/jnHydl.jpg)
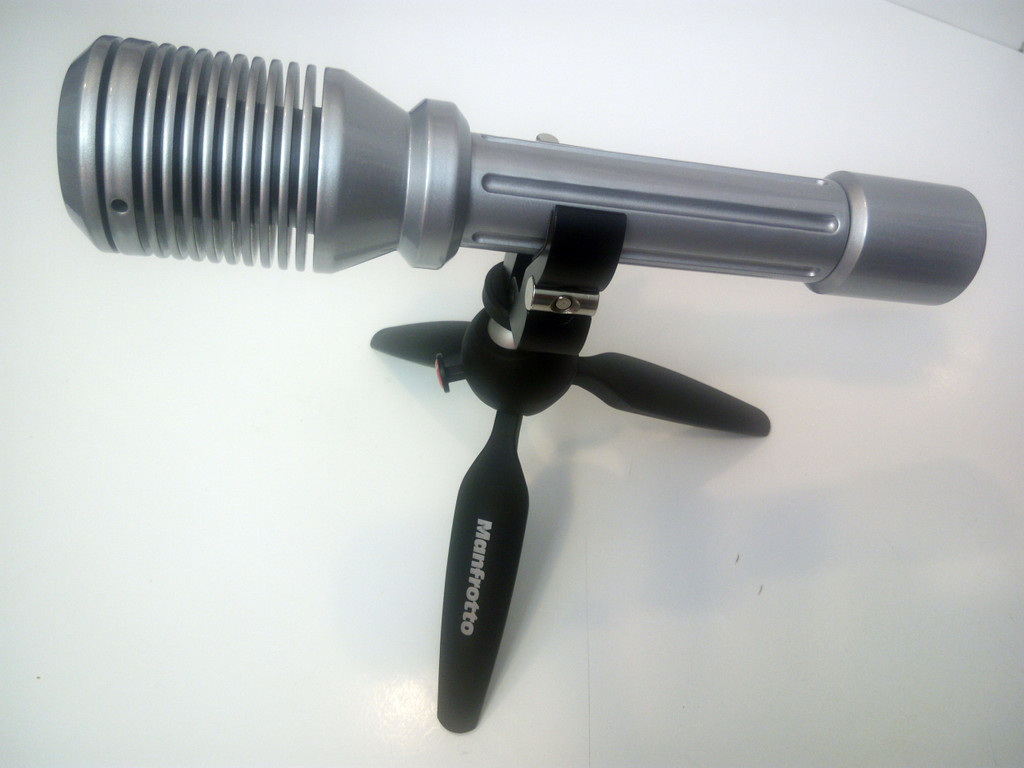
The laser mounted on a Manfrotto tripod+clamp:
(full resolution pic here: http://imageshack.com/a/img910/741/FjWxUn.jpg)
The laser on the desk of my "buttons' room":

(full resolution pic here: http://imageshack.com/a/img540/2401/5ChIwt.jpg)
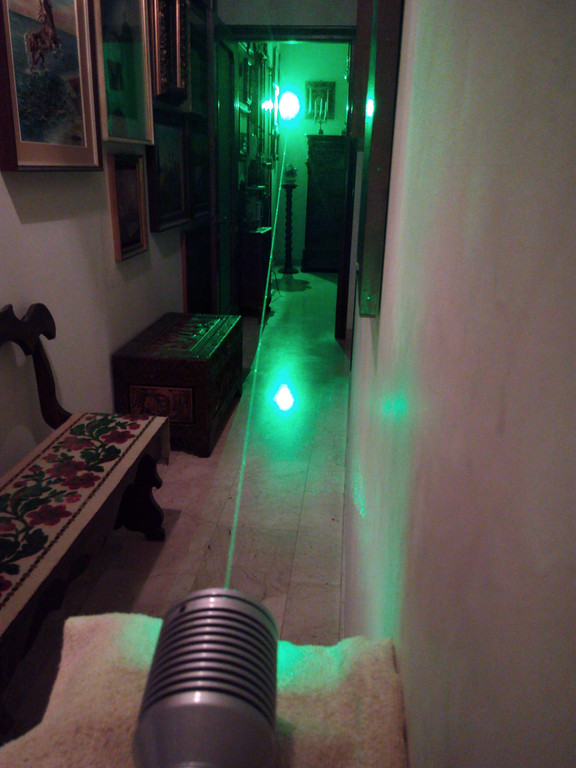
The indoor beamshot (without smoke, with normal exposition and with the lights ON!):
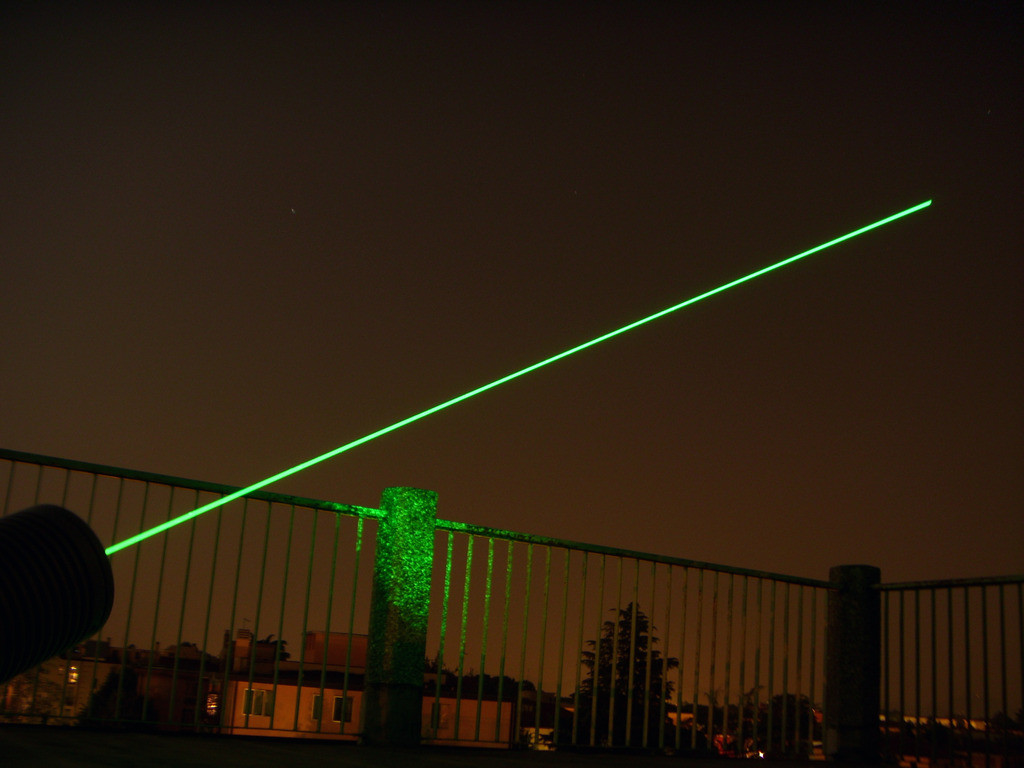
An outdoor beamshot in the night (nocturne mode):
(full resolution pic here: http://imageshack.com/a/img540/6126/8i9ELq.jpg)
A spectacular outdoor beamshot in the night against the moon (nocturne mode):

(full resolution pic here: http://imageshack.com/a/img673/8661/kceSUB.jpg)
The performance graph with 405-G2 lenses:
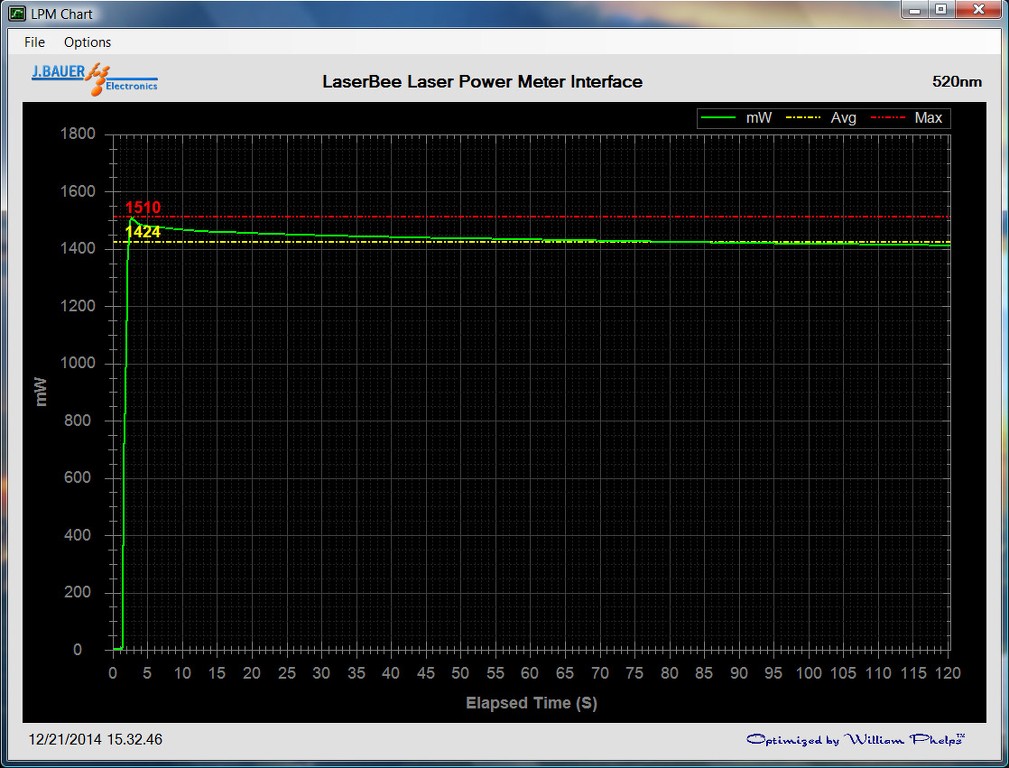
The performance graph with three elements glass lenses:

I prefer to sacrifice about 300 mW of output power and use three elements glass lenses because I like to see a thinner beam without the classical reflections/aberrations of the multimode diodes.
The video:
The laser was placed at about 4 meters from the black plastic panel.
Conclusions:
this is the brightest laser that I have seen until now!
The colour is slightly different from the traditional 532 nm DPSS lasers: it looks like a green emerald, while the DPSS looks like a green pea.
The beam shape is the classical line of the multimode diodes, shortened and corrected with the use of three elements glass lenses.
I wish to thanks one more time DTR and MrCrouse for the professionality and patience and the italian company Compagnin for the excellent
metallized painting work!
I also redo all the the wirings and other minor cosmetic/build issues.
So here is the stunning 1W @1.5W @1.2W 520 nm diode mounted in a evergreen custom Zaser host.
Those are the parts:
(full resolution pic here: http://imageshack.com/a/img912/9837/oE2TEm.jpg)
The head is slightly bigger than normal because I'm planning to put on a LG beam expander in the near future.
It were added also two more fins to compensate the original proportions of the head diameter vs lenght.
Some other cosmetic changes were made to meet my personal taste.
I soldered a neodimium gold plated magnet on the top of every spring to improve electrical path and spring pressure:
The X-drive @2.4A locked inside the heatsink with Arctic silver thermal glue:
Driver pill and switch parts locked in place:
The diode mounted and locked thru the side screw inside the head hole:
(full pic here: http://imageshack.com/a/img661/5690/4J6r8X.jpg)
The tolerance is impressive: the diode fit inside the hole like a piston inside a cylinder!
Three elements glass lenses with a lot of teflon tape around the threaded barrel screwed into the focusing disk:
A small piece of acetate foil to avoid battery shakes and rattle:
The laser fully assembled:
(full resolution pic here: http://imageshack.com/a/img661/6185/dmiVi3.jpg)
(full resolution pic here: http://imageshack.com/a/img905/9623/mKJ8MT.jpg)
(full pic here: http://imageshack.com/a/img540/1629/jnHydl.jpg)
The laser mounted on a Manfrotto tripod+clamp:
(full resolution pic here: http://imageshack.com/a/img910/741/FjWxUn.jpg)
The laser on the desk of my "buttons' room":
(full resolution pic here: http://imageshack.com/a/img540/2401/5ChIwt.jpg)
The indoor beamshot (without smoke, with normal exposition and with the lights ON!):
An outdoor beamshot in the night (nocturne mode):
(full resolution pic here: http://imageshack.com/a/img540/6126/8i9ELq.jpg)
A spectacular outdoor beamshot in the night against the moon (nocturne mode):
(full resolution pic here: http://imageshack.com/a/img673/8661/kceSUB.jpg)
The performance graph with 405-G2 lenses:
The performance graph with three elements glass lenses:
I prefer to sacrifice about 300 mW of output power and use three elements glass lenses because I like to see a thinner beam without the classical reflections/aberrations of the multimode diodes.
The video:
The laser was placed at about 4 meters from the black plastic panel.
Conclusions:
this is the brightest laser that I have seen until now!
The colour is slightly different from the traditional 532 nm DPSS lasers: it looks like a green emerald, while the DPSS looks like a green pea.
The beam shape is the classical line of the multimode diodes, shortened and corrected with the use of three elements glass lenses.
I wish to thanks one more time DTR and MrCrouse for the professionality and patience and the italian company Compagnin for the excellent
metallized painting work!
Last edited:


")