Welcome to Laser Pointer Forums - discuss green laser pointers, blue laser pointers, and all types of lasers

Buy Site Supporter Role (remove some ads) | LPF Donations

Links below open in new window

FrozenGate by Avery

Presale: The Ben Boost

I would actually REALLY like to know if there's anyway to get a TO-252 based 1085 linear to hang in (even heatsinked) at 1.8A for more than 45 seconds or 1 minute. When the TO-252 is on a driver PCB, you can't directly heatsink the metal tab of the IC to the host. Without that ability, I haven't found any way to get such a driver to live past the 1 minute mark.


Hosts and batteries. If you're building a tiny host with a single CR2 or 10440 cell, there's no wisdom in shooting for 1.8. You won't be able to draw nearly enough current to boost up to 1.8A of output. Probably not even enough to boost up to 1.1A.

A good way to heatsink them is to take a pre 1982 US penny (or if there are any copper canadian coins) or a similar piece of copper and cut it into a square about the width of the chip. About an eighth of an inch from one of the side bend a 90 degree angle (this will take a strong vice). Lay it on top of the regulator (with some arctic silver under it if you want) with the bent edge facing down, so that it sits on top of metal tab of the IC. Solder it on to the tab and then use this copper piece to heatsink it (but it obviously has to be insulated from case neg now).

I don't have any real hard data saying that method is better than just heatsinking the plastic, but it seem logical to me that a metal to metal connection is going to be much better than metal to plastic even if it has to travel up that copper a bit first.


I see that now with the math just add up the 4 resisors instead of 2.

I have saved all my good copper over the years I have old water cooling blocks I can cut up and salvage! :crackup: No one wants that stuff anymore... I also baught a bunch of copper ramsinks somewhere along the way just waiting for adhesive now. Who is the Battery Guy???

Kiz
 
Last edited:
A good way to heatsink them is to take a pre 1982 US penny (or if there are any copper canadian coins) or a similar piece of copper and cut it into a square about the width of the chip. About an eighth of an inch from one of the side bend a 90 degree angle (this will take a strong vice). Lay it on top of the regulator (with some arctic silver under it if you want) with the bent edge facing down, so that it sits on top of metal tab of the IC. Solder it on to the tab and then use this copper piece to heatsink it (but it obviously has to be insulated from case neg now).

I don't have any real hard data saying that method is better than just heatsinking the plastic, but it seem logical to me that a metal to metal connection is going to be much better than metal to plastic even if it has to travel up that copper a bit first.

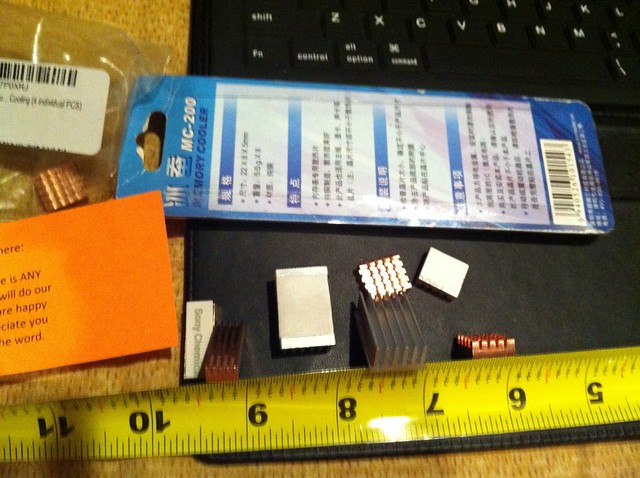
I just got these

Amazon.com: XBRdepot 1 Pack of 4 Premium Self-Stick Copper Heatsinks for XBOX 360 RAM ANA and Southbridge Cooling (4 individual PCS): Video Games


And these...

Laptop GPU CPU Heatsink Copper Shim Pccooler MC-200 | eBay

The Amazon versions look small enough to fit in most hosts. The eBay versions would need to be cut in half.
 
OMG you have no idea what you have found!!! exactly what I was looking for to cool this graphix card...

Thx tsteele

I hate making something I can buy cheaper~!

Peace!
 

Just sticking those on isn't going to to much to a 1085 running at 1.8A.

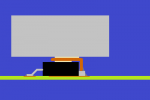
Here is a pic I drew real quick of what I mean't.
Grey is the heatsink, copper piece is brownish color, beige is thermal compound, dark grey is solder.
attachment.php
 

Attachments

  • heatsink.png
    heatsink.png
    3 KB · Views: 165

Untitled by tsteele93, on Flickr

And


Untitled by tsteele93, on Flickr

If that helps.

P.S. Ben, I understand what you are saying. I'm not looking to use these by themselves on a build like that, but I am hoping to use them to bulletproof lesser builds. I'm even willing to try and connect them to the host if it will help and not short.
 
Last edited:
Ben's idea might work, though it's a bit of a hassle. But short of Ben's idea, I would actually question whether anyone has actually been able to get a Jib77, Mohgasm, or similar 1.8A driver based on a PCB that uses a TO-252, to actually run for 2 minutes, even WITH heatsinking. I took a TO-252 driver and heatsinked it (with arctic silver) to a solid piece of aluminum that weighs 3 pounds. Thermal limiting still kicked in around 1 minute.

Basically, what I'm asking is:

- Can anyone actually show me a build where these 1.8A, TO-252 based designs can work? For 2 minutes?

My TO-252 designs sure can't. So either the TO-252 package 1085 ICs I bought from Kiyoukan can't handle their heat as well as the others, or this notion of using TO-252 parts in 1.8A drivers doesn't work. Considering how many TO-252 based 1085 drivers have been sold on this forum, there must be data on this, no?
 
Last edited:
and the top view? lol Sorry Ben... 2 dimentions only work for thouse that see it in 3... :Beer:
 
Sorry rhd, I cant help you there. I've yet to run one of these at 1.8A, but I do have the parts in my next digikey order.

and the top view? lol Sorry Ben... 2 dimentions only work for thouse that see it in 3... :Beer:
Side view is the only one that is relevant. Looking from the top you would just see a square of aluminum...
 
ok then a front view? are these shaped like a wedge???? Is it a copper Shim or just a 2 dimentional heat sinc?
 
Last edited:
Holy crap those parts are tiny! That's exactly why it's worth it to me to pay someone who has the right equipment and skills to build them.

Just curious as I can't really tell from schematics I've seen... Does this driver use a constant negative?

I forget where in the thread about the design of the driver but when someone else asked the answer was no it does not. In the case of a 445 build you could use the case pin to get a ground for the Vin side.
 

Try to keep in mind the main goal of heatsinking the driver is to move the heat into the host body. If you don't plan on attaching the sink to the host body after you attach it to the driver then you are buying yourself only a few seconds more before it overheats. I only mention this as the heatsinks you linked to look designed to be air cooled by a fan which in an insulated host it might as well be solid not finned.

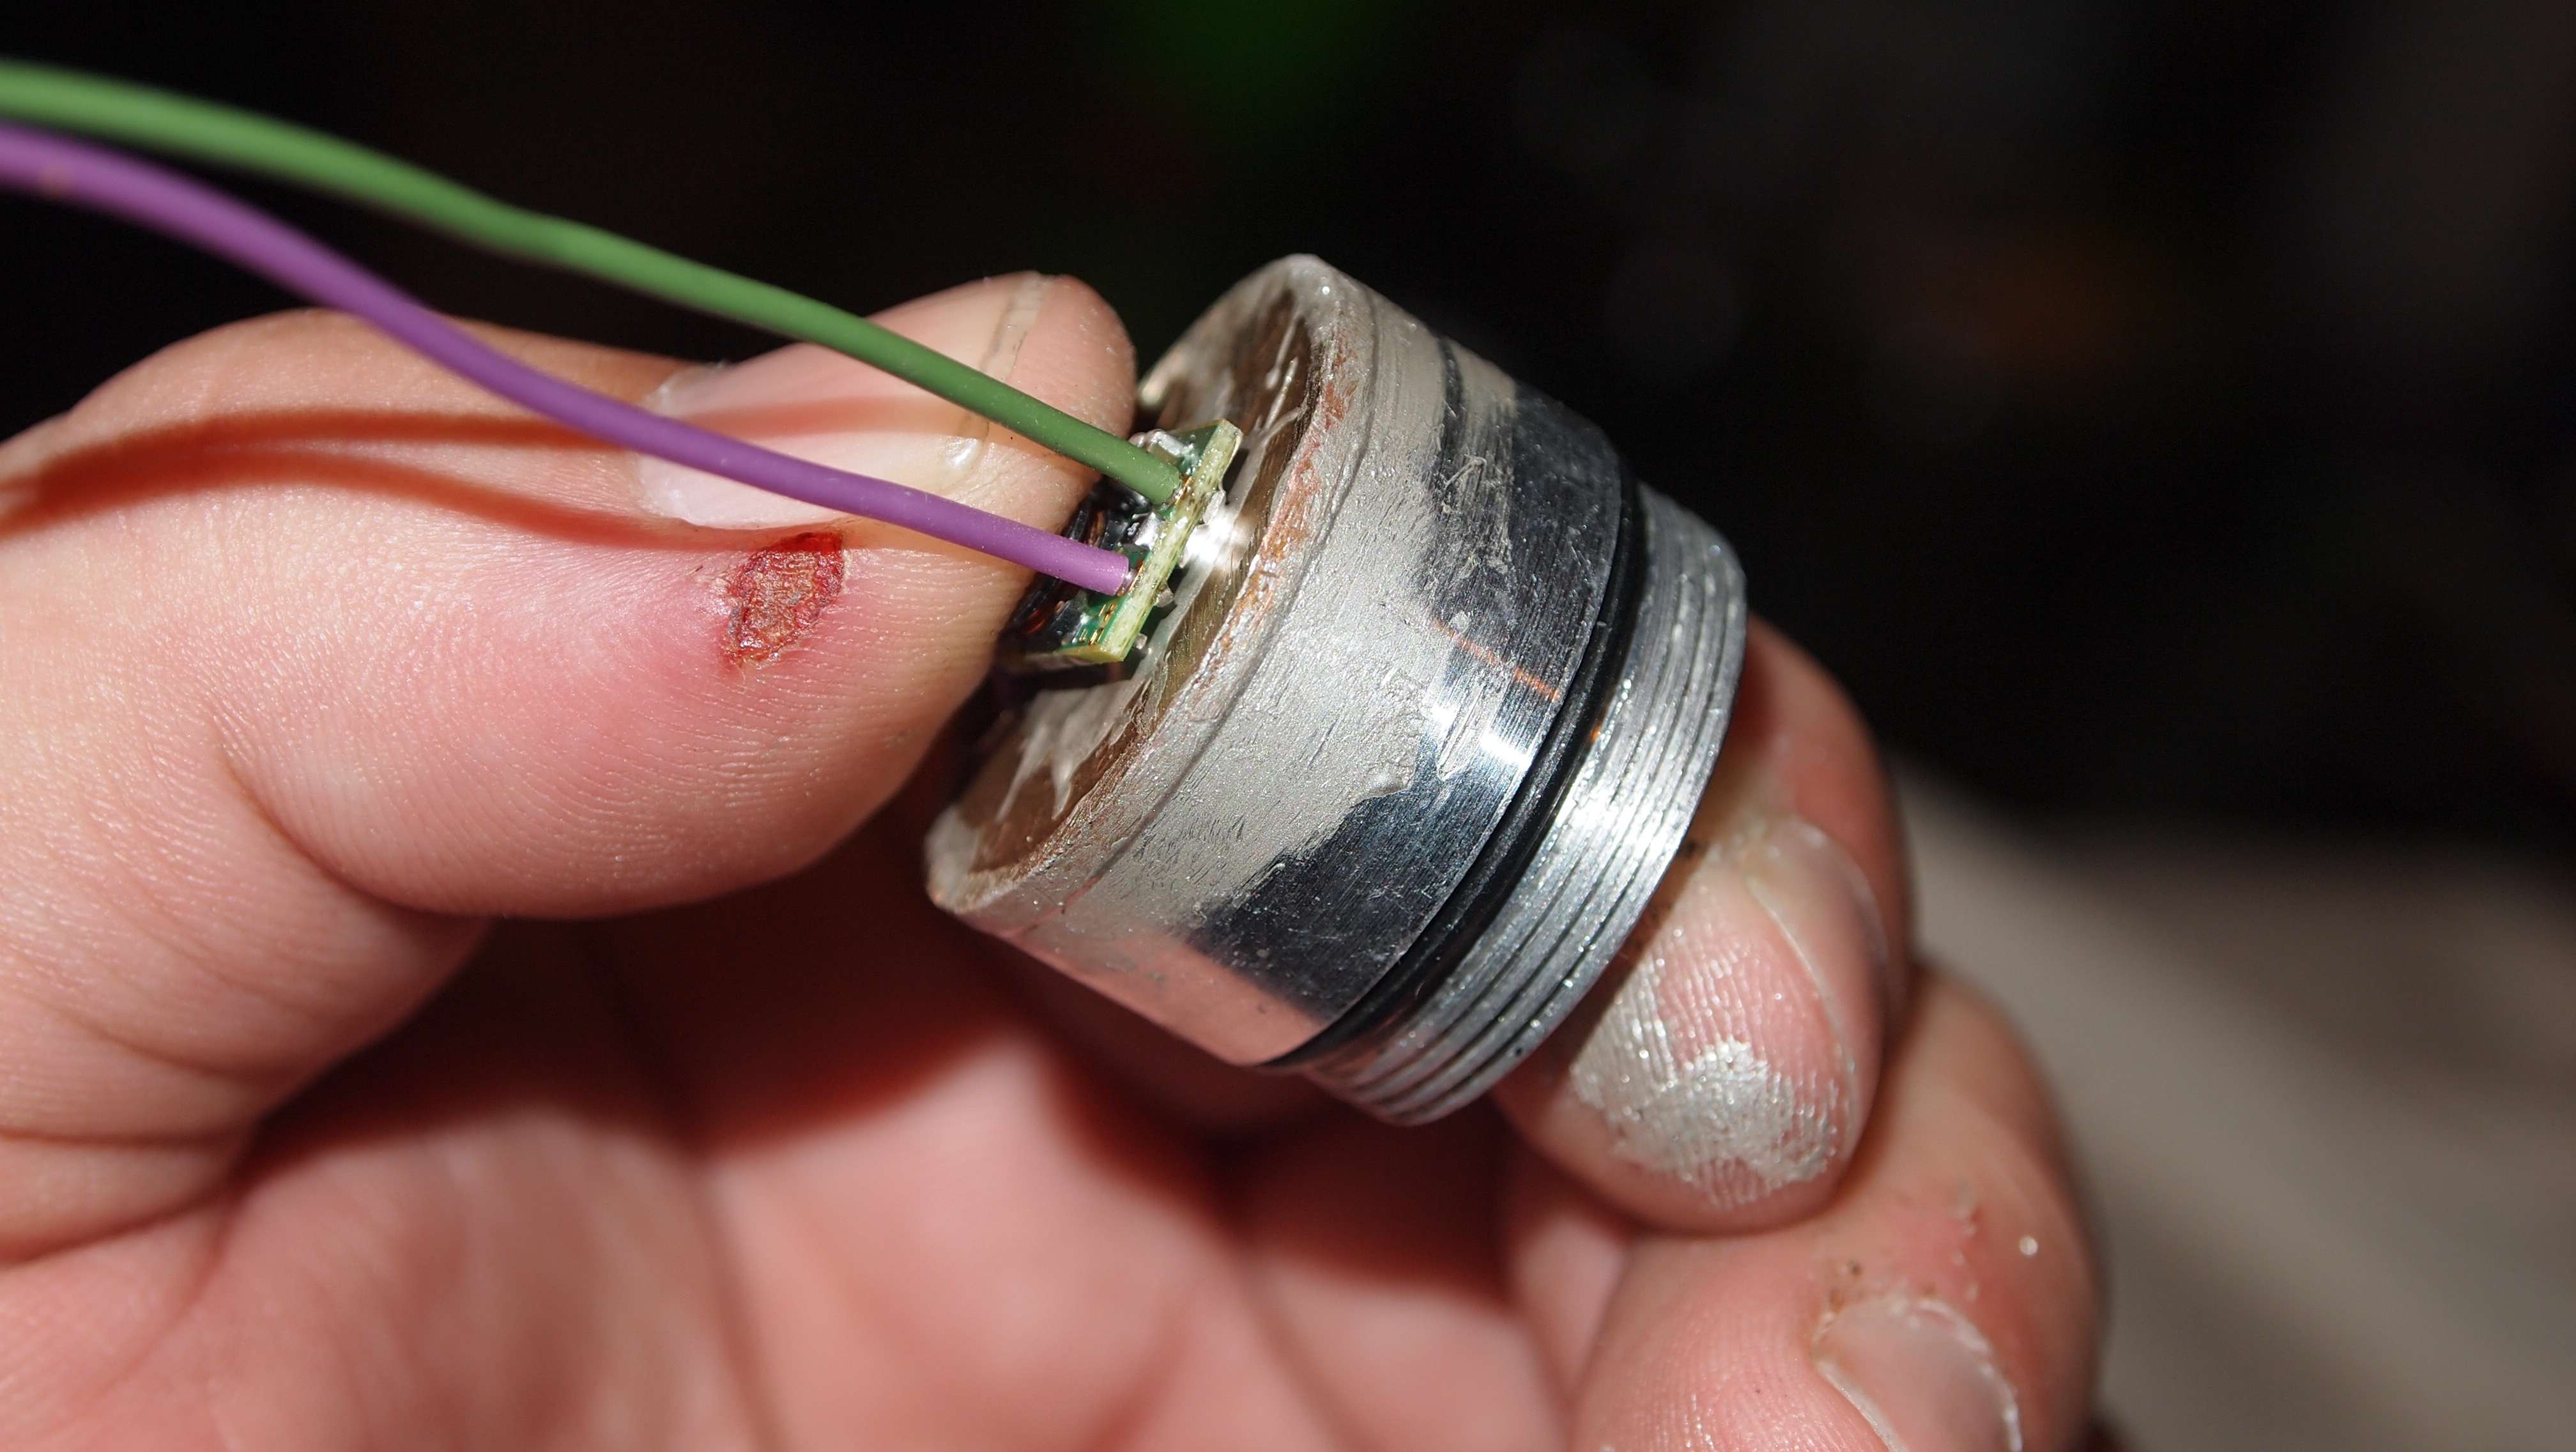
On a Flexdrive set to 1.5A Jay and I tried to work this out with isolated heatsinks. We even got up to one this size.

3405%20Flex%20Max%202.jpg


And it only took us from a 15 second run before thermal protection kicked in to a 30 second run. But as soon as we started to sink them to the host bodies then we got our first unlimited driver duty cycles.:beer:

http://laserpointerforums.com/f51/f...-driver-duty-cycle-1-5a-56404.html#post796360

p1011633.jpg
 
Last edited:
Got the "busy" side finished on all the drivers today. I think I fried my brain with the boring repetitive motions of assembling these. As i prepped all 2,300 pads with solder paste using a 24 gauge iv catheter, and place all 800 components with tweezer.

I just have to place the inductors tomorrow and i'll be ready to start packaging orders.

rhd, I didn't get a chance to test the 1.8 today. I'll see if I can get to it pretty soon and post a video of what i get.
I'll try the regular boards, and the round boards and see if there is a difference in the run times before they shut themselves off
 
Last edited:
rhd, I didn't get a chance to test the 1.8 today. I'll see if I can get to it pretty soon and post a video of what i get.
I'll try the regular boards, and the round boards and see if there is a difference in the run times before they shut themselves off

Awesome!

BTW - I'm curious - wouldn't it be way easier to reflow on all the inductors first, and then do the component side last?


Back
Top