djQUAN
0
- Joined
- May 27, 2013
- Messages
- 1,154
- Points
- 63
**I also could have put this in the red lasers section but I like the 520nm green a little more. 
Having nothing much to do during lockdown, I tore apart my two old lasers which both used cheap flashlights and broken lasers as hosts.
I got tired of carrying several lasers on outdoor trips so combining two into one would reduce the "lasers to bring" count by one less. I would have combined the 520nm green and 450nm blue but the blue used a different style of module and besides, it is already completed into a new version here. The old green laser build was from here and the red build from here.
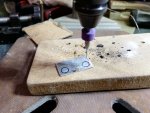
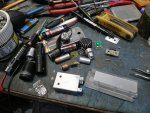
I started by disassembling both lasers. The green one used a 14500 cell and the red one used a CR123 sized cell. So combining them also reduced the types of battery I needed. It took me about a day and a half to machine the host components from a solid block of T6 alloy aluminum for the heatsink and blocks of acrylic for the battery side.
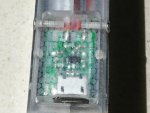
There will be an integrated USB charger with a micro USB connector included stowed away in its tiny little pocket.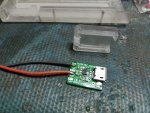
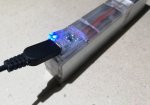
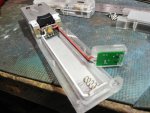
First test of the charger circuit. It will be tucked in when in normal use and flipped out to charge the built in 17670 protected AW high drain cell.
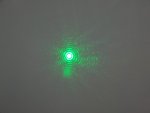
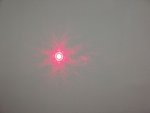
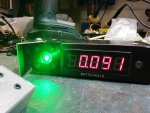
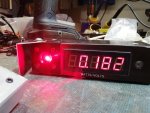
First test with the LPM, the 520nm did 91mW and the 635nm red did 182mW. but because of the eye sensitivity curve, they both appear the same brightness.
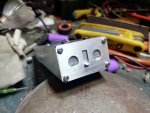
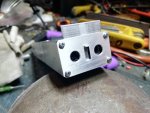
I could have done a different better looking front aperture but this will do for now. I plan to make a shutter type opening to protect from dust when transporting or storage.
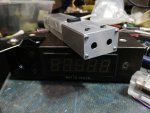
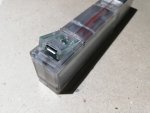
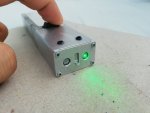
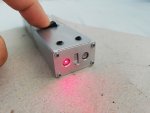
The rectangular form factor feels nice in the hand. I was thinking of machining the main heatsink to add fins but opted to not do it yet and get a feel for the heat dissipation before I do something irreversible. Another reason for tearing apart the two lasers was I did not like tail switch hosts for lasers and preferred side switches so I ended up with this. The momentary rocker switch only allows one laser to be on at a time to prevent heat issues and extend battery life.
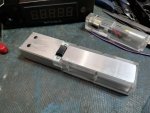
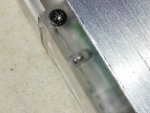
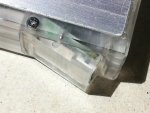
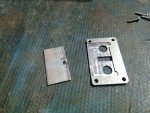
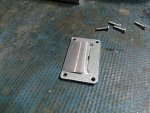
Here it is beside the recently completed blue laser. It is still quite handy and fits in the hand and pocket nicely. The battery part of the case would have been fully made from acrylic but some mishaps ended up messing the thin parts so I machined them all out and epoxied aluminum plates which also hides the battery. Ended up better and stronger than thinned out acrylic too. I wished I had some 1mm carbon fiber sheets and I think that would look nice too but this still worked out well.
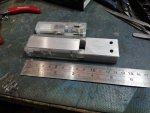
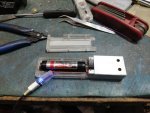
With the top half open (after 9 tiny screws) gains access to the protected 17670 cell.
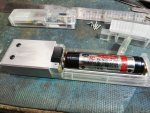
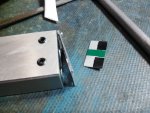
positive contact is a gold plated button taken from a scrap battery contact board. The silicone wires easily stick to super glue which allowed me to keep them neatly in place in the machined sides. There is enough slack for the charger wires for the charger module to open up up to 90degrees but I usually limit it to prevent repeatedly flexing the wires even though they are fine strand super flexible ones.
Sorry no beam shots yet as it is still bright where I am while I'm posting this
Having nothing much to do during lockdown, I tore apart my two old lasers which both used cheap flashlights and broken lasers as hosts.
I got tired of carrying several lasers on outdoor trips so combining two into one would reduce the "lasers to bring" count by one less. I would have combined the 520nm green and 450nm blue but the blue used a different style of module and besides, it is already completed into a new version here. The old green laser build was from here and the red build from here.
I started by disassembling both lasers. The green one used a 14500 cell and the red one used a CR123 sized cell. So combining them also reduced the types of battery I needed. It took me about a day and a half to machine the host components from a solid block of T6 alloy aluminum for the heatsink and blocks of acrylic for the battery side.

There will be an integrated USB charger with a micro USB connector included stowed away in its tiny little pocket.

First test of the charger circuit. It will be tucked in when in normal use and flipped out to charge the built in 17670 protected AW high drain cell.

First test with the LPM, the 520nm did 91mW and the 635nm red did 182mW. but because of the eye sensitivity curve, they both appear the same brightness.


I could have done a different better looking front aperture but this will do for now. I plan to make a shutter type opening to protect from dust when transporting or storage.

The rectangular form factor feels nice in the hand. I was thinking of machining the main heatsink to add fins but opted to not do it yet and get a feel for the heat dissipation before I do something irreversible. Another reason for tearing apart the two lasers was I did not like tail switch hosts for lasers and preferred side switches so I ended up with this. The momentary rocker switch only allows one laser to be on at a time to prevent heat issues and extend battery life.

Here it is beside the recently completed blue laser. It is still quite handy and fits in the hand and pocket nicely. The battery part of the case would have been fully made from acrylic but some mishaps ended up messing the thin parts so I machined them all out and epoxied aluminum plates which also hides the battery. Ended up better and stronger than thinned out acrylic too. I wished I had some 1mm carbon fiber sheets and I think that would look nice too but this still worked out well.

With the top half open (after 9 tiny screws) gains access to the protected 17670 cell.

positive contact is a gold plated button taken from a scrap battery contact board. The silicone wires easily stick to super glue which allowed me to keep them neatly in place in the machined sides. There is enough slack for the charger wires for the charger module to open up up to 90degrees but I usually limit it to prevent repeatedly flexing the wires even though they are fine strand super flexible ones.

Sorry no beam shots yet as it is still bright where I am while I'm posting this
Last edited:


