BlackOps
0
- Joined
- May 7, 2016
- Messages
- 139
- Points
- 28
(Pictures below and in the comment section)
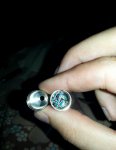
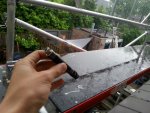
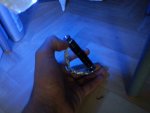
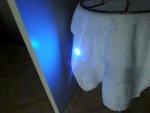
Hello, I do like to show my build on this forum. It took me more then 10 hours to build and design it. Finally done.
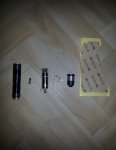
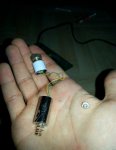
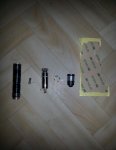
so these are the components that I used for this project:
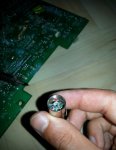
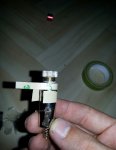
Driver system: battery BMS, 405nm ebay laser driver, playstation 3 proximity socket, used for the laser diide connections.
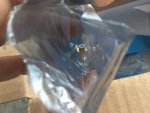
Components to seal the laser: iPhone 4 camera seal rubber, iPhone 6 internal camera ring, iPhone 6 battery adhesive to seal the aixiz 3 element lens (pain in the @$$) and some o-rings extracted from old boiler components (Vaillant sollide and Remeha Avanta Bosch digital pressure sensors). And 3M 300LSE adhesive tape. All parts are ordered from aliexpress or ebay. Oahd extracted from broken boiller components. The iPhone 4 parts i used where extracted from an phone beyond repair.
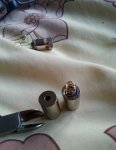
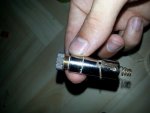
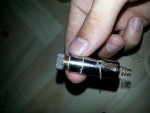
host: I got this host on juli 2014 on vacation. I believe it was under $5. It originally was a cheap AAA led. I dissasembled it march this year, I used the lathe at school to make everything fit. It was precision work. But its solid and quality aluminum. I can beat and destroy stuff with this laser by smashing it against the object, and the laser doesn't break.
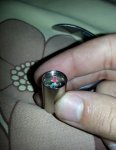
And as for the diode, I bought 2 cheap blu ray newish lasers of aliexpress. Believe it or not, but for some reason, they last for YEARS. I bought it of for $1,60. I used these diodes. I have the other diodevsitting in the post office. Yet have to pick it up but I will not use it till this one dies.
I just turned the pot untill the laser was as bright as my newish one, they where exactly as bright. I made it ever so slightly less bright just in case, but unnoticeable
And I used an aixiz housing. I made my own diode press and removal tool.
I used 3M 300LSE adhesive to seal the module off and make it watertight, and this laser has an security switch. At the moment, I'm the only one who knows how to operate this laser.
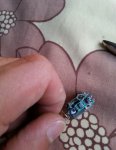
I will explain the pictures in a reaction below.
btw, tell me what you think of this laser.
Attachments
-
 1466098066781-800x600.jpg124.5 KB · Views: 204
 -
 20160616_193322-800x600.jpg88.8 KB · Views: 164
 -
 20160616_193236-800x600.jpg75 KB · Views: 144
 -
 20160615_232014-460x600.jpg42.5 KB · Views: 167
 -
 20160615_232445-800x600.jpg73.8 KB · Views: 246
 -
 20160615_225330-460x600.jpg63.9 KB · Views: 145
 -
 20160615_232650-460x600.jpg42.3 KB · Views: 167
 -
 Screenshot_2016-06-16-19-29-45-800x450.png426.9 KB · Views: 189
Last edited:


