Welcome to Laser Pointer Forums - discuss green laser pointers, blue laser pointers, and all types of lasers

Buy Site Supporter Role (remove some ads) | LPF Donations

Links below open in new window

FrozenGate by Avery

462 Blue Bayou

IWIRE

0
Joined
Dec 18, 2013
Messages
621
Points
0
Introducing the proud birth of "Blue Bayou"
Born on 06/12/14
Blue Bayou was brought into the world as a beacon for the full moon tonight on Friday 13th :)
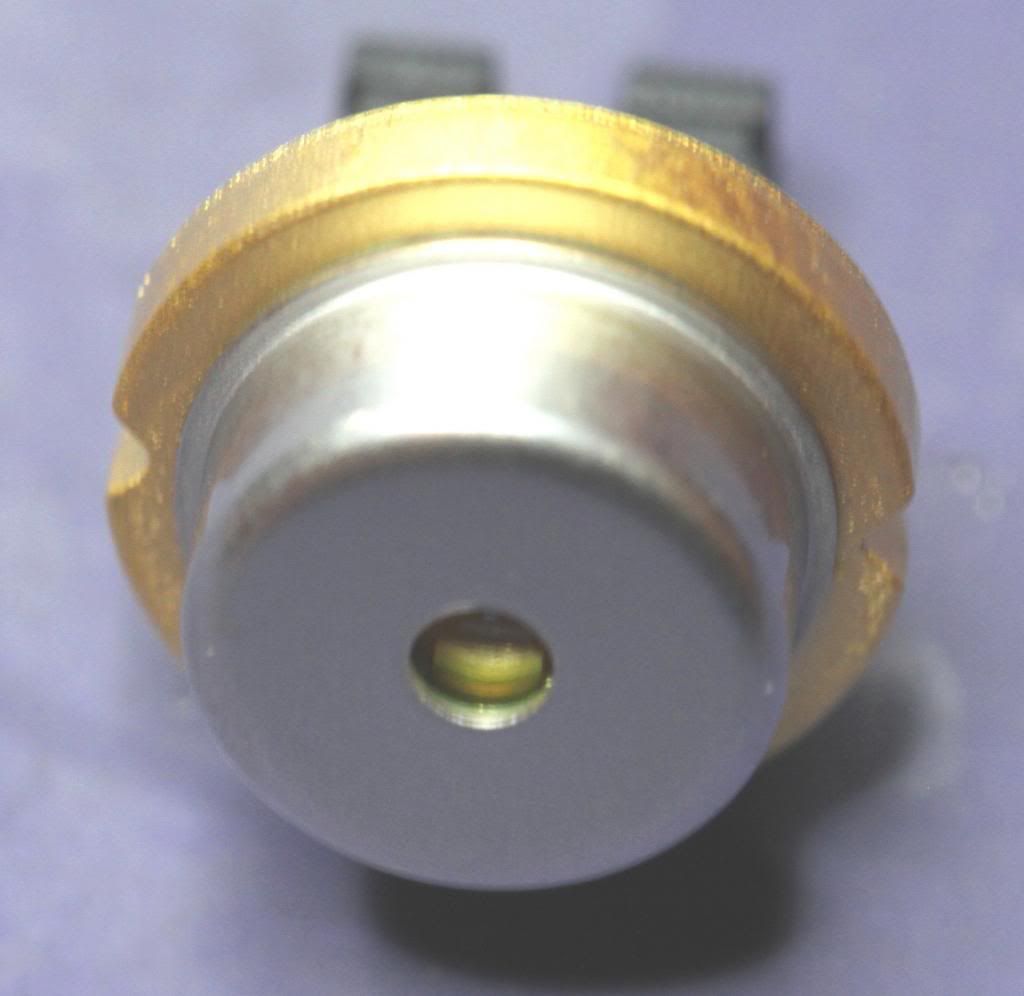
Diode of course from 3 day DTR :)

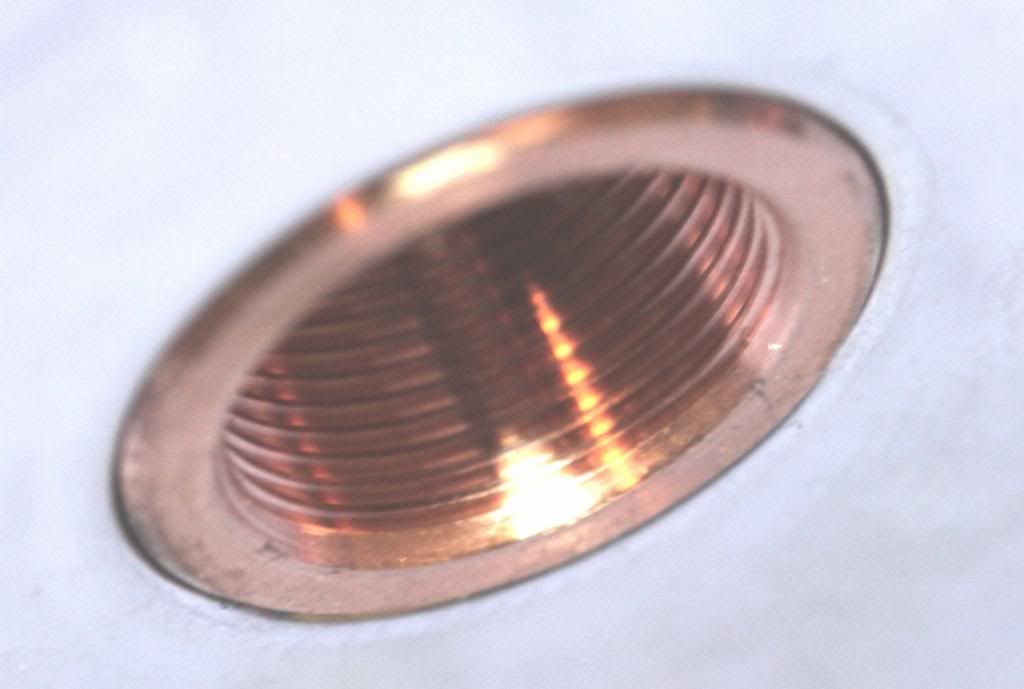
Make sure module fits heatsink

Make sure lens threads into module
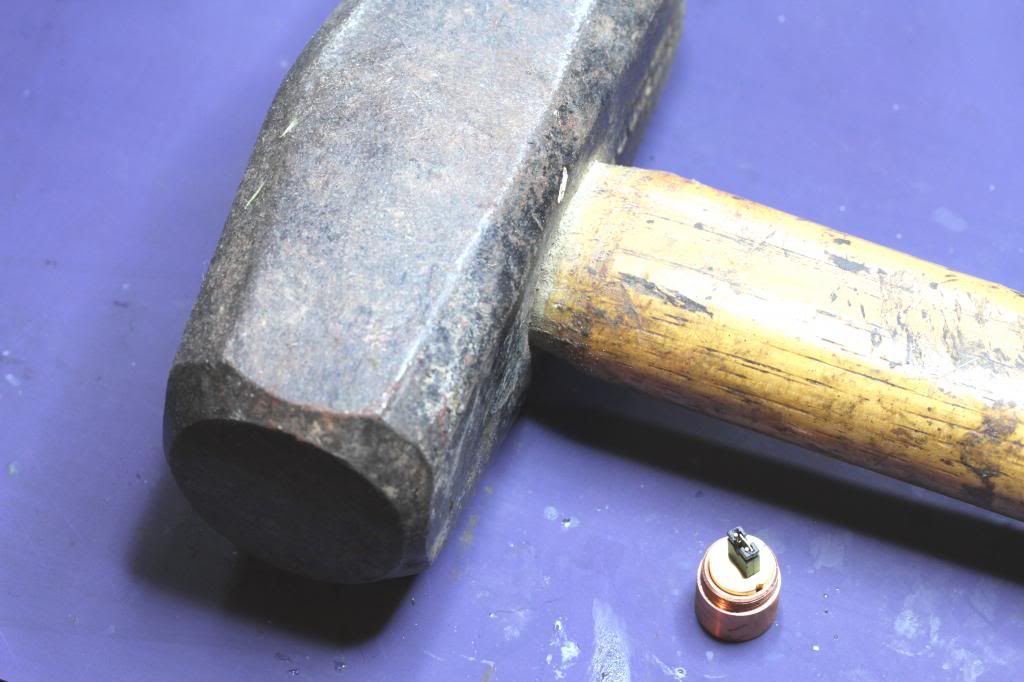
Install the diode in the module :crackup:
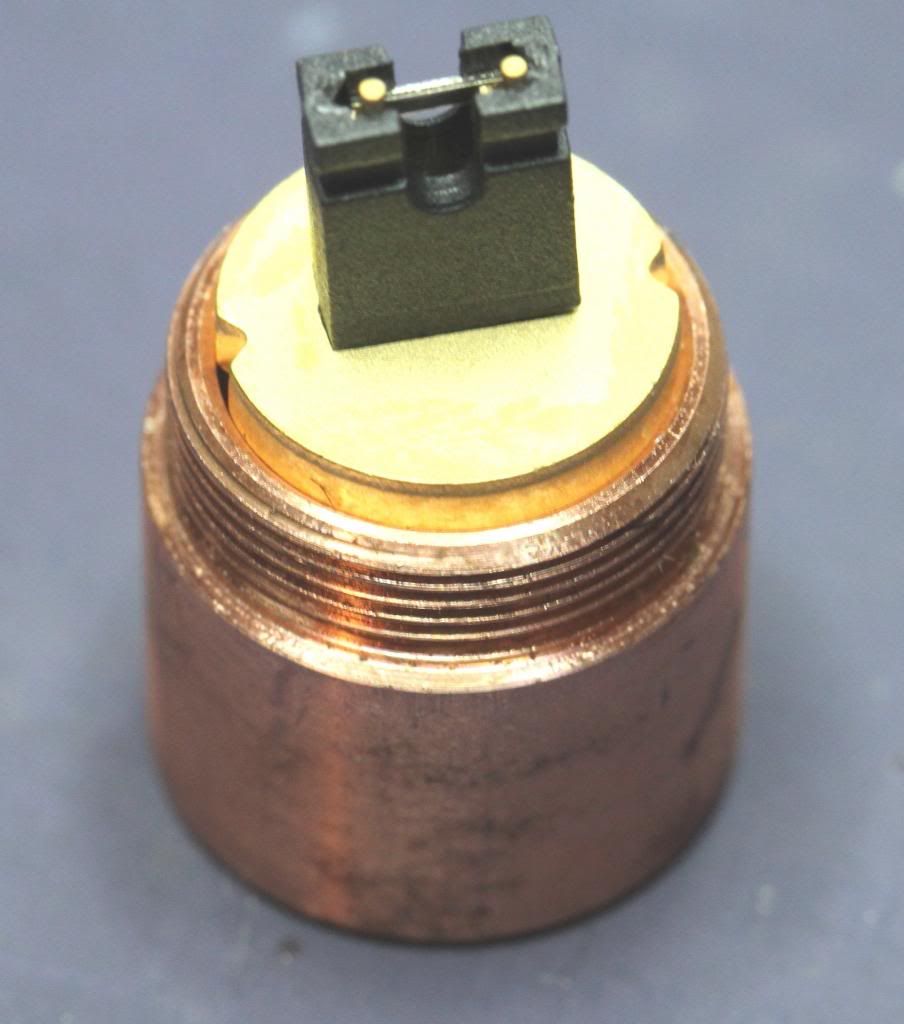
Only don't use a hammer, it will bend the pins :)
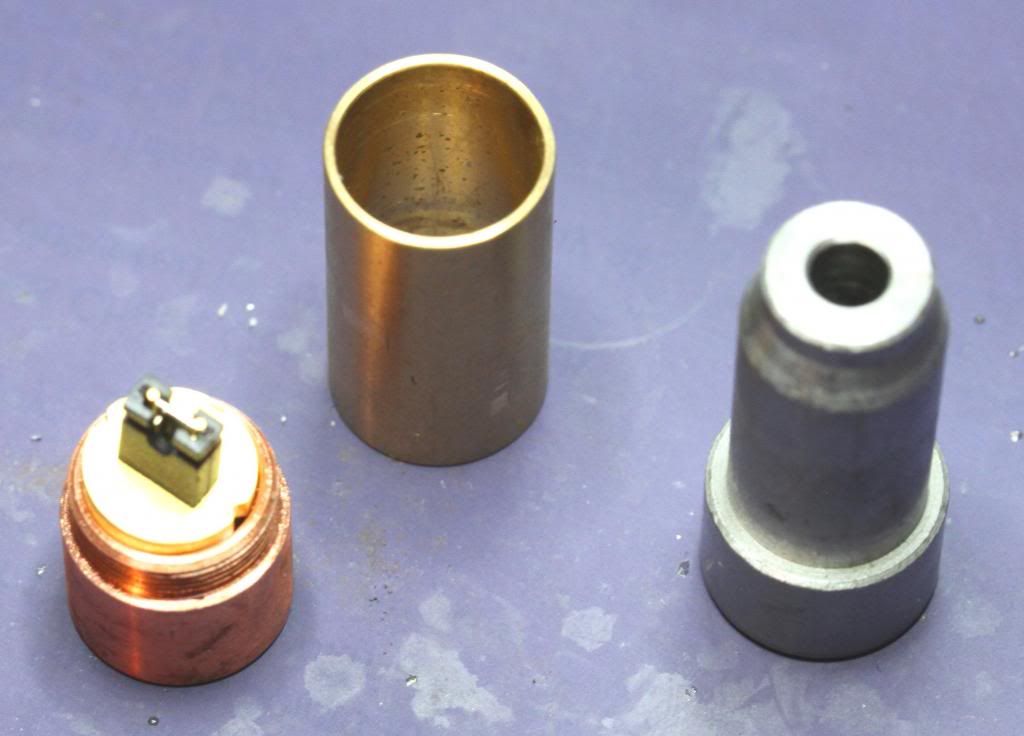
Use Flaminpyros press tool and safe a diodes life !
I like to put a little thermal paste on the flange of the diode making sure not to get anything on the face of the diode. Don't set it down on it's face. Don't touch the face. Try not to even look at it's face :)
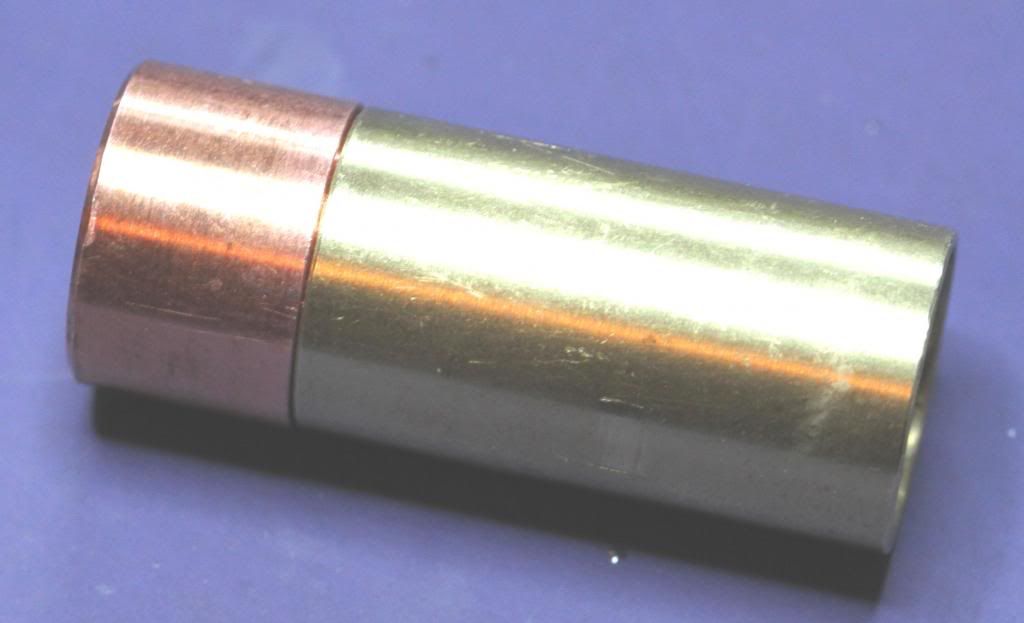
Screw the guide sleeve onto the module but leave it slightly loose or you will be cussing after the diode is pressed in. YMMV :)
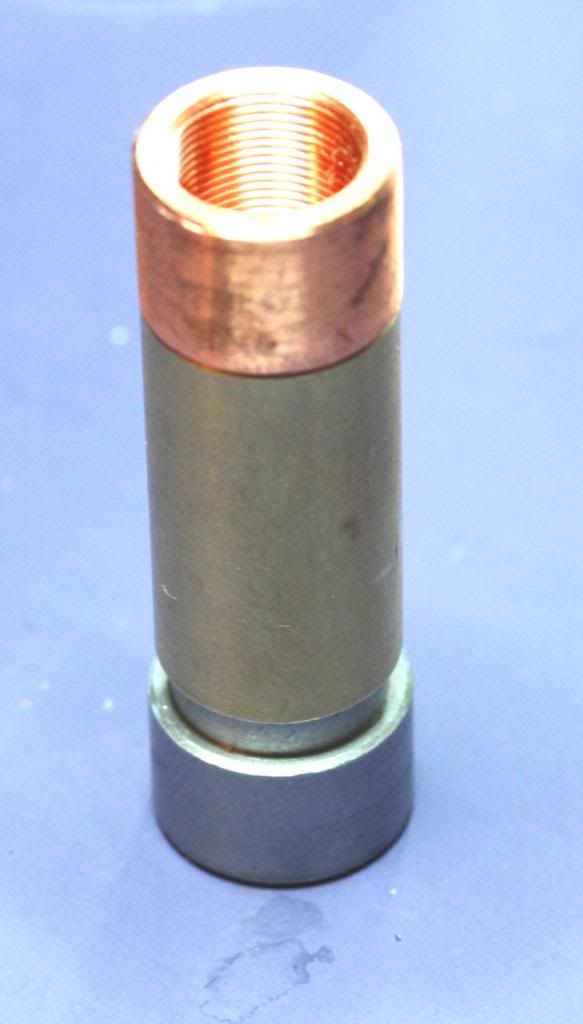
Slide the assembly down over the press tool/diode
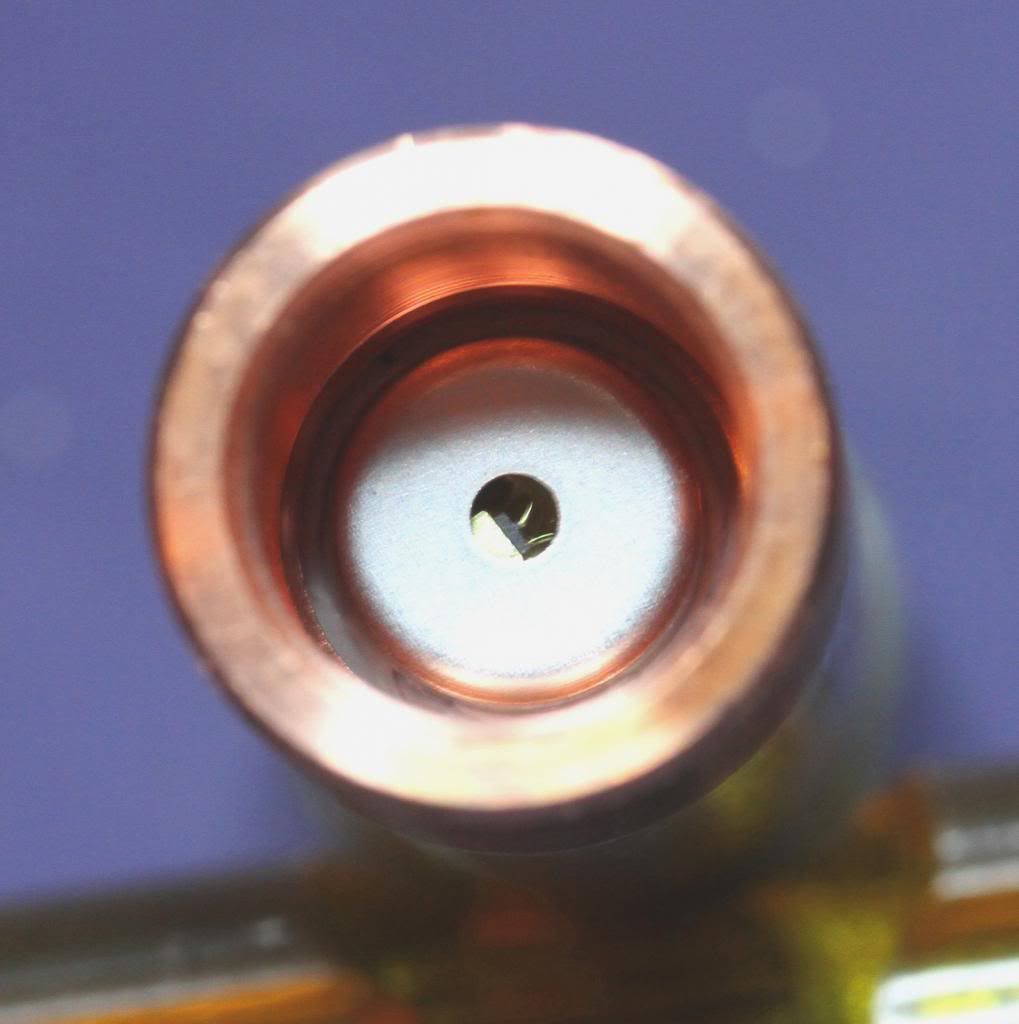
Check and make sure the diode is centered in the module
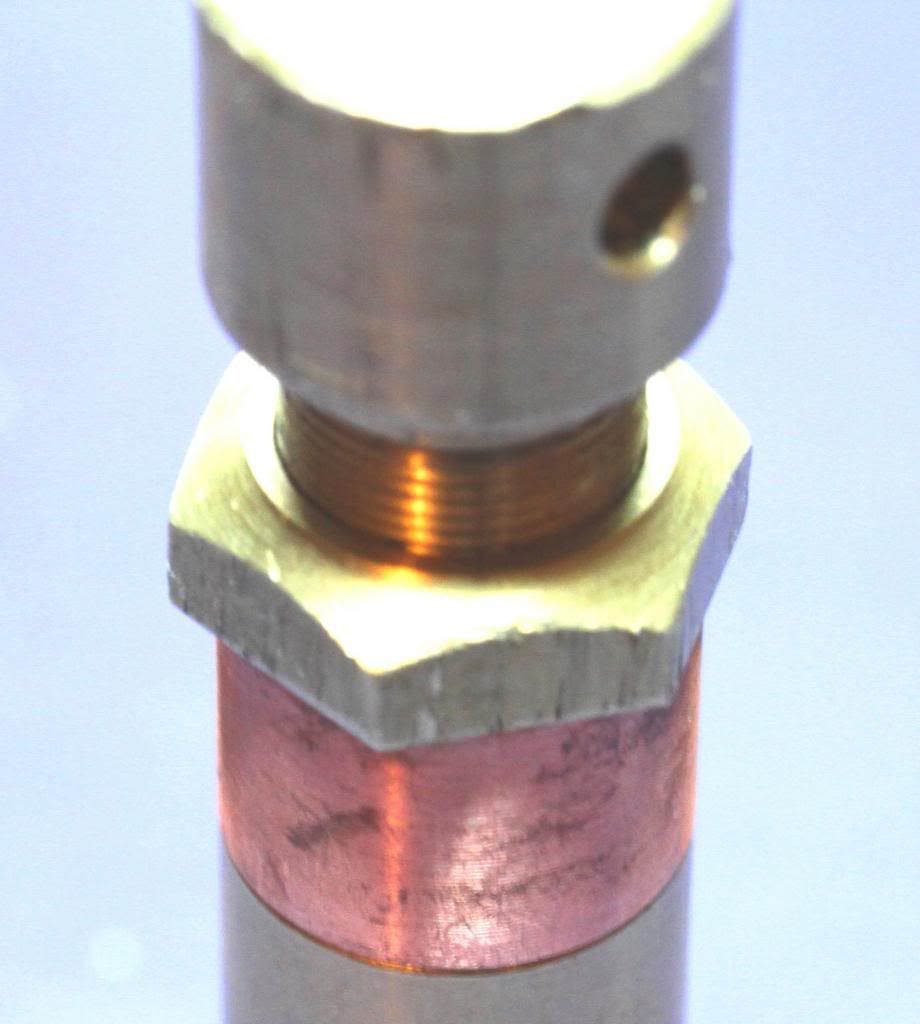
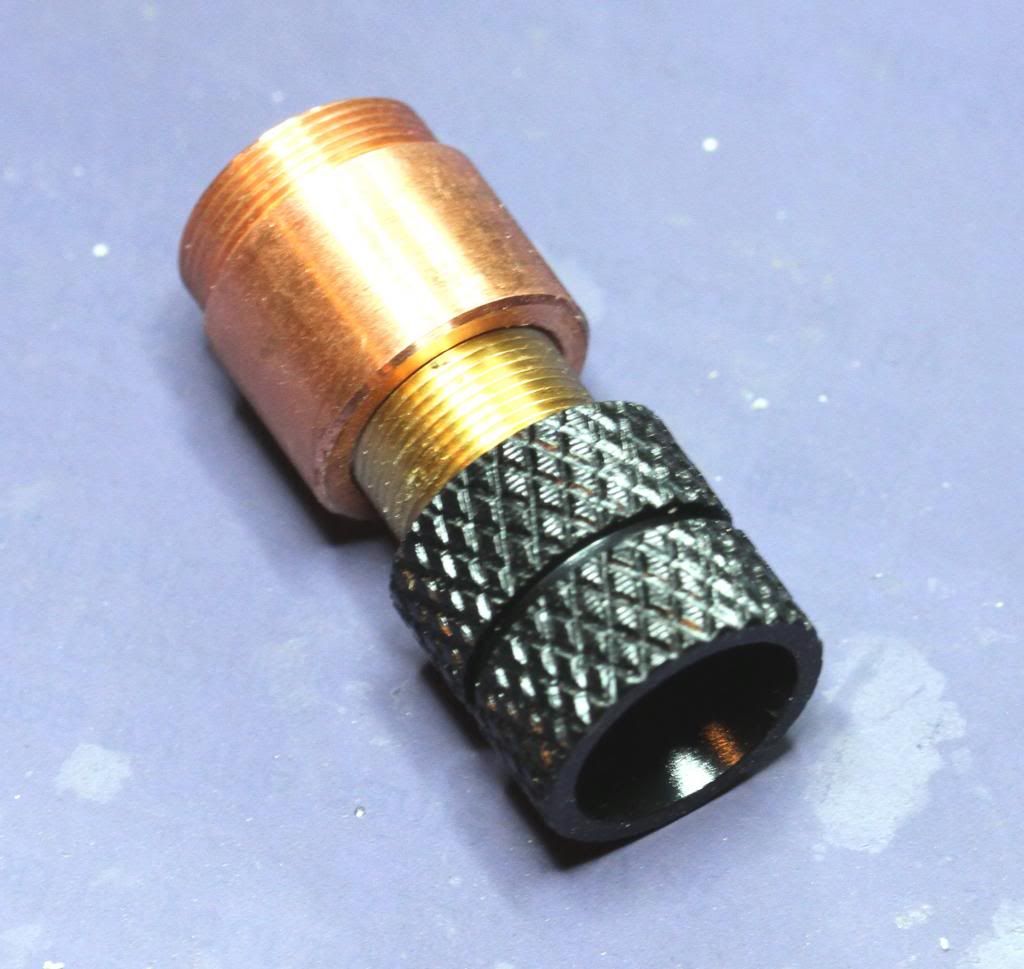
Remember that lens we test fit earlier ? It would be real nice if it would still thread in after we are through. So I take Flaminpyros stuck module extractor and thread it into the module to save the threads and put the jam nut against the face, making sure I left room for the diode to press in and not hit it :wave:
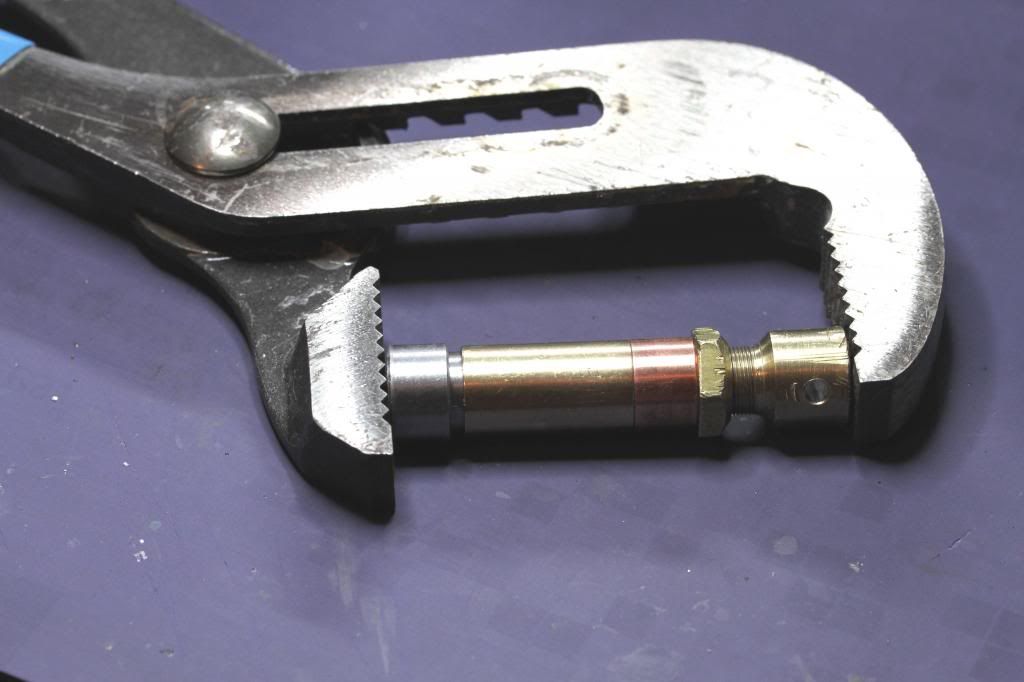
Then I put the whole assembly in my big azz channel locks, adjusted out so the pressure is square with the tool. I like the pliers because I can feel the diode pressing into place.
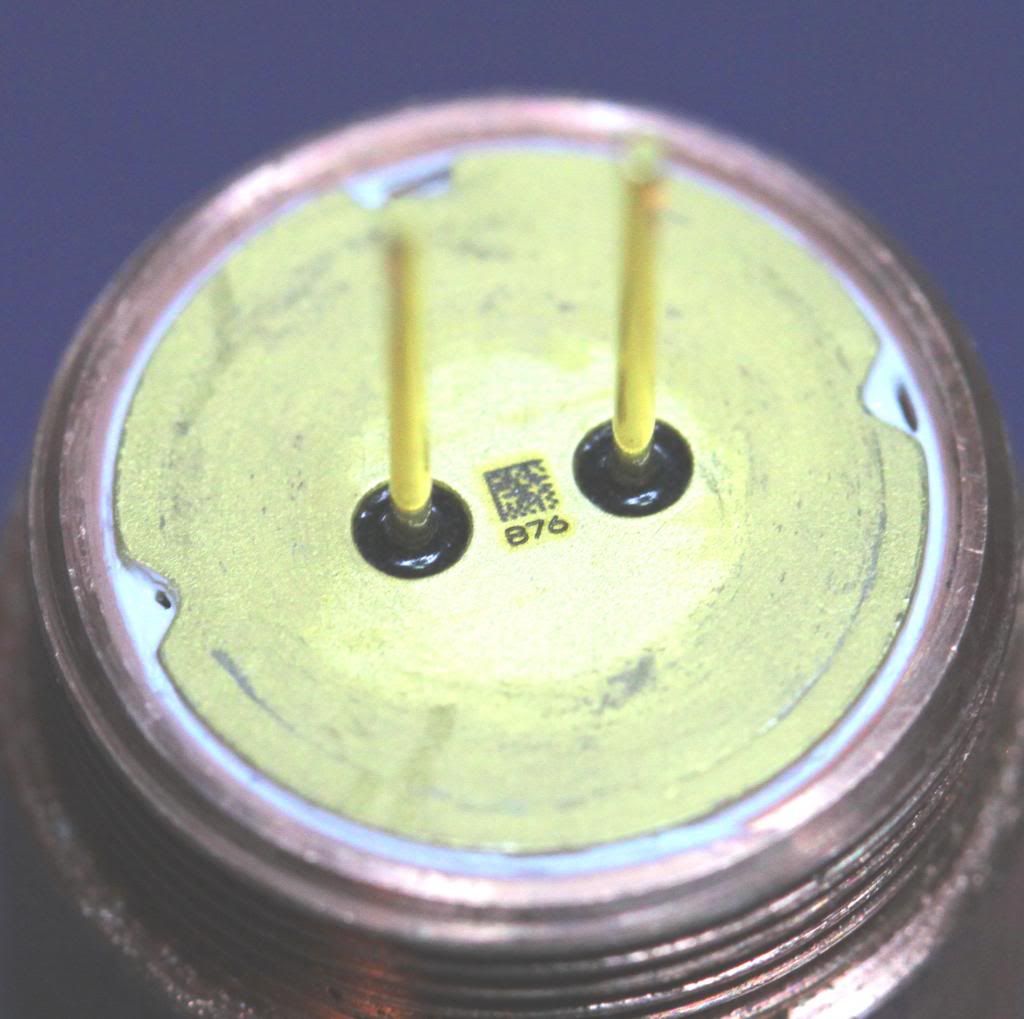
Bam ! Works like a champ everytime ! That's a happy diode right there. Nice and even, slightly below the lip of the module. I've never met Flaminpyro but I'm pretty sure he is a genius, comparatively speaking to me of course :)
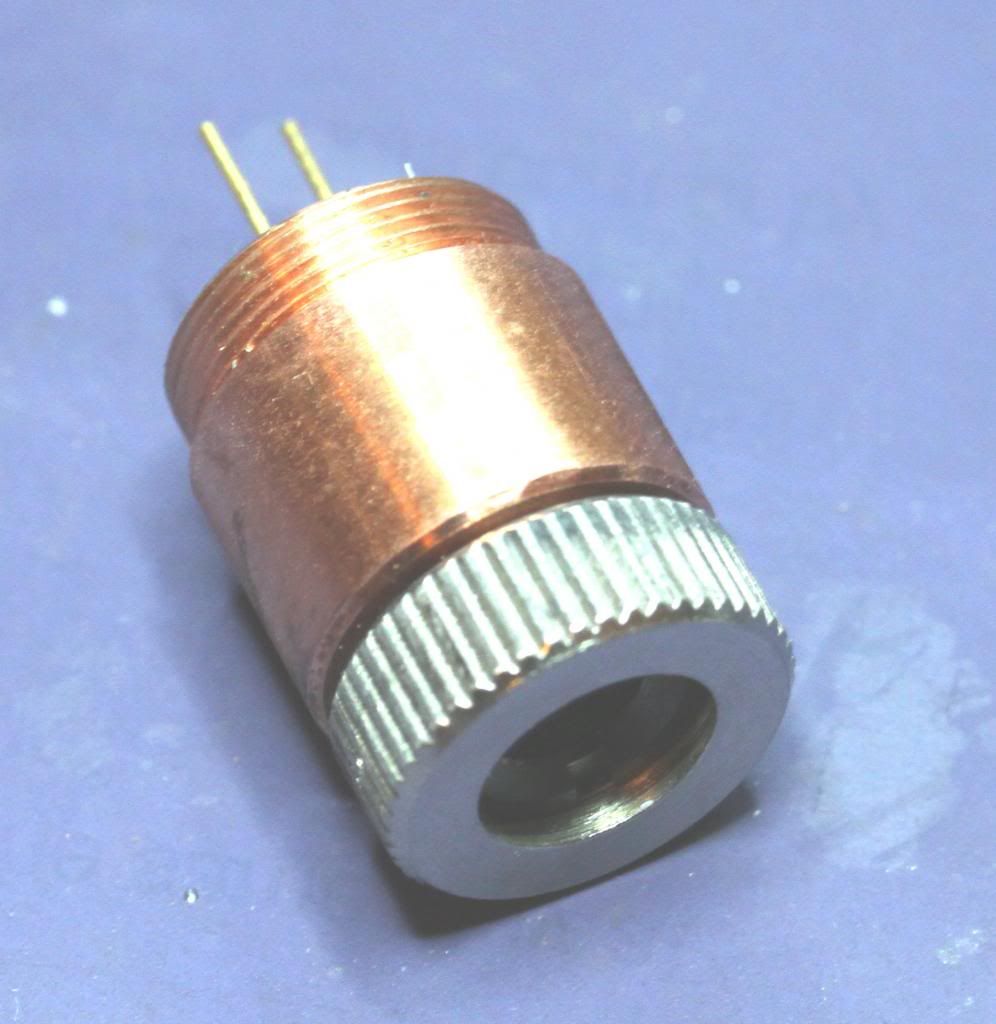
So now I take one of those cheap plastic lens holder things and screw in to keep crude out.
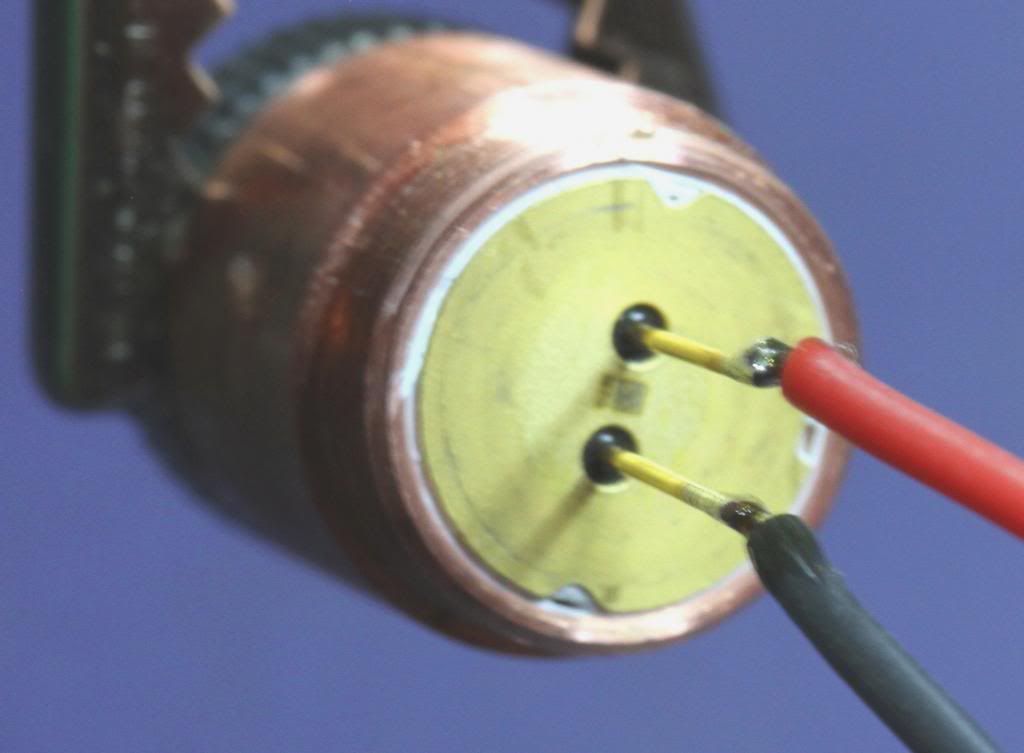
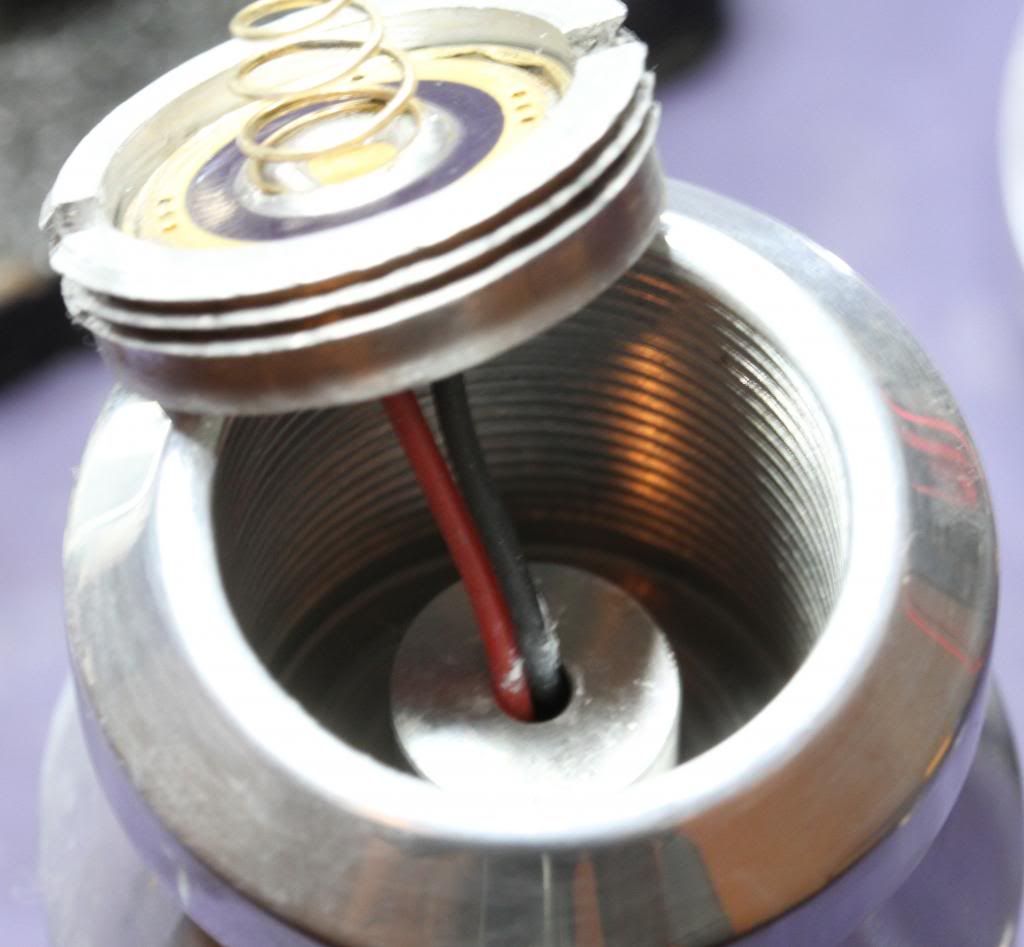
Solder some temp wires to my diode
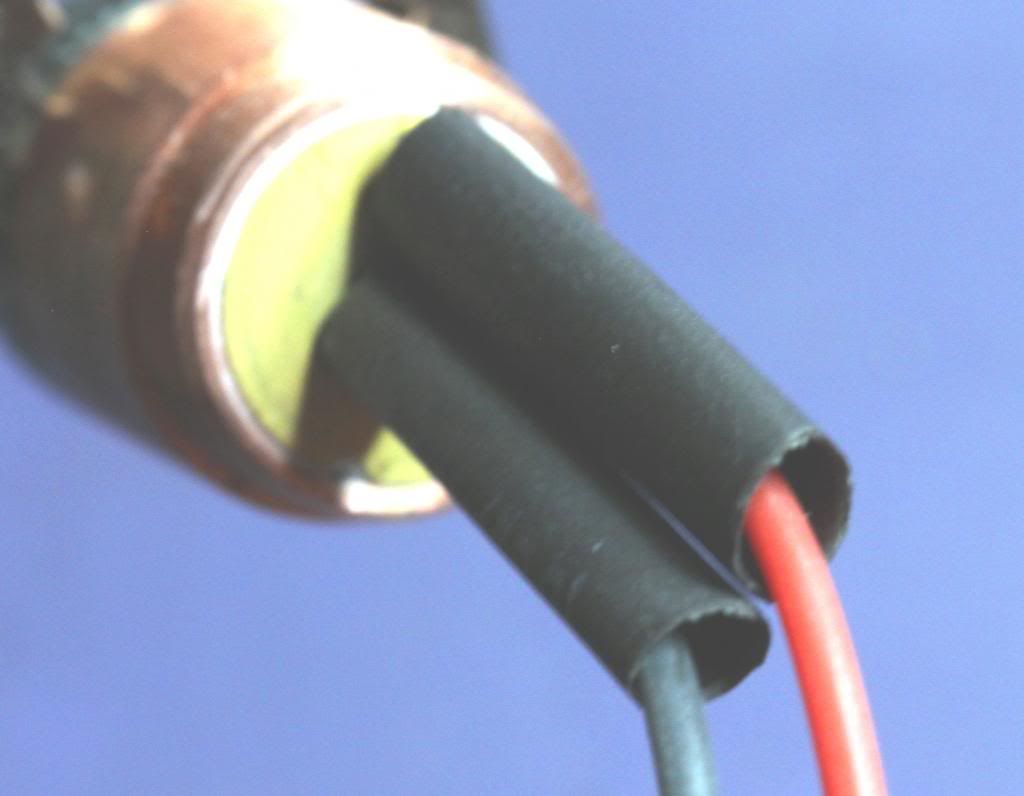
Slide a little heatshrink over just to make sure nothing bad happens, I'm not going to heat it. It's coming right back off.
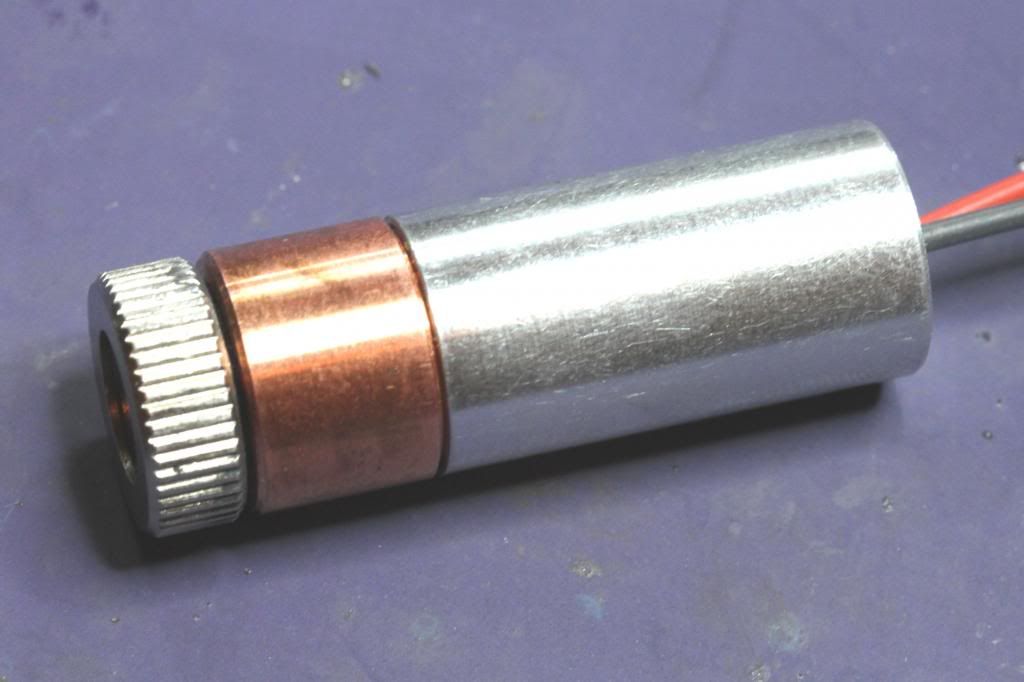
Put the back half on, take out the plastic lens and replace with a real lens, I just grab a G-2 and stick in it. Put the module in a heatsink.
Now comes the fun part ! Smoke 'em if ya got 'em !
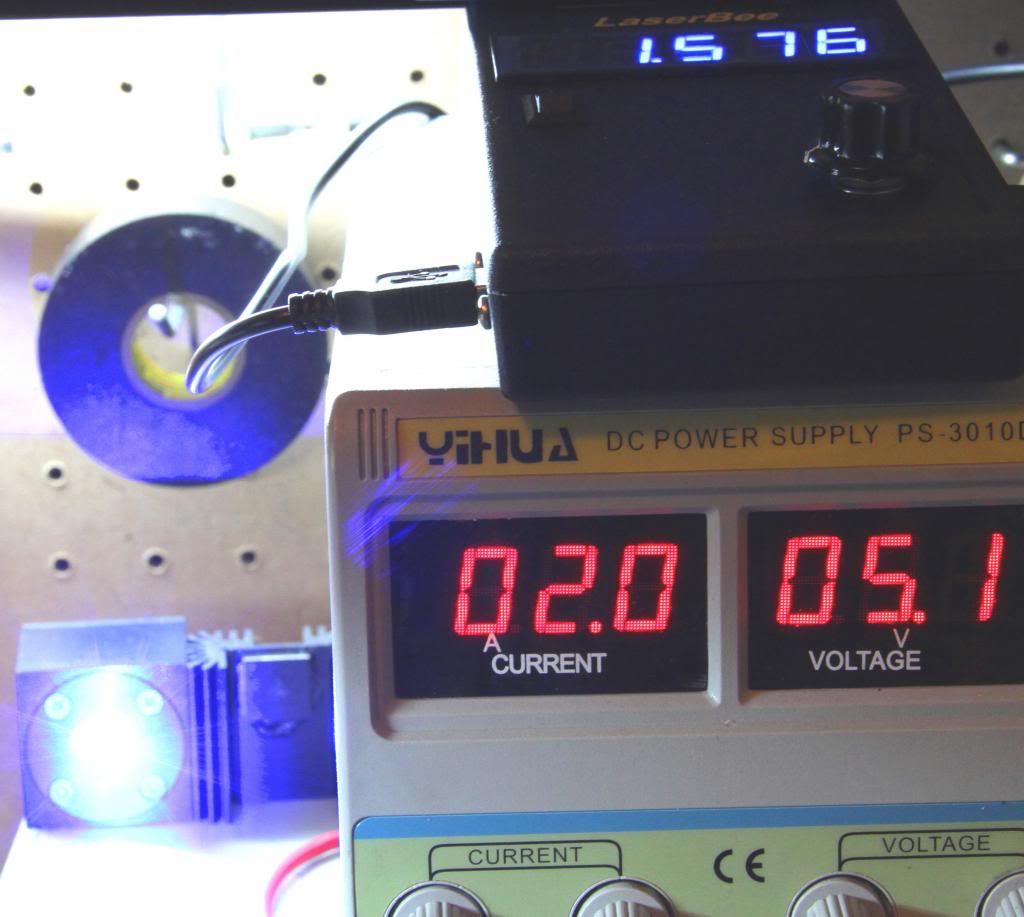
I slowly start increasing the current and watch my LPM, when the diode hits a plateau and stops gaining in relation to current. I stop. It doesn't really matter what the lpm reading is. It is what it is. When it slows down gaining that is what the current gets set at. I haven't blown a diode since I started doing it like that. Knock on wood. Watch, the next one will pop. Diode Gods are fickle.
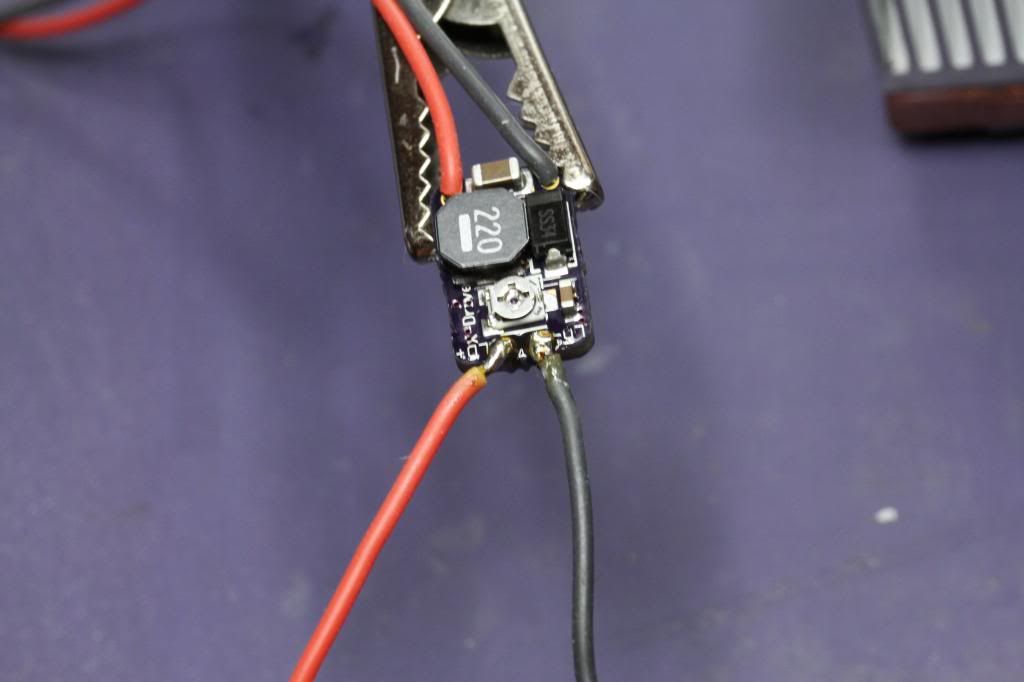
Now I can solder up my drive and set current
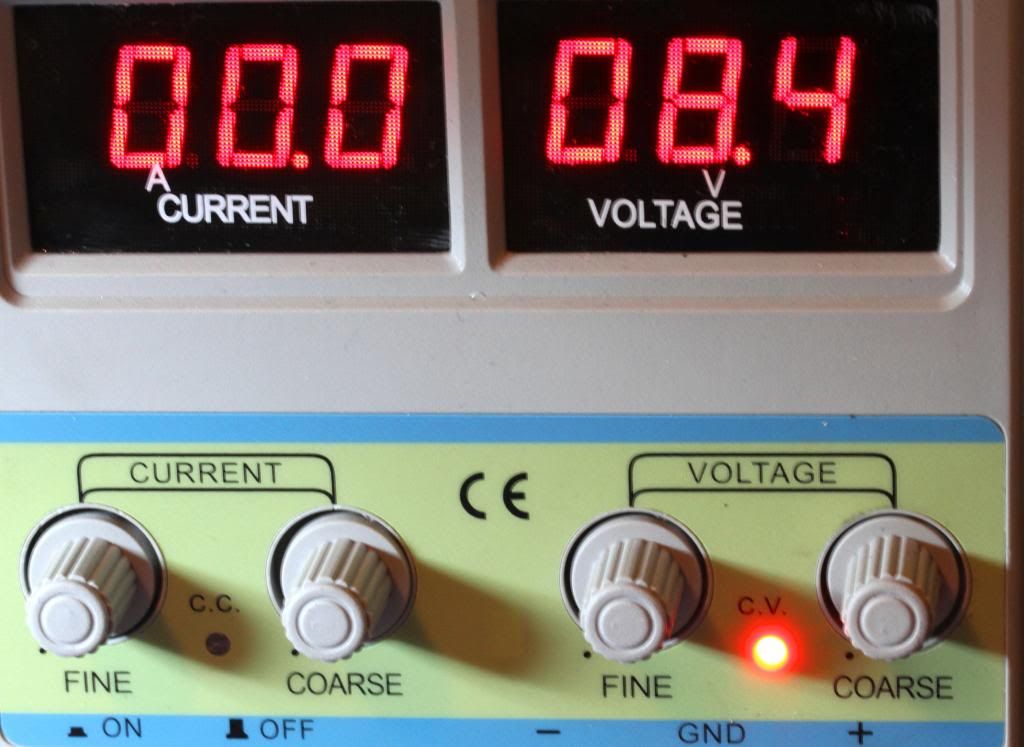
I'm using an Xdrive so I set my voltage to the most it will see.
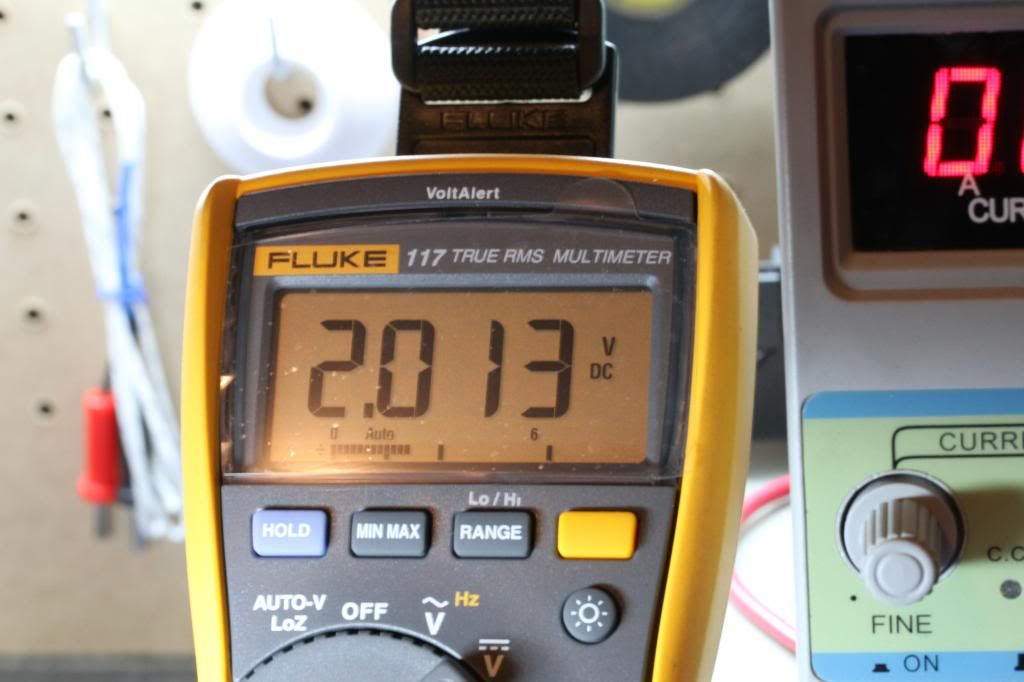
and use my test load and Fluke meter to set it.
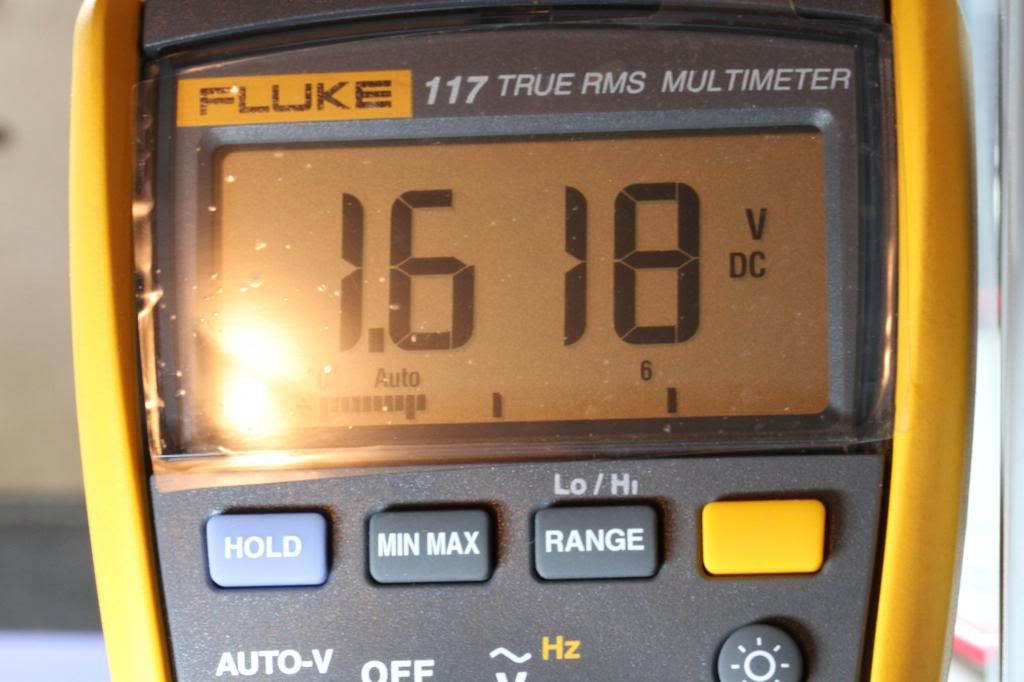
WTF ! It's a 3 amp drive ! I'm only getting 1.6a !:yabbmad:
Oh yeah, the blob. I forgot the blob. I hate the blob. I'm no good at the blob :(
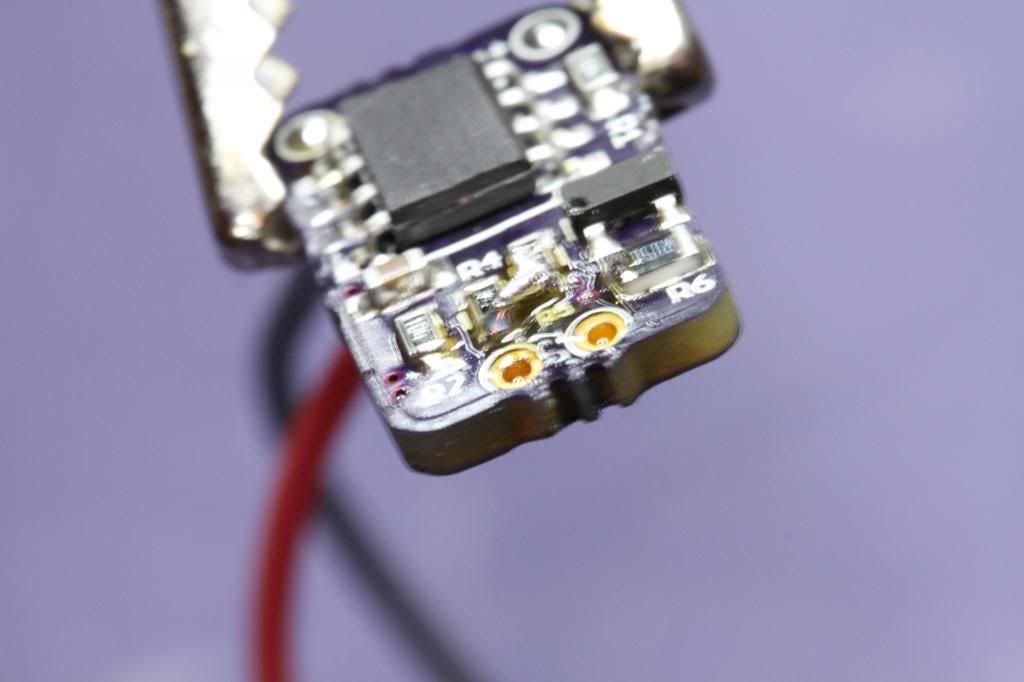
It's a blob. That's about all I can say for it.


Success ! The blob works ! There's my two amps ! This thing might actually work !
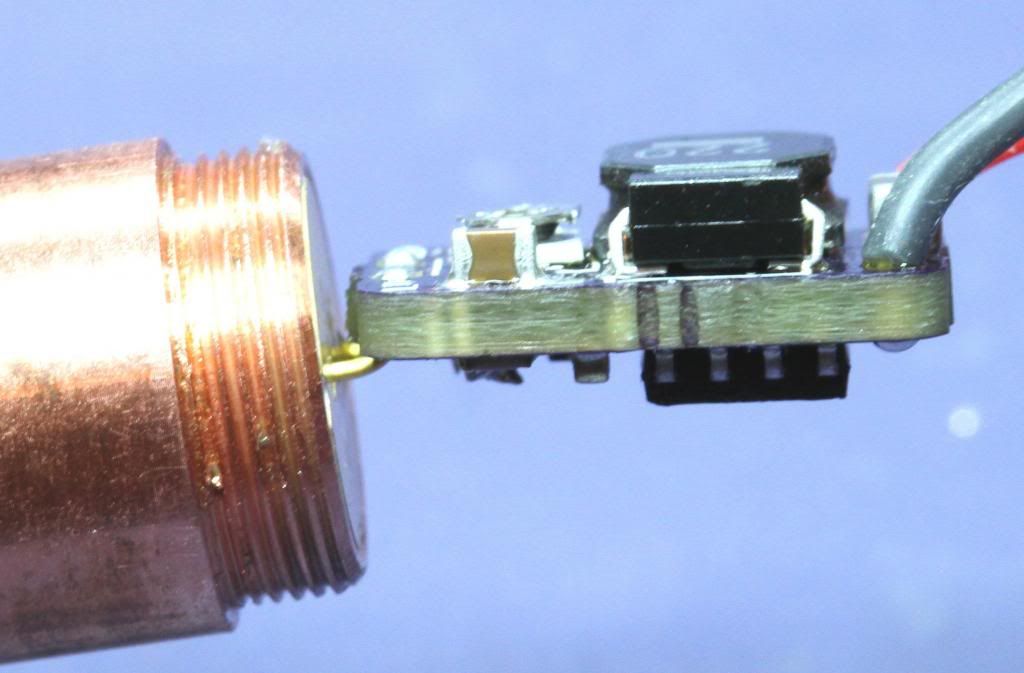
Marry my drive and my diode. Aren't they a cute couple ! They were made for each other !
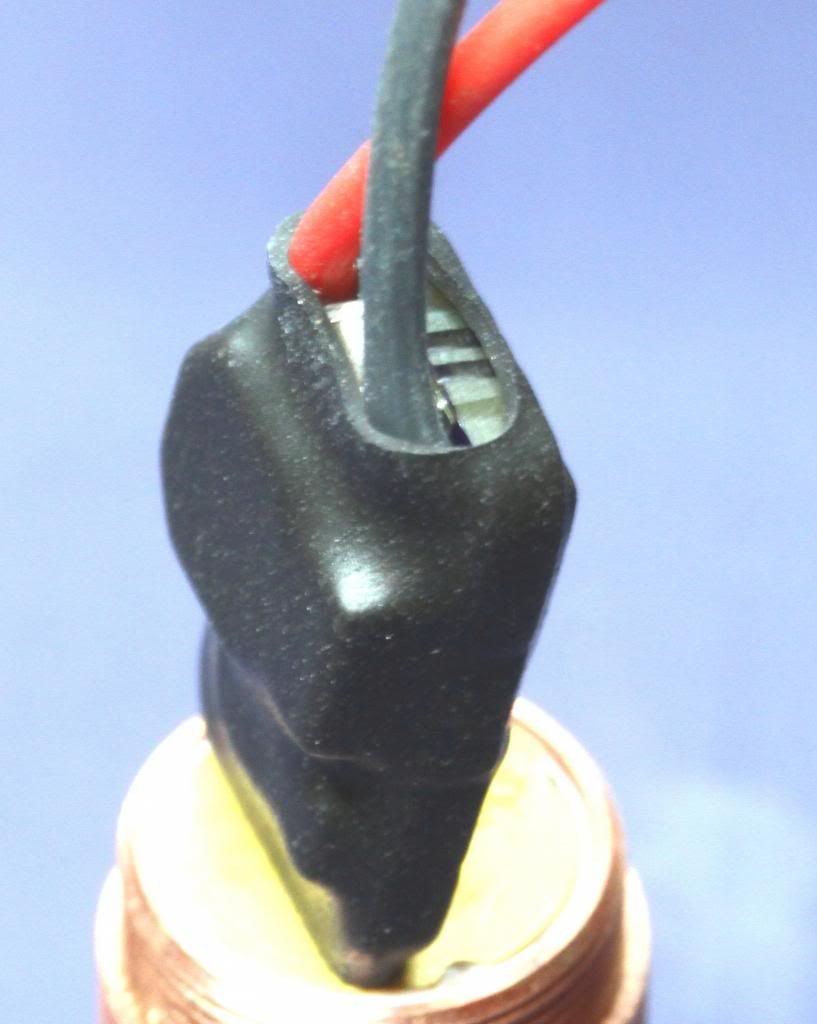
It's their wedding night, better wrap that rascal for protection !
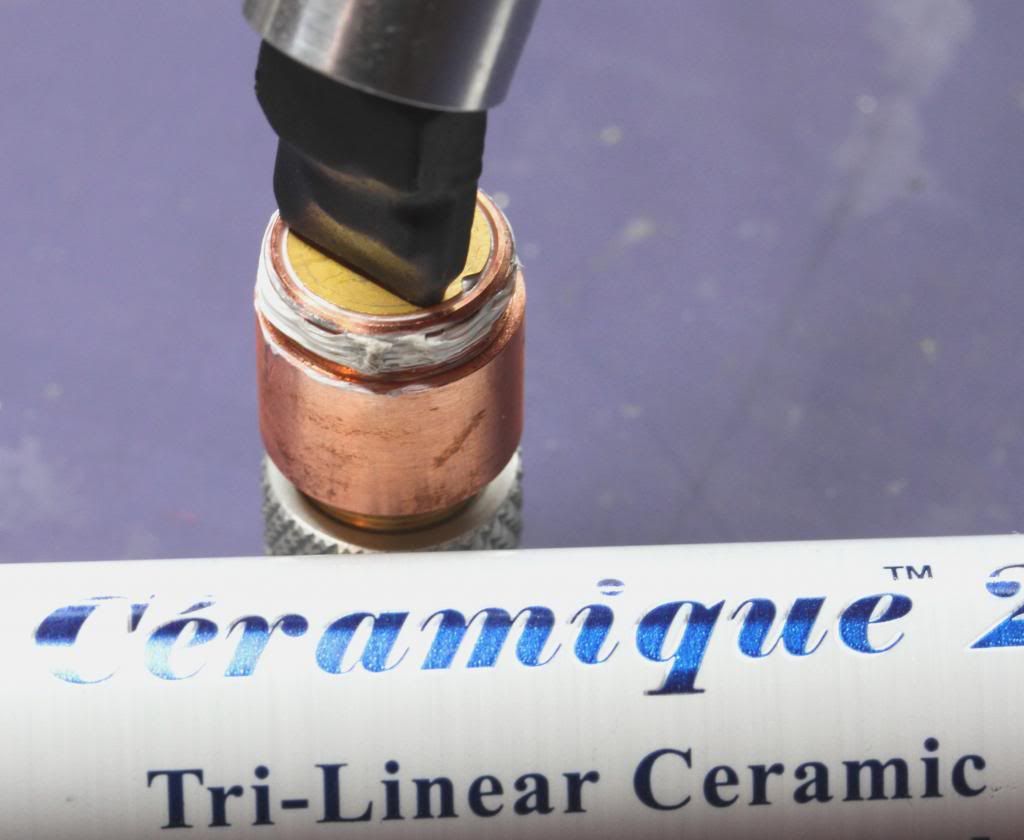
I put a little thermal paste on the threads. Just a little dab will do ya.
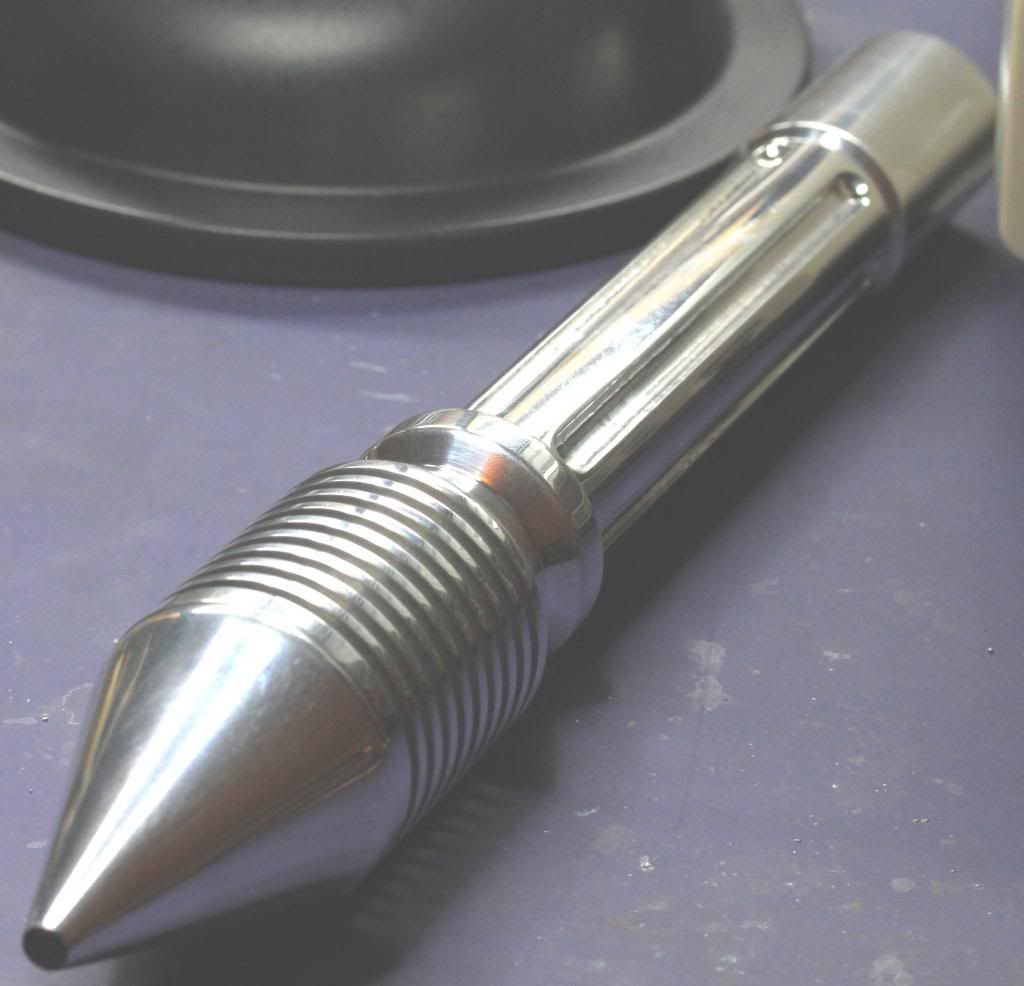
Well look what the postman brought me. A host from Mrcrouse :)
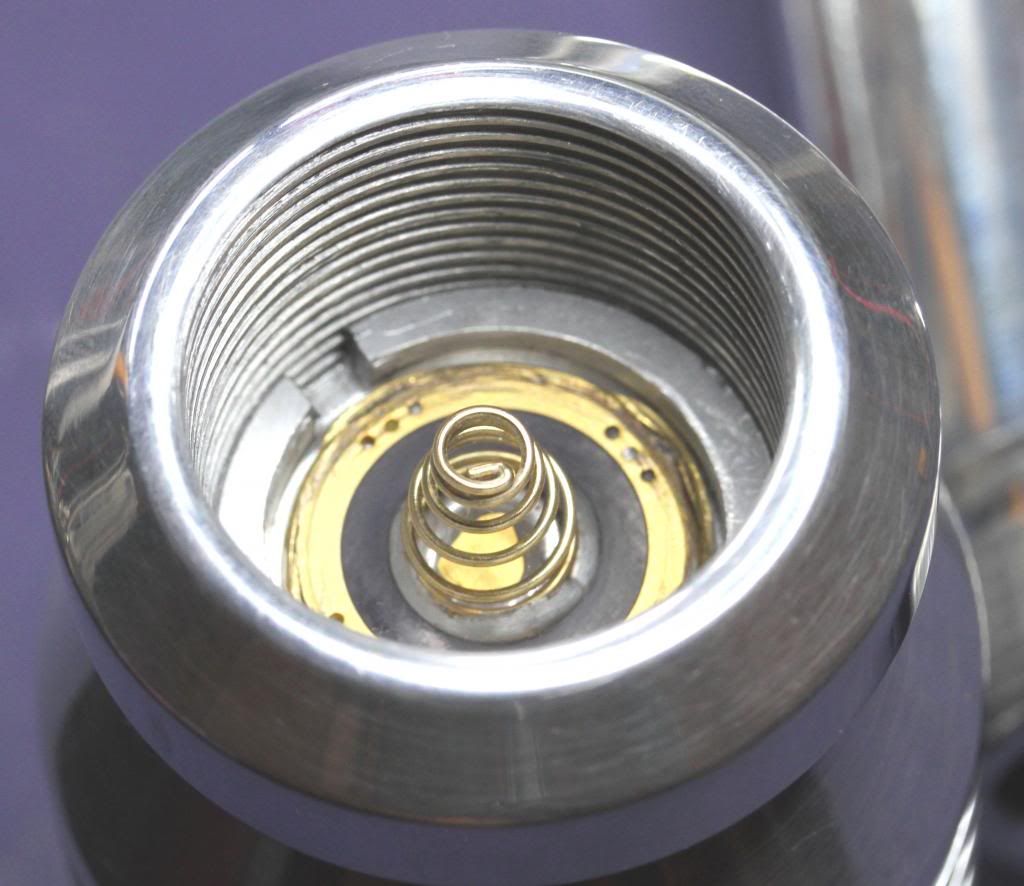

Down the rabbit hole it goes ! :)

It works ! Sweet Mother of Photons ! Thank you Laser Gods for showing mercy on this soul ! :)
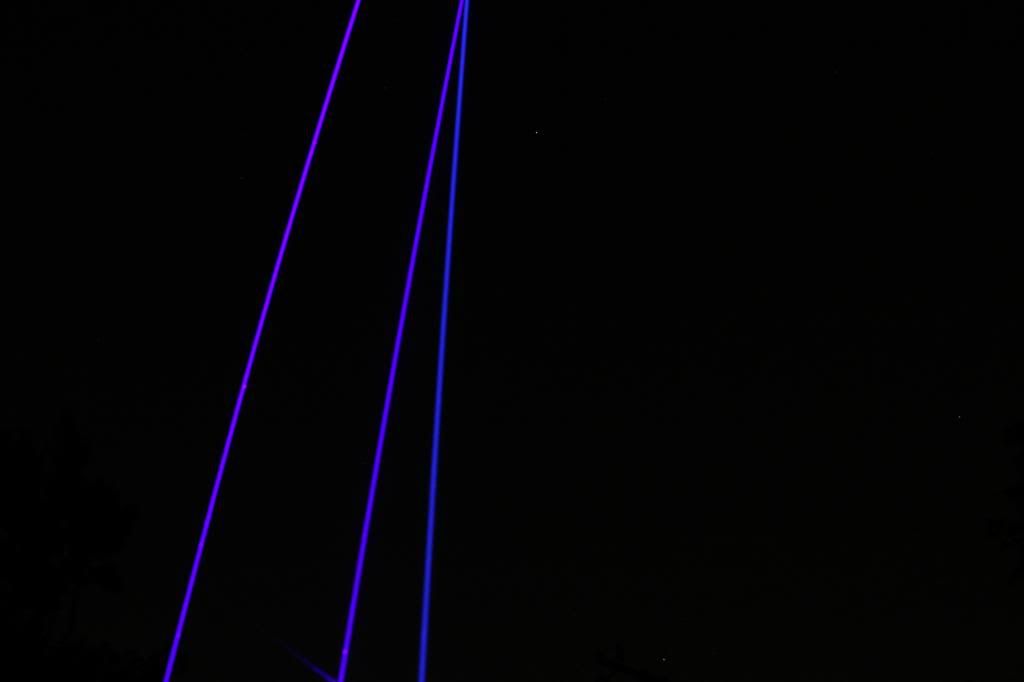
I'm going to try and get some outside shots of it tonight. See if I can capture the actual color :)
Thanks for looking ! :)


Man dude what a sweeeeeeeeeeeeeet blue laser!!!! Great build tut and fantastic pics.
+ 5 rep if it lets me. Waiting for those outside shots for sure. Super job all around.
 
NOPE, DON'T LIKE IT!!! That song makes me realise how many years have past since it was released. Now I FEEL BLUE! :na:

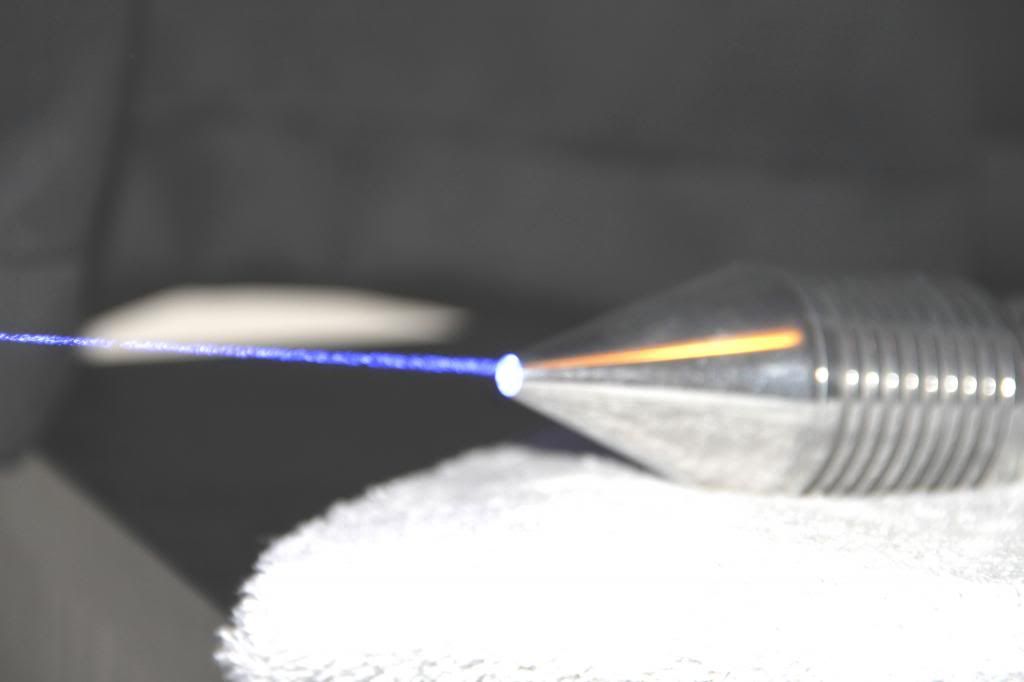
All jokes aside this is another great build using this diode and an in depth piscatorial review! Some good macro shots too. Exept the last one of the beam shot. Lol
 
Last edited:
Thanks Commandr ! That's where I'm heading outside. Hope I get at least one good shot
:)

Thanks vortish !

Thanks busman2 ! Yep, pretty sad, I remember that song too. Time flies ! I know my beam shot sucked :( I worked on that thing till really late. Got started and couldn't stop. By the time it was beam shot time I was dead ! I'll try and do better tonight :)
 
Man! I was going to put a song embedded at the top of my 462nm build too! Was gonna use "The Age of Aquarius". Lol my gf said it was a bad idea.
 
Man! I was going to put a song embedded at the top of my 462nm build too! Was gonna use "The Age of Aquarius". Lol my gf said it was a bad idea.
It's always better to beg for forgiveness than ask permission. :) When I was putting together my workbench mine said "Tell me that's not going in the house" :) I said sure sweetie it's not going in the house :) I put it in a bedroom and put a plant on it. She didn't leave so I guess it's ok. LMAO !

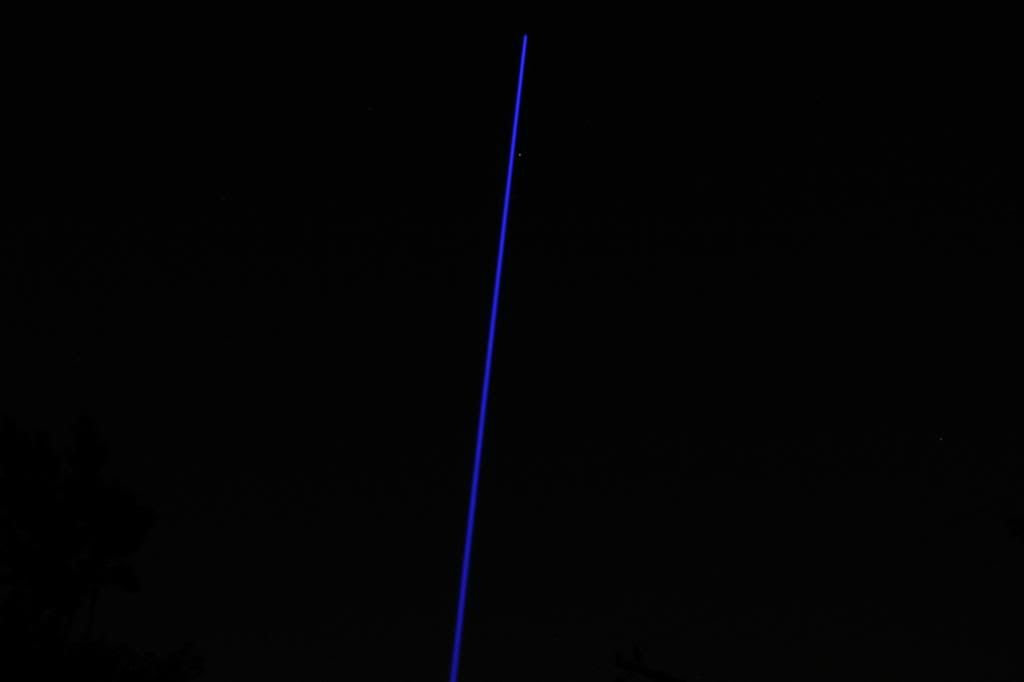
Here is a shot by itself.


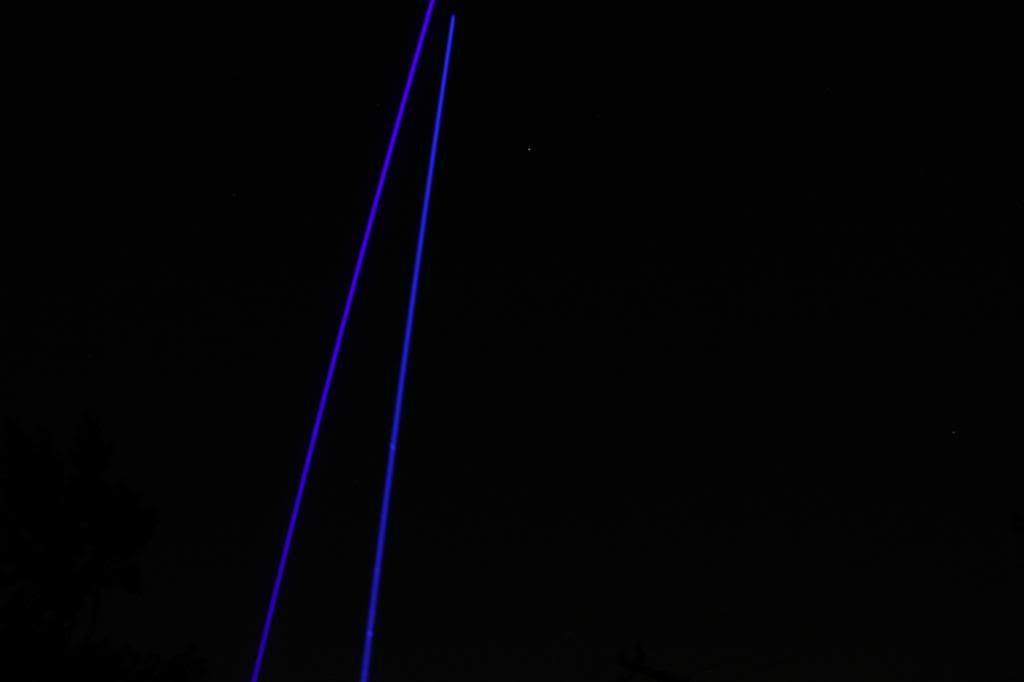
2.3w 9mm 445nm on left. 2w 462nm on right


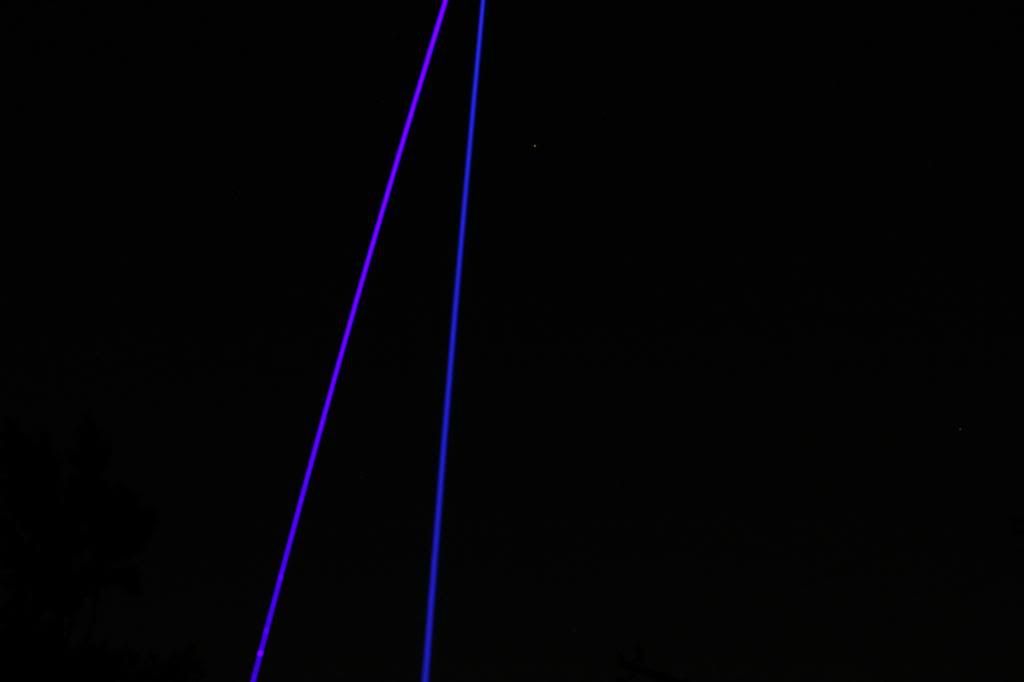
5.6w new 9mm 445nm on left. 2w 462 on right


5.6w 445nm left. 3w 9mm 445nm center. 2w 462nm right.


These are straight from the camera. In person the 462nm looks really blue by itself to me. When it is next to the 3w or 5.6w the 445's have a violet tint that I don't notice by themselves. The 462nm gets a slight green tint next to the 445's that I don't notice when it's by itself. I'm going to keep trying to capture it :)
 
Nice! +rep to you sir!

I've really got to get to building mine now, I'm already way behind...lol.
 
Thanks ChaosLord ! Can't wait to see your build ! Part of me wishes I would have pushed this diode a little harder, it still had some to give. I'm not sure it would be worth it to me though. This is the first "special" wavelength build I've done. I'd really like for it to last a long time. I'm going to charge my batteries and LPM it this weekend and see what I wound up with. I know it's a little over 2w with a G2 I had on my bench and batteries that aren't fully charged. This host has a pretty good heat sink. I hope it lives a long time. It's a very unique color.
It's the diode that put the spark back in building for me :) Now I can get back to work on my matching set of RGBV :)
I'm hoping by the time I finish those that 1w 520nm will drop a little more. It's getting really close to my price range :)
 
I used to want a matching set but now I want every one of my lasers to be as unique as possible. So a matching set is sacrilege for me lol.
 
+1 to you. It seems like the builds I do for other people go just fine, but the ones I try to do for myself end up failing miserably. So good job.
 
Great build review/tutorial IWIRE, I can see that the secret to your success in this build was the use of a "precision" hammer to fine tune things. Or, maybe just scare everything into submission! :crackup:
With all the recent builds using this diode, and with them being driven harder and higher towards that magic 473nm, it's making it very hard to resist joining the "club"!

:gj: + rep sir (and, Linda too)!
 
Last edited:
Thanks everyone for the kind words of encouragement and the rep, it's much appreciated :beer: It takes a lot less time to just build then to build and take pics. But just a few months ago when I first started that's how I learned. I searched this forum for weeks learning as much as I can, I still do. There are some excellent builders on this forum and I'm very grateful for the knowledge that they share.
My hope is as always. Someone who is thinking about building one see's one of my build threads and says "I can do that".
If you ever see me doing anything wrong, please PM me so I can go back and edit my build. Last thing I want to do is contribute to someone failing at a build.
:beer:
Now if I could just get an accurate beam shot of this thing :crackup:


Back
Top