Welcome to Laser Pointer Forums - discuss green laser pointers, blue laser pointers, and all types of lasers

Buy Site Supporter Role (remove some ads) | LPF Donations

Links below open in new window

FrozenGate by Avery

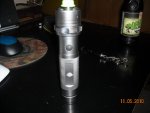
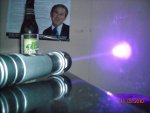
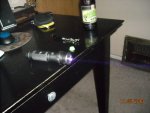
1.6W 445 Mohrenberg 18650 Host+Heatsink Kit Review + Tutorial

Re: 1W 445 Mohrenberg Host+Heatsink Sweeeet Review + Build Tutorial

Actually with my latest build I did have to run the negative driver output to the diode even with the case and negative pin joined with solder and nothing connected to the driver input...no idea why but it did not work until I did. :confused:

I have actually never bridged the case and negative pin on a flexdrive build but from what I understand it should have worked. Are you sure that the heatsnink had good electrical contact with the host body before you changed it up?


Re: 1W 445 Mohrenberg Host+Heatsink Sweeeet Review + Build Tutorial

I have actually never bridged the case and negative pin on a flexdrive build but from what I understand it should have worked. Are you sure that the heatsnink had good electrical contact with the host body before you changed it up?

I didnt have it mounted in the heat sink. I had it all wired up and I put some electrical tape around the driver to keep it from shorting at all. then I held the aixiz module againts the unpainted threads of the top of the host to create the ground. click the switch and notta. Tried several times and nothing. Had a few second freakout that I just fried the diode or driver and then tried wiring the neg lead as shown in the driver instructions to the diode. Held it against the host in the same manner and let there be light! Doesnt make sense to me but its in the driver instructions and it works now.
 
hello i had a quick question i recently got this same host and was wanting to put a 200mw 405nm rockstar module i had bought from htz a couple of weeks ago. I had put the module into a small flashlight i had lying around and i didn't have a heatsink for it, i used the plastic reflector to hold it in place. It worked just fine but looked really bad and i was worried about getting it too hot. anyways i was wondering where i should solder the negative wire after i have soldered the positive to the contact on the top of the side click-switch. Im sure you know what the module looks like but http://hightechdealz.com/images/categories/lasers/AixizRkcstr120mAmodule.jpg here it is minus the 9v connector of course. thank you for your time and all your tutorials.
 
hello i had a quick question i recently got this same host and was wanting to put a 200mw 405nm rockstar module i had bought from htz a couple of weeks ago. I had put the module into a small flashlight i had lying around and i didn't have a heatsink for it, i used the plastic reflector to hold it in place. It worked just fine but looked really bad and i was worried about getting it too hot. anyways i was wondering where i should solder the negative wire after i have soldered the positive to the contact on the top of the side click-switch. Im sure you know what the module looks like but http://hightechdealz.com/images/categories/lasers/AixizRkcstr120mAmodule.jpg here it is minus the 9v connector of course. thank you for your time and all your tutorials.

You can wire it the the ground pin of the diode I believe as the host carried the negative as ground and the ground pin is the only easy thing to solder to in the host. otherwise you can try to attach it to the wall of the host somehow but this tends to be difficult.
 
I defiantly found out how difficult it could be i tried several times to solder the neg wire to the host and eventually ended up pinching the neg wire between the head of the host and the body. It was totally worth it working great now.
 

Attachments

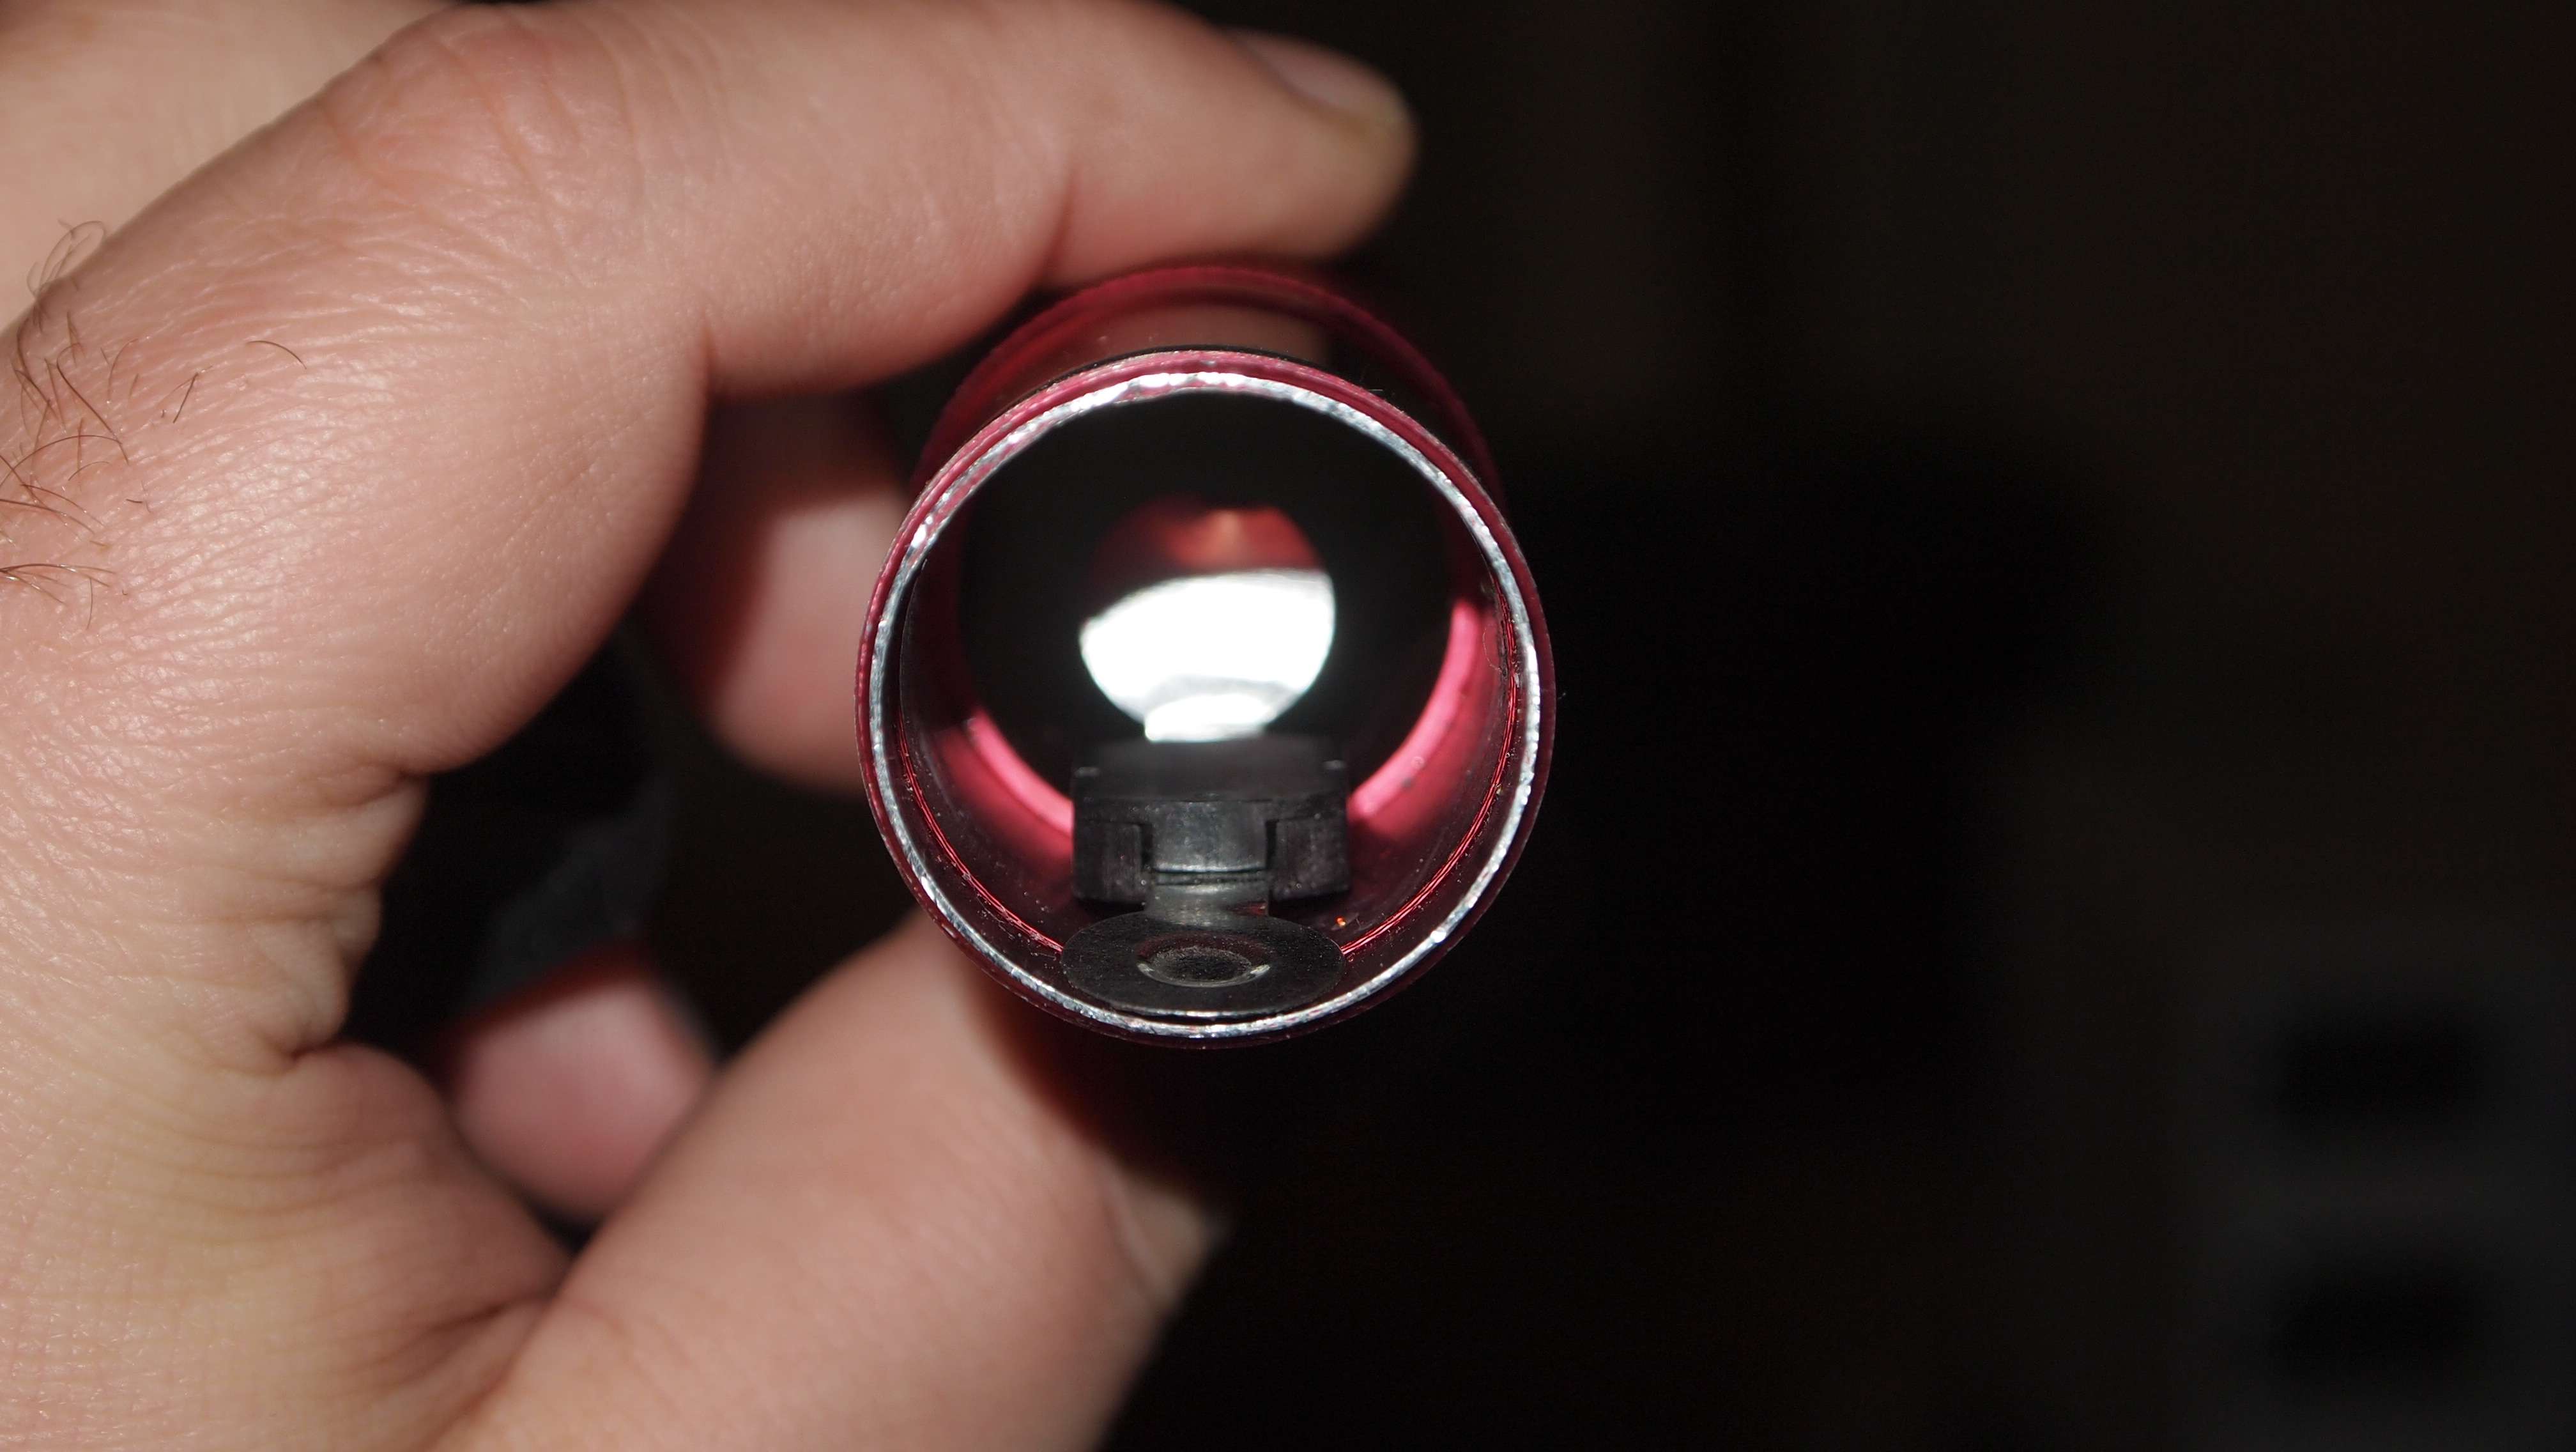
  • rsz_dscn1346.jpg
    rsz_dscn1346.jpg
    99.5 KB · Views: 266
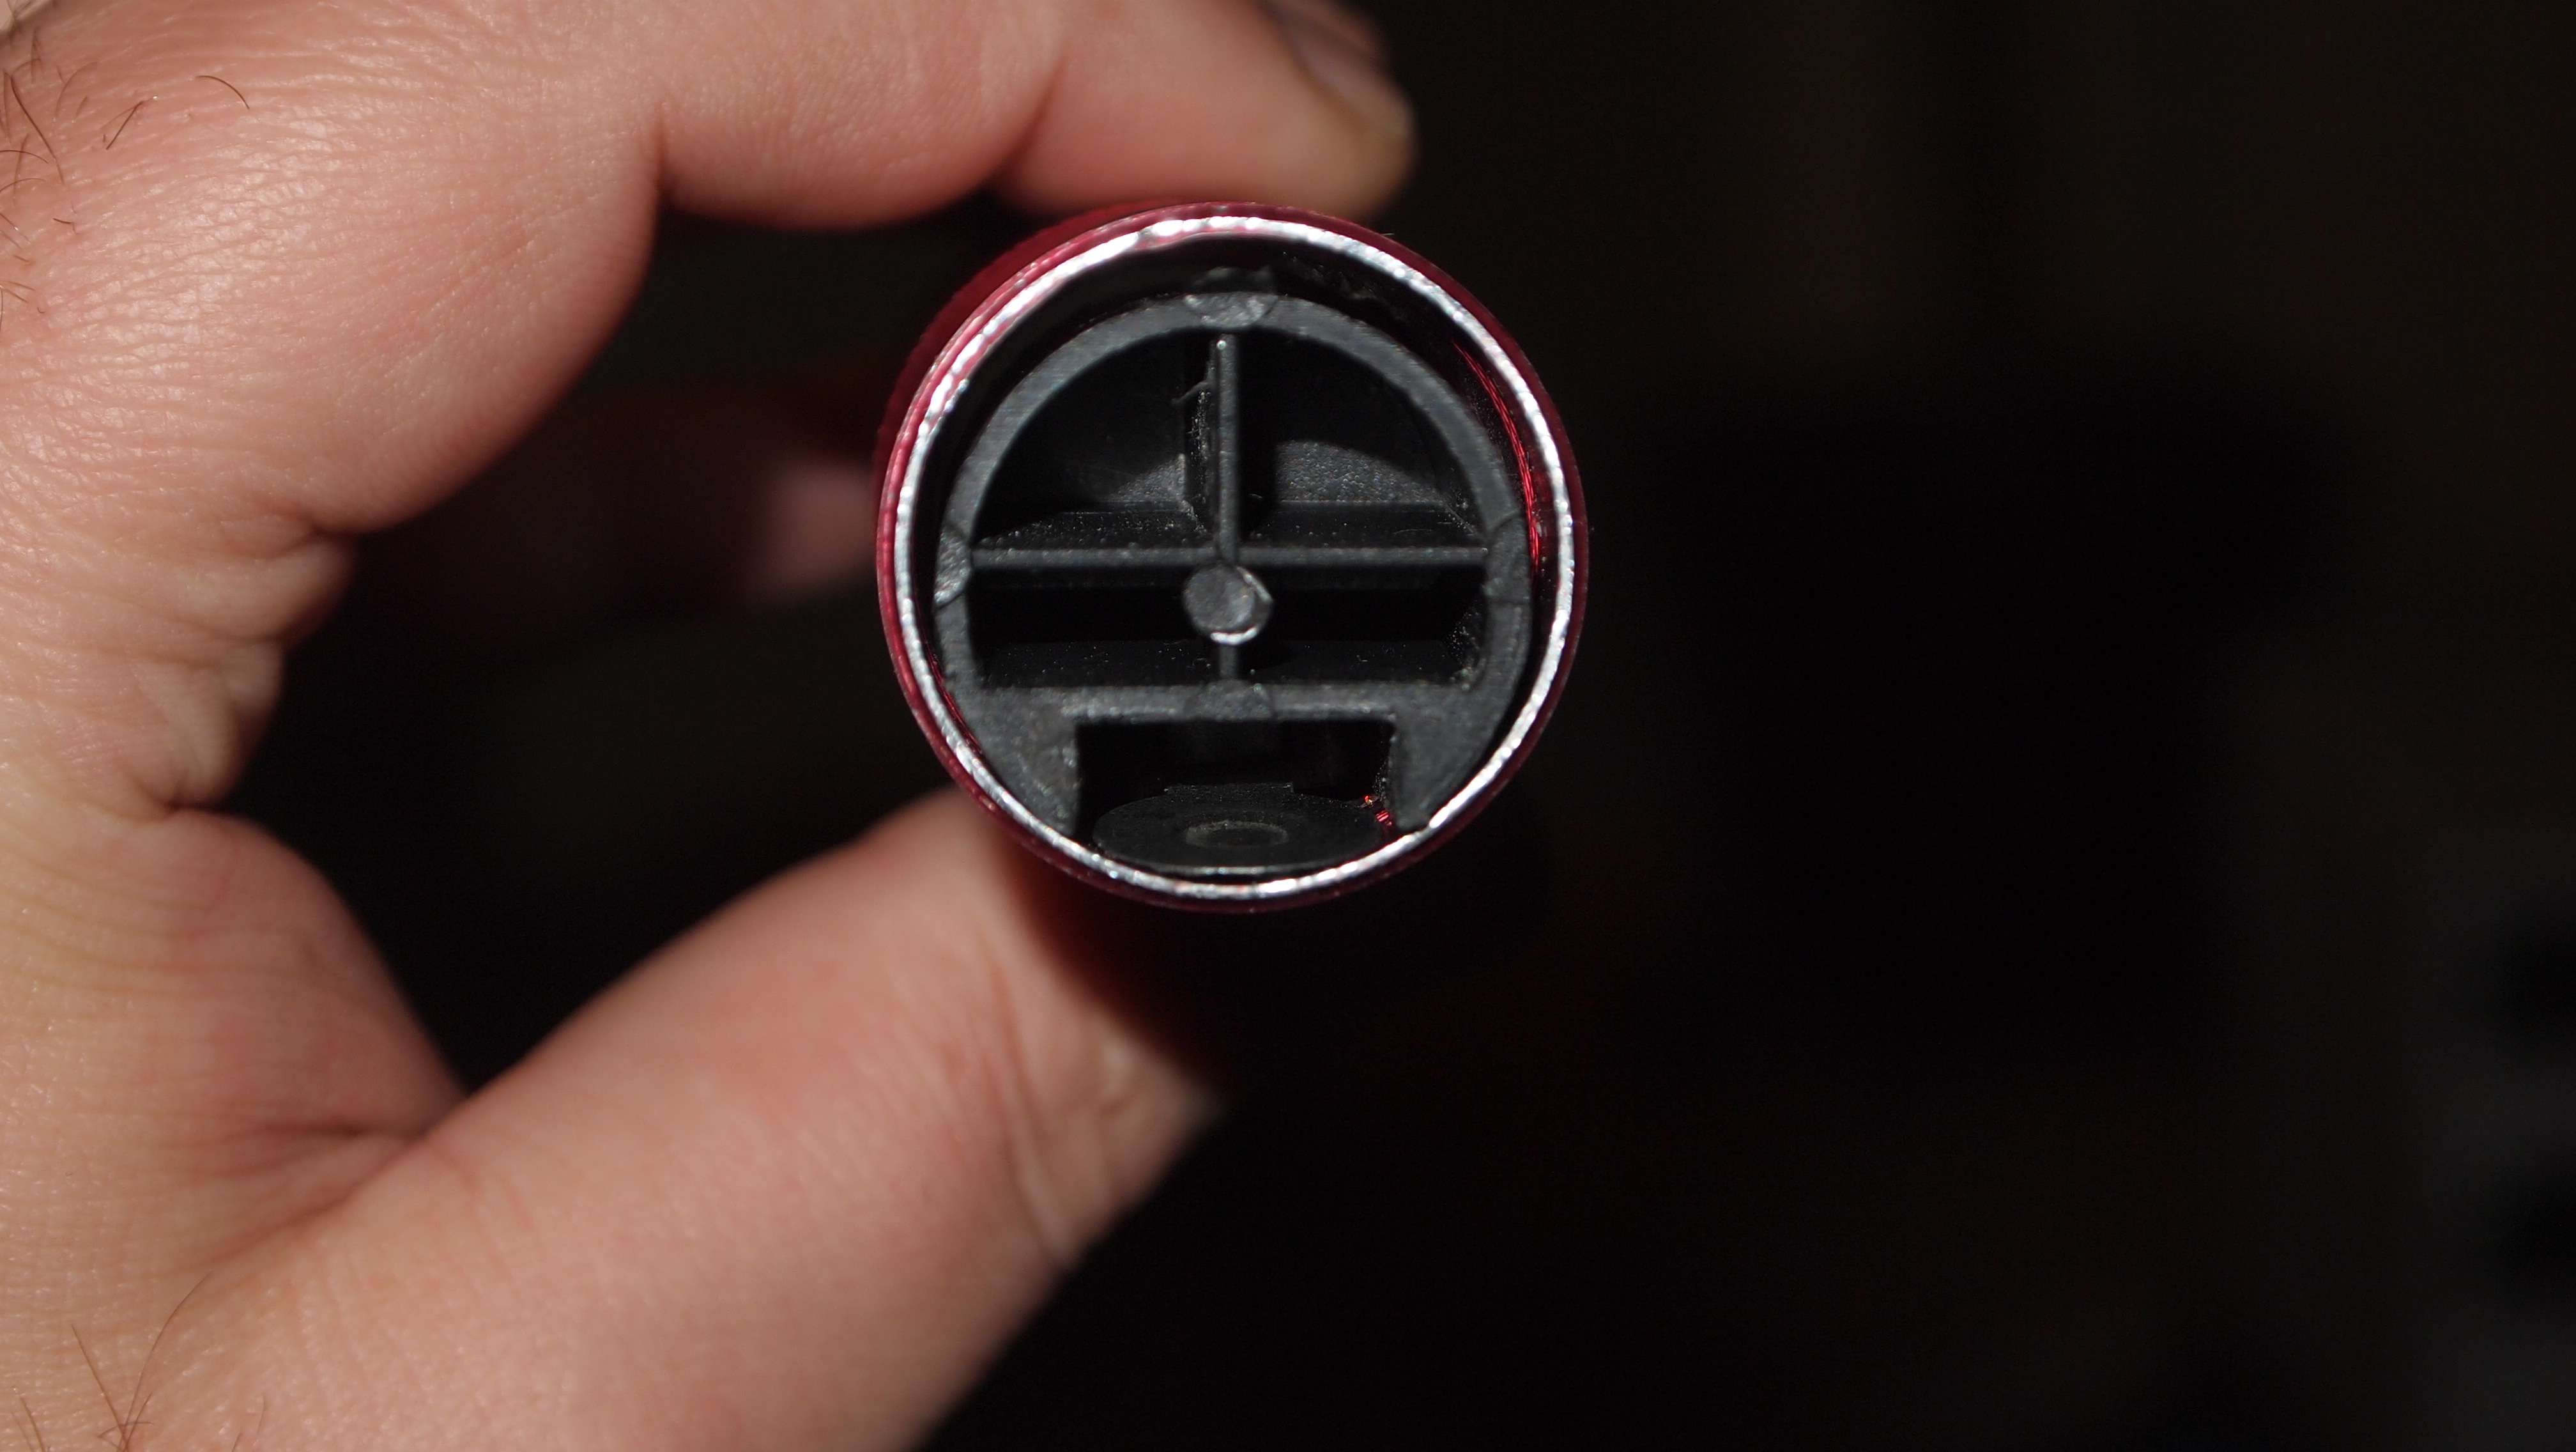
  • rsz_dscn1350.jpg
    rsz_dscn1350.jpg
    121.8 KB · Views: 265
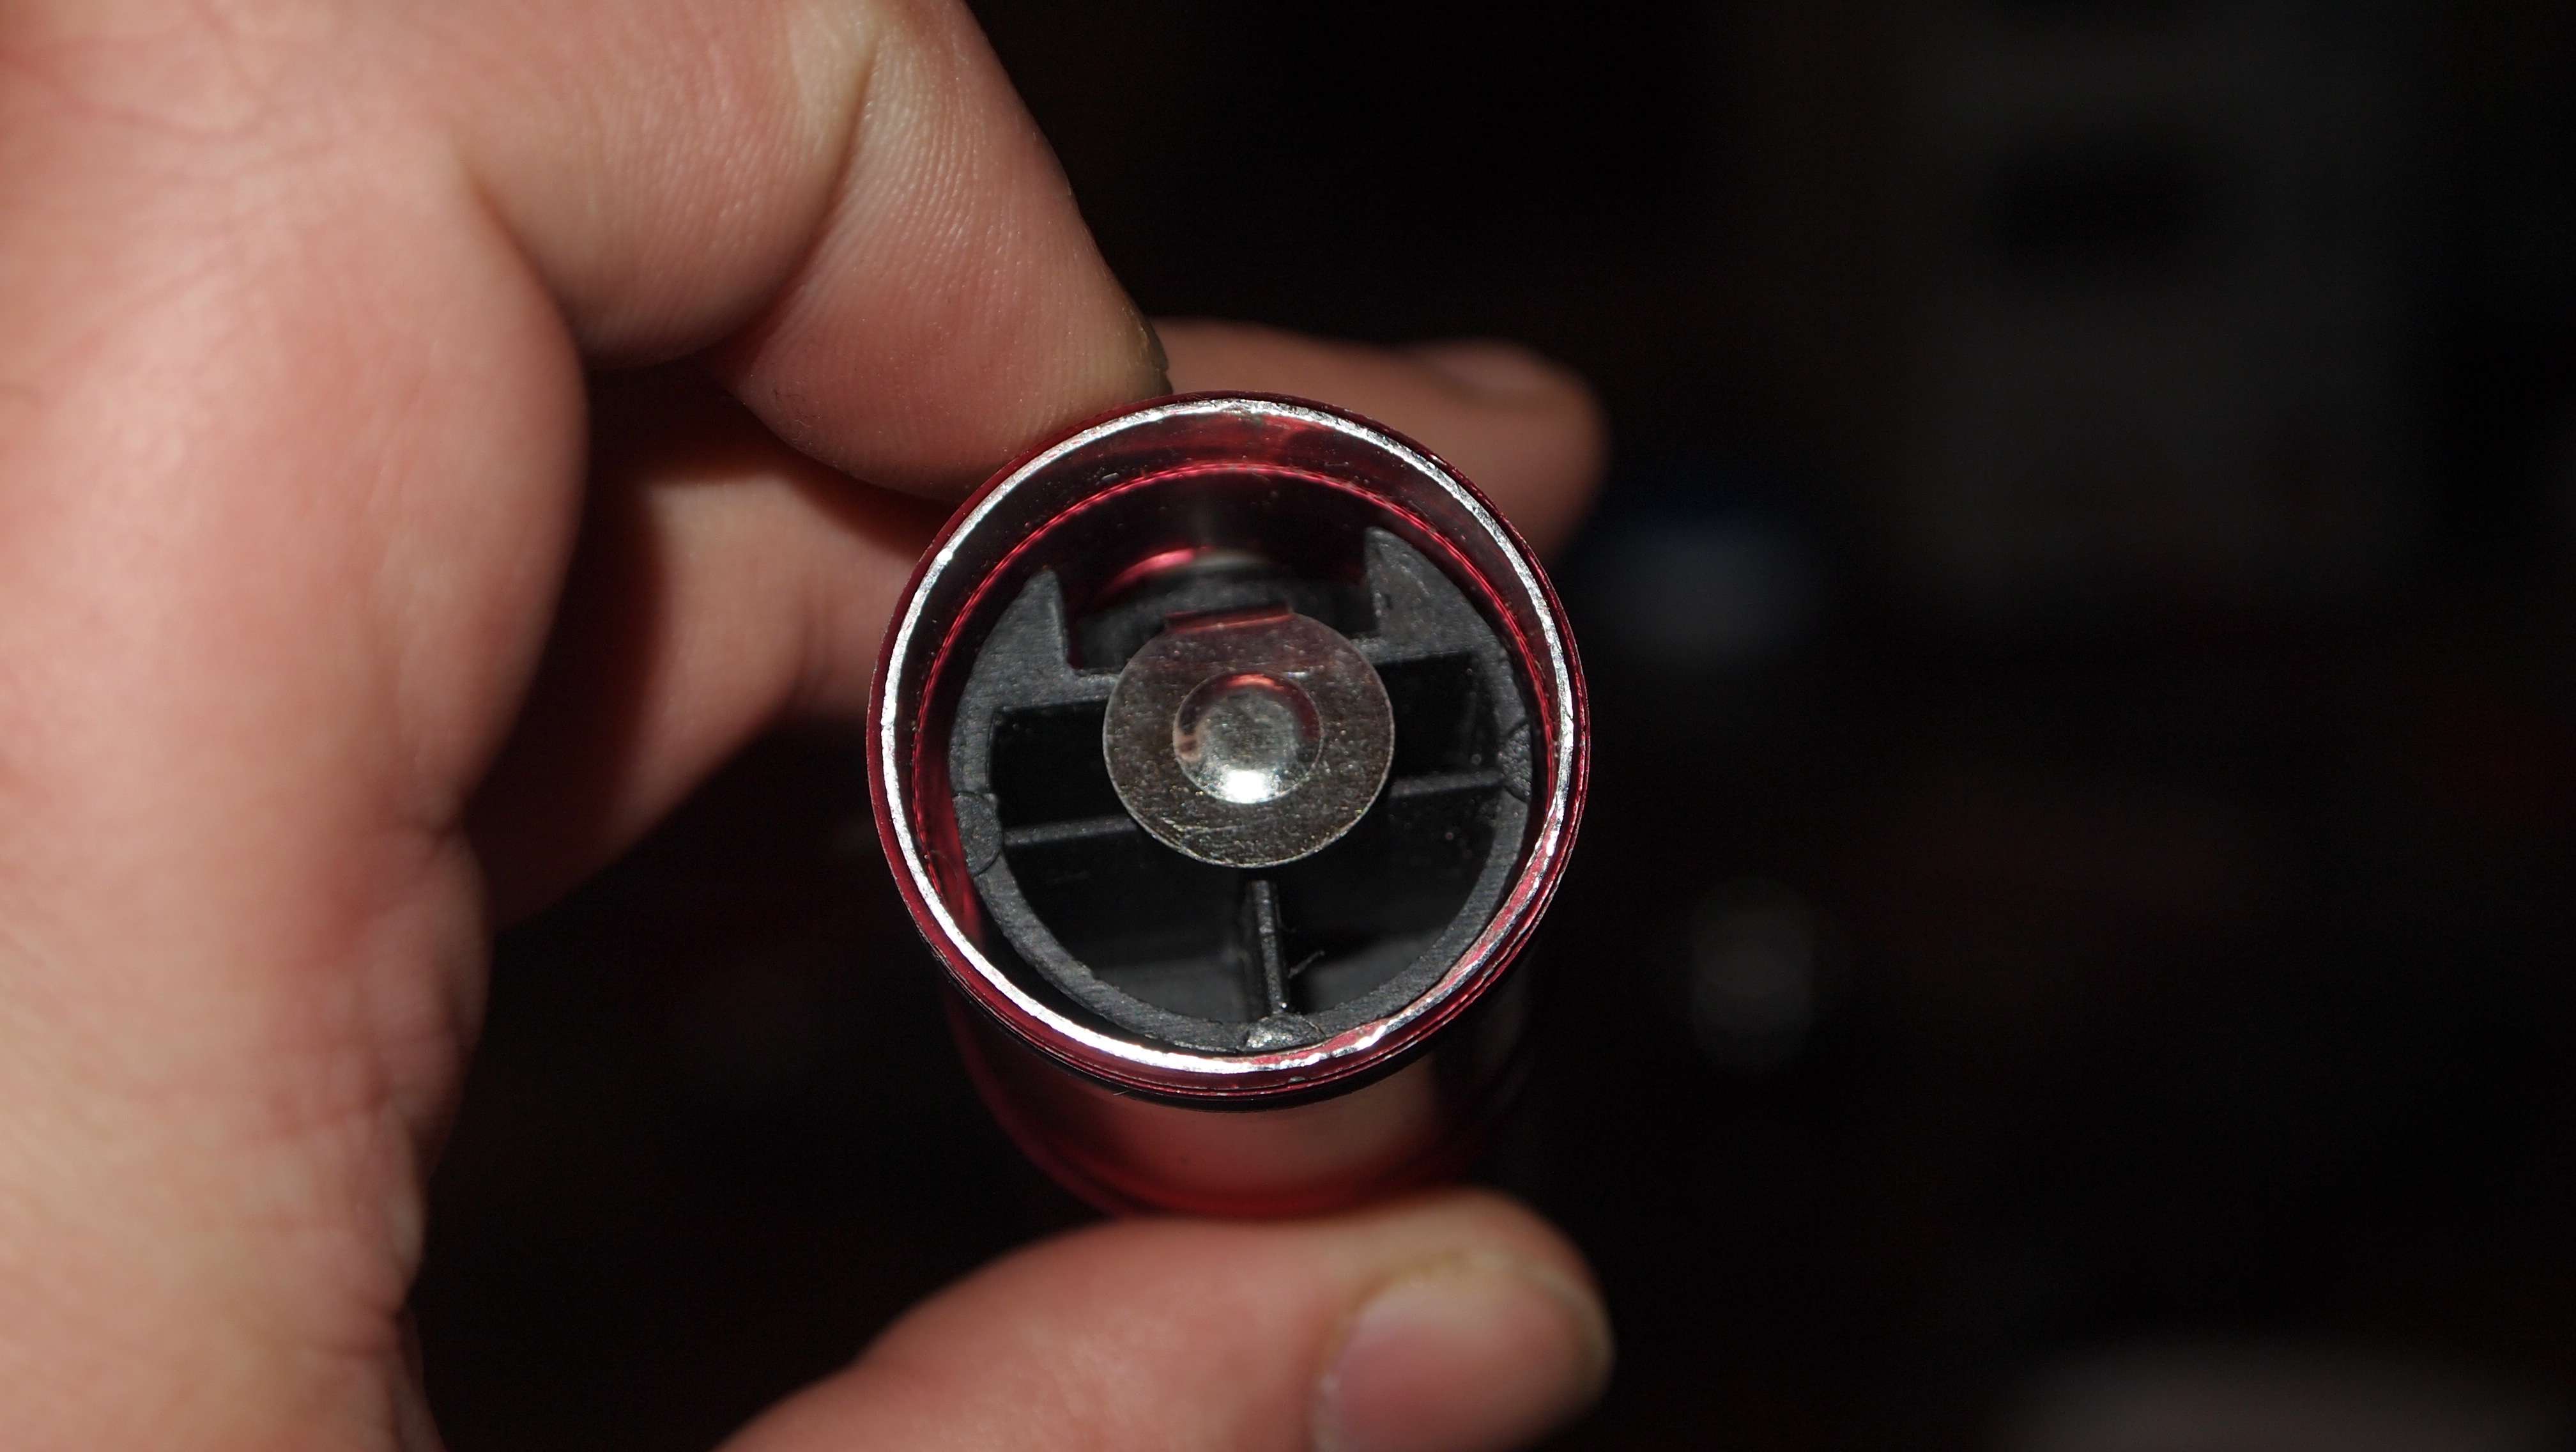
  • rsz_dscn1352.jpg
    rsz_dscn1352.jpg
    119.6 KB · Views: 245
So for this build if I am using a flexdrive i can just short the case and negative pen and then run the negative wire to the negative out on the driver and then also around to completely the circuit on the battery? (so this means that the negative battery in connection isn't used at all?)

thanks for any help, I'm studying biochemistry with very little knowledge in electronics, lol not my area of expertise
 
Last edited:
hi,

Warning !!
small detail, but very important ...:thinking:
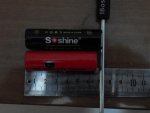
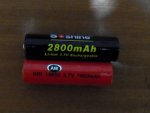
Observe the length of battery ... 65mm of 18650, for DTR 445 Mohrenberg 1.6W,
Otherwise you may damage the tailcap !!

SDC13688.JPG

SDC13697.JPG

SDC13699.JPG

SDC13701.JPG

SDC13704.JPG
;)
 
What kind of damage did it do to the tailcap? The tailcap is a pretty solid piece of metal.
Those soshine batteries should fit no problem. I have a 18700 Xtar battery that I have used without any problems.:D
 
Last edited:
If you were worried about this you could remove the plastic piece under the spring. By removing the white piece under the spring you get more room in the host the the difference in battery size.
 
under the plastic should also be two metal disks that can be removed for even more room.

these things are just filled with secret rooms....
 
So for this build if I am using a flexdrive i can just short the case and negative pen and then run the negative wire to the negative out on the driver and then also around to completely the circuit on the battery? (so this means that the negative battery in connection isn't used at all?)

thanks for any help, I'm studying biochemistry with very little knowledge in electronics, lol not my area of expertise

if your using a flex drive and you solder the case pin and negative pin together, then you do not have to use a negative wire at all.
just run the positive wire from the switch to the flex drive and that's it.
 
Heya do you know if Mohrenberg is still sellin these? If so, can you give me a link or do I need to pm him?
 
He is taking a break from LPF and is selling off the last of his hosts which he said are 35ea Hotlights hosts which are an 18500 host.
 
DTR: I cant put the plastic cylinder with the switch back in. wtf how is this even done. Its impossible. I cant get it back in

20100912012510.jpg


EDIT: Nvm, i followed your other tutorial and short things out ;)
Man you deserve lots of reps. You have been a great help to the forum lately :beer:
 
Last edited:
DTR: I cant put the plastic cylinder with the switch back in. wtf how is this even done. Its impossible. I cant get it back in

When you trying to put it back in first put the switch in with the tab flat. Also make sure the clicky switch is all the way in the hole and sits flat. If it is sticking up any it can keep it from going in.

p1014321.jpg


Then slide the spacer in. It should not take any force to get it in. If it does not want to go in easy check and see that the groove that the switch slides into is clear of anything blocking it. I have had on some when I cut down the space some plastic that has bent slightly keeping it from going in.

p1014324.jpg


Once you have it slid in you can bend the tab back down and glue it in. Be very sparse with the glue. I have not cut this spacer down yet.

p1014327.jpg
 
Last edited:


Back
Top