

- Joined
- Jun 24, 2010
- Messages
- 5,705
- Points
- 113
Re: 1W 445 Mohrenberg Host+Heatsink Sweeeet Review + Build Tutorial
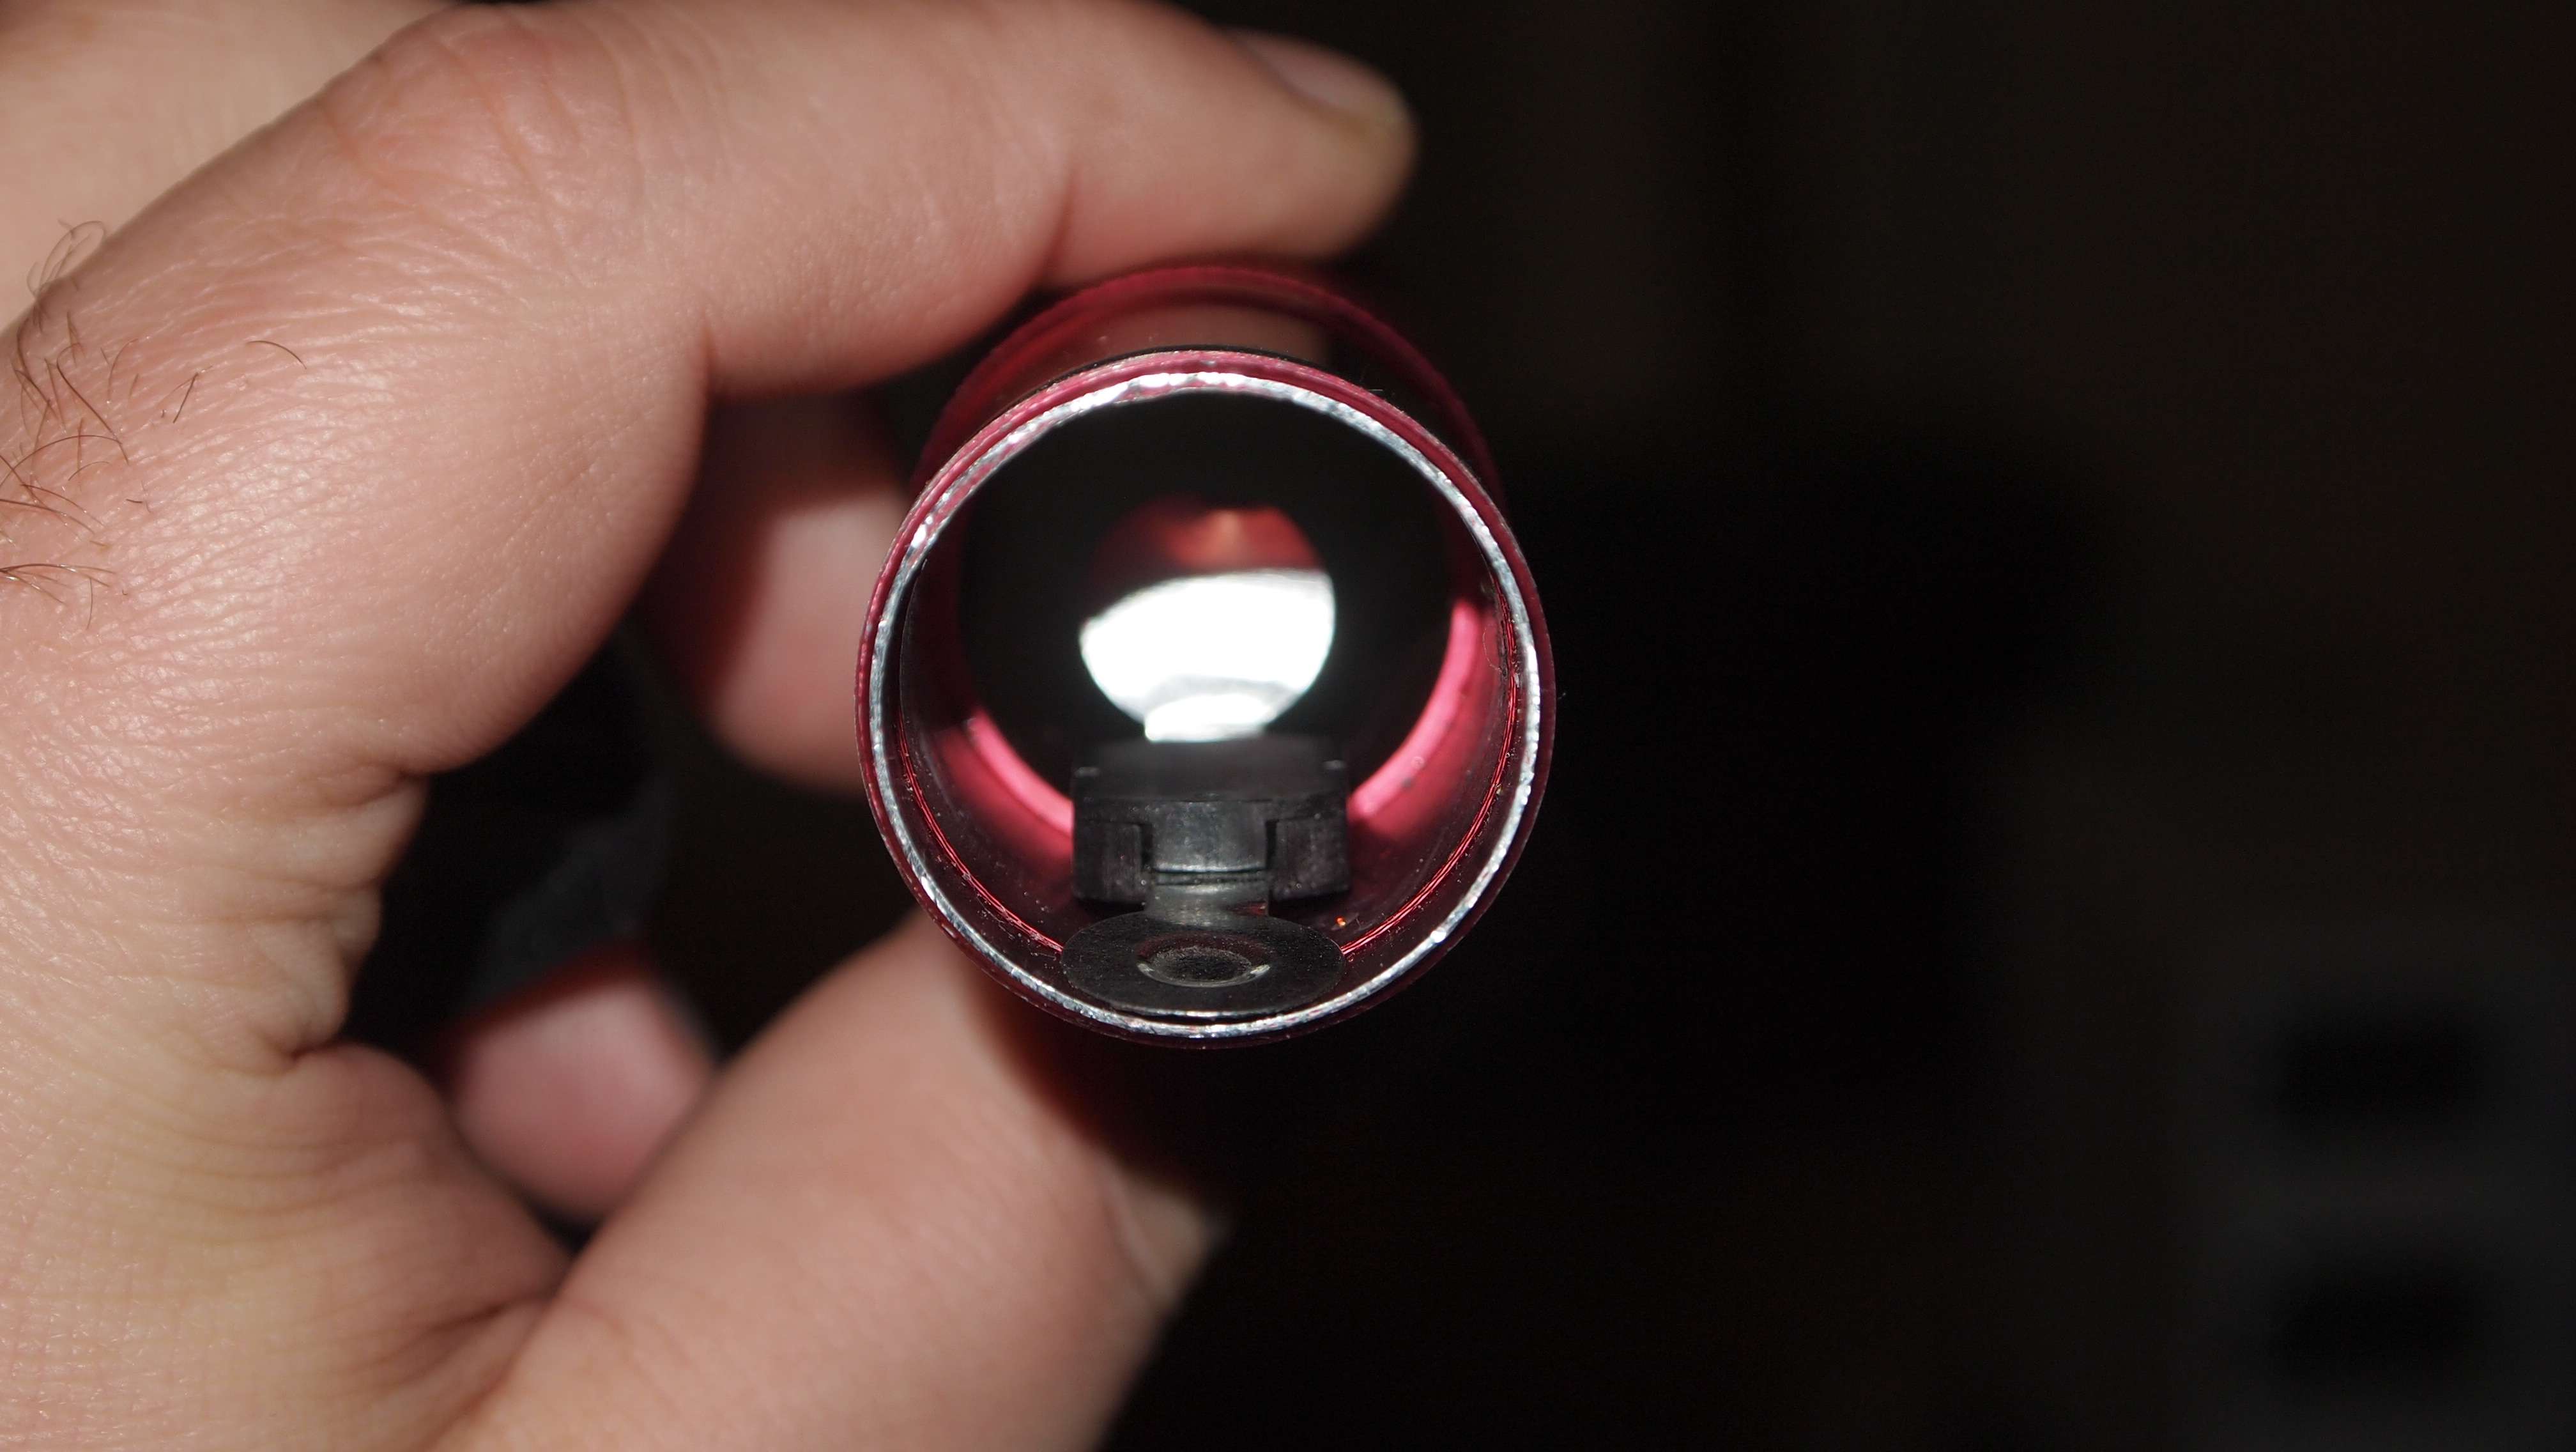
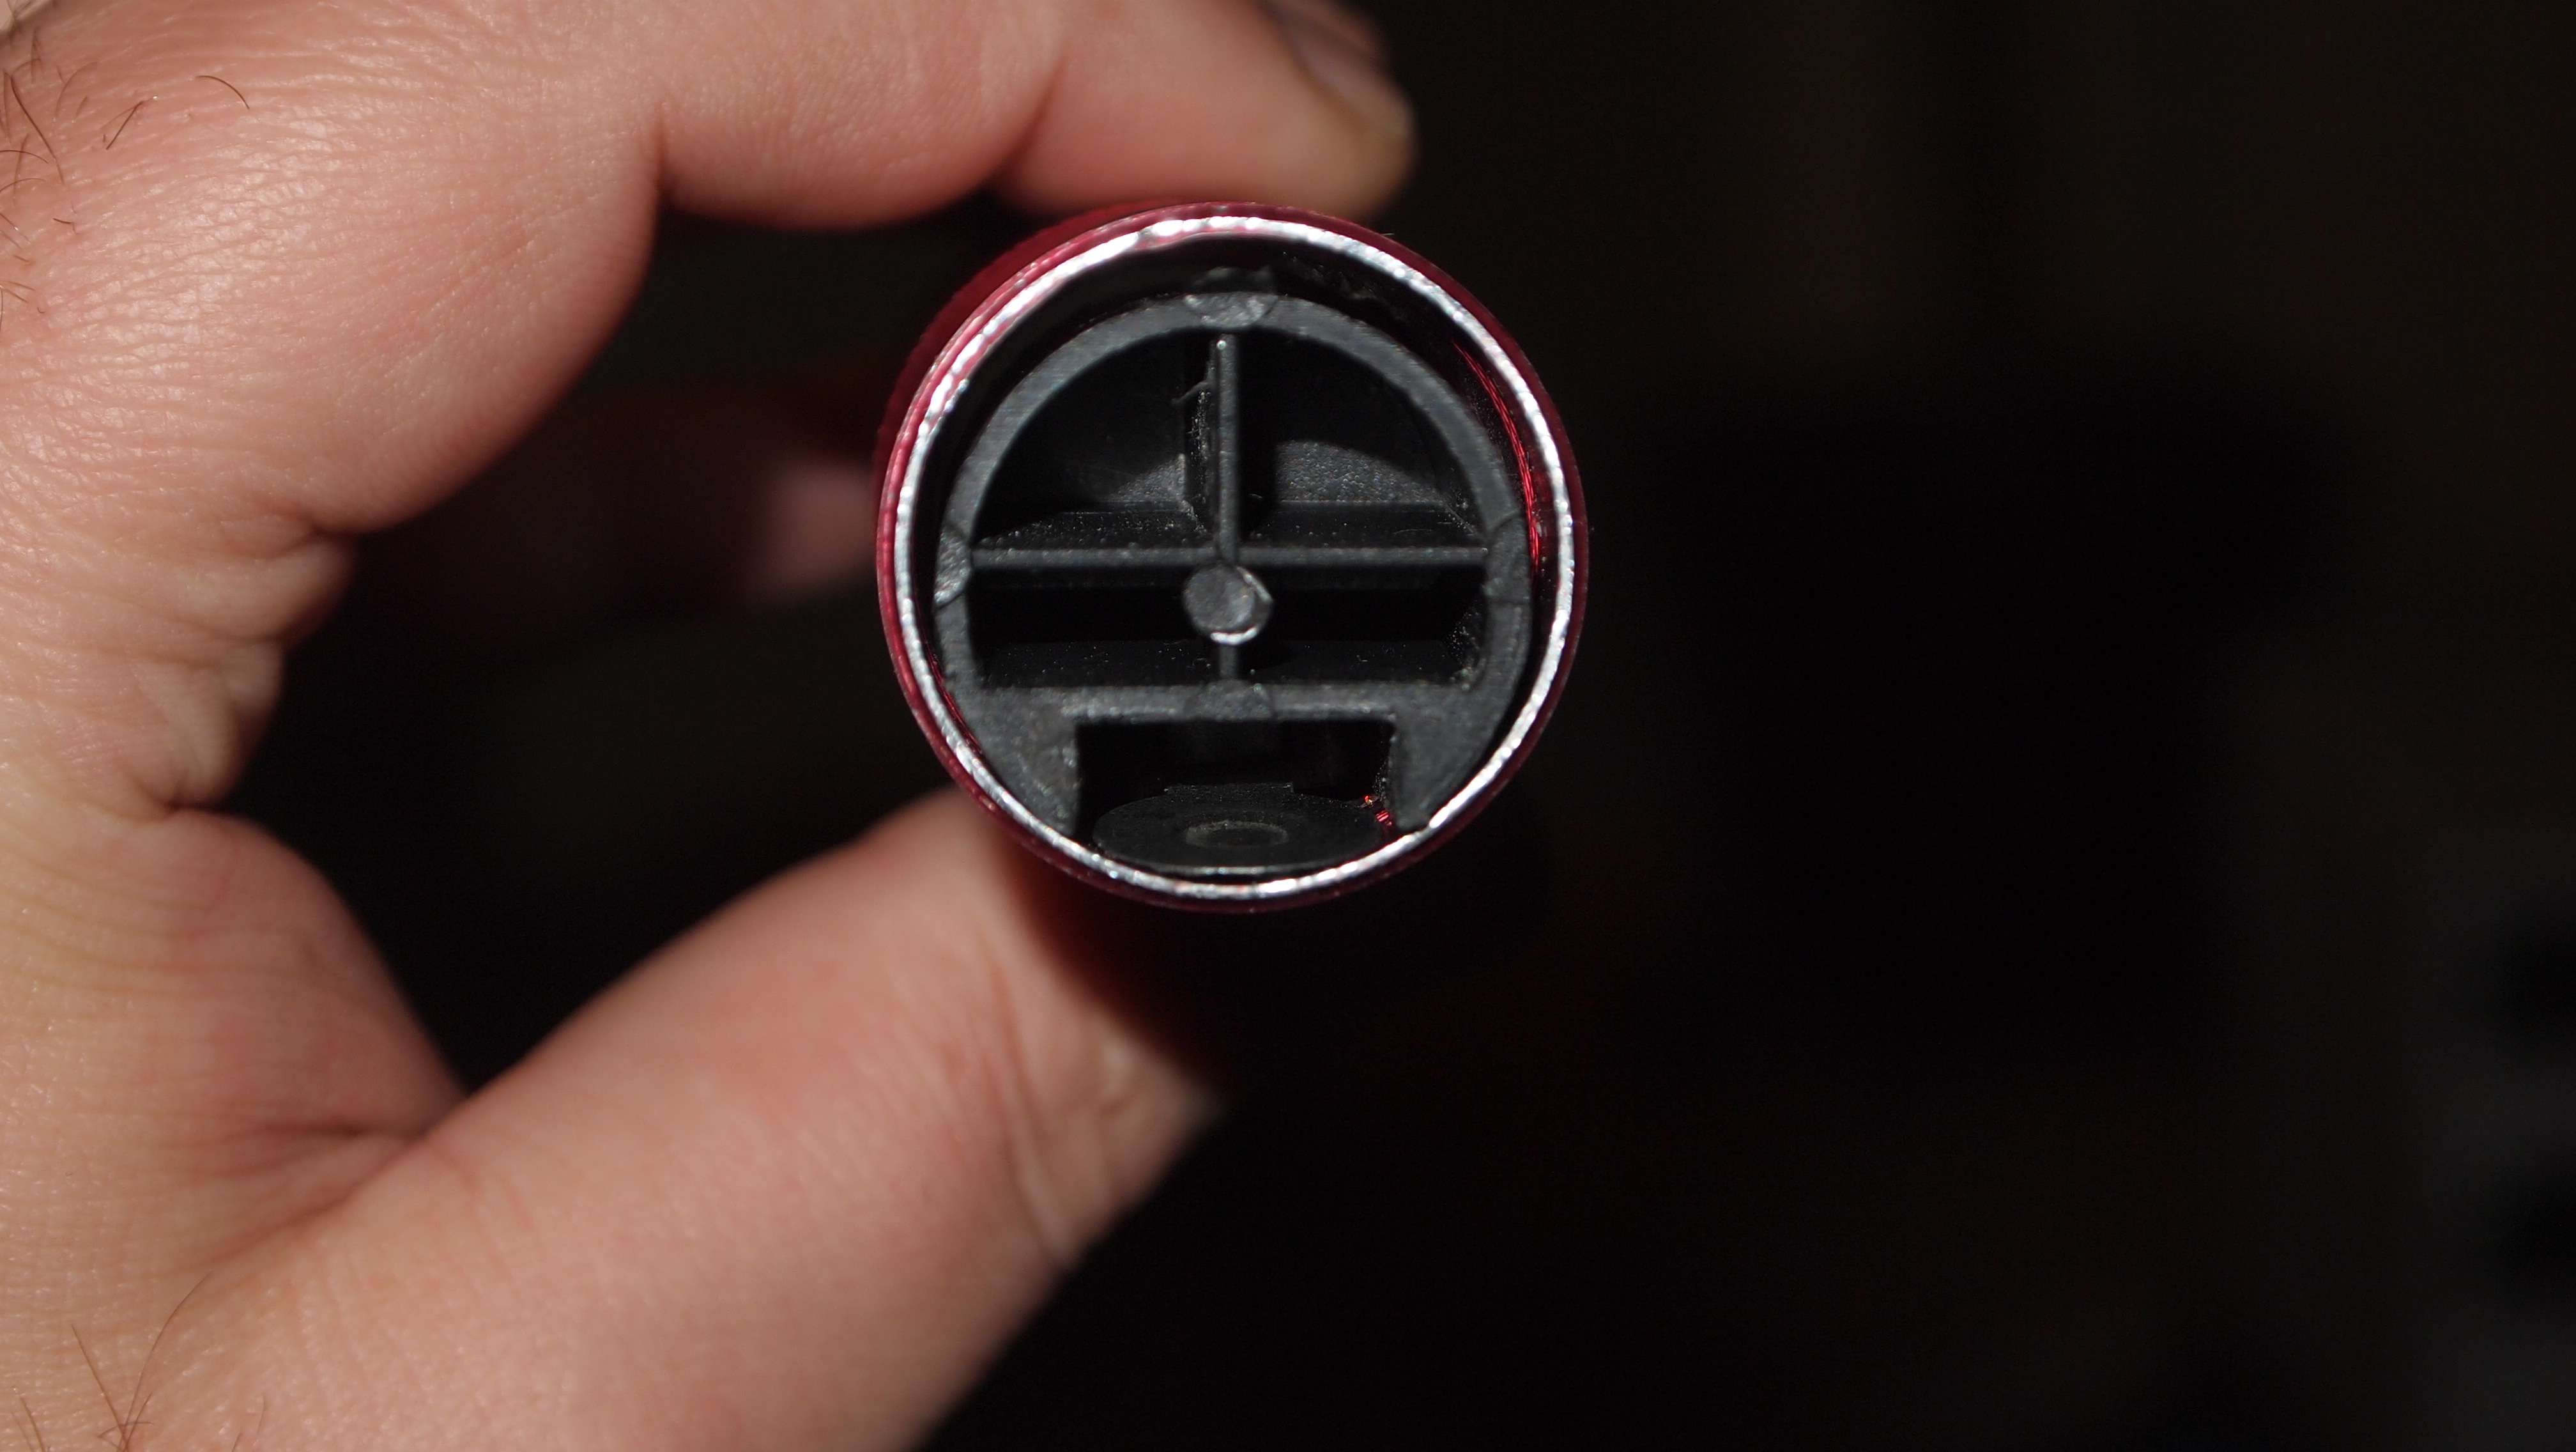
I have actually never bridged the case and negative pin on a flexdrive build but from what I understand it should have worked. Are you sure that the heatsnink had good electrical contact with the host body before you changed it up?
Actually with my latest build I did have to run the negative driver output to the diode even with the case and negative pin joined with solder and nothing connected to the driver input...no idea why but it did not work until I did.
I have actually never bridged the case and negative pin on a flexdrive build but from what I understand it should have worked. Are you sure that the heatsnink had good electrical contact with the host body before you changed it up?


")


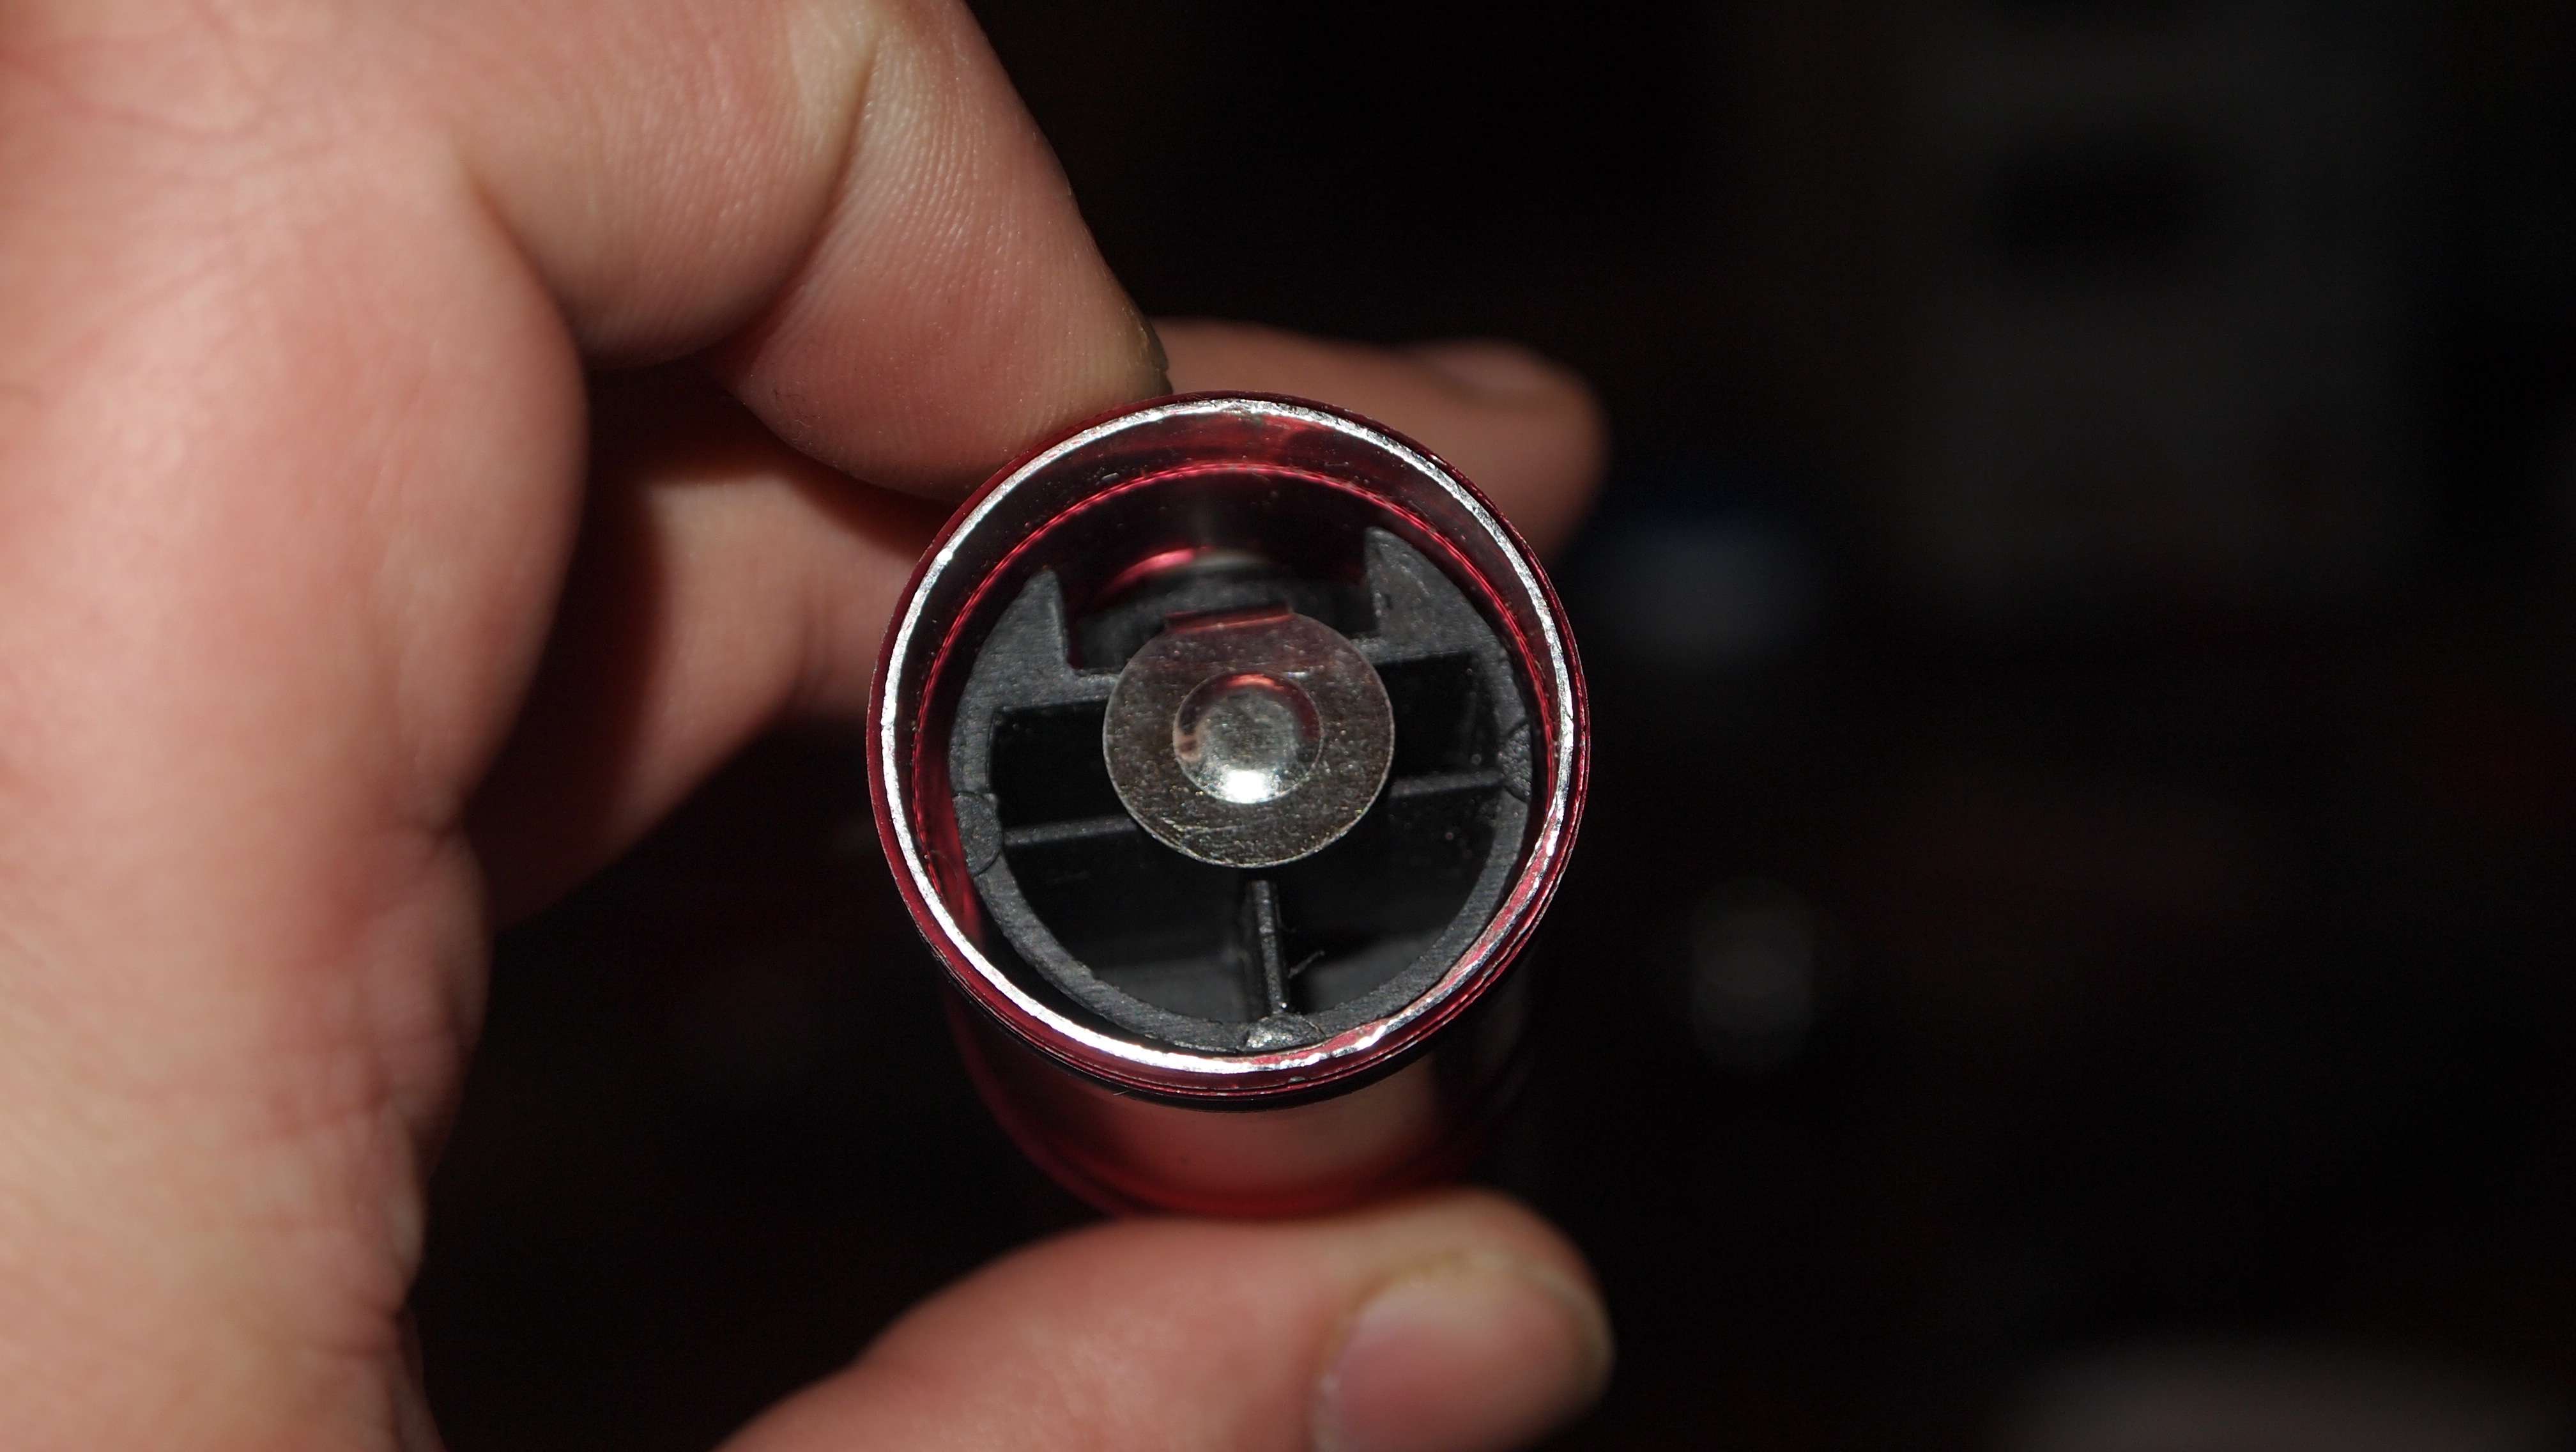
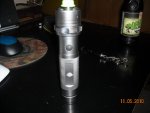
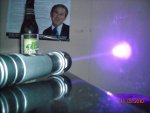
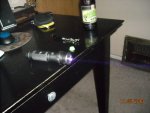
") It does around 1.1 W with a dx driver which outputs 1.25 A. it uses 2x 16340 cells. I love it. Thanks for you r tutorial DTR, it helped me assemble this one.
It does around 1.1 W with a dx driver which outputs 1.25 A. it uses 2x 16340 cells. I love it. Thanks for you r tutorial DTR, it helped me assemble this one.