- Joined
- Feb 1, 2017
- Messages
- 670
- Points
- 0
Can anyone tell me where I can find a complete guide to module 510 ?


Follow along with the video below to see how to install our site as a web app on your home screen.
Note: This feature may not be available in some browsers.


Can anyone tell me where I can find a complete guide to module 510 ?
")
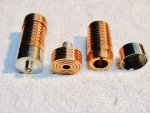
https://sites.google.com/site/dtrlpf/home/22mm-510-threaded-modules
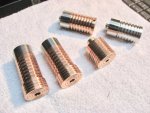
12mm modules slide straight into these, sold already hooked up with diode and driver if you ask Jordan, and screw straight on your 510 vapes, if that is what you were after!
Actually they used to come with there 510 adapters not sure why there not complete!
Hi,
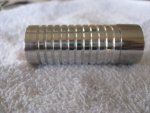
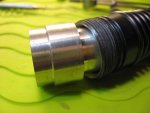
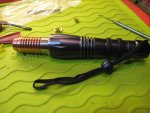
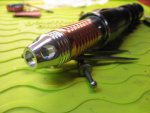
Yes as Bowtie said the threads are different then the DTR 22mm mods. When he made his workable and i seen his post i said great machining . Well that planted a seed and i went a bought the tooling for the back 510 connector . It is a very coarse thread but it can be done with a newly machined 510 heat sink.
Rich
Rich I'm curious how you are using the grub screw to secure the neg lead. I tried to use it with the grub screw but it sheared the wire as expected. Maybe another small drill hole perpendicular to the grub screw hole at the bottom of the threading would make it easier. For now I strip enough insulation off and fold up the wire jam it in there and put the grub screw aside.
Rich I'm curious how you are using the grub screw to secure the neg lead. I tried to use it with the grub screw but it sheared the wire as expected. Maybe another small drill hole perpendicular to the grub screw hole at the bottom of the threading would make it easier. For now I strip enough insulation off and fold up the wire jam it in there and put the grub screw aside.

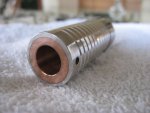
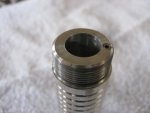
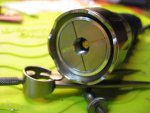
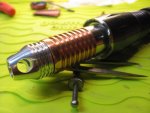
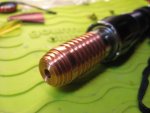
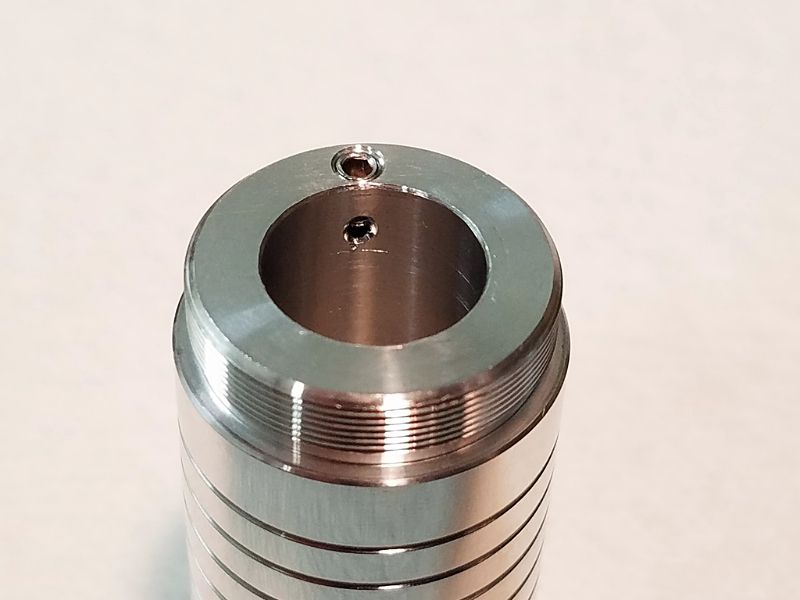
dden, This is what I use, it is exactly like you said, a hole drilled (almost) perpendicular to the tapped set screw hole. :yh:
This hole does need to be as close to the bottom of the tapped hole as possible, or it will tend to shear your wire as you tighten it.
I also pre-tin my wire, so it gives it a little extra strength, sometimes I'll even strip the wire a little long, and fold it over for an even better grasp.
dden, This is what I use, it is exactly like you said, a hole drilled (almost) perpendicular to the tapped set screw hole. :yh:
This hole does need to be as close to the bottom of the tapped hole as possible, or it will tend to shear your wire as you tighten it.