K, I don't know basically anything about Kipkay but looking him up he appears to be a scam artist from what I can tell.
I used my own ingenuity in the units above and don't know anything about what other people have done.
I will lay out the process as simply as possible. Nice to have some canned air to blow out any debris with all of this. Do everything without touching the plastic lens!
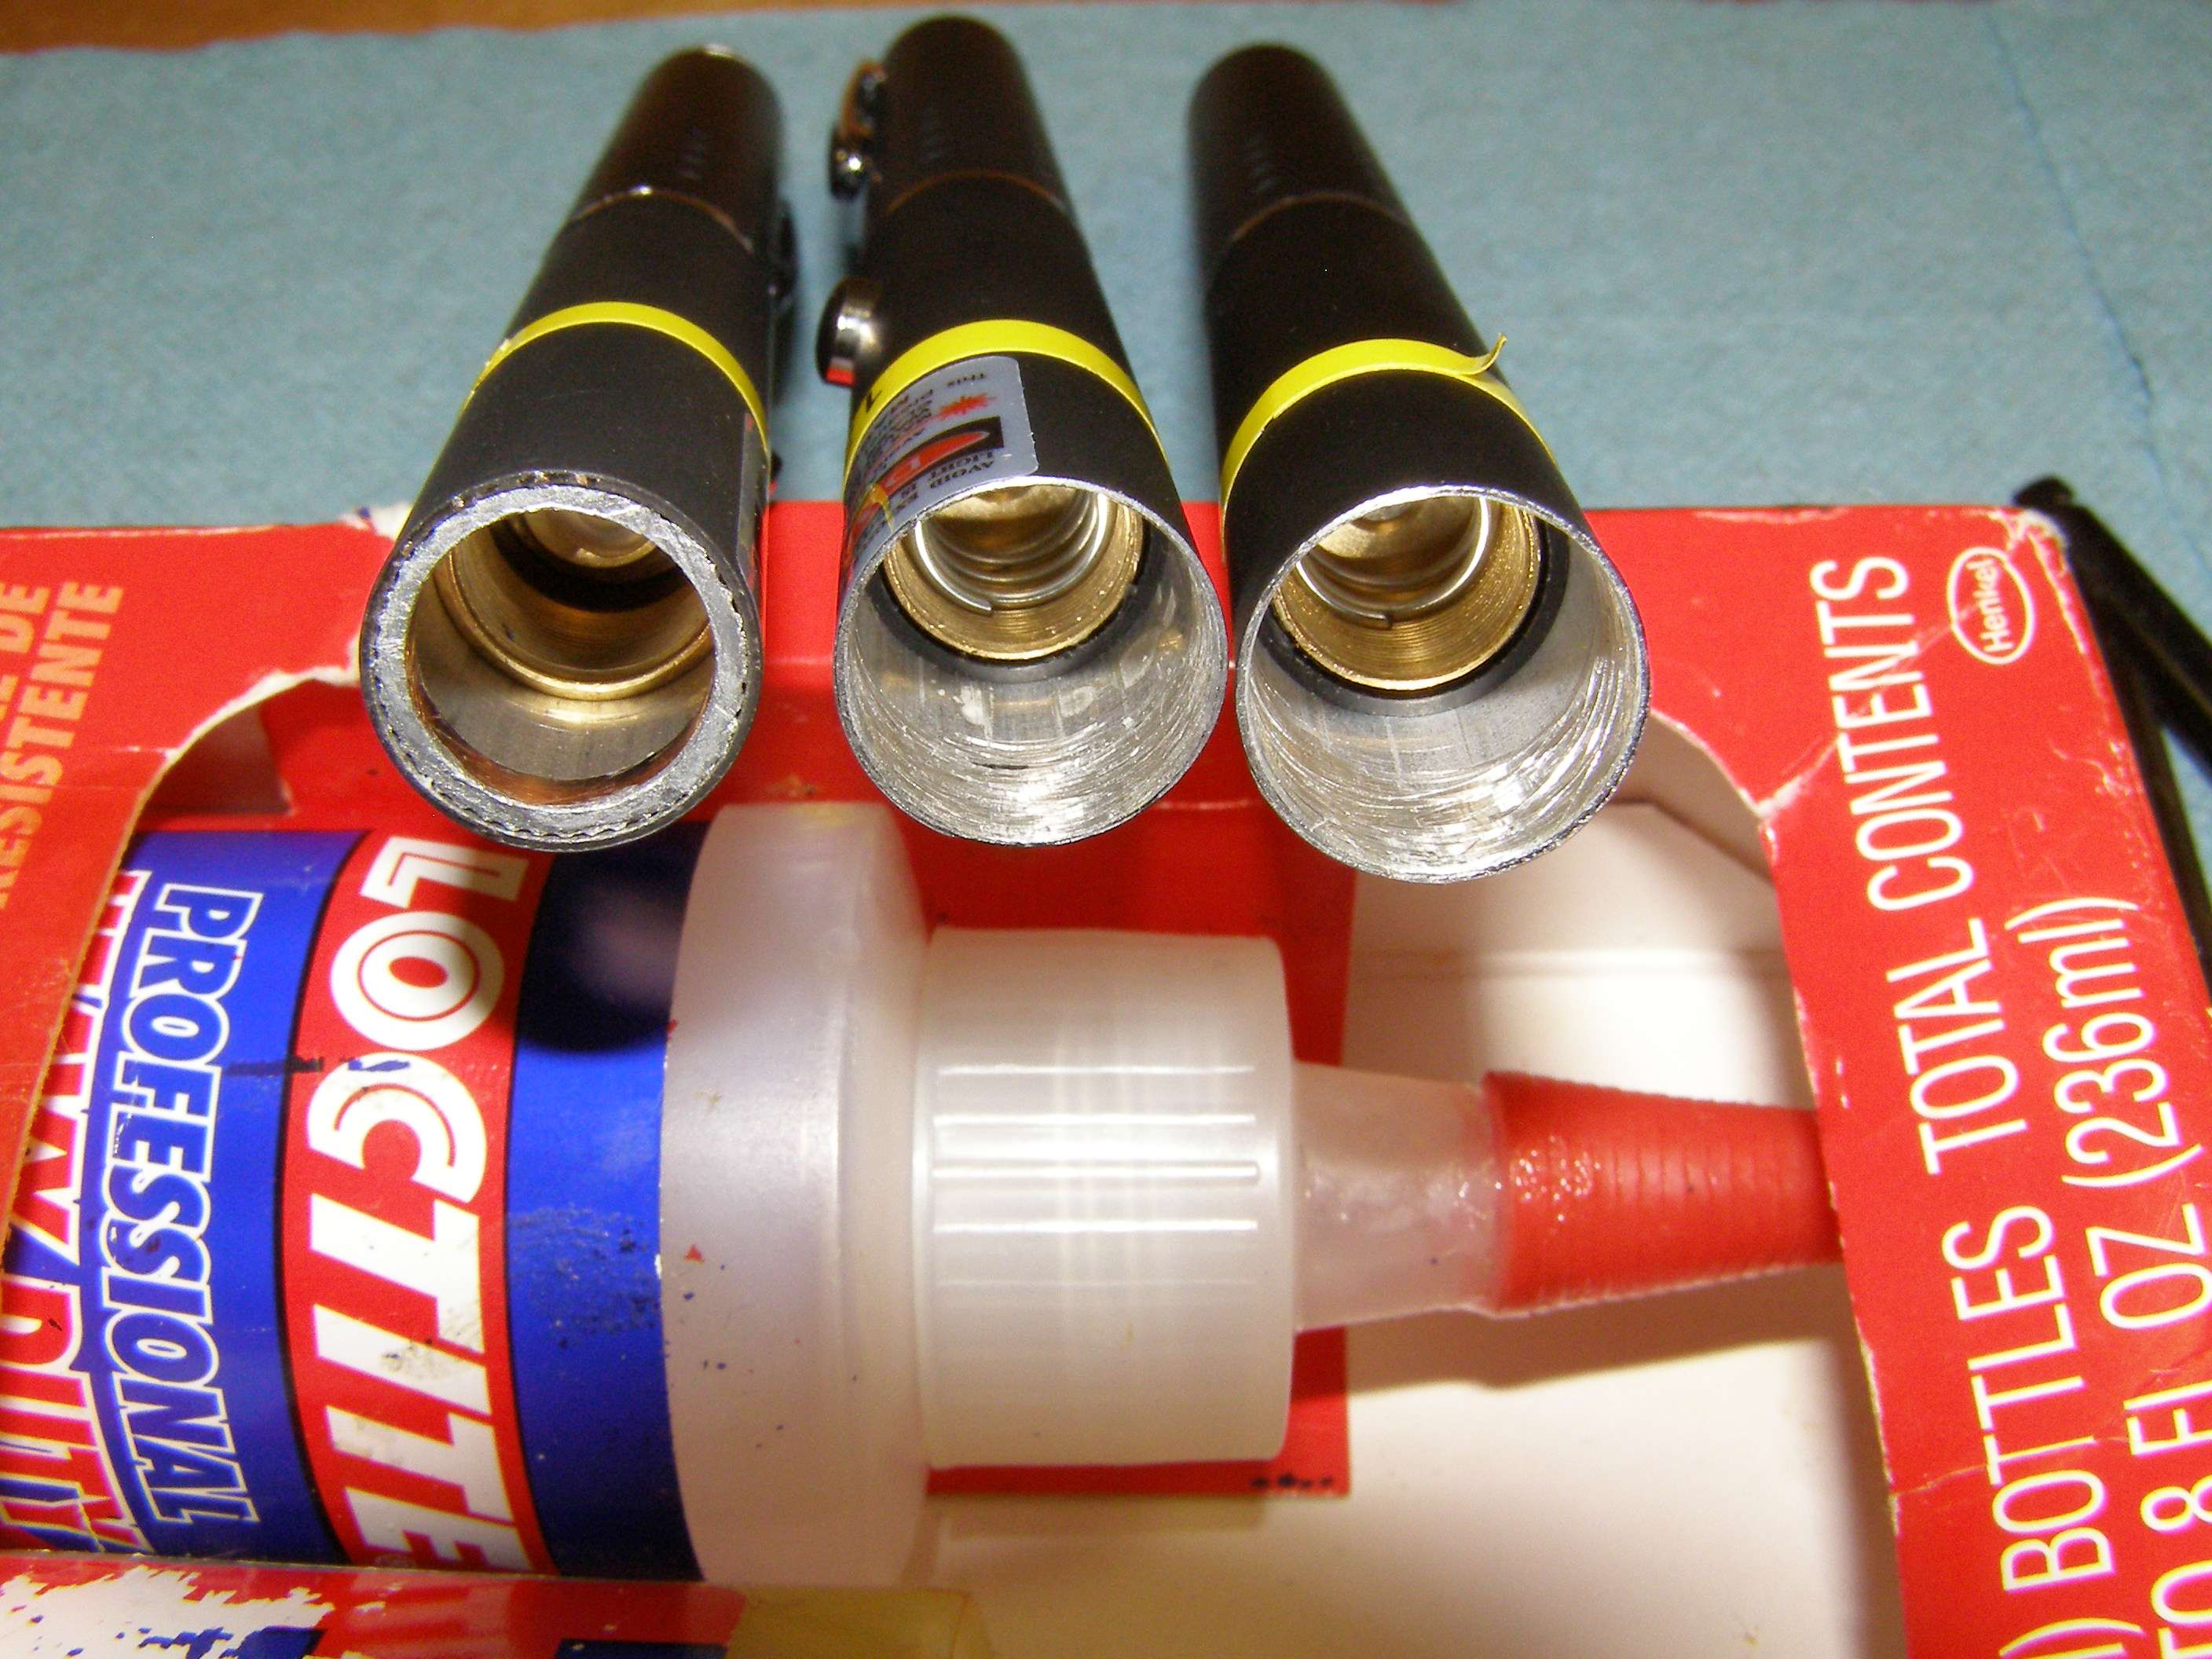
Remove cap with decent thickness leather strap around it squeezing hard with a tilting and outward pull in multiple spots around cap and it will come loose/off. You are not twisting it as if you were trying to unscrew something. It is just glued in. Your pliers must grip really well and it takes quite a bit of force to prevent the pliers squeezed down on the leather to cap for the strap to not slip off the cap. Take your time working your way around the cap and it will slowly start to work its way out. If you don't have the leather on correctly or it's not thick enough and you're not squeezing hard enough, you can slip and scratch the cap with the pliers so think about what you are doing.
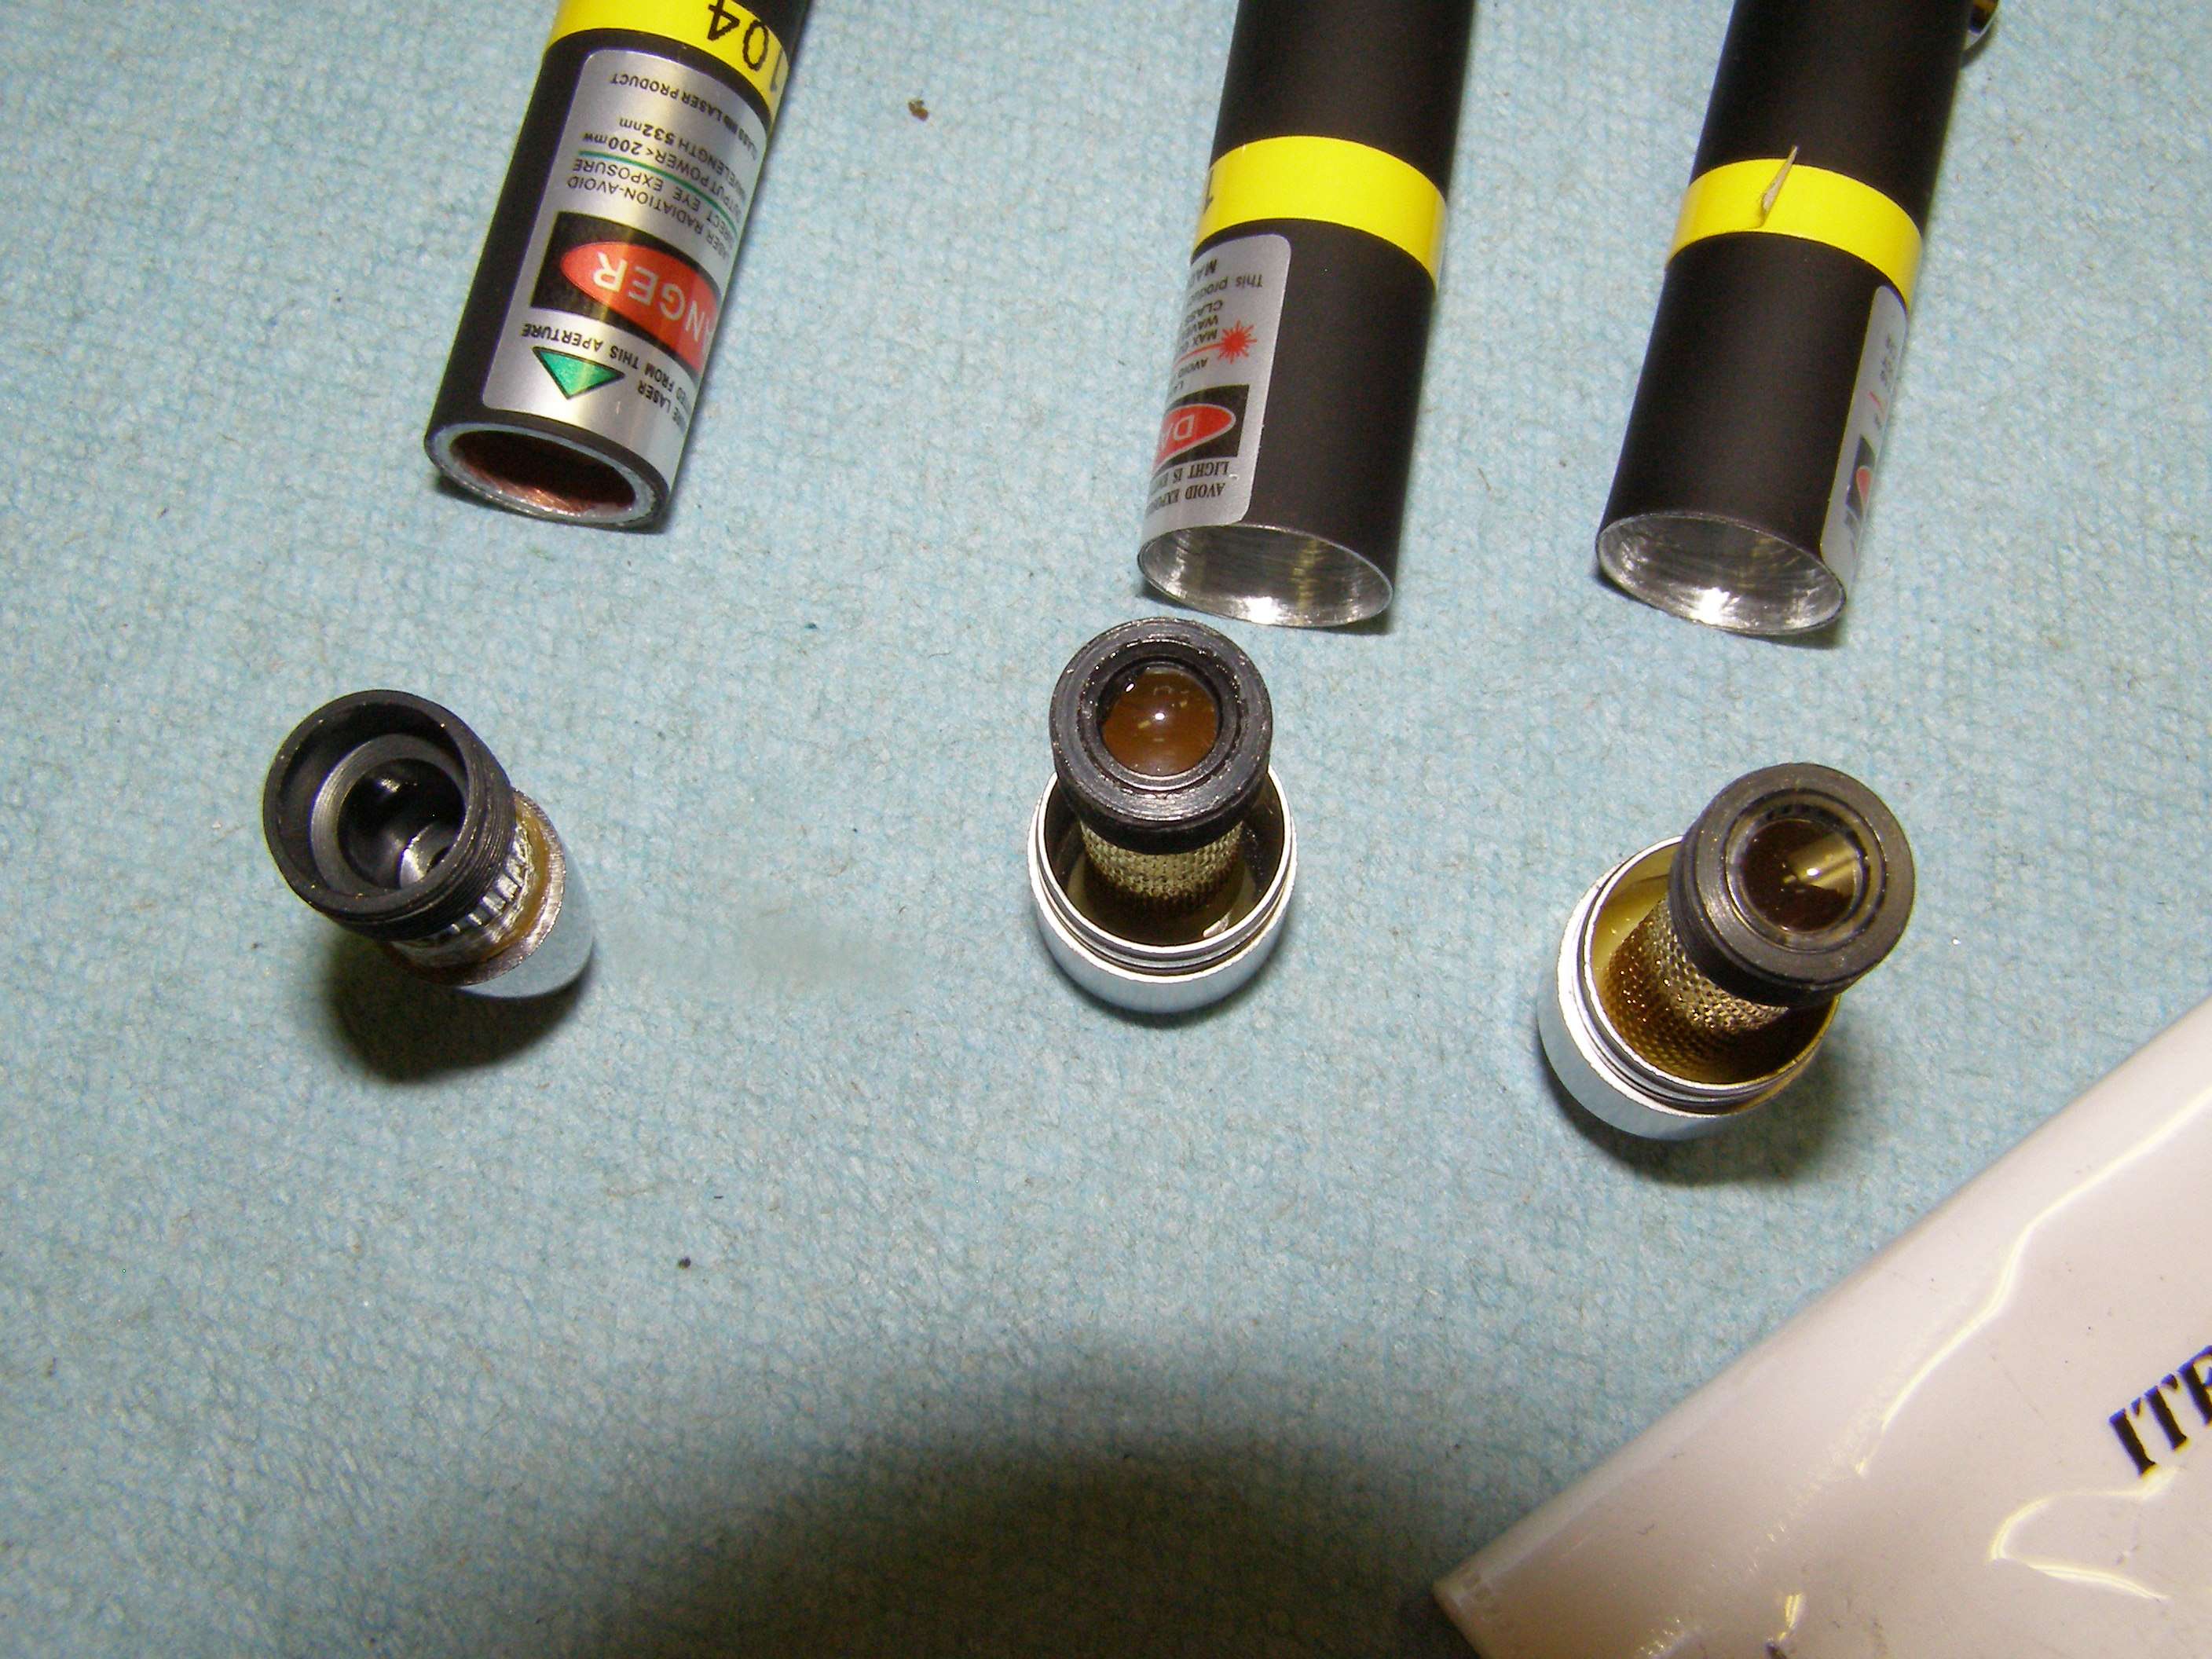
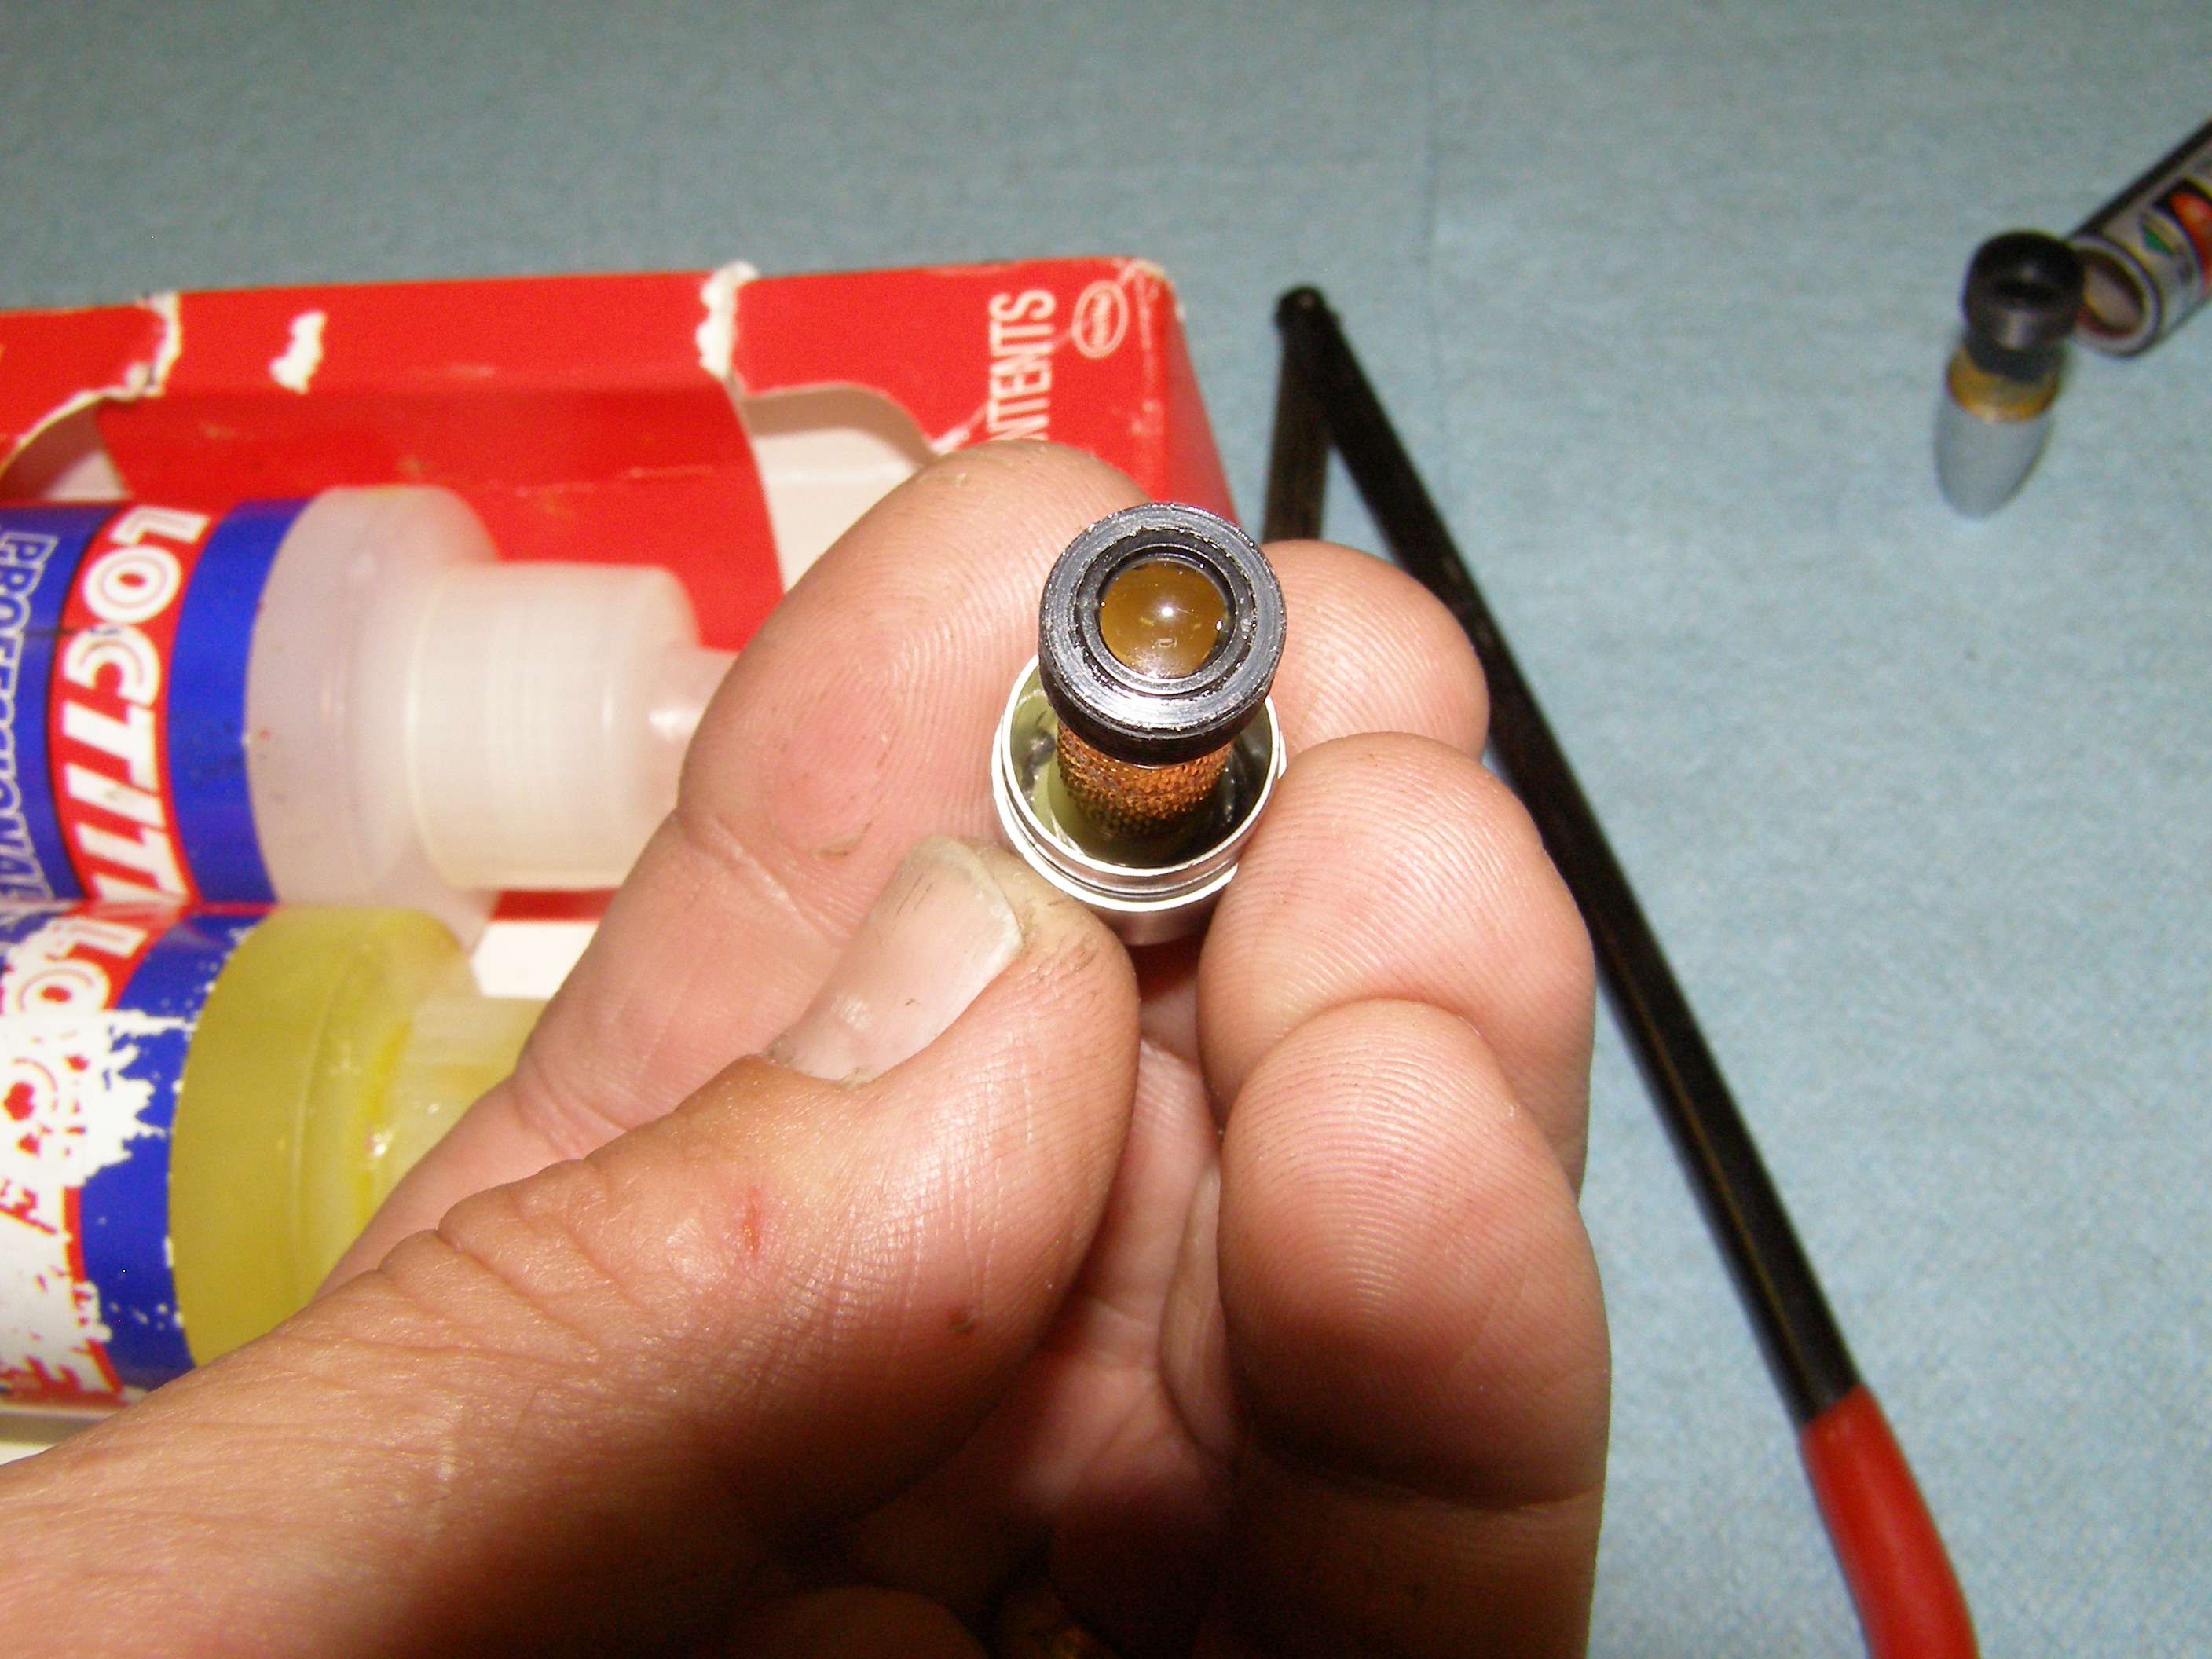
Next, take small (but long tipped) needle nose pliers, put in the 2 holes around the lens and unscrew counterclockwise. If you want, you can first remove the small dab of red glue with something thin. Pay attention to what you are doing with all of this or you will slip and nick the lens! Save the tensioning spring that is under the lens for reuse.
Prepare top of lens for epoxy by scratching the top side to create more surface area and a better bonding.
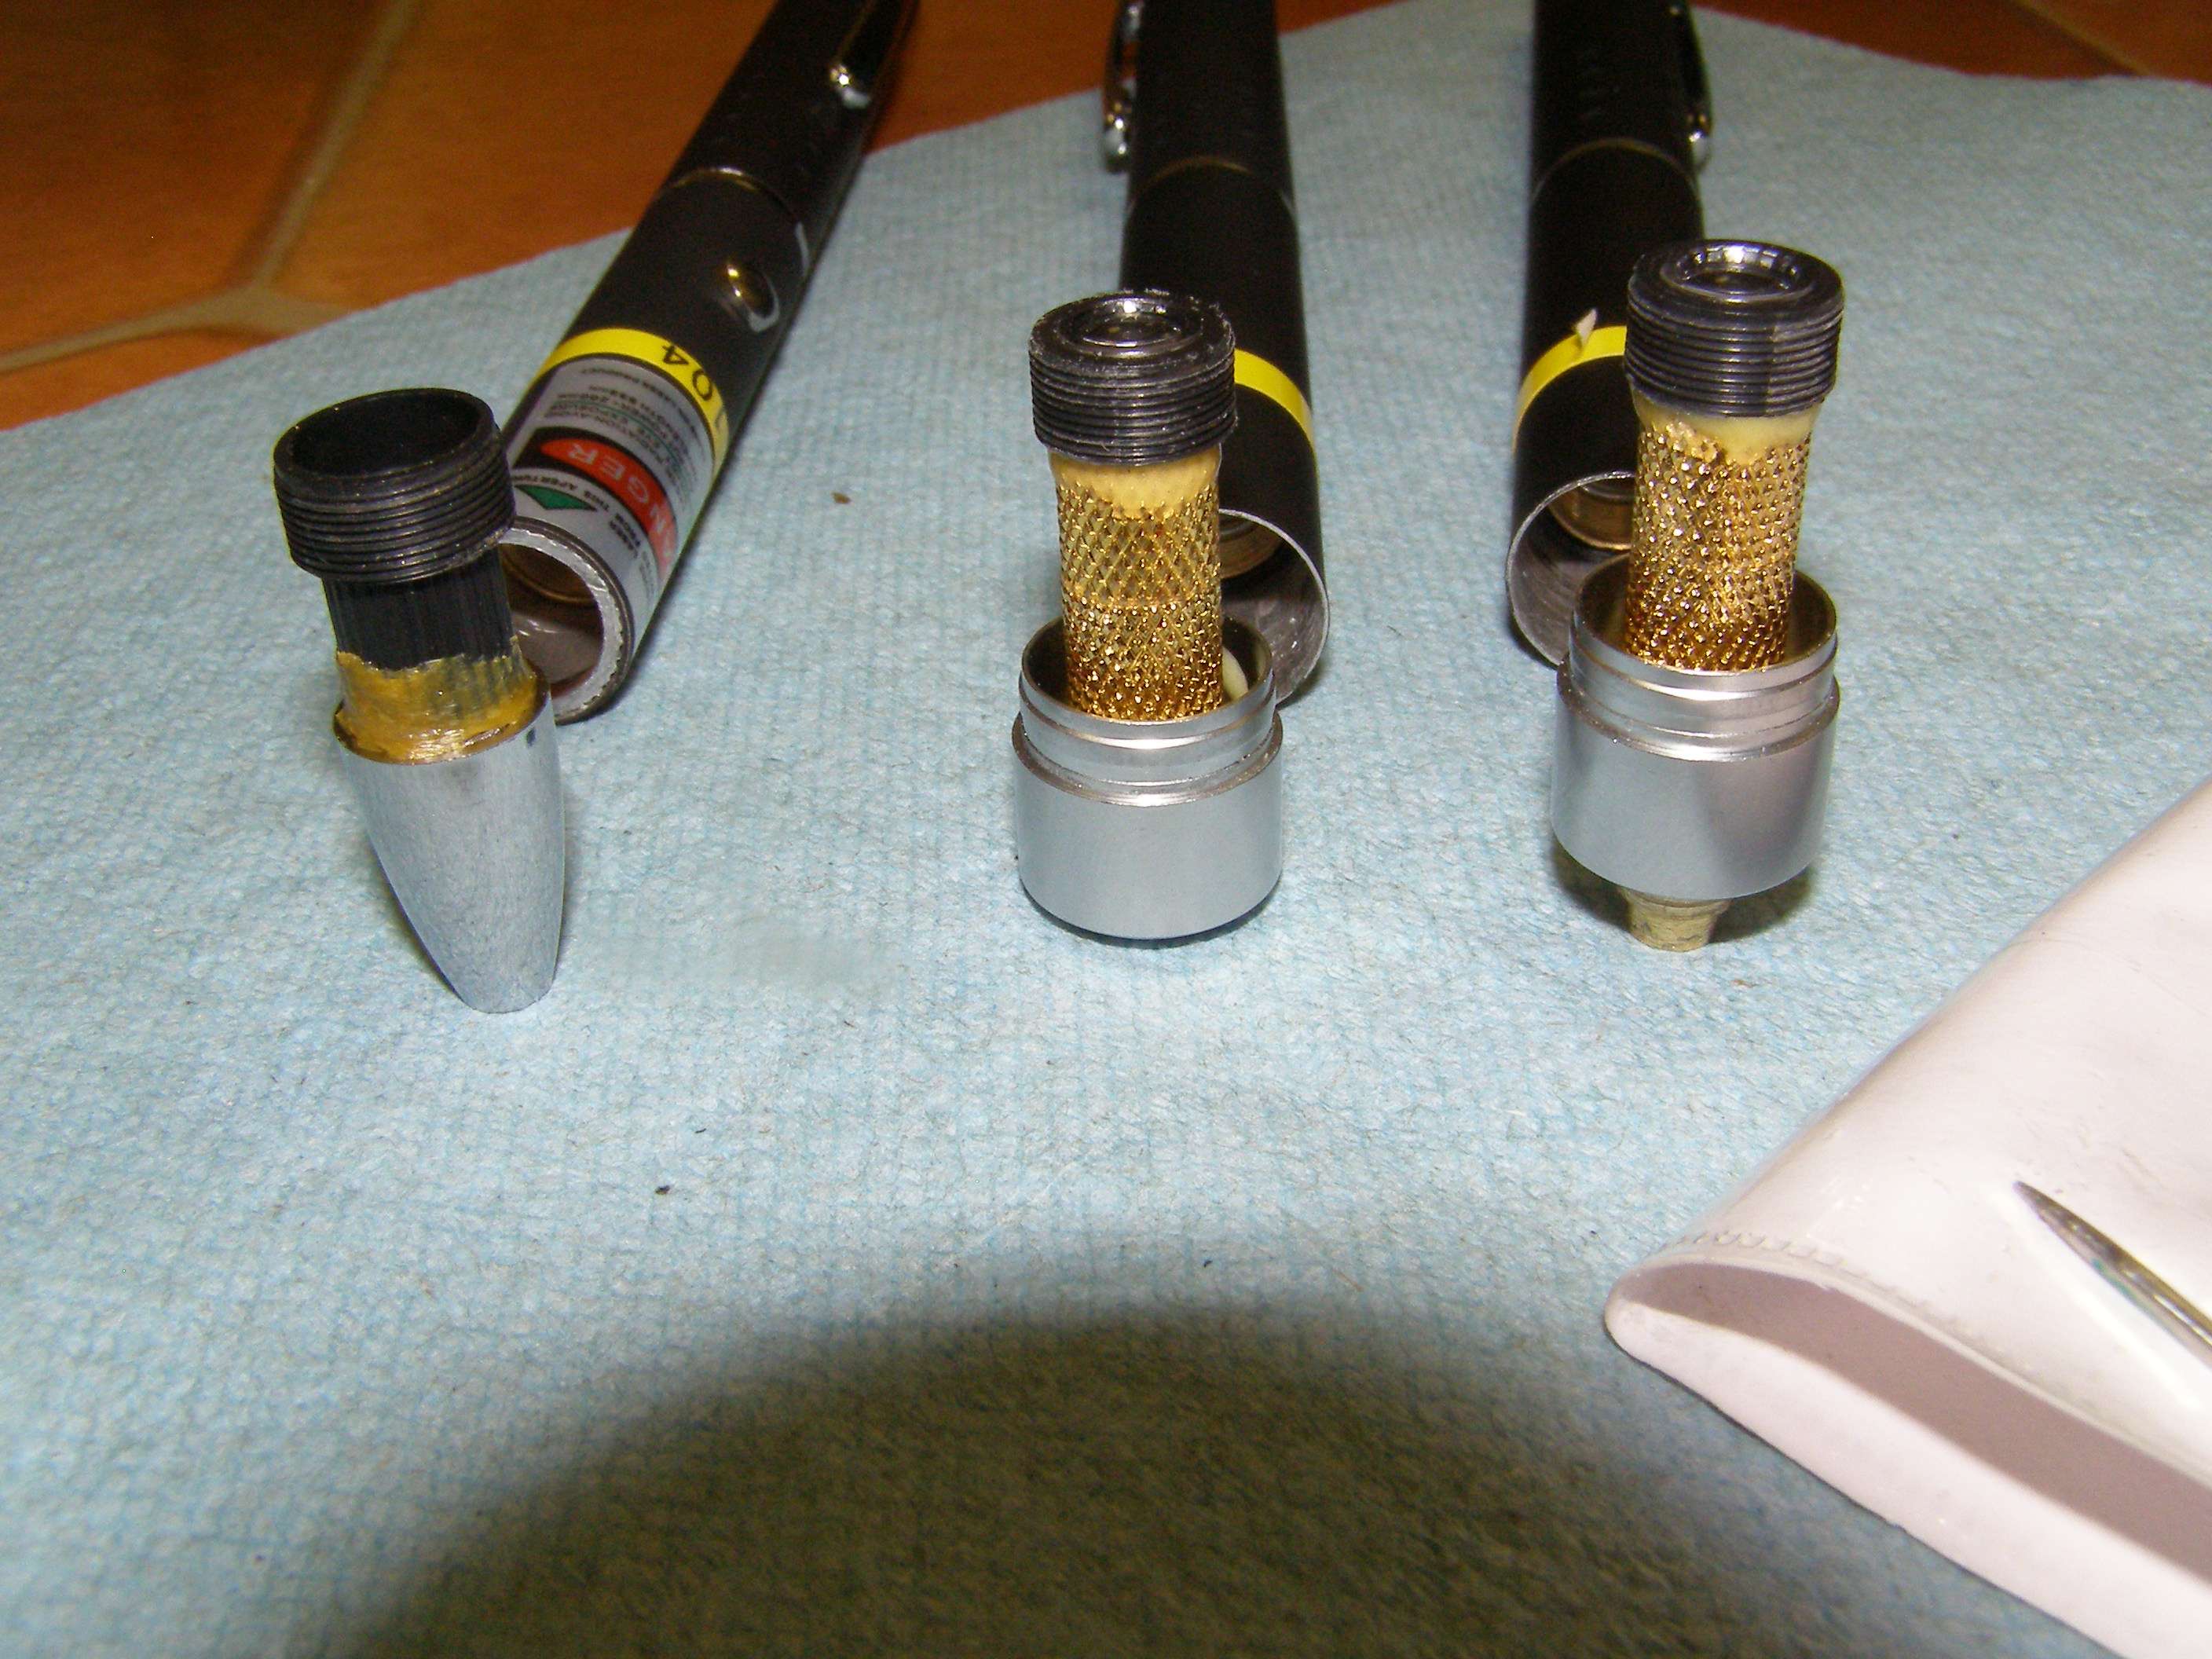
Do the same thing with whatever you want to use to bridge the gap between the cap and the lens scratching it slightly up the outside also. An easy thing would be a pen top. It needs to be able to be glued on top of the lens so that it does not cover any part of the lens and also isn't wider than the threads because you will likely need to screw the lens back in to slightly below the threads.
The length of this piece that glues to the lens and the cap should be enough so that you can screw down the lens enough that it is slightly past infinity focus ( to make sure you can still focus to infinity). All you need to do is screw the lens in til it just starts to focus past infinity (dot gets larger at long distance) and then put the bridging piece between the lens and cap so it touches both. It will look nicer if it focuses to infinity when the cap is basically in as far as it will go.
Forgot that once you get the front cap off, all you have to do is get a knife and scrape out the glue as far in as the cap presses and then a bit more until the cap will easily turn inside the pen smoothly.
First glue the bridging piece to the cap (I use professional strength 5 minute epoxy mixed VERY well and as close to even 50/50 glue/activator. CAREFULLY put SMALL amount of glue on the lens plastic so it will not go into the lens or out to the threads and put a very small amount on the bridge piece. Stick them together CAREFULLY so as not to move the glue around and make sure it is centered (helps to wear those cheapo magnifying glasses). With fast acting epoxy, it should stick pretty hard in about 15 minutes (enough to easily hold the lens as you thread it back into the host.
Mix more glue and add some to the cap and the bridge piece that you scratched making sure the glue won't go to the inside and block the hole at all and put it on.
Let it glue for at least 15 minutes (all depends upon your epoxy, how well you mixed it etc...
Once it is pretty secure you can unscrew the whole thing and put the spring back in. You will know whether you waited long enough if you can screw it down to infinity focus against the spring tension without having anything come apart.
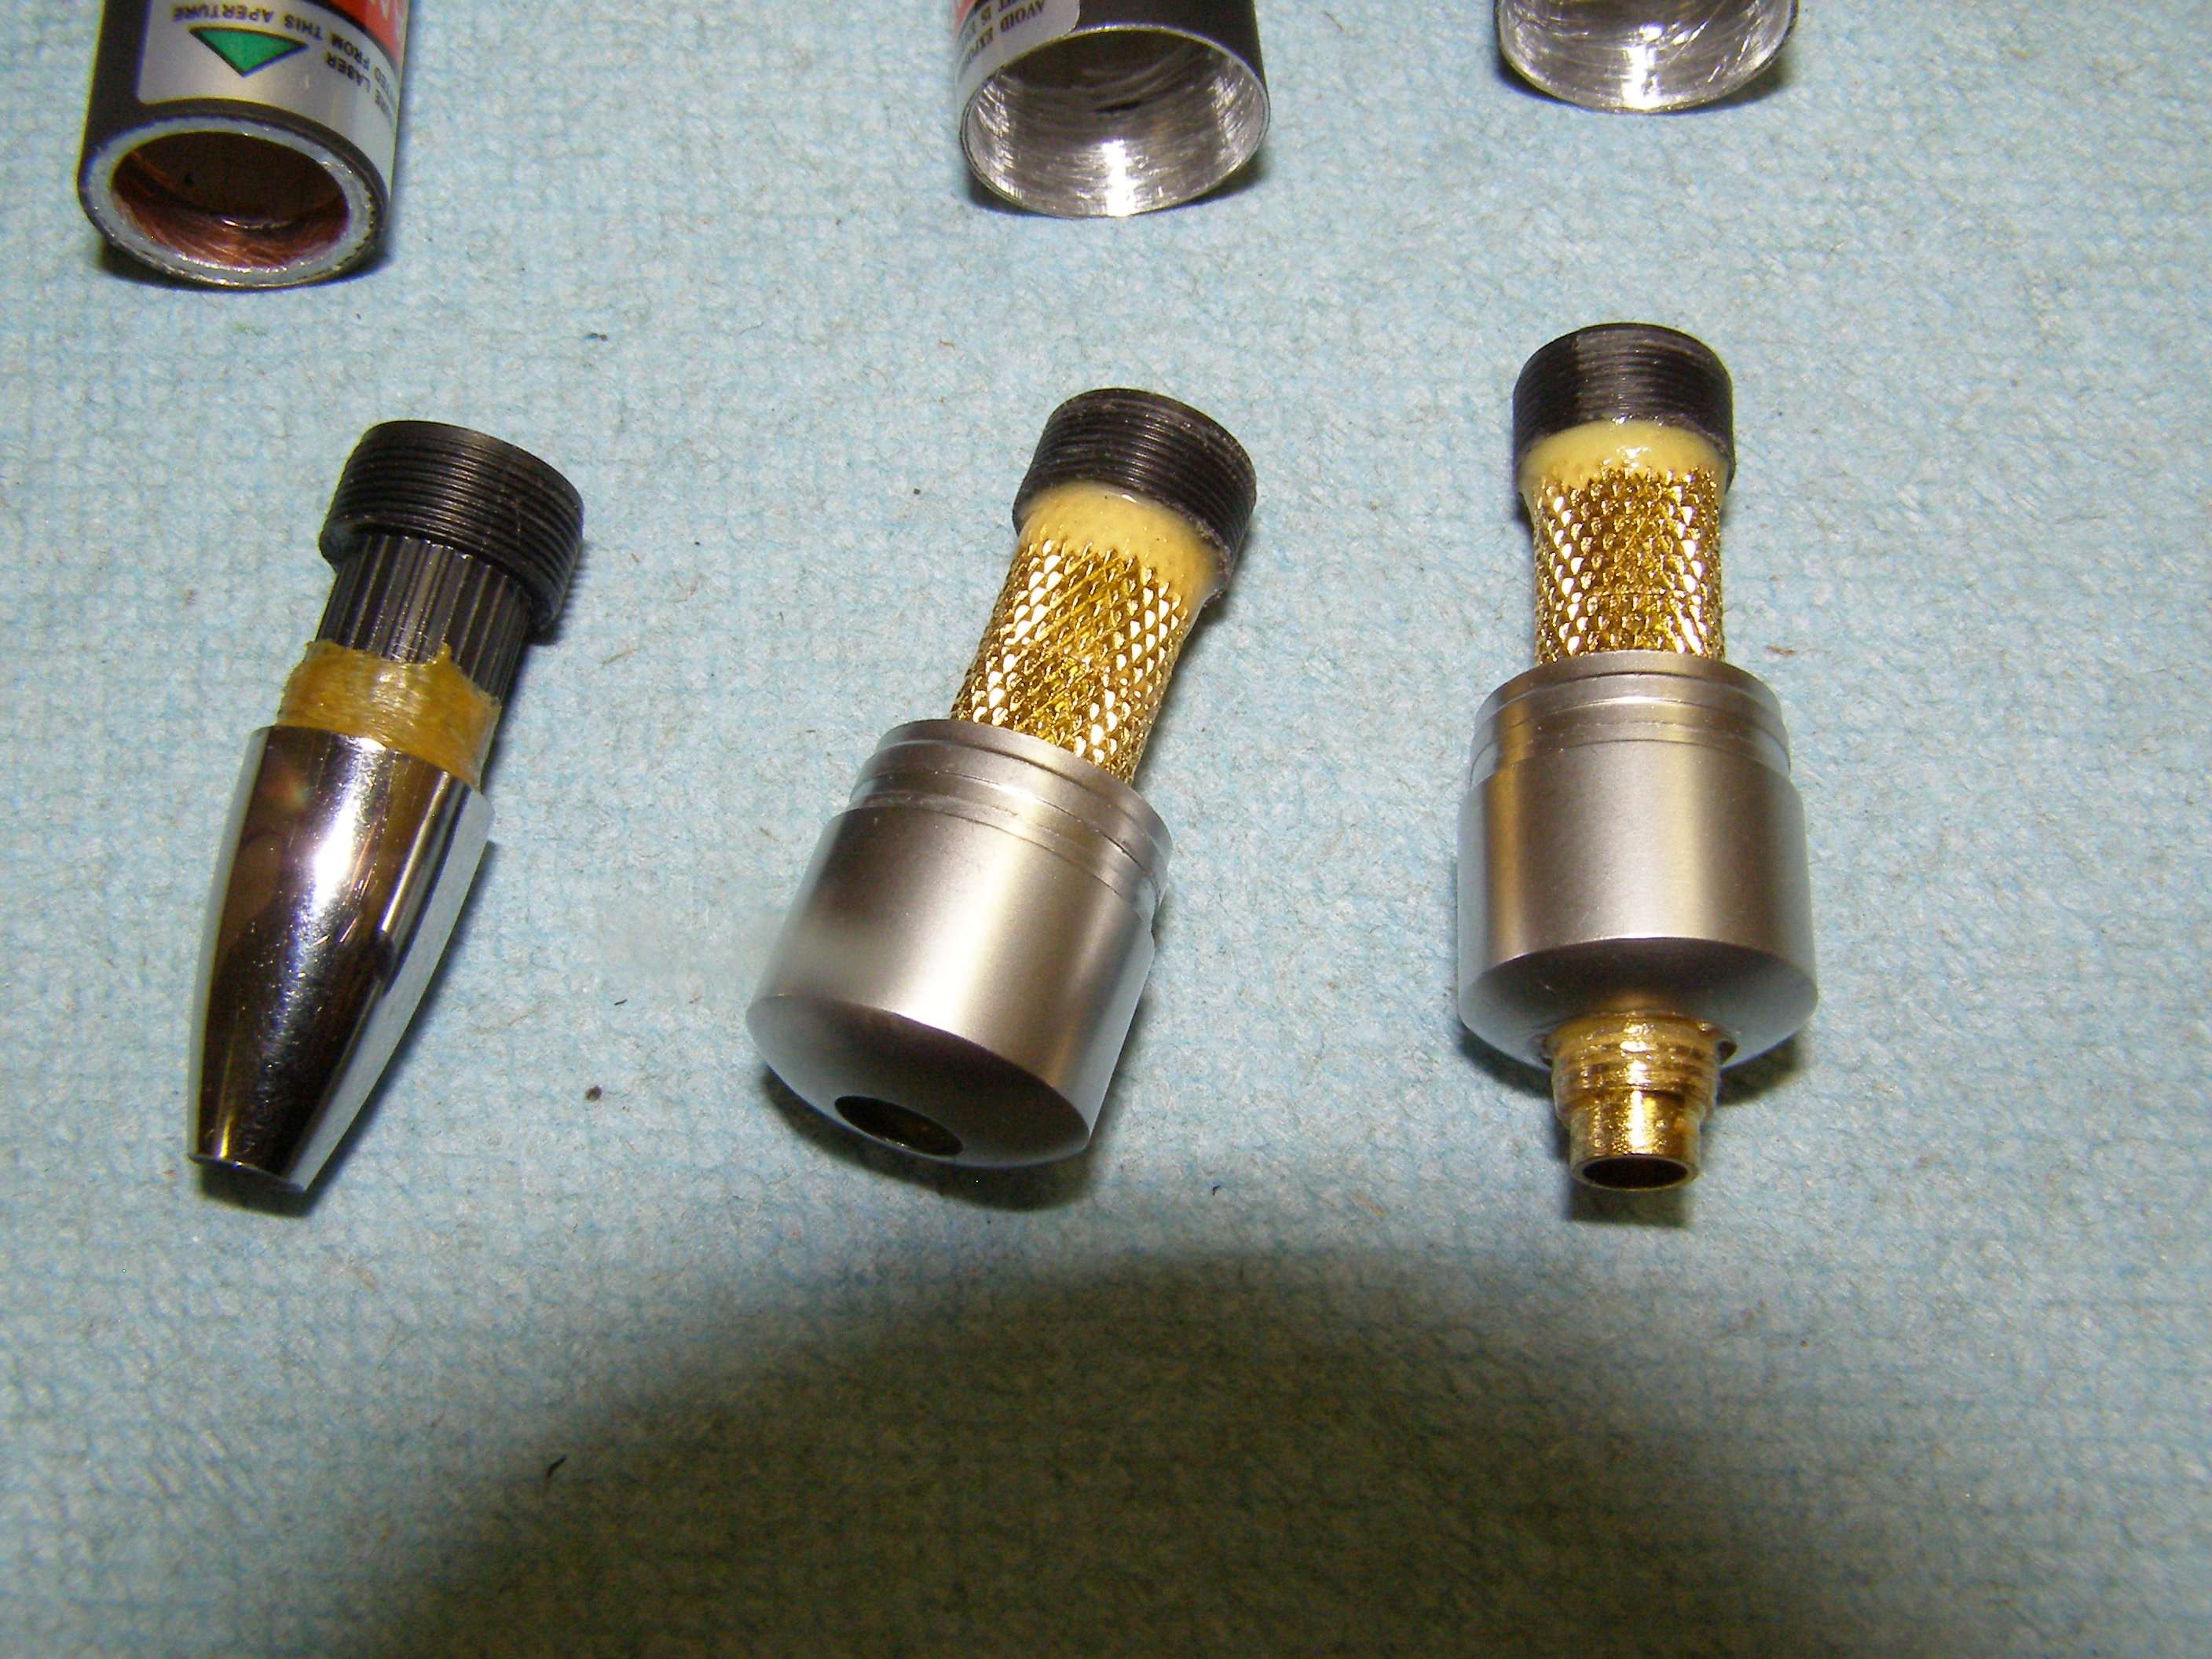
Everyone of the ones in the picture above has been done this way but with different bridges between cap and lens. On some of them, I make the cap hole bigger so the bridge can protrude. A few were made with the cap hole big enough so that I don't use the cap but the bridge to turn the lens.
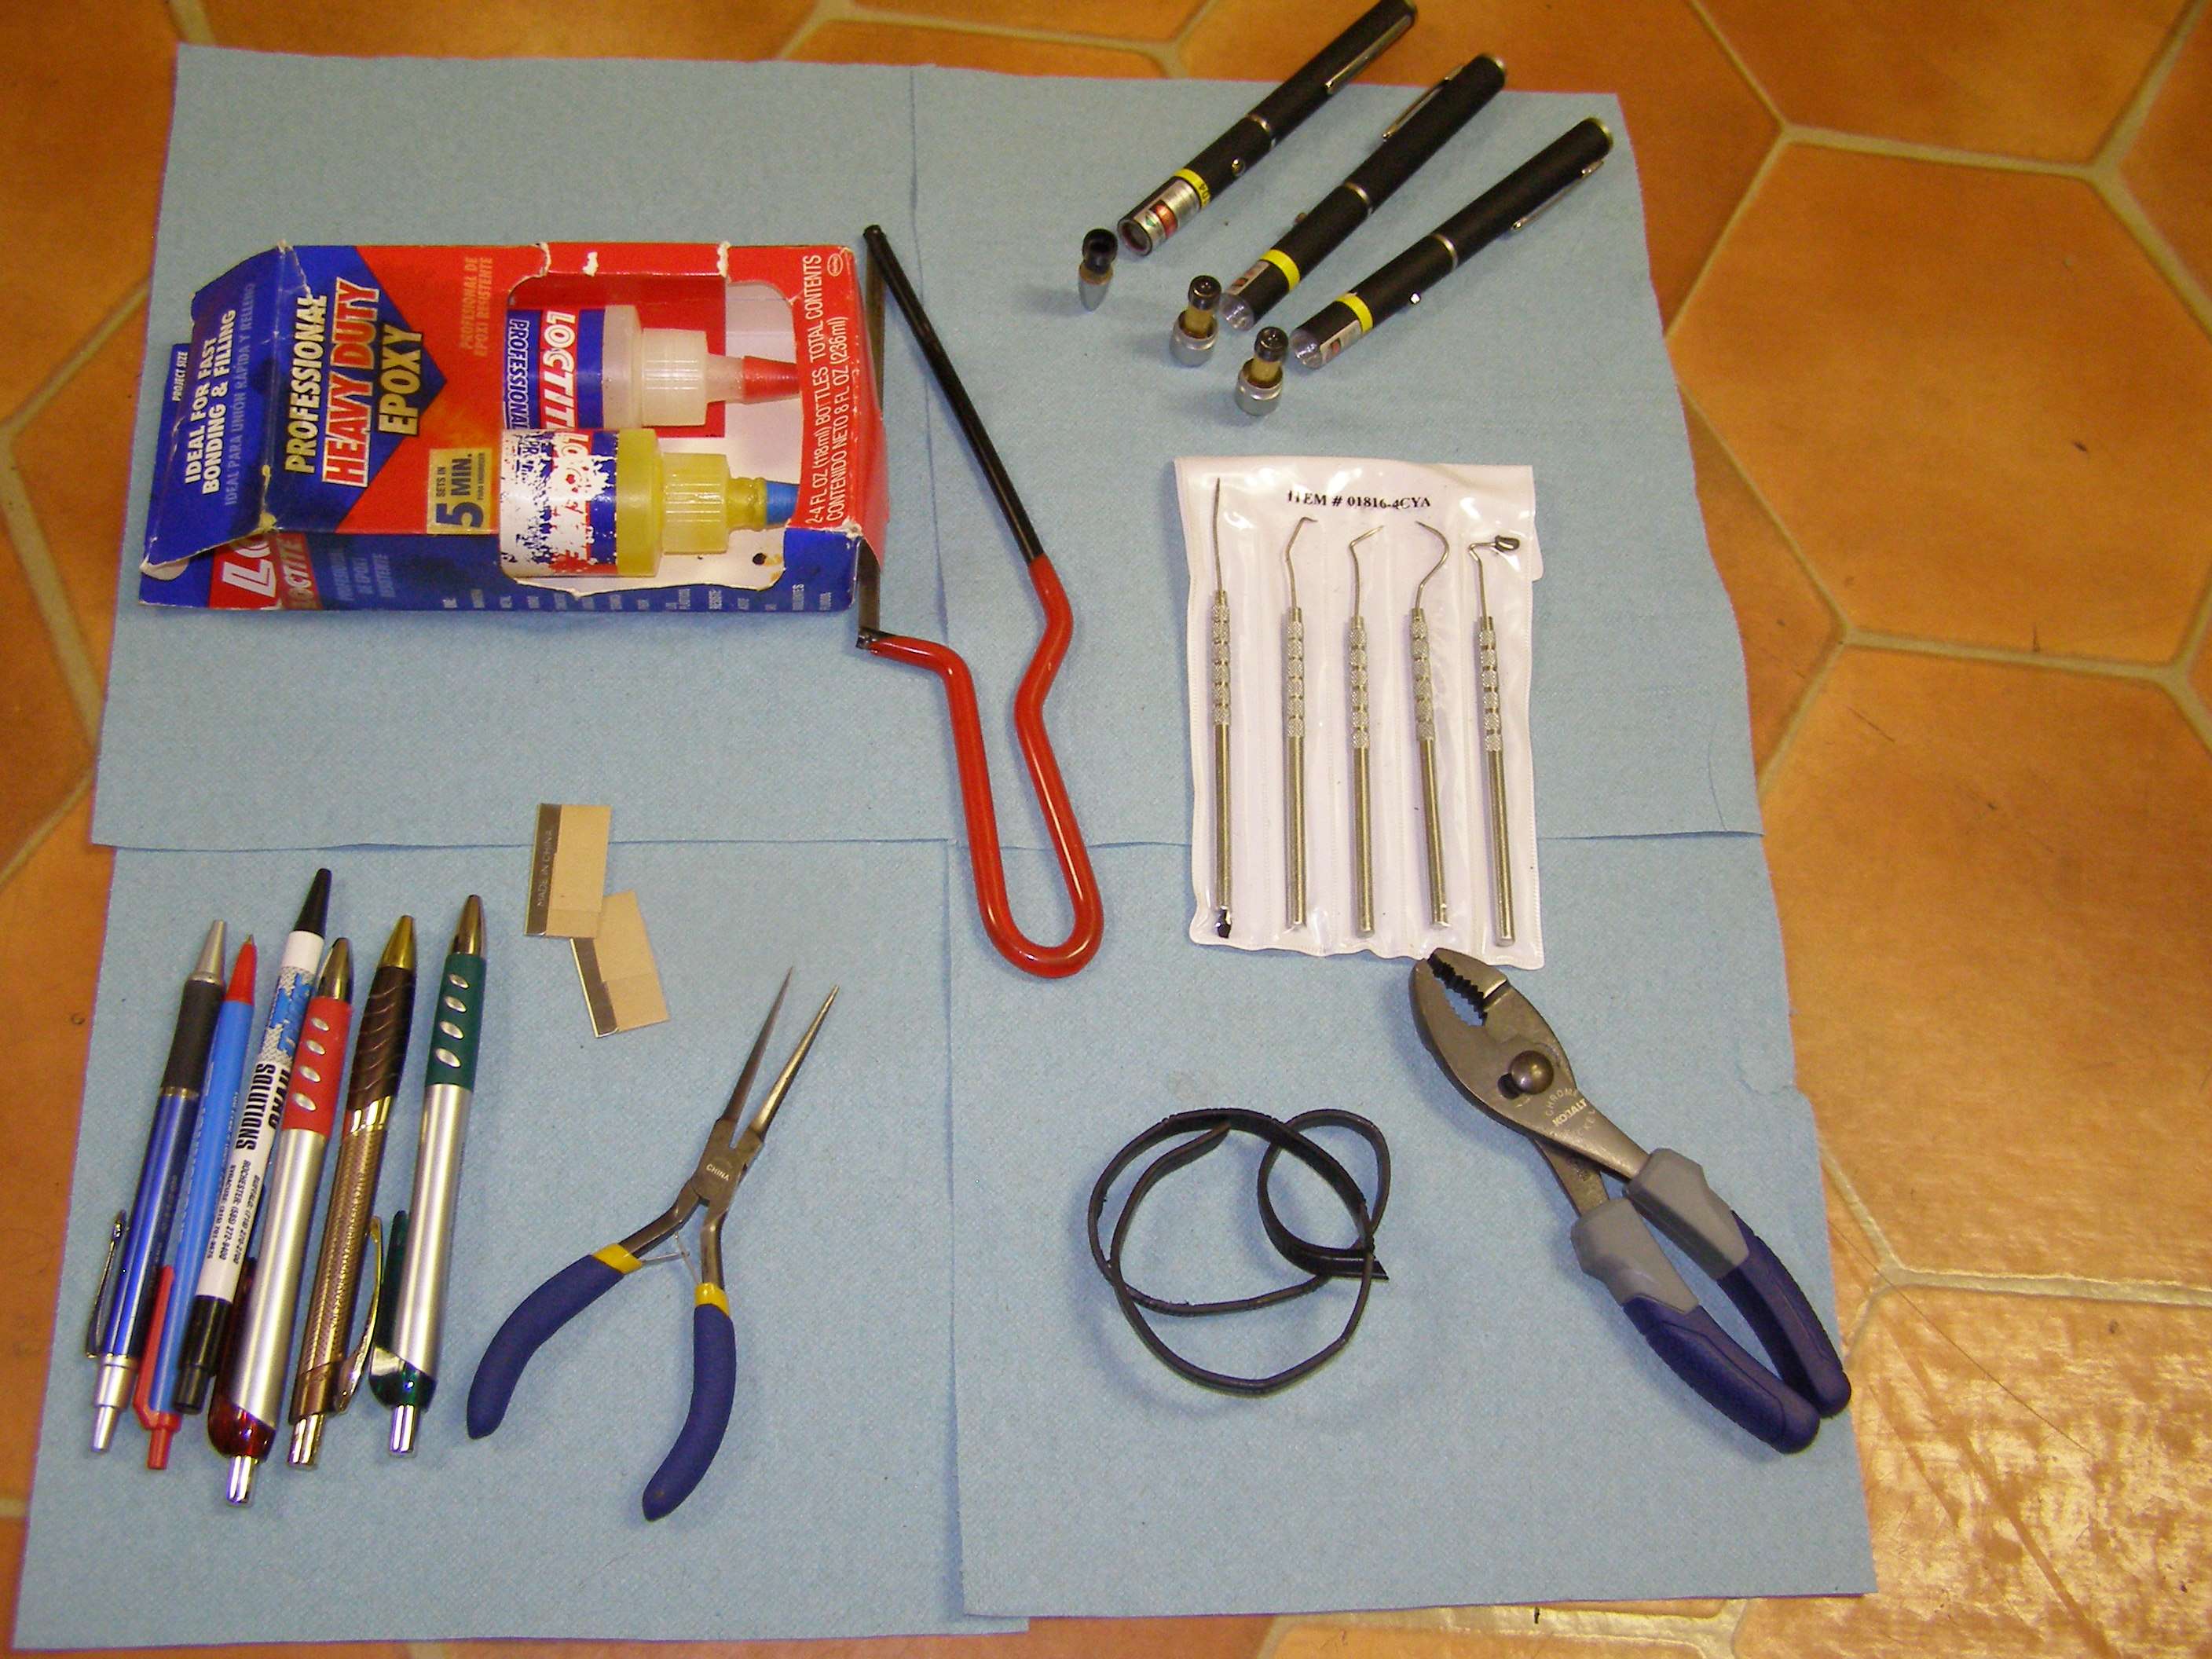
I will post a pic of some of the things I use to perform the surgery in a few minutes.
This process gets easier and easier the more you do.
Suggest you don't do a 532nm unless it has low IR (most cheapo pens have very high IR). You can see how the green one looks different. The lens is at the top of a long barrel to threaded end.
Would never have posted like this but was offended by a few of the comments. Had intended to do a full tutorial. This isn't some scam and I'm not after anyones money. This is for anyone to do with as they please. Anyone can make a million of them and sell them and take all the credit for all I care. I am not resposible for anyone messing up their pens.
My oatmeal was lumpy this morning
YOU are responsible for your eyes. Sunglasses are NOT safety glasses!
Peace,
Pete


