

Pman
0
- Joined
- Nov 28, 2012
- Messages
- 4,441
- Points
- 113
Since Jordan had added a new diode that was rated at 510nm I figured it was time to put one together and compare to a freak 515nm diode I had received from the long suffering Eitan GB that has a definite blue tint to it.
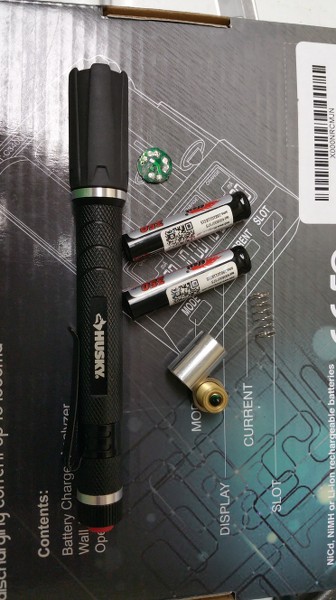
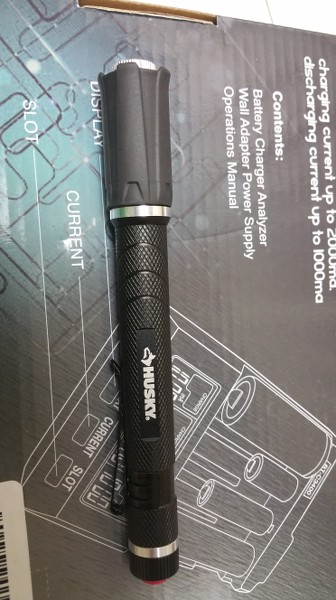
Parts include the Home Depot 2 AAA pen light that I and a couple others have used before:
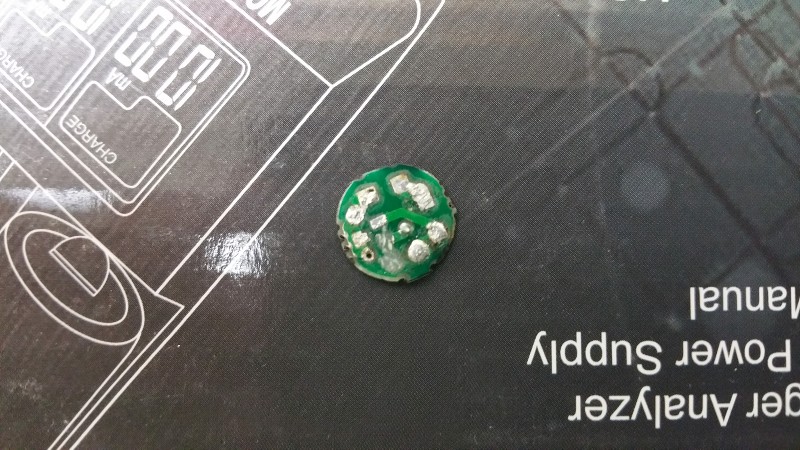
I "stole" this contact board which used to be a driver some some small light I had:

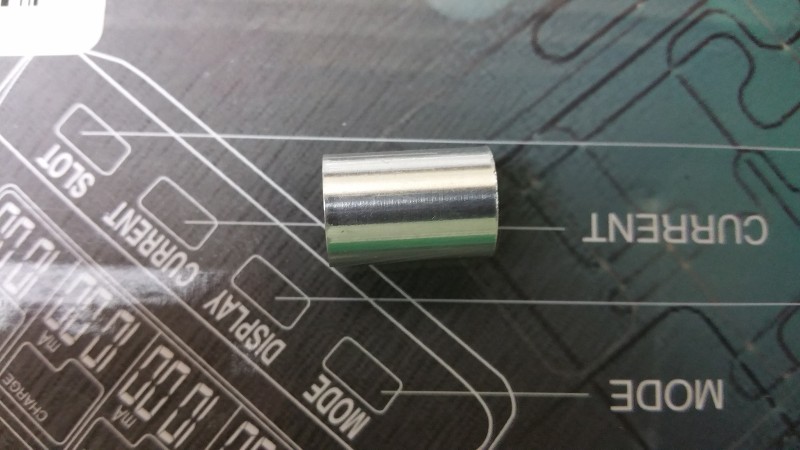
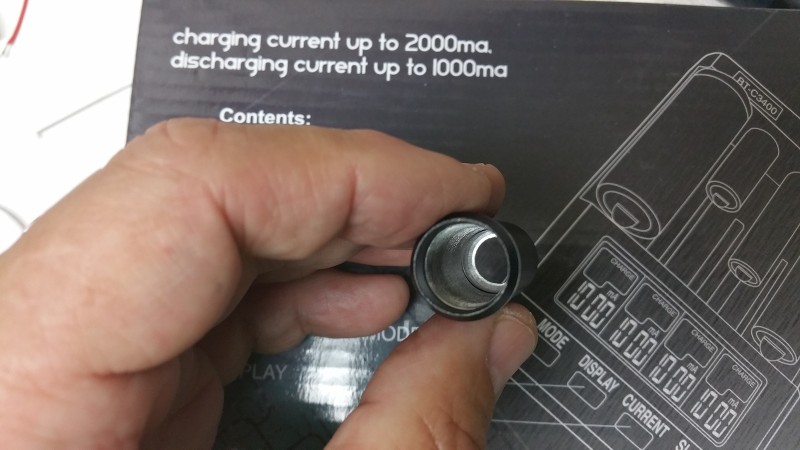
Cut down back half from a standard 12mm module:
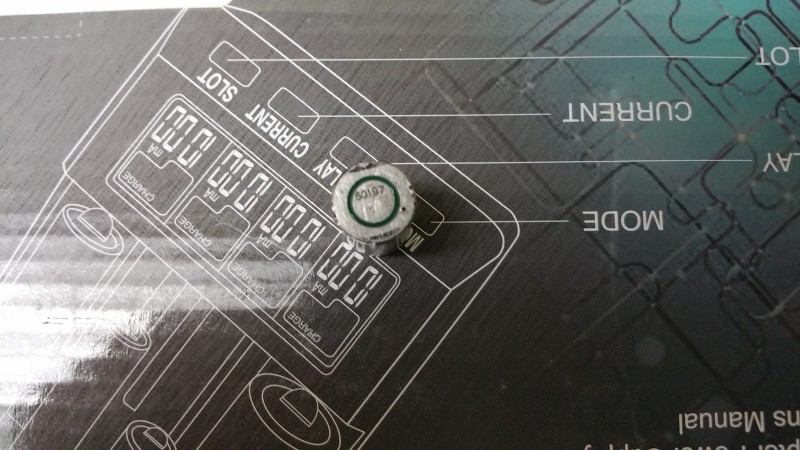
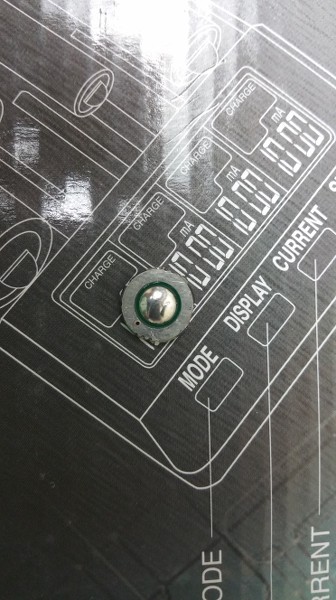
Contact board sitting on top of the back half:
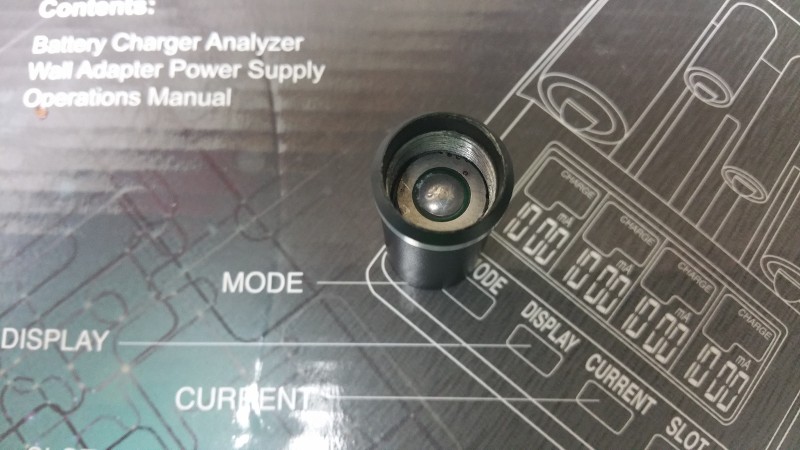
Added a dab of solder to slightly build up the center. The - of a battery is going to be touching it:
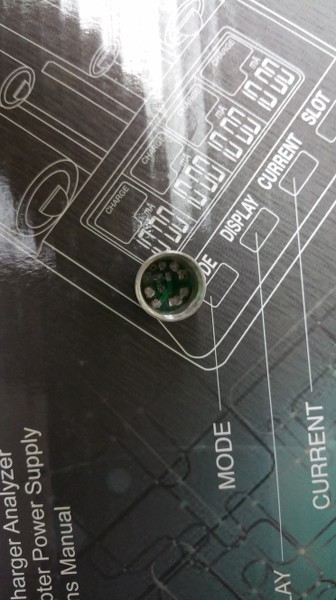
You can see the other side where the wires will be attached for the - and + wires of the driver and how it will sit:
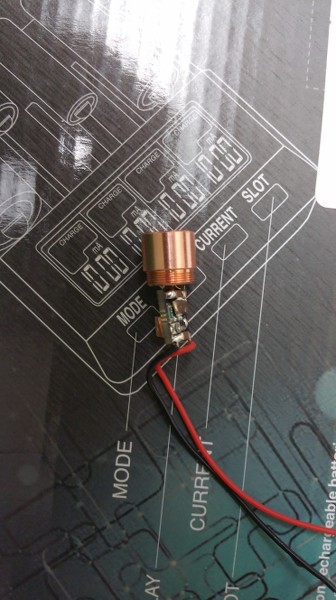
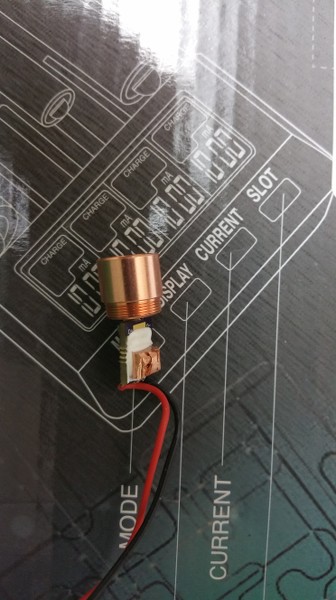
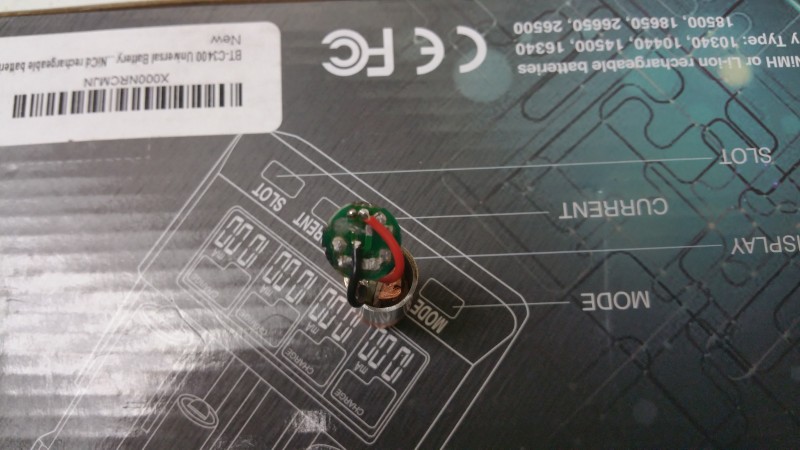
Some pics showing I had soldered the Blitzlinear driver (continuous positive) from Survival lasers to the pressed in diode and then added a copper sink to the back side of it making sure it will fit inside the module back half without touching:
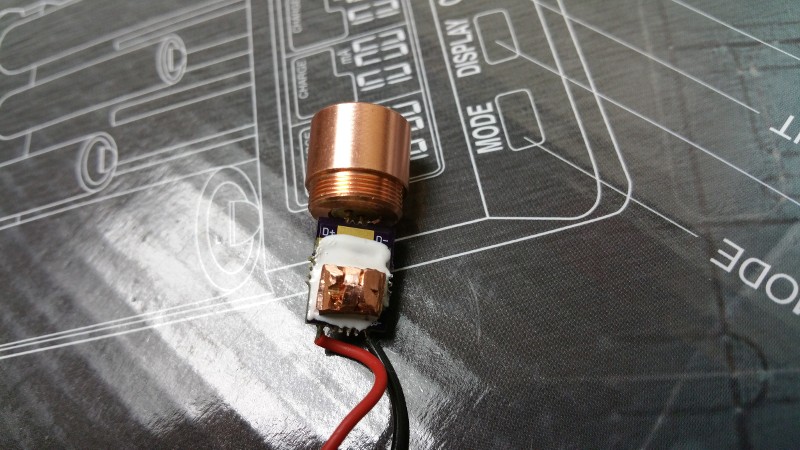
Wired to the contact board. I had to remove one small piece of run on the contact board as it was carrying the center - and you don't want it to short to the module. I should mention that I did not bother isolating the module from the host but instead wired it up case positive as the driver is continuous positive and the diode is case positive. This diode is also an oddball as it is wired opposite to the norm. Take a look at Jordans page on it for the pinout:
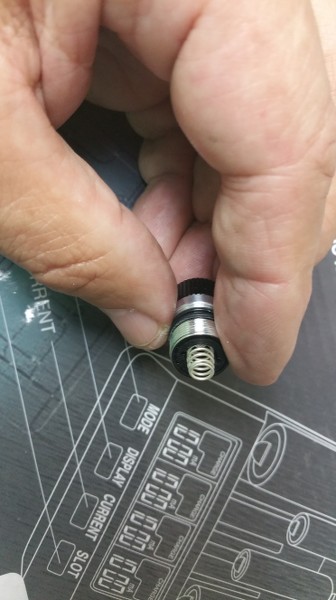
I realized that the batteries (2) 10440 would compress the switch spring too hard if I didn't clip part of the contact spring so that's what I did:
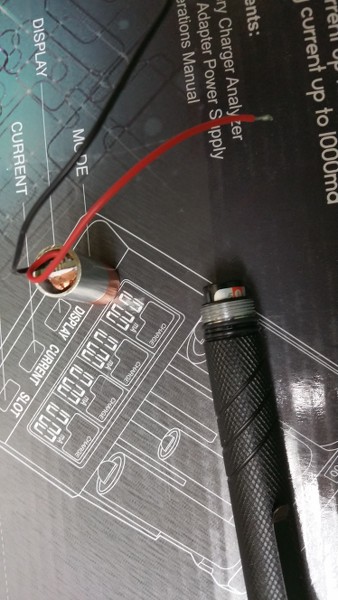
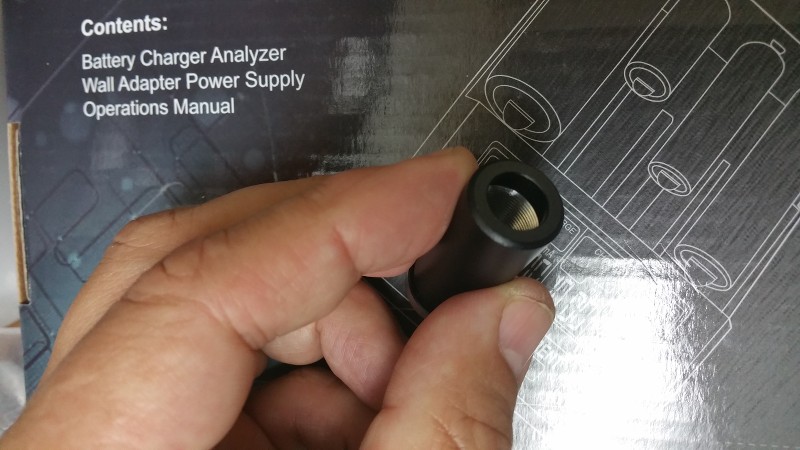
To help make good + contact from the case + host AND to get rid of the deep front lip that the module would sit up against I had to remove some of the material from the inside of the top and I did so with a really cool drill bit that my friend Bow gave me:
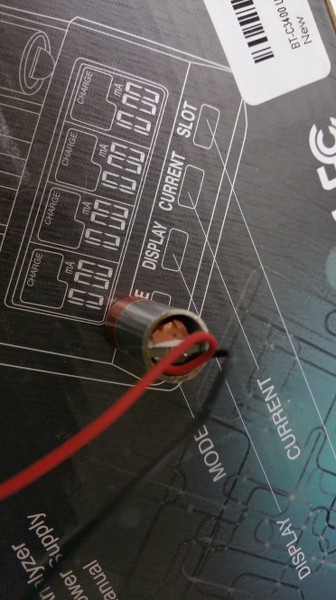
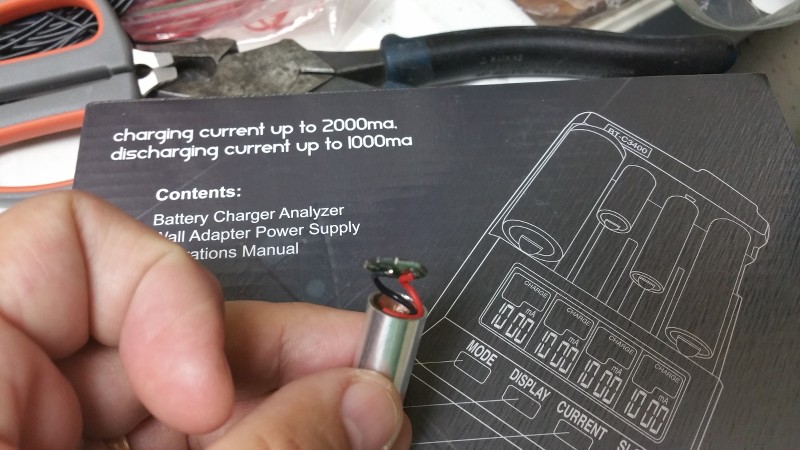
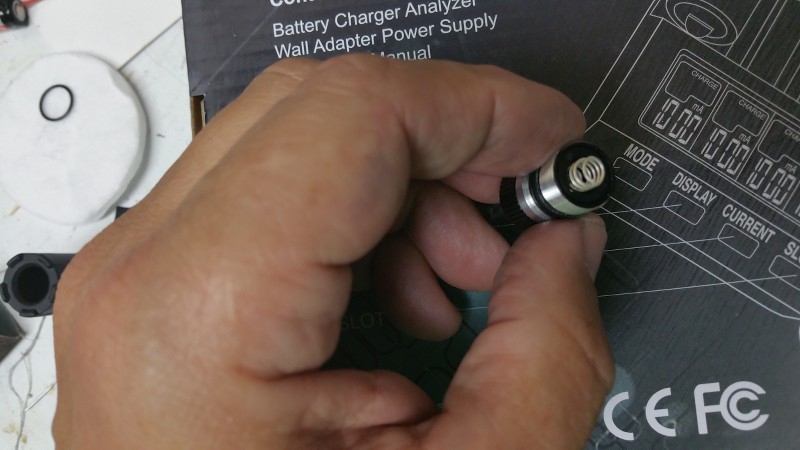
I forgot to get a picture of it but I had used Arctic Alumina epoxy to glue the contact board onto the back of the module. This is what the module looks like inside the front host piece. The complete build is built so that there's just the right amount of tension between everything so the module makes good contact with the front host inside and the batteries also have the right tension from the screwing in the rear switch:
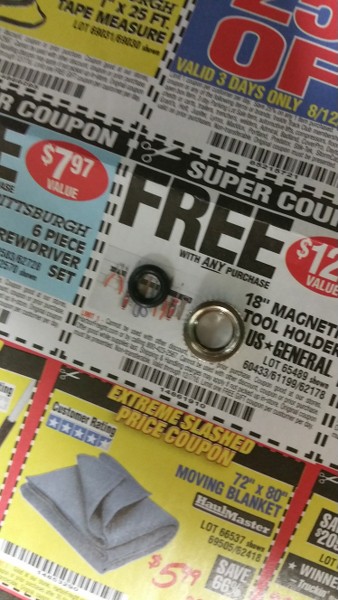
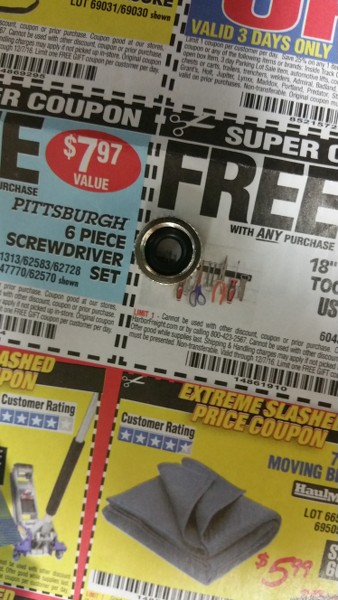
I sometimes use a small o-ring inside the focus knob when the lens will screw in to far to get close enough to the diode for infinite focus:
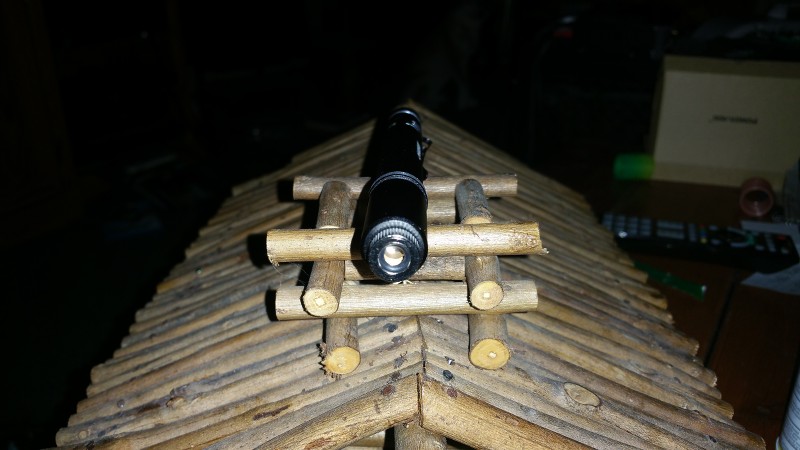
Some completed images:

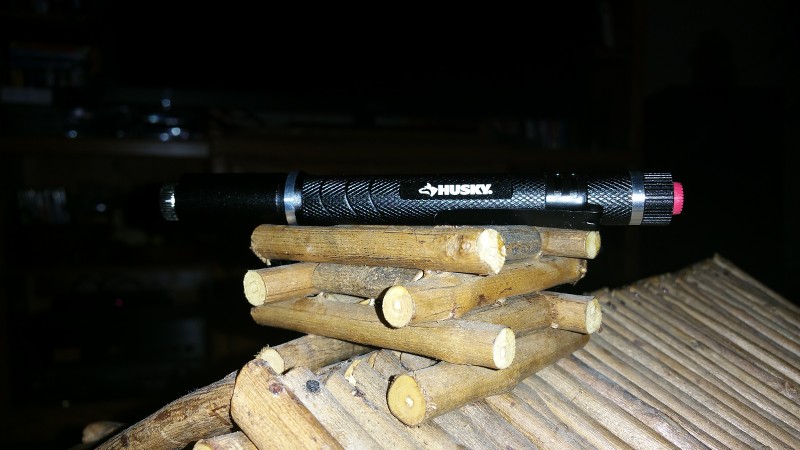

With the rubber boot on the front if you like that look:
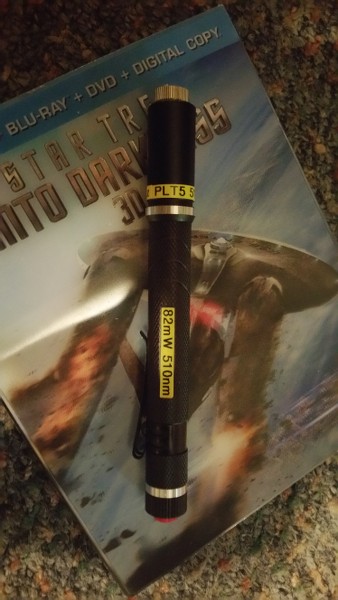
Labeled:
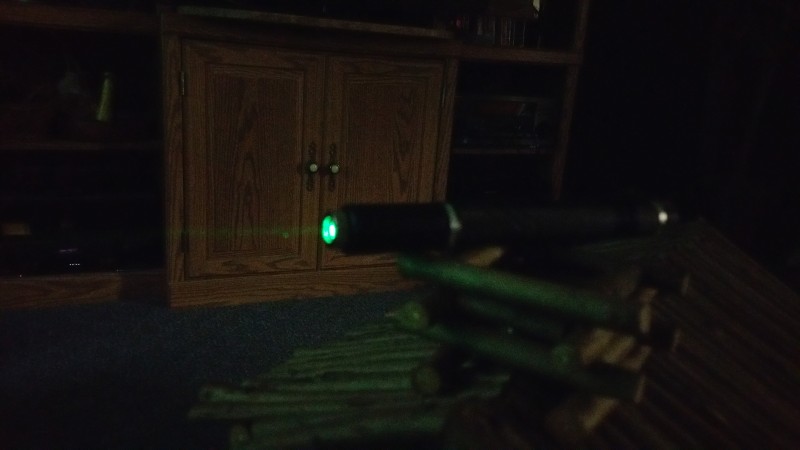
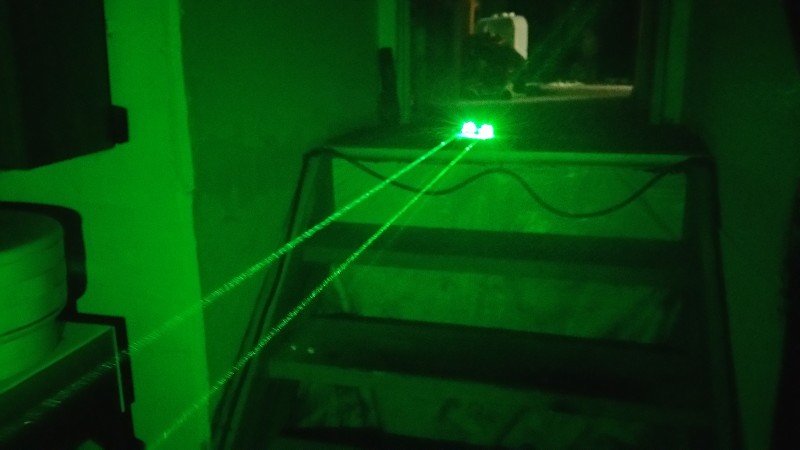
Beam shots with at 72mW with the driver set to 202mA (2) 10440 cells and a G type lens. If you are standing behind the lasers the freak 515 is on the right:
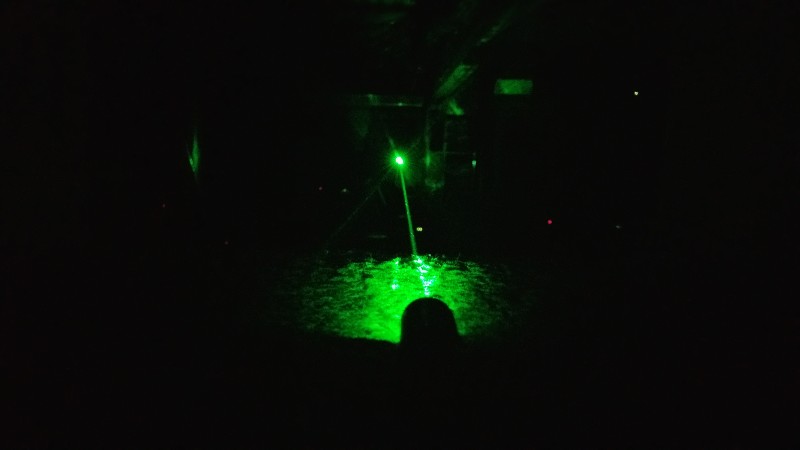

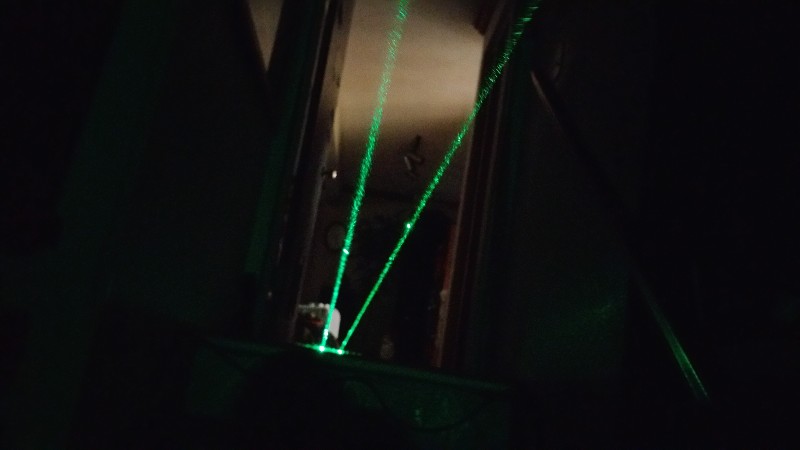
When I saw the color I knew that my freak 515nm diode would have a lower wavelength. Here's the comparison but keep in mind that the wavelength likely has pushed up because I'm beyond the nominal rating of the 15mW diode. The other unit is about 110mW so it is also brighter:
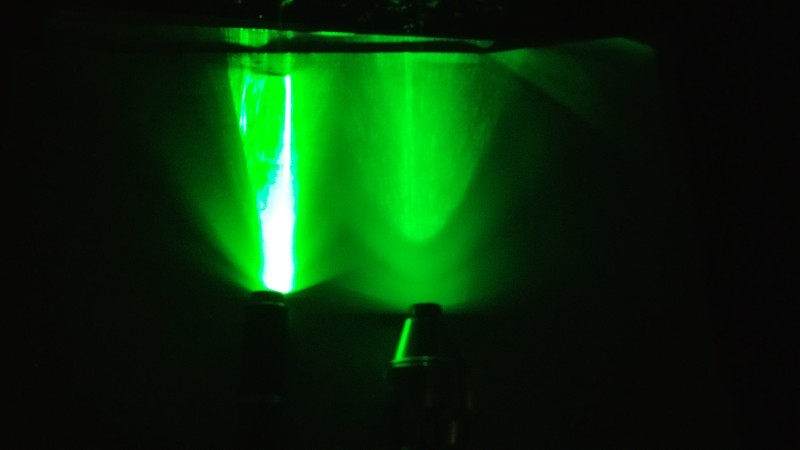
In this pic you see the bright flare on the left from the 510nm because it is closer to the floor:
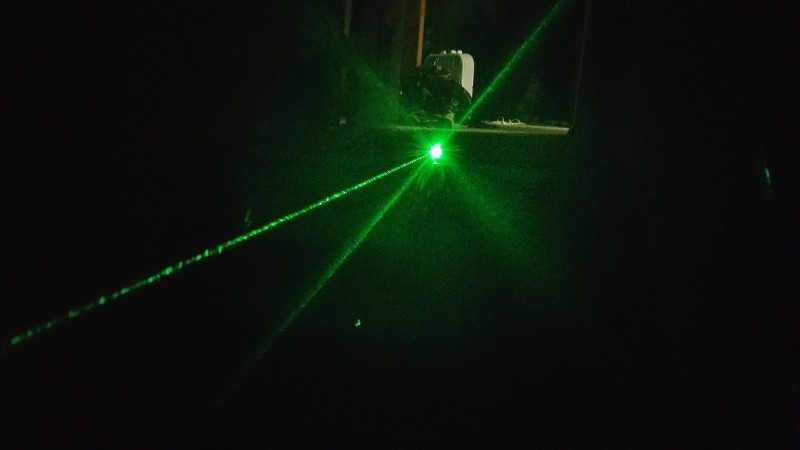
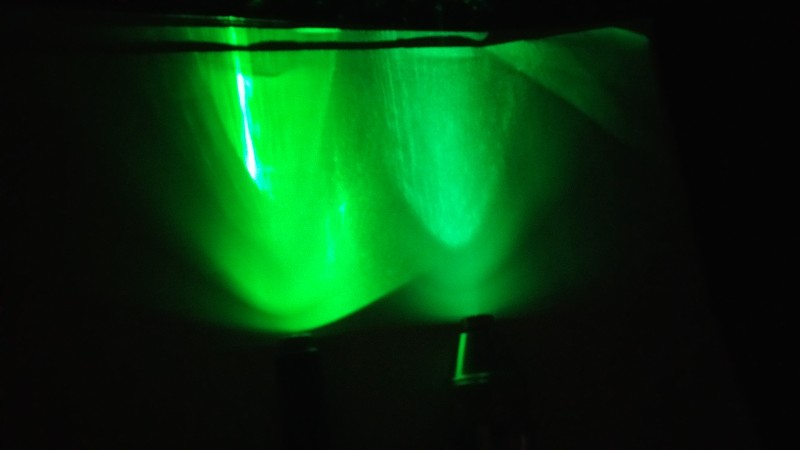
This shows the color a bit better as I raised the 510nm up to get rid of most of the flair. If you can see it the right freak 515nm has a slight blue tint to it or if you want, you could say that the 510nm on the left has more yellow to it. I've said it before but the easy way (at least for me) to recognize a 532nm vs a 520nm without seeing them side by side is the 532nm has quite a lot of yellow in it. Love my freak 515nm which I have labeled as -515nm.
I could pull the module out and readjust the driver for a much lower output and see if the wavelength shifts down but at the moment I'm leaving it as is.
Thanks for looking and hopefully the build details will inspire others to build")
Here's the links to the diode:
https://sites.google.com/site/dtrlpf/home/diodes/osram-10mw-plt5510-515nm-green-laser-diode
Diode data sheet:
https://drive.google.com/file/d/0B_6-KC5wFXIJSFRzODhVaUd6a3c/view?pref=2&pli=1
Blitzlinear driver:
http://www.survivallaserusa.com/Blitz_Linear_Driver/p1667092_14164599.aspx
Home Depot host/light:

Parts include the Home Depot 2 AAA pen light that I and a couple others have used before:
I "stole" this contact board which used to be a driver some some small light I had:
Cut down back half from a standard 12mm module:
Contact board sitting on top of the back half:
Added a dab of solder to slightly build up the center. The - of a battery is going to be touching it:
You can see the other side where the wires will be attached for the - and + wires of the driver and how it will sit:
Some pics showing I had soldered the Blitzlinear driver (continuous positive) from Survival lasers to the pressed in diode and then added a copper sink to the back side of it making sure it will fit inside the module back half without touching:
Wired to the contact board. I had to remove one small piece of run on the contact board as it was carrying the center - and you don't want it to short to the module. I should mention that I did not bother isolating the module from the host but instead wired it up case positive as the driver is continuous positive and the diode is case positive. This diode is also an oddball as it is wired opposite to the norm. Take a look at Jordans page on it for the pinout:
I realized that the batteries (2) 10440 would compress the switch spring too hard if I didn't clip part of the contact spring so that's what I did:
To help make good + contact from the case + host AND to get rid of the deep front lip that the module would sit up against I had to remove some of the material from the inside of the top and I did so with a really cool drill bit that my friend Bow gave me:
I forgot to get a picture of it but I had used Arctic Alumina epoxy to glue the contact board onto the back of the module. This is what the module looks like inside the front host piece. The complete build is built so that there's just the right amount of tension between everything so the module makes good contact with the front host inside and the batteries also have the right tension from the screwing in the rear switch:
I sometimes use a small o-ring inside the focus knob when the lens will screw in to far to get close enough to the diode for infinite focus:
Some completed images:
With the rubber boot on the front if you like that look:
Labeled:
Beam shots with at 72mW with the driver set to 202mA (2) 10440 cells and a G type lens. If you are standing behind the lasers the freak 515 is on the right:
When I saw the color I knew that my freak 515nm diode would have a lower wavelength. Here's the comparison but keep in mind that the wavelength likely has pushed up because I'm beyond the nominal rating of the 15mW diode. The other unit is about 110mW so it is also brighter:
In this pic you see the bright flare on the left from the 510nm because it is closer to the floor:
This shows the color a bit better as I raised the 510nm up to get rid of most of the flair. If you can see it the right freak 515nm has a slight blue tint to it or if you want, you could say that the 510nm on the left has more yellow to it. I've said it before but the easy way (at least for me) to recognize a 532nm vs a 520nm without seeing them side by side is the 532nm has quite a lot of yellow in it. Love my freak 515nm which I have labeled as -515nm.
I could pull the module out and readjust the driver for a much lower output and see if the wavelength shifts down but at the moment I'm leaving it as is.
Thanks for looking and hopefully the build details will inspire others to build
Here's the links to the diode:
https://sites.google.com/site/dtrlpf/home/diodes/osram-10mw-plt5510-515nm-green-laser-diode
Diode data sheet:
https://drive.google.com/file/d/0B_6-KC5wFXIJSFRzODhVaUd6a3c/view?pref=2&pli=1
Blitzlinear driver:
http://www.survivallaserusa.com/Blitz_Linear_Driver/p1667092_14164599.aspx
Home Depot host/light:
Last edited:


")


