Pman
0
- Joined
- Nov 28, 2012
- Messages
- 4,441
- Points
- 113
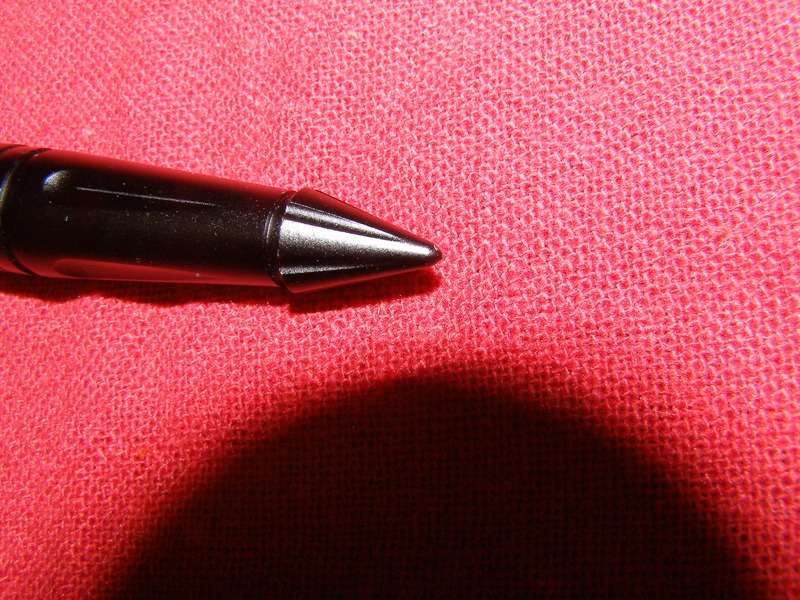
So, while wandering through Amazon I came upon this "killer" pen and wondered if there was enough room to do what I do:
https://www.amazon.com/gp/product/B0056DG43I/ref=oh_aui_detailpage_o01_s00?ie=UTF8&psc=1
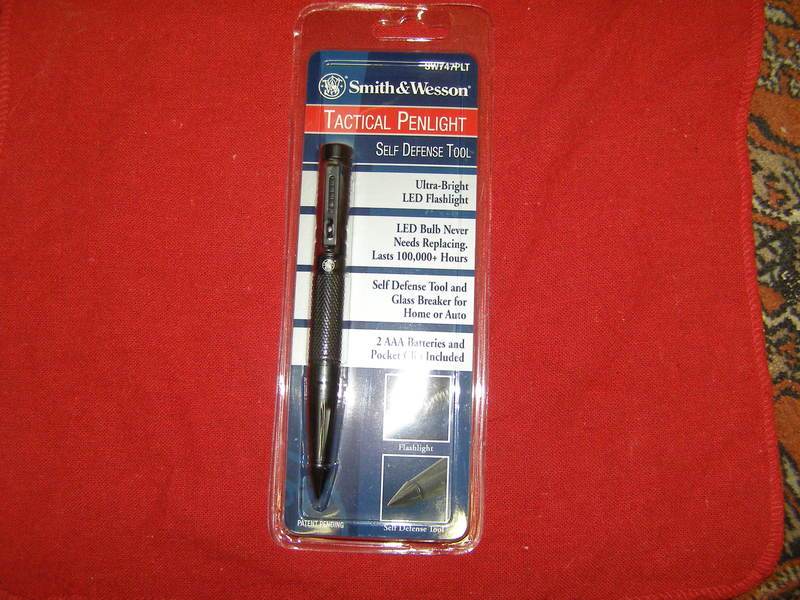
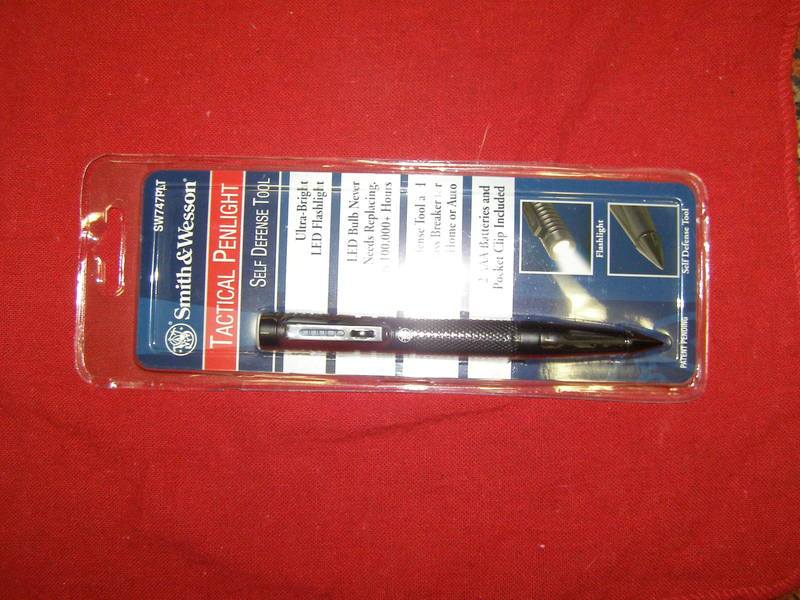
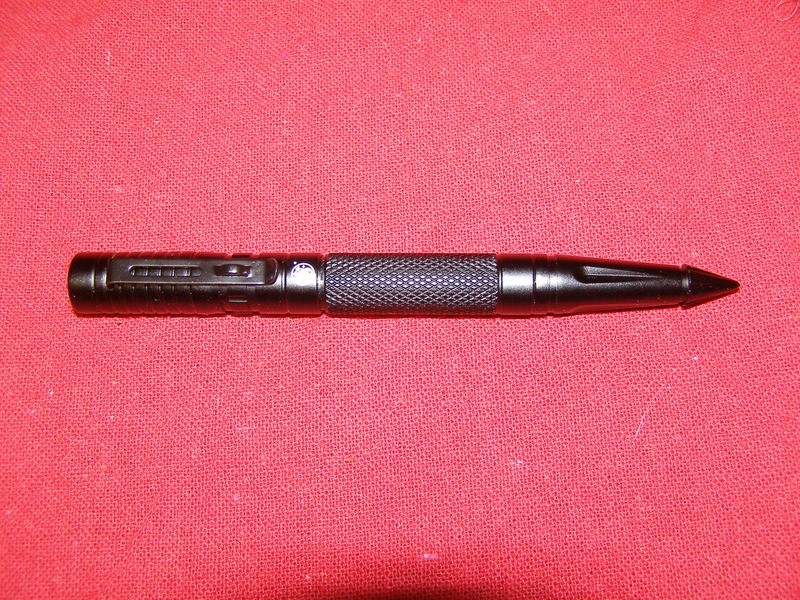
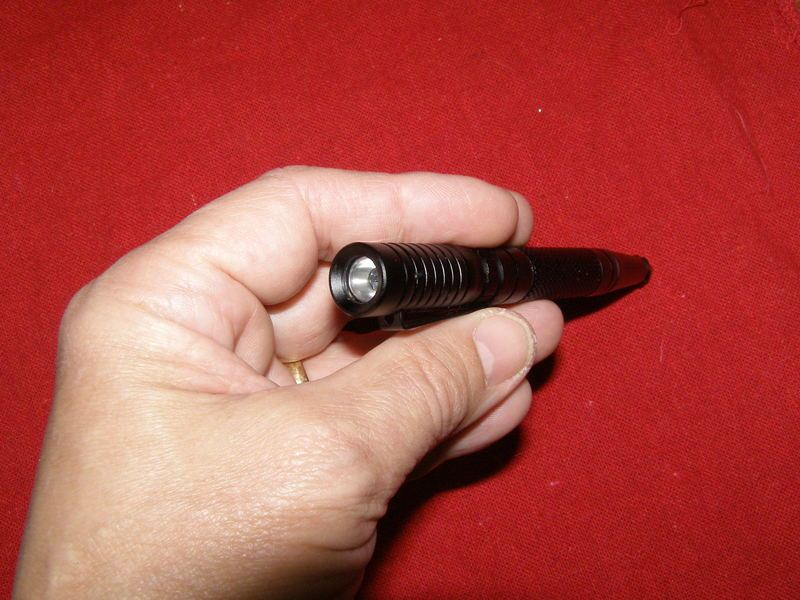
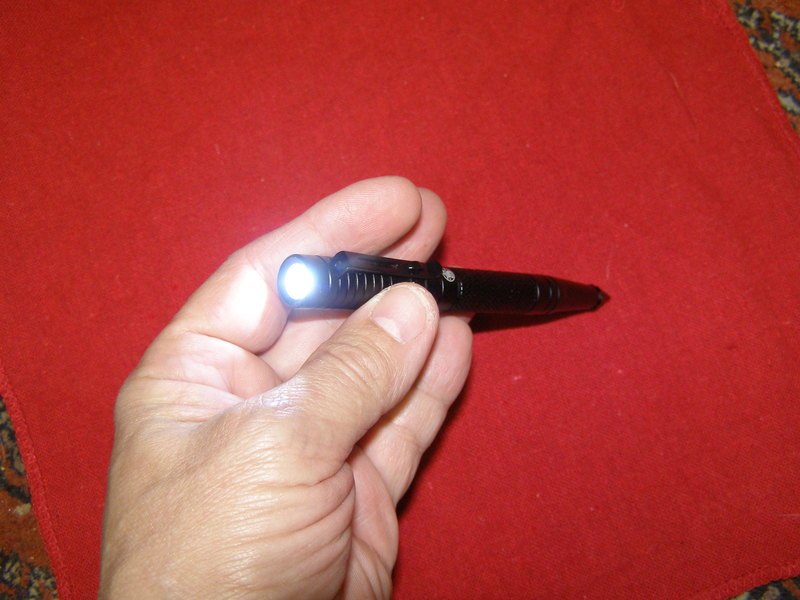
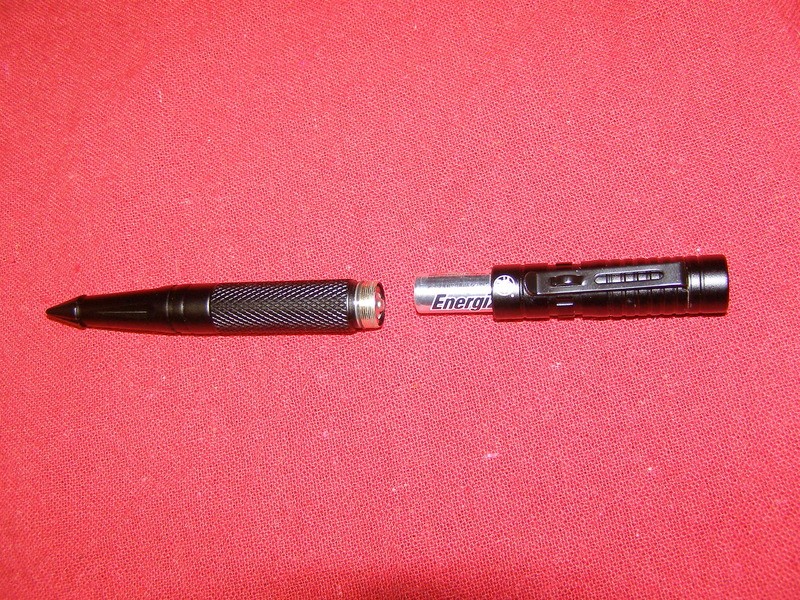
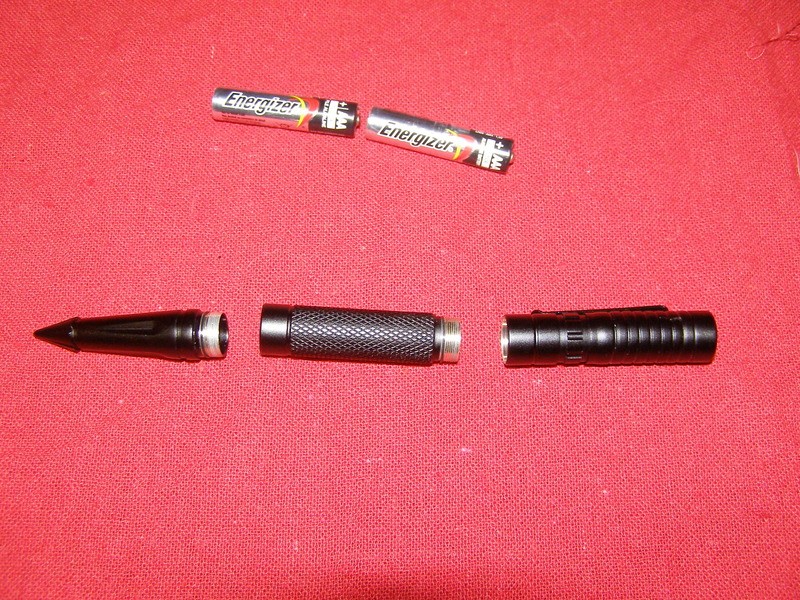
Size comparison:
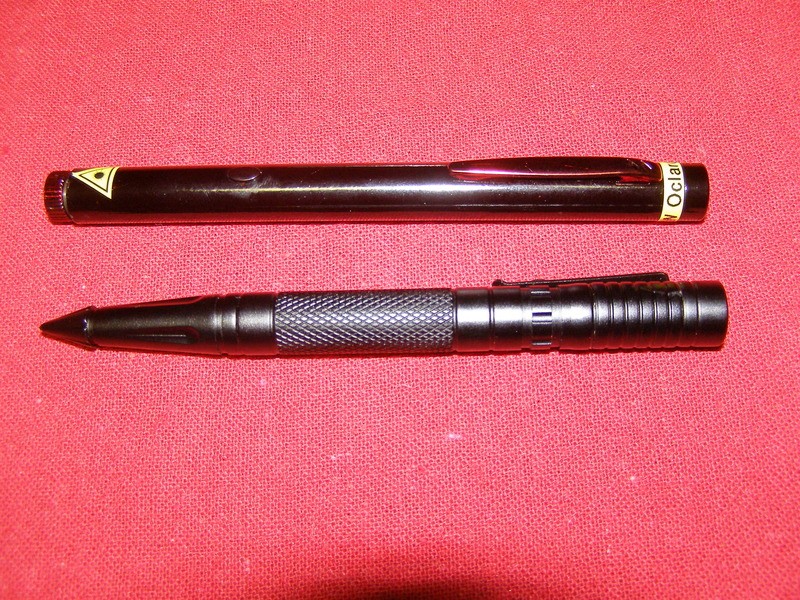
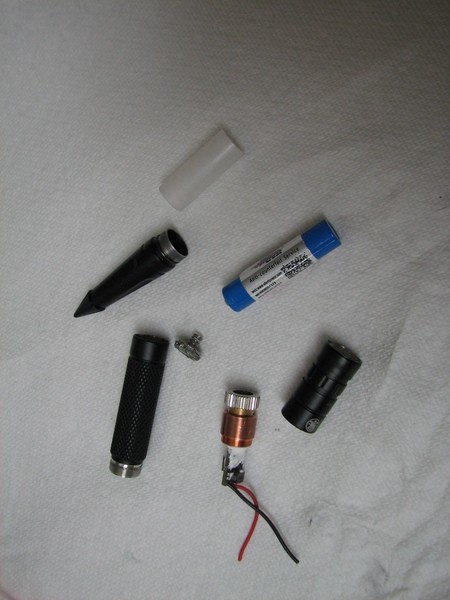
To build it I had to remove some material inside where the module would go for everything to fit proper. Here is the parts breakdown showing the diode with driver (a nano boost from Jordan non-adjustable running at 285mA) already mounted and stabilized with Arctic Alumina and the small contact pad I cut down and added a spring to for the proper fit:
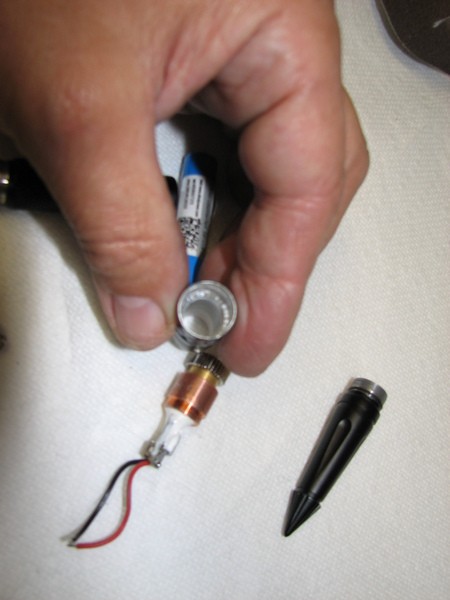
The end where the module with no back half will press into after I drilled it out to the right depth and width with hand tools:
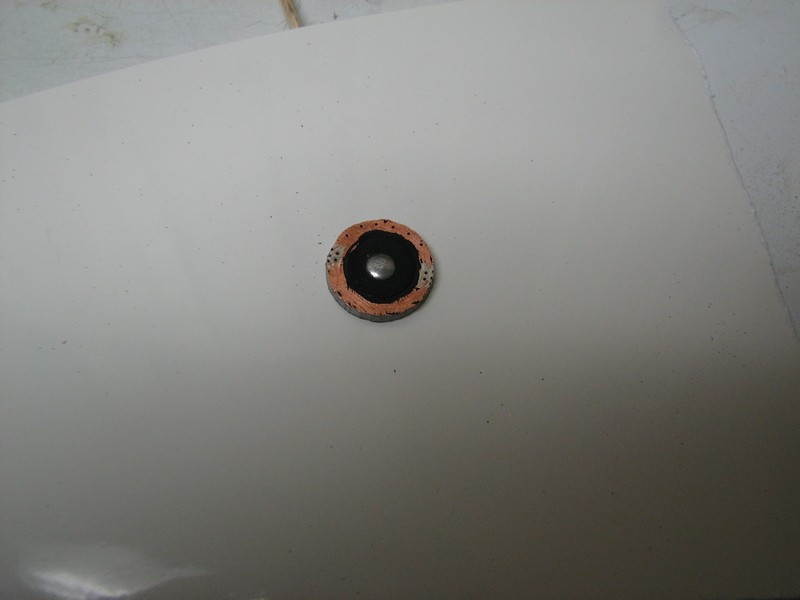
Trimmed and before adding the small spring:
How this comes together is I used one of those plastic sleeves that comes inside a cheap laser pen and split it down the middle with a razor and then cut out a long piece to make it the right size when it presses into the host tightly touching the walls and also trimming the length down to both go over the driver to touch the back of the copper module and also have the contact board sit on the opposite end and wiring the driver to the contact board. It all fits nice and snug when pressed together:

The contact board edges will touch the cleaned up spot on the inside where the anodizing was removed with a steel dremel brush. The plastic piece was trimmed down more than that pic shows so that the length would be proper for the battery fit.
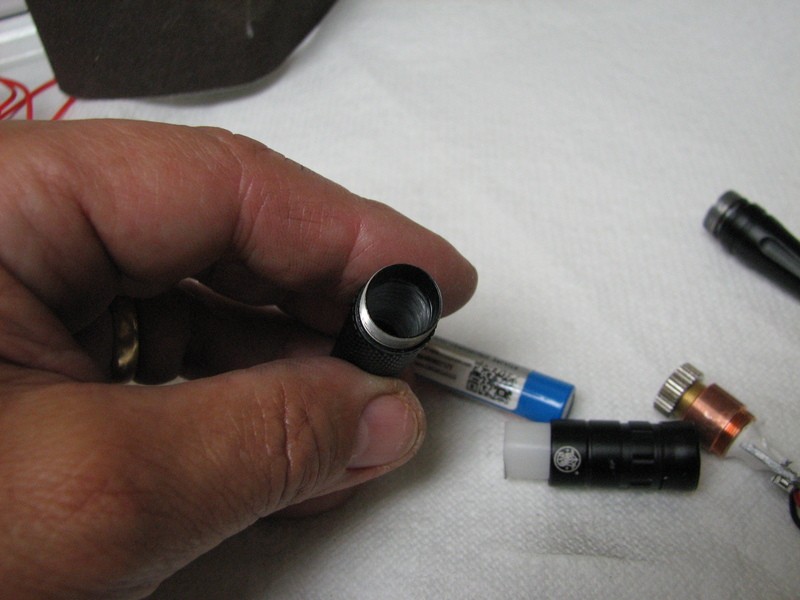
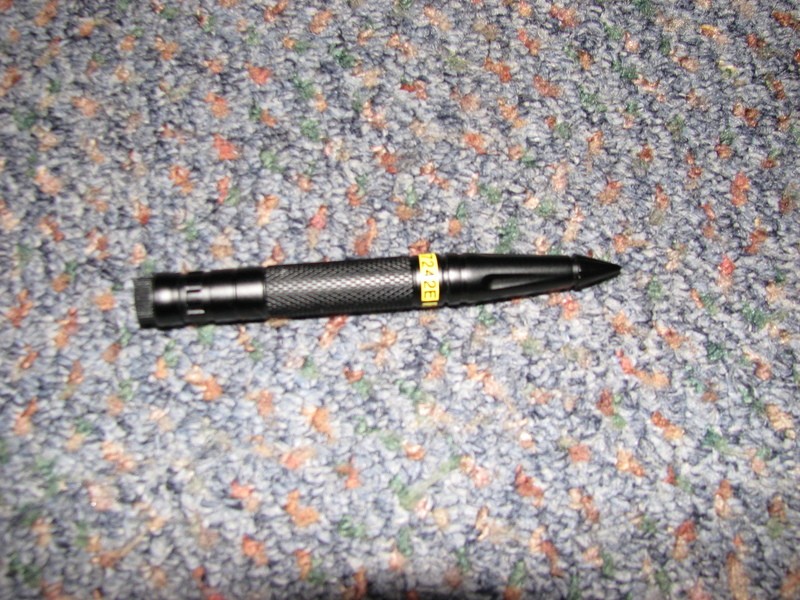
The 10440 battery is installed at this joint and the fit is perfect so that it is turned on by screwing it down to make contact with both the host spike end (case +) and the negative spring on the contact board. It looks normal like it is screwed in the right length to begin with so no normal person would realize that you screw it down further to turn the laser on. The pics don't show it but I painted another focus knob to match the color better. The battery is installed in all these pics and you can see that it looks like it is screwed together all the way. You turn the spike end in more to turn on the laser:
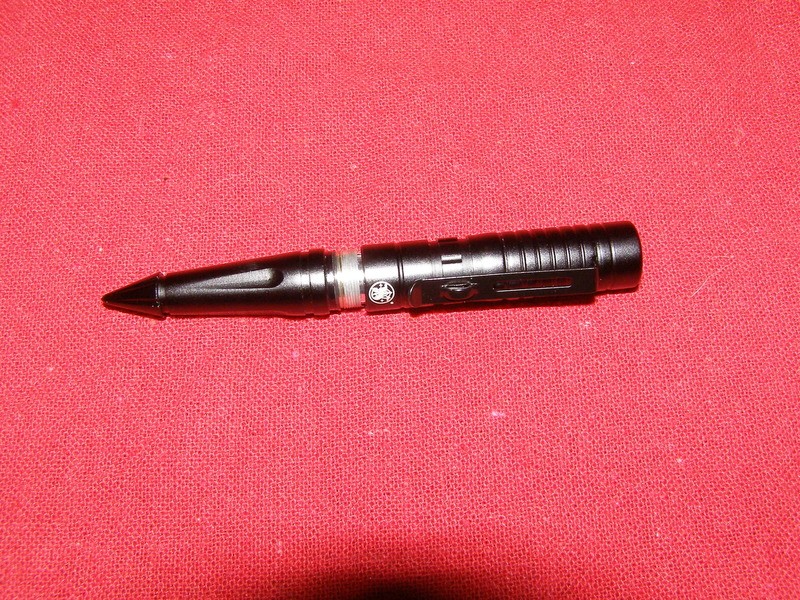
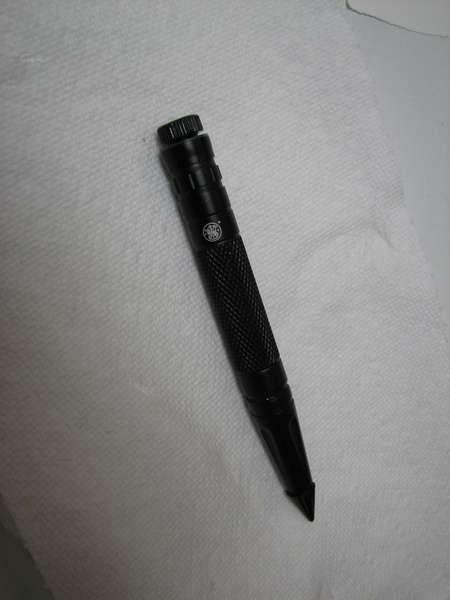
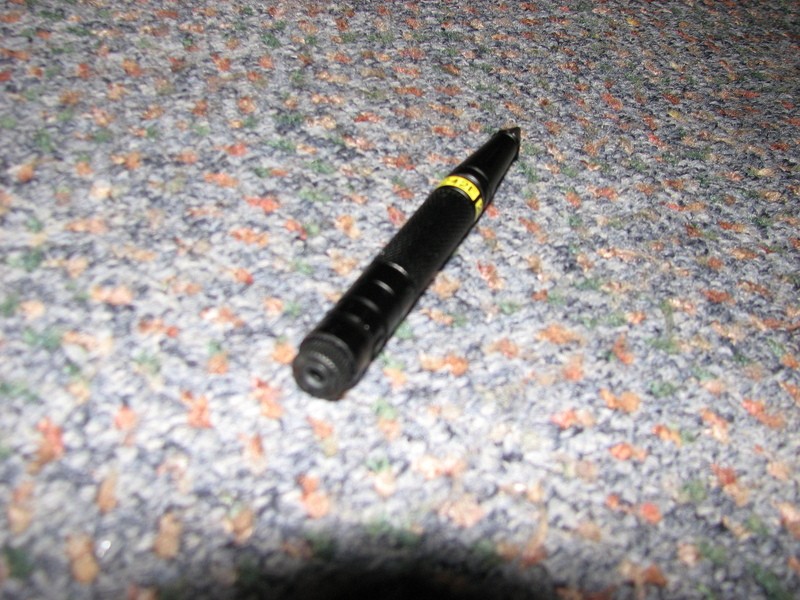
Wouldn't want to get "spiked"
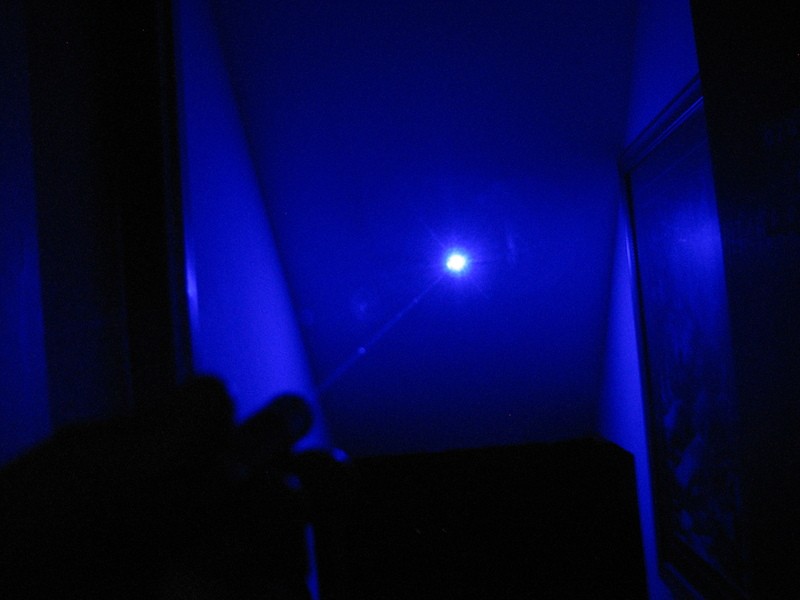
Don't have any great pics showing it with the beam but it is 260mW with a G and about 190mW with an acrylic. Has a very visible beam:
It's the one on the right:
(I haven't shown any other the others yet except the red 4W 808nm in the center).
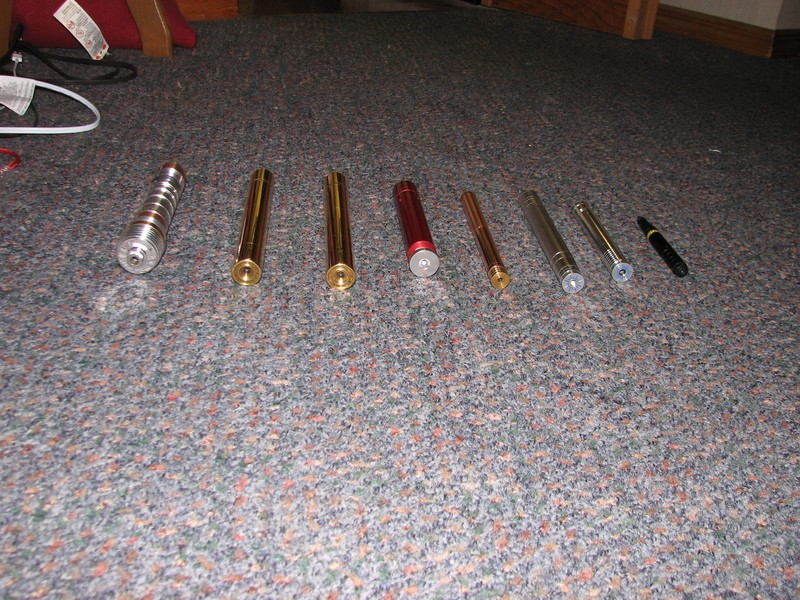
I arranged them according to what I was seeing for wavelength:
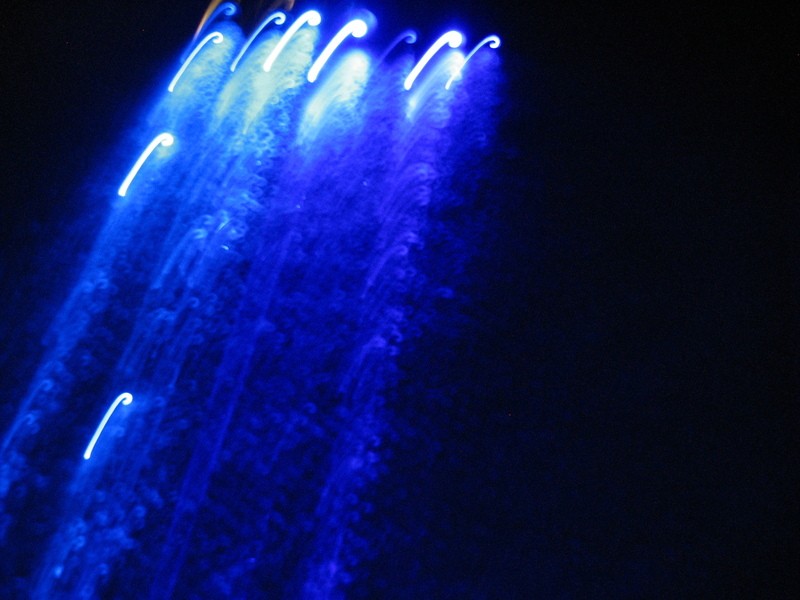
This shot shows the color difference better with "spike" obviously on the left end:
https://www.amazon.com/gp/product/B0056DG43I/ref=oh_aui_detailpage_o01_s00?ie=UTF8&psc=1


Size comparison:

To build it I had to remove some material inside where the module would go for everything to fit proper. Here is the parts breakdown showing the diode with driver (a nano boost from Jordan non-adjustable running at 285mA) already mounted and stabilized with Arctic Alumina and the small contact pad I cut down and added a spring to for the proper fit:

The end where the module with no back half will press into after I drilled it out to the right depth and width with hand tools:

Trimmed and before adding the small spring:

How this comes together is I used one of those plastic sleeves that comes inside a cheap laser pen and split it down the middle with a razor and then cut out a long piece to make it the right size when it presses into the host tightly touching the walls and also trimming the length down to both go over the driver to touch the back of the copper module and also have the contact board sit on the opposite end and wiring the driver to the contact board. It all fits nice and snug when pressed together:

The contact board edges will touch the cleaned up spot on the inside where the anodizing was removed with a steel dremel brush. The plastic piece was trimmed down more than that pic shows so that the length would be proper for the battery fit.

The 10440 battery is installed at this joint and the fit is perfect so that it is turned on by screwing it down to make contact with both the host spike end (case +) and the negative spring on the contact board. It looks normal like it is screwed in the right length to begin with so no normal person would realize that you screw it down further to turn the laser on. The pics don't show it but I painted another focus knob to match the color better. The battery is installed in all these pics and you can see that it looks like it is screwed together all the way. You turn the spike end in more to turn on the laser:


Wouldn't want to get "spiked"

Don't have any great pics showing it with the beam but it is 260mW with a G and about 190mW with an acrylic. Has a very visible beam:

It's the one on the right:
(I haven't shown any other the others yet except the red 4W 808nm in the center).

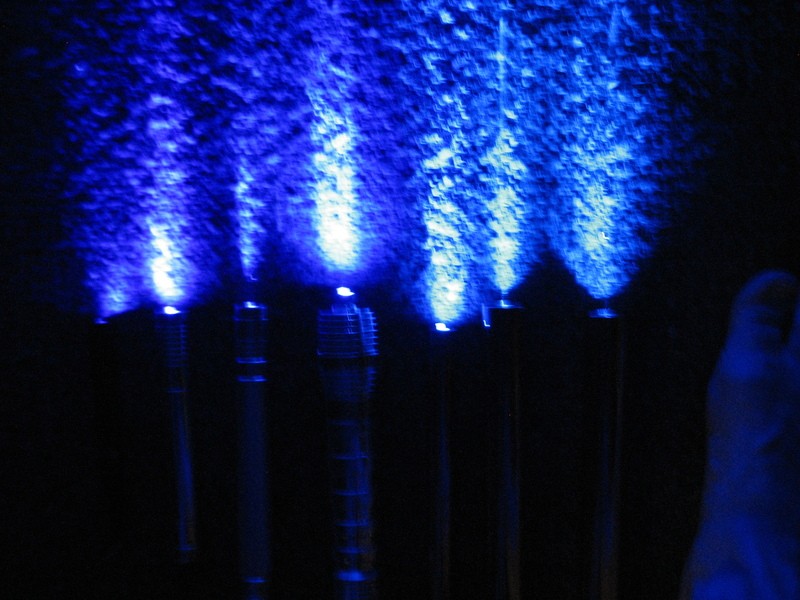
I arranged them according to what I was seeing for wavelength:

This shot shows the color difference better with "spike" obviously on the left end:

Last edited:


