

- Joined
- Sep 16, 2007
- Messages
- 3,667
- Points
- 113
In my opinion, a warning label is a nice touch on a DIY laser pointer. It adds "completeness" and makes flashlight lasers look... not so much like flashlights.
Also, for those of you who have multiple lasers using the same host, like me, it becomes useful to identify which laser is which.
It seems to me that there is a shortage of laser warning labels amongst us. It is difficult to find them for sale, and even more difficult finding some that match the specific laser you want to apply the sticker to.
I have come up with an inexpensive and simple way to create great looking labels that can be customized any way you want.
Below is the guide.
-------------------------------------------------
Materials:
Create (or copy and paste) and print your desired label(s).
Make sure that the dimensions are correct for the size you want.
Run a test print first to make sure the words are easy to read and size is correct.
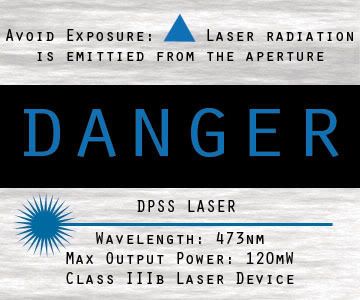
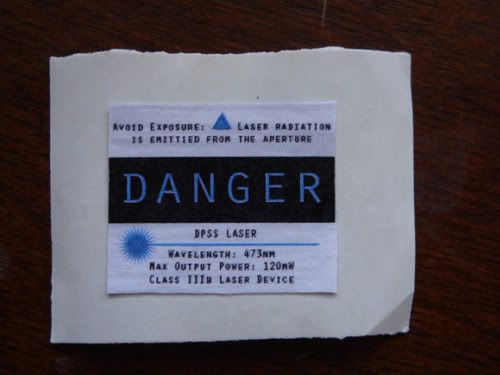
Here is a sample of one of mine (created in photoshop):
Also, for those of you who have multiple lasers using the same host, like me, it becomes useful to identify which laser is which.
It seems to me that there is a shortage of laser warning labels amongst us. It is difficult to find them for sale, and even more difficult finding some that match the specific laser you want to apply the sticker to.
I have come up with an inexpensive and simple way to create great looking labels that can be customized any way you want.
Below is the guide.
-------------------------------------------------
Materials:
- Clear packing tape
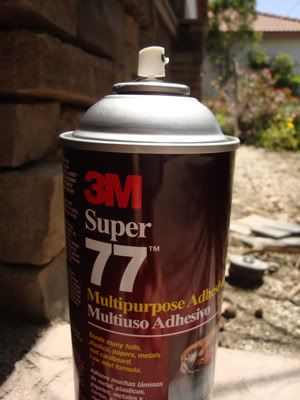
- Good quality spray adhesive
- Printer
- Non-stick surface
- "Regular" printer paper
- Scissors
- Digital image editing software (optional)
- Color ink (optional)
Create (or copy and paste) and print your desired label(s).
Make sure that the dimensions are correct for the size you want.
Run a test print first to make sure the words are easy to read and size is correct.
Here is a sample of one of mine (created in photoshop):
Step 2:
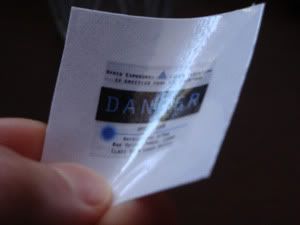
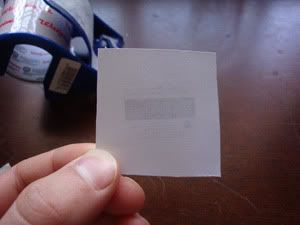
Apply a layer of clear packing tape over the label image. Be sure to smooth out any bubbles. You want your labels to be bubble free and flat.
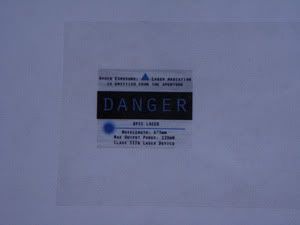
Cut out the image, leaving a border. This will make it easier to work with.
You should have something that resembles this:
Step 3:
Apply another layer of packing tape over your non-stick surface.
My "non-stick surface" is the backing of a used sticker. Another piece of paper with tape over it also works since tape does not stick to itself (except the sticky side, obviously).

Step 4:
Lightly spray the back of your cut-out label with your spray adhesive. You won't need a lot to get it to adhere, and it can get messy. Spray over a newspaper or something that you can throw away. I just spray over the patio. Be careful not to get it on your hands. It is difficult to get off. If you have never used spray adhesive before, I advise you to test it out before you make a mess.
Once you have an even coat of adhesive applied, press it on to the packing tape over the non-stick surface.
Step 5:
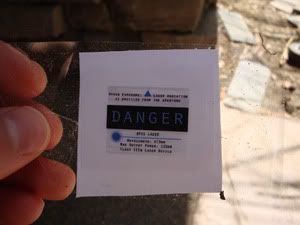
Peel away the sticker from your non-stick surface and trim the excess material.
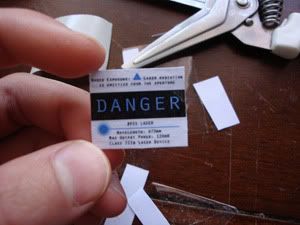
Step 6:
Stick it to your laser!
If you are not using it yet, stick it to a sticker backing and store it.
**Tips**
If your tape does not stick to your laser very well, you can use the spray adhesive to mount the label directly to your laser (skip step 4).
If your tape is not flexible enough to bend around your laser, try heating it gently with a blow dryer. Once it warms, it will become flexible. Press it firmly around your laser so that when it cools it will form to the shape.
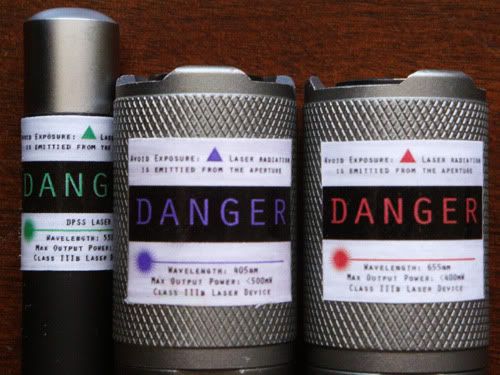
Here are a few pictures of some of my labels.
The Photoshop image is all in layers, so colors and text can be manipulated easily.
If you would like me to host a few different versions of my labels, just ask what wavelengths/powers you would like. I can do multiple.
My default size is roughly 1" x 0.8"

Apply a layer of clear packing tape over the label image. Be sure to smooth out any bubbles. You want your labels to be bubble free and flat.
Cut out the image, leaving a border. This will make it easier to work with.
You should have something that resembles this:
Step 3:
Apply another layer of packing tape over your non-stick surface.
My "non-stick surface" is the backing of a used sticker. Another piece of paper with tape over it also works since tape does not stick to itself (except the sticky side, obviously).
Step 4:
Lightly spray the back of your cut-out label with your spray adhesive. You won't need a lot to get it to adhere, and it can get messy. Spray over a newspaper or something that you can throw away. I just spray over the patio. Be careful not to get it on your hands. It is difficult to get off. If you have never used spray adhesive before, I advise you to test it out before you make a mess.
Once you have an even coat of adhesive applied, press it on to the packing tape over the non-stick surface.
Step 5:
Peel away the sticker from your non-stick surface and trim the excess material.
Step 6:
Stick it to your laser!
If you are not using it yet, stick it to a sticker backing and store it.
**Tips**
If your tape does not stick to your laser very well, you can use the spray adhesive to mount the label directly to your laser (skip step 4).
If your tape is not flexible enough to bend around your laser, try heating it gently with a blow dryer. Once it warms, it will become flexible. Press it firmly around your laser so that when it cools it will form to the shape.
Here are a few pictures of some of my labels.
The Photoshop image is all in layers, so colors and text can be manipulated easily.
If you would like me to host a few different versions of my labels, just ask what wavelengths/powers you would like. I can do multiple.
My default size is roughly 1" x 0.8"


")
")

