

- Joined
- May 12, 2013
- Messages
- 749
- Points
- 43
[FONT=""Palatino Linotype"]1W 638nm MS-V1[/FONT]
Note: my 500th post! 
Hey all,
This thread has been in the works for a long time,
I wanted it to be as worthwhile as possible so I hope you guys enjoy it.
Having finished my first 638nm build I would like to share my experiences with the MS-V1 host combined with the fabled P73 diode.
Having read IsaacT's excellent review of the Cypreus II copper host I thought that it would be beneficial to
emulate IsaacT's layout and combine a critical review of the MS-V1 host by Sinner, followed by a build thread.
Now I understand that the MS-V1 is not a host that many people own, nor is it a host that Sinner still manufactures (or does he?)
But regardless I would like to post my first impressions of the MS-V1 host along with a critical evaluation of Sinner's craftsmanship.
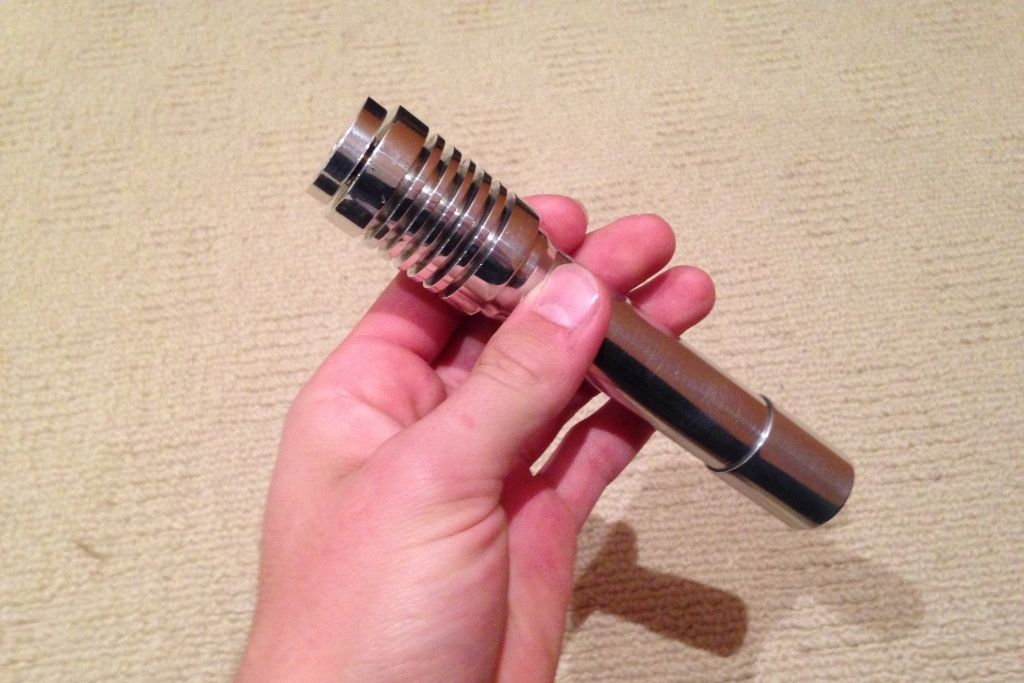
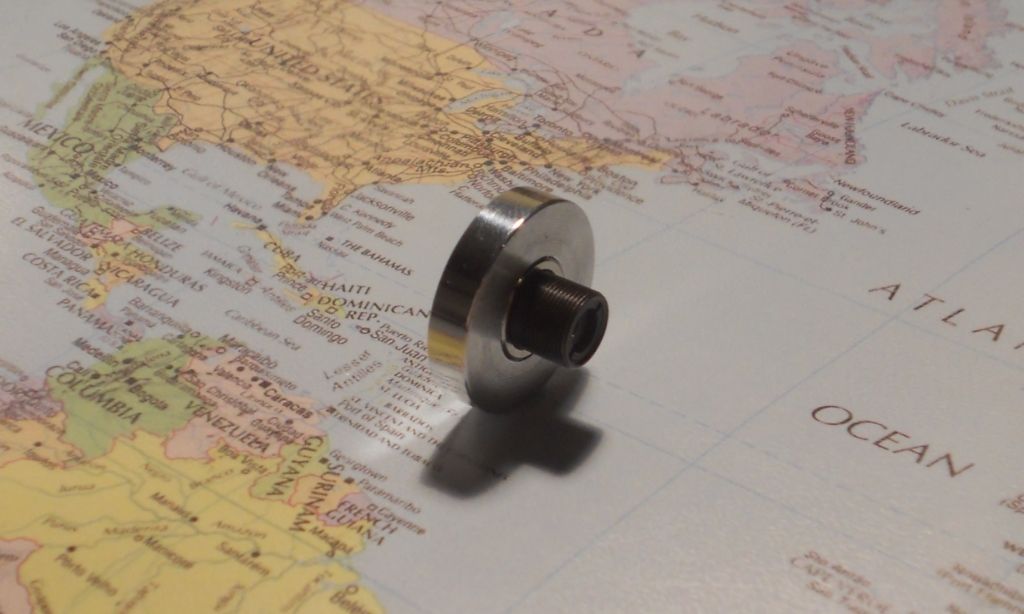
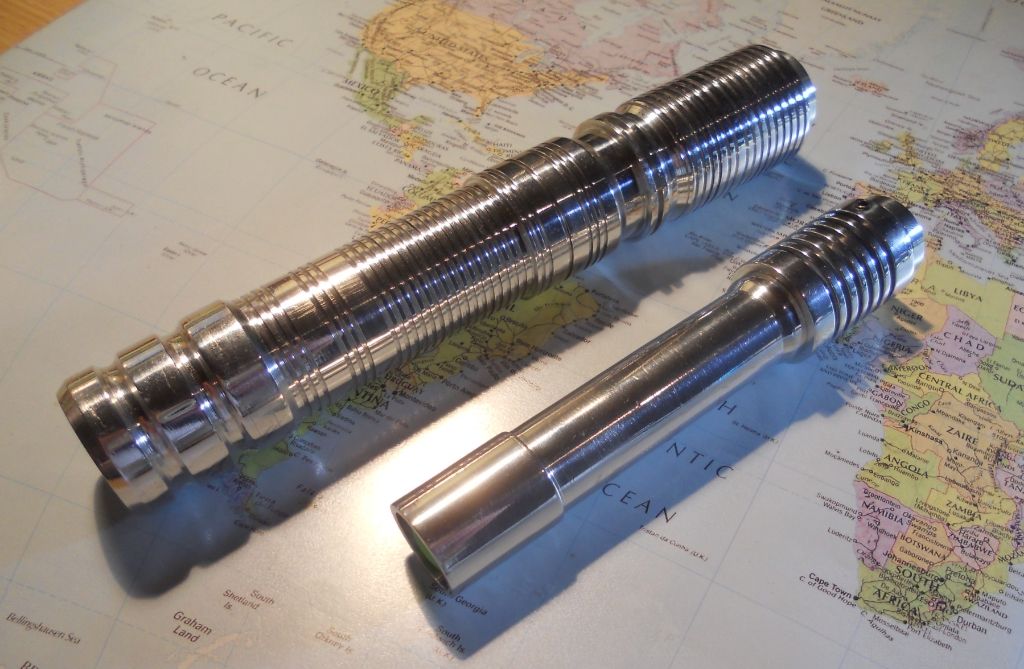
The MS-V1 is an 18650 host that breaks up into three main sections. The head, battery tube and tailcap.
Picture's speak louder than words so here we go:
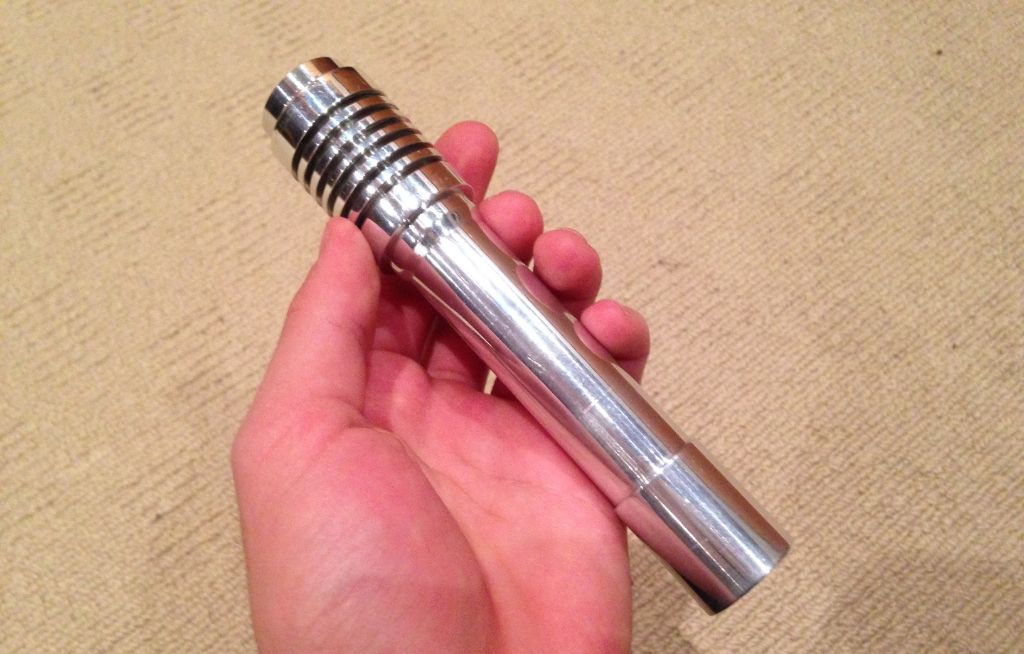
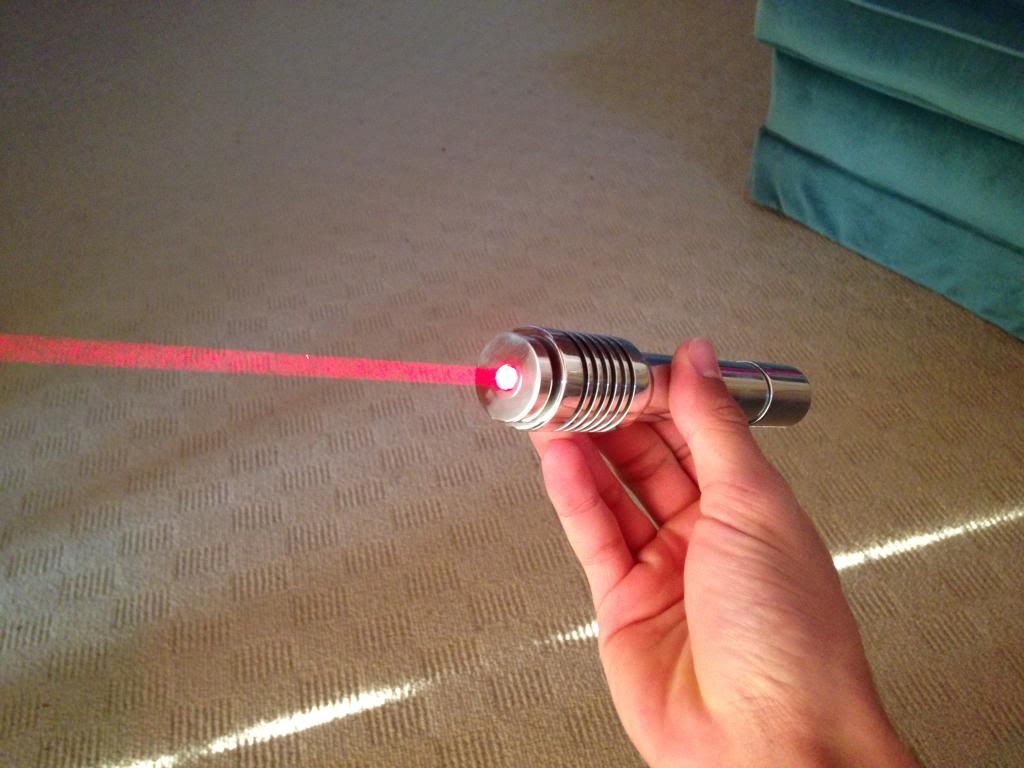
The MS-V1 (sorry for all the crap on the carpet
 )
)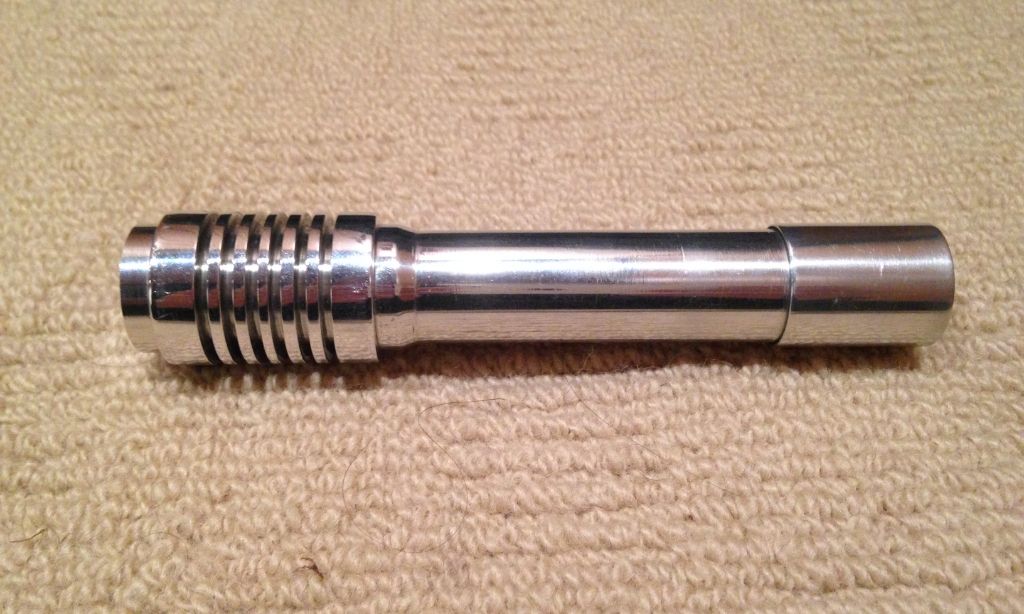
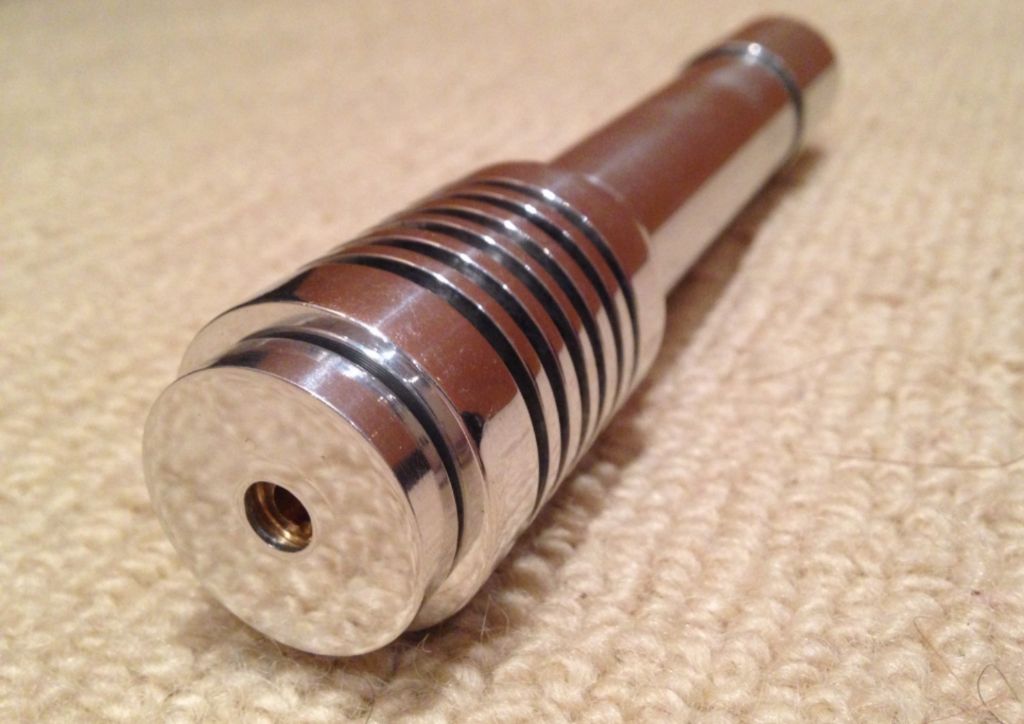
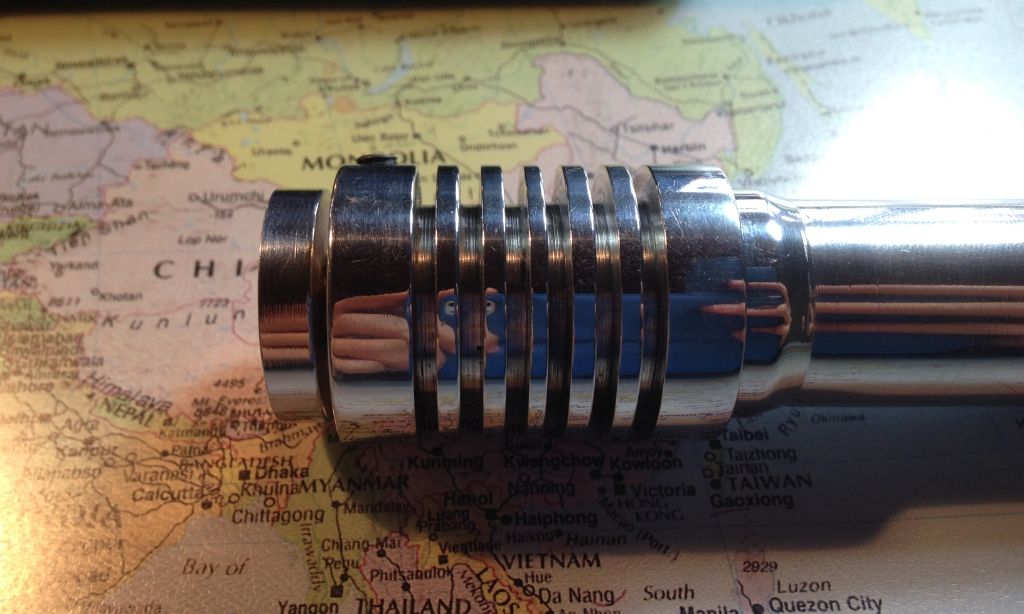
Despite numerous machining marks the finish is highly polished.
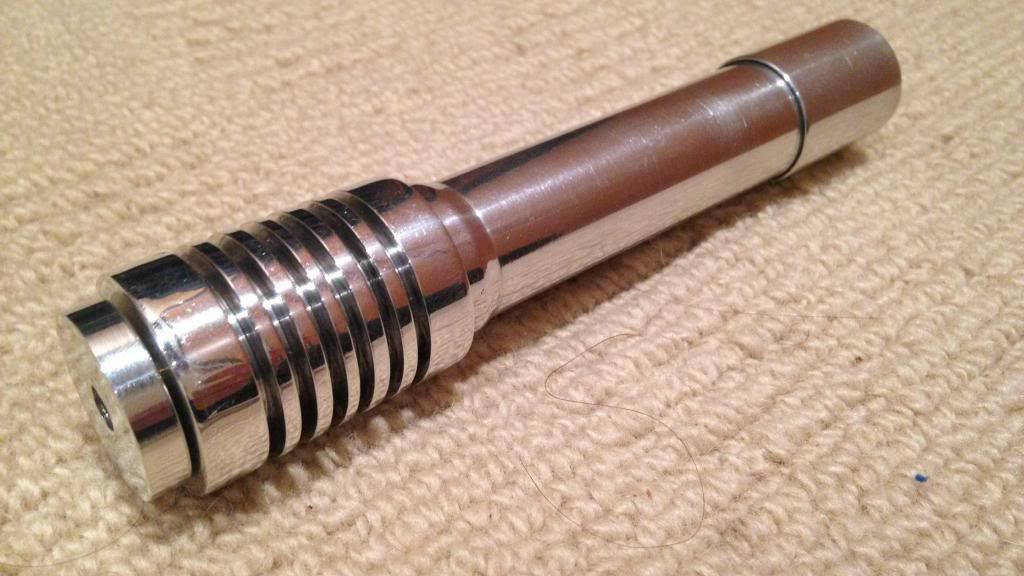
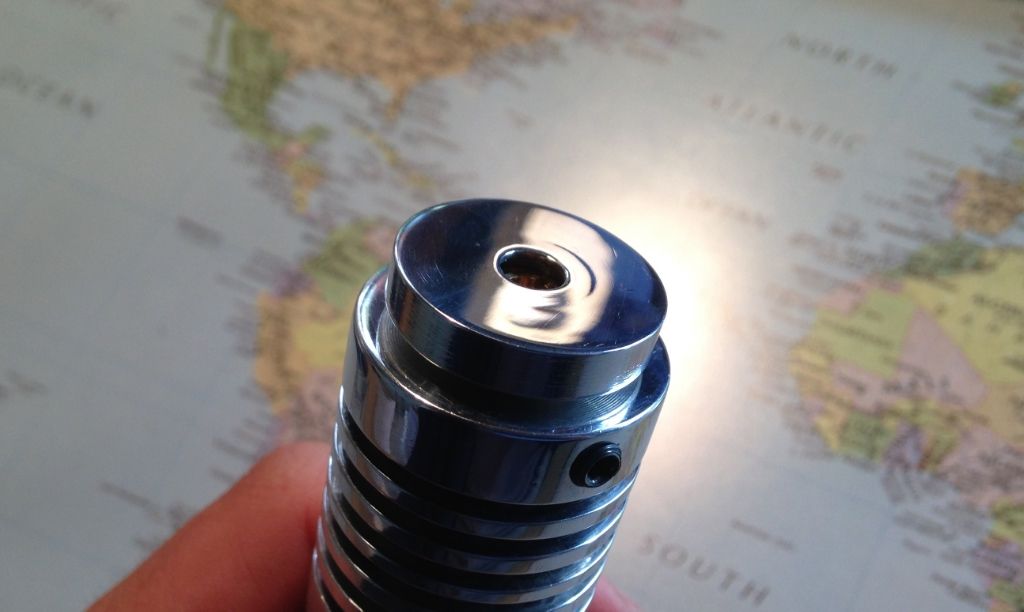
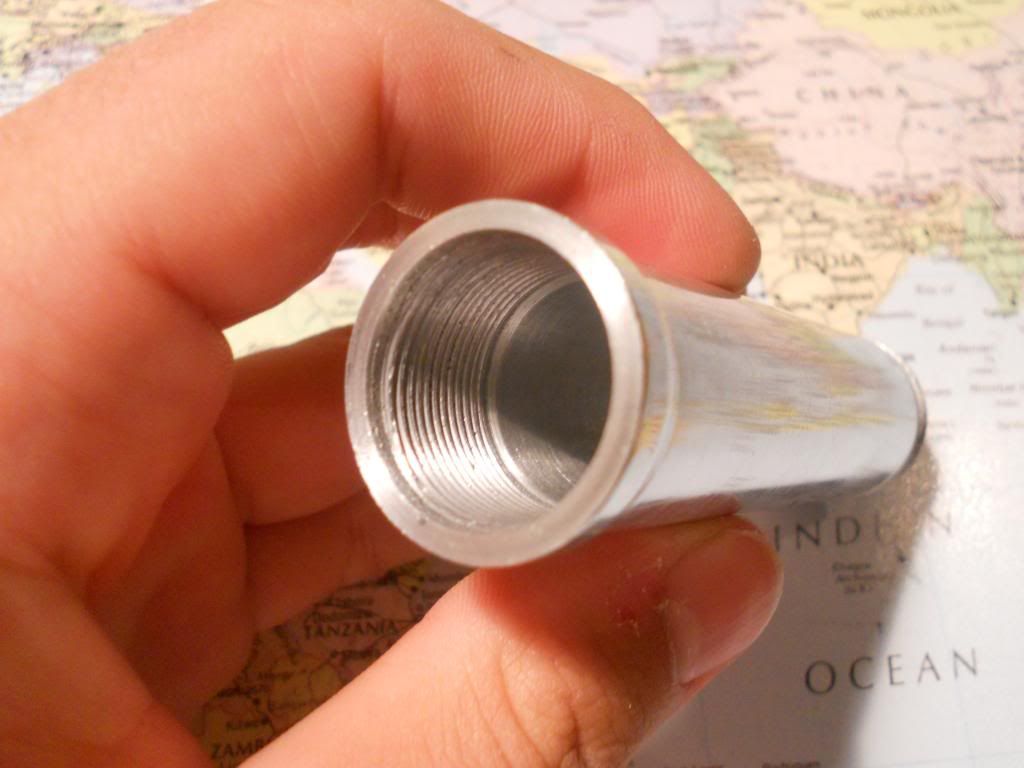
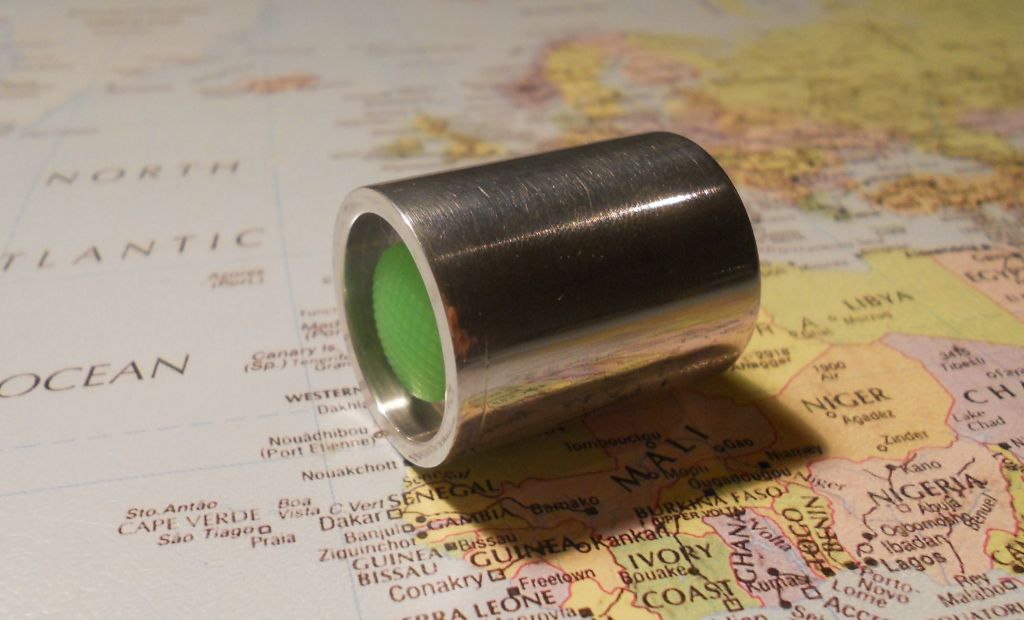
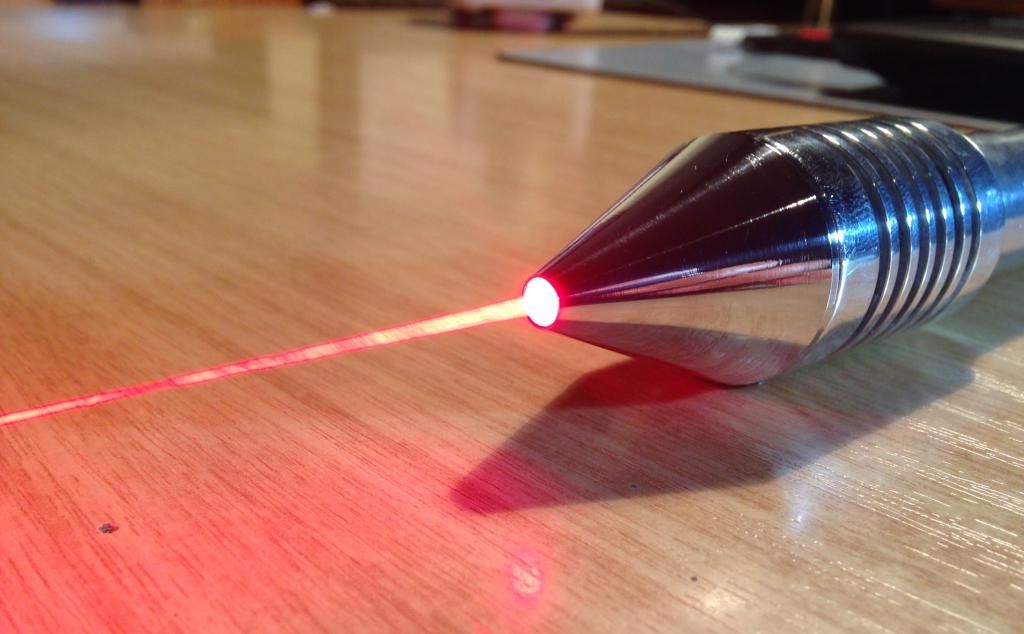
The head of the MS-V1 is designed to accommodate 12mm modules with a set screw and 17mm driver boards.

Driver pill:
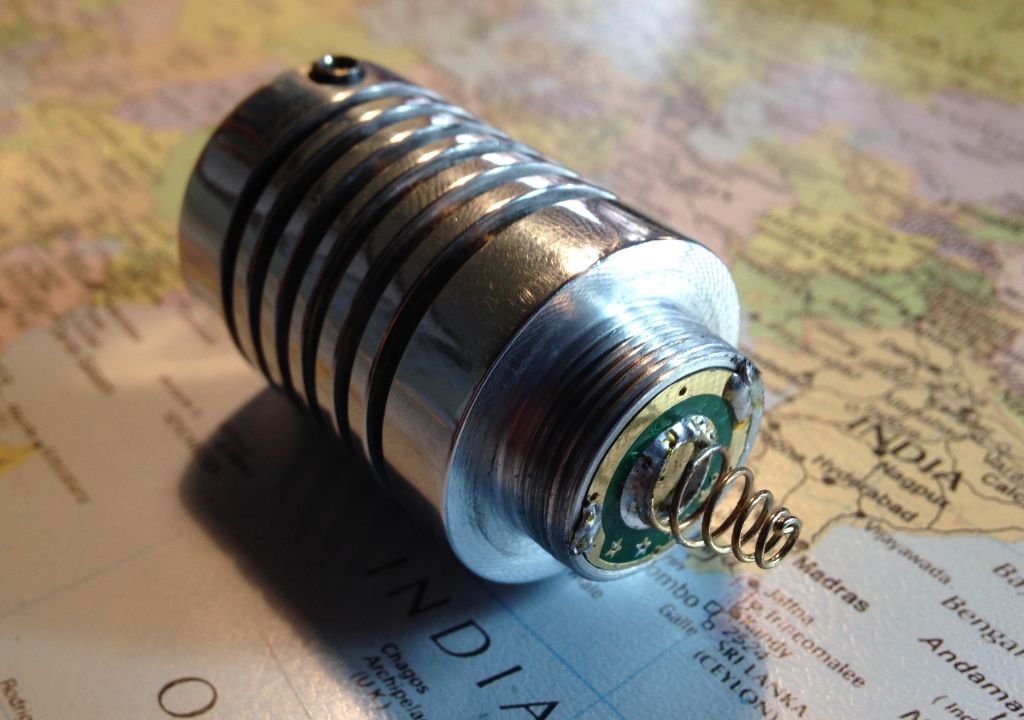
Heatsink fins, do I see a phone in the reflection

Focus adapter: Originally it was not included in the packaging :cryyy: I contacted Sinner and he promptly sent another focus adapter
to me free of charge :beer: In the meantime I busied myself with learning how to make a tapered focus adapter just for this laser.
It took quite a few goes, but I think the end results turned out better than I expected. I might do a separate thread on these.

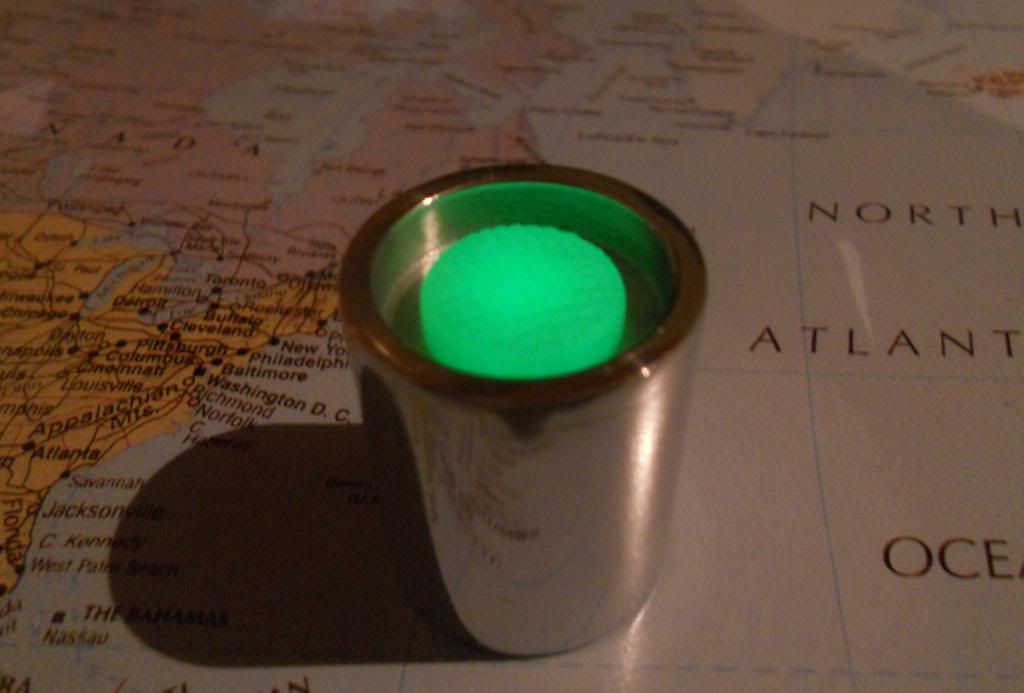
Focus adapter from Sinner.
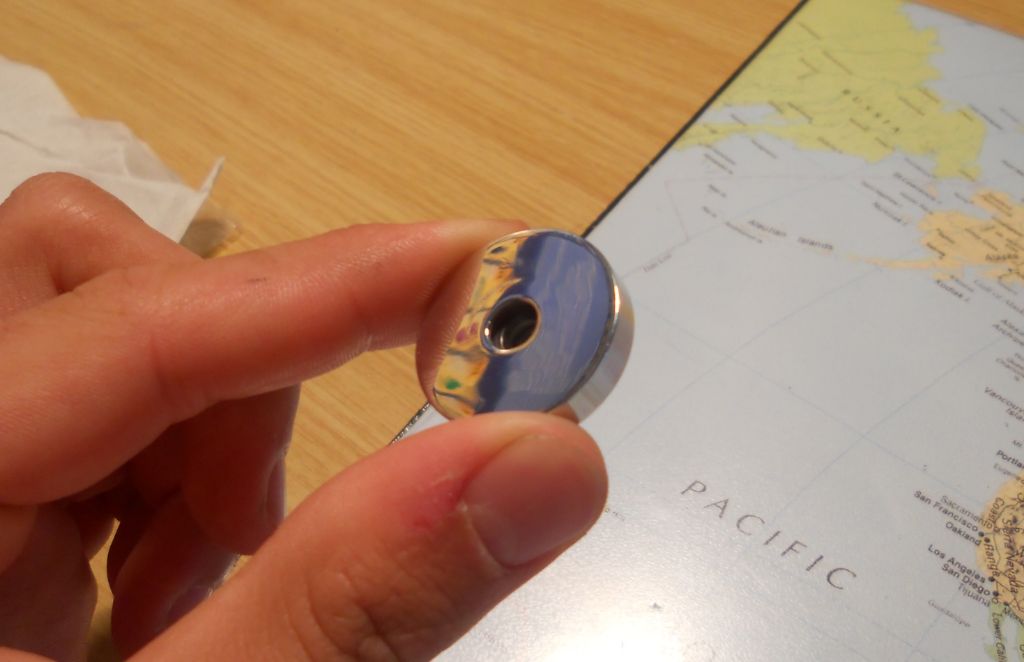
From the back.
Notice how thin the aperture is. This makes for an aesthetically pleasing appearance since the lens sits near flush with the aperture.
However due to the thinness, whilst pressing the focusing ring in, the pressure caused it to slightly give way. I don't think this aspect
of the design warrants negative feedback, but something to keep in mind for other builds with similar structural characteristics.
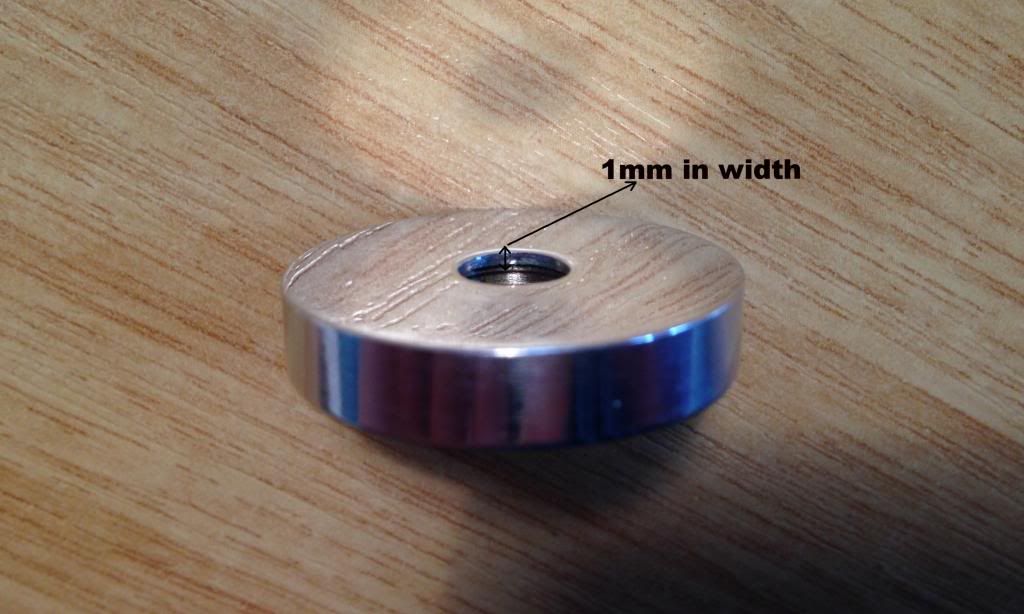
Slight indentation.
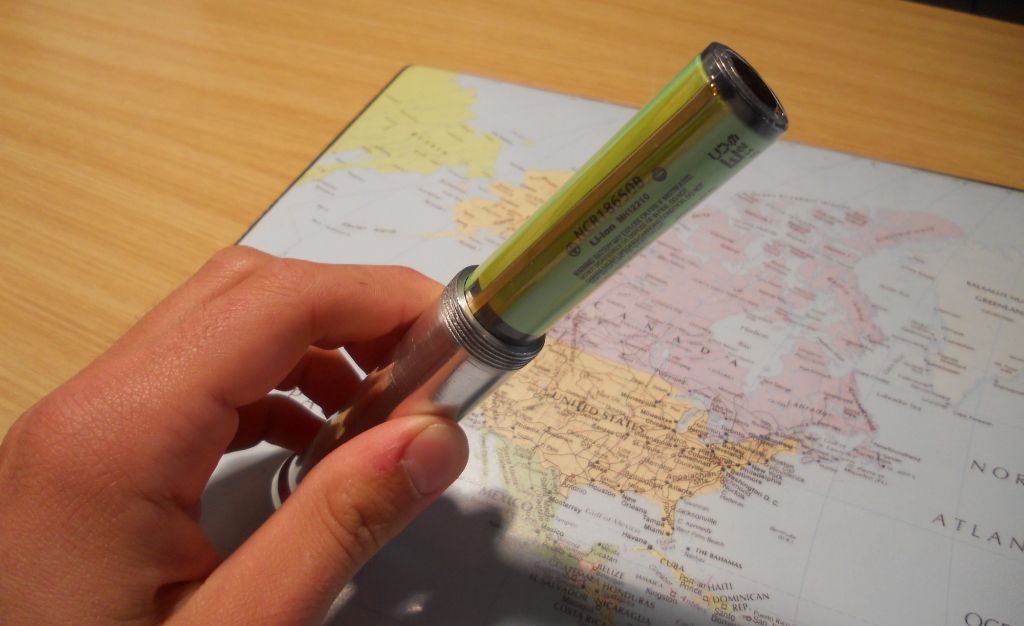
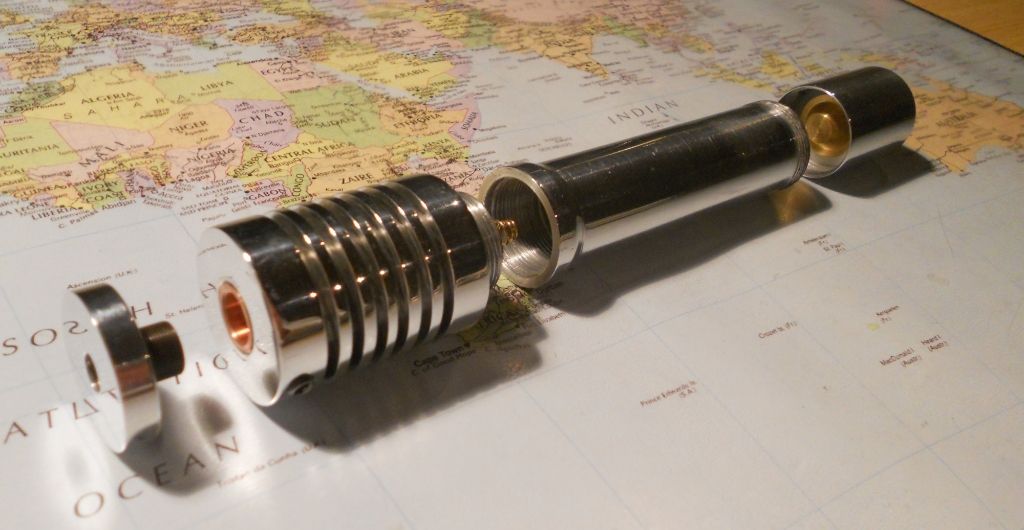
The battery tube:
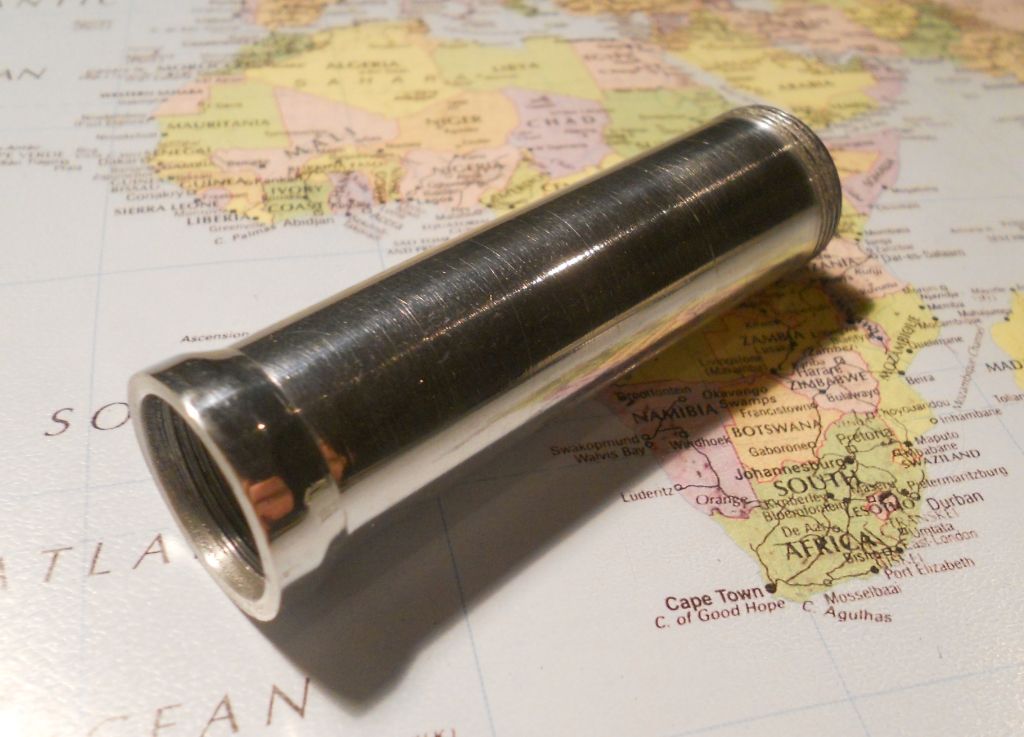
The length allows practically any 18650 battery to be inserted without issues (tested up to 72mm in length),
however... it does not allow thicker protected cells to be used :undecided: Anything thicker than 18.3mm will not fit.
Won't fit protected panasonics in width.
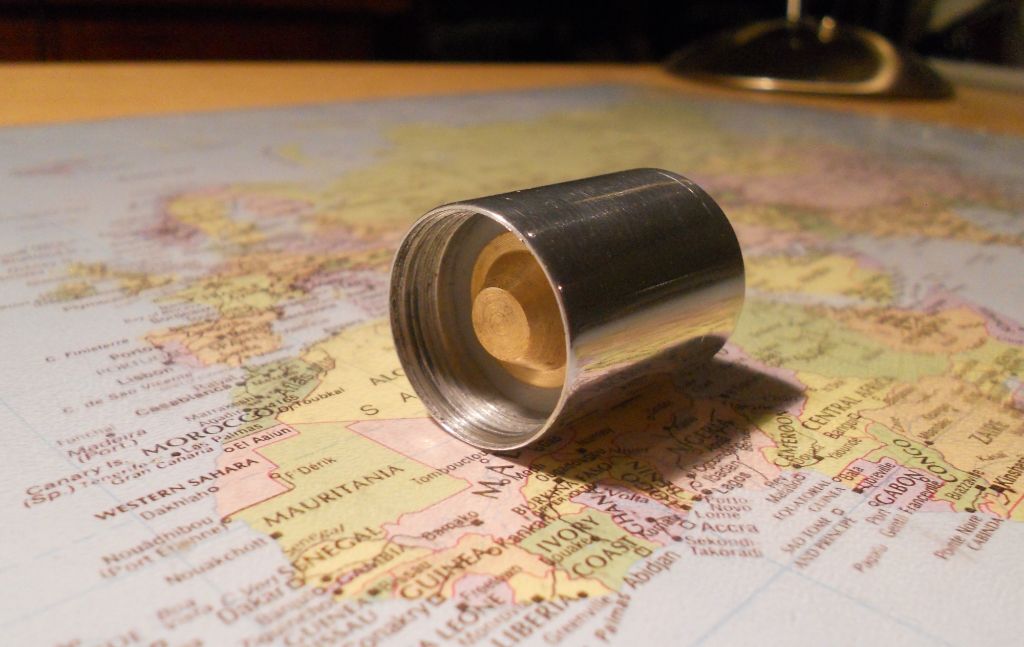
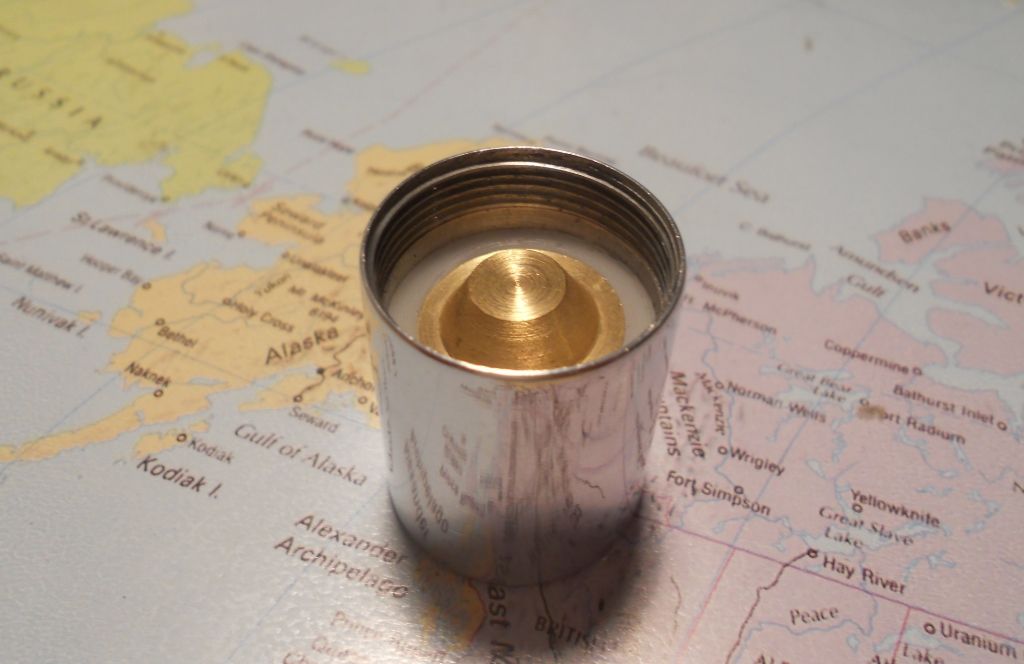
Tailcap: The incorporation of brass contact points is a nice addition.
GITD clicky:
Compared to some other hosts:
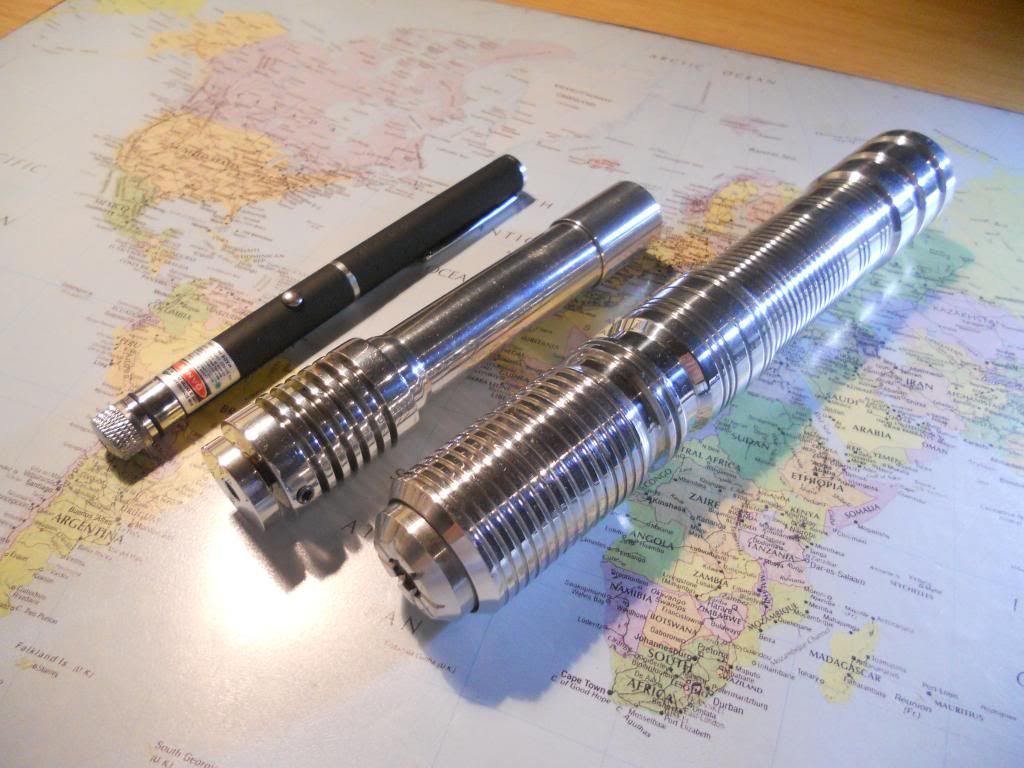
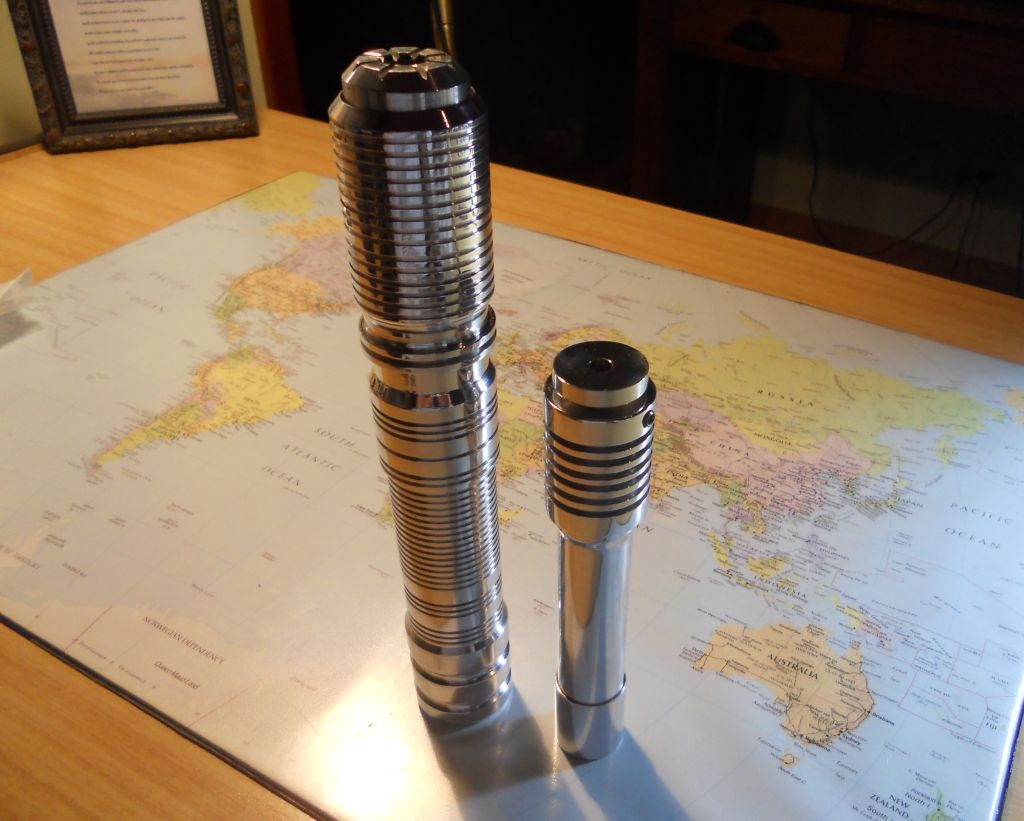
The head, battery tube, and tailcap.
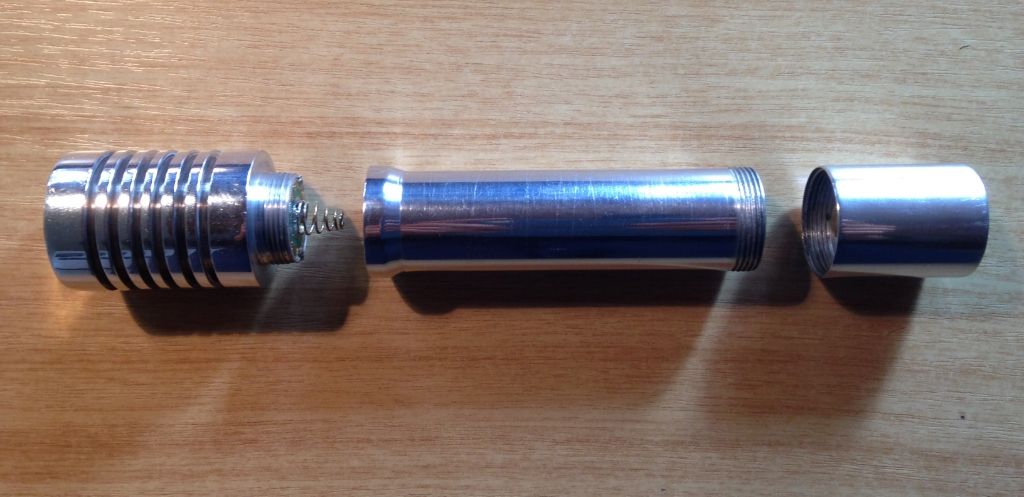
All the components:
My initial impressions.
What I like:
- Head and battery tube is separate, although not as thermally efficient it makes for an extremely simple build.
- Set screw instead of pressfit design
- Clicky has nice action without being 'mushy'.
- Tasteful grooves
- Looks very classy
- Battery tube does not accommodate thicker cells
- Numerous machining marks on host, especially on battery tube.
- Focus adapter isn't threaded for axis lenses (although most aren't anyway).
Bottomline/suggestions:
There is not much to complain about here. I would suggest to try and minimize machining marks which I know
is difficult and time consuming to do so, but nonetheless makes for a much more desired product. Although, note that
this particular host was on sale at a very attractive price because of minor blemishes. This was stated in the original FS thread.
Making sure that batteries fit correctly is a key part in machining and designing a host.
I'm not sure how much the width is an issue since I don’t know how many members actually use protected cells,
but nothing is more frustrating when you finally complete a build and the damn batteries don’t fit!
Bottomline the MS-V1 is a fantastic host (especially since this particular host was on sale :beer
") and Sinner is an absolute pleasure to deal with.
and Sinner is an absolute pleasure to deal with. Very quick turnaround, he will do everything it takes to ensure that his customers are satisfied, and I am definitely a satisfied customer
The Build:
The buid is very simple. The head accepts standard 12mm modules whilst incorporating a
set screw for securing the module. The pill accepts standard 17mm driver boards.
I would like to apologise in advanced for the lack of pics of the building process.
I got caught up in the moment and forgot all about taking photos

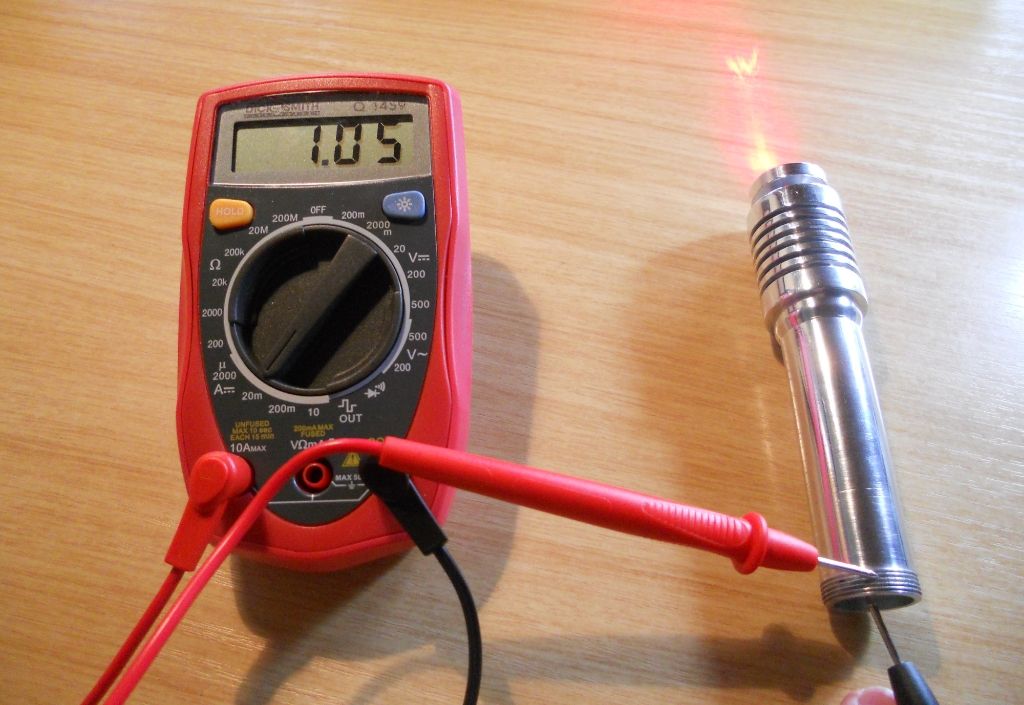
For the driver I'm using a 3*AMC driver to provide 1.05 amps on high. Of course, 1 amp of current won't yield an output
of 1W, but if my diode is anything like DTR's testing's it should be close to 900mW (if I'm lucky). Upon DTR's advice
I consciously chose 1 amp (as opposed to 1.4A like most members) for diode longevity and lesser red shift (hopefully).
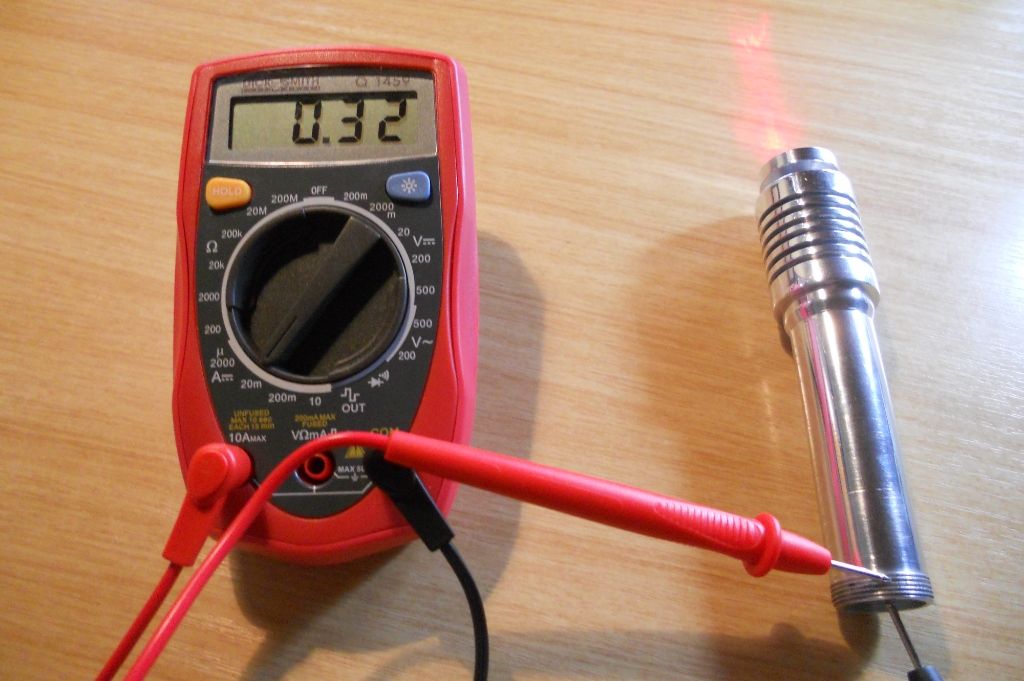
Testing the driver: I simply inserted the driver in the pill and tested the current draw whilst powering an XML emitter. Obviously not the most
accurate or effective way of testing but it is better than nothing. I left the driver on for a full 10 minutes, the XML got pretty warm, on the other
hand the driver was only body temperature at the end of the 10 minute run. My DMM showed a steady 1.05 amps of current the entire time.
No pics of the current draw with an XML emitter but here are the numbers of the finished build.
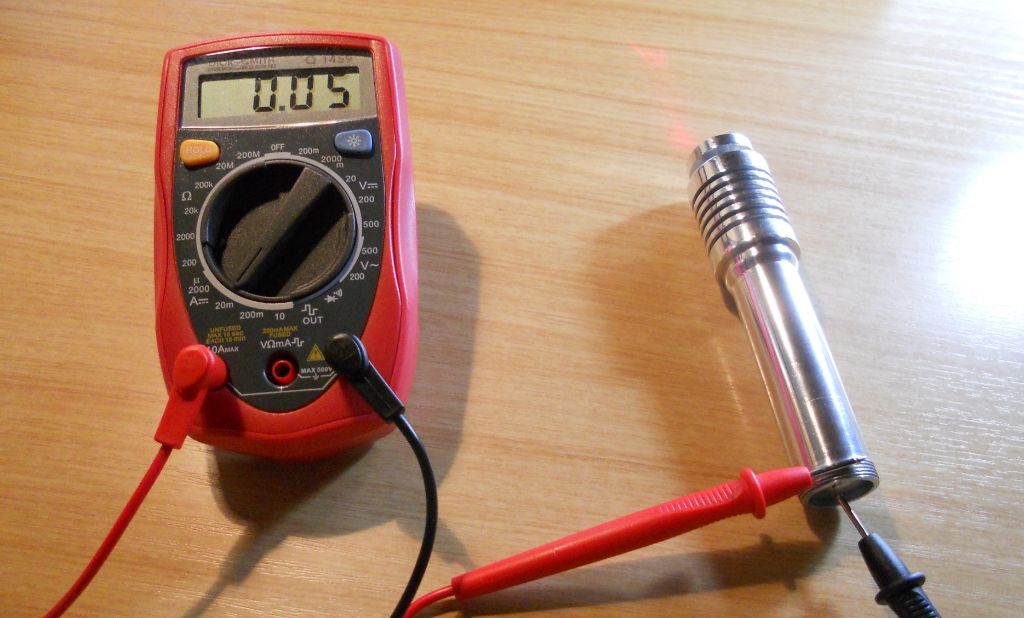
On high it was rock steady at 1.05 amps.
On medium, current draw is 320ma
Low, current draw is 50ma.
A spring is soldered to the drivers positive contact to make up for the extra length.
Whilst not shown, I choose to solder the spring on prior to installing it into the pill.
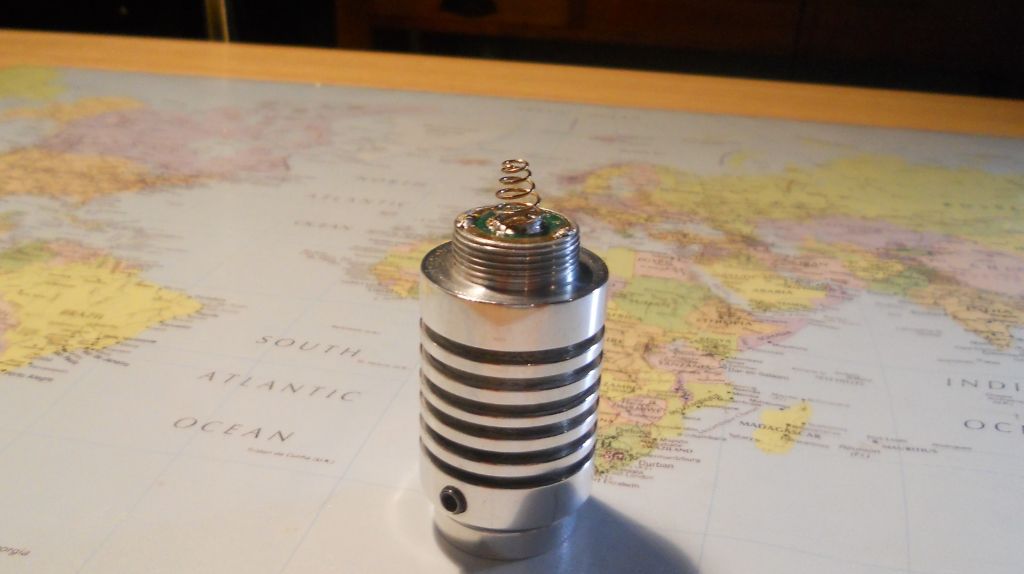
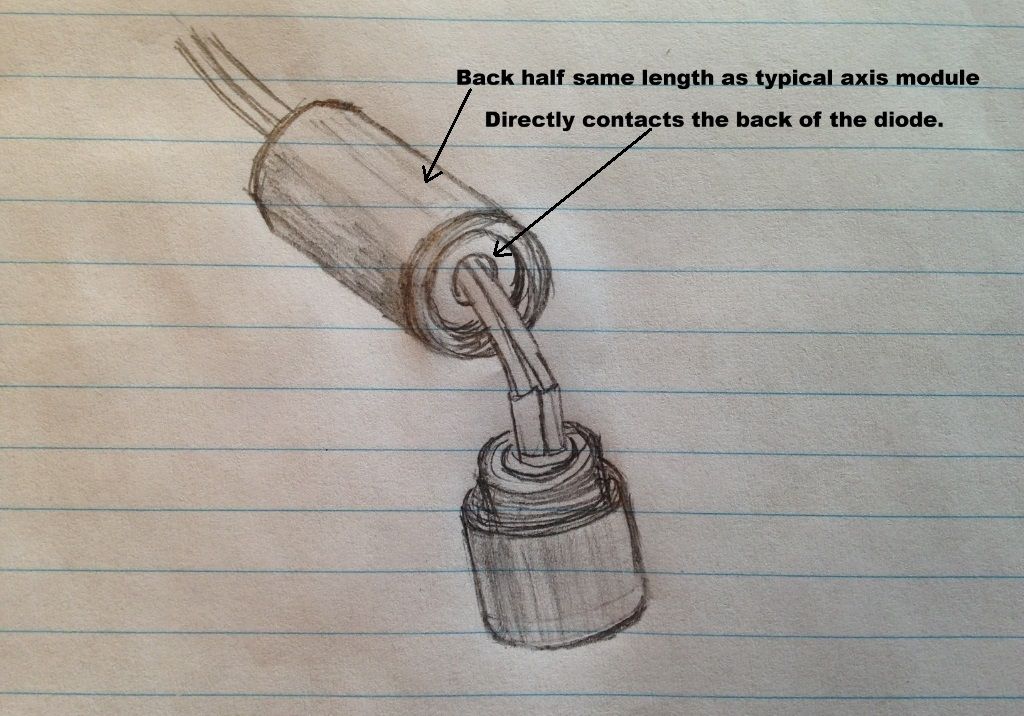
The 638nm module (again, sorry for lack of pics): I have not seen this type of module before. Unscrewing the back part reveals
that it directly contacts the back of the diode, which is a huge plus. But it's not the same length as the stubby modules on the 9mm diode.
The back part that directly contacts the diode is the same length as a typical axis module. (Hopefully the drawing's are understandable).
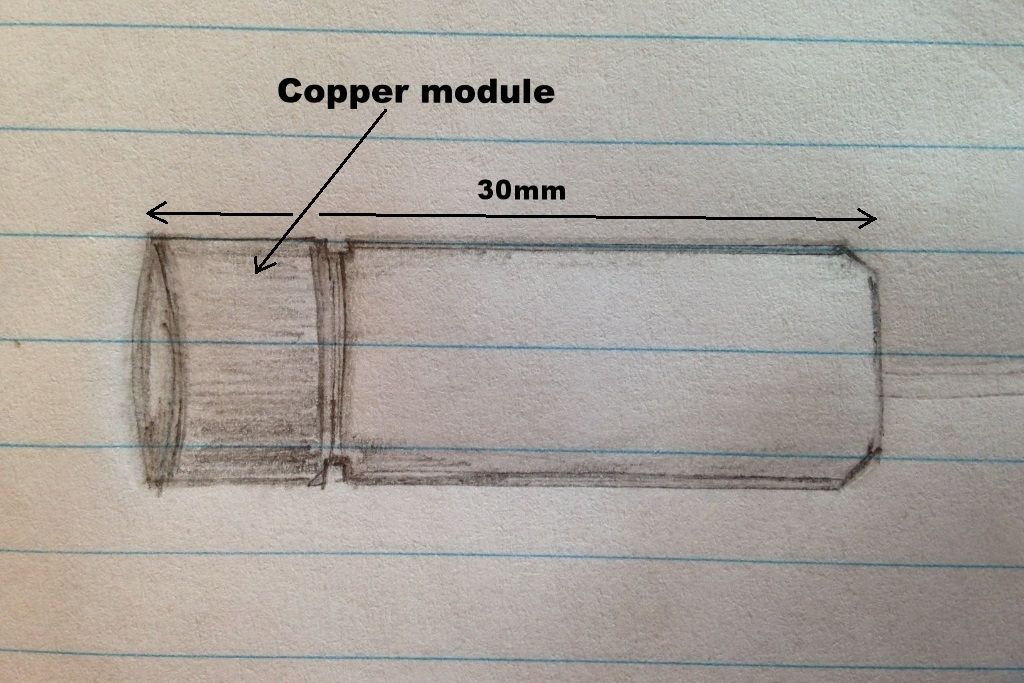
The best way to describe it is to compare it to the stubby modules that come with the 9mm diode.
It is essentially the same, with the exception that the back part is longer and with more mass.
Heres what it looks like when it's unscrewed:
Generous amounts of Arctic Silver 5 is applied to the module and then to the milled 12mm hole.
The module only needs a very small amount of force to be inserted. The set screw is tightened to ensure zero movement.
The wires are soldered to the driver and the driver is pressed into the pill. Make sure to have the wires within the head as short as possible.
Otherwise when you go to press the driver in, the wires will take up to much room and potentially bend the diode pins.
Outer negative ring is soldered to the pill.
Screw everything together, throw in the batteries and we have first light!
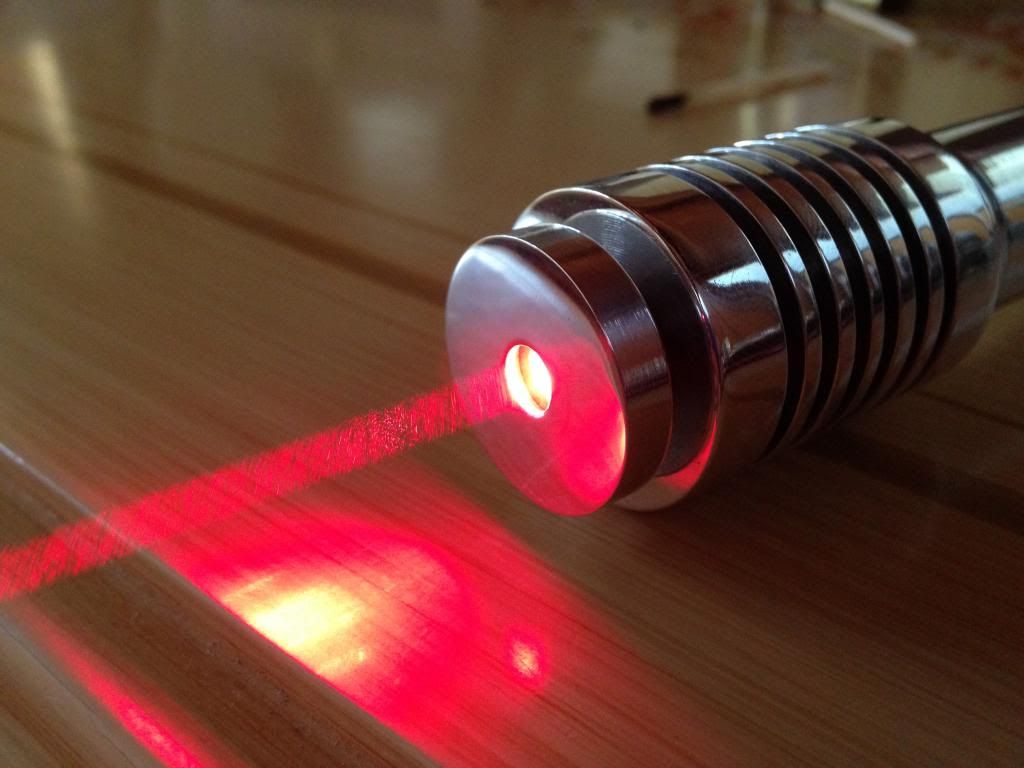
Pics!
The photos that follow pale in comparison to the likes of Gismo, Brucemir and many other skilled photographers of LPF.
But nonetheless I hope these pics provide some inspiration (call it what you will) to get out there and be creative :wave:
All the photos taken in this thread where photographed using either my phone or my Nikon coolpix compact camera.
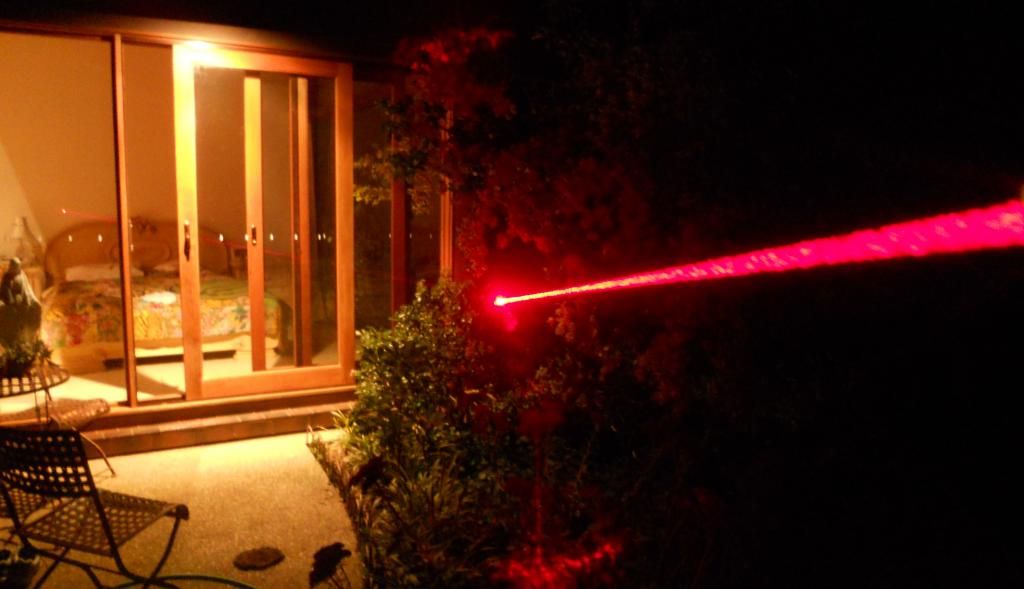
Note: this is not my room in case you where questioning my taste in bedside lighting and purple pillows
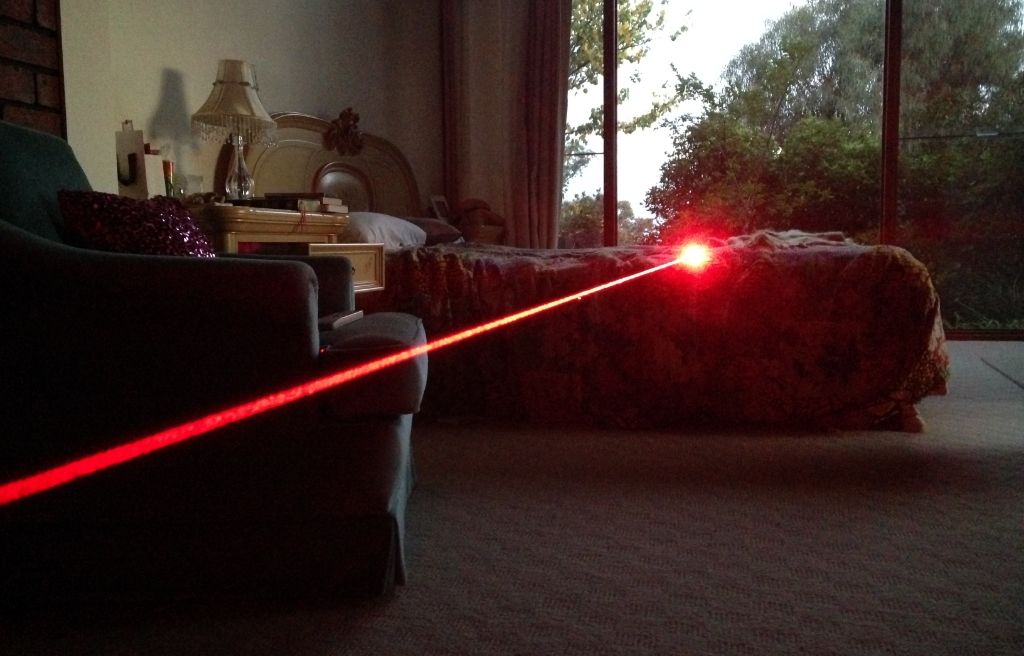
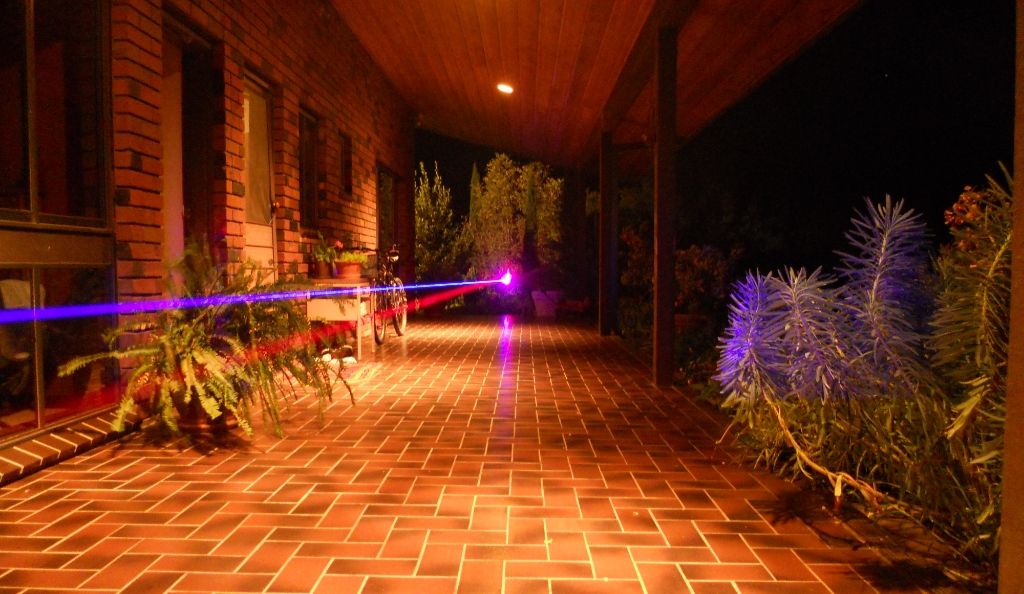
Since it is bloody cold down here, almost every night there is a deep fog that descends onto the area. Which means prime photo opportunities
I hope you all appreciate me braving the unforgiving cold nights at 3AM in the morning
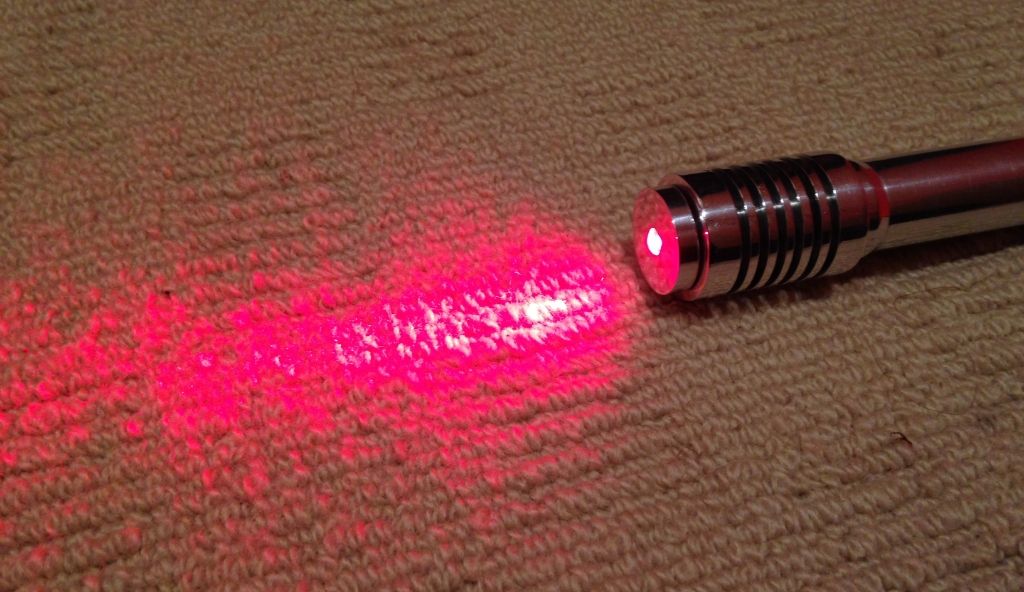
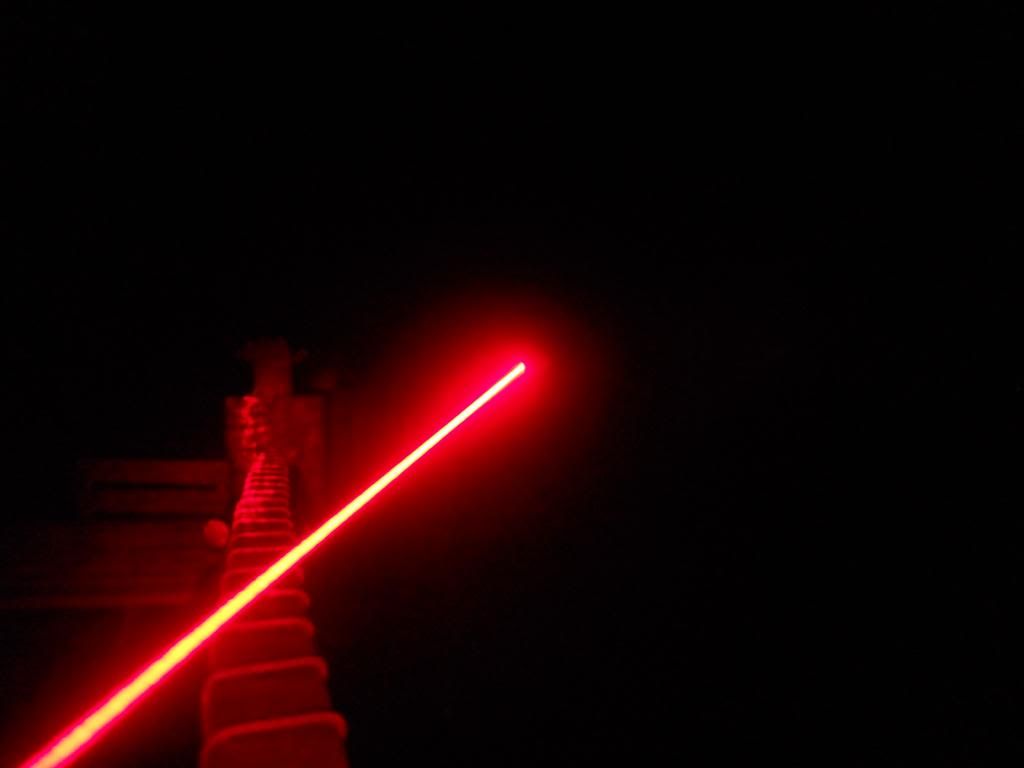
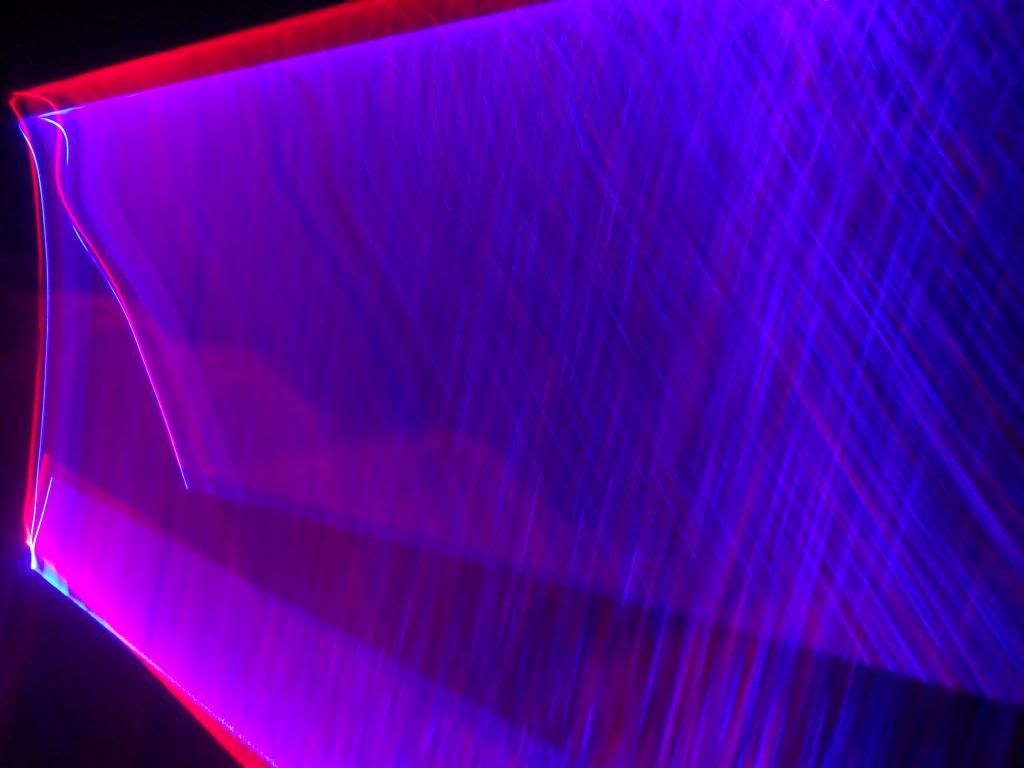
Firstly I tried taking traditional beam shots. But with the limited camera I have the photos taken
showed over-saturation, and extremely lacking in detail and clarity. Here's an example:
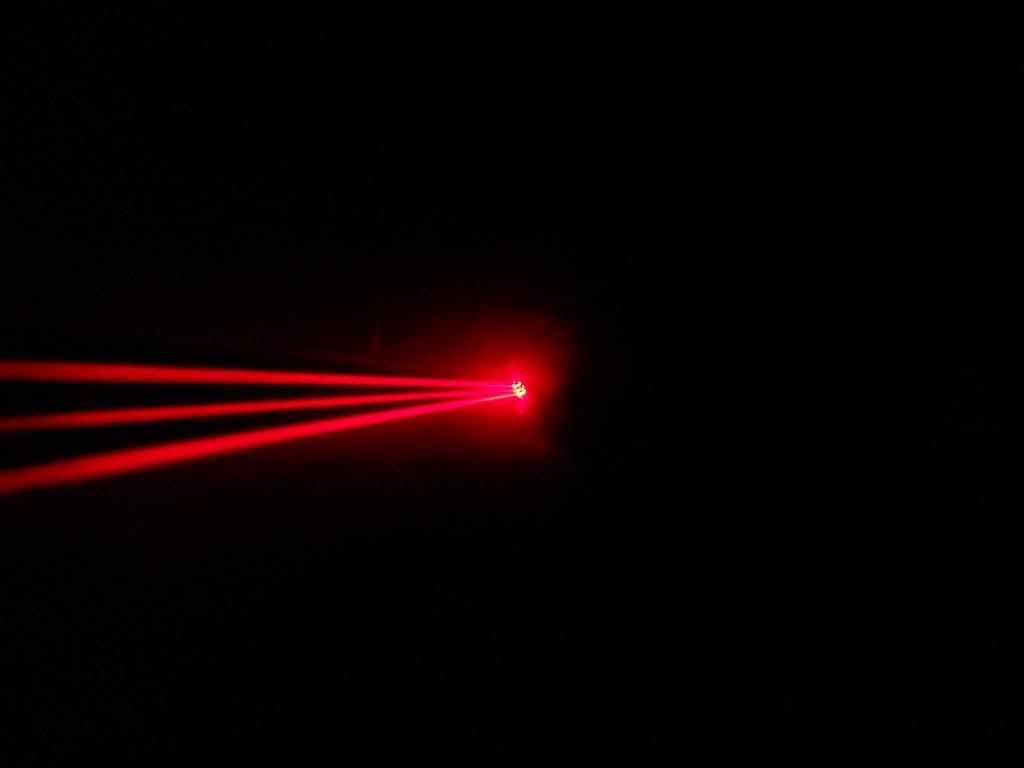
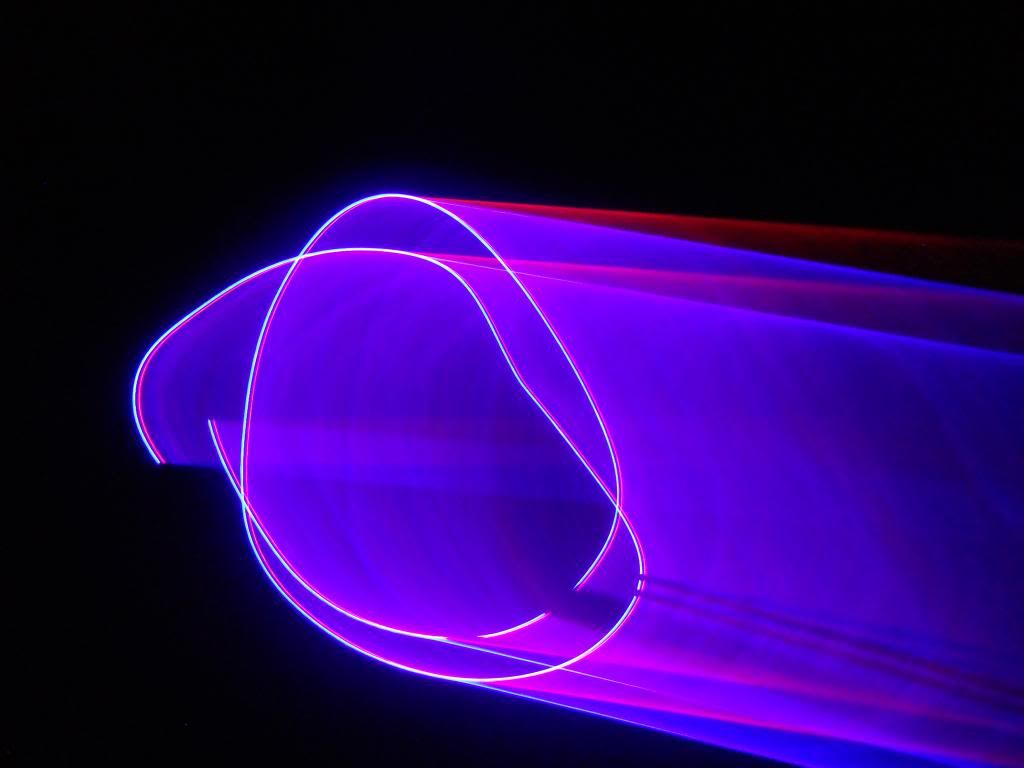
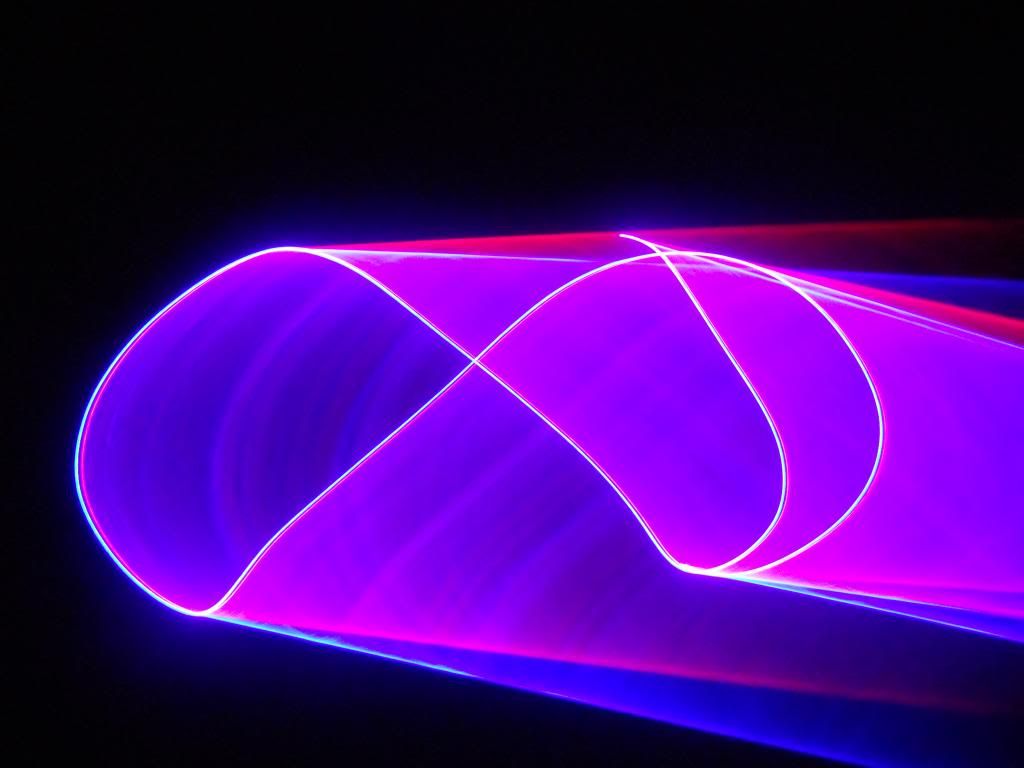
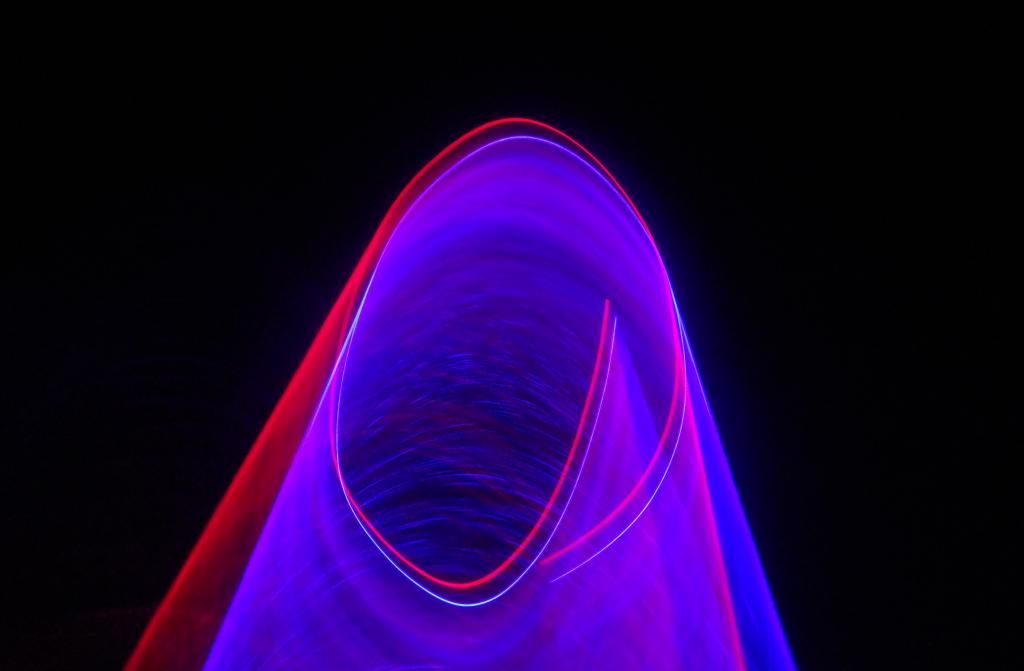
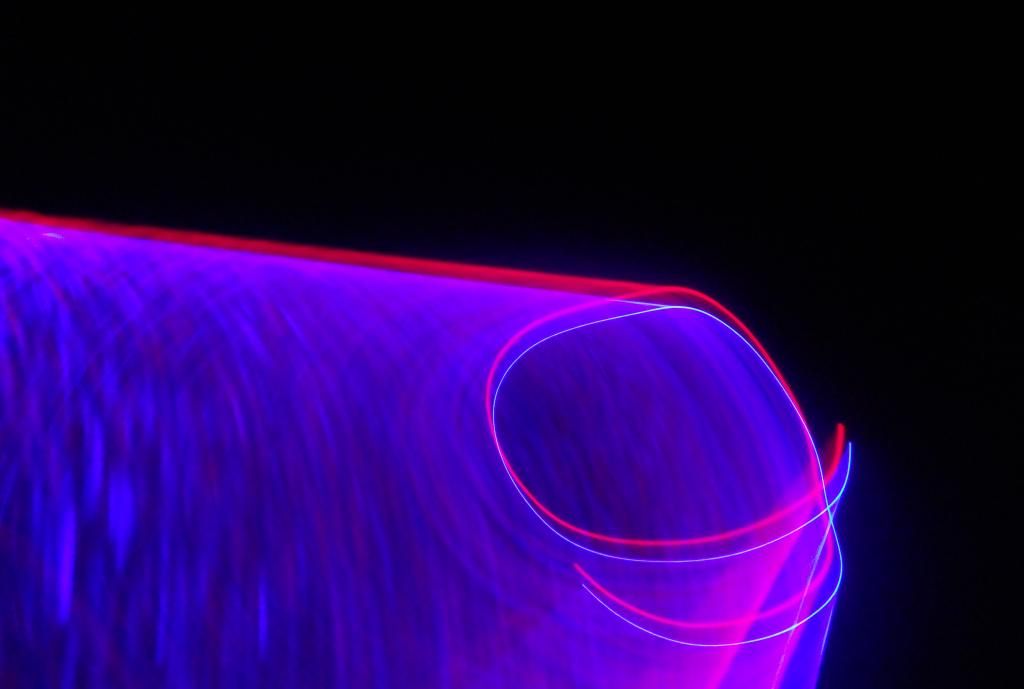
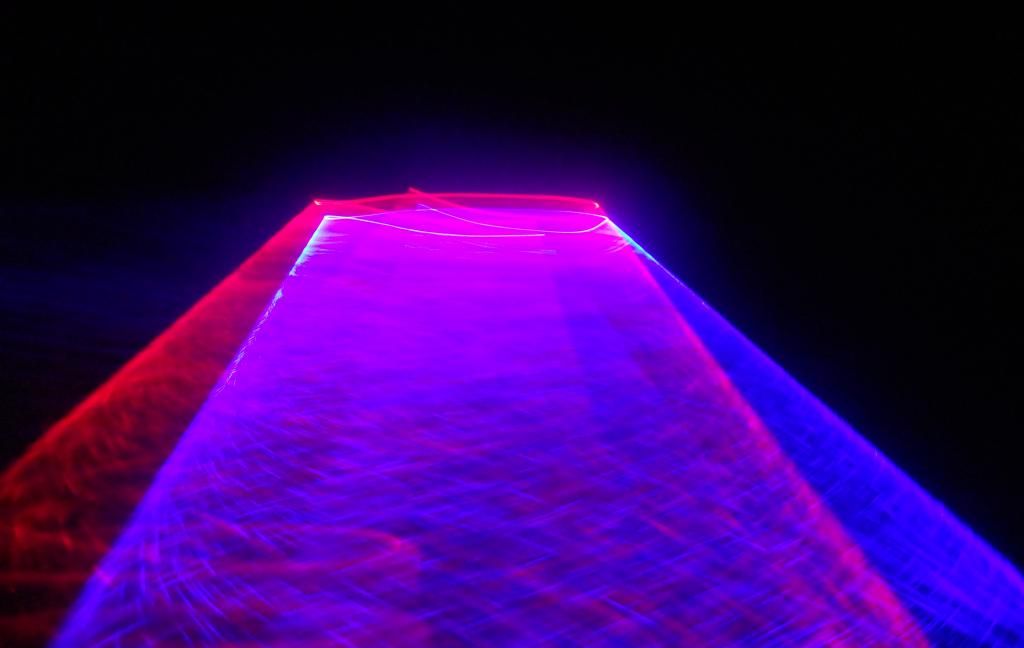
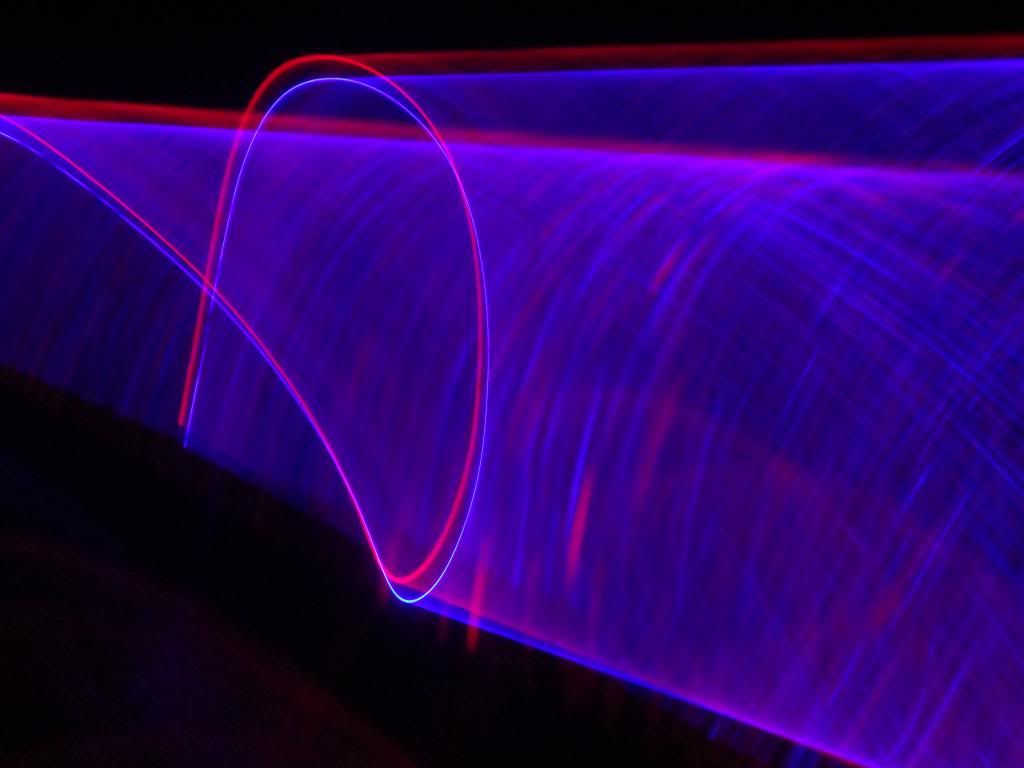
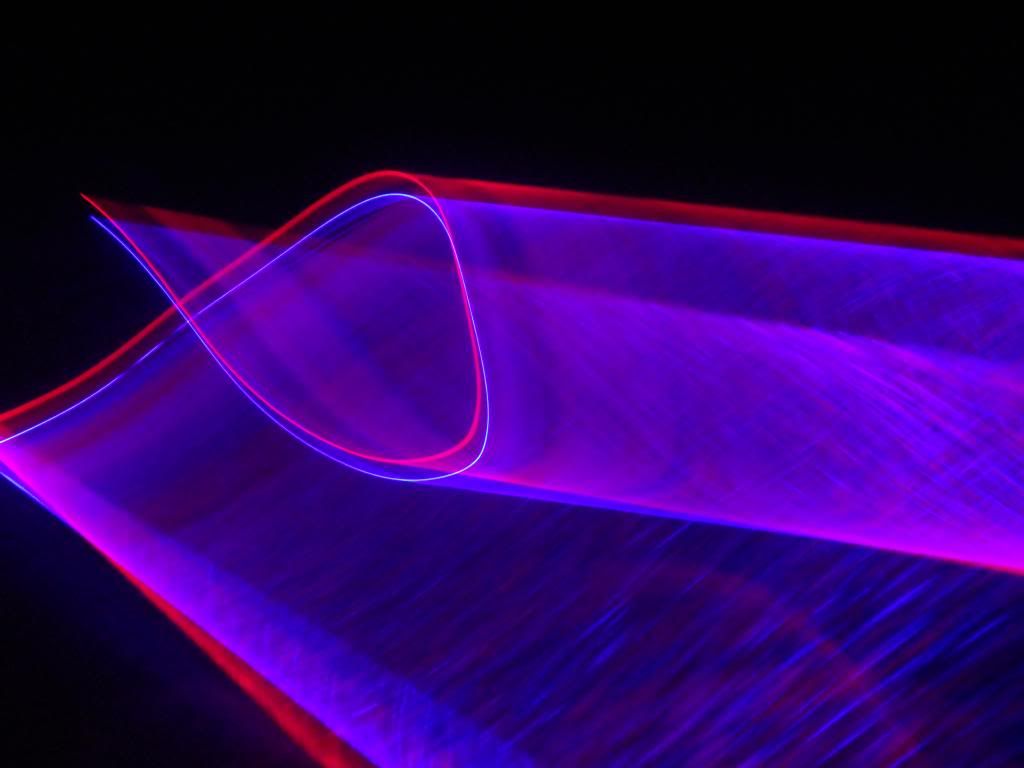
I thought, why not try the same technique I used in my first photography thread :beer: By rotating
the camera in a swift movement in the desired shape I could achieve quite interesting results.
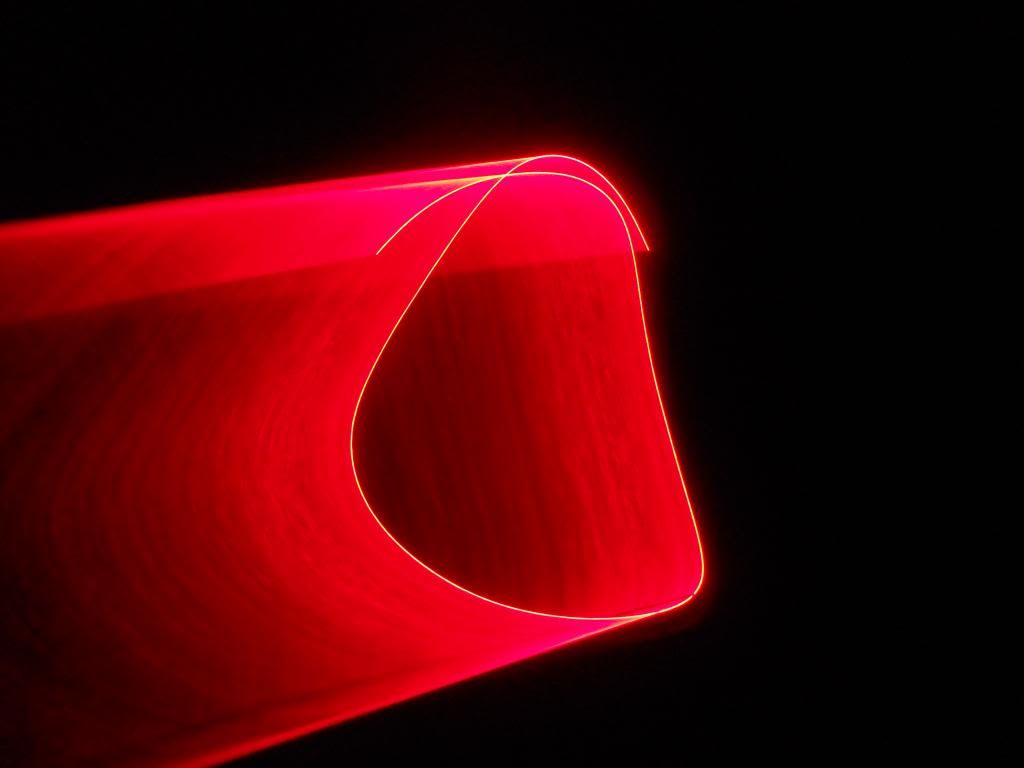
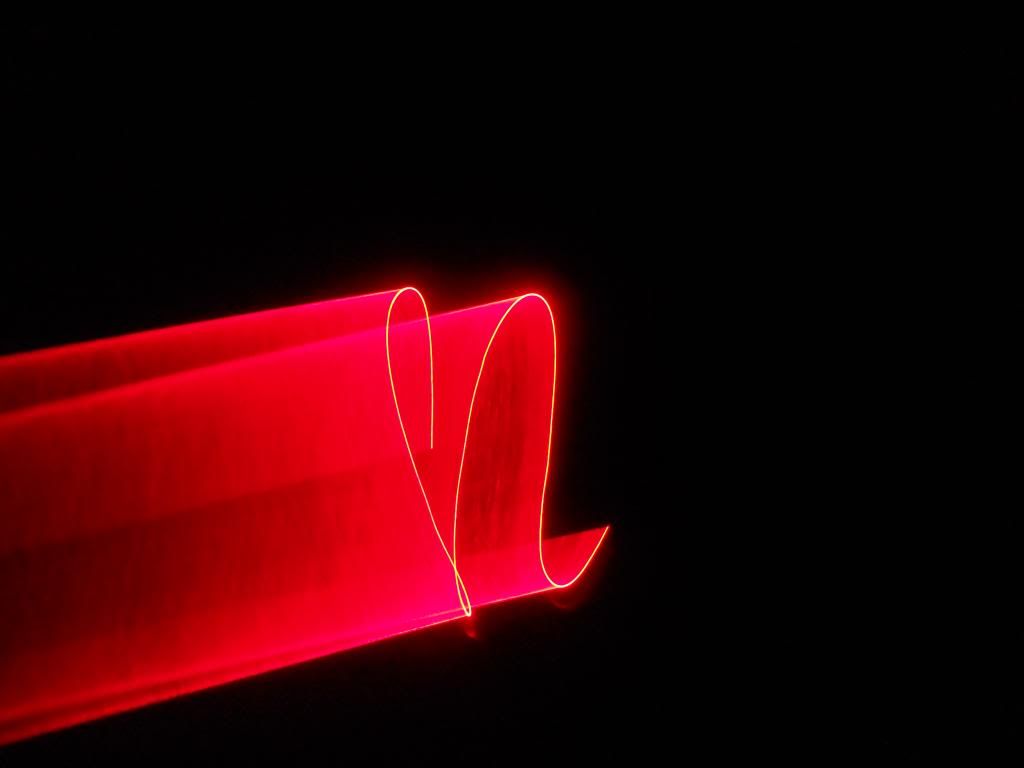
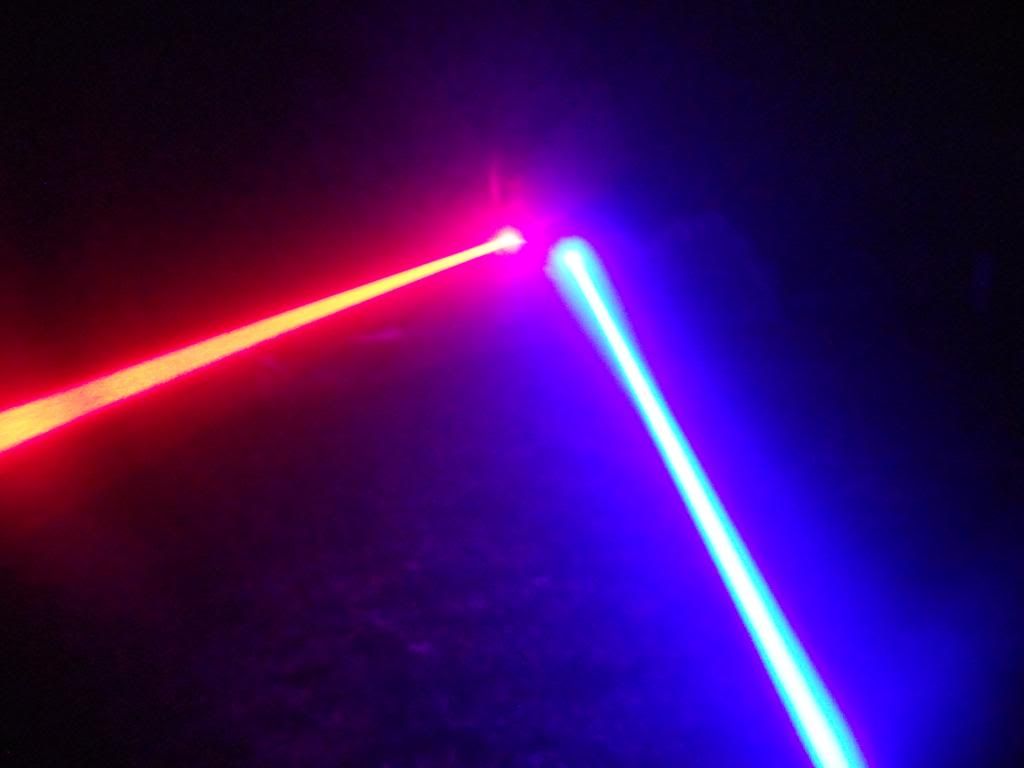
However, two is better than one so lets bring out the big boys :eg: ~900mW of 638nm plus ~3W of 445nm together, yielded some pretty nice results.
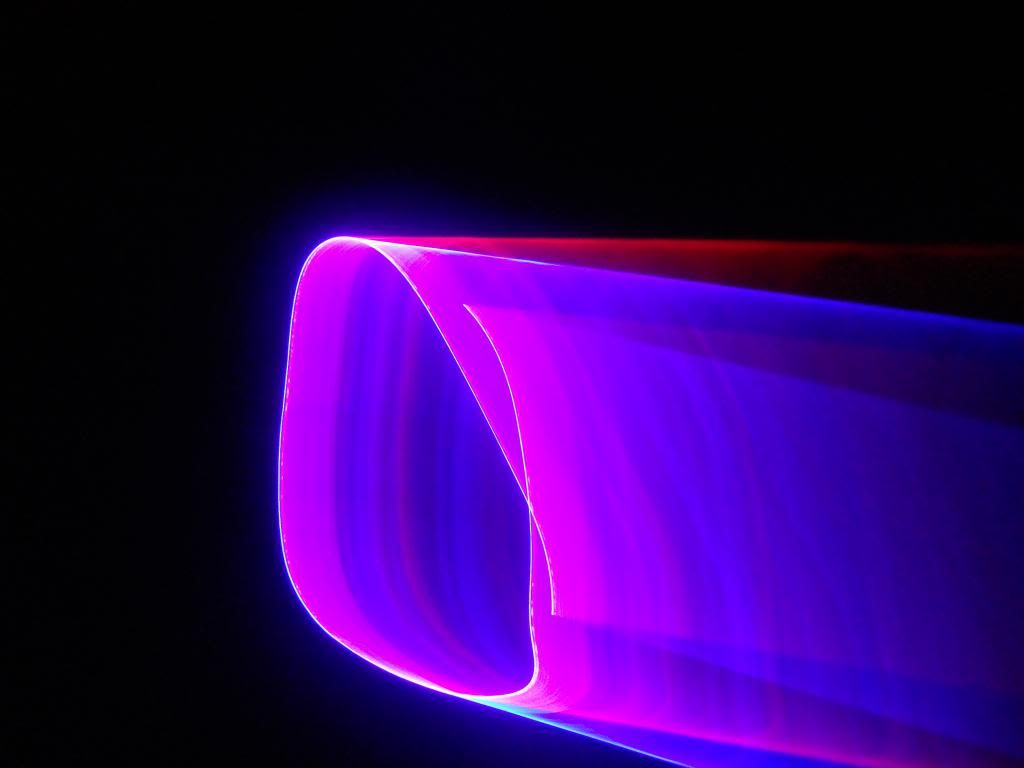
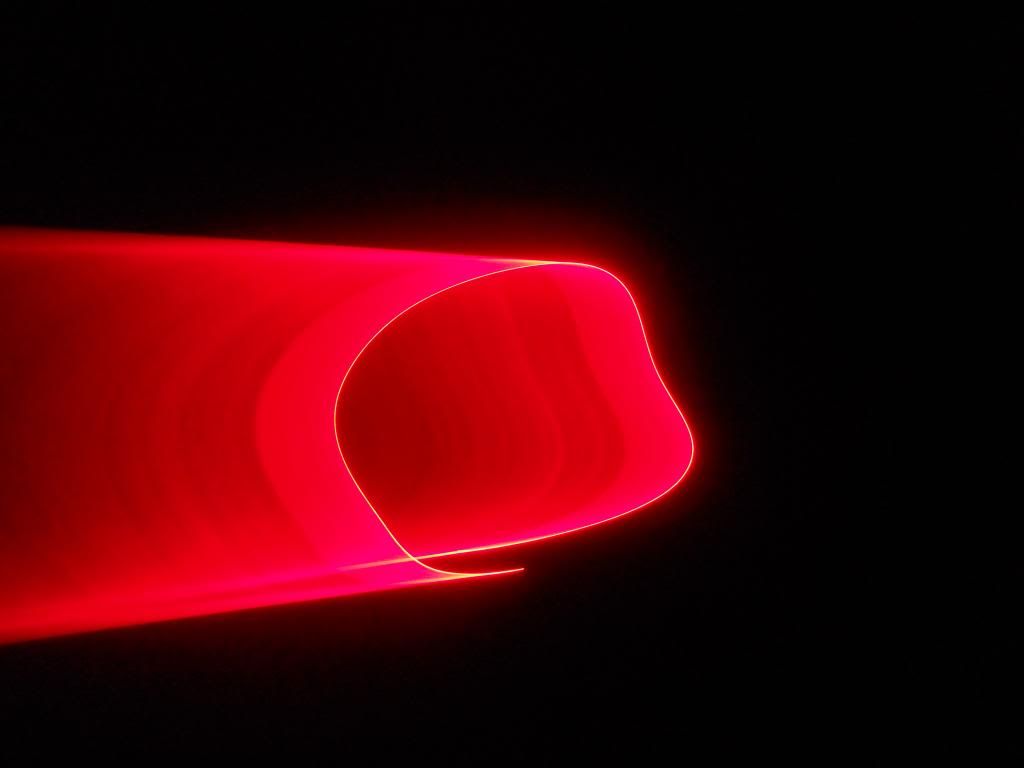
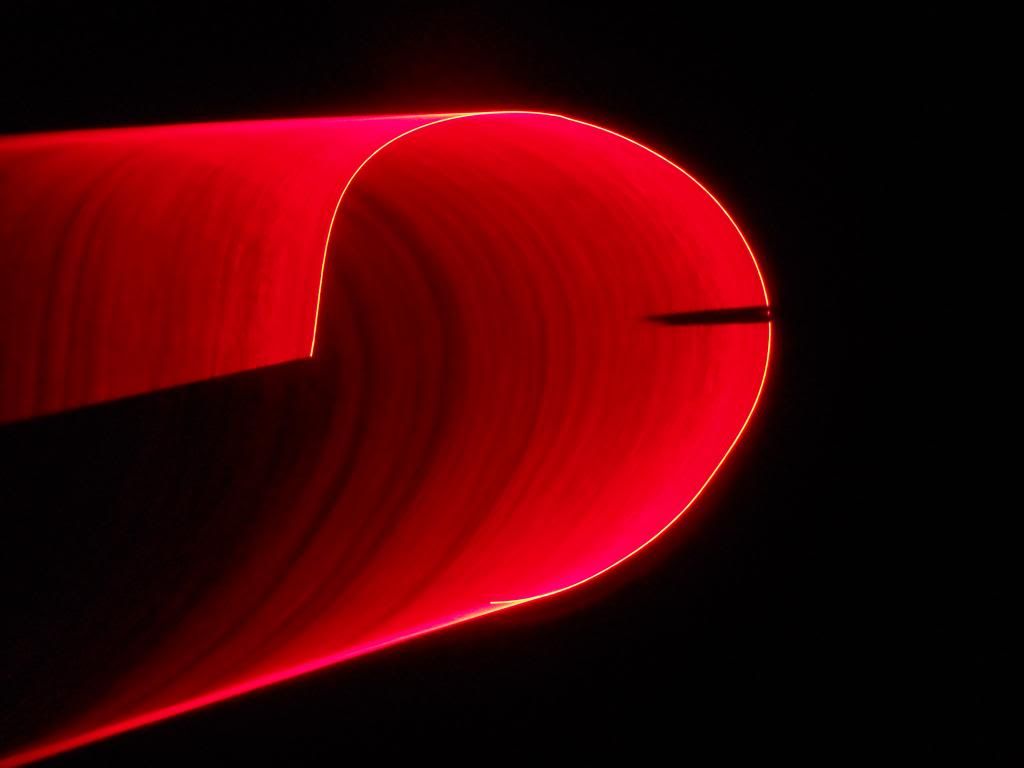
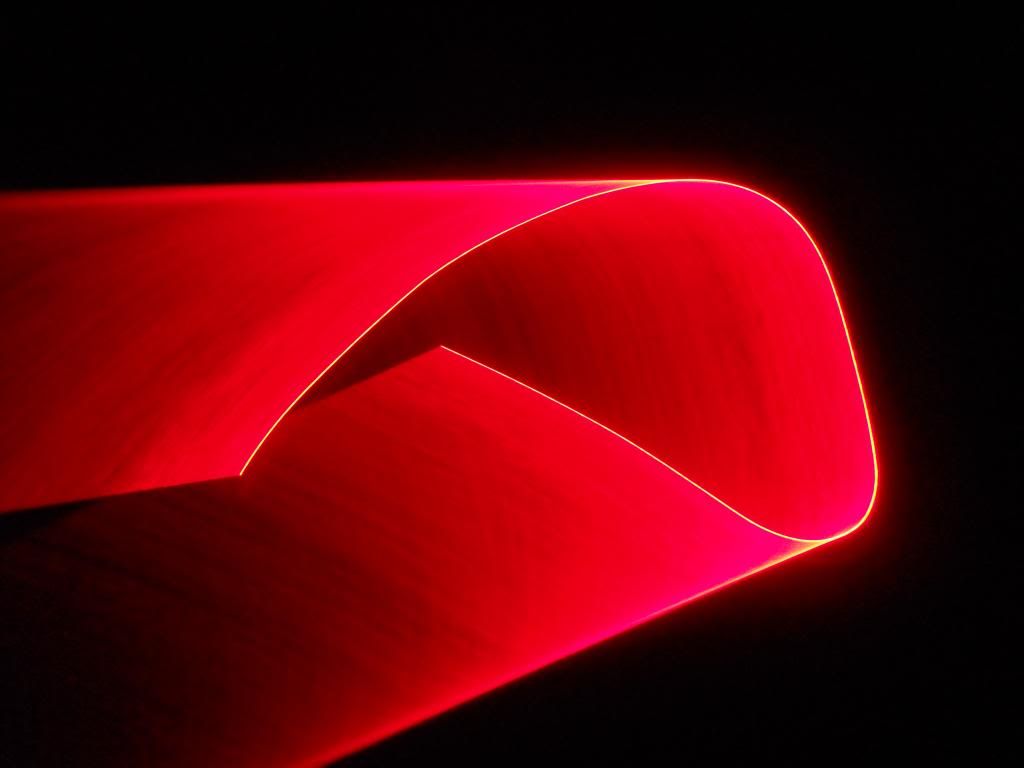
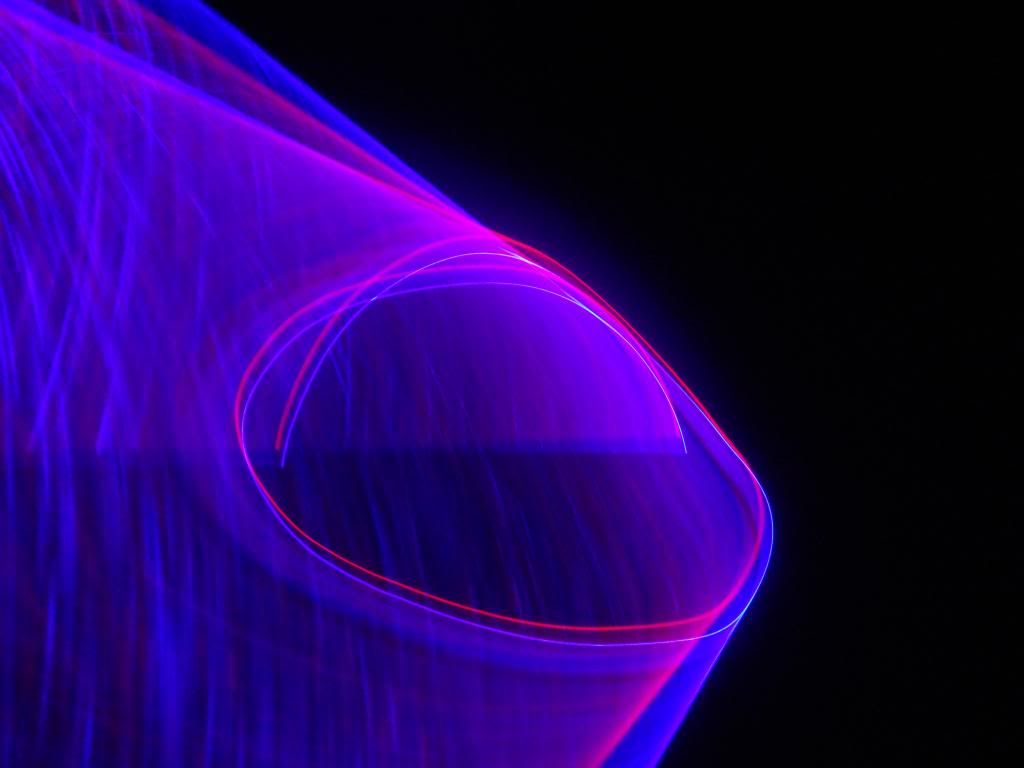
The pics below where taken in the same way as the above, except instead of the camera
orientated towards the aperture the photos where taken in the opposite orientation.
Well there you have it. As always I'd like to thank Sinner and DTR for providing the goods
Both Sinner and Jordan are always a pleasure to deal with. I hope you enjoyed this thread which is a testament to the amazing work that Sinner and DTR have done :beer:
:thanks:
Last edited:


") for me there was a significant gap at the red end of the spectrum, but no longer
for me there was a significant gap at the red end of the spectrum, but no longer