

Pman
0
- Joined
- Nov 28, 2012
- Messages
- 4,441
- Points
- 113
Until about a month ago I was away for quite some time. Apparently some members were wondering what was up and out of nowhere I received a call from my friend Jeff (Bow) and here I am")
Also out of nowhere I was shocked at Paul's offering up a 503nm diode and I graciously took him up on it. I kept him informed the entire build (probably way over informed actually) so he would know I took his diode offer seriously. I hadn't built a laser in quite some time and to be honest I was overly paranoid about something going wrong.
Now I've built a LOT of lasers but this one needed to be special considering the time away and a wavelength that not many have. Don't know if there are more 503nm diodes available somewhere but it sure doesn't seem like it and I don't see many members sporting one in their signature.
Looking through my stuff here's the build I came up with which will include some actual how to instructions and not just the finished product:
Not going to tell you what host I am using so you can see how it comes together with me.
503nm diode obviously that Paul so graciously sent me asking nothing in return.
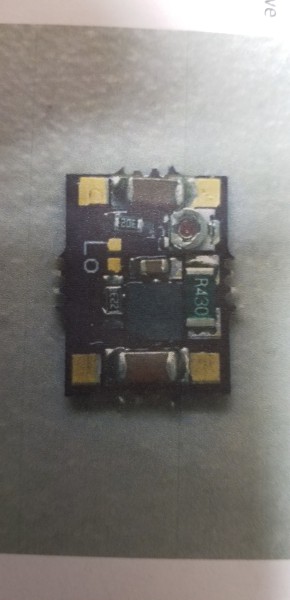
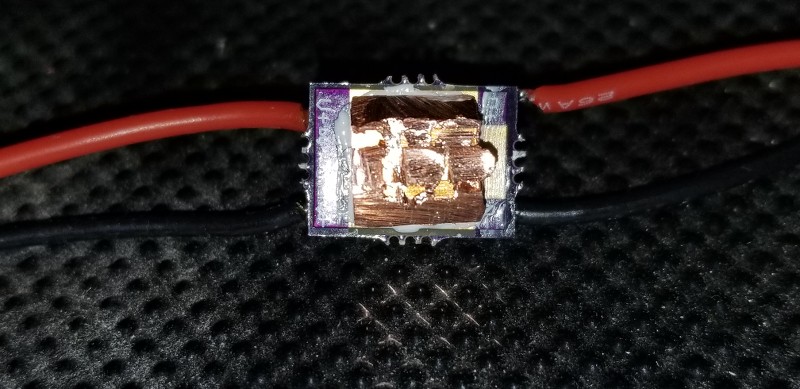
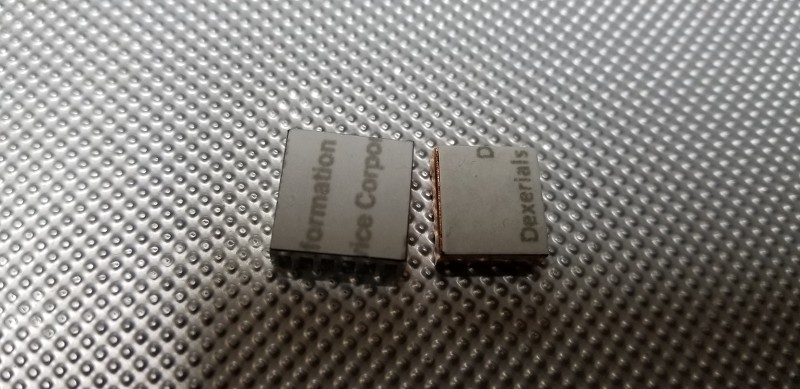
Bought a survival lasers Blitz-linear driver using and agreeing with Paul's suggestion. Look closely and you can see where it says "lo" as that is the range I need for this diode. I have already soldered across the very tiny contact points.
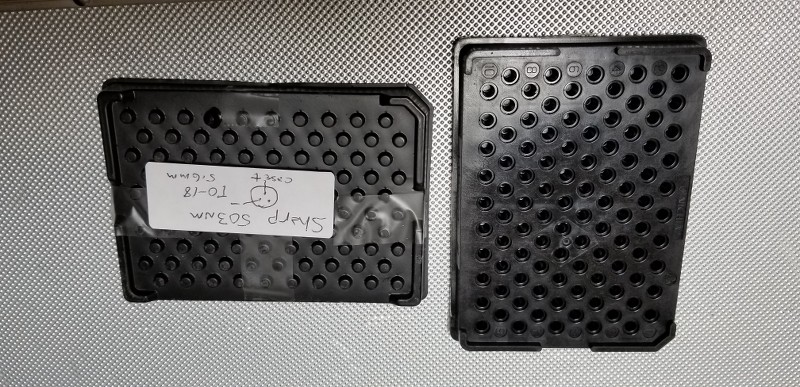
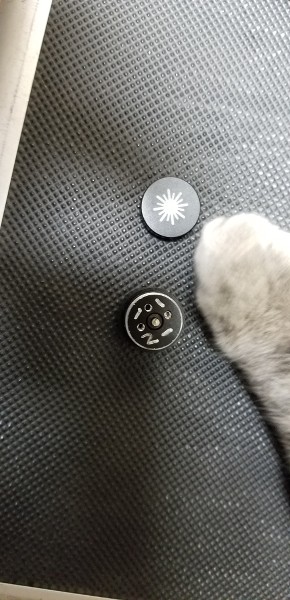
The diode Paul sent came in a plastic diode tray which in my opinion is a really great way to do it
Before going any further I would like to point out that this diode is case positive and if oriented like a clock the pins are:
12 oclock - negative
3 oclock - positive
6 oclock -
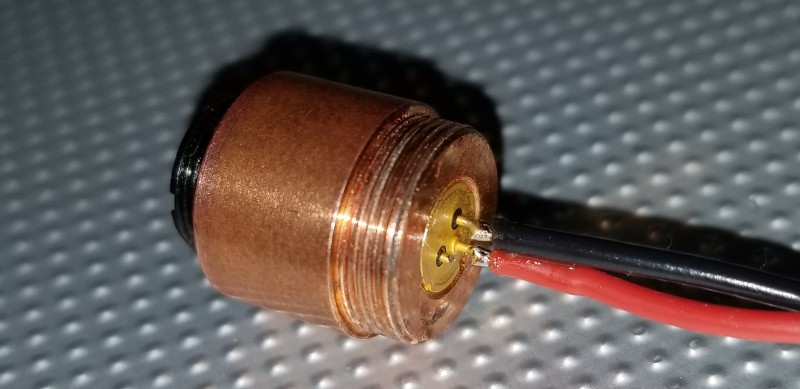
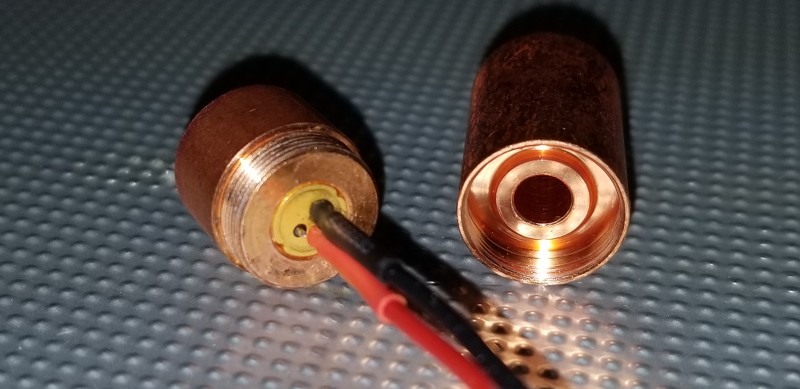
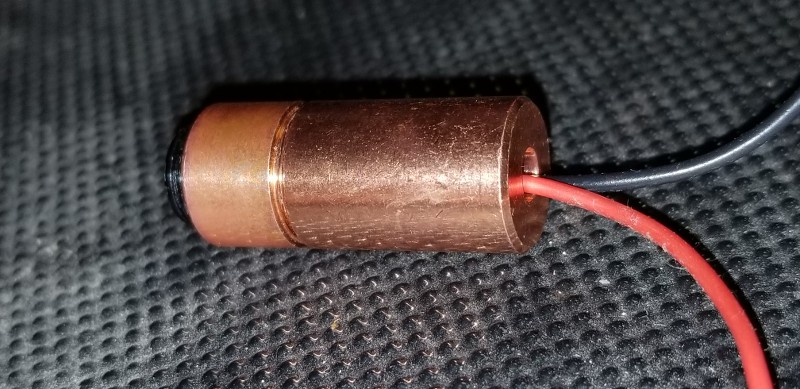
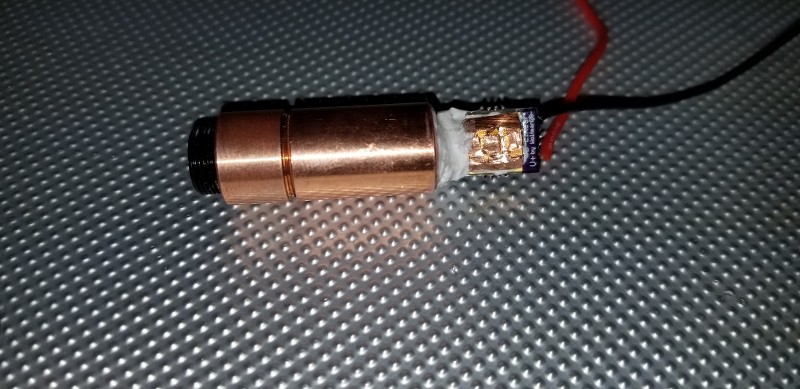
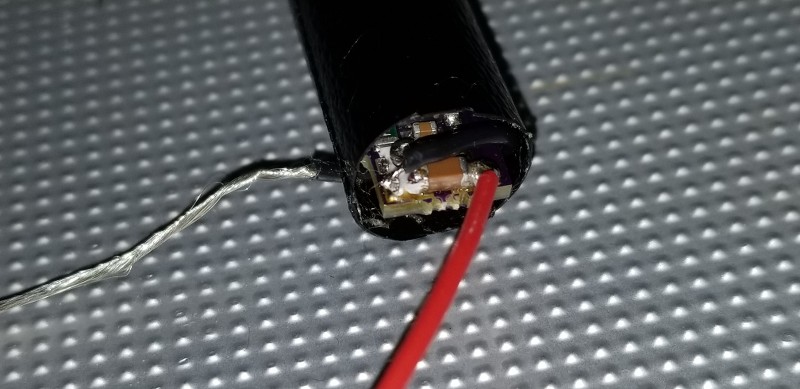
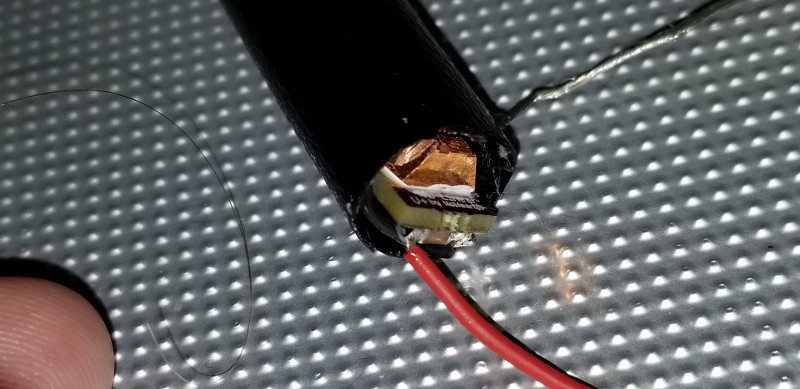
So, here's the diode wired/soldered with the third pin cut. The way I do this is to tin the pins and then add a tiny bit of flux on them and then tin the wire end just a tiny bit and push the wires over the pins so that the pins end up inside the wire silicone. Hit them with the soldering iron small tip that has just a bit of solder and you get a strong connection. I also orient where the wires are soldered so that the fatter part is toward the inside. This is done so that after you heat shrink them you can do what I wanted to do which is add a solid back half for better cooling as this is going to be a pen build. The copper back half will be able to easily slide over the insulated pins and screw screw down without the risk of twisting as the hole in the copper is small. This was a lesson I learned from a previous build.
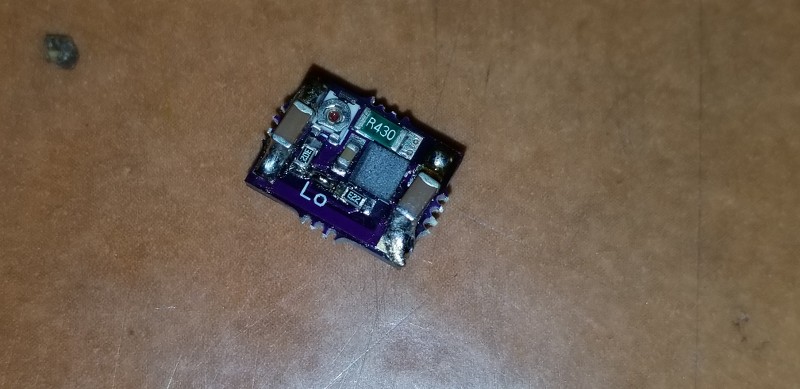
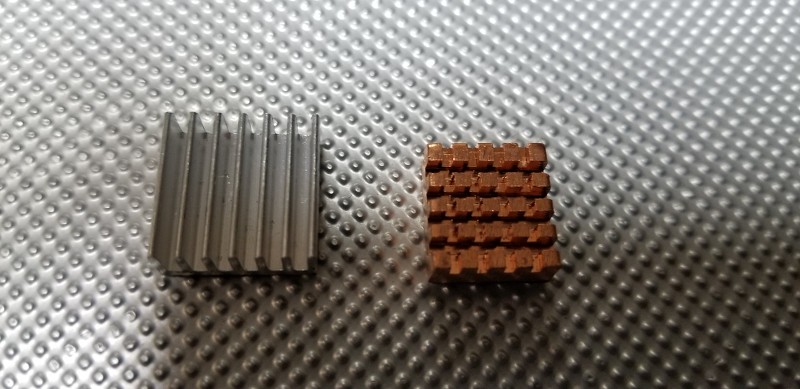
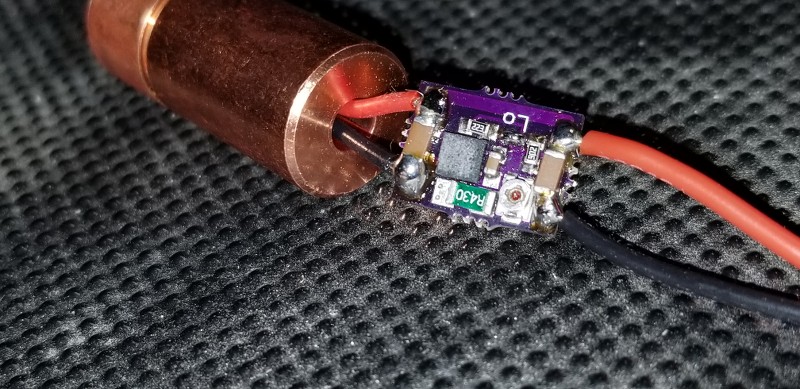
Here's the driver with a piece of tapered copper for heatsinking even though it's not really needed:
If you have either of these popular sinks to work with you can easily remove the tape with a rag and nail polish remover to not scratch up the surface. Only takes about 20 seconds of rubbing and it's gone
Now here's the driver that I wired up to set the output which came set at 255mA:
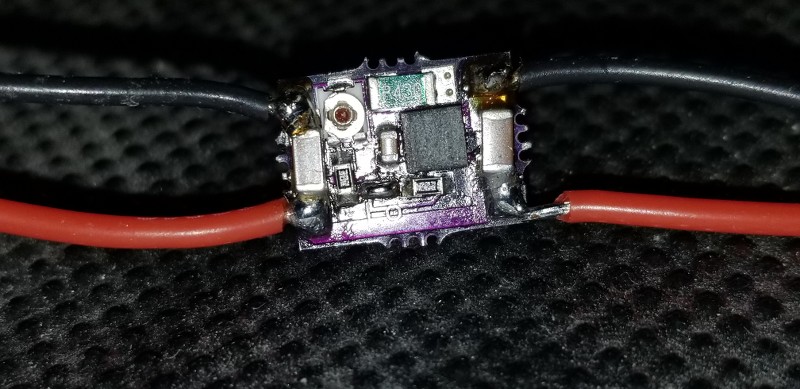
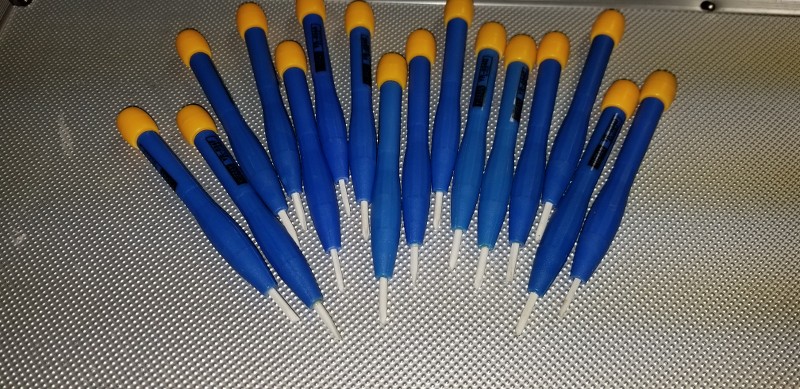
Would like to point out that I use ceramic screwdrivers to set pots as you don't have to worry about blowing your driver while messing with it while powered. I purchased them individually cheap at fasttech.
Now I had expected to set it to around 275mA for around 100mW out but upon testing the diode it turns out the diode was actually very inefficient by over a third compared to a "normal" one. No idea why this is but because of this I ended up setting it to 405mA to get to the 100mW I was looking for with an acrylic lens. I say acrylic but what I actually used was a 3 element because it gave me the best "dot" as the diode is known for a bit of a bar shape to the side of the dot which isn't the most attractive look.
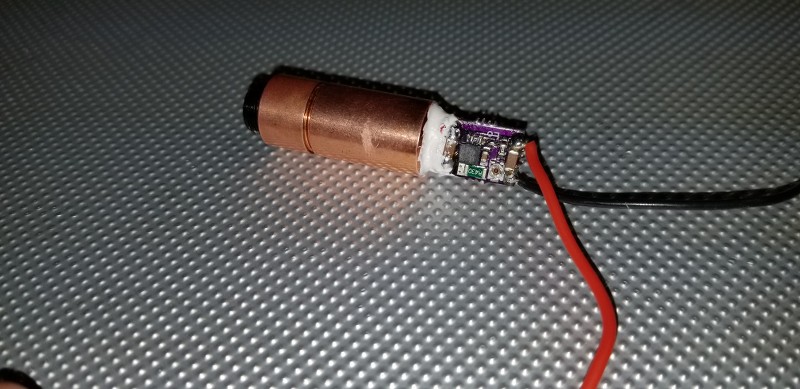
I attached the driver to the module with arctic alumina:
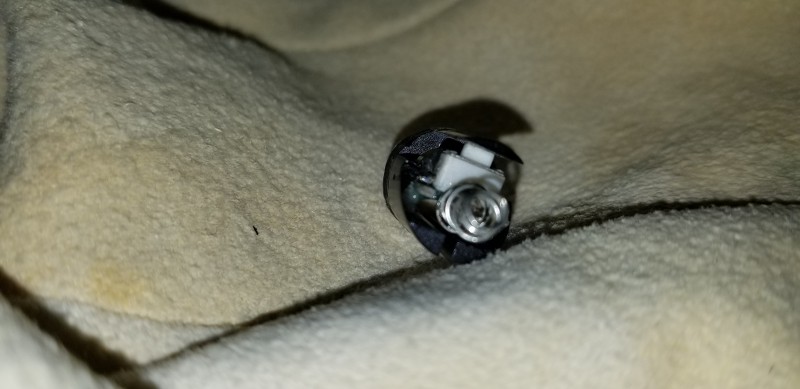
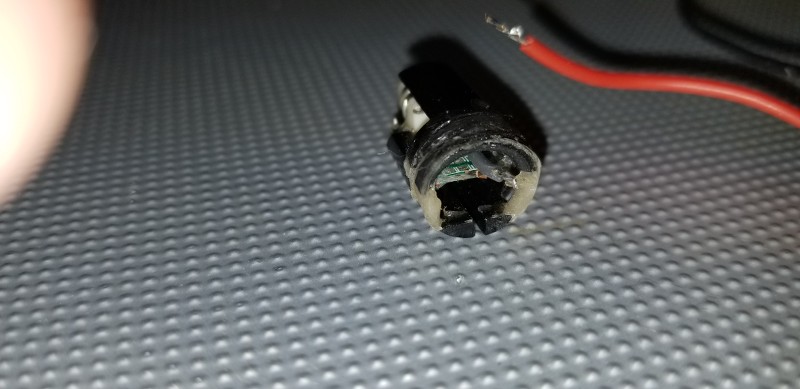
This is the used switch I had to use. It was from a leadlight/laser66 that must have had an issue. I couldn't take a chance and take it apart as it was previously glued in place so I used it just as a basic momentary switch.
What I mean is the host that I used did have a spot for a possible indicator light but there was no way to add an LED without being able to take the switch apart.


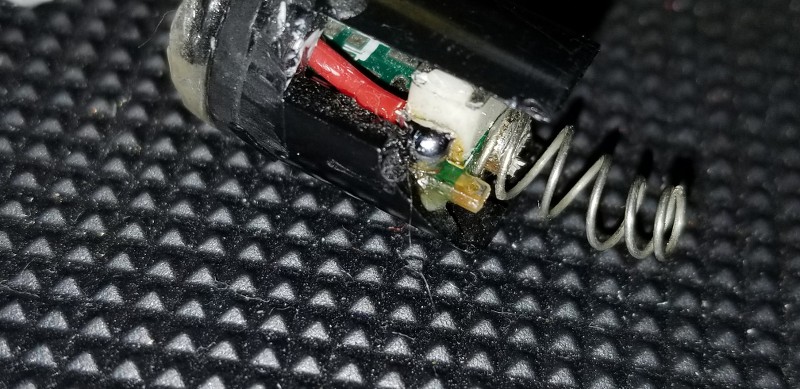
I wired the switch to one side of the switch obviously and because of the way I decided to do the build I grabbed the negative by running a wire from the driver through a tiny hole in thick tape and to the outside of the module. The module at this point had thick tape around it to isolate it from the host. As the module is pressed into the host the bare copper wires which I wrap around the module make contact with the bare host wall. Thus you get positive on switched line to driver and negative from host to driver with a case negative build. Works really well if you get the module to host tightness right.
This completed module was tested before pressing into the host.
You can see a bit of epoxy just to help hold the negative wire as it's pressed in.
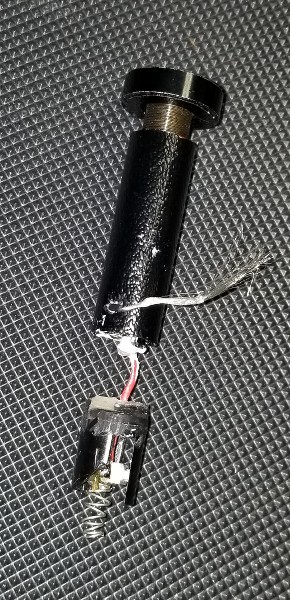
The whole assembly was then pressed into the top half of the host that I had pulled apart as the build would have been too hard to do if I hadn't gotten the press fit apart not to mention getting the module length correct to fit so that the switch could be activated through a hole in the host.
Also I had hand drilled out the front section using a step bit and then 1/2" drill bit to the module length so that it was just wide enough to isolate the module from the host with a special 1 layer thick tape and get the right tightness for that stranded negative wire.

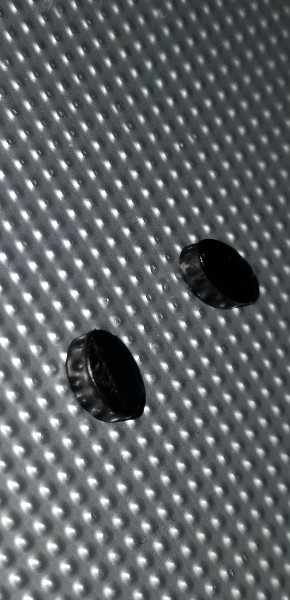
The host needed 2 oval switch presser pieces because of the depth and somehow I had 2 that I could stack:
There were a couple other things I did for isolation sake. There's a front screw on cap with a hole in it that I slightly made bigger and in the cap there's a piece of insulating tape. It was done so metal can't touch metal if the anodising wore down.
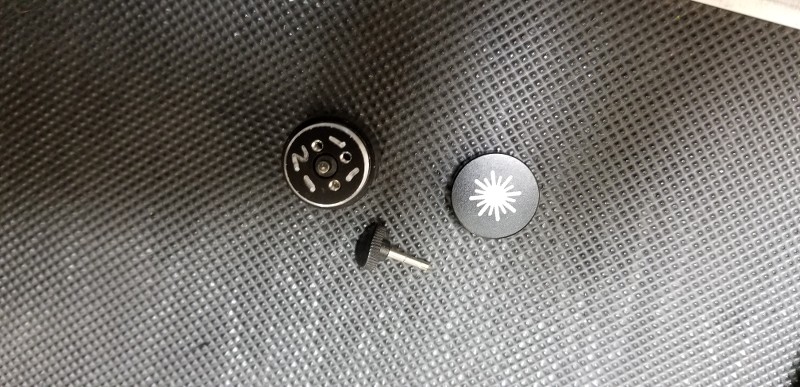
And here's the 2 pieces I aligned and pressed back together which just so happens to be a wicked lasers e2 that I was given awhile back for a special pen build I did for someone. It was a non working unit:
Here's what the back end of the host is that unscrew. It is actually a safety switch as there is a pin that you can take out to interrupt the case connection. The pin just presses down in from outside the host as if you were plugging in a headphone jack.
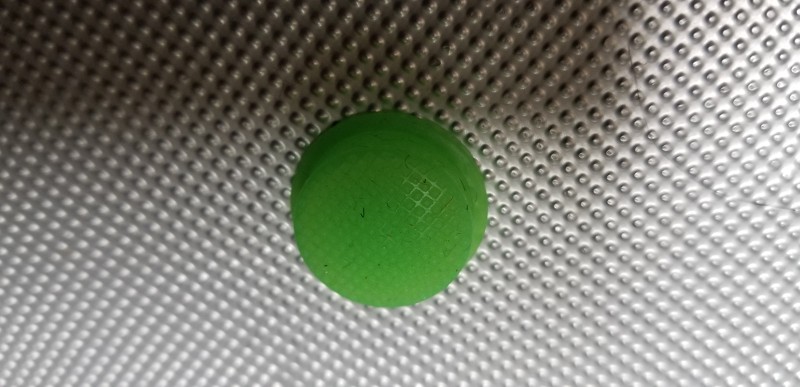
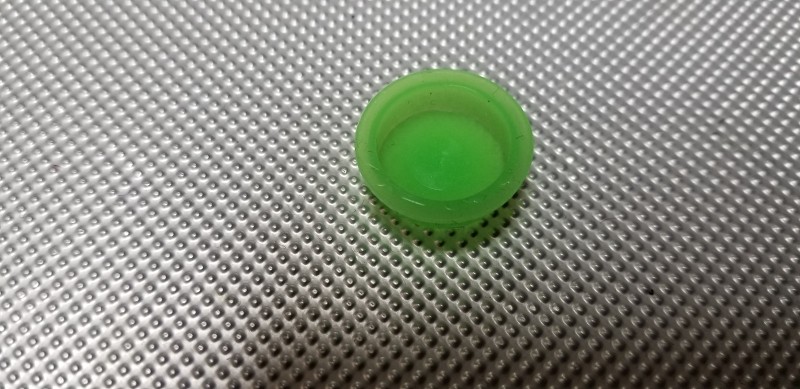
I also found a rubber cap that will fit over the front lens
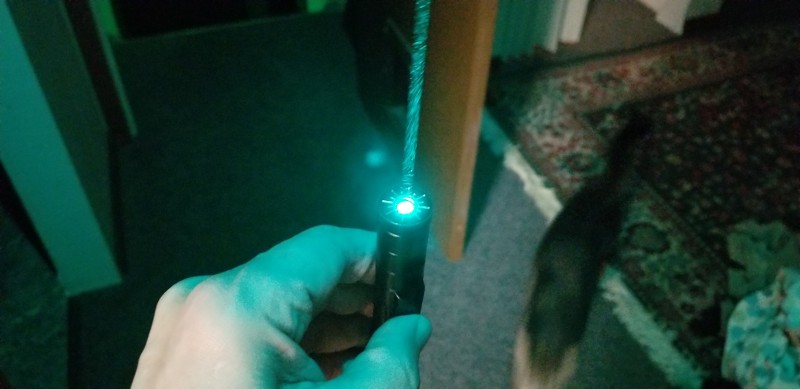
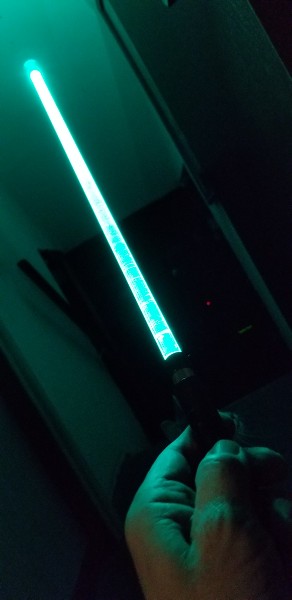
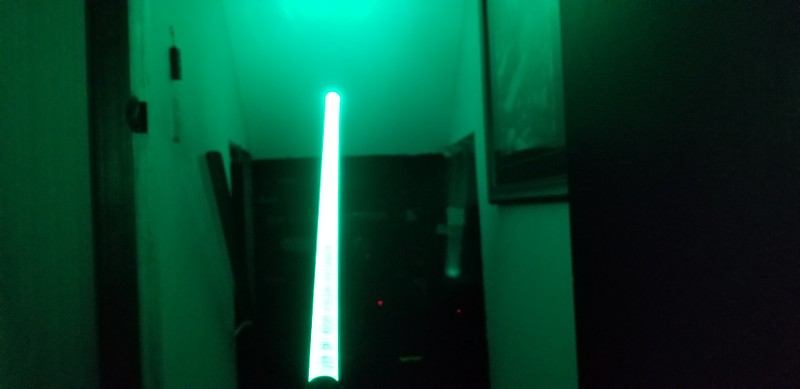
Completed build:


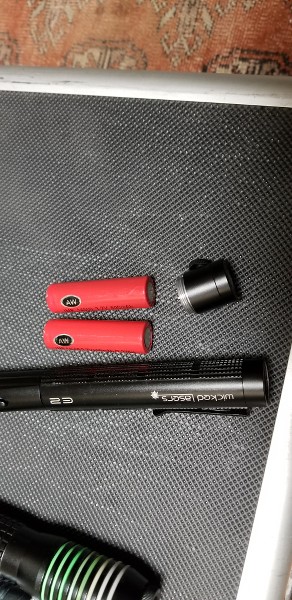
2 14500 AW IMR CASE - 135mW (with G lens) 503nm / about 100mW with the 3 element I'm using for a nice "dot"
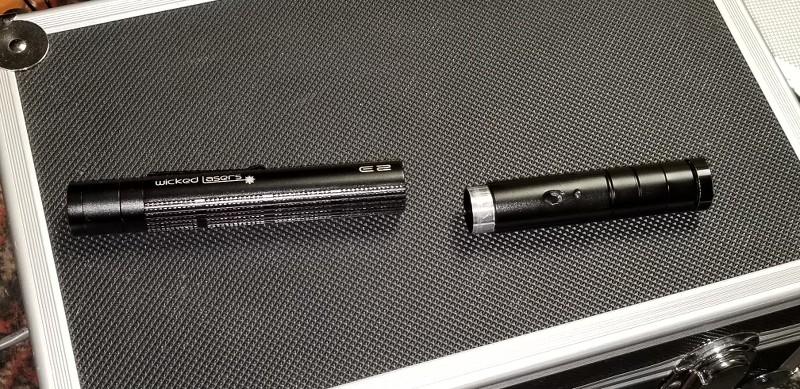
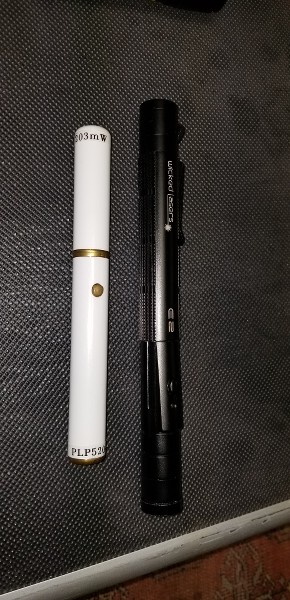
Size comparison to standard leadlight and CNI GLP:

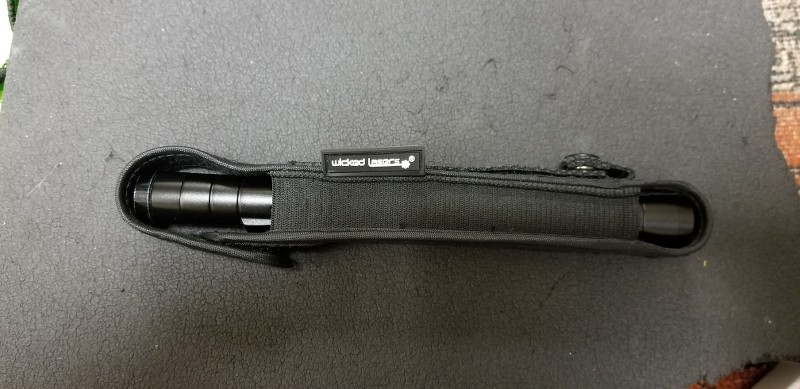
Also happen to have an official wicked lasers case for it:
Here's an idea, why don't you post some beam pics already!!!

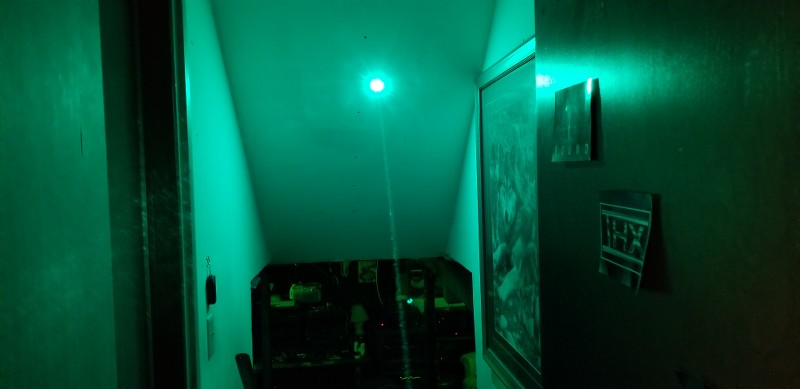
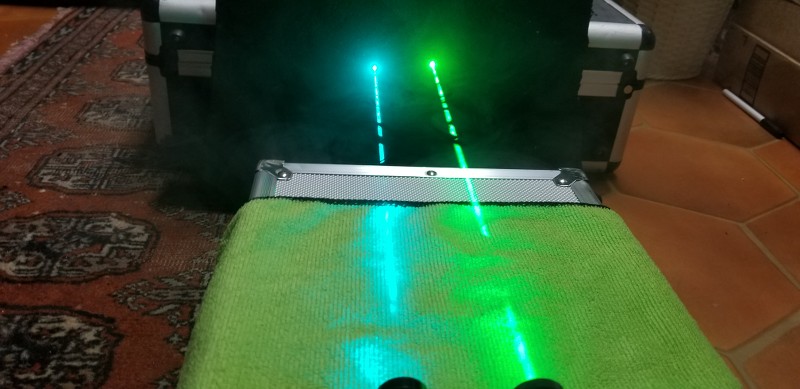
Comparison shots. I found out that the best way to show this was for the lights to be on as the beams are just too bright and bloom out too much.
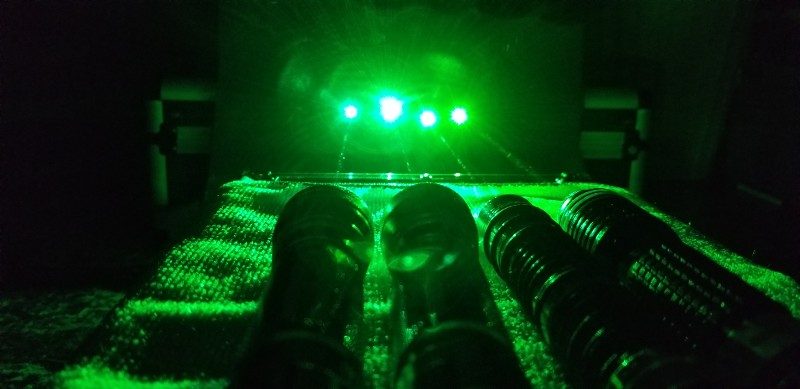
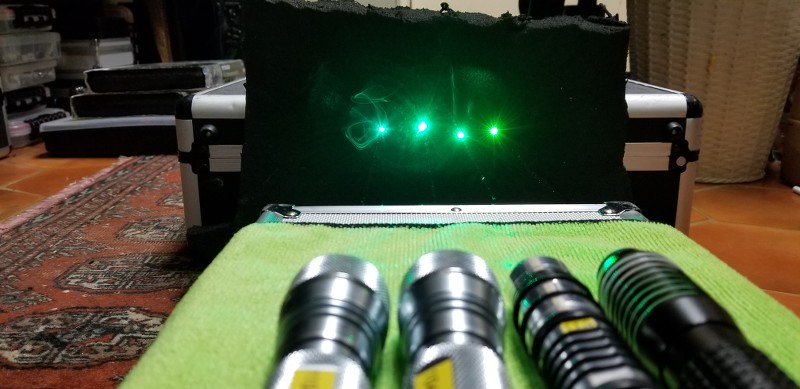
Here's from left to right <515, 515, 520, 532
Basically everything is about 100mW

Here's my <515 and 515:

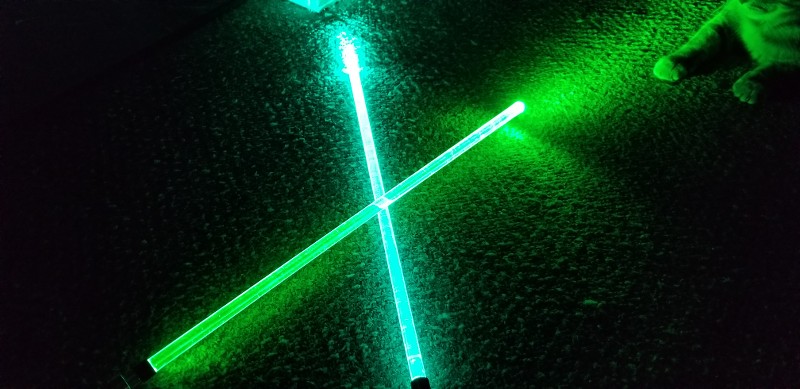
Now here's the 503 vs <515
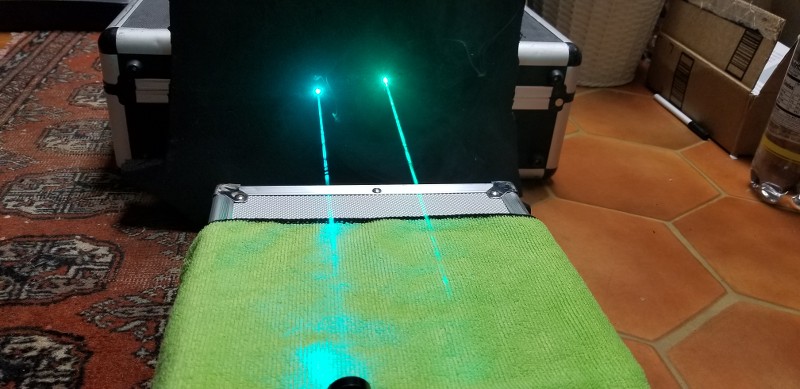
503 vs 532
520 vs 503:
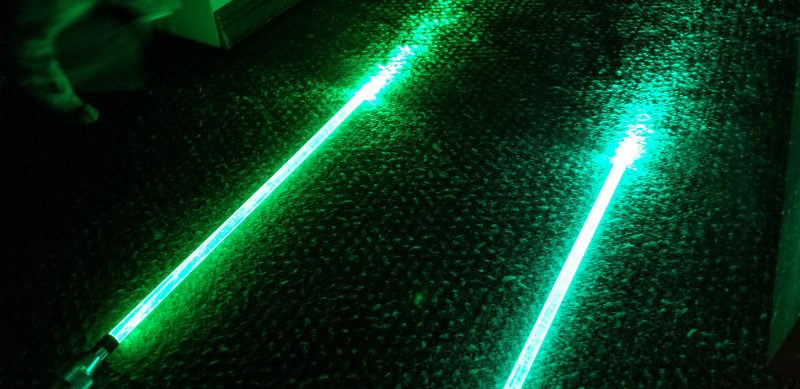
No lenses:
520
503
Also out of nowhere I was shocked at Paul's offering up a 503nm diode and I graciously took him up on it. I kept him informed the entire build (probably way over informed actually) so he would know I took his diode offer seriously. I hadn't built a laser in quite some time and to be honest I was overly paranoid about something going wrong.
Now I've built a LOT of lasers but this one needed to be special considering the time away and a wavelength that not many have. Don't know if there are more 503nm diodes available somewhere but it sure doesn't seem like it and I don't see many members sporting one in their signature.
Looking through my stuff here's the build I came up with which will include some actual how to instructions and not just the finished product:
Not going to tell you what host I am using so you can see how it comes together with me.
503nm diode obviously that Paul so graciously sent me asking nothing in return.
Bought a survival lasers Blitz-linear driver using and agreeing with Paul's suggestion. Look closely and you can see where it says "lo" as that is the range I need for this diode. I have already soldered across the very tiny contact points.
The diode Paul sent came in a plastic diode tray which in my opinion is a really great way to do it
Before going any further I would like to point out that this diode is case positive and if oriented like a clock the pins are:
12 oclock - negative
3 oclock - positive
6 oclock -
So, here's the diode wired/soldered with the third pin cut. The way I do this is to tin the pins and then add a tiny bit of flux on them and then tin the wire end just a tiny bit and push the wires over the pins so that the pins end up inside the wire silicone. Hit them with the soldering iron small tip that has just a bit of solder and you get a strong connection. I also orient where the wires are soldered so that the fatter part is toward the inside. This is done so that after you heat shrink them you can do what I wanted to do which is add a solid back half for better cooling as this is going to be a pen build. The copper back half will be able to easily slide over the insulated pins and screw screw down without the risk of twisting as the hole in the copper is small. This was a lesson I learned from a previous build.
Here's the driver with a piece of tapered copper for heatsinking even though it's not really needed:
If you have either of these popular sinks to work with you can easily remove the tape with a rag and nail polish remover to not scratch up the surface. Only takes about 20 seconds of rubbing and it's gone
Now here's the driver that I wired up to set the output which came set at 255mA:
Would like to point out that I use ceramic screwdrivers to set pots as you don't have to worry about blowing your driver while messing with it while powered. I purchased them individually cheap at fasttech.
Now I had expected to set it to around 275mA for around 100mW out but upon testing the diode it turns out the diode was actually very inefficient by over a third compared to a "normal" one. No idea why this is but because of this I ended up setting it to 405mA to get to the 100mW I was looking for with an acrylic lens. I say acrylic but what I actually used was a 3 element because it gave me the best "dot" as the diode is known for a bit of a bar shape to the side of the dot which isn't the most attractive look.
I attached the driver to the module with arctic alumina:
This is the used switch I had to use. It was from a leadlight/laser66 that must have had an issue. I couldn't take a chance and take it apart as it was previously glued in place so I used it just as a basic momentary switch.
What I mean is the host that I used did have a spot for a possible indicator light but there was no way to add an LED without being able to take the switch apart.
I wired the switch to one side of the switch obviously and because of the way I decided to do the build I grabbed the negative by running a wire from the driver through a tiny hole in thick tape and to the outside of the module. The module at this point had thick tape around it to isolate it from the host. As the module is pressed into the host the bare copper wires which I wrap around the module make contact with the bare host wall. Thus you get positive on switched line to driver and negative from host to driver with a case negative build. Works really well if you get the module to host tightness right.
This completed module was tested before pressing into the host.
You can see a bit of epoxy just to help hold the negative wire as it's pressed in.
The whole assembly was then pressed into the top half of the host that I had pulled apart as the build would have been too hard to do if I hadn't gotten the press fit apart not to mention getting the module length correct to fit so that the switch could be activated through a hole in the host.
Also I had hand drilled out the front section using a step bit and then 1/2" drill bit to the module length so that it was just wide enough to isolate the module from the host with a special 1 layer thick tape and get the right tightness for that stranded negative wire.
The host needed 2 oval switch presser pieces because of the depth and somehow I had 2 that I could stack:
There were a couple other things I did for isolation sake. There's a front screw on cap with a hole in it that I slightly made bigger and in the cap there's a piece of insulating tape. It was done so metal can't touch metal if the anodising wore down.
And here's the 2 pieces I aligned and pressed back together which just so happens to be a wicked lasers e2 that I was given awhile back for a special pen build I did for someone. It was a non working unit:
Here's what the back end of the host is that unscrew. It is actually a safety switch as there is a pin that you can take out to interrupt the case connection. The pin just presses down in from outside the host as if you were plugging in a headphone jack.
I also found a rubber cap that will fit over the front lens
Completed build:
2 14500 AW IMR CASE - 135mW (with G lens) 503nm / about 100mW with the 3 element I'm using for a nice "dot"
Size comparison to standard leadlight and CNI GLP:
Also happen to have an official wicked lasers case for it:
Here's an idea, why don't you post some beam pics already!!!
Comparison shots. I found out that the best way to show this was for the lights to be on as the beams are just too bright and bloom out too much.
Here's from left to right <515, 515, 520, 532
Basically everything is about 100mW
Here's my <515 and 515:
Now here's the 503 vs <515
503 vs 532
520 vs 503:
No lenses:
520
503
Last edited:


")