TaterMay
0
- Joined
- May 16, 2015
- Messages
- 350
- Points
- 0
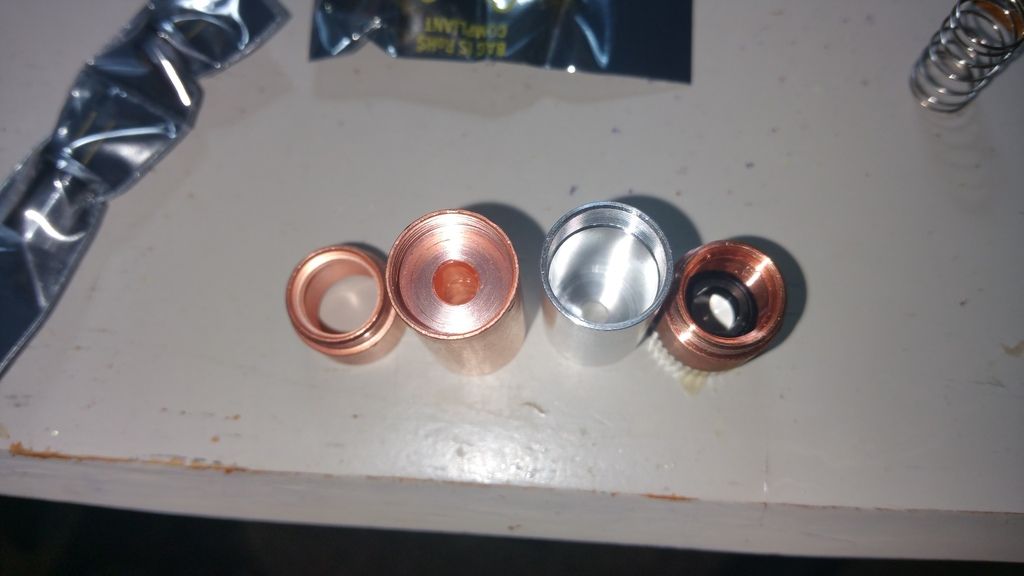
Hello again my friends. Just wanted to share another build and review Rick Trent's nice copper modules/heatsinks.
I really like the modules because the back half butts up to the back of the diode case. This makes for great heat dissipation, and it also allows me to actually leave the module sticking out just a bit in the Zombie Killer hosts so I can reach the focus adapter without nicking my fingers on the pointy bezel. When measuring diode case temp with both IR thermometer and thermocouple, extending the module out to where the front of the heatsink is almost even with the diode case only increased the diode temp a couple degrees F after 10 to 15 consecutive power cycles.
So, first up is soldering the diode. I actually went ahead and soldered two others I was building at the same time. I use a heatsink clip to protect the diode, use heat shrink on the connections, and use Arctic Silver to ensure good heat transfer between diode and module.
[URL=http://s356.photobucket.com/user/TaterMay22/media/Mobile%20Uploads/Screenshot_2015-08-17-23-31-19_zps6dvmattj.png.html]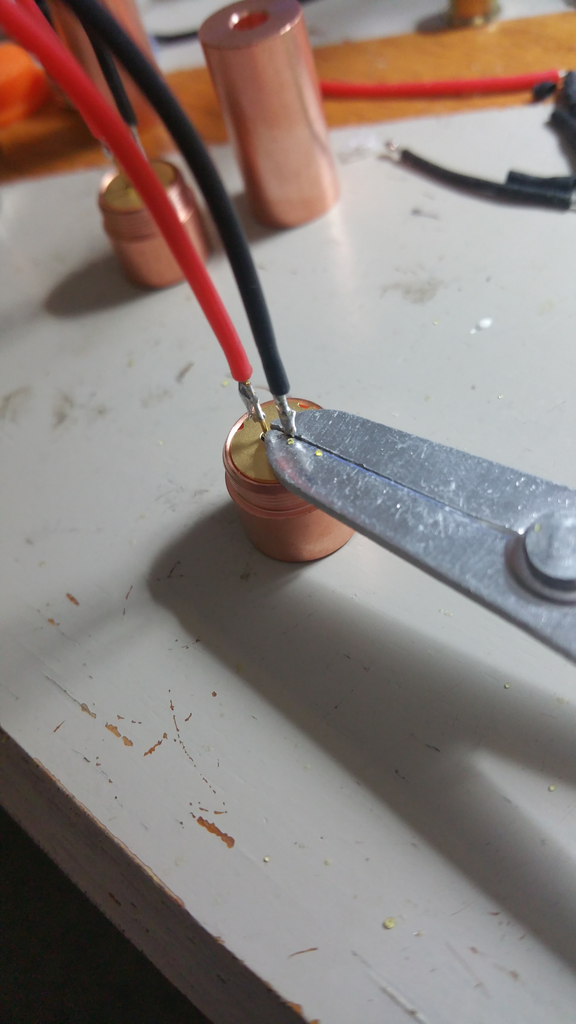 [/URL]
[URL=http://s356.photobucket.com/user/TaterMay22/media/Mobile%20Uploads/Screenshot_2015-08-17-23-30-55_zpsbklo0utg.png.html]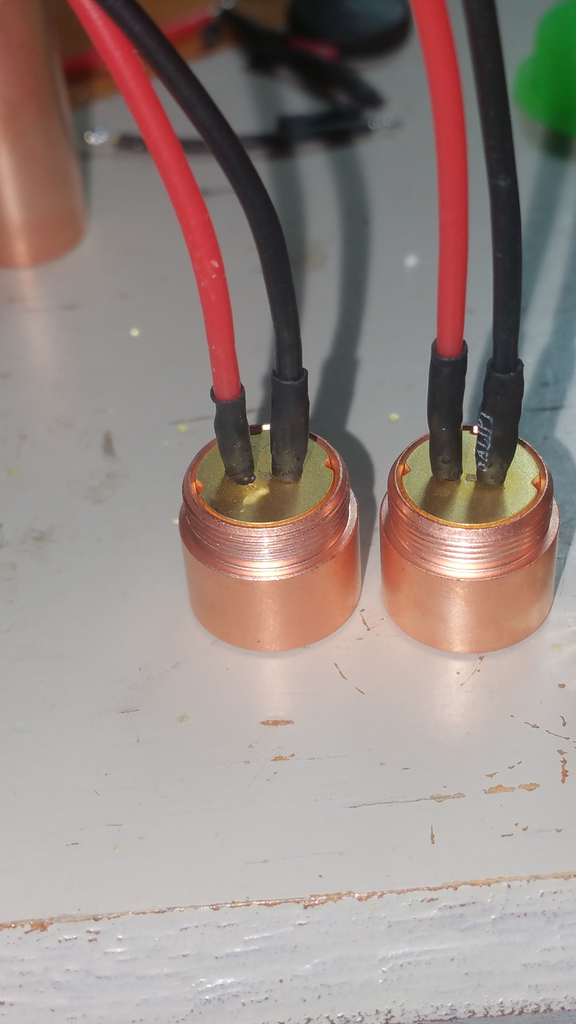 [/URL]
Next up is the driver. I used a BlitzBuck driver from Budget Beams or Survival Laser USA. I soldered my leads to it, covered them with heat shrink, connected it to my 3A selectable test load, and set it to 2.45A. I then cut an appropriately sized section from an aluminum heatsink from Budget Beams, and used Arctic Alumina thermal adhesive to secure it to the IC. I have used these without a heatsink at this current before without the thermal protection kicking in, but I like to give it that little extra cooling.
[URL=http://s356.photobucket.com/user/TaterMay22/media/Mobile%20Uploads/Screenshot_2015-08-17-23-27-46_zpsnkldetvj.png.html]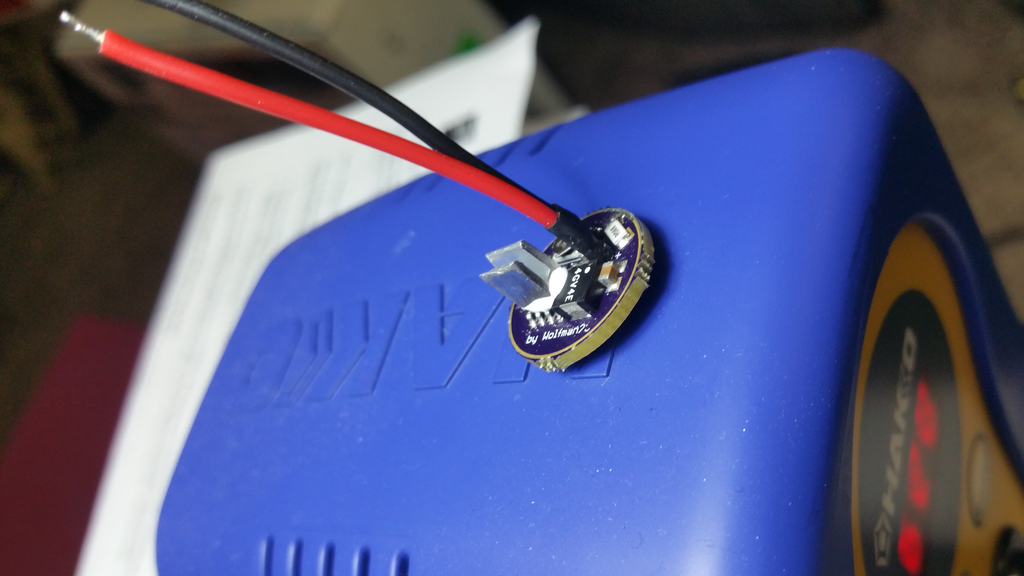 [/URL]
After that, I placed the module in the heatsink to see how long my leads should be, cut them, soldered them to the driver leads, and used heat shrink to prevent shorts.
[URL=http://s356.photobucket.com/user/TaterMay22/media/Mobile%20Uploads/20150817_201115_zpsyqwnid0c.jpg.html]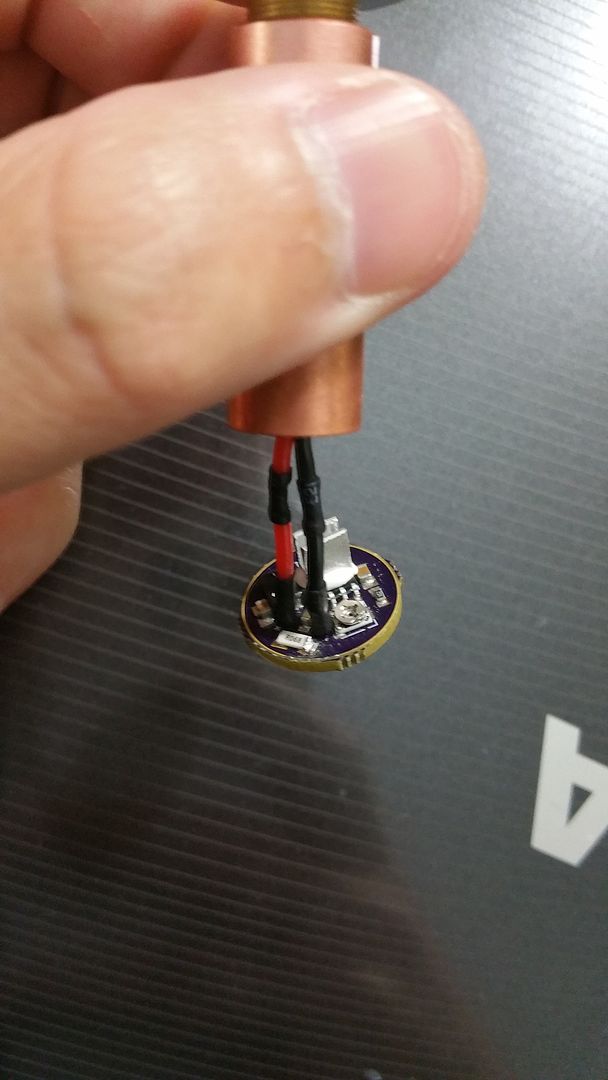 [/URL]
Finally, I cover the edges of the driver in thermal adhesive to prevent shorts, let it dry, then secure it to the heatsink with thermal adhesive. After that, solder on my (huge) battery spring, screw in the driver contact/retaining ring.
[URL=http://s356.photobucket.com/user/TaterMay22/media/Mobile%20Uploads/Screenshot_2015-08-17-23-29-25_zpsxd1fjldv.png.html]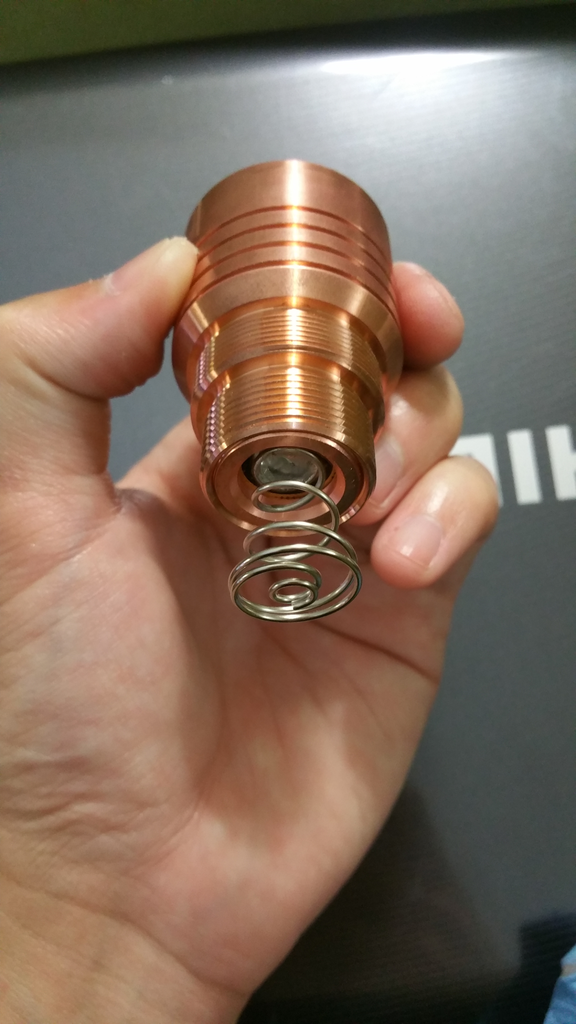 [/URL]
And finally, the finished product, power output, and beam shots! I love these heatsinks. They handle 3+ watts with ease. 60 second duty cycles guaranteed. I need to do more testing to see how much longer it can be run safely. Let me know what you think!
[URL=http://s356.photobucket.com/user/TaterMay22/media/Mobile%20Uploads/20150817_233414_zpsobxfvblt.jpg.html]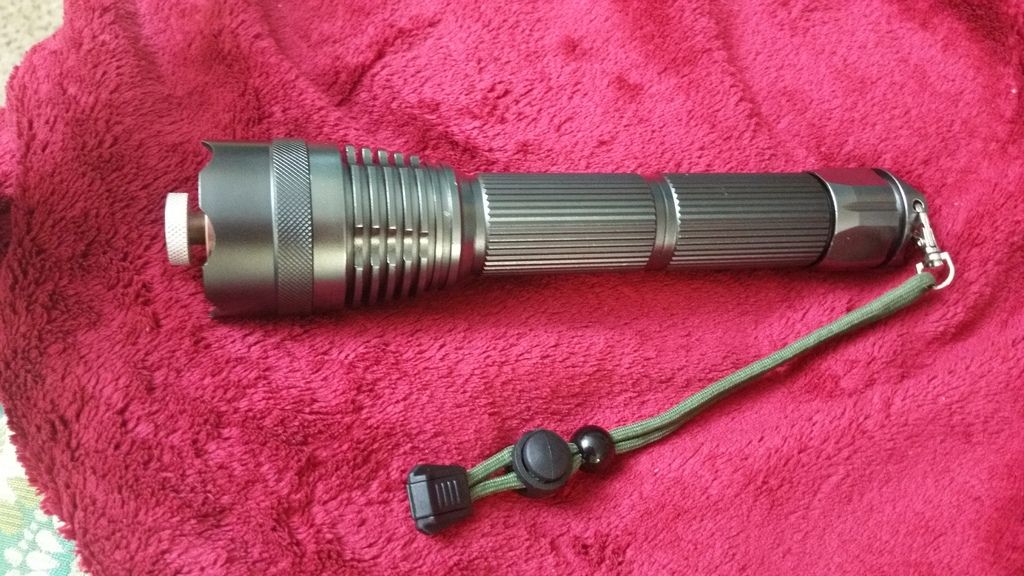 [/URL]
[URL=http://s356.photobucket.com/user/TaterMay22/media/Mobile%20Uploads/20150817_233503_zpsyh5afqas.jpg.html]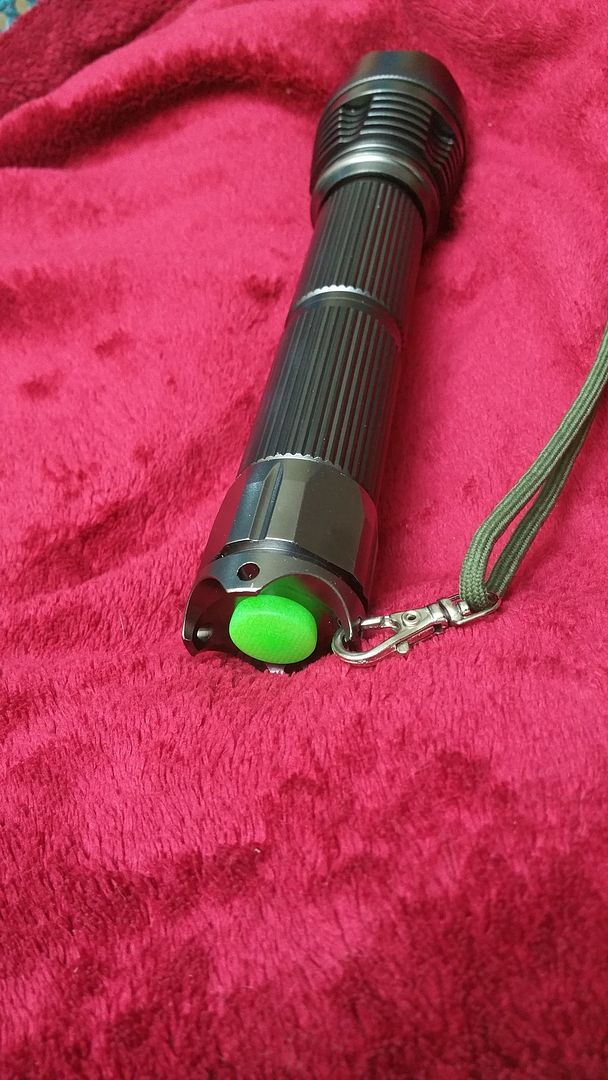 [/URL]
[URL=http://s356.photobucket.com/user/TaterMay22/media/Mobile%20Uploads/20150817_233344_zpsgrjozb2v.jpg.html]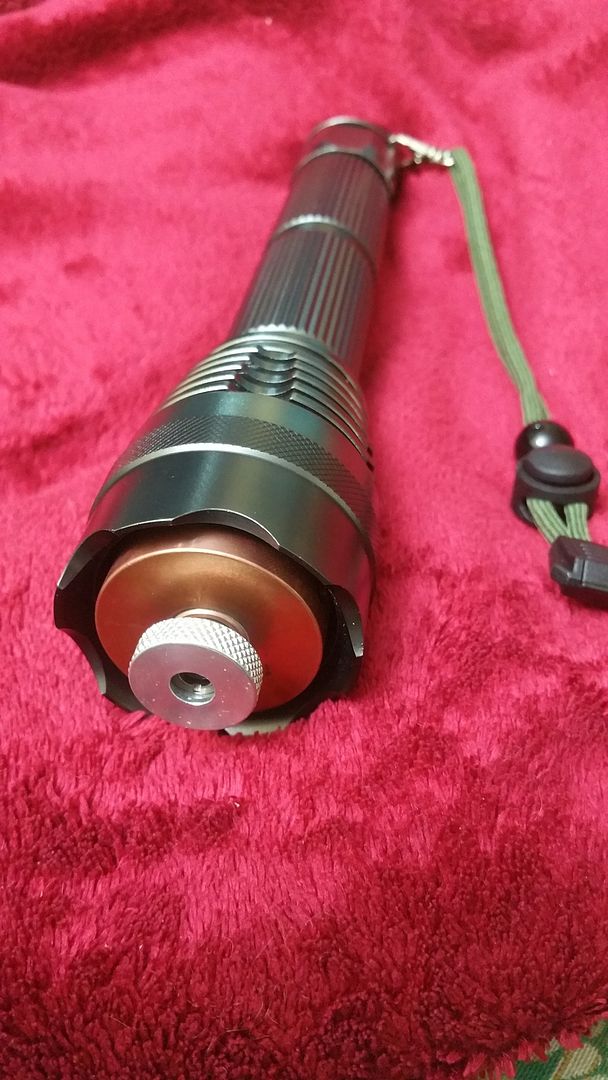 [/URL]
[URL=http://s356.photobucket.com/user/TaterMay22/media/Mobile%20Uploads/Screenshot_2015-08-17-23-29-55_zpsekrljdav.png.html]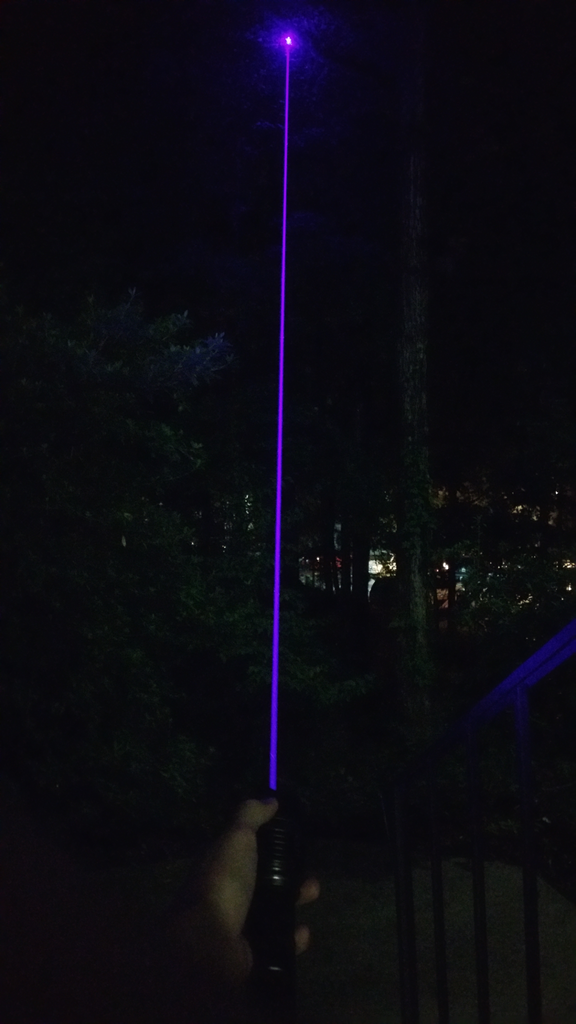 [/URL]
[URL=http://s356.photobucket.com/user/TaterMay22/media/Mobile%20Uploads/Screenshot_2015-08-17-23-29-43_zpst68mnpto.png.html]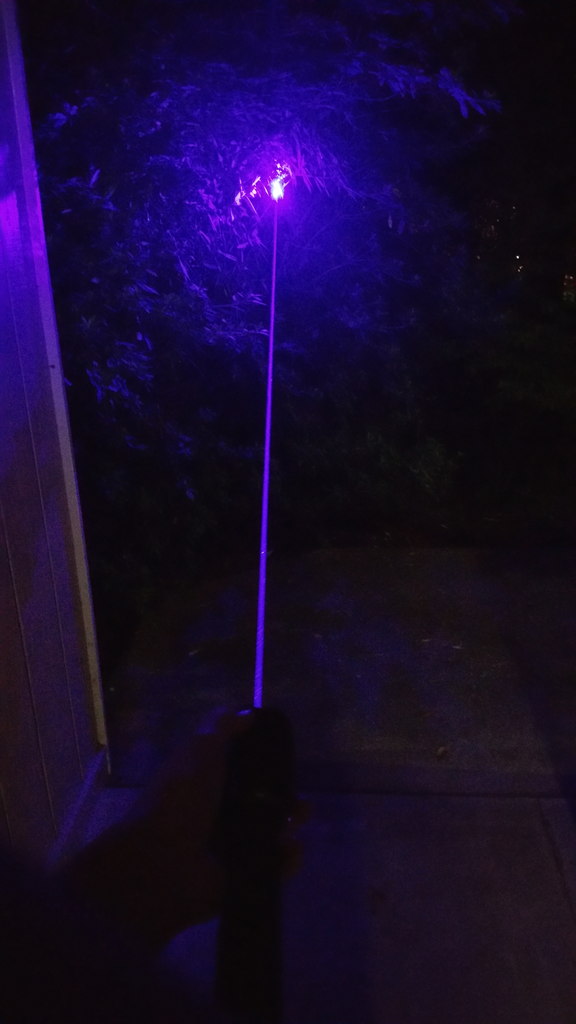 [/URL]
[URL=http://s356.photobucket.com/user/TaterMay22/media/Mobile%20Uploads/Prudhomme%20Custom%20Build%20G2%20Lens_zpstrwwngoc.png.html]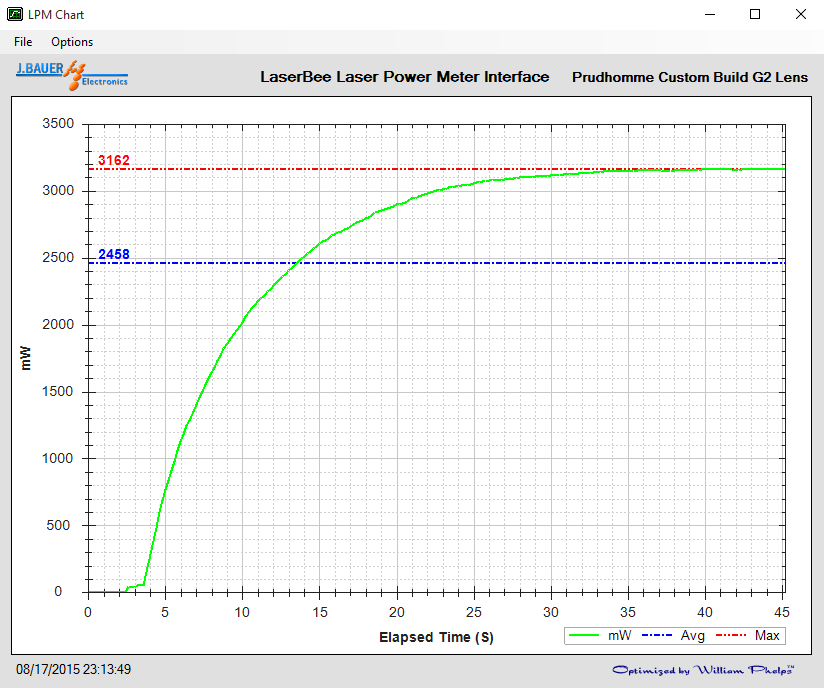 [/URL]
I really like the modules because the back half butts up to the back of the diode case. This makes for great heat dissipation, and it also allows me to actually leave the module sticking out just a bit in the Zombie Killer hosts so I can reach the focus adapter without nicking my fingers on the pointy bezel. When measuring diode case temp with both IR thermometer and thermocouple, extending the module out to where the front of the heatsink is almost even with the diode case only increased the diode temp a couple degrees F after 10 to 15 consecutive power cycles.
So, first up is soldering the diode. I actually went ahead and soldered two others I was building at the same time. I use a heatsink clip to protect the diode, use heat shrink on the connections, and use Arctic Silver to ensure good heat transfer between diode and module.
[URL=http://s356.photobucket.com/user/TaterMay22/media/Mobile%20Uploads/Screenshot_2015-08-17-23-31-19_zps6dvmattj.png.html]
 [/URL]
[URL=http://s356.photobucket.com/user/TaterMay22/media/Mobile%20Uploads/Screenshot_2015-08-17-23-30-55_zpsbklo0utg.png.html]
 [/URL]
Next up is the driver. I used a BlitzBuck driver from Budget Beams or Survival Laser USA. I soldered my leads to it, covered them with heat shrink, connected it to my 3A selectable test load, and set it to 2.45A. I then cut an appropriately sized section from an aluminum heatsink from Budget Beams, and used Arctic Alumina thermal adhesive to secure it to the IC. I have used these without a heatsink at this current before without the thermal protection kicking in, but I like to give it that little extra cooling.
[URL=http://s356.photobucket.com/user/TaterMay22/media/Mobile%20Uploads/Screenshot_2015-08-17-23-27-46_zpsnkldetvj.png.html]
 [/URL]
After that, I placed the module in the heatsink to see how long my leads should be, cut them, soldered them to the driver leads, and used heat shrink to prevent shorts.
[URL=http://s356.photobucket.com/user/TaterMay22/media/Mobile%20Uploads/20150817_201115_zpsyqwnid0c.jpg.html]
 [/URL]
Finally, I cover the edges of the driver in thermal adhesive to prevent shorts, let it dry, then secure it to the heatsink with thermal adhesive. After that, solder on my (huge) battery spring, screw in the driver contact/retaining ring.
[URL=http://s356.photobucket.com/user/TaterMay22/media/Mobile%20Uploads/Screenshot_2015-08-17-23-29-25_zpsxd1fjldv.png.html]
 [/URL]
And finally, the finished product, power output, and beam shots! I love these heatsinks. They handle 3+ watts with ease. 60 second duty cycles guaranteed. I need to do more testing to see how much longer it can be run safely. Let me know what you think!
[URL=http://s356.photobucket.com/user/TaterMay22/media/Mobile%20Uploads/20150817_233414_zpsobxfvblt.jpg.html]
 [/URL]
[URL=http://s356.photobucket.com/user/TaterMay22/media/Mobile%20Uploads/20150817_233503_zpsyh5afqas.jpg.html]
 [/URL]
[URL=http://s356.photobucket.com/user/TaterMay22/media/Mobile%20Uploads/20150817_233344_zpsgrjozb2v.jpg.html]
 [/URL]
[URL=http://s356.photobucket.com/user/TaterMay22/media/Mobile%20Uploads/Screenshot_2015-08-17-23-29-55_zpsekrljdav.png.html]
 [/URL]
[URL=http://s356.photobucket.com/user/TaterMay22/media/Mobile%20Uploads/Screenshot_2015-08-17-23-29-43_zpst68mnpto.png.html]
 [/URL]
[URL=http://s356.photobucket.com/user/TaterMay22/media/Mobile%20Uploads/Prudhomme%20Custom%20Build%20G2%20Lens_zpstrwwngoc.png.html]
 [/URL]
Last edited:


