DTR
0
- Joined
- Jun 24, 2010
- Messages
- 5,680
- Points
- 113
1.6W RL-168 Compact 14500 Host
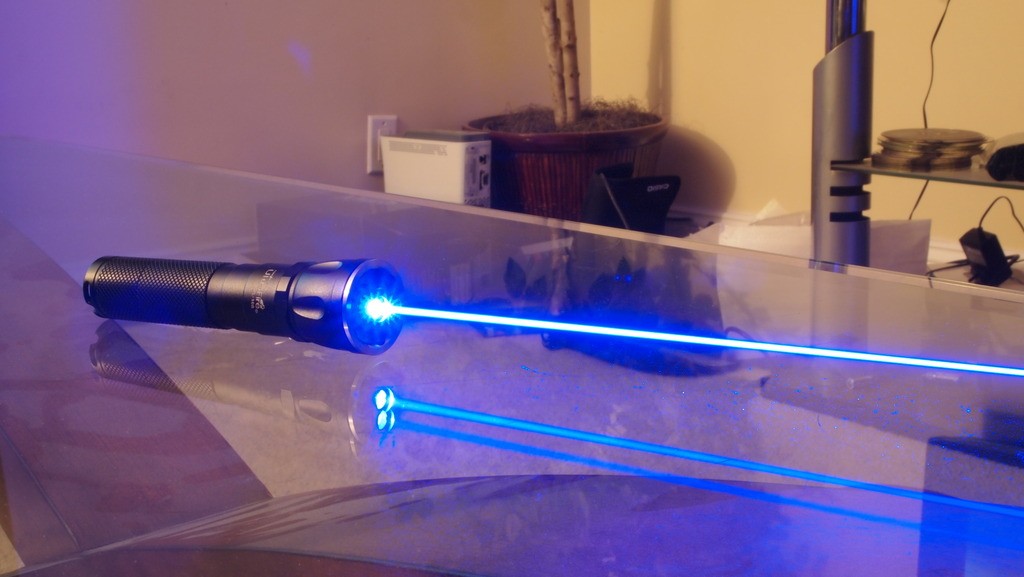
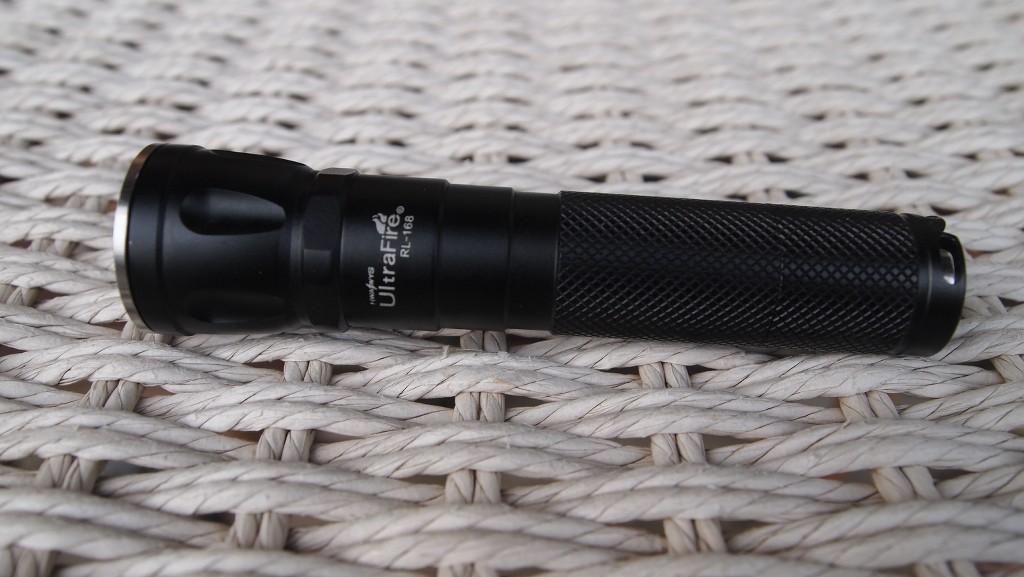
Here is a sweet little host I have been waiting for. It is the RL-168. I saw it on Kaidomain and liked the look of it. All of the RL series lights seem to make some great looking hosts. This one is a AA host and it is very compact. It has a sleek black body, a pocket clip, stainless steel retainer ring and a stainless steel clicky button.
Also I will be sending this off to Flaminpyro to have him make it a focus adapter just like the C88 but smaller. I will update with new pics when I get it.
Host
Here is a shot of the body off the internet. These are the pictures I saw when I was first ordering this host.

Notice the stainless steel clicky.

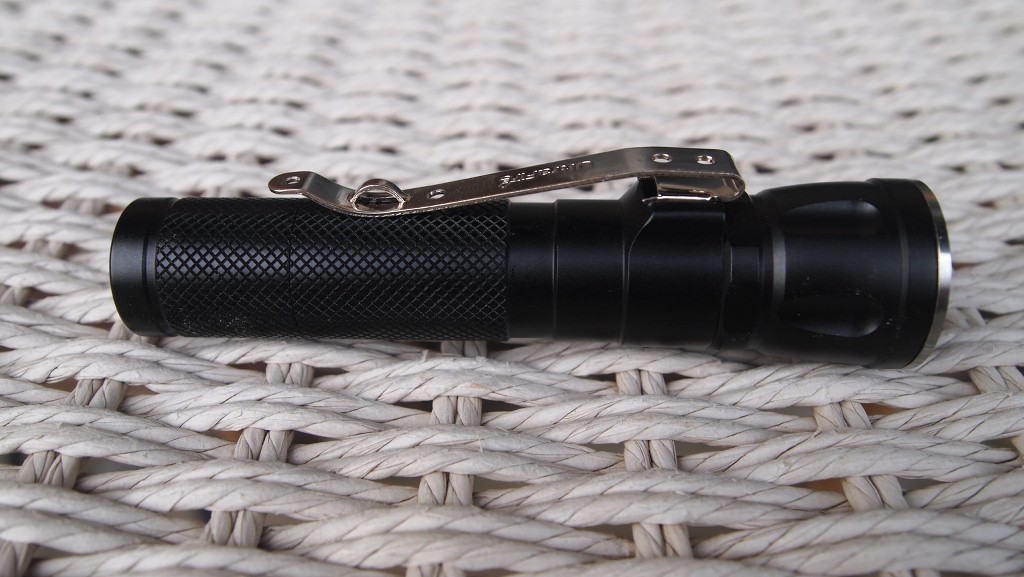
Here is the pocket clip. It is removable if you don't need it.
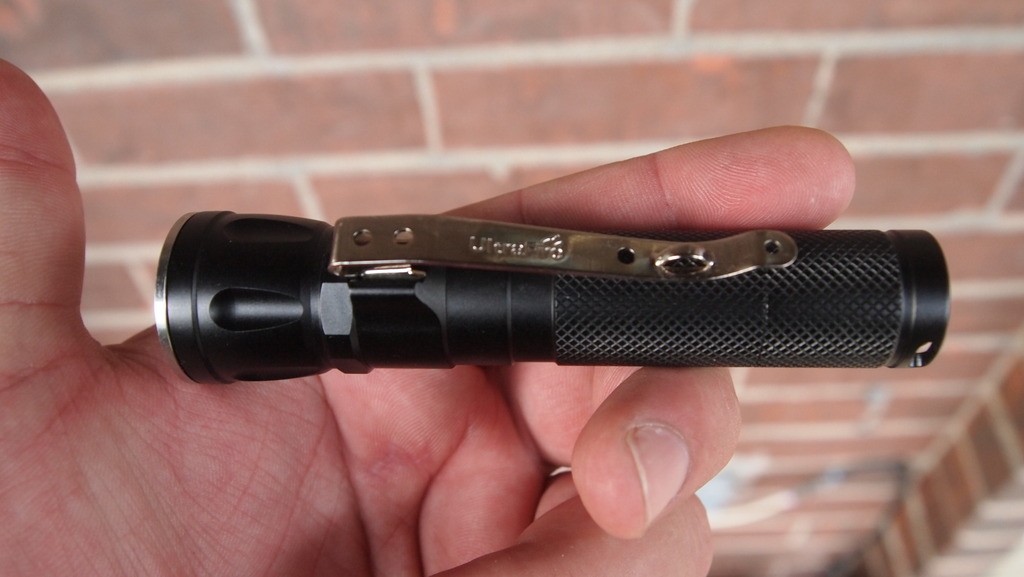
It is very comfortable to hold in the hand.
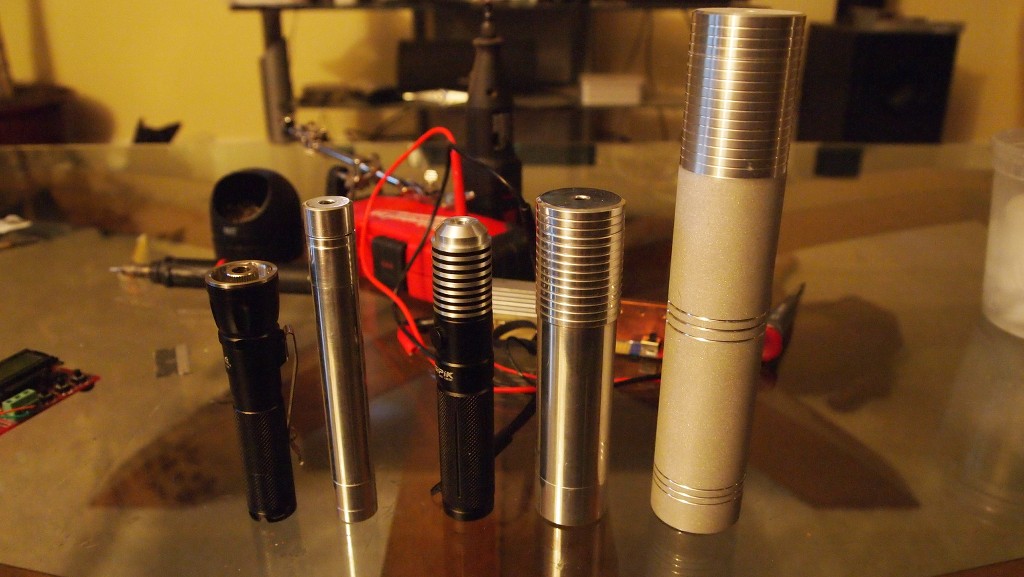
Here is a comparison shot with some other hosts that I have.
Assembly
I sent the host to Flaminpyro and he made me a heatsink that fits perfectly snug. Thanks Jeff.:beer:
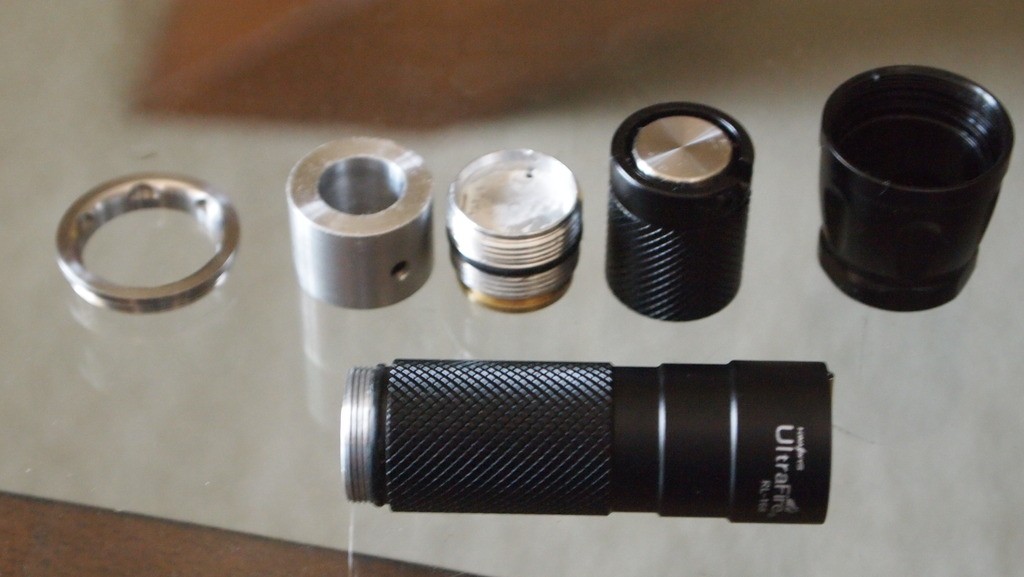
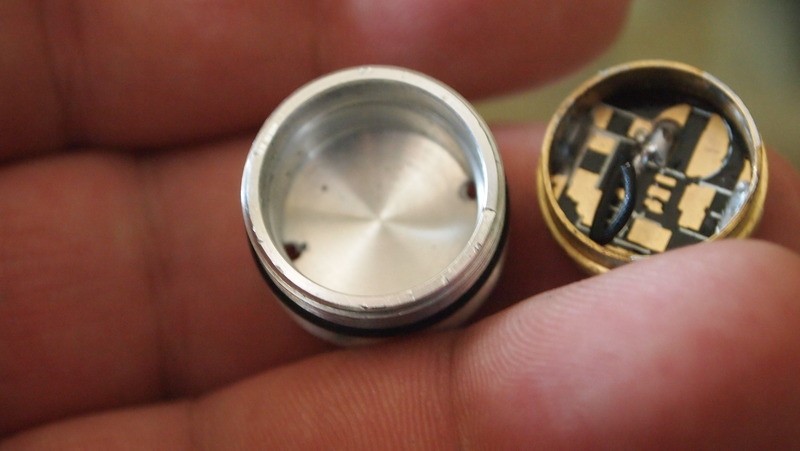
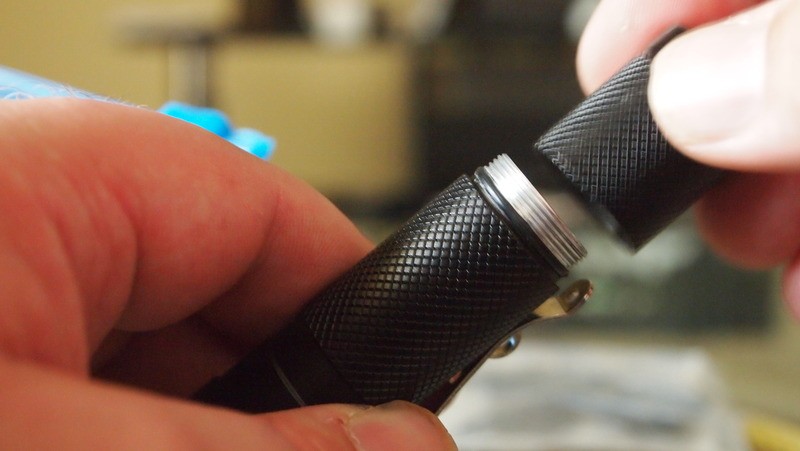
So here is how this host breaks down. Host body, heatsink, tailcap, head, pill, retaining ring and heatsink.
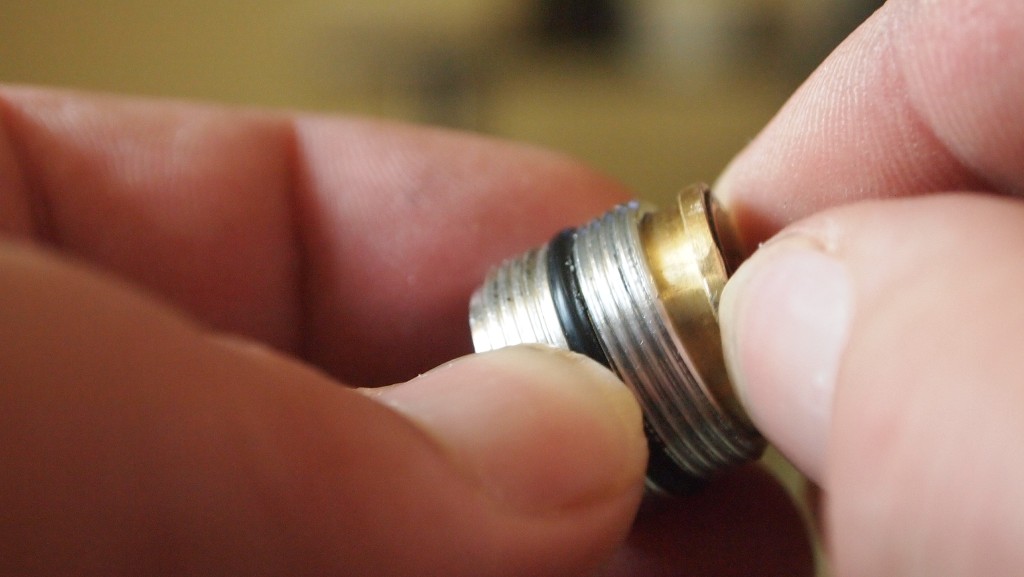
First pull the pill apart so you have the driver board and the threaded pill.
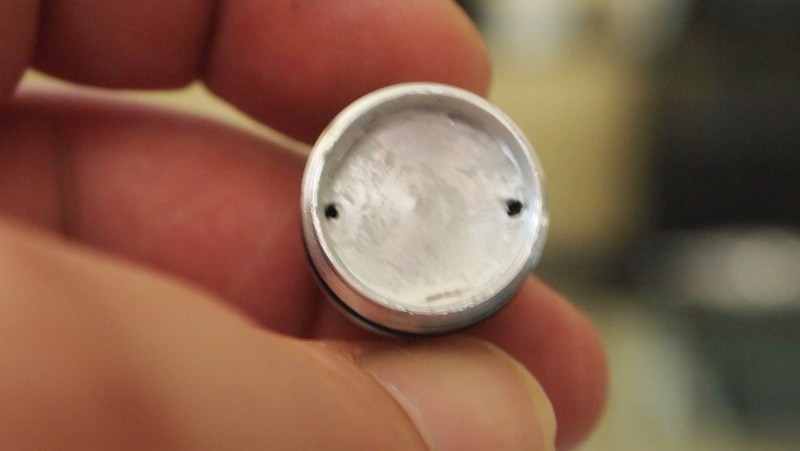
On the top of the pill there are two holes that you can run the wires through.
On the inside of the pill is where I am going to sink a flexdrive set to 1.5A.
Next I got my flexdive that I had set up and ran the output wires through the holes.
Next I got my thermal adhesive out an mixed some up.
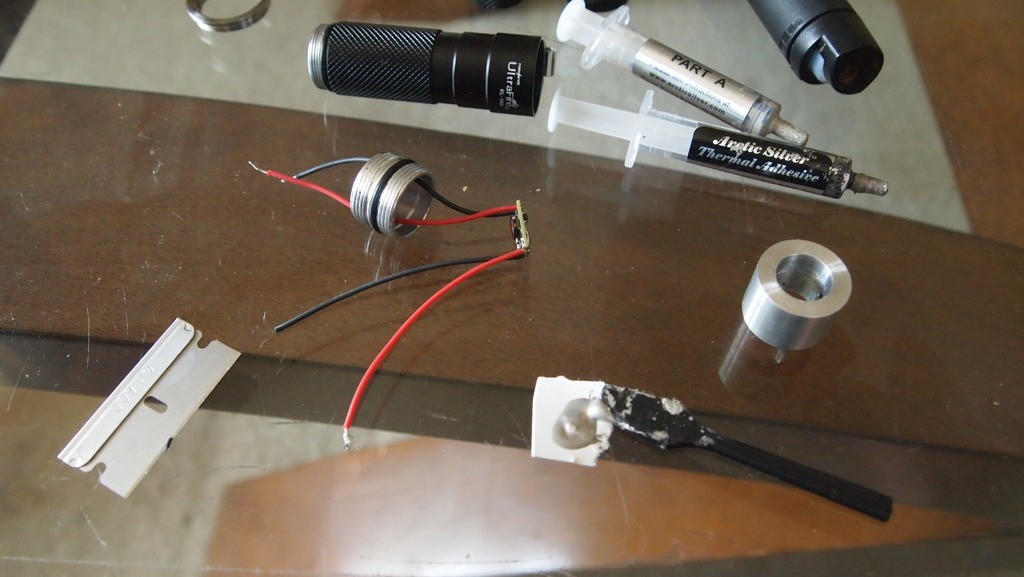
I spread a little on the surface inside the host.
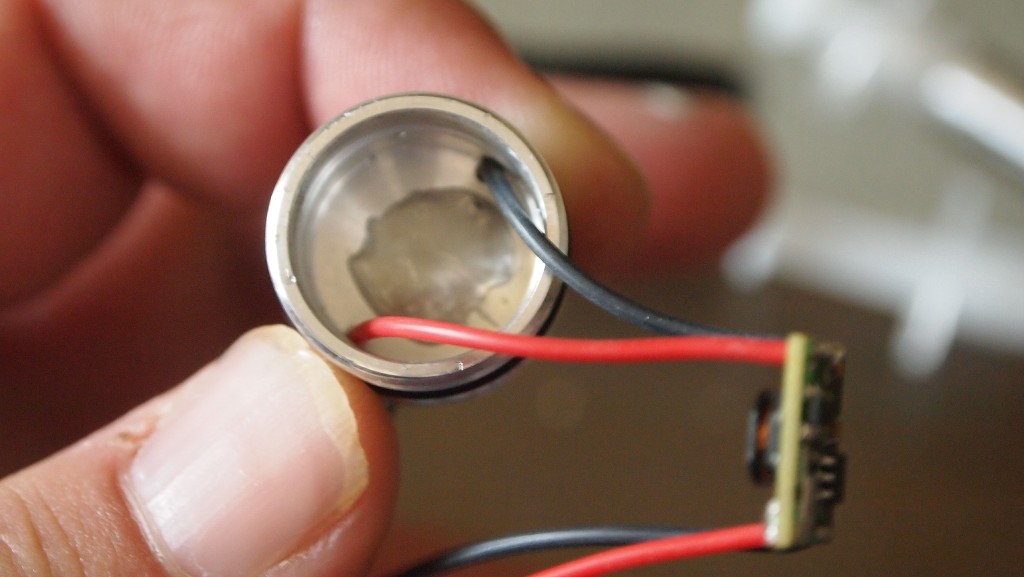
I set the flexdrive in the pill and kept pressure on it for 10 minutes as it dried.

While the adhesive sets I moved on to the driver board. I started by drilling a hole in the center for the positive battery contact.
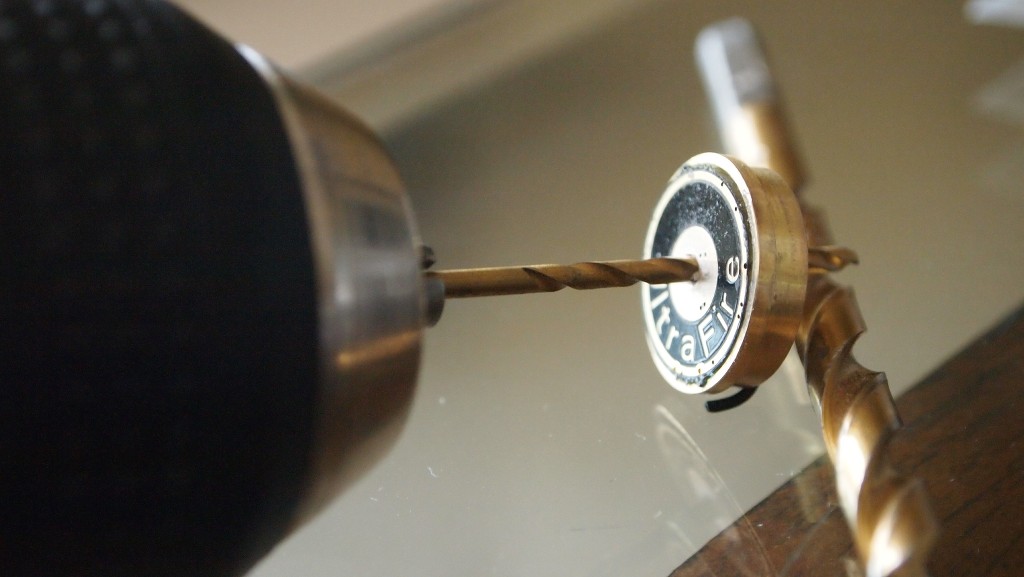
I then soldered the negative wire to the two grounded solder blobs already on the sidewalls.
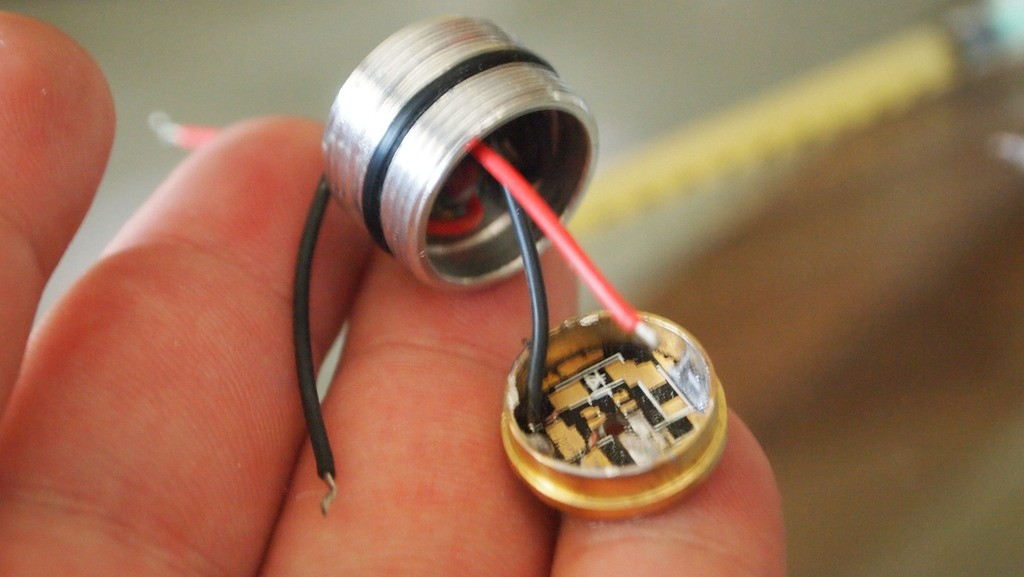
Then I fed the positive wire through the hole for direct contact with the battery.
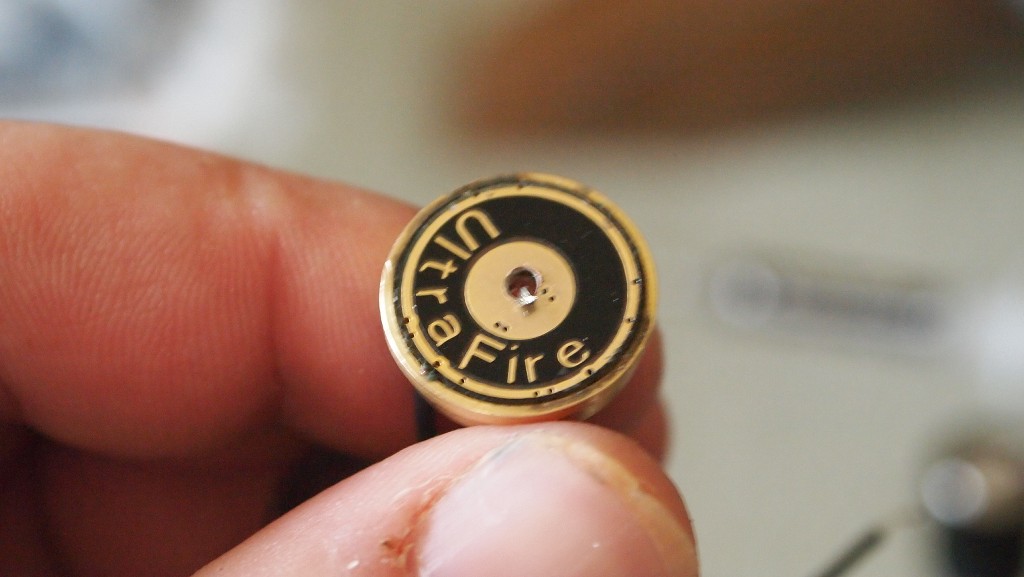
Then I dropped a blob of solder over it and the driver board is done.
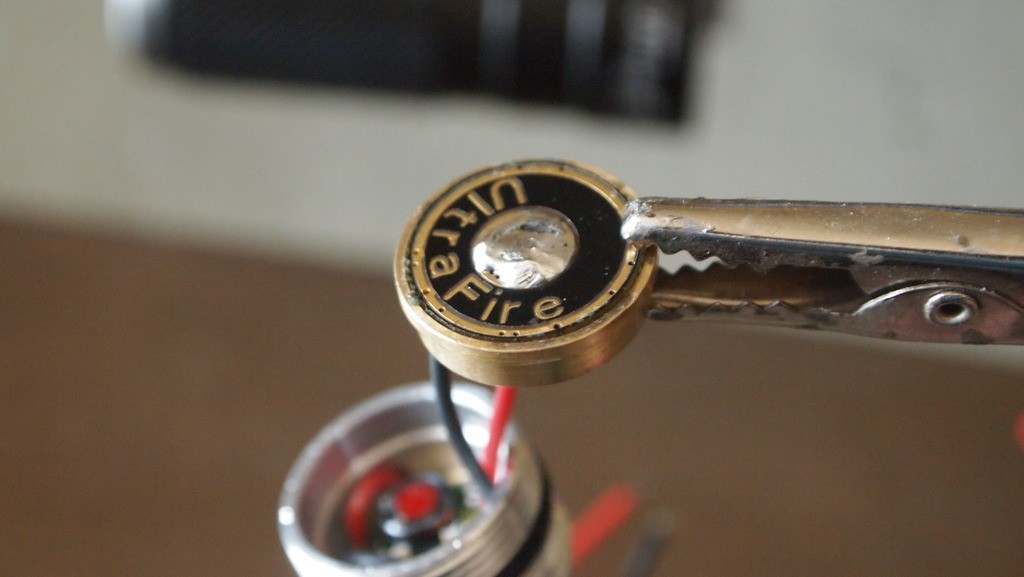
Now all the battery connections are done.
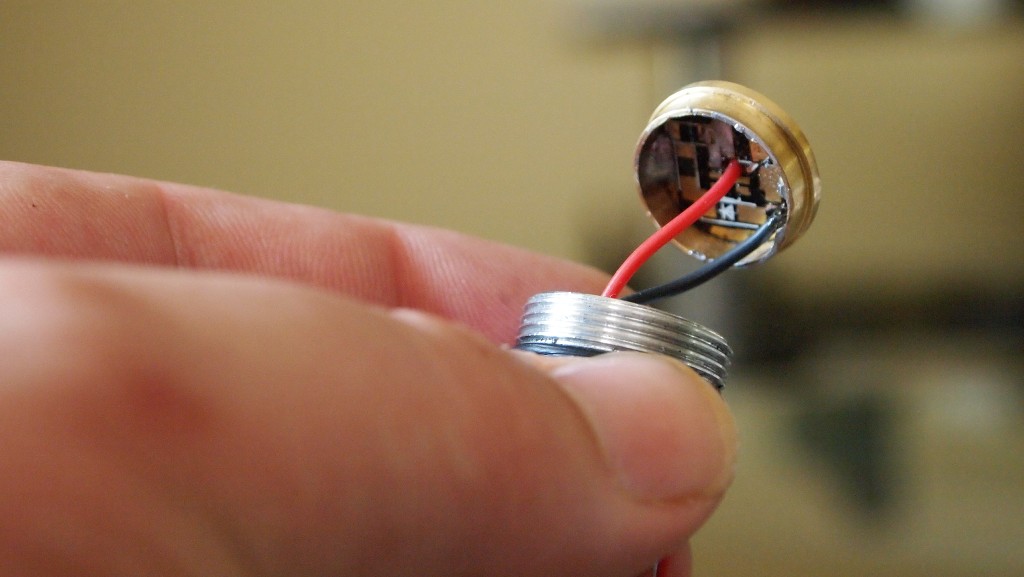
I pressed the driver board back in the pill and it is time to move on to wiring the diode.
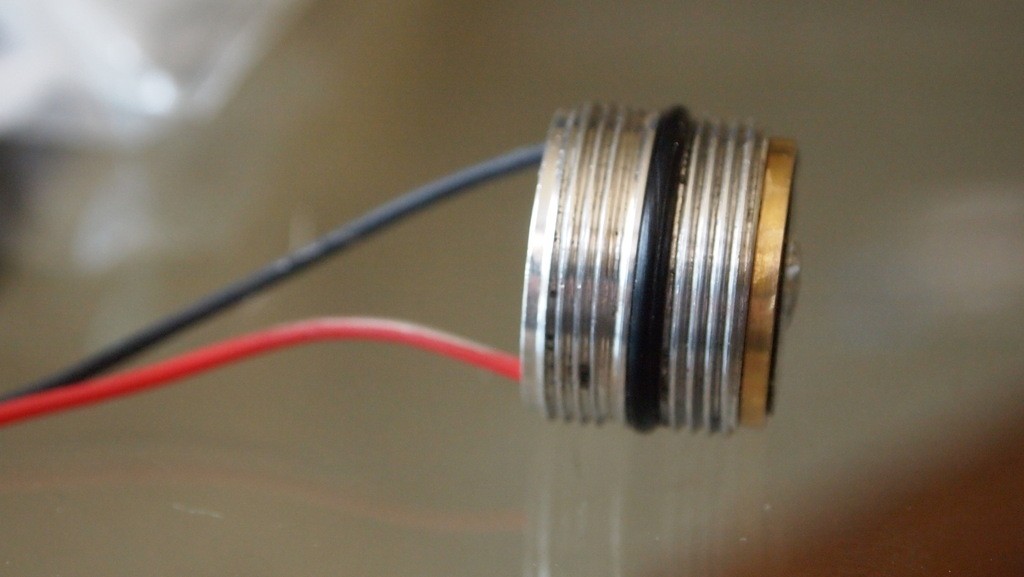
Now I have this nice little pill with two leads sticking out. I trimmed them pretinned the wires and put some heatshrink on them.

Now I am ready to solder the leads to the diode. Since got a good amount of solder on the leads I dont need any on my iron and you just touch the iron to the wire till you see it melt and move it into contact with the pin. Making a great solder joint.
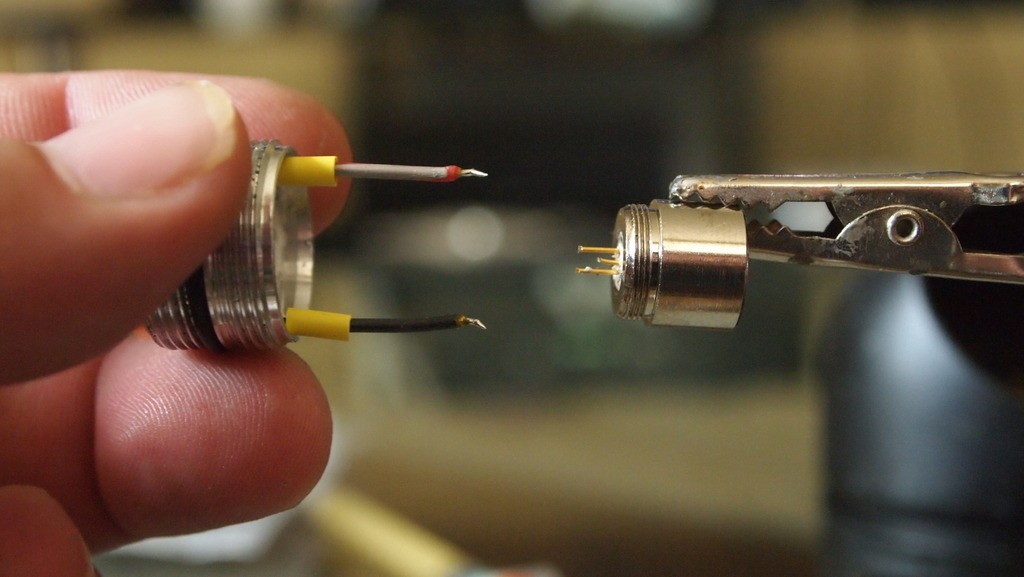
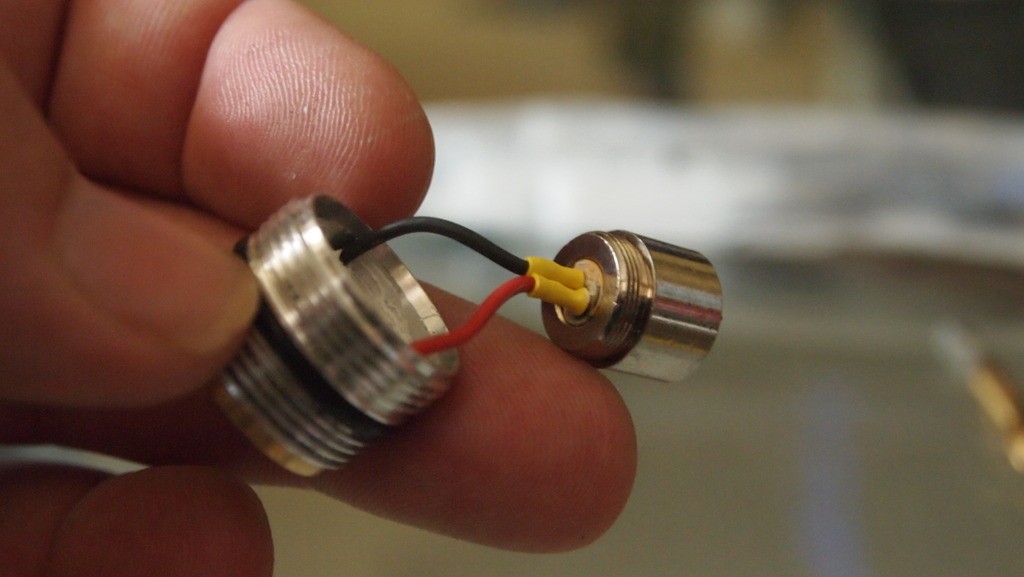
I moved the heatshrink down to cover the pins and heated it up. And I am all but done.
Screw the pill into the host.
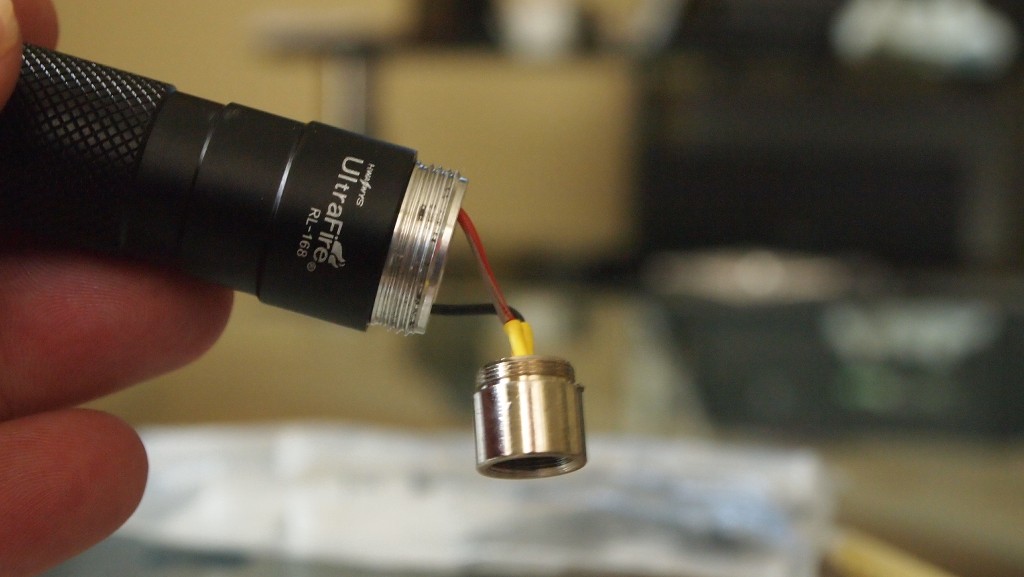
Screw the head on the the host.
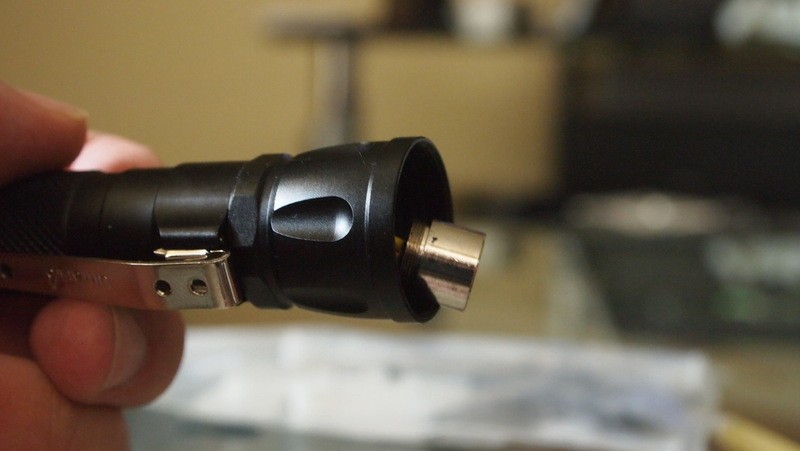
Put the module in the heatsink and tighten the setscrew down. Then gently push it into the head until it is all the way in.
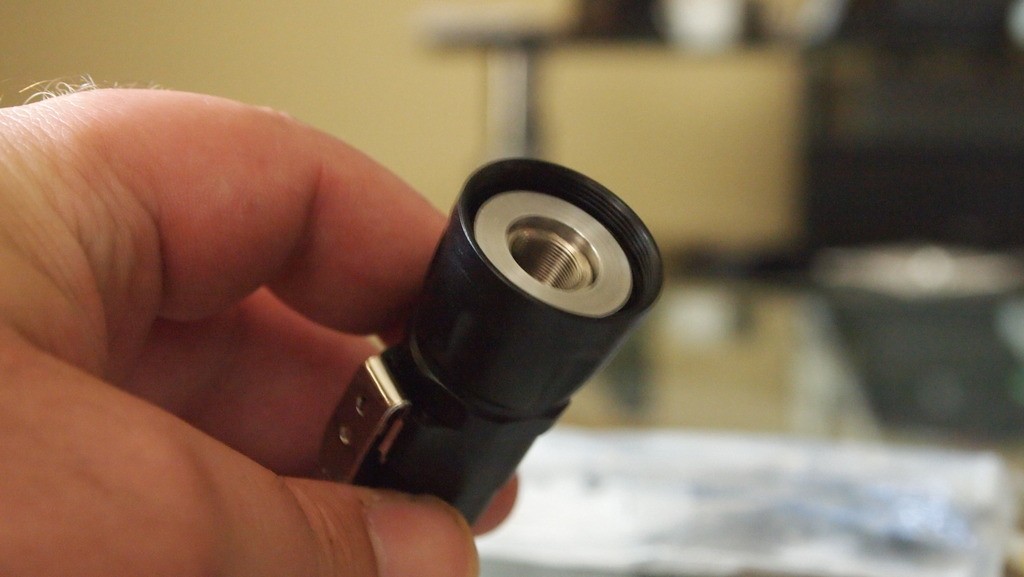
Screw the retaining ring down so the heatsink is nice and tight.
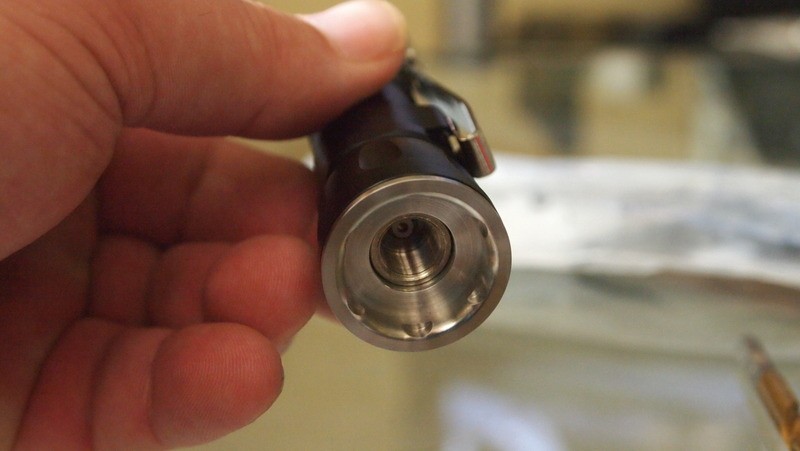
Pop in a battery. I suggest for a build like this that will need about 2.3A to go with an unprotected AW IMR or something similar.:beer:
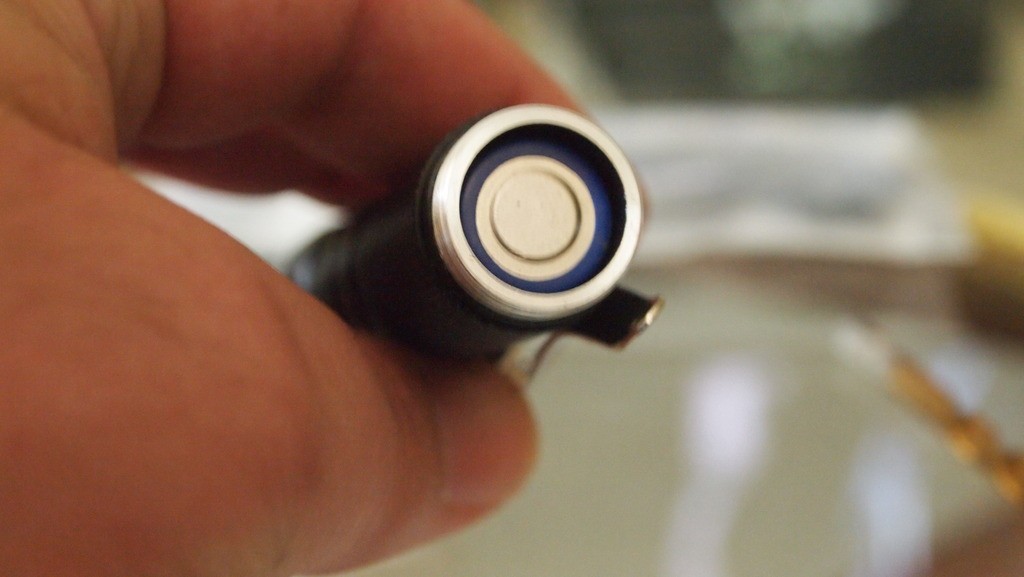
Screw on your tailcap, pop in a lens and you are ready to go.:beer:
Beam Shots
:eg: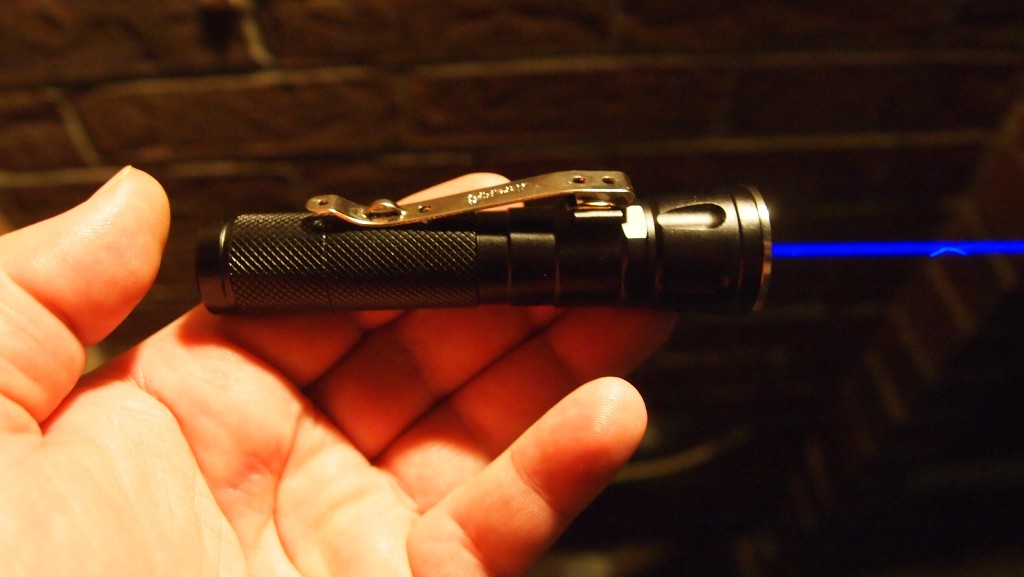
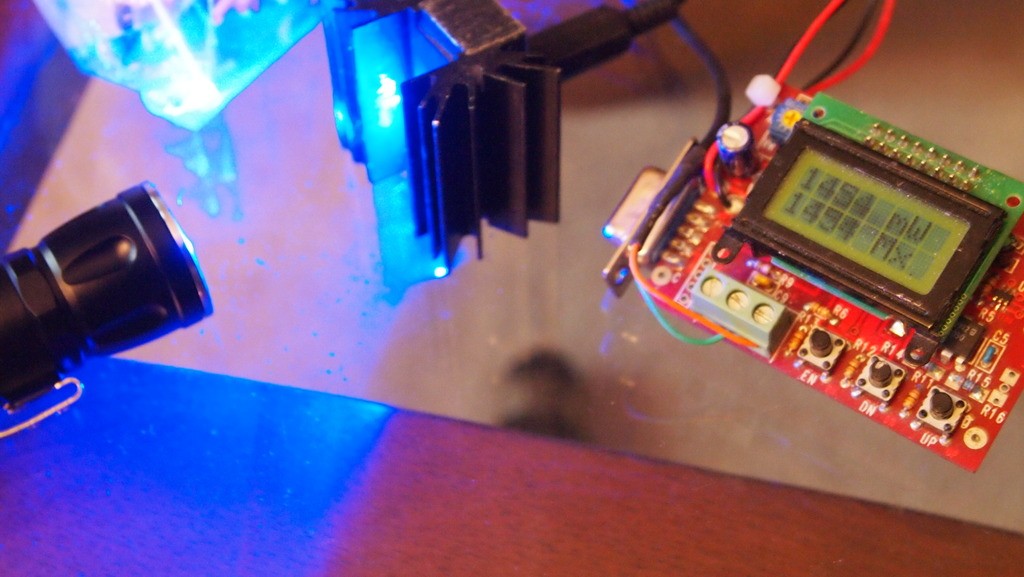
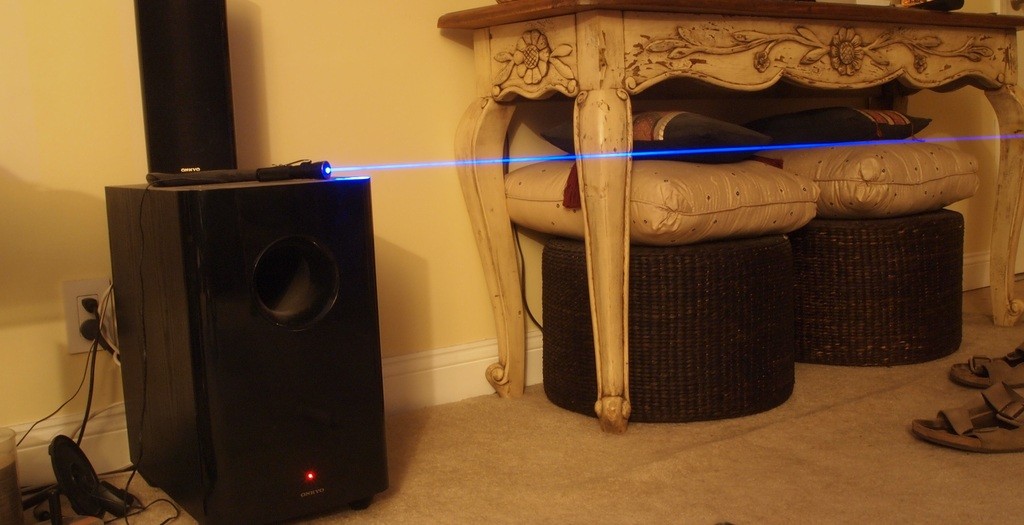
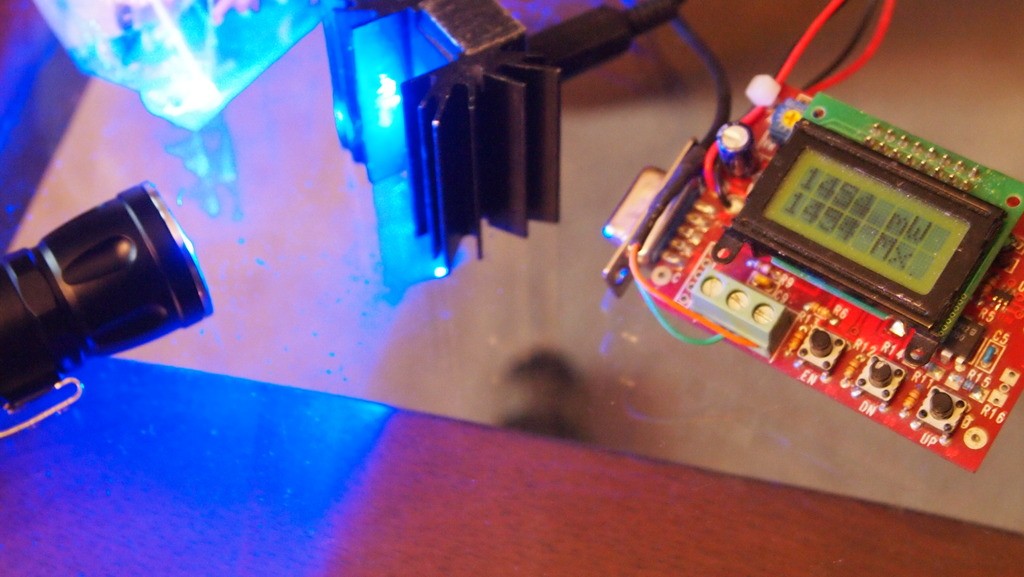
LPM Test
I did a test with an Aixiz lens and was very happy with the results.
Conclusion
I am very happy with this little unit. Very compact and has a great look. Yet another good choice in hosts. The unit looks great as is but I want to get a nice focus adapter for it as I think it would make it look pretty mean and it would make it easier to focus as the recess on the face is fairly deep. I will update with some pictures when I get them. It is a small host that is being over powered so think the duty cycle should be about 1min on 30 off. That is about it hope you liked it. Thanks for reading.:beer:
Last edited:


