

Pman
0
- Joined
- Nov 28, 2012
- Messages
- 4,441
- Points
- 113
So, not having much $ anymore I still want to build. Anyone who has been around knows that I am a heavy proponent of builds that are easy on the wallet. My mind is always on the "bang for buck" builds (just see my tutorials).
I had discovered the LPC-826 awhile back and looked for the most inexpensive way to utilize it as they have some pretty serious output vs. cost. You can purchase them for about $6 from an Ebay seller in the US with free shipping and I always get them in a few days and I usually buy 3 or 4 at a time. As of right now he is out of them. Sent him a message asking if he will be getting any more of them. The Ebay seller is anomalytech. Don't see any other US sellers. Anyone buys them tell him I sent you.
EDIT: He just got back to me and says he will have more hopefully by the end of the week")
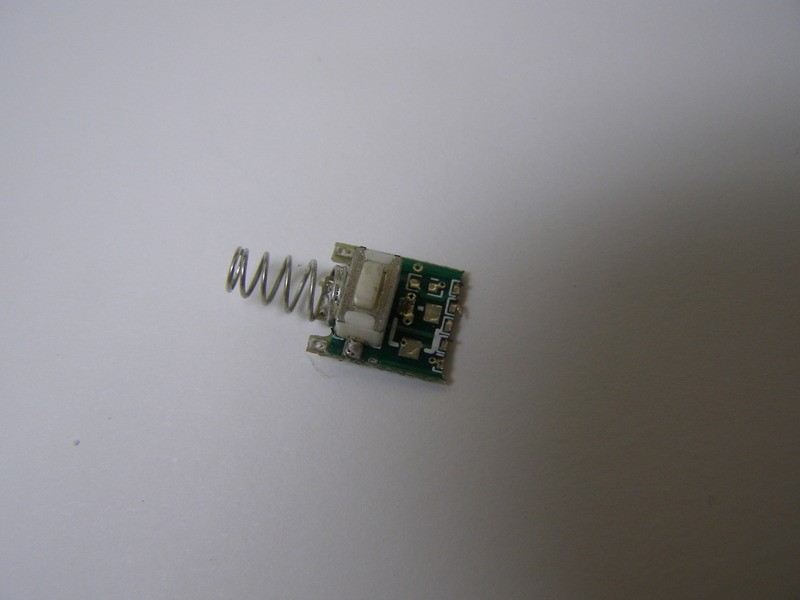
I used these drivers:
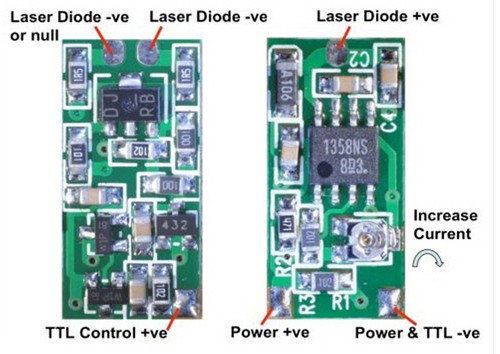
From:
2pcs Adjustable Current Laser Diode Driver 80 500mA w TTL | eBay
Other pieces parts were hosts I had sitting around. I'm not good with empty hosts. They call to me demanding attention. Not kidding, I can't stand unfinished projects.
The drivers were all set the same which is setting them just beyond the pot stop where they give variable output based upon voltage in otherwise they only set to about 360mA which is still decent but I like to push them when their cost is so little. You DON'T want to try and run (2) regular 3.7/4.2V cells in them as it's enough voltage to blow them instantly. The fully charged LiFEPo4 cells at about 3.7 is really pushing it and they will push just over 400mW with a G-2 although I use standard acrylic lenses which will still push them over 300mW. Also used RCR123A in the C6 builds. If you blow one fair warning has been given. Up to you how hard on the edge you want to be.
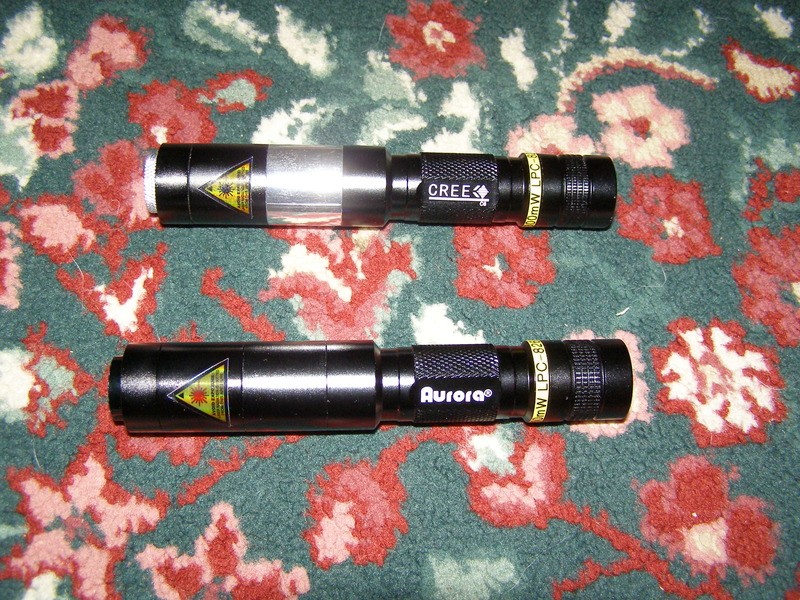
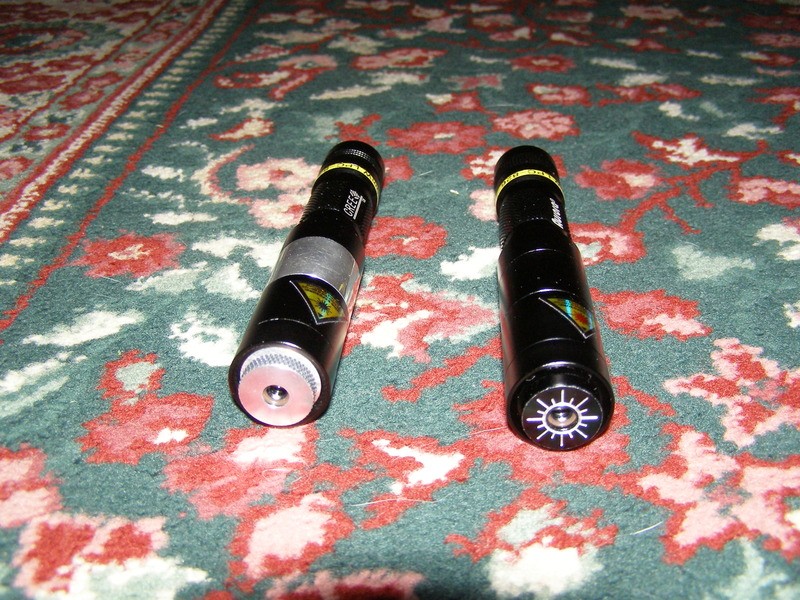
These are the ones I had previously built not including a few other misc. ones:
Here's the new ones in actual regular hosts with a lot of build pics. I'll start with the 2 pens showing the builds:
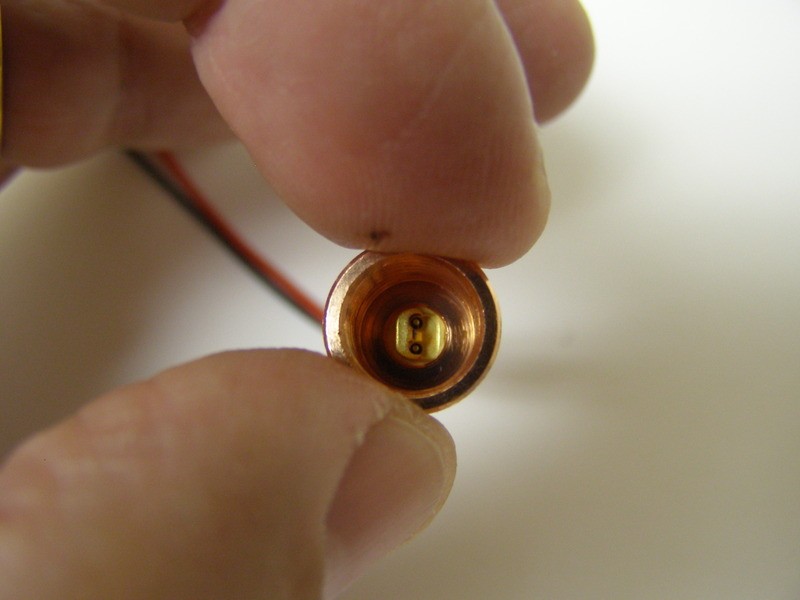
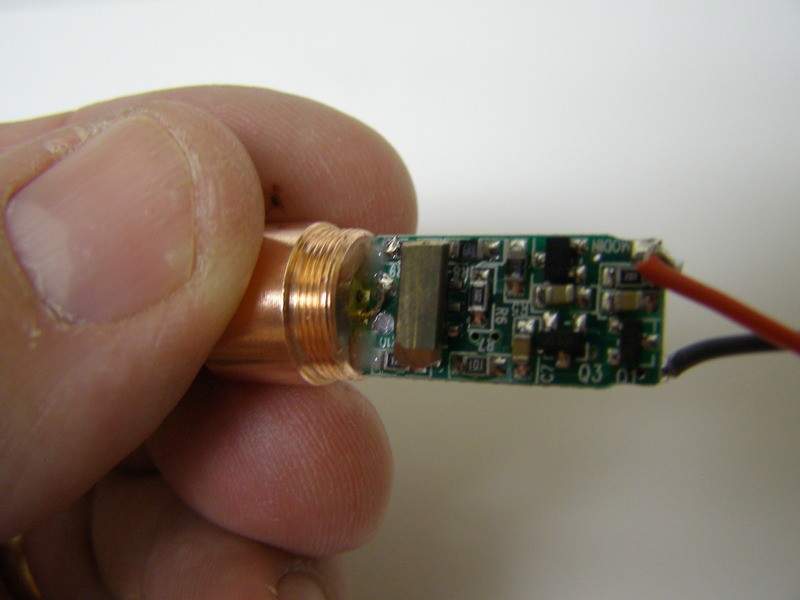
Pressed in diode:
soldered and epoxied drivers:
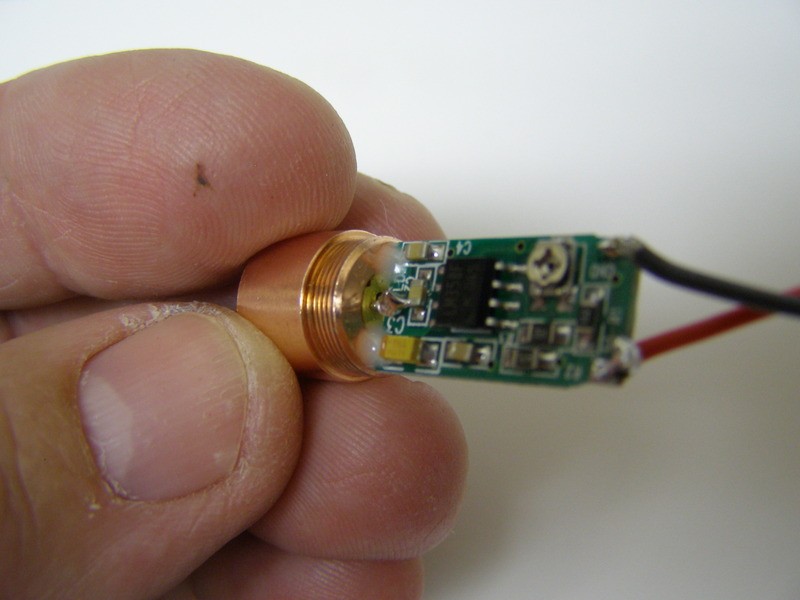
You can see I aded a small heat-sink which is a piece of brazing rod:
Now I have to add a switch to the setup:
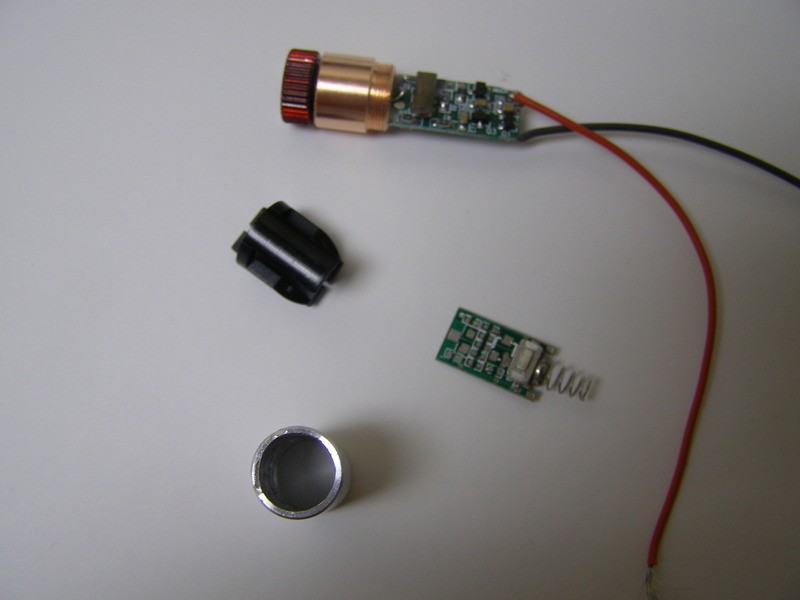
Problem is the switch is too long. The button will end up past the hole:
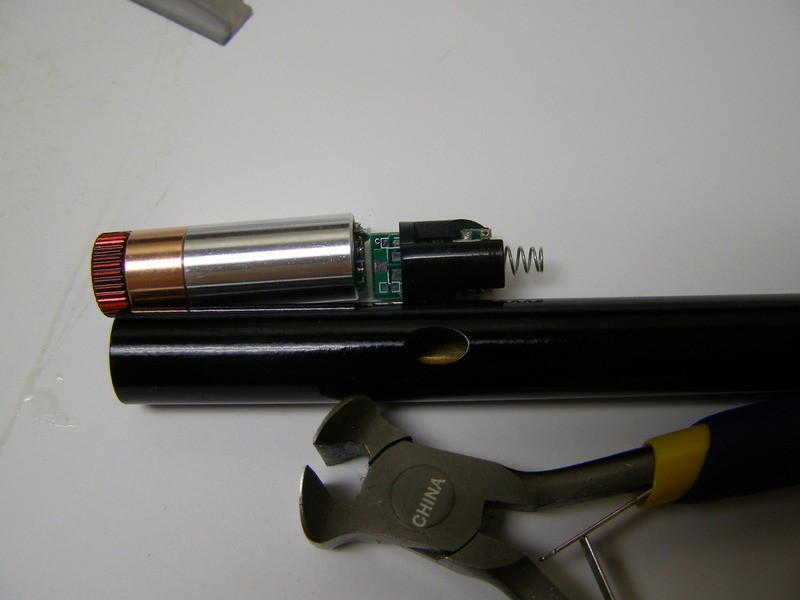
Cut down the switch:
Wired the + to switch:
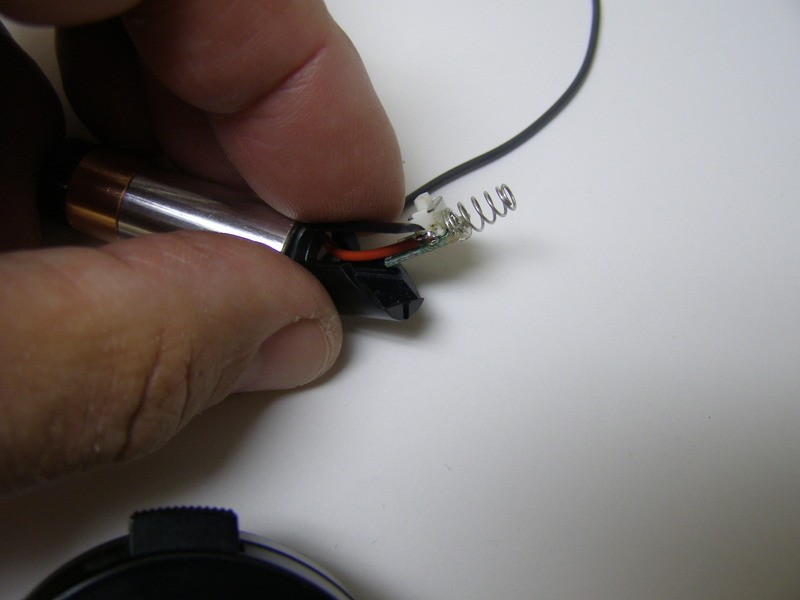

Here's the other one that I also cut the switch holder:

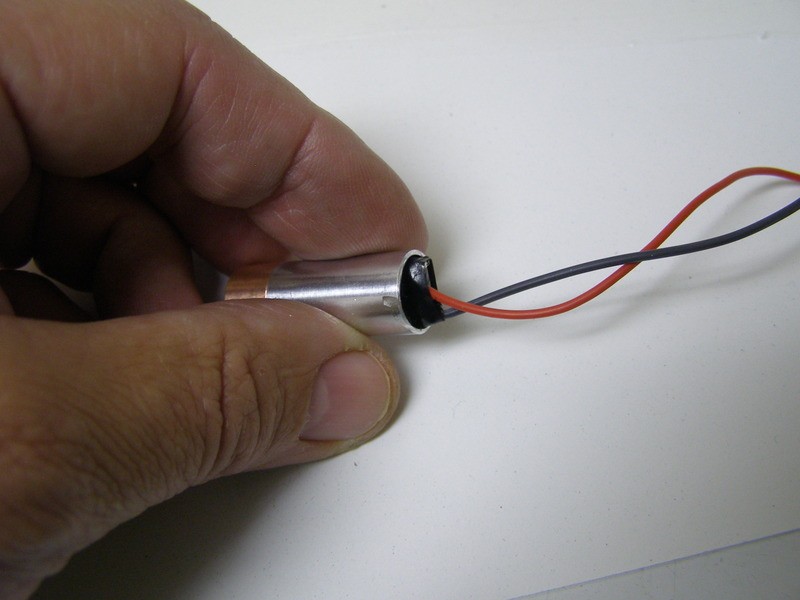
Now because I'm isolating everything electrically unfortunately the only way I could think of wiring the - was to tape the end of the battery and wire it to the side of the battery (just tight with tape) for this type pen. The other regular pen was done by wedging the - between the pen wall and module after the module had an insulator layer between them as the cheap pens have a lot more gap for the module to slide in:
Second one. If you look carefully you can see a thick plastic sheet over the module:
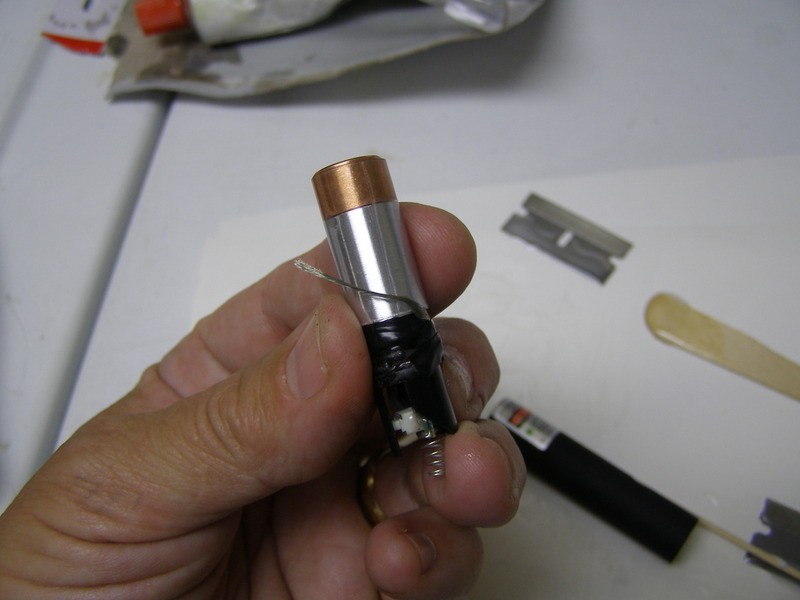
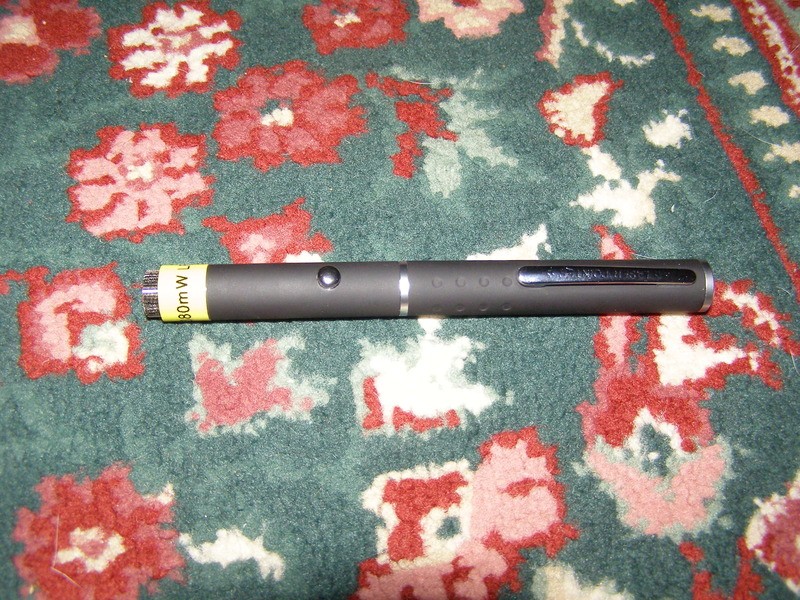
Finished product painted beforehand:
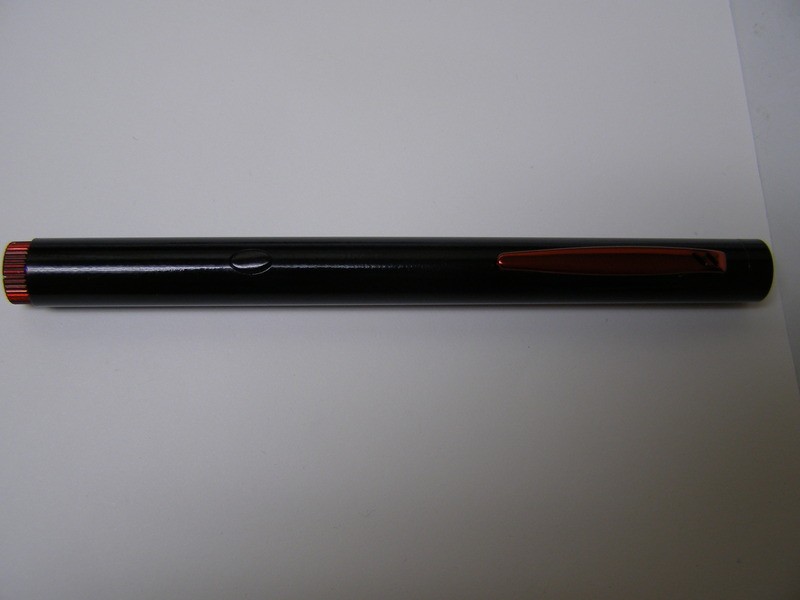
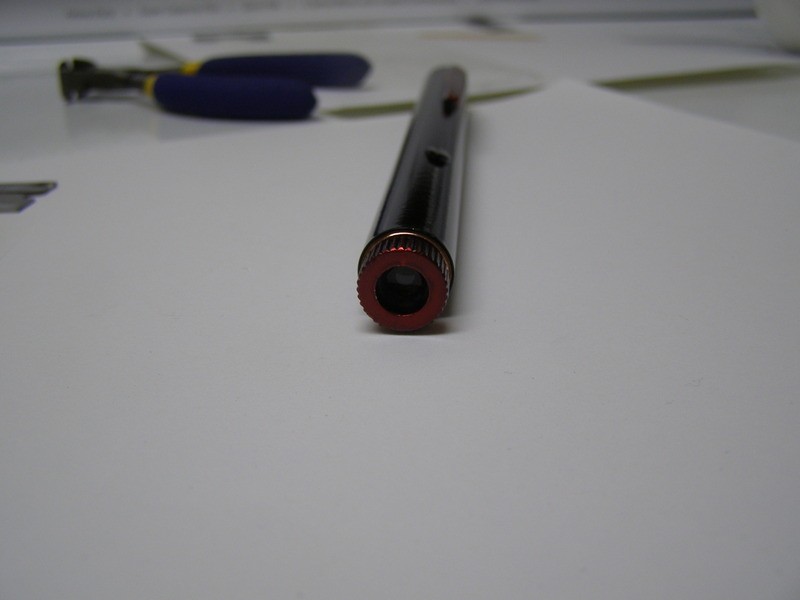
Other one first completed but then I removed the black with my dremel and now it really stands out from my other pens:

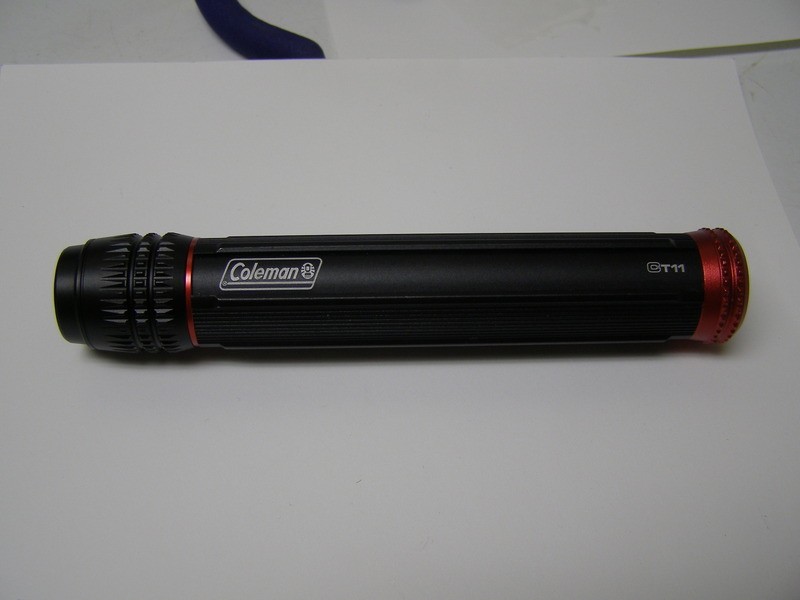
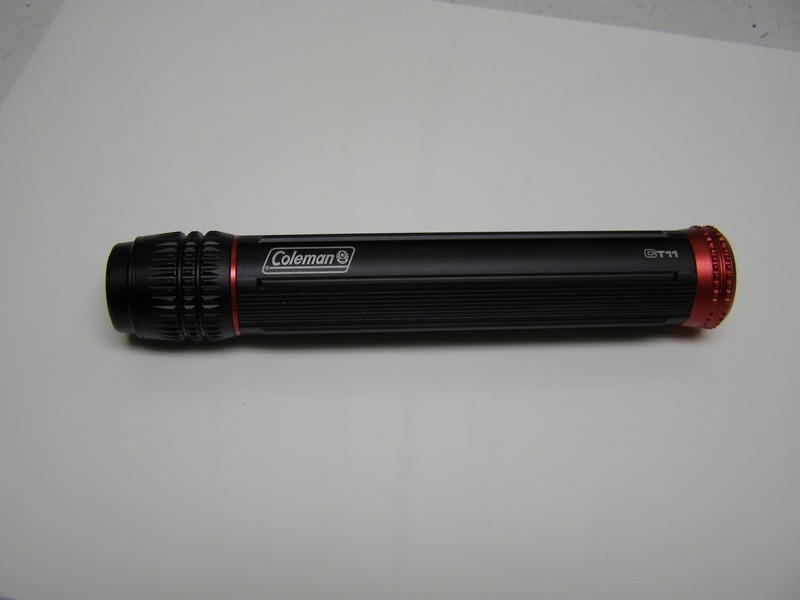
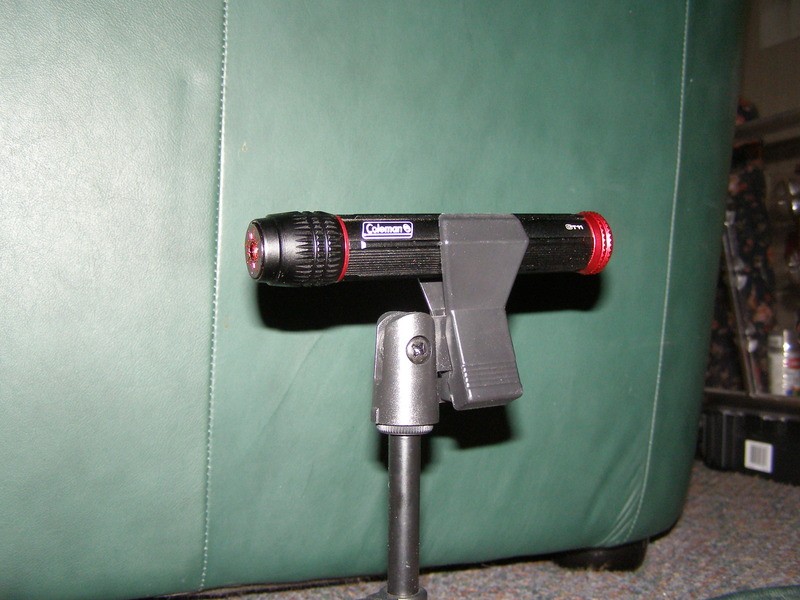
Now I'll show how I did the Coleman unit. This is what it looks like as a flashlight:
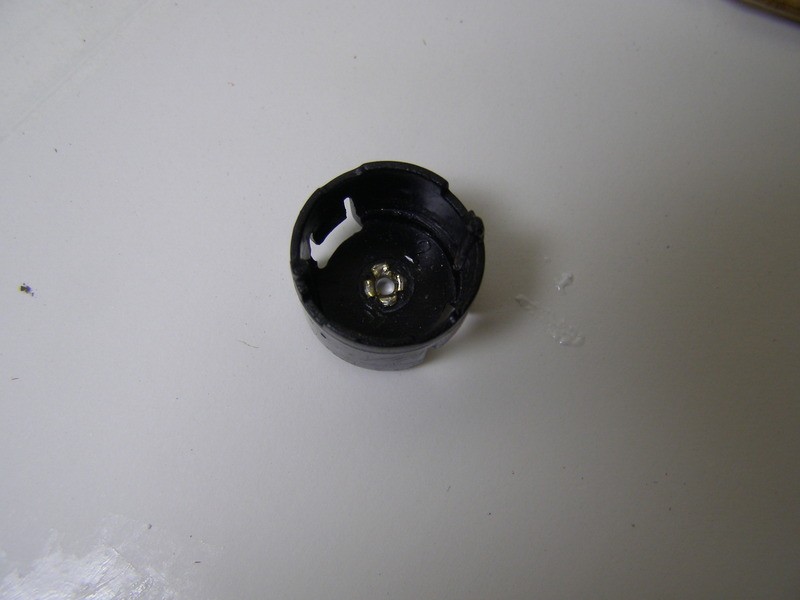
Took out the guts and this is what it looks like inside:
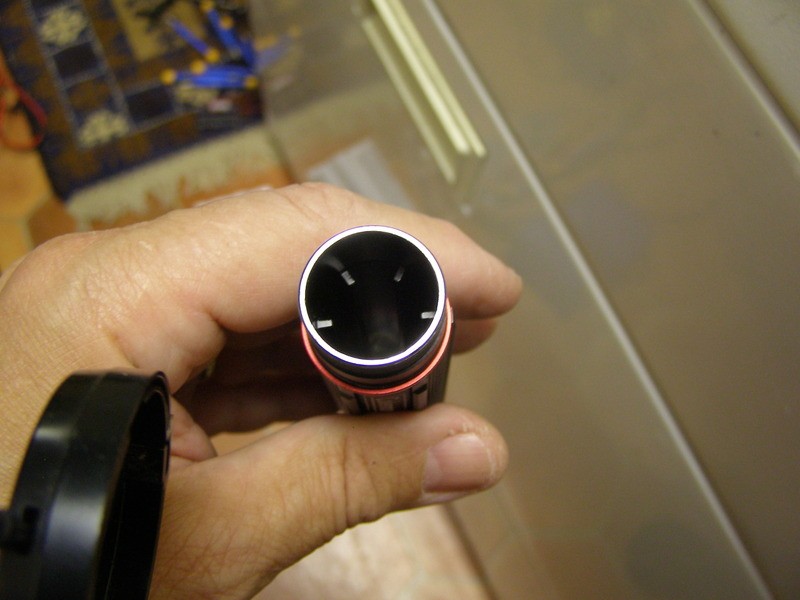
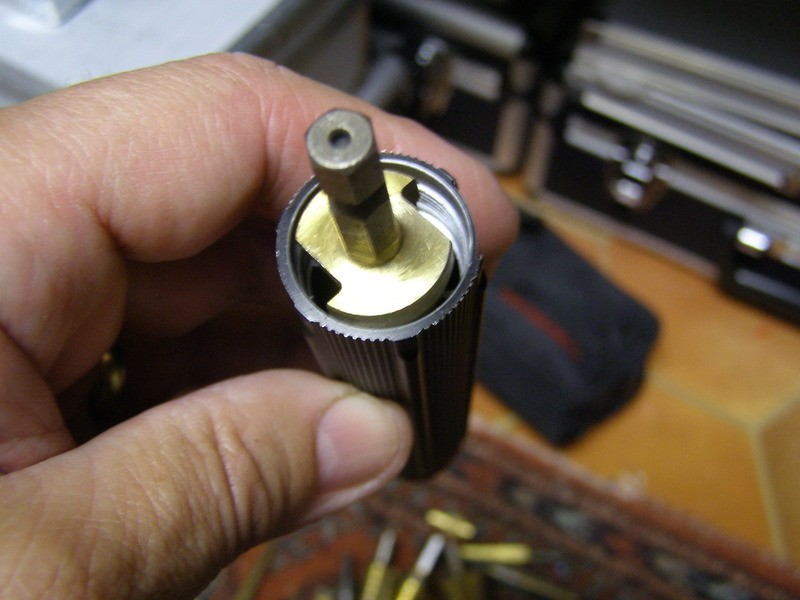
I had taken the driver out and cleared it of components but the holder is stopped by those pieces that make the batteries not rattle and I need it to sit lower for the module to fit correctly which also means going to 2 AAA LiFEPo4 rather than AA ones:
This step-bit worked great:

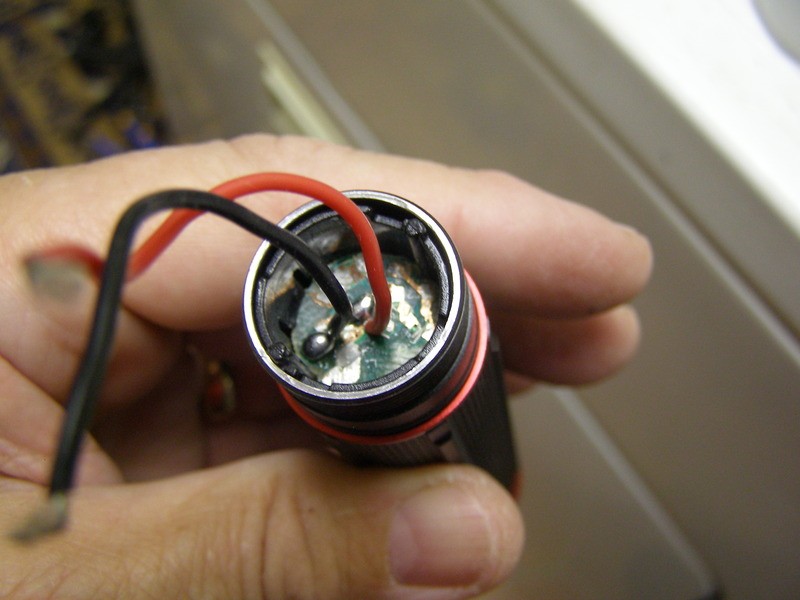
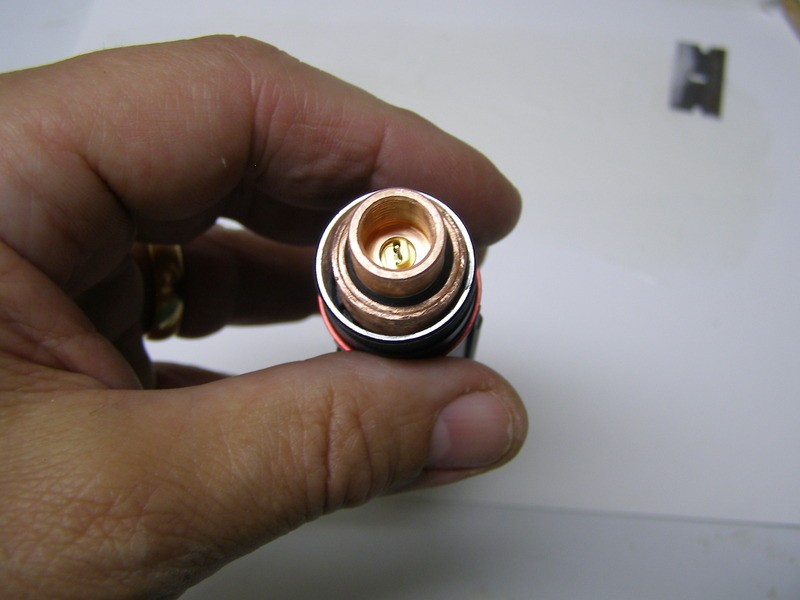
Now I have to make this piece and the module/board all come together:
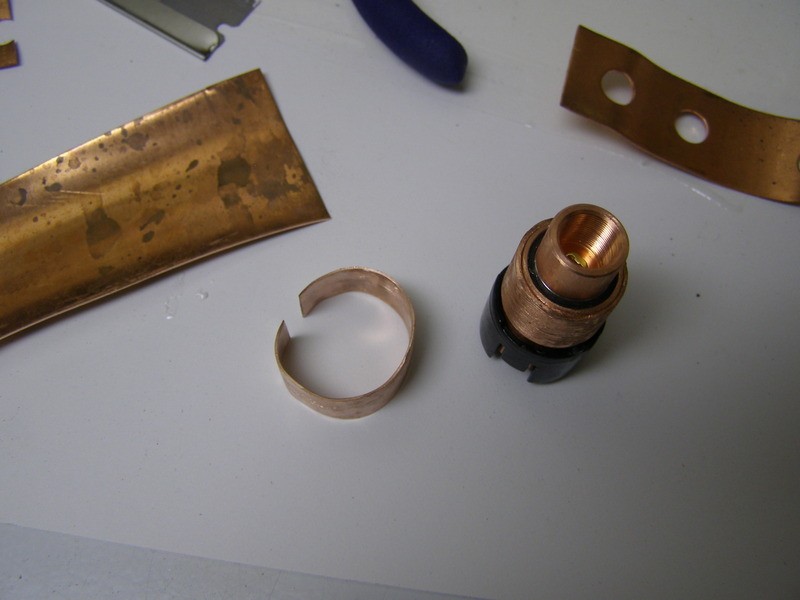
Series of copper together with module and isolation of pieces/parts:
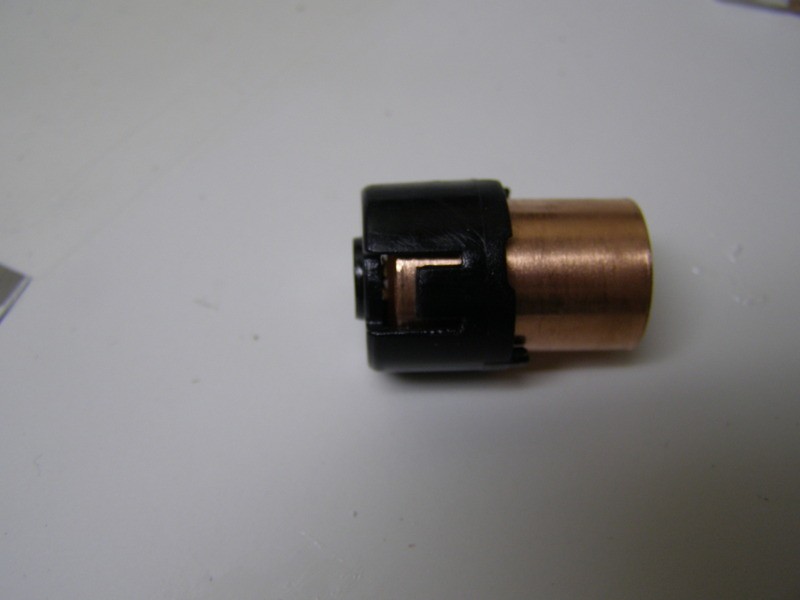
You can see the non-conductive divider:

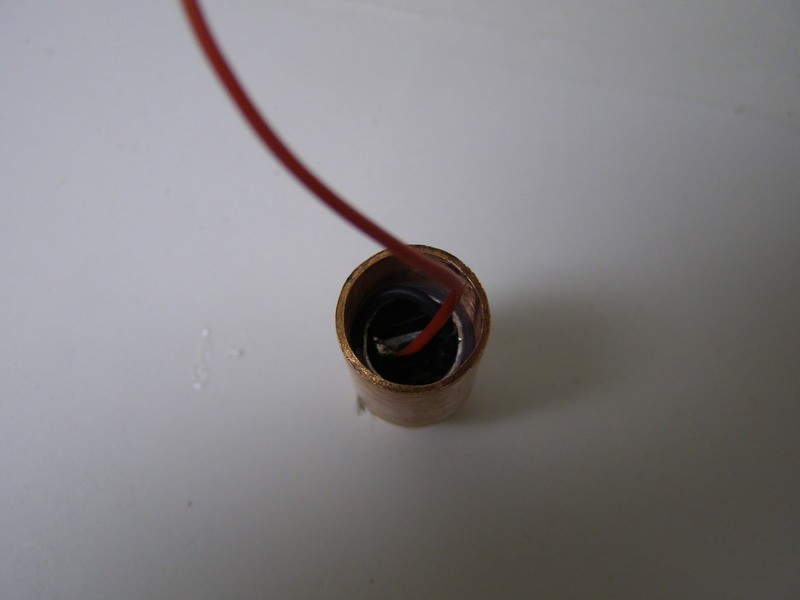
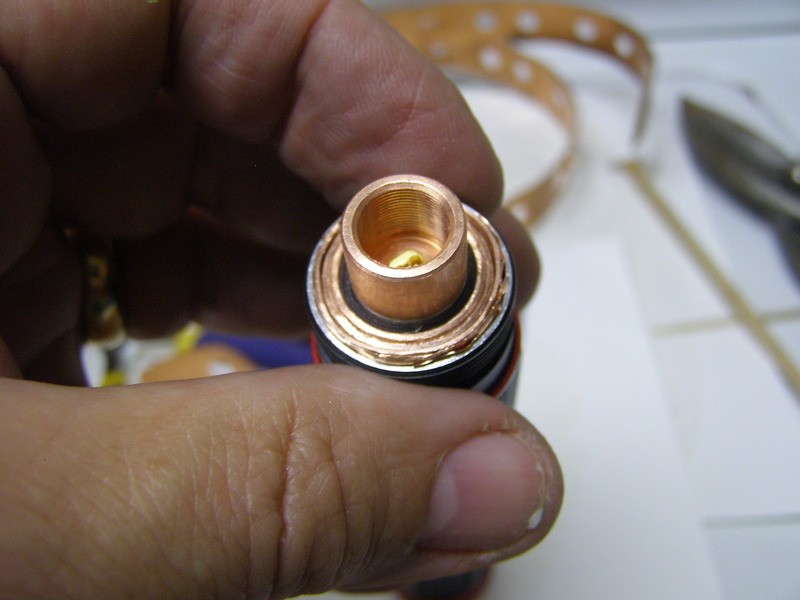
Put together but still need to fill the gap to host:
Use copper sheeting of various thickness:

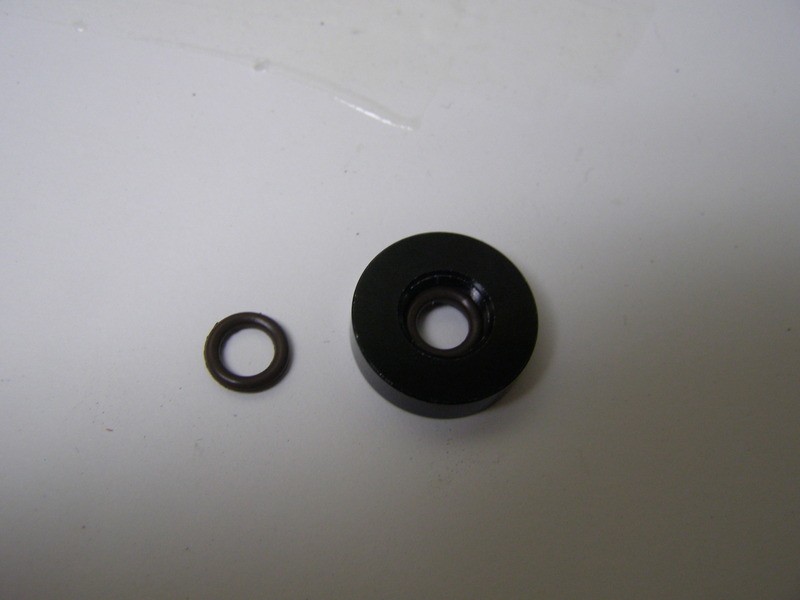
In order to make the lens holder sit close to the host at infinite focus I added a washer:
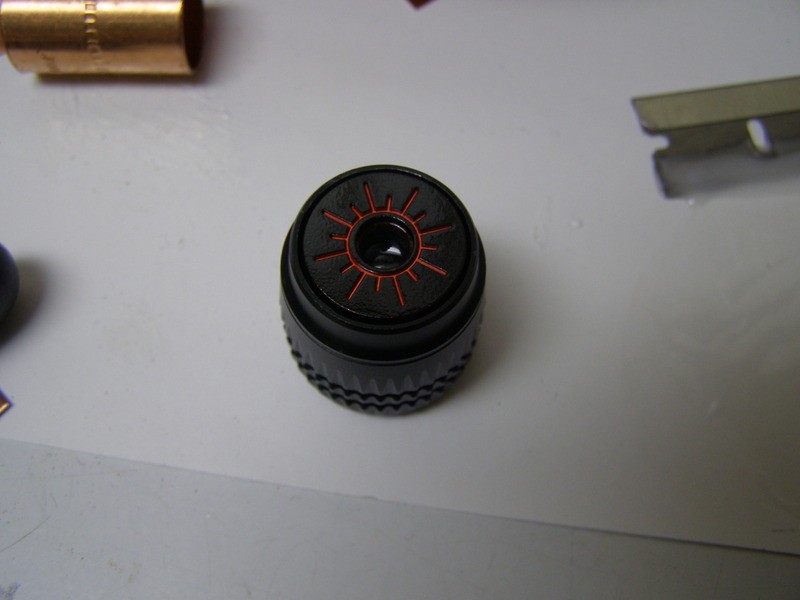
I had already painted the laser symbol the appropriate color. The important thing with all of this was for me to get thigs just right to be able to epoxy the lens holder into the host front piece to be able to match the focusing with screwing this entire piece onto the rest of the host so this piece now acts as the focusing adjustment. Fully screwed in is infinity focus with just a small bit of leeway:
Final product:
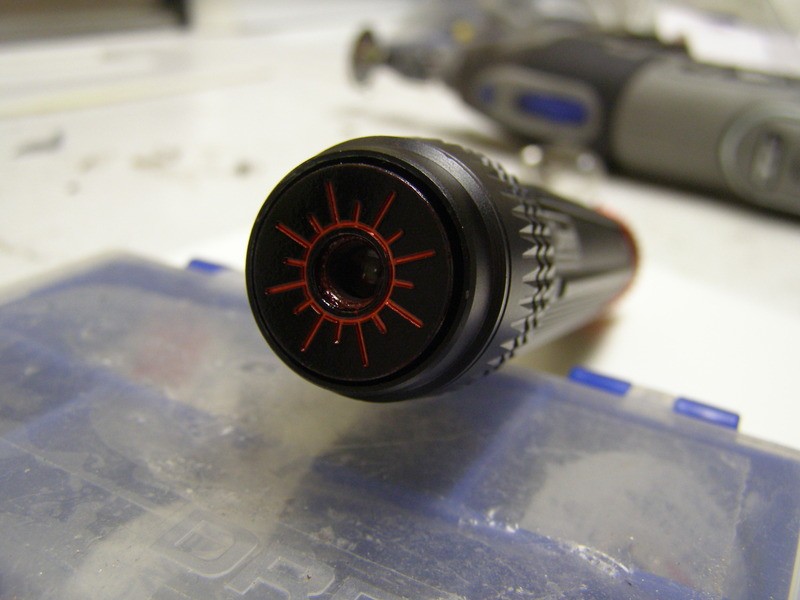
It's not dirty looking like the pic seems to show, it is very clean. Also, this unit has a freak diode in it as it hits 476mW EDIT: accidently grabbed a similar laser. It's just over 400mW with a G-2.
Here's the other 2 that are just C6 with double front ends to allow the driver to fit. May seem a bit odd but I had a bunch of them:
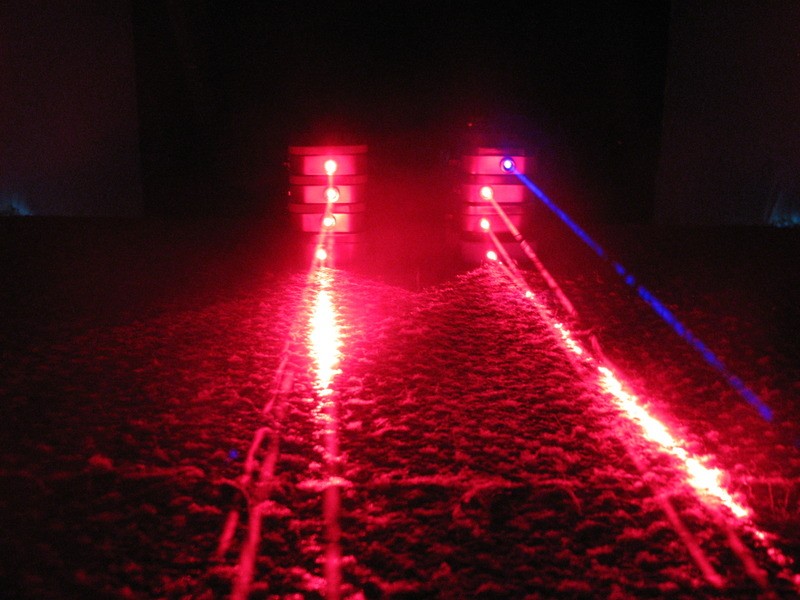
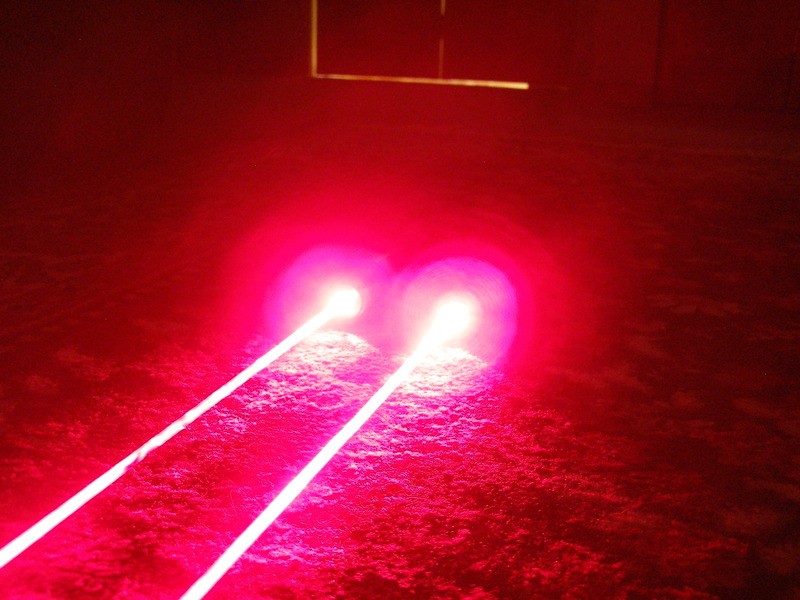
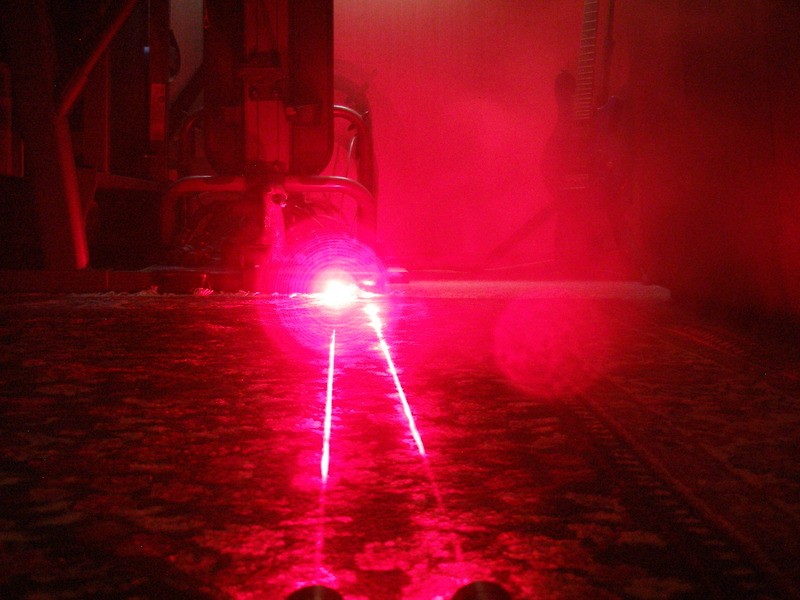
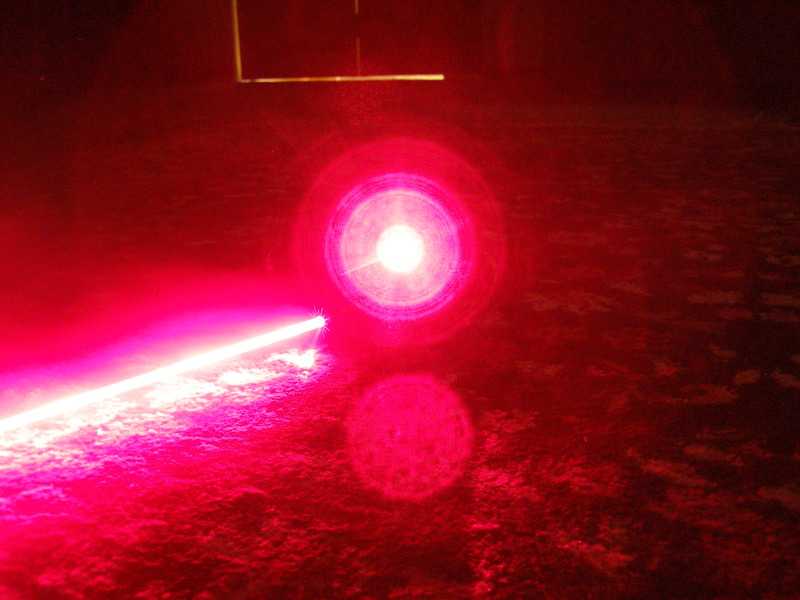
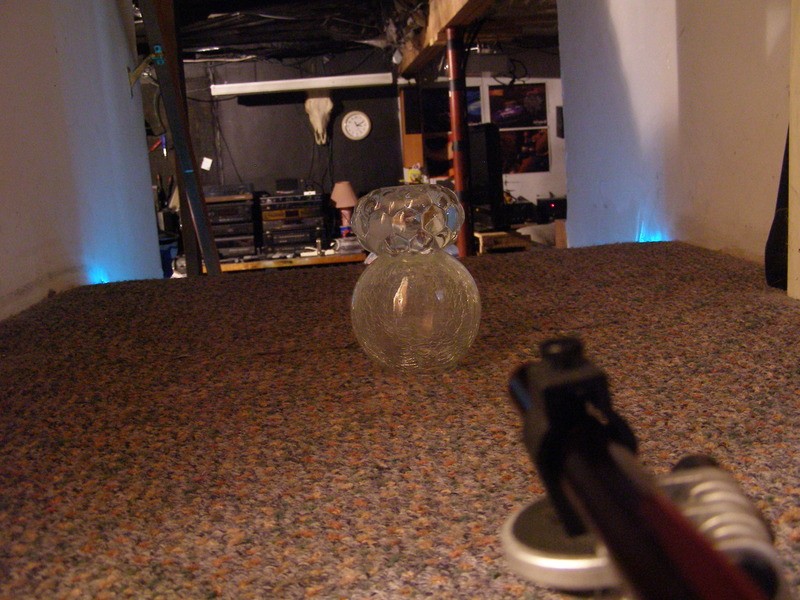
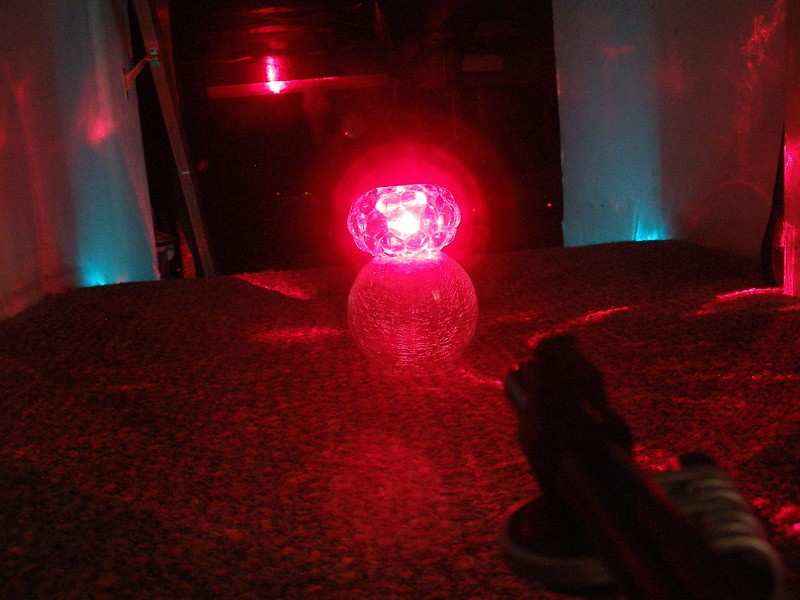
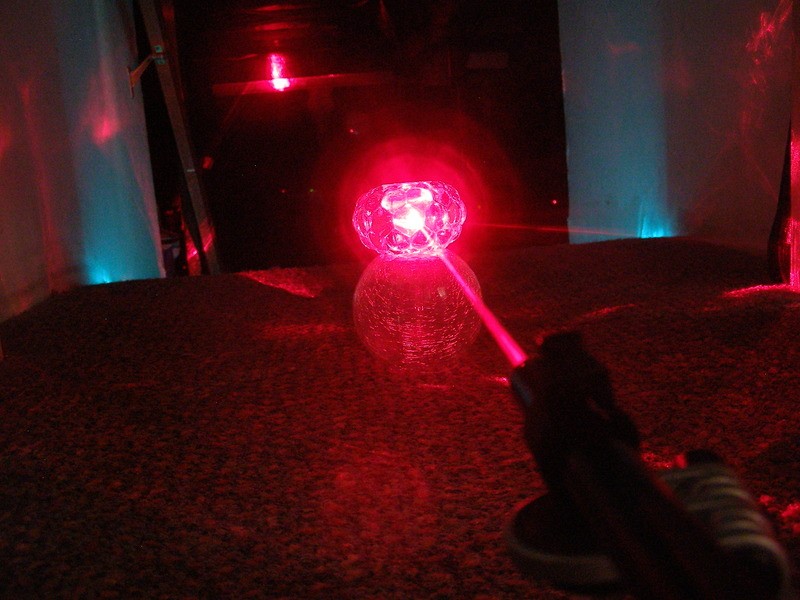
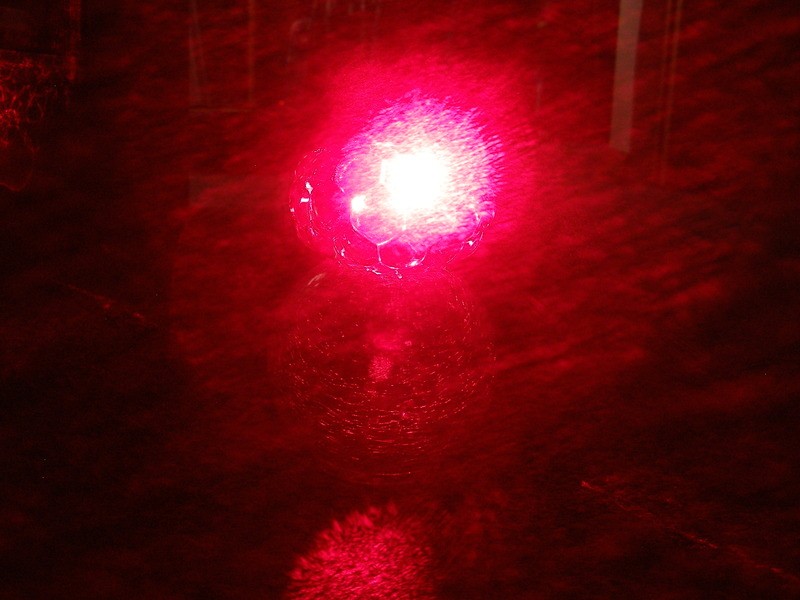
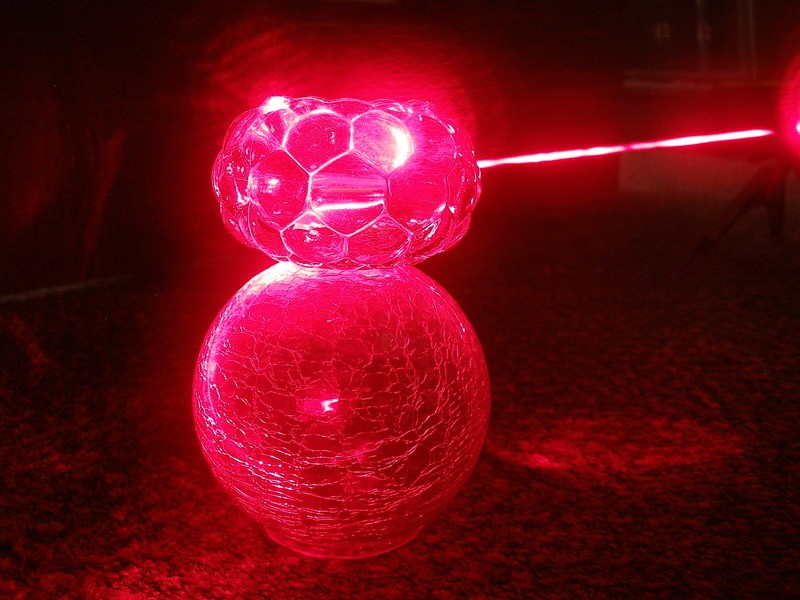
A few beam shots:
I took this one when I was testing with only one cell so it's not that bright:

Regular pics:
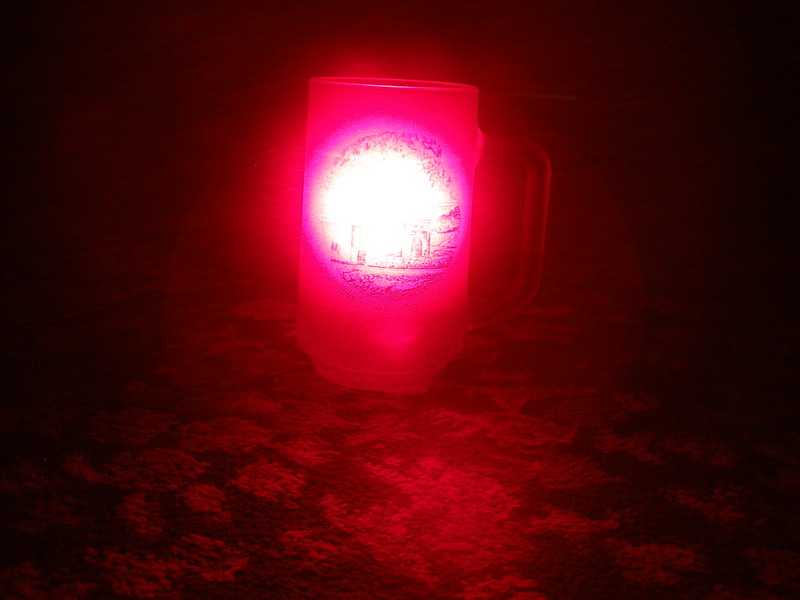
Like this pic alot:
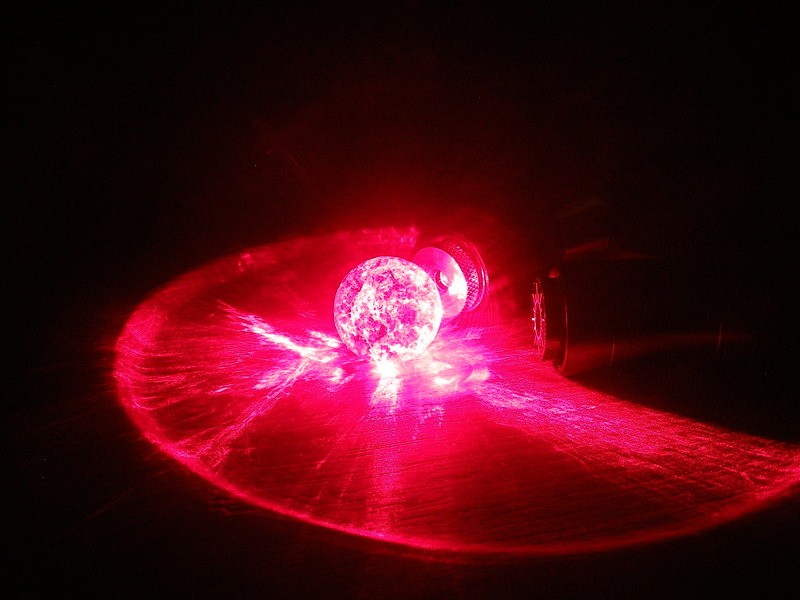
One of the pen units:
The "devil" is in the details"

Seller says he should have more by the end of the week. It's currently 6/16 today
I had discovered the LPC-826 awhile back and looked for the most inexpensive way to utilize it as they have some pretty serious output vs. cost. You can purchase them for about $6 from an Ebay seller in the US with free shipping and I always get them in a few days and I usually buy 3 or 4 at a time. As of right now he is out of them. Sent him a message asking if he will be getting any more of them. The Ebay seller is anomalytech. Don't see any other US sellers. Anyone buys them tell him I sent you.
EDIT: He just got back to me and says he will have more hopefully by the end of the week
I used these drivers:
From:
2pcs Adjustable Current Laser Diode Driver 80 500mA w TTL | eBay
Other pieces parts were hosts I had sitting around. I'm not good with empty hosts. They call to me demanding attention. Not kidding, I can't stand unfinished projects.
The drivers were all set the same which is setting them just beyond the pot stop where they give variable output based upon voltage in otherwise they only set to about 360mA which is still decent but I like to push them when their cost is so little. You DON'T want to try and run (2) regular 3.7/4.2V cells in them as it's enough voltage to blow them instantly. The fully charged LiFEPo4 cells at about 3.7 is really pushing it and they will push just over 400mW with a G-2 although I use standard acrylic lenses which will still push them over 300mW. Also used RCR123A in the C6 builds. If you blow one fair warning has been given. Up to you how hard on the edge you want to be.
These are the ones I had previously built not including a few other misc. ones:
Here's the new ones in actual regular hosts with a lot of build pics. I'll start with the 2 pens showing the builds:
Pressed in diode:
soldered and epoxied drivers:
You can see I aded a small heat-sink which is a piece of brazing rod:
Now I have to add a switch to the setup:
Problem is the switch is too long. The button will end up past the hole:
Cut down the switch:
Wired the + to switch:
Here's the other one that I also cut the switch holder:
Now because I'm isolating everything electrically unfortunately the only way I could think of wiring the - was to tape the end of the battery and wire it to the side of the battery (just tight with tape) for this type pen. The other regular pen was done by wedging the - between the pen wall and module after the module had an insulator layer between them as the cheap pens have a lot more gap for the module to slide in:
Second one. If you look carefully you can see a thick plastic sheet over the module:
Finished product painted beforehand:
Other one first completed but then I removed the black with my dremel and now it really stands out from my other pens:
Now I'll show how I did the Coleman unit. This is what it looks like as a flashlight:
Took out the guts and this is what it looks like inside:
I had taken the driver out and cleared it of components but the holder is stopped by those pieces that make the batteries not rattle and I need it to sit lower for the module to fit correctly which also means going to 2 AAA LiFEPo4 rather than AA ones:
This step-bit worked great:
Now I have to make this piece and the module/board all come together:
Series of copper together with module and isolation of pieces/parts:
You can see the non-conductive divider:
Put together but still need to fill the gap to host:
Use copper sheeting of various thickness:
In order to make the lens holder sit close to the host at infinite focus I added a washer:
I had already painted the laser symbol the appropriate color. The important thing with all of this was for me to get thigs just right to be able to epoxy the lens holder into the host front piece to be able to match the focusing with screwing this entire piece onto the rest of the host so this piece now acts as the focusing adjustment. Fully screwed in is infinity focus with just a small bit of leeway:
Final product:
It's not dirty looking like the pic seems to show, it is very clean. Also, this unit has a freak diode in it as it hits 476mW
EDIT: accidently grabbed a similar laser. It's just over 400mW with a G-2.
Here's the other 2 that are just C6 with double front ends to allow the driver to fit. May seem a bit odd but I had a bunch of them:
A few beam shots:
I took this one when I was testing with only one cell so it's not that bright:
Regular pics:
Like this pic alot:
One of the pen units:
The "devil" is in the details"
Seller says he should have more by the end of the week. It's currently 6/16 today
Last edited:


") Too much "plug n play" nowadays. Thanks for sharing!
Too much "plug n play" nowadays. Thanks for sharing!
