Gabe
0
- Joined
- Jan 10, 2015
- Messages
- 1,147
- Points
- 83
Survival Laser Red Laser Parts Bundle, 300mW @ 650nm
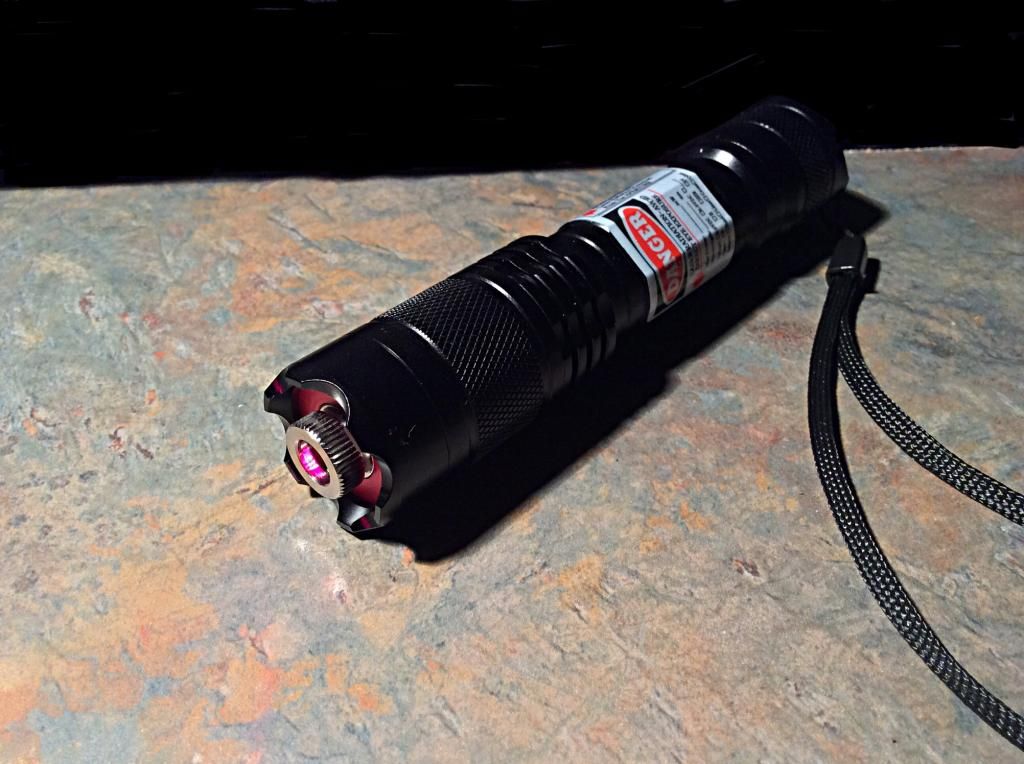
UNBOXING TIME!!!
I'm super pumped, my laser parts bundle from Survival Laser arrived, and I can't wait to open it. I haven't even seen what's all inside yet, so you'll be along the journey with me
Part 1: The Unboxing
The package arrived in an adrenaline-inducing generic grey bag:
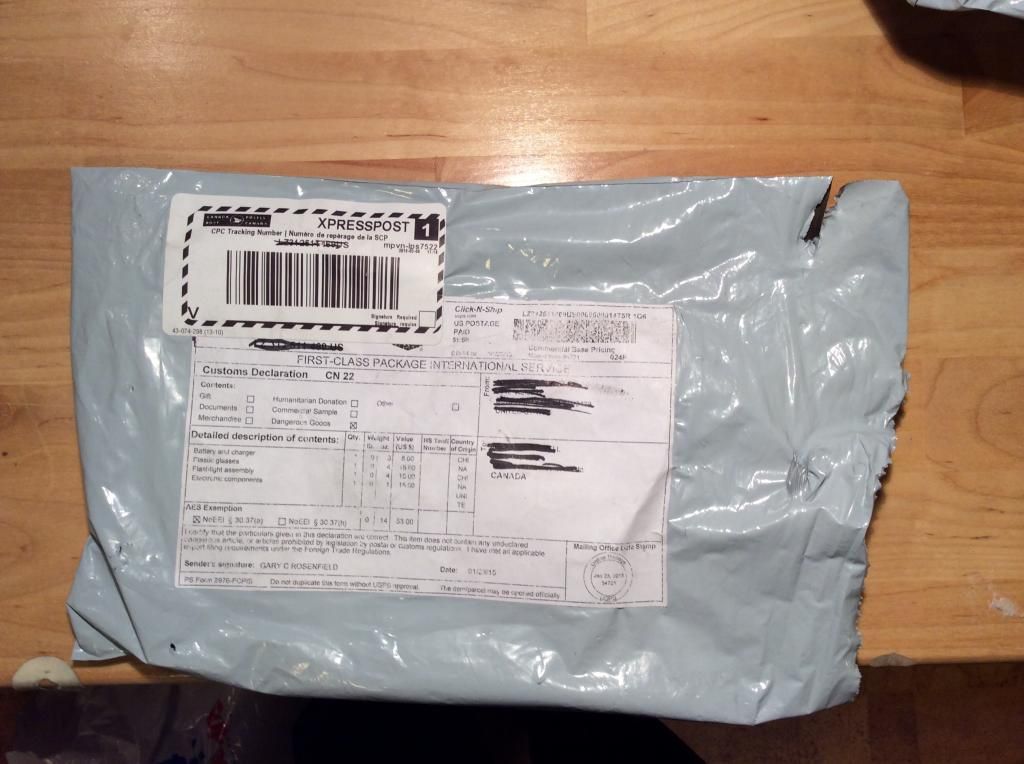
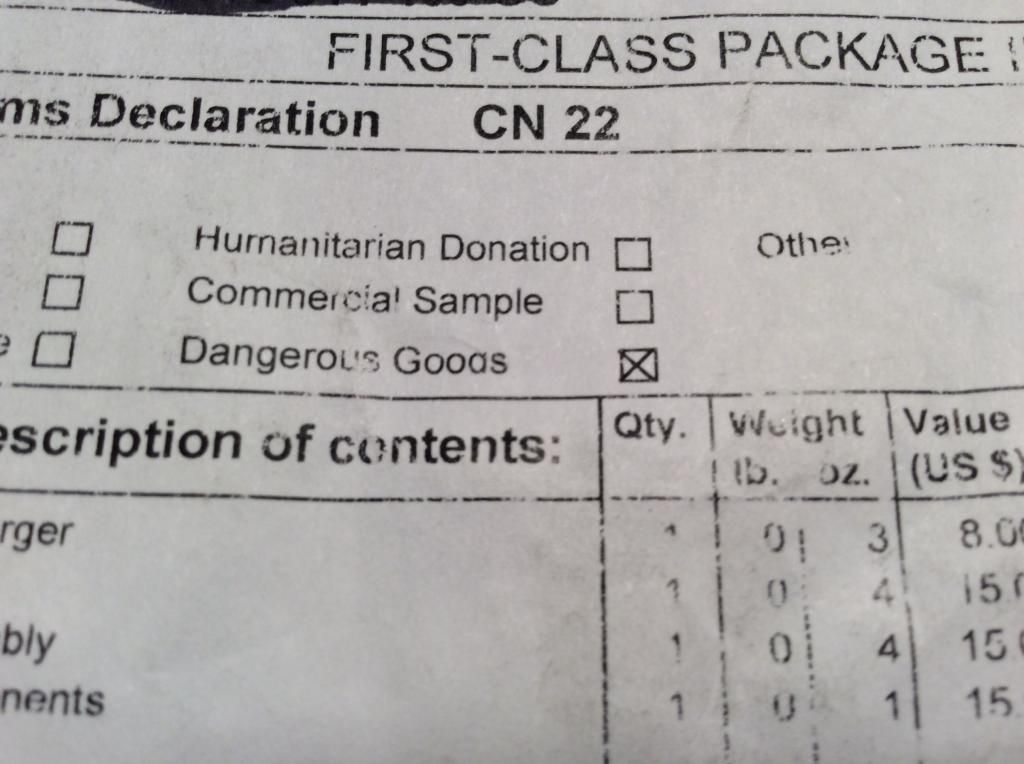
"Dangerous Goods" checked off... That's what I like to see
Inside the bag, there was a second bag that looked just like the outside one. Here, the contents of the inner bag are shown:
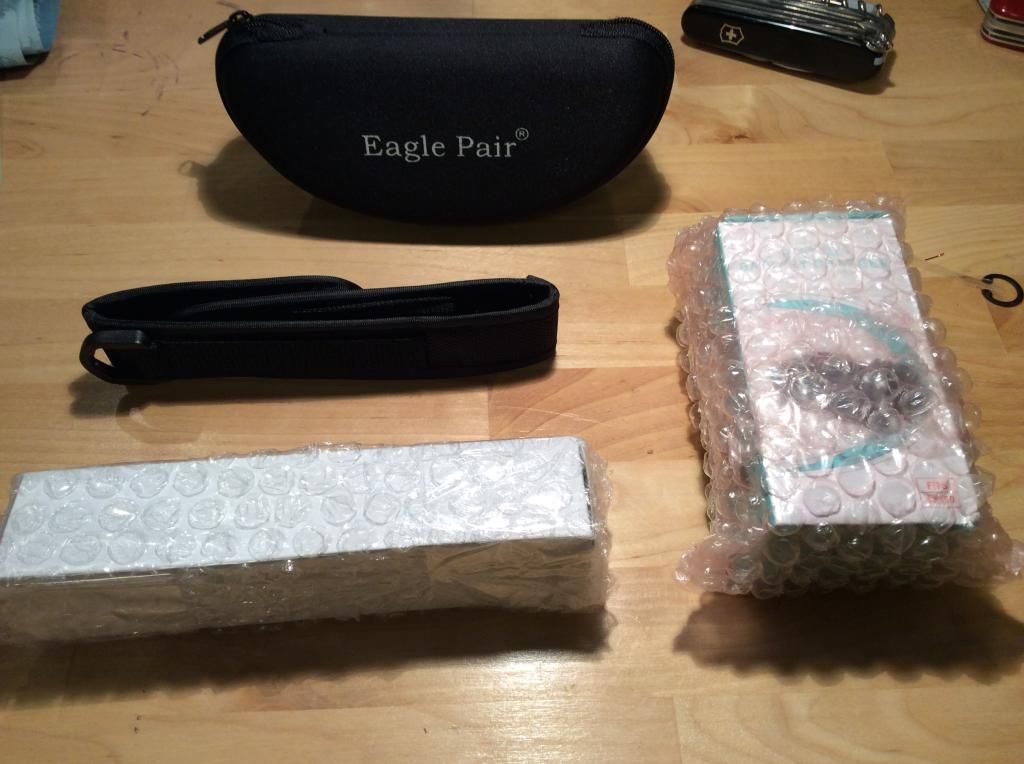
I see a battery box with charger, glasses case, host box, and a holster!
Inside the glasses case we find:
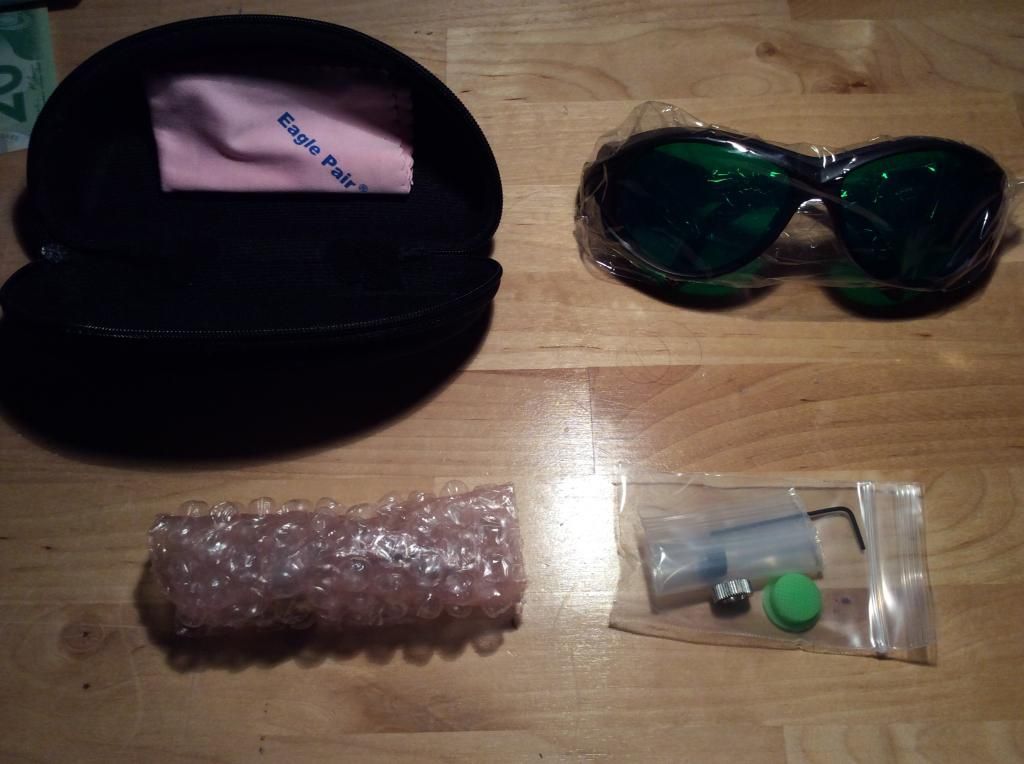
Goggles, a lens cleaner, a bubble wrap anti-static bag that holds the pre soldered driver, pill, and diode/module, and a small plastic bag containing a lens cap cover, focusing ring, optics, and an Allen wrench. Good packaging
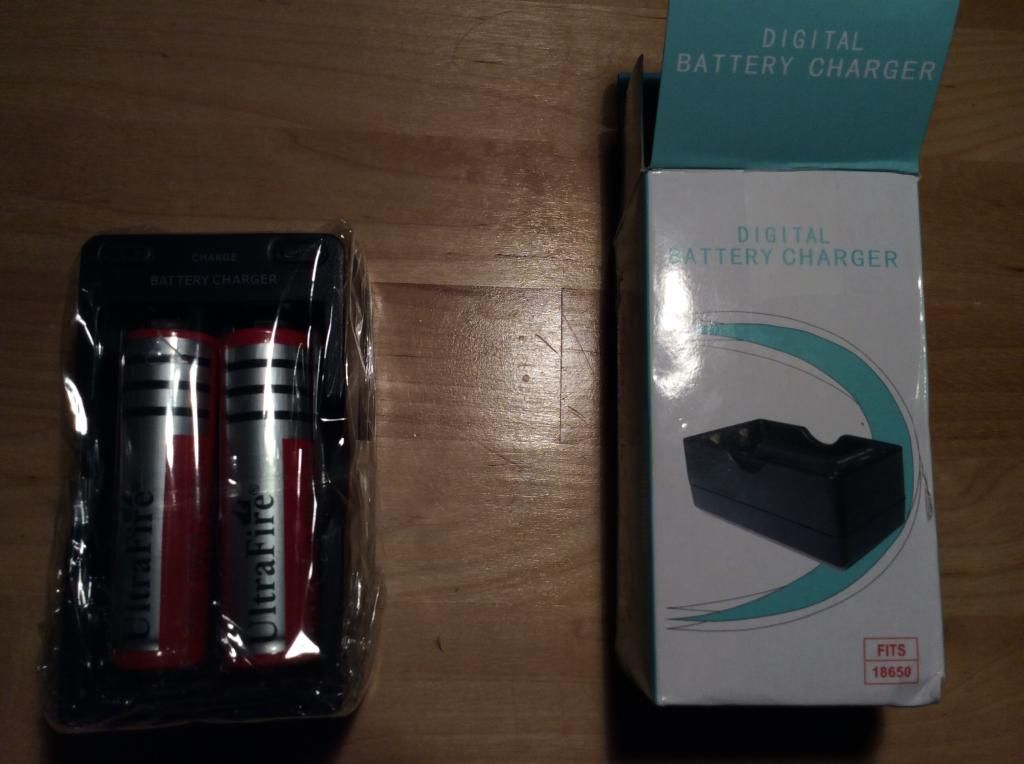
In the battery box is the charger and two batteries. Call me stupid, but are these the batteries it's supposed to take?
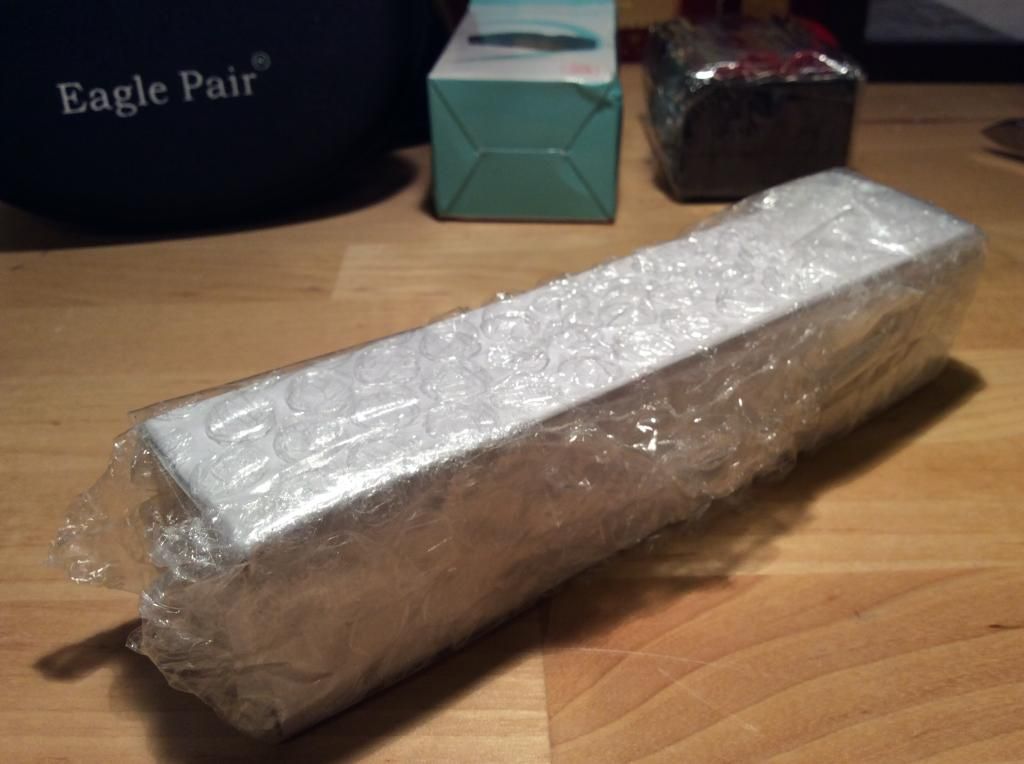
Up next is the one I'm really excited about! The host box. Same as everything else, it's all bubble wrapped.
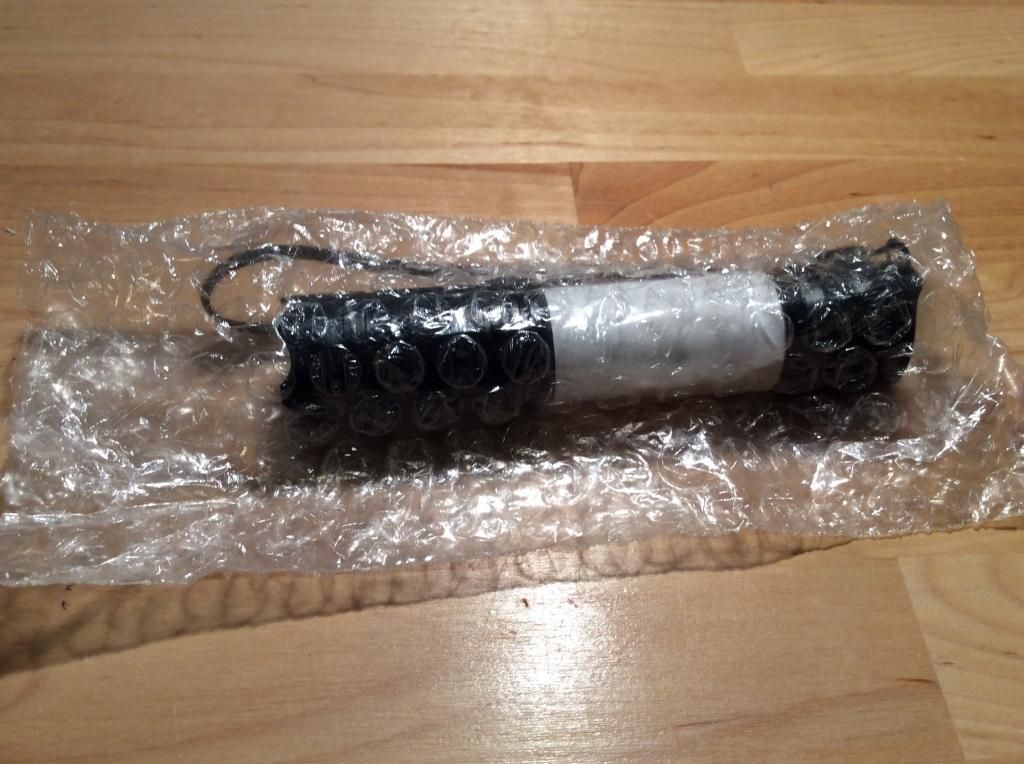
The host too is all protected. He sure loves his bubble wrap, I can say that!
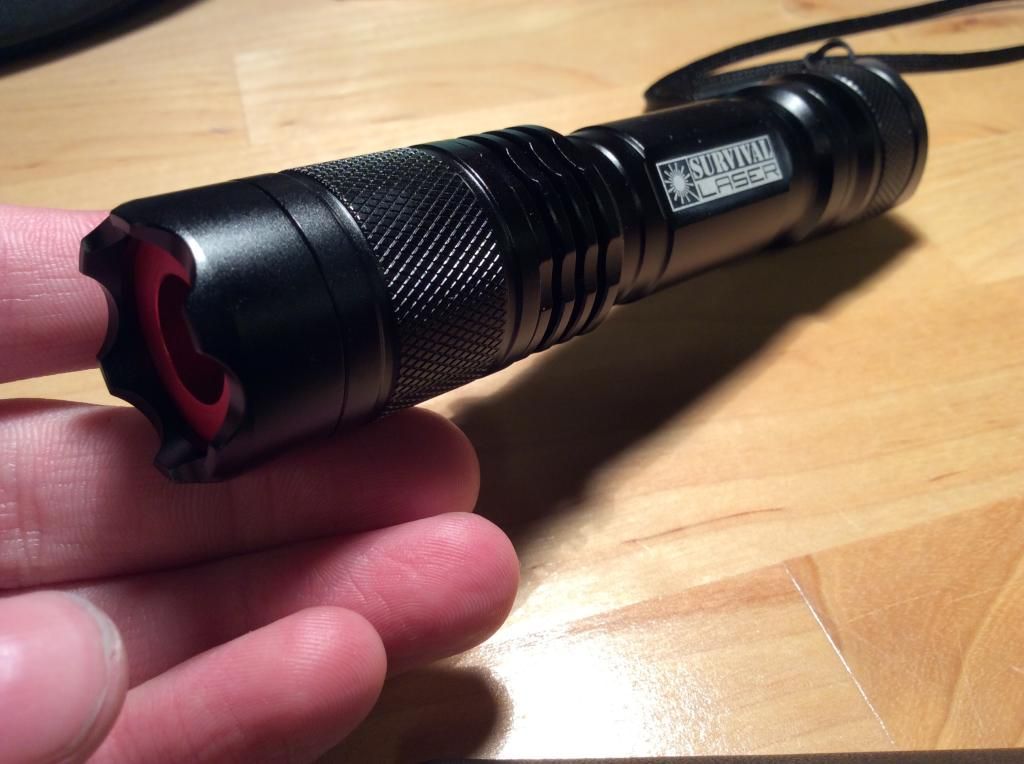
My god this is a beautiful little host. I'm very glad I chose the S4 host!
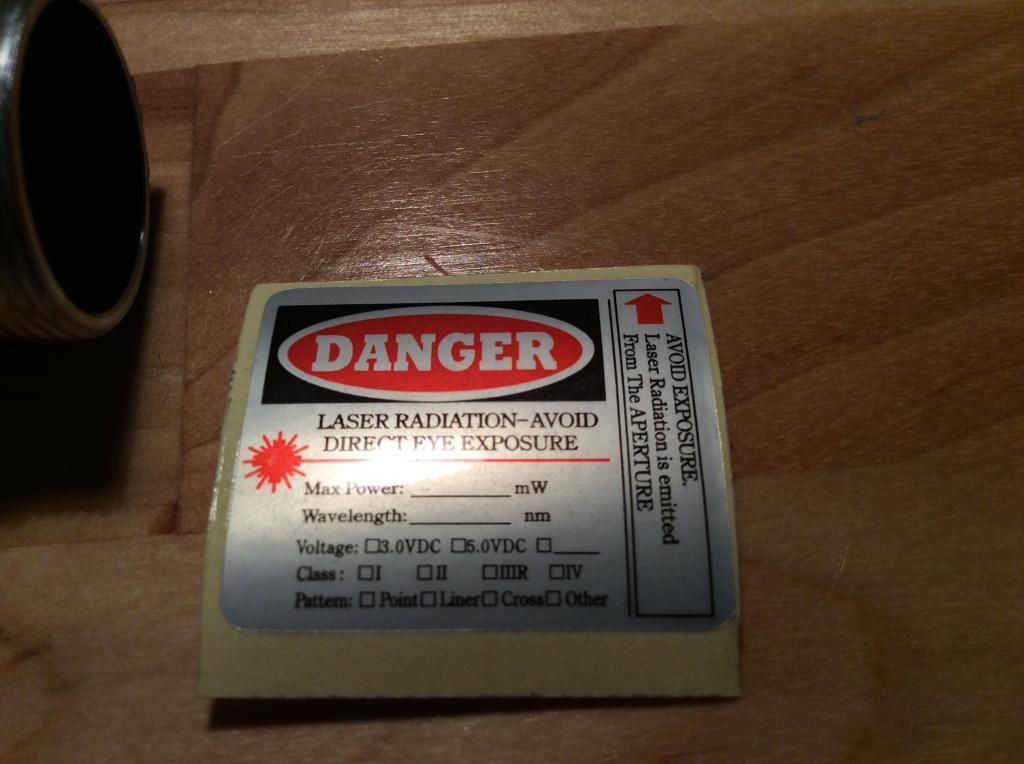
Oh! A gift! A little laser safety warning sticker! That was a welcome surprise
Part 2: The Assembly
Now I'm gonna hope the assembly goes pretty smoothly, cause I'm an absolute noob. SL has some instructions/info on their website, so I'll look there.
I started by screwing the focusing ring onto the lens, and the lens into the module. As strait forward as this is, I of course somehow manage to drop the lens assembly onto the floor, and have it roll over into the dusty corner. *facepalm*
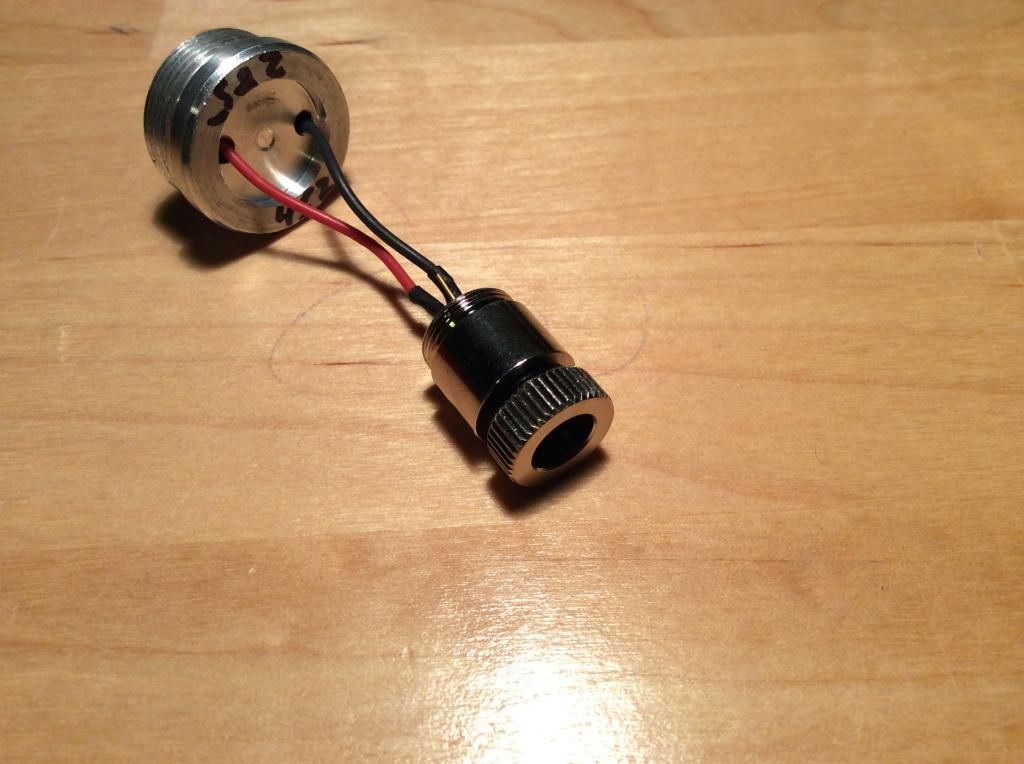
I then put the diode and housing into the heatsink, and tightened well with the included Allen key
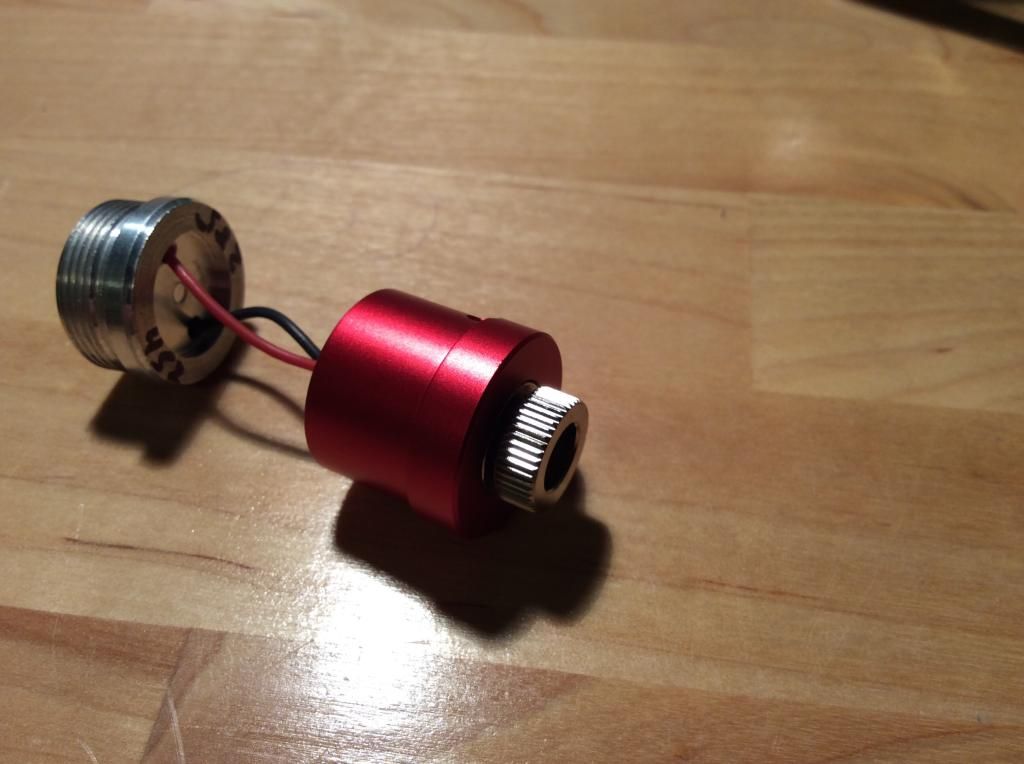
*sigh*... These things are bound to happen. The heatsink won't fit through the front part of the host, so I gotta take it off, screw the driver and pill into its place FIRST, then put the heatsink on the diode after it's been fed through the front part. Duh...
Now I've put everything in place, and all that's left is to screw on the bezel!!
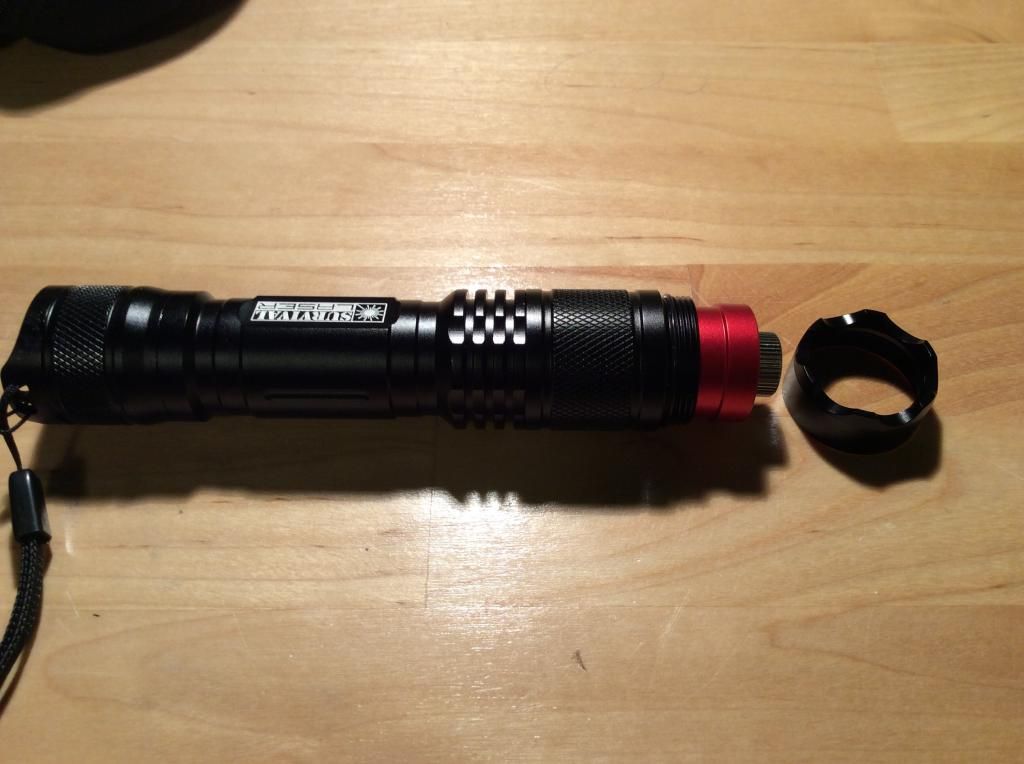
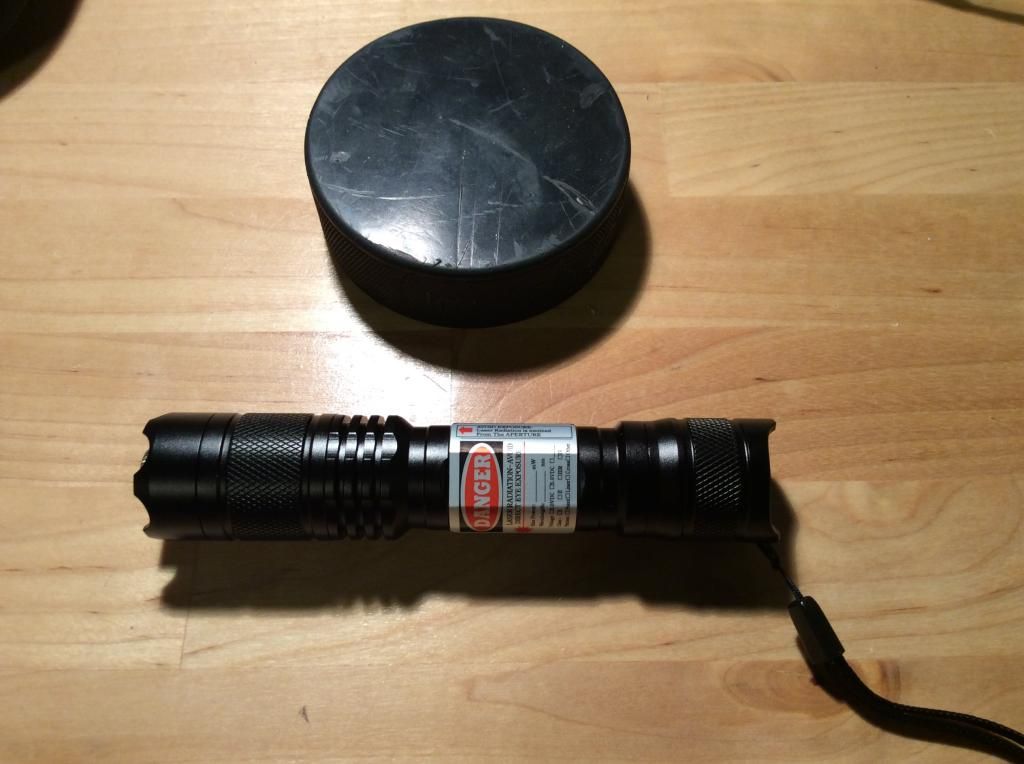
And it's completed! It took me about 15 minutes, but I was typing and taking photos in between. I'm sure even a noob like me could assemble this beauty in under ten minutes!
Here's the finished product, next to hockey puck for size comparison (because Canada).
Part 3: Use and Summary!
Welp, I'm an idiot Yes, the batteries they sent are the correct ones. In fact, it says they'll send one, but they actually sent two! Very kind of them. So I gotta let them charge, and I'll get right back to you!
...
Shipping:
The shipping was alright, although I think most of it wasn't SL's fault. It wasn't speedy, three weeks from US to Canada isn't lightning fast, but it could definitely be worse. The tracking number didn't work, but that's not SLs fault either. In fact, when I had questions about shipping, Gary was very helpful and kind, and even helped me in some upcoming projects!
I give shipping a 9/10
Packaging:
The packaging was pretty good, nothing loose, nothing shaking, and nothing damaged. Someone was very meticulous about the bubble wrap, and that was great.
I give packaging a 10/10
Customer service:
Gary is a great guy. Speedily answered all my questions, he went above and beyond the call of duty. Any issues were promptly resolved.
I give customer service a 10/10
Accessories:
I'm really happy with the extra goodies that come in the 'deluxe' packaging. The Eagle Pair goggles are awesome, they block out red light very well, and are surprisingly comfortable. If I hated the colour red, I would wear these everywhere I go . As mentioned before, the warning sticker made me happy. And finally, I found very good use for the lens cap that came with, I switched it out for the tailcap on my first laser build, and it looks very good there. It also glows, which is great for reasons I'll explain in another thread. Plus, the black silicone thingy works great as a dust cap, and in my opinion looks better than the green one.
I give the accessories a 10/10!
The Laser Itself:
As expected, the laser is super solid. Very high quality materials, and precise machinery. Even for a red laser, it's quite bright! About equal to 40-50mW of 532nm green. Goggles are a must when indoors with this laser. Again, the host is beautiful. If you ever buy a host/parts kit from Survival Laser, I HIGHLY recommend you get the S4. Plus, it burns like a dream. I haven't done any tests yet, but I quickly put the black silicone lens cover in the focal point to see what happens, and through my glasses I could see that not only did it smoke instantly, but after about a second a small flame appeared! I can even see a nice red beam in the dark. One extra thing, I would recommend getting the extended focusing ring, as it's kinda difficult to focus the laser with the bezel in the way
I give the laser a 9.8/10
Overall:
I think Survival Laser is a fantastic company, run by great people (or if it's run by Gary alone, then good on him!). They offer different 'difficulty levels', so you can go from a simple assembly like I did, all the way up to soldering and adding in parts of your own. All of their stuff is super high quality, and at a fantastic price for everything too! This probably sounds like some paid advertising, but I'm just saying what I think of them. You can get the personal satisfaction of building your own laser, without the risk of being lost, or screwing up too bad.
Overall, I give Survival Laser a 9.9/10!
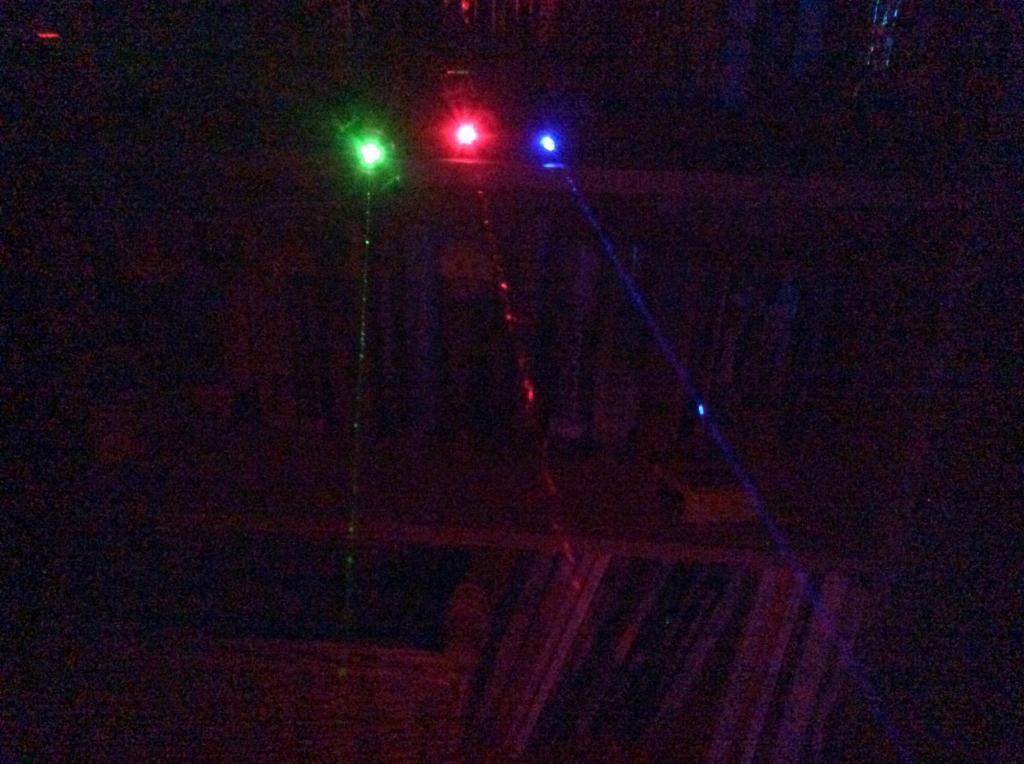
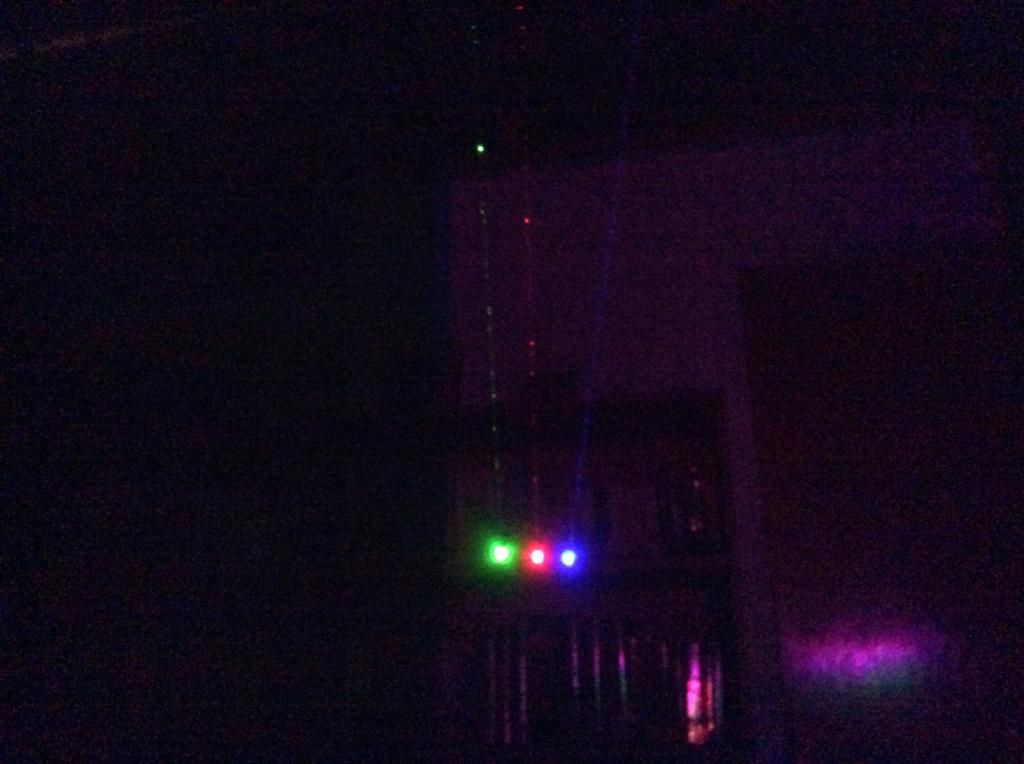
The trio is complete!
Thank you very much for reading! I put a lot of work into this, and I always enjoy seeing people like the things I work on! If you have any questions , tips, or if you think I'm missing anything feel free to tell me!
-Gabe :beer:


UNBOXING TIME!!!
I'm super pumped, my laser parts bundle from Survival Laser arrived, and I can't wait to open it. I haven't even seen what's all inside yet, so you'll be along the journey with me
Part 1: The Unboxing
The package arrived in an adrenaline-inducing generic grey bag:

"Dangerous Goods" checked off... That's what I like to see

Inside the bag, there was a second bag that looked just like the outside one. Here, the contents of the inner bag are shown:

I see a battery box with charger, glasses case, host box, and a holster!
Inside the glasses case we find:

Goggles, a lens cleaner, a bubble wrap anti-static bag that holds the pre soldered driver, pill, and diode/module, and a small plastic bag containing a lens cap cover, focusing ring, optics, and an Allen wrench. Good packaging
In the battery box is the charger and two batteries. Call me stupid, but are these the batteries it's supposed to take?

Up next is the one I'm really excited about! The host box. Same as everything else, it's all bubble wrapped.

The host too is all protected. He sure loves his bubble wrap, I can say that!

My god this is a beautiful little host. I'm very glad I chose the S4 host!

Oh! A gift! A little laser safety warning sticker! That was a welcome surprise

Part 2: The Assembly
Now I'm gonna hope the assembly goes pretty smoothly, cause I'm an absolute noob. SL has some instructions/info on their website, so I'll look there.
I started by screwing the focusing ring onto the lens, and the lens into the module. As strait forward as this is, I of course somehow manage to drop the lens assembly onto the floor, and have it roll over into the dusty corner. *facepalm*

I then put the diode and housing into the heatsink, and tightened well with the included Allen key

*sigh*... These things are bound to happen. The heatsink won't fit through the front part of the host, so I gotta take it off, screw the driver and pill into its place FIRST, then put the heatsink on the diode after it's been fed through the front part. Duh...
Now I've put everything in place, and all that's left is to screw on the bezel!!

And it's completed! It took me about 15 minutes, but I was typing and taking photos in between. I'm sure even a noob like me could assemble this beauty in under ten minutes!
Here's the finished product, next to hockey puck for size comparison (because Canada).

Part 3: Use and Summary!
Welp, I'm an idiot
...
Shipping:
The shipping was alright, although I think most of it wasn't SL's fault. It wasn't speedy, three weeks from US to Canada isn't lightning fast, but it could definitely be worse. The tracking number didn't work, but that's not SLs fault either. In fact, when I had questions about shipping, Gary was very helpful and kind, and even helped me in some upcoming projects!
I give shipping a 9/10
Packaging:
The packaging was pretty good, nothing loose, nothing shaking, and nothing damaged. Someone was very meticulous about the bubble wrap, and that was great.
I give packaging a 10/10
Customer service:
Gary is a great guy. Speedily answered all my questions, he went above and beyond the call of duty. Any issues were promptly resolved.
I give customer service a 10/10
Accessories:
I'm really happy with the extra goodies that come in the 'deluxe' packaging. The Eagle Pair goggles are awesome, they block out red light very well, and are surprisingly comfortable. If I hated the colour red, I would wear these everywhere I go
I give the accessories a 10/10!
The Laser Itself:
As expected, the laser is super solid. Very high quality materials, and precise machinery. Even for a red laser, it's quite bright! About equal to 40-50mW of 532nm green. Goggles are a must when indoors with this laser. Again, the host is beautiful. If you ever buy a host/parts kit from Survival Laser, I HIGHLY recommend you get the S4. Plus, it burns like a dream. I haven't done any tests yet, but I quickly put the black silicone lens cover in the focal point to see what happens, and through my glasses I could see that not only did it smoke instantly, but after about a second a small flame appeared! I can even see a nice red beam in the dark. One extra thing, I would recommend getting the extended focusing ring, as it's kinda difficult to focus the laser with the bezel in the way
I give the laser a 9.8/10
Overall:
I think Survival Laser is a fantastic company, run by great people (or if it's run by Gary alone, then good on him!). They offer different 'difficulty levels', so you can go from a simple assembly like I did, all the way up to soldering and adding in parts of your own. All of their stuff is super high quality, and at a fantastic price for everything too! This probably sounds like some paid advertising, but I'm just saying what I think of them. You can get the personal satisfaction of building your own laser, without the risk of being lost, or screwing up too bad.
Overall, I give Survival Laser a 9.9/10!


The trio is complete!
Thank you very much for reading! I put a lot of work into this, and I always enjoy seeing people like the things I work on! If you have any questions , tips, or if you think I'm missing anything feel free to tell me!
-Gabe :beer:

Last edited:


