Welcome to Laser Pointer Forums - discuss green laser pointers, blue laser pointers, and all types of lasers

Buy Site Supporter Role (remove some ads) | LPF Donations

Links below open in new window

FrozenGate by Avery

Noob Build NDG700 520nm

ECBL

0
Joined
Oct 12, 2014
Messages
41
Points
0
Hey everyone,
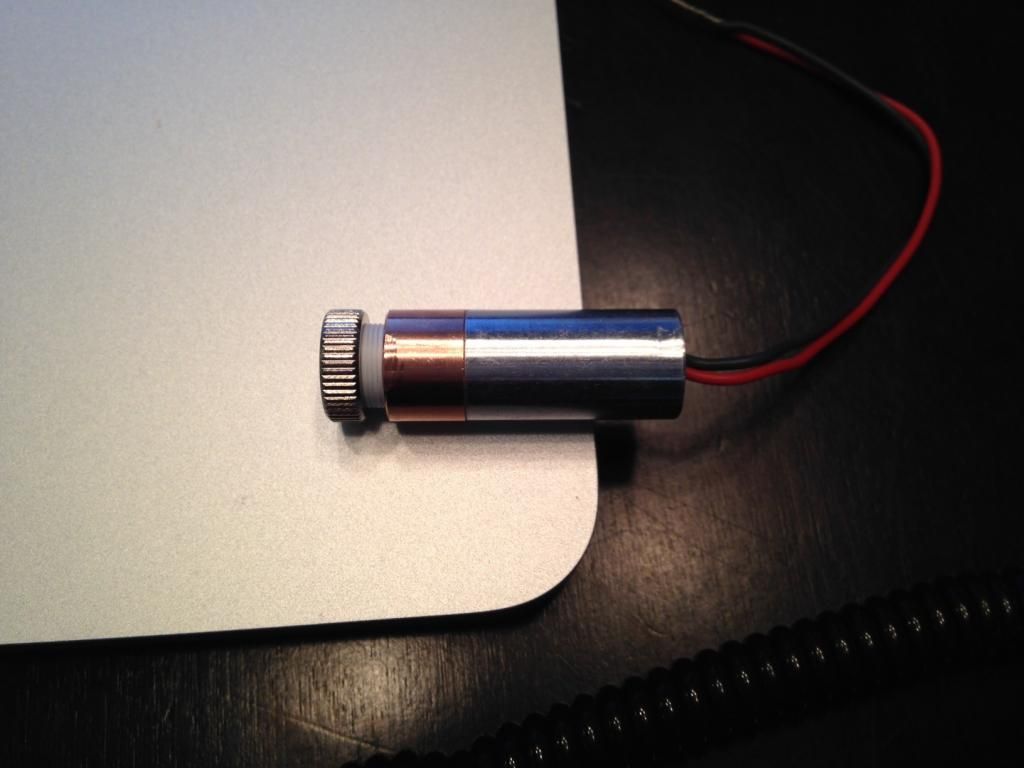
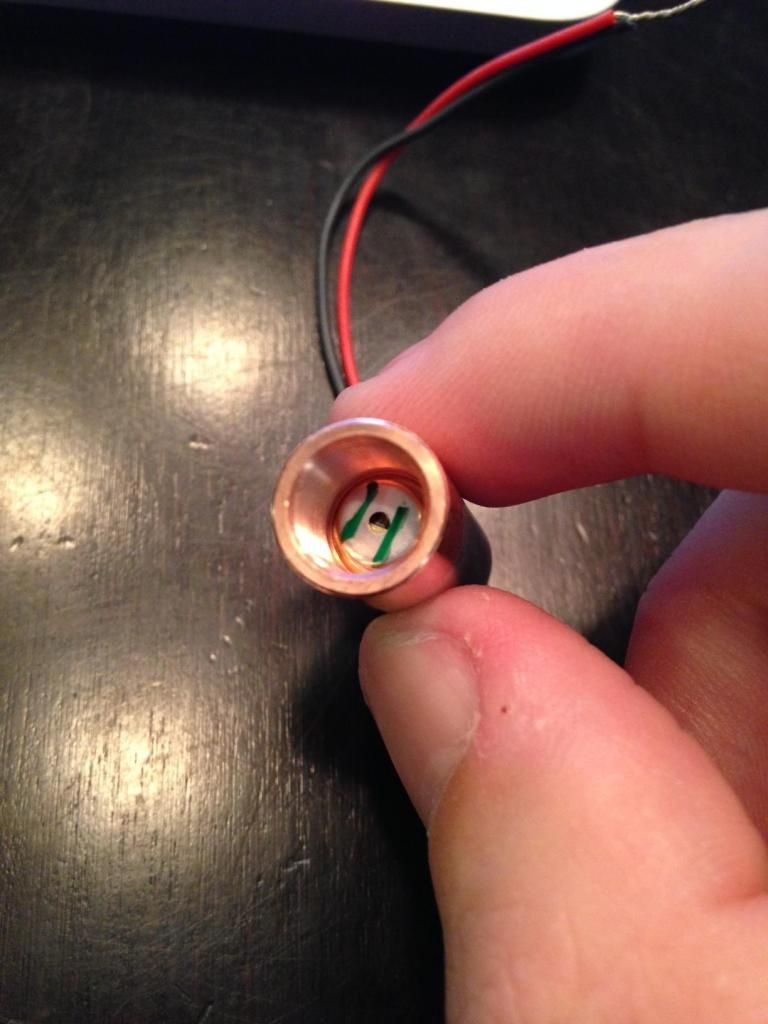
I thought I'd share with you my latest purchase: a Nichia NDG 700mW 520nm from DTR. I'm pretty excited, as this will be my first high powered greenie, and my second build as of yet :D (not counting the three failures I had while trying to harvest DVD burner diodes) I quickly learned the importance of choosing the right amount of current with those poor diodes... 1.2A was clearly too much.

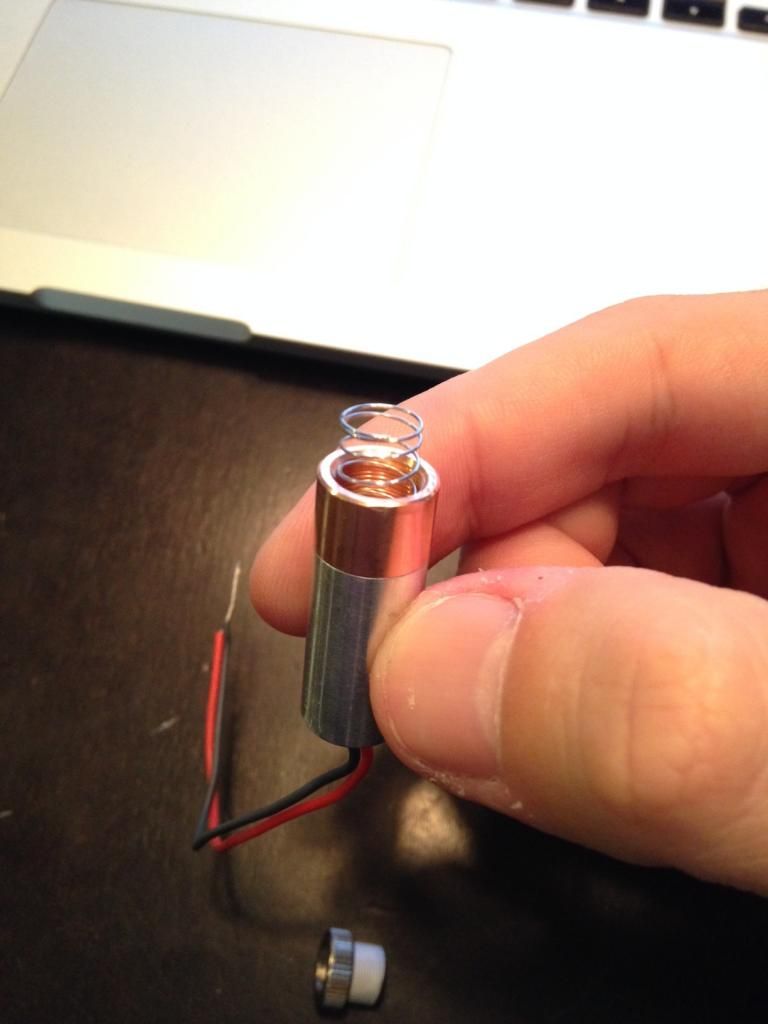
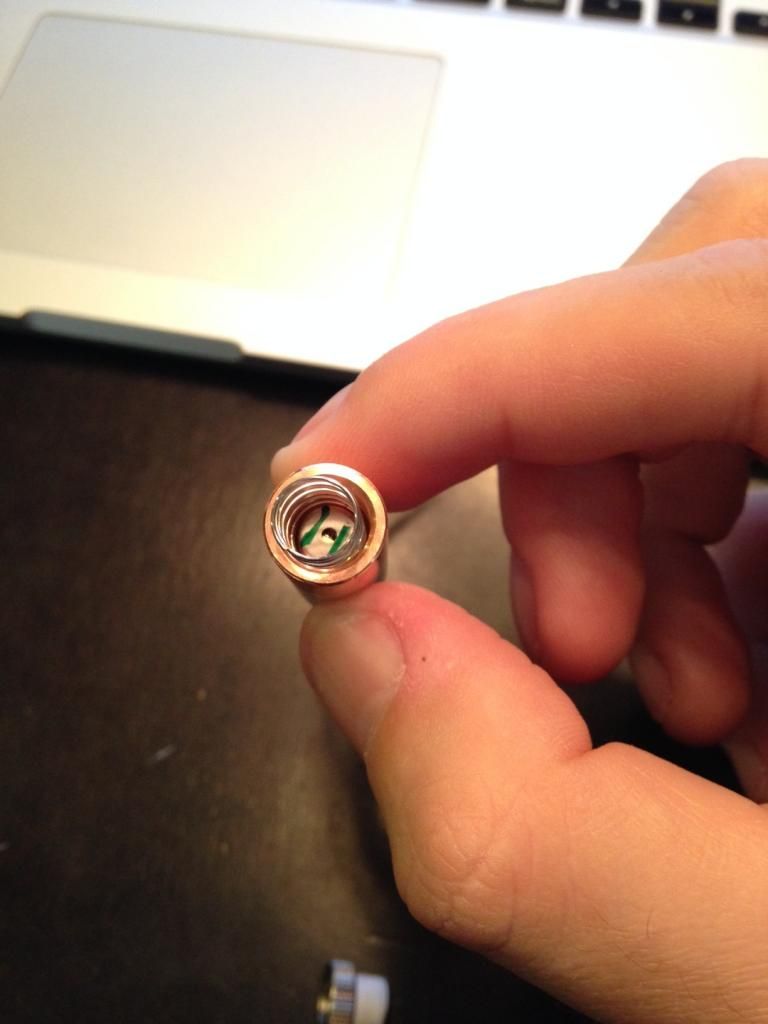
Perhaps this will actually be more of an "Assembly", as I opted for the NDG700 with 1.8A X-Drive already attached... with that price tag I didn't want to screw anything up!.. I'd rather this not be one of those "Learn from your mistakes" moments.

I also want to take this opportunity to thank DTR for being so patient and helpful with my questions. I swear, I'd send him an email and he'd respond before I even thought to check back! Not to mention he got this thing to me in a mere three days! Great customer service!:thanks:
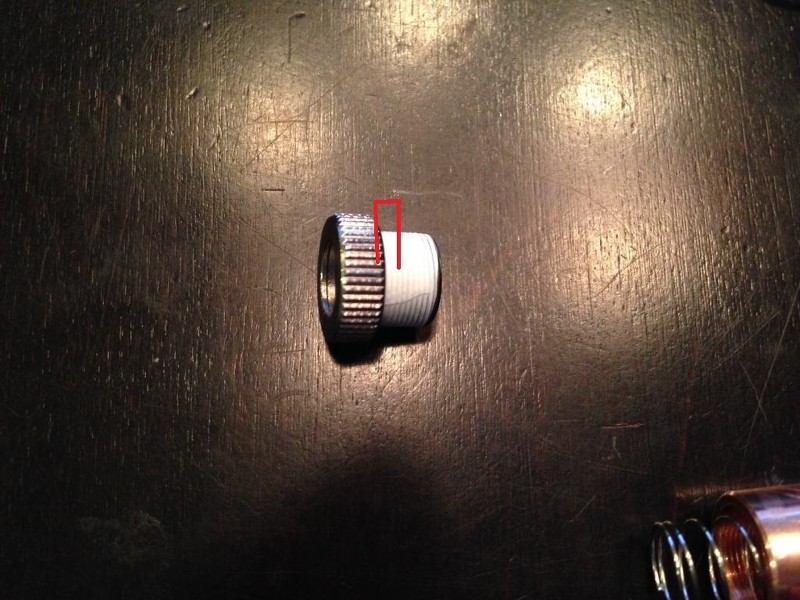
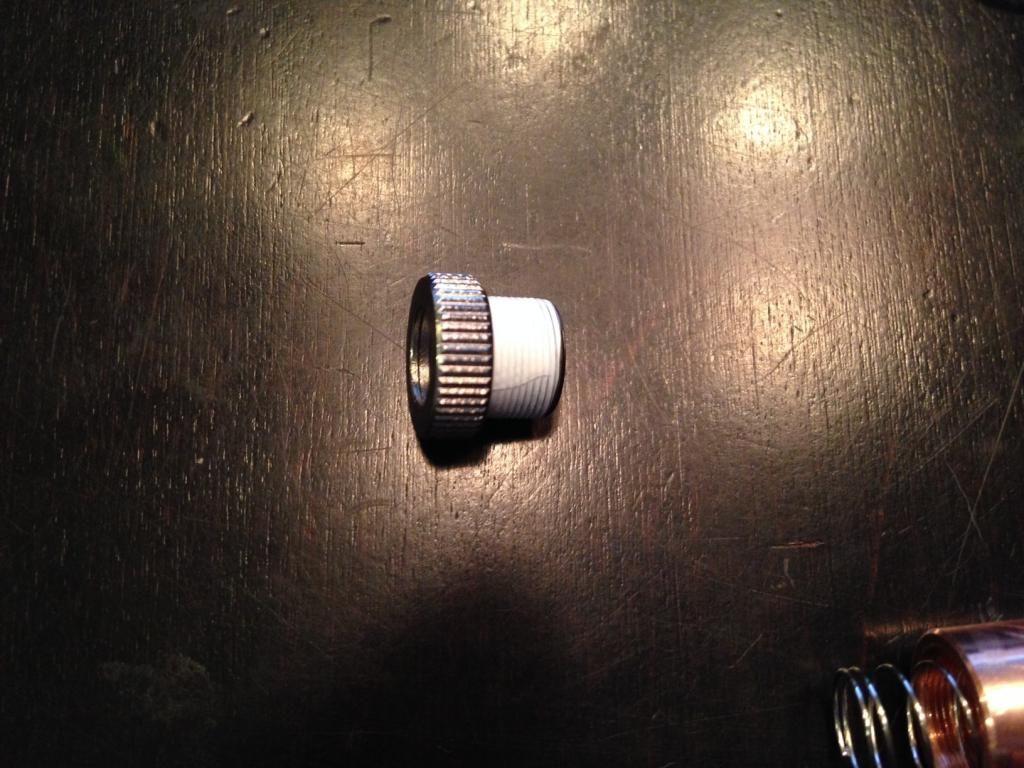
Alright, so back to my planned "Assembly". As much as I'd like to put this baby in a custom host, I'm a little low on funds now :oops: lol. So I decided to order a Stainless Steel host from Survival Lasers. I'll be using an extended and tapered copper heat sink with it along with Arctic Silver 5... hopefully that will act as a sufficient setup for this diode. For now I'm just waiting on the SL host and Blank Battery Contact Board. As soon as it arrives I'll have to document my process of assembly and results... as well as the precious beam shots :) In the meantime, I've added some teflon tape to the lens threads for sturdy focusing. I know patience is a virtue, but I'm Sooo excited to get this built!
Thanks for reading, I'll keep you posted!
:drool:


Oh man this is gonna be so cool, really wish I could convince myself to get one of these diodes.

Gonna be a visibility monster :D
 
Gonna be a visibility monster :D

Oh man, I hope so! :eg: My WL S3 445nm @1.4W puts out a beautiful beam, and I'm pretty certain this will blow that out of the water!:gun:
 
Wow! Jealous! Go big or go home eh? Well I hope it goes well and Keep us updated for sure. Just keep that focus lens on so that window stays super clean
 
Great hope the build goes well. One thing of note I see you went with some teflon which is not a bad idea but I would suggest only putting it on the top 1/3 of the threading so it is further away from getting in the module. Over time of adjusting the lens bits can fray and get in the module. I would do it only this far so it just starts threading in the module when you are near fully focused.:beer:

0Pf307.jpg
 
Just keep that focus lens on so that window stays super clean

Yep, I was already super paranoid about that. The only time I'll be taking the lens off again will be to put on the Extended Focusing Ring on when it arrives with the SL host. I was thinking of getting that conical focus adapter but wasn't sure how the aluminum would look with the stainless steel... in the photos it looks like the aluminum is a bit lighter... maybe down the road I'll order one of those :)
 
I would suggest only putting it on the top 1/3 of the threading so it is further away from getting in the module. Over time of adjusting the lens bits can fray and get in the module. I would do it only this far so it just starts threading in the module when you are near fully focused.:beer:

Ah thanks DTR, I was wondering if that might be an issue over time. I did cut the strip to half width as to avoid overhang, but I'll definitely go narrower now. Good to know, as I had teflon taped my M140 build the same way. Perhaps it would be worth adding an external spring instead?
+1 rep for you! :thanks:
 
Wow, way to jump in there! I got the exact same module (NDG700 w/1.8A X-drive) and put it in one of sinners Cypreus-IIb all copper host. It peaked at just over 1W, and very stable.

It definitely is the brightest laser of my collection, blowing my ~3W 445nm away. It still is crazy how much brighter it is than a laser almost 3X as powerful. The beam looks SOLID outside at night.

Be careful with that host, this guy heats up alot, really fast. Good thing you got the extended copper sink. That's why I put it in the Cypreus-IIb, lots of copper to suck up that heat. These greens are probably the least effiecent diodes out there, so they run hot. Even in all that copper, from a cold start, the head of the laser is pretty warm after one minute. I've only ran it that long when metering it.

Good luck on the build!
 
Green with envy :) I'm so tempted to use some BTC to buy one from DTR.
 
Be careful with that host, this guy heats up alot, really fast. Good thing you got the extended copper sink. That's why I put it in the Cypreus-IIb, lots of copper to suck up that heat. These greens are probably the least effiecent diodes out there, so they run hot.

Thanks for the input. Yea, I'm kinda curious what a healthy duty cycle will be for it with the SL host and extended/tapered copper sink. I read somewhere that the stainless steel, although attractive, isn't that great at dispersing the heat... hopefully that isn't the case :undecided:
I guess I could always upgrade it later on to a custom solid copper host. BTW, how does your Cypreus hold up against oxidation/tarnishing? Do you have to buff it out frequently? I guess I'd kinda like the look of tarnished copper, as long as it doesn't affect its heat sinking abilities.

Thanks again :beer:

Yeah, it gets pretty dark from the oxidization. I've been using Rennaissance Wax to protect it, and while it seems to greatly slow it down, I have yet to get it to stop tarnishing. It's not bad though, I just rub it down with brasso when I want to make it shiny.
 
Yeah, it gets pretty dark from the oxidization. I've been using Rennaissance Wax to protect it, and while it seems to greatly slow it down, I have yet to get it to stop tarnishing. It's not bad though, I just rub it down with brasso when I want to make it shiny.

Well ChaosLord, you convinced me! being that I'm still waiting for my SL host to even ship, last night I ordered one of Sinner's Cypreus-XL hosts...
Having read some of the reviews, I might be attempting to bite off more than I can chew, but that's usually how I like to do things :eg:

So, hopefully the Cypreus-XL arrives before the SL host, because I know my impatient @$$ will probably wire it up to whichever comes first, just dying to see this beauty in action :crackup:

Apparently the Cypreus models are a bit more of an advanced build... having to press fit the module into the pill / sink. If anyone wants to chime in with some first hand advice, I'd greatly appreciate it. As you can see in the OP, my driver is wired directly to the diode pins and contained within the rear of the module...

Should I remove the rear piece and have the driver out in the open prior to installation? I'll be nervous as hell when it comes time to assemble everything... hopefully it all pays off!
 
I have both the original Cyperius II and Cyperius IIb, neither are a difficult build. I didn't think he had any Cyperius II hosts left. Neither of these are press fit, they have a set scew.

With the Cypreus-II, you will need to remove the module back as the whole module will not fit. I put an m462 diode into one of these. I didn't even use the battery contact board, just slid the diode and driver into the top (with some thermal compound) and connected the driver to the host. I unsrewed the brass contact off the little plastic disc and popped it out. Then ran the negative lead from the driver, after cutting and stripping, up around the bottom of the pill. The positive I ran through the hole in the plastic disc and put the screw and brass contact back in. So the battery positive connected to the screw/brass contact, while the negative was wedged in between the plastic disc and pill.

The Cypreus-IIb is more straight forward. The heatsink screws completely out. This can fit the entire module, no need to remove the back. Just slap it in solder, tighten the set screw, solder the 2 wires to the batt contact and press it in. Screw that into the body, pop in batteries and let there be light!

I believe sinner used that same srew in heatsink with his other Cyperius hosts.
 
Ah thanks DTR, I was wondering if that might be an issue over time. I did cut the strip to half width as to avoid overhang, but I'll definitely go narrower now. Good to know, as I had teflon taped my M140 build the same way. Perhaps it would be worth adding an external spring instead?
+1 rep for you! :thanks:

I had teflon taped only the front half of the lens in my 9mm build and still managed to get a sliver of teflon onto the diode window while adjusting the focus. (I was pointing it up though) I turned it off quickly enough but power still dropped from 3.2W down to 2.5W with a lot of speckles. Fortunately, once I knew what had happened, I did not power it up some more and was able to clean the diode window with lens cleaning fluid and cotton swabs.


Back
Top