

- Joined
- Feb 5, 2008
- Messages
- 6,252
- Points
- 83
Hey guys,
Rayfoss and Lazerer (maybe others, not sure), started selling this host:
www.rayfoss.com
DIY Empty CLASSIC Host for Laser Point ( Complete Set )
I started selling heatsinks for them.
Heatsink is made of two components:
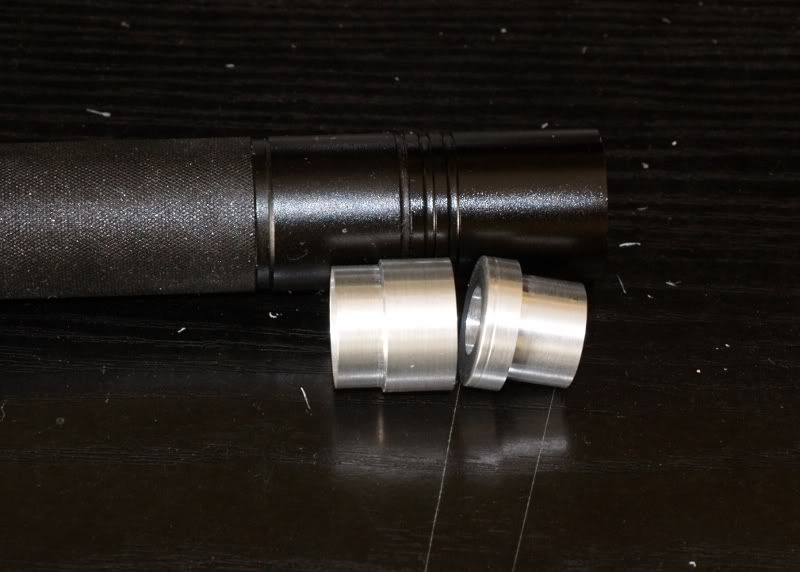
Driver part, and diode part. In the picture, they are oriented exactly as they would be if they were to be enclosed in the host.
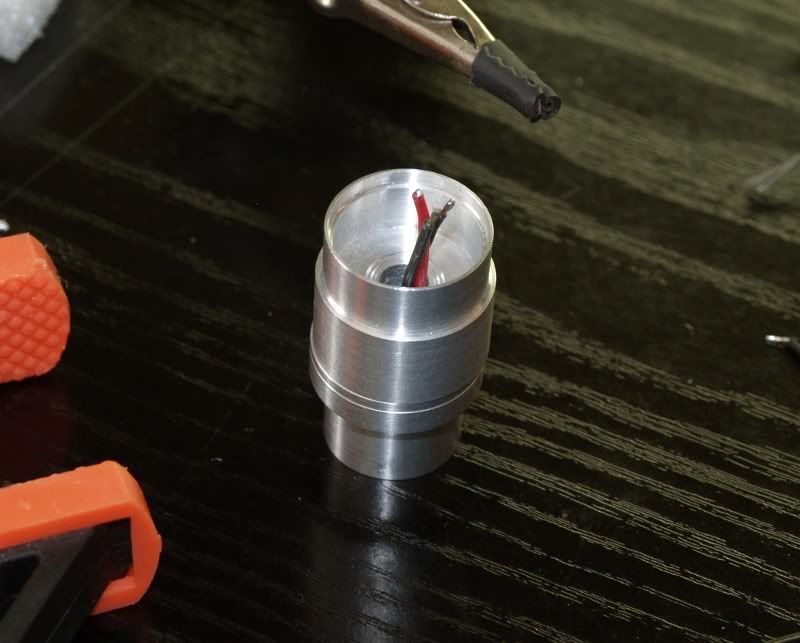
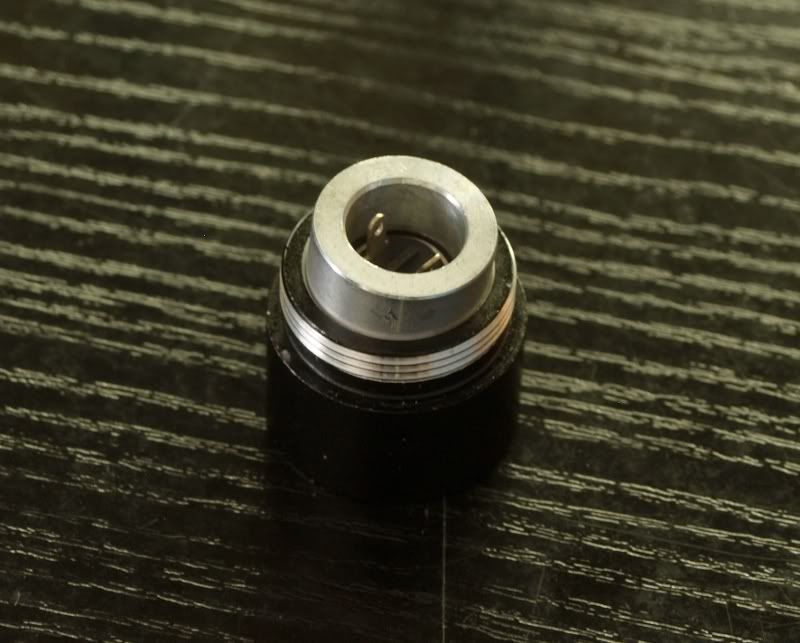
Looks at it's butt:
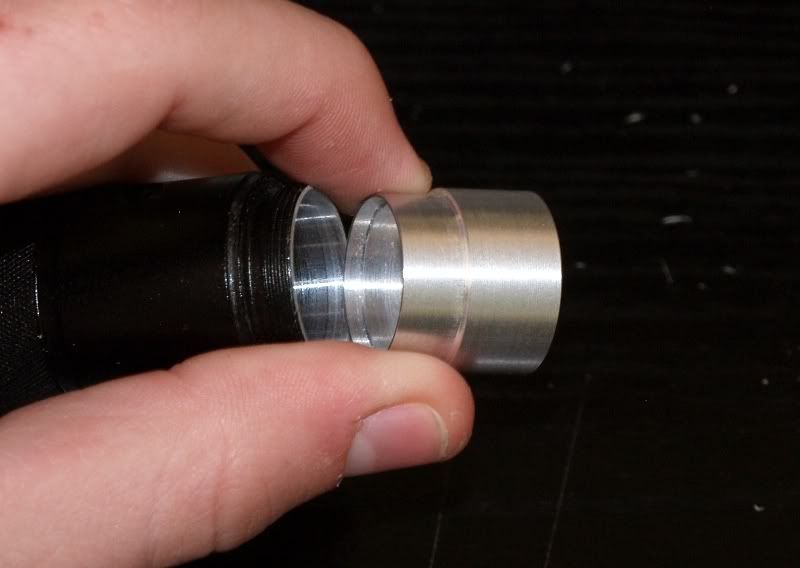

You can see that here, you can fit your 17mm driver board (or contact board). Hole is not for the diode, it's for the wires that run to your diode, here:

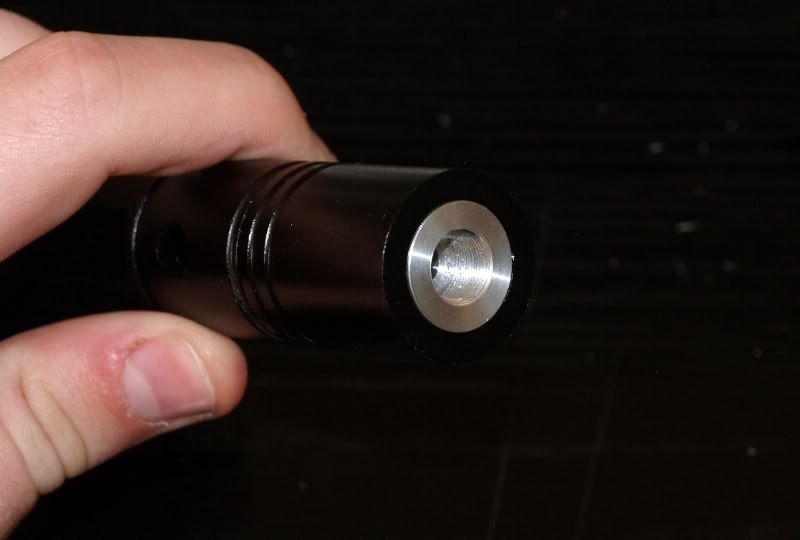
And on the other end, you pop in your lens.
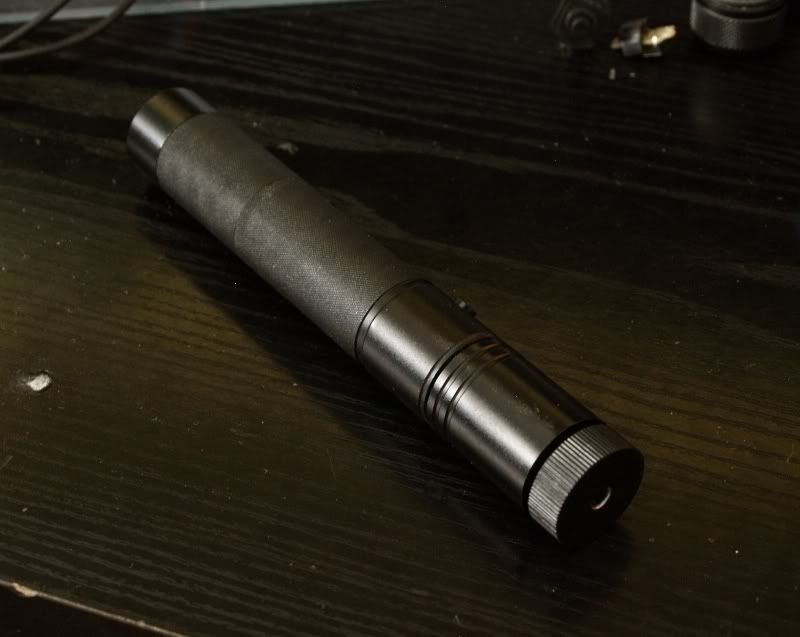
Empty host with heatsink is:
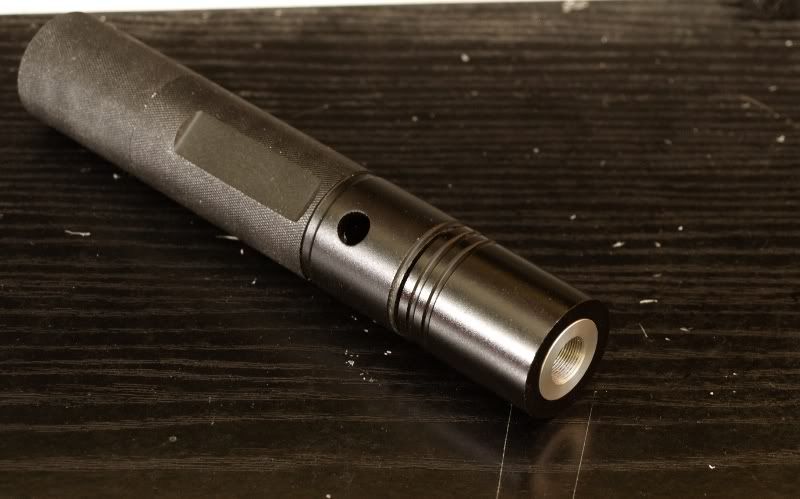
Heatsink is $15 - FREE shipping worldwide.
Assembly instructions:
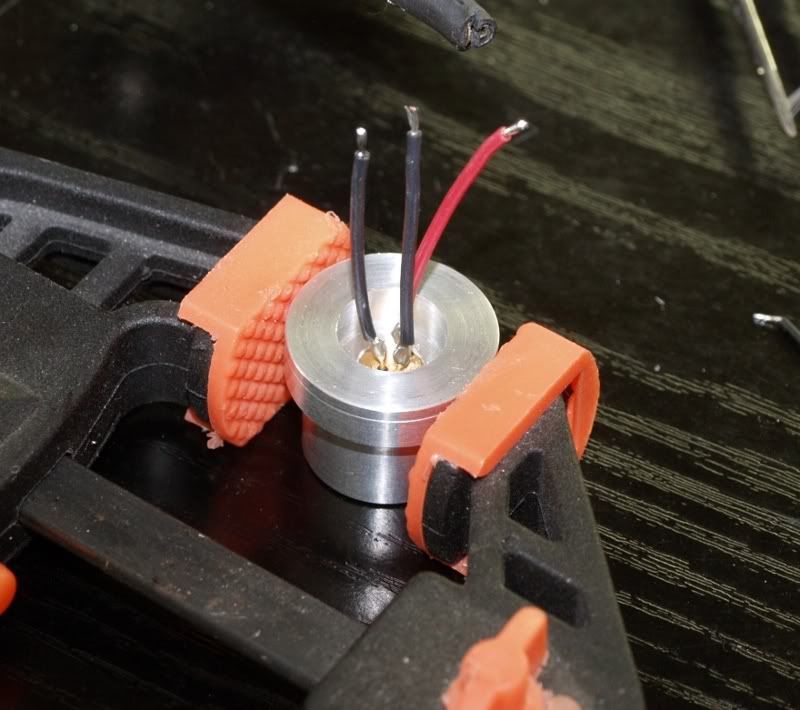
First you pressfit your diode into it's pocket, and solder your wires to it (about an inch will do). It's strongly reccomended you use the highly flexible silicon-insulated wire Moh and FP are selling here, 'cause it's going to be tight.
Naturally, isolate the wires from eachother with heatshrink tubing:
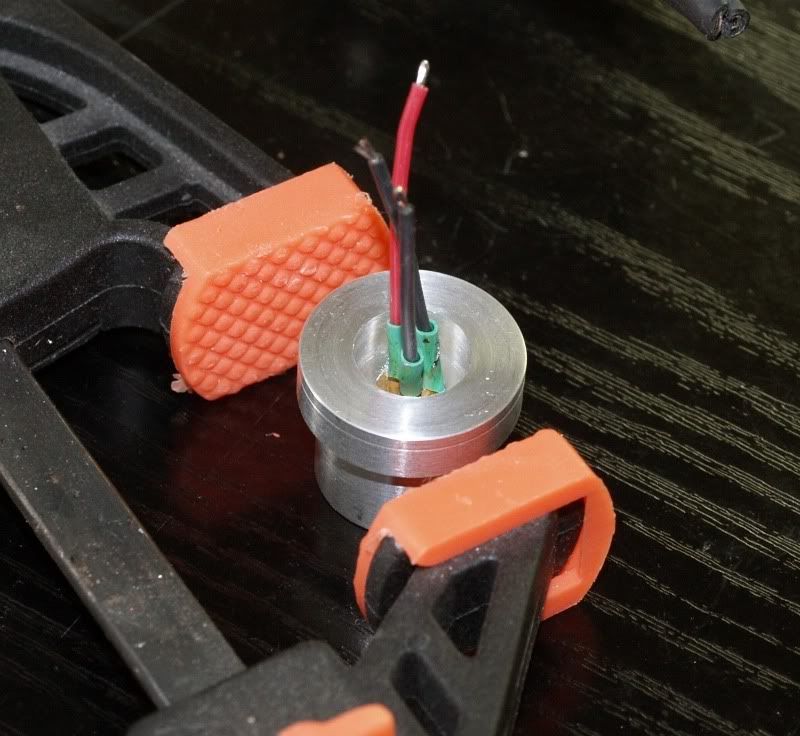
Now, put the driver part over the diode part, run your wiring through the hole.
Now just solder the wires to your driver. Now, you put the driver part heatsink into the body of the host, and lay the diode part on it. Put the host's head over the entire heatsink assembly, and before you start to twist it, put some pressure from the front (on the lens or the heatsink itsef), to prevent the diode part from spinning, which will tear apart your diode's pins.
Now you should be done with the laser's head.
But not with entire assembly.
You need to construct a small board that will hold your switch:
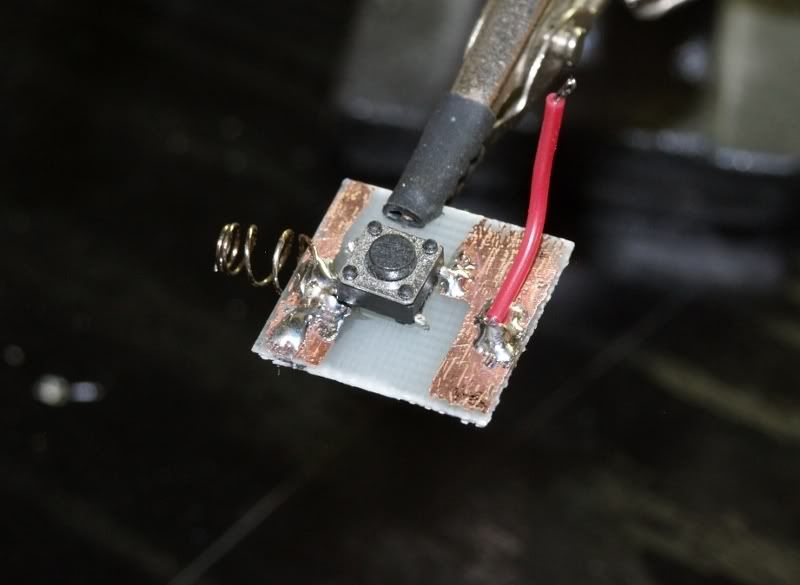
The board should be just a pinch less than 17.50 mm wide, because that's the width of the barrel where the switch will be located.
The center of the switch must be 10.0 mm from the closest end of the heatsink (the driver part, ofcourse).
From the switch, you have exactly 10.0 more milimeters to the battery. I reccomend putting using 15mm board and 5 mm long spring for the battery contact.
The battery barrel narrows near the switch and will not allow your battery to put unwanted pressure on your assembly.
Now about the tailcap with the key:
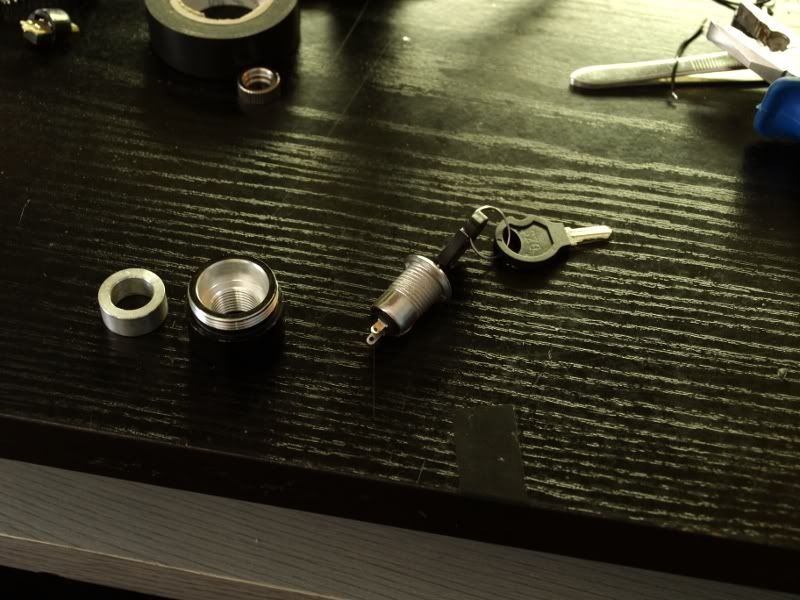
You are supposed to pressfit this tiny aluminium part over the 14mm keyswitch:
However, you still have not made the ground connection. When they keyswitch is ON, the two prongs are connected, however in no state is either one connected to the case.
You have to improvise a connection (i.e. you're pretty much on your own).
For this 635nm laser, I have stripped bare a multi strand wire, soldered one end of it to one of the prongs, and other end I've let to get caught in the threads between keyswitch and the tailcap itself.
On the other I've soldered a small spring to ensure good contact with my battery.
Now, for the focus ring:
Simply glue one Aixiz focus ring in the existing focus ring, the threading for the original host's lens assembly (which is promptly ignored and left out here) is wide enough for entire focus ring to fit. A drop of super glue, half hour later it's the host matching focus ring.
THAT'S it folks. Enjoy your new laser.
P.S. If anything is unclear, ask away and I'll take more pictures to explain it.
Rayfoss and Lazerer (maybe others, not sure), started selling this host:
www.rayfoss.com
DIY Empty CLASSIC Host for Laser Point ( Complete Set )
I started selling heatsinks for them.
Heatsink is made of two components:
Driver part, and diode part. In the picture, they are oriented exactly as they would be if they were to be enclosed in the host.
Looks at it's butt:
You can see that here, you can fit your 17mm driver board (or contact board). Hole is not for the diode, it's for the wires that run to your diode, here:
And on the other end, you pop in your lens.
Empty host with heatsink is:
Heatsink is $15 - FREE shipping worldwide.
Assembly instructions:
First you pressfit your diode into it's pocket, and solder your wires to it (about an inch will do). It's strongly reccomended you use the highly flexible silicon-insulated wire Moh and FP are selling here, 'cause it's going to be tight.
Naturally, isolate the wires from eachother with heatshrink tubing:
Now, put the driver part over the diode part, run your wiring through the hole.
Now just solder the wires to your driver. Now, you put the driver part heatsink into the body of the host, and lay the diode part on it. Put the host's head over the entire heatsink assembly, and before you start to twist it, put some pressure from the front (on the lens or the heatsink itsef), to prevent the diode part from spinning, which will tear apart your diode's pins.
Now you should be done with the laser's head.
But not with entire assembly.
You need to construct a small board that will hold your switch:
The board should be just a pinch less than 17.50 mm wide, because that's the width of the barrel where the switch will be located.
The center of the switch must be 10.0 mm from the closest end of the heatsink (the driver part, ofcourse).
From the switch, you have exactly 10.0 more milimeters to the battery. I reccomend putting using 15mm board and 5 mm long spring for the battery contact.
The battery barrel narrows near the switch and will not allow your battery to put unwanted pressure on your assembly.
Now about the tailcap with the key:
You are supposed to pressfit this tiny aluminium part over the 14mm keyswitch:
However, you still have not made the ground connection. When they keyswitch is ON, the two prongs are connected, however in no state is either one connected to the case.
You have to improvise a connection (i.e. you're pretty much on your own).
For this 635nm laser, I have stripped bare a multi strand wire, soldered one end of it to one of the prongs, and other end I've let to get caught in the threads between keyswitch and the tailcap itself.
On the other I've soldered a small spring to ensure good contact with my battery.
Now, for the focus ring:
Simply glue one Aixiz focus ring in the existing focus ring, the threading for the original host's lens assembly (which is promptly ignored and left out here) is wide enough for entire focus ring to fit. A drop of super glue, half hour later it's the host matching focus ring.
THAT'S it folks. Enjoy your new laser.
P.S. If anything is unclear, ask away and I'll take more pictures to explain it.


")