- Joined
- Aug 25, 2010
- Messages
- 533
- Points
- 63
Hello forum!
In the meanwhile that I, CDBeam and the rest of the staff are ending a new awesome laser monster
(and You know me, when I say "monster" is really a monster ), I have finally ended a new rocket project.
This new painful project take me a lot of effort, but it is really a wonder.
It is an half way between a sugar rocket and a firework. If You want You can call it "Sugarwork"
Well, let's start with the dance!
THE ROCKET SECTION
-------------------------
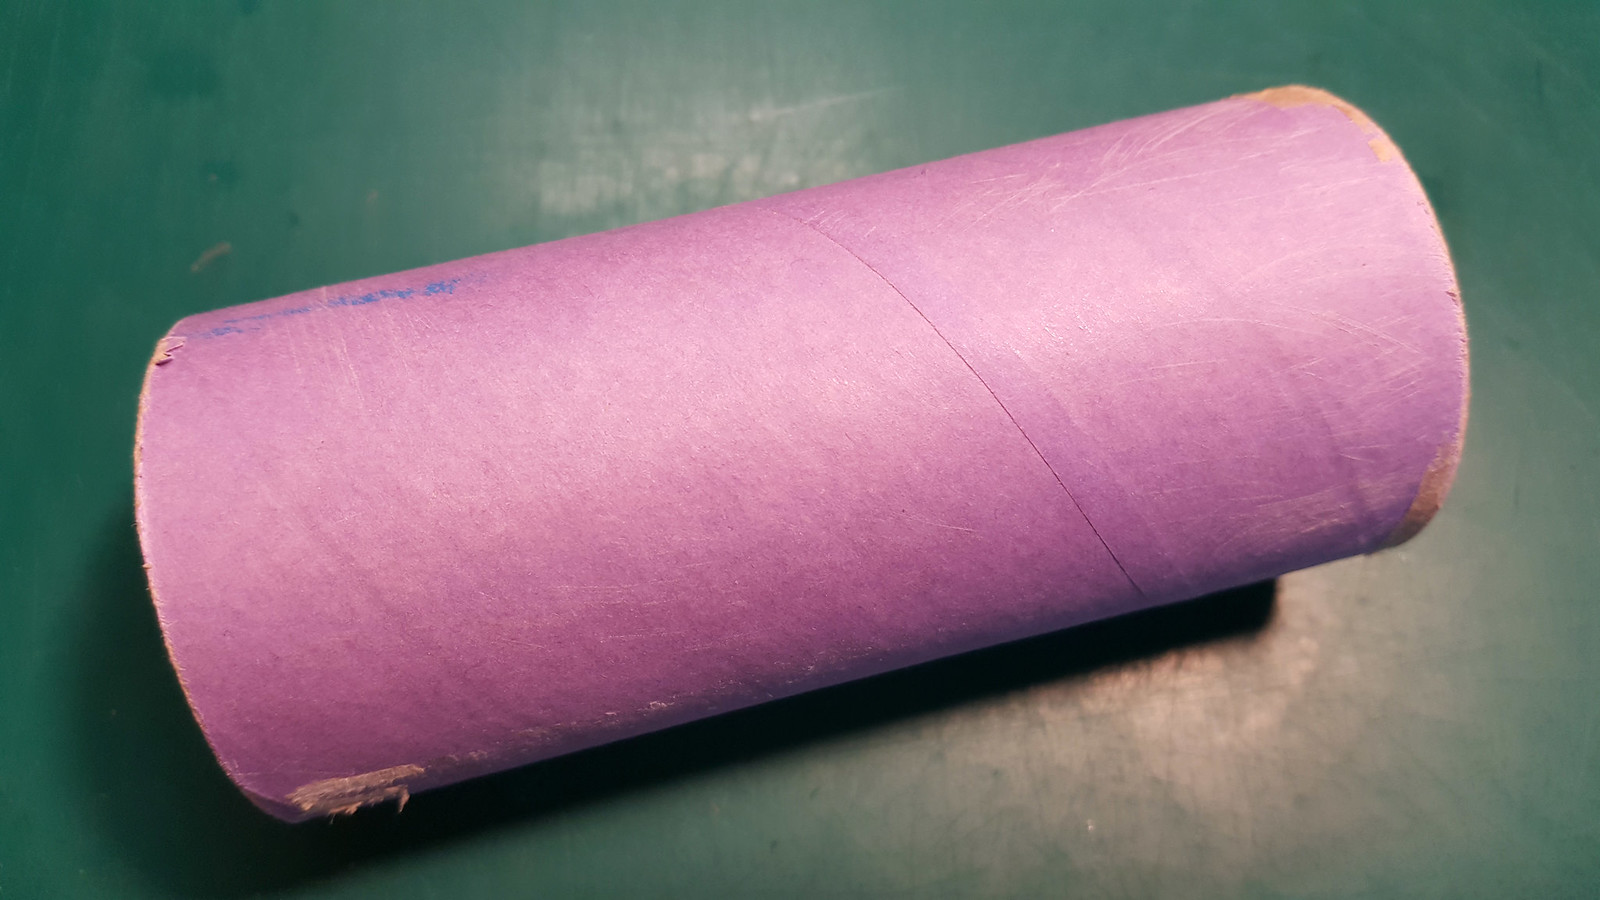
The original cardboard tube (100mm lenght, 44mm outside diameter, 41mm inside diameter):
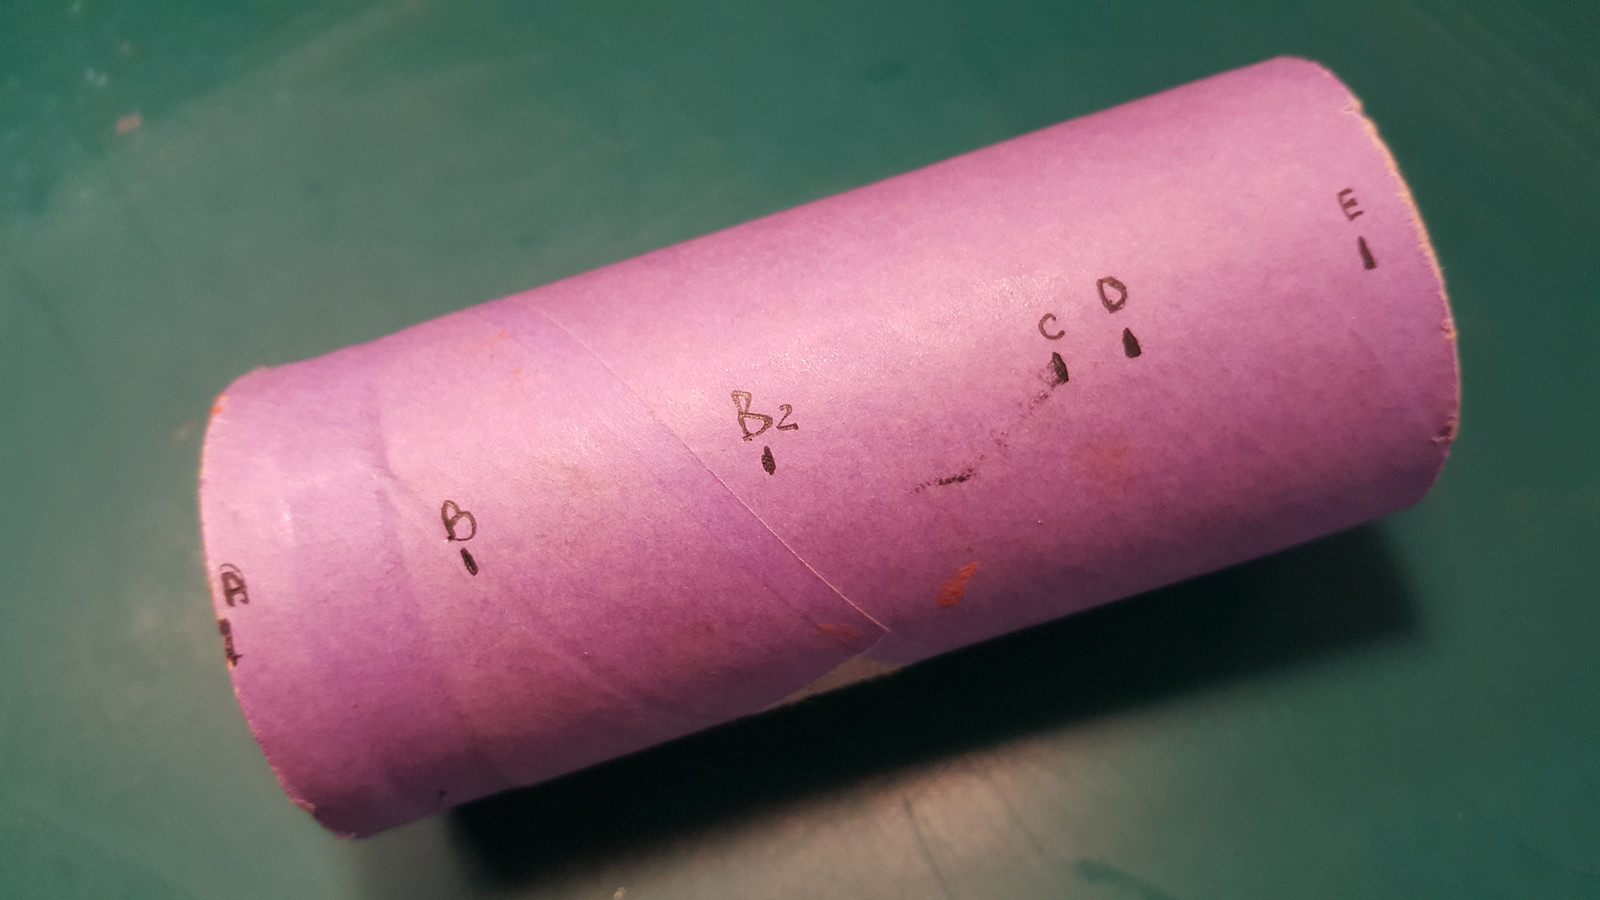
Internal partitions:
(from A to B -> nozzle; from B to C -> compound; from B to B2 -> hole depth into the compound; from C to D -> bentonite; from D to E -> head cap; from E to the end -> space reserved for the shell profile)
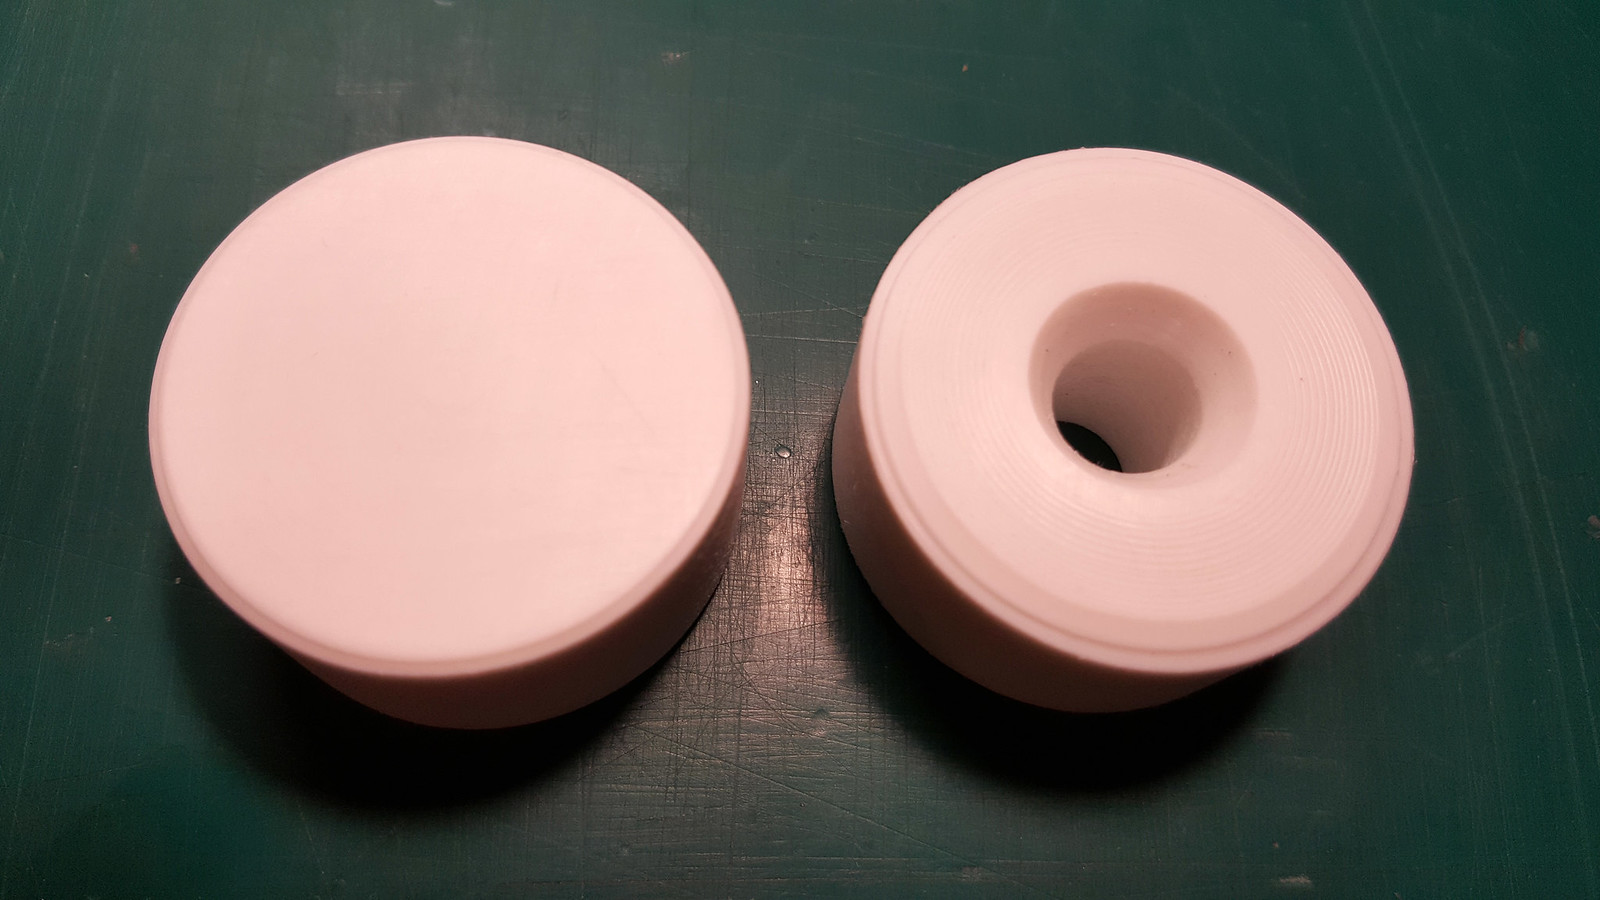
Plug and nozzle created from a PET bar with a precision lathe (20mm thickness):
Nozzle pressed and glued with a strong bicomponent epossidic glue:
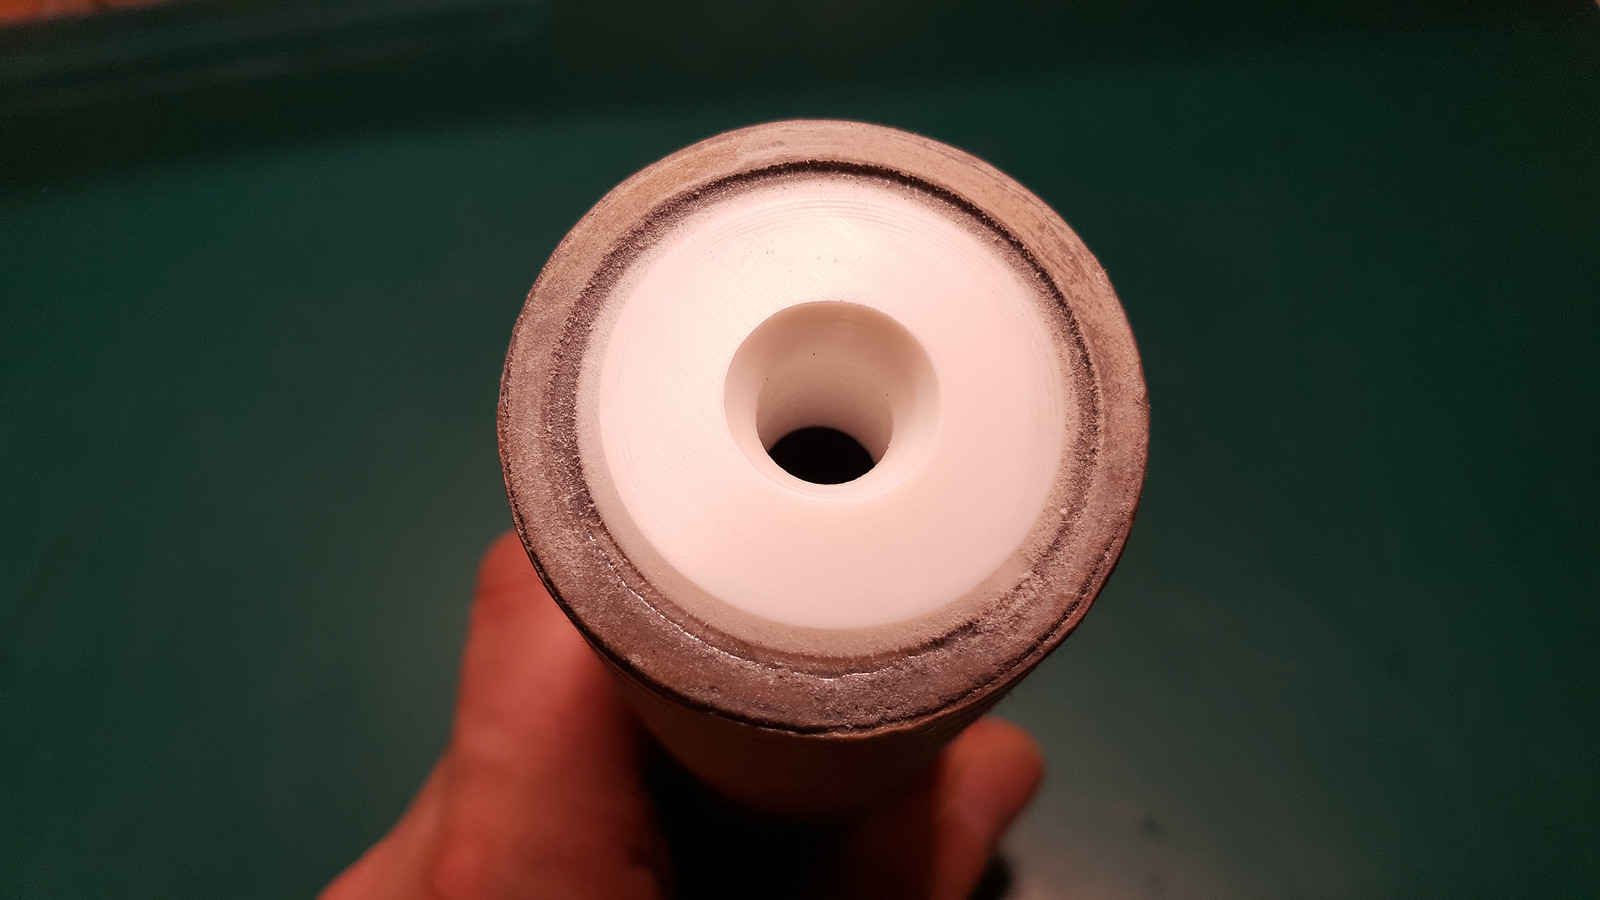
Nozzle deadly hold with a massive band:
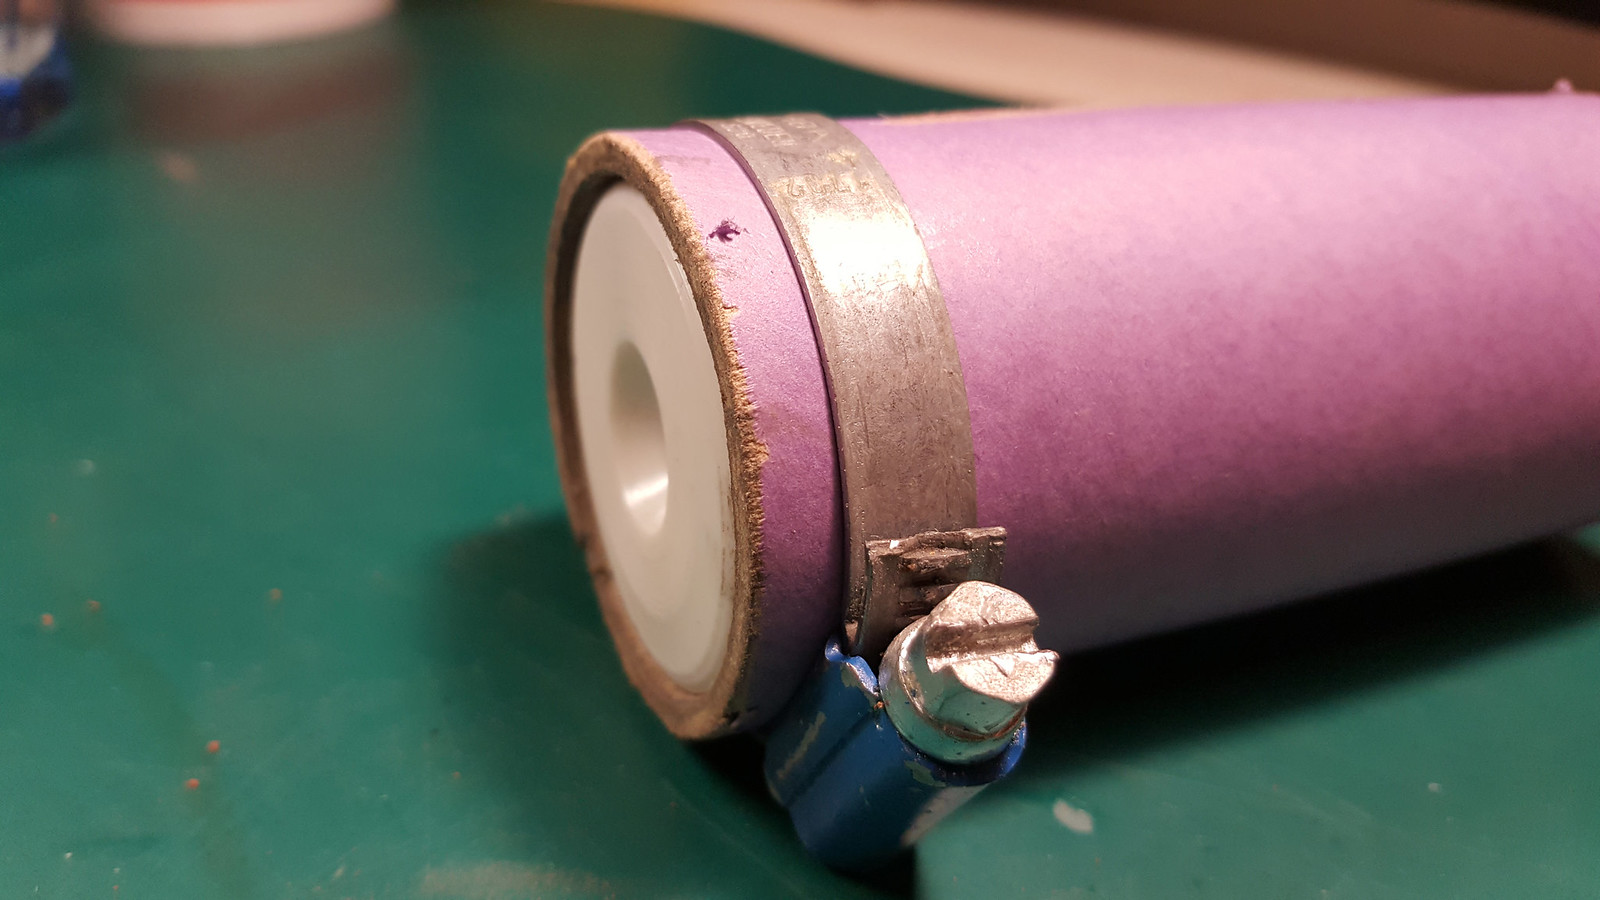
Inside the tube:
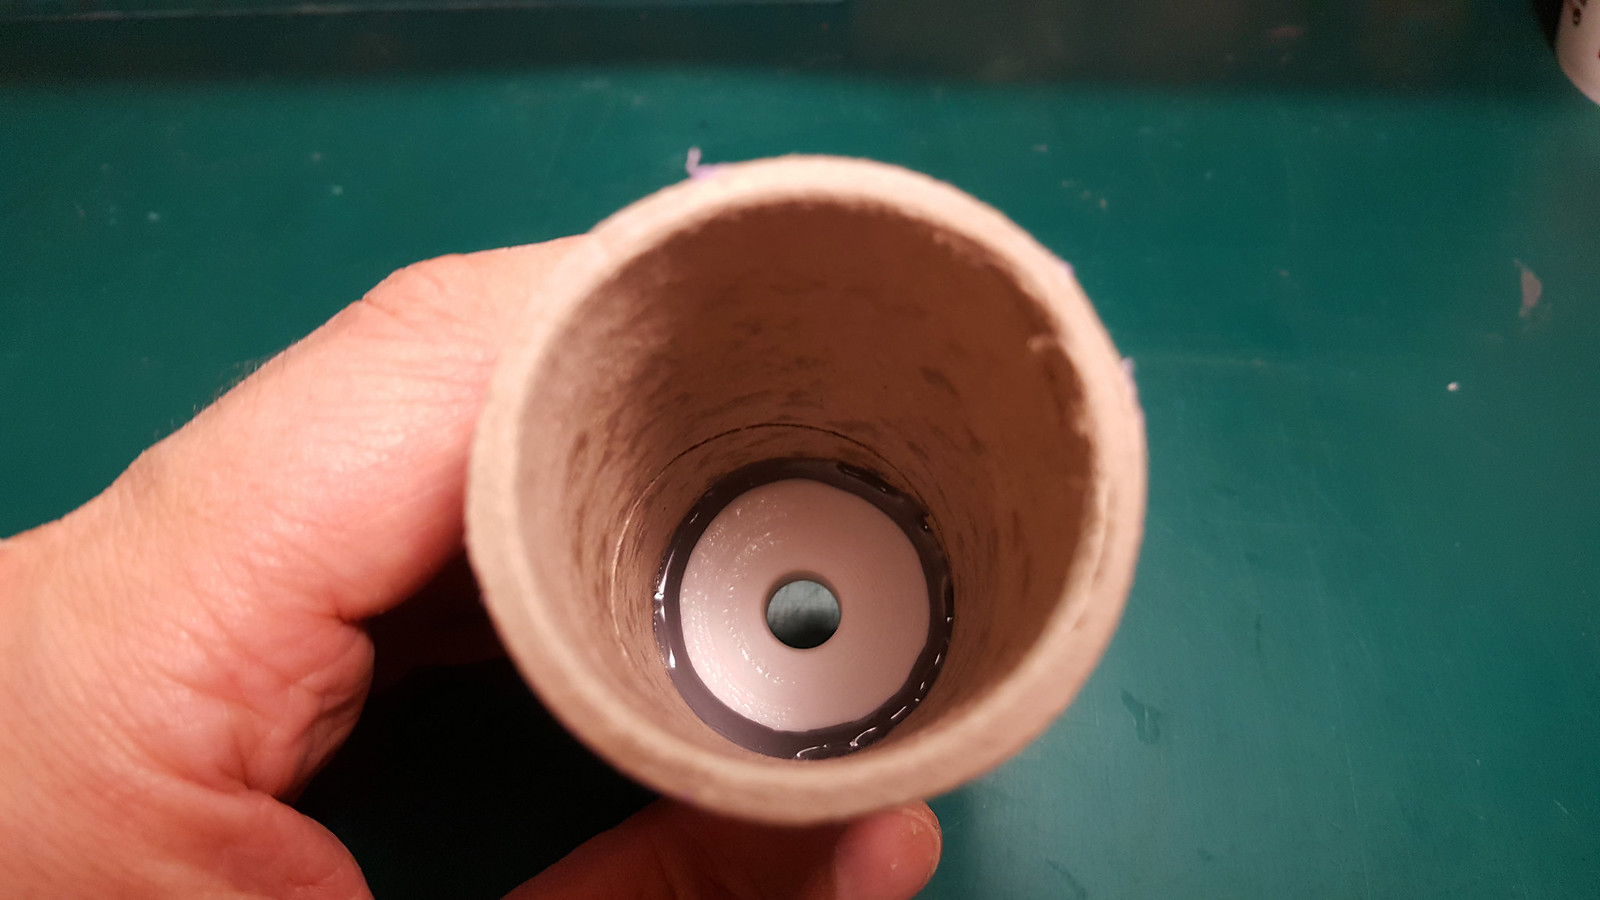
Hole filled with pressed bentonite to avoid spilled compound during the compacting procedure:
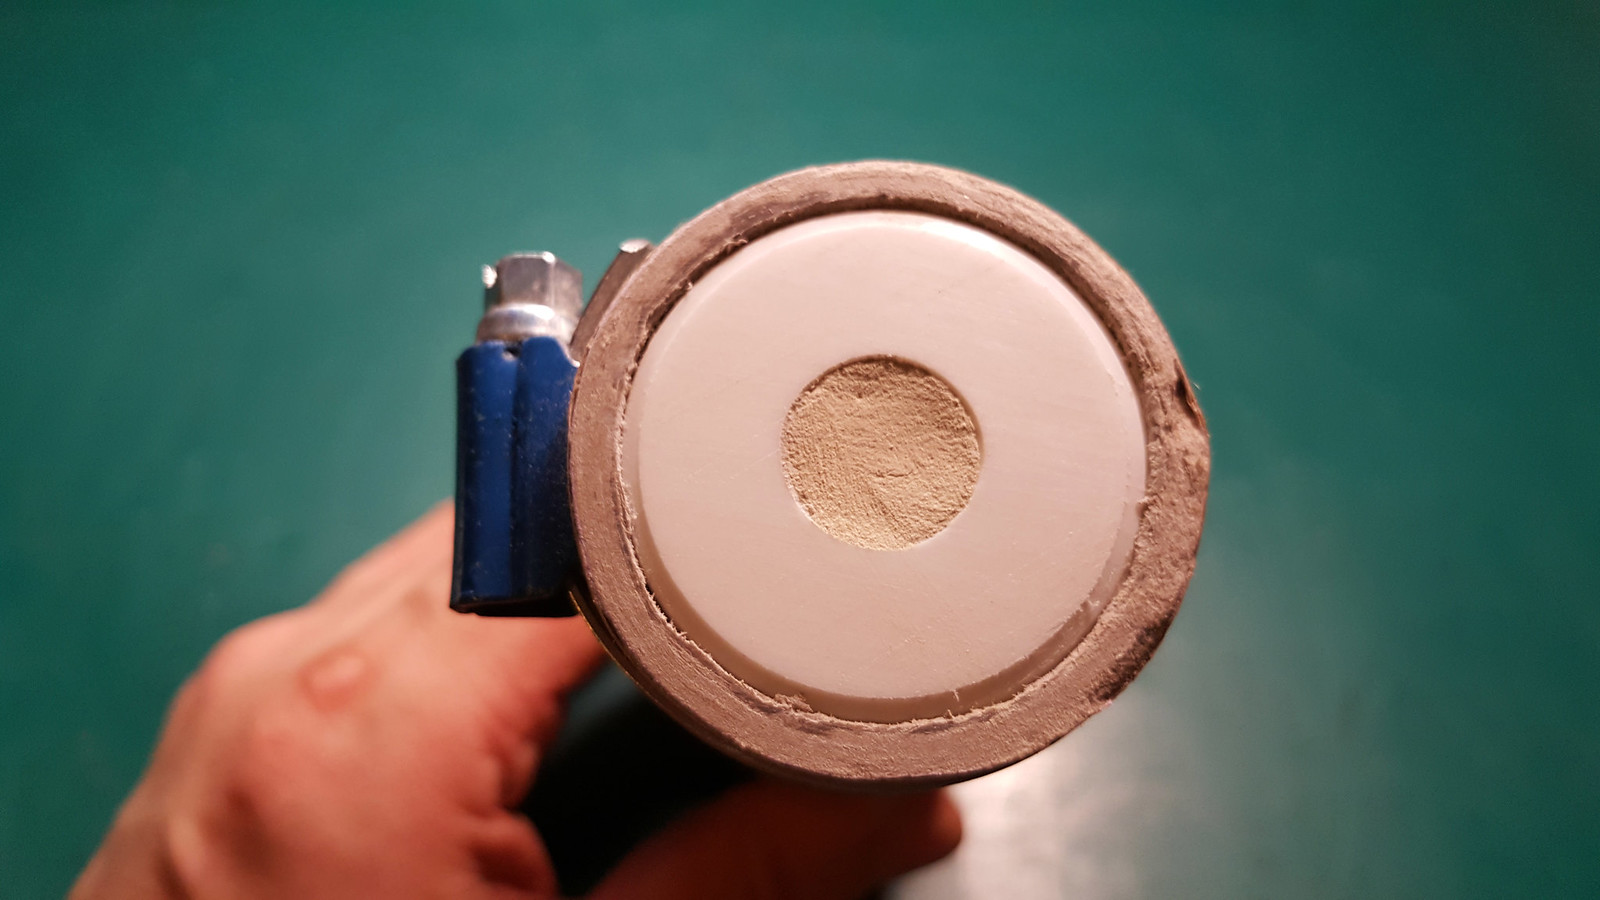
65 grams of potassium nitrate, 35 grams sucrose, 1 grams iron oxyde and 3 grams of titanium sponge 450-1000µm.
I used a heavy and thick cast iron cooking pan over an electric cast iron plate to avoid dangerous hot spot that could
accidentally ignite the compound:
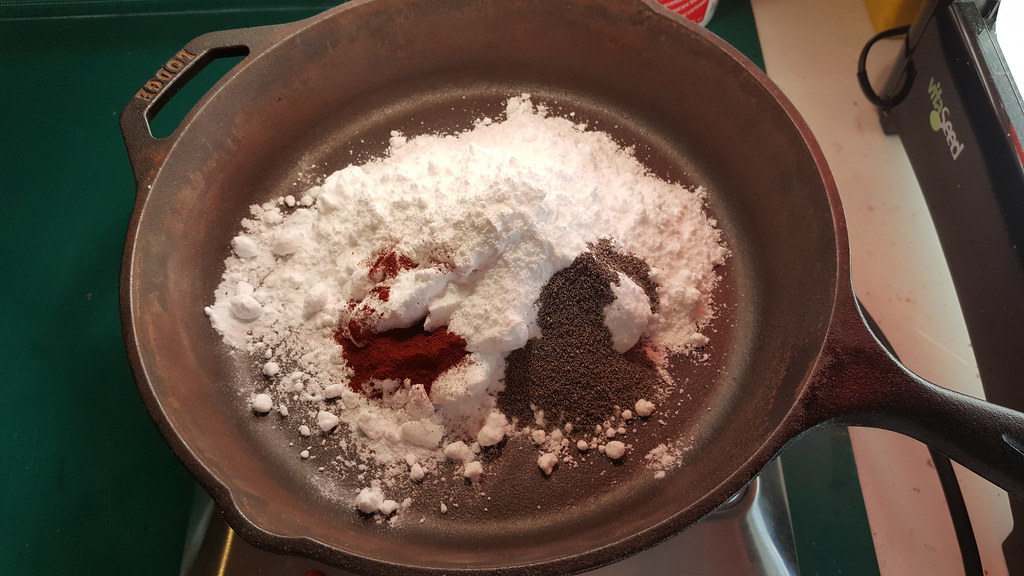
Dissolved powders adding enough distilled water:
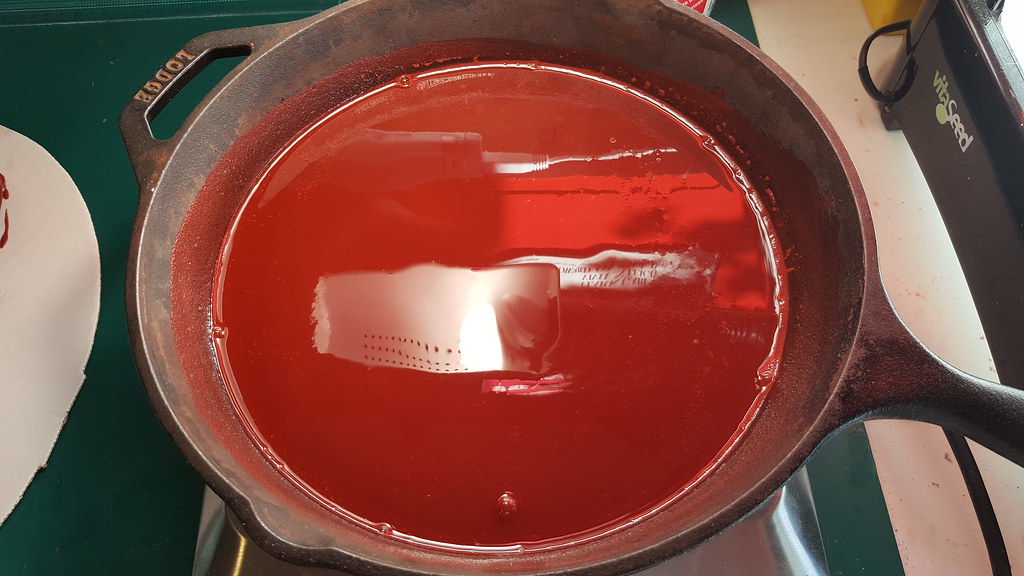
Cooking the compound at medium heat (150 °C):
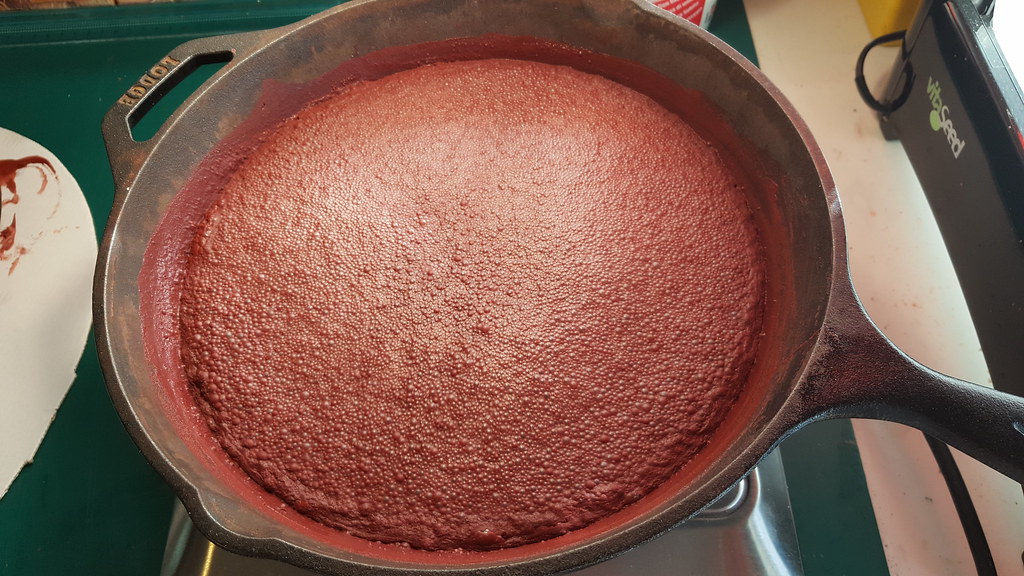
The compound is near to be ready. It is important to stir often the compound for safety reasons and to obtain a homogeneous paste:
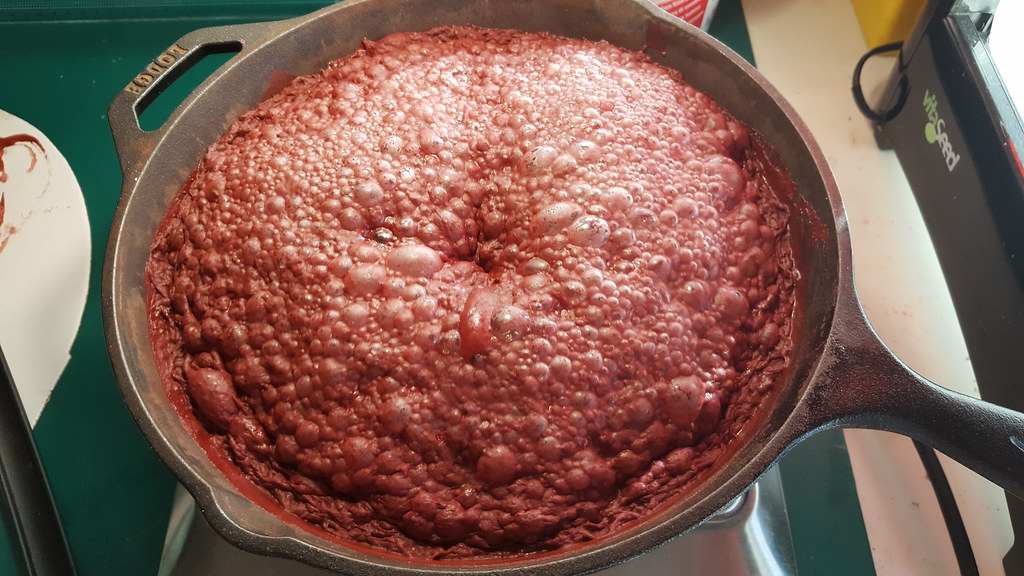
Compound dried and melted. Now the paste is ready and extremely flammable. Max care is now necessary:

Packing the compound with a PET bar. The fit is perfect, so no compound can get off the sides.
To reach optimal results it is necessary to pack the compound not all together, but the equivalent of a tea spoon every time.
After every spoon I will apply a pressure with the weight of my body (95 KG).
In that way every part will be well compacted over the previous one:
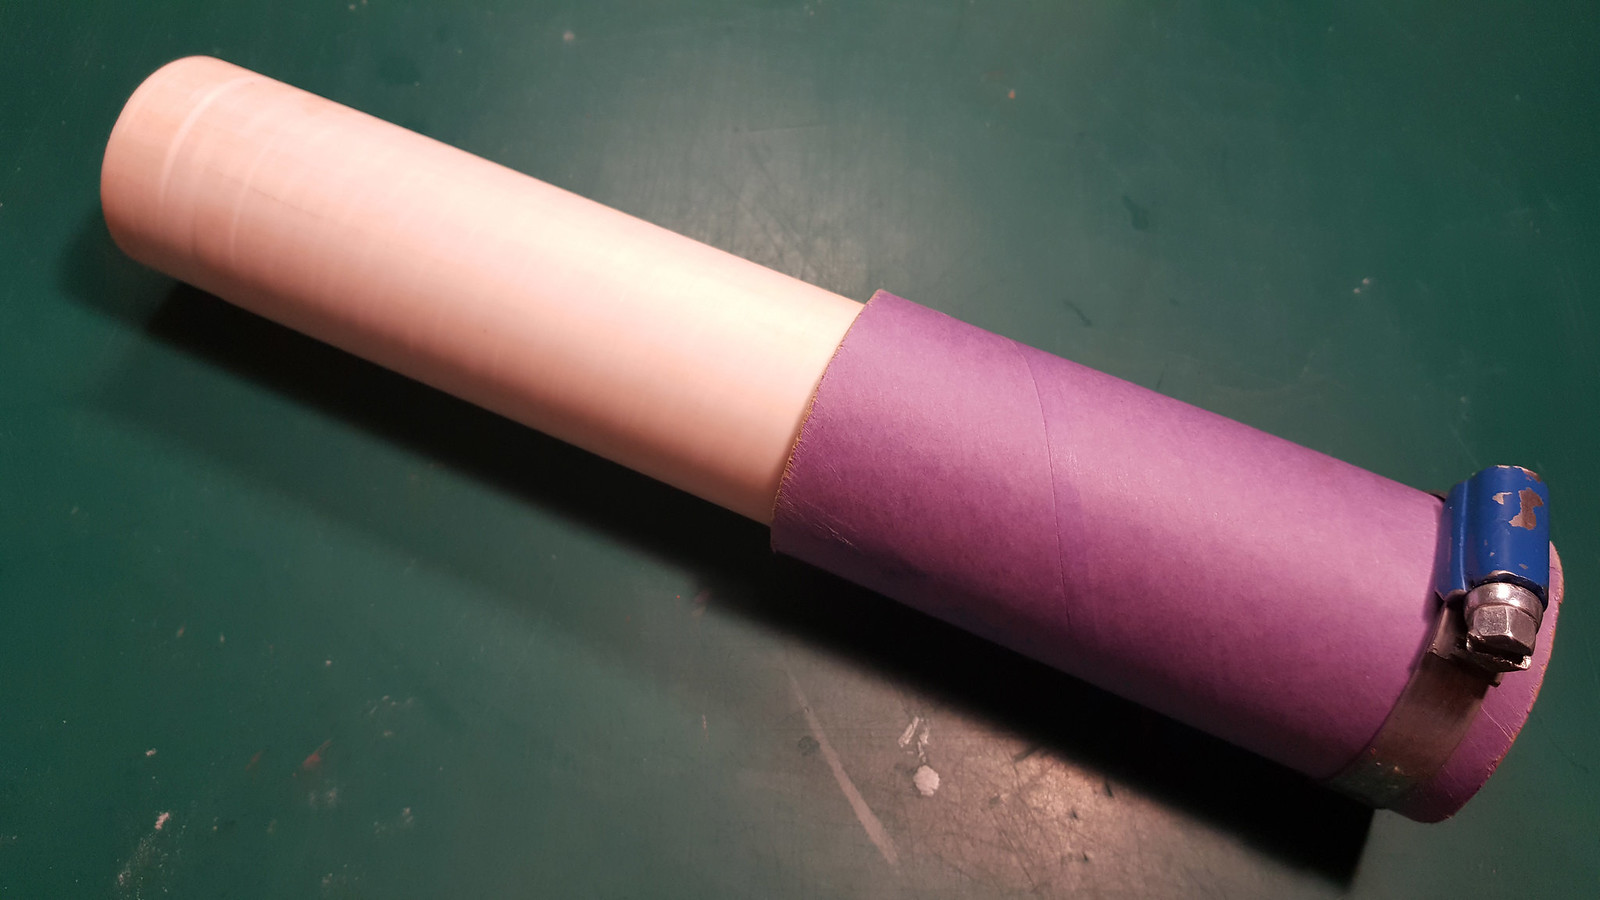
Packed and cold compound:
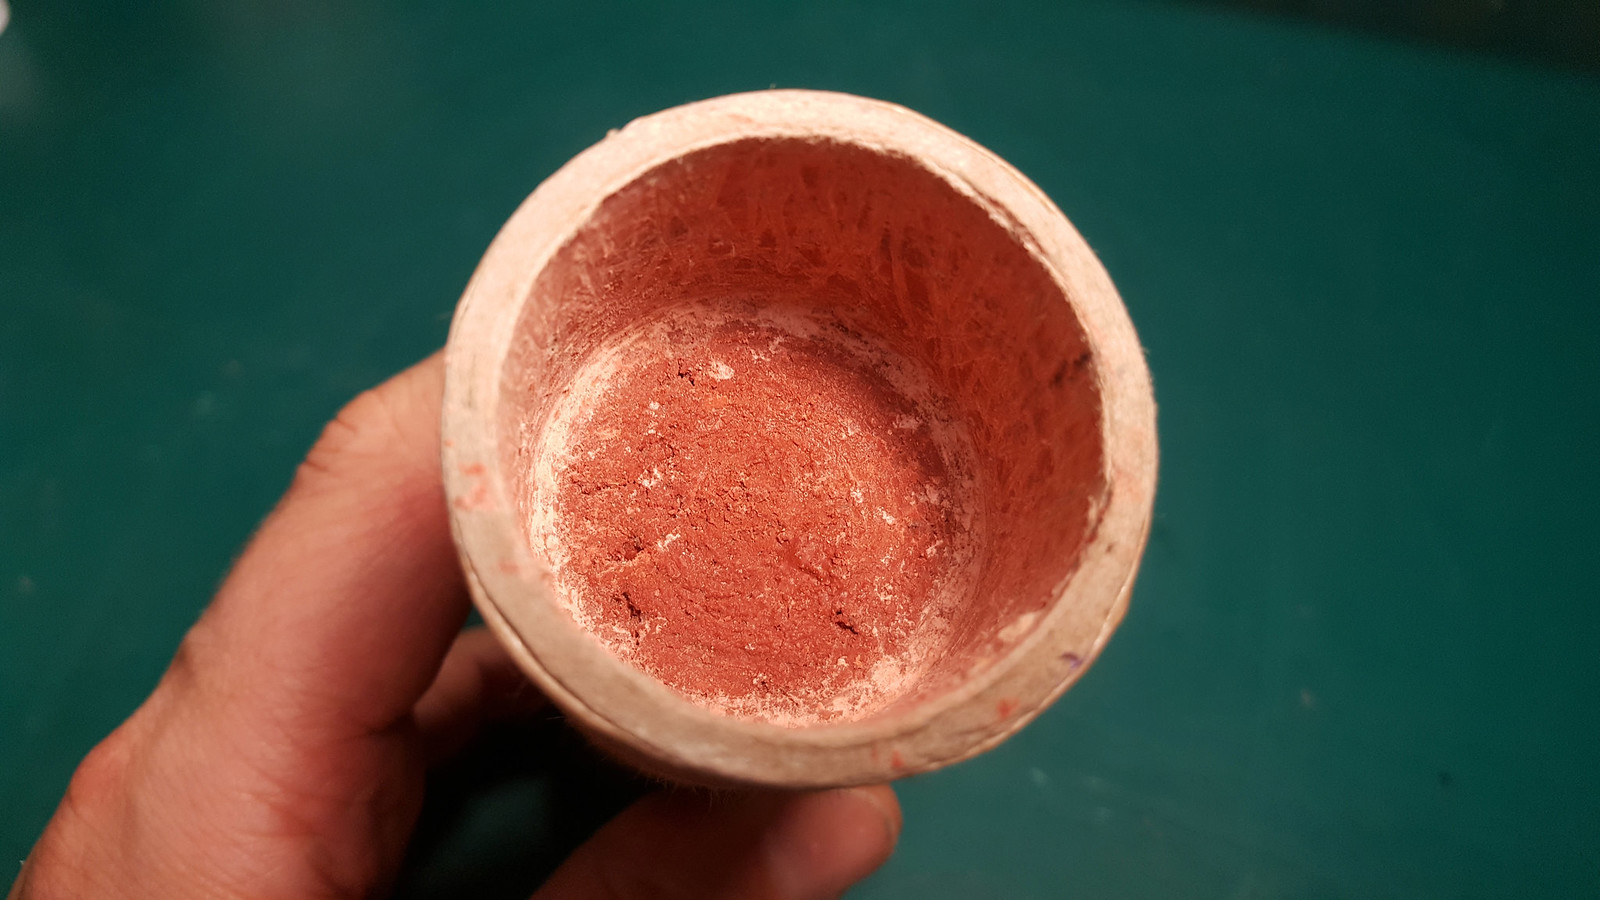
Removing bentonite from the nozzle and making an hole in the compound:
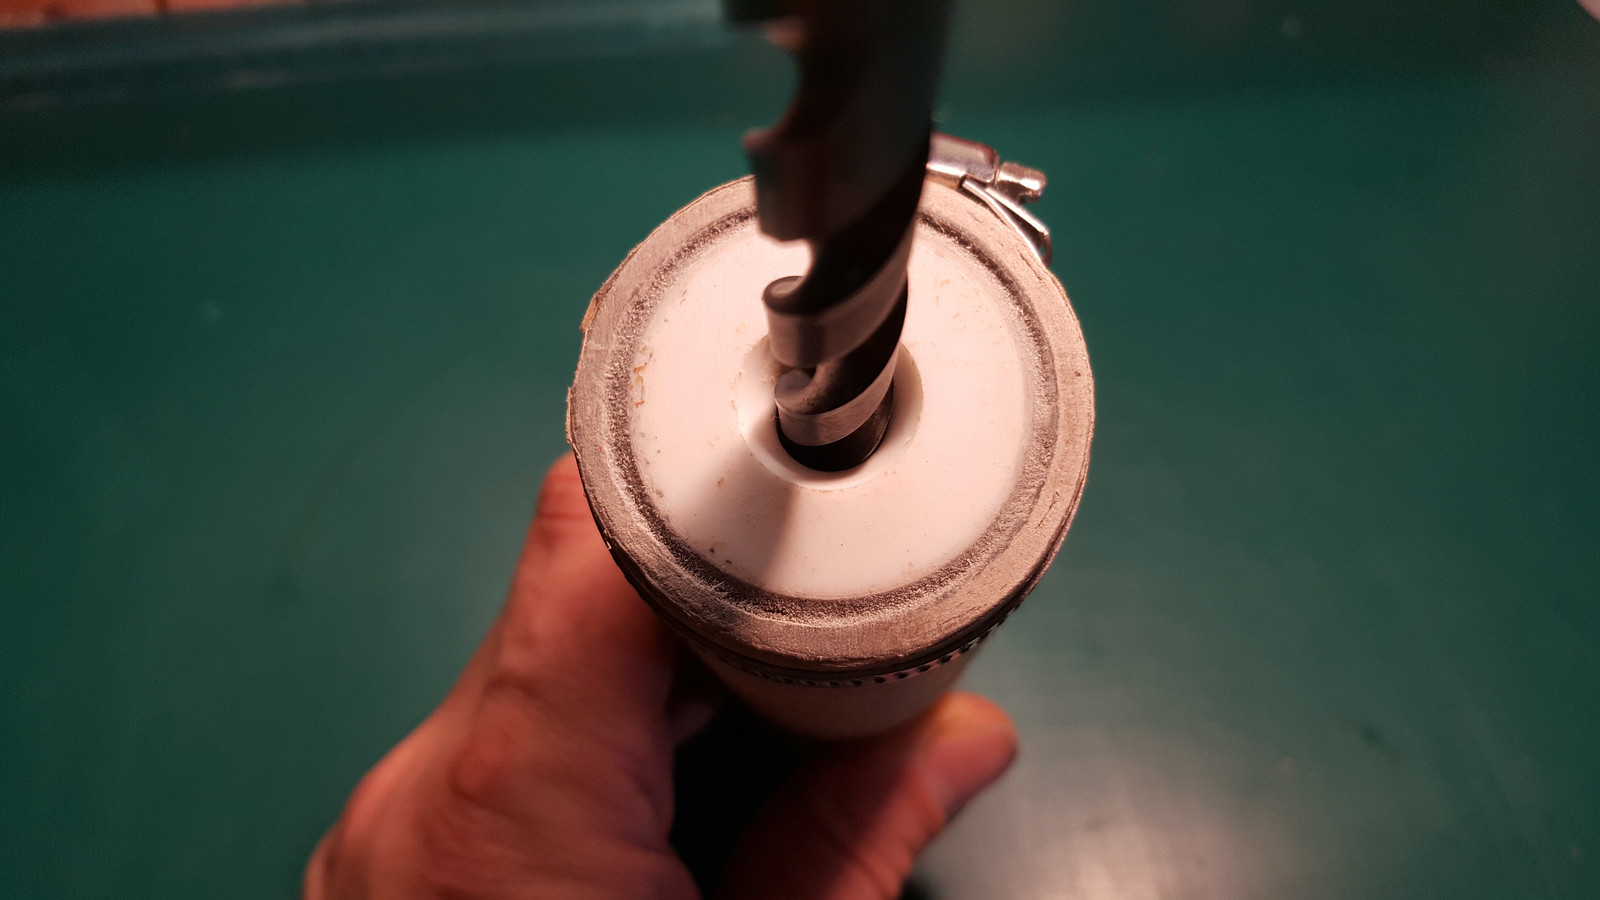
Hole drilled:
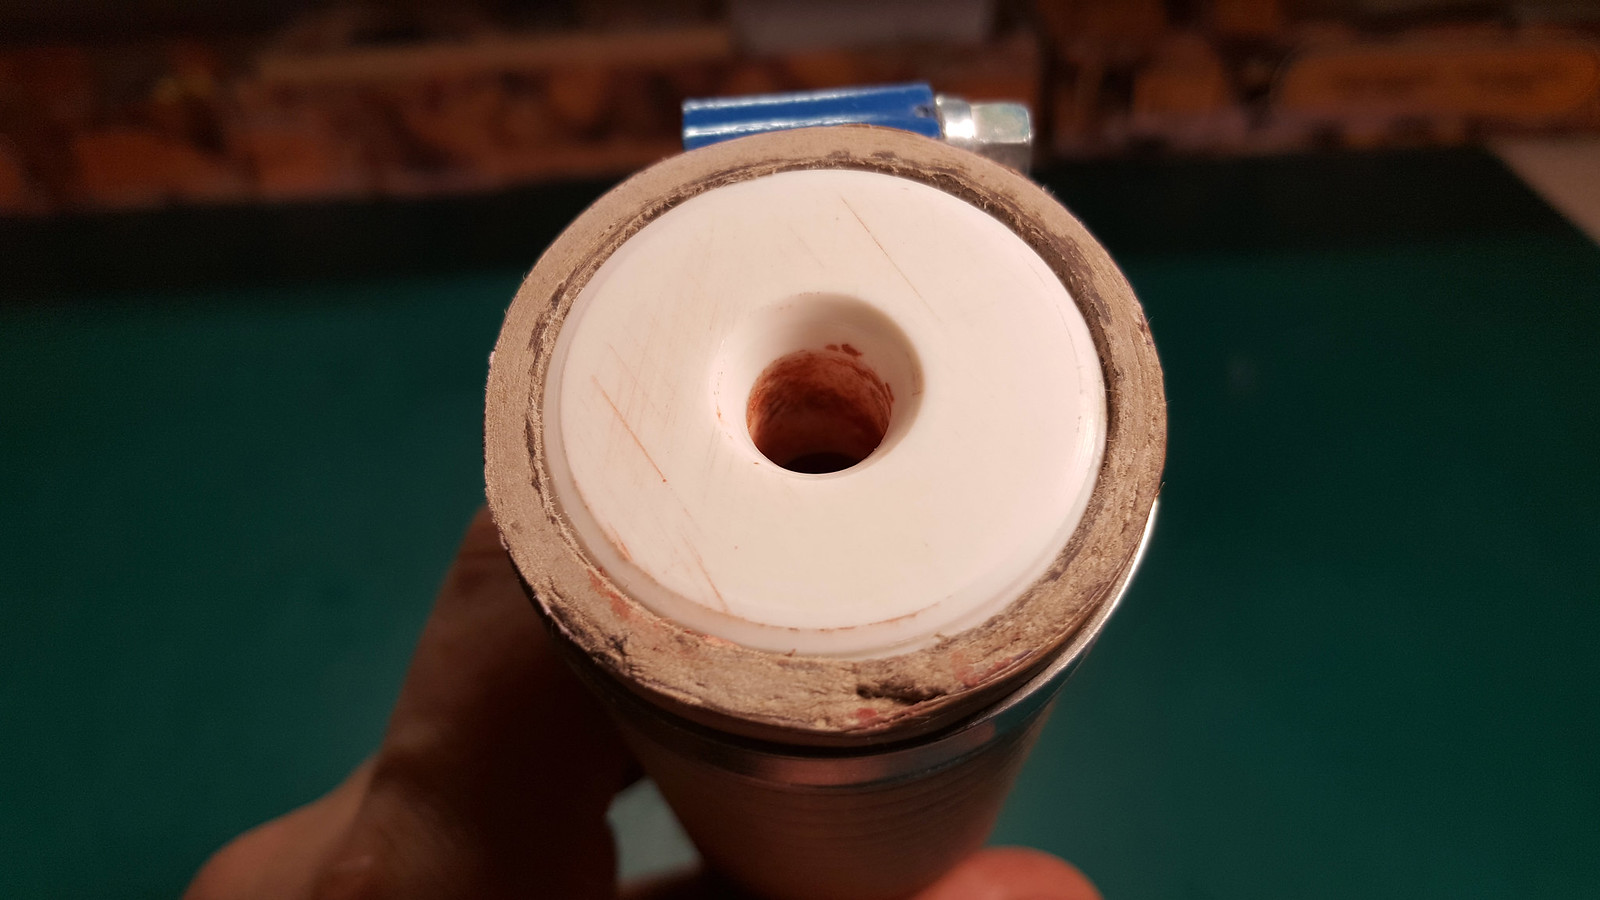
Adding 5mm of bentonite:
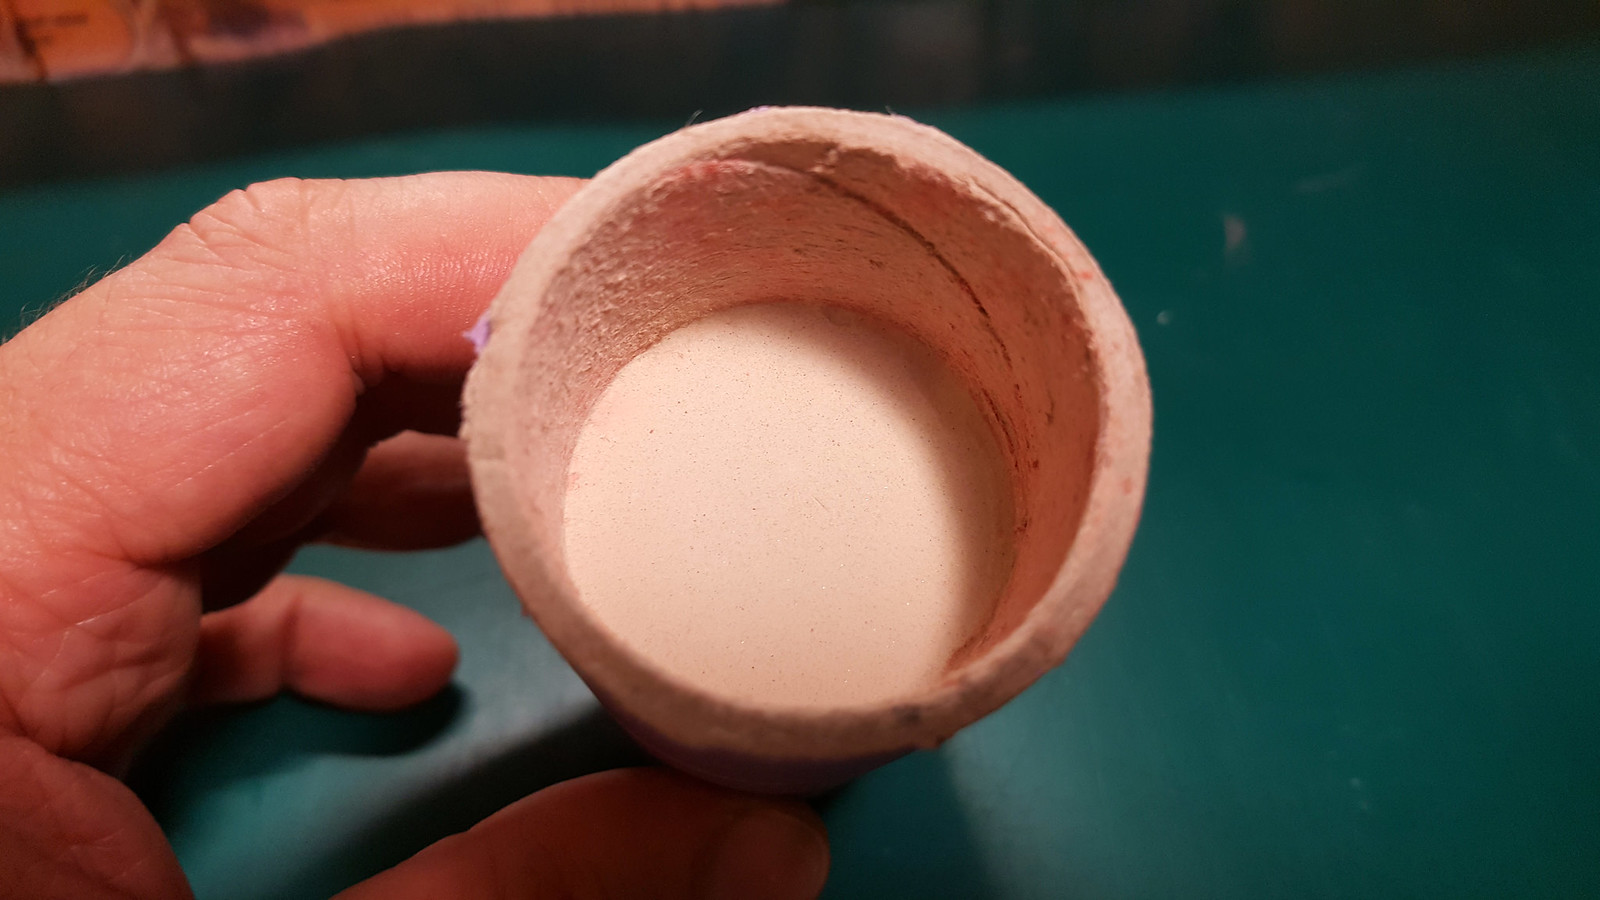
Making a 3mm hole for the fast fuse at the center of the cap:
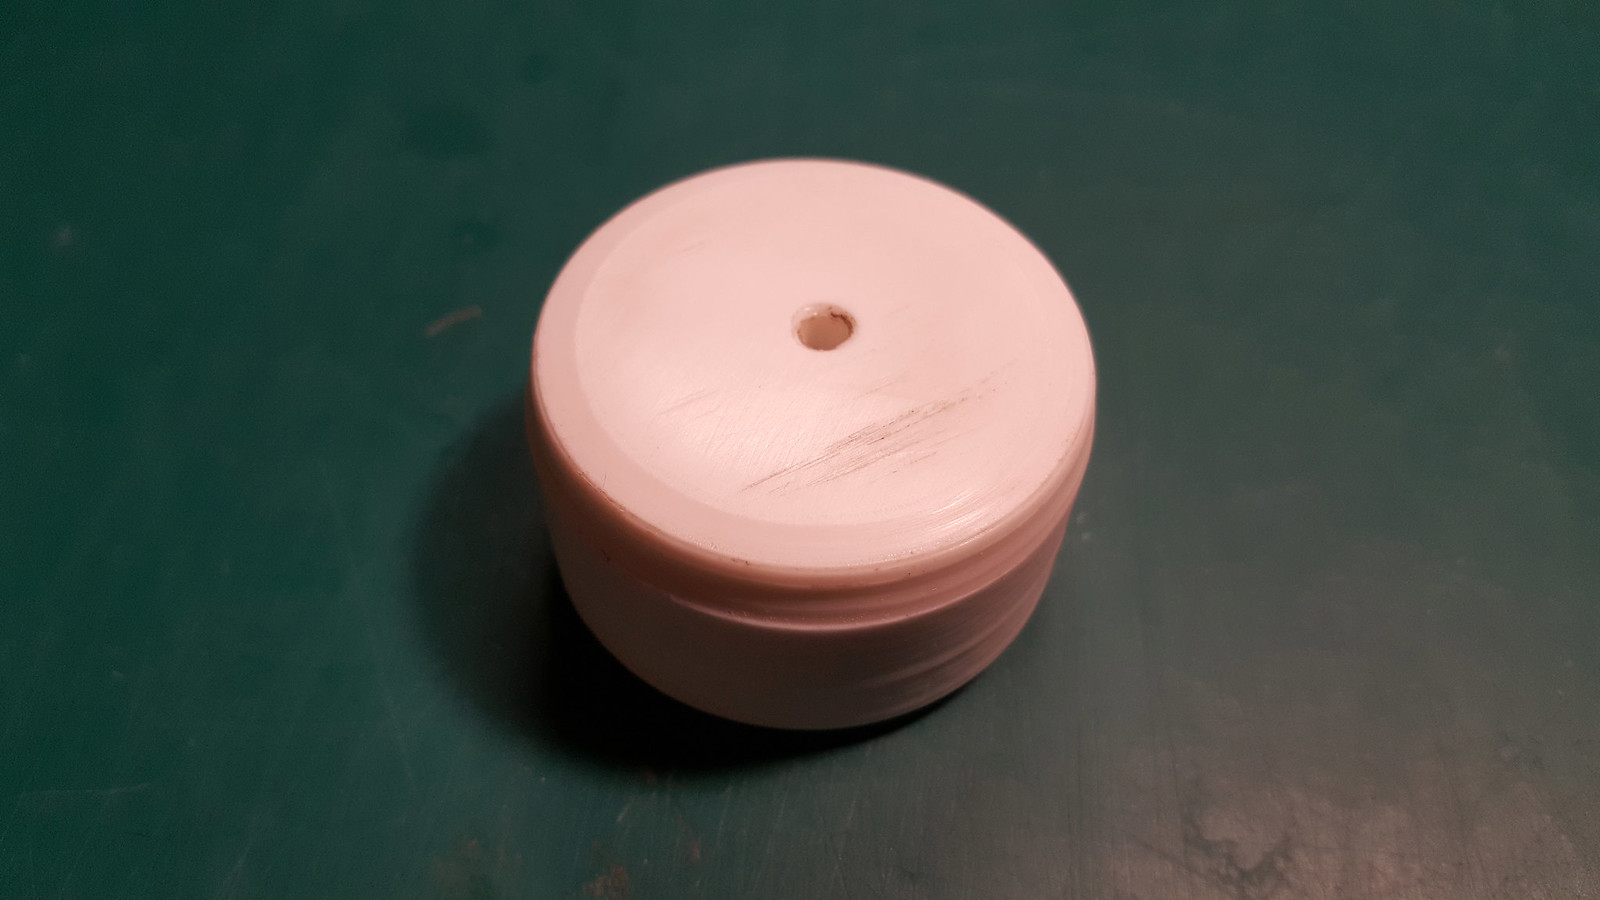
Gluing and pressing the cap:
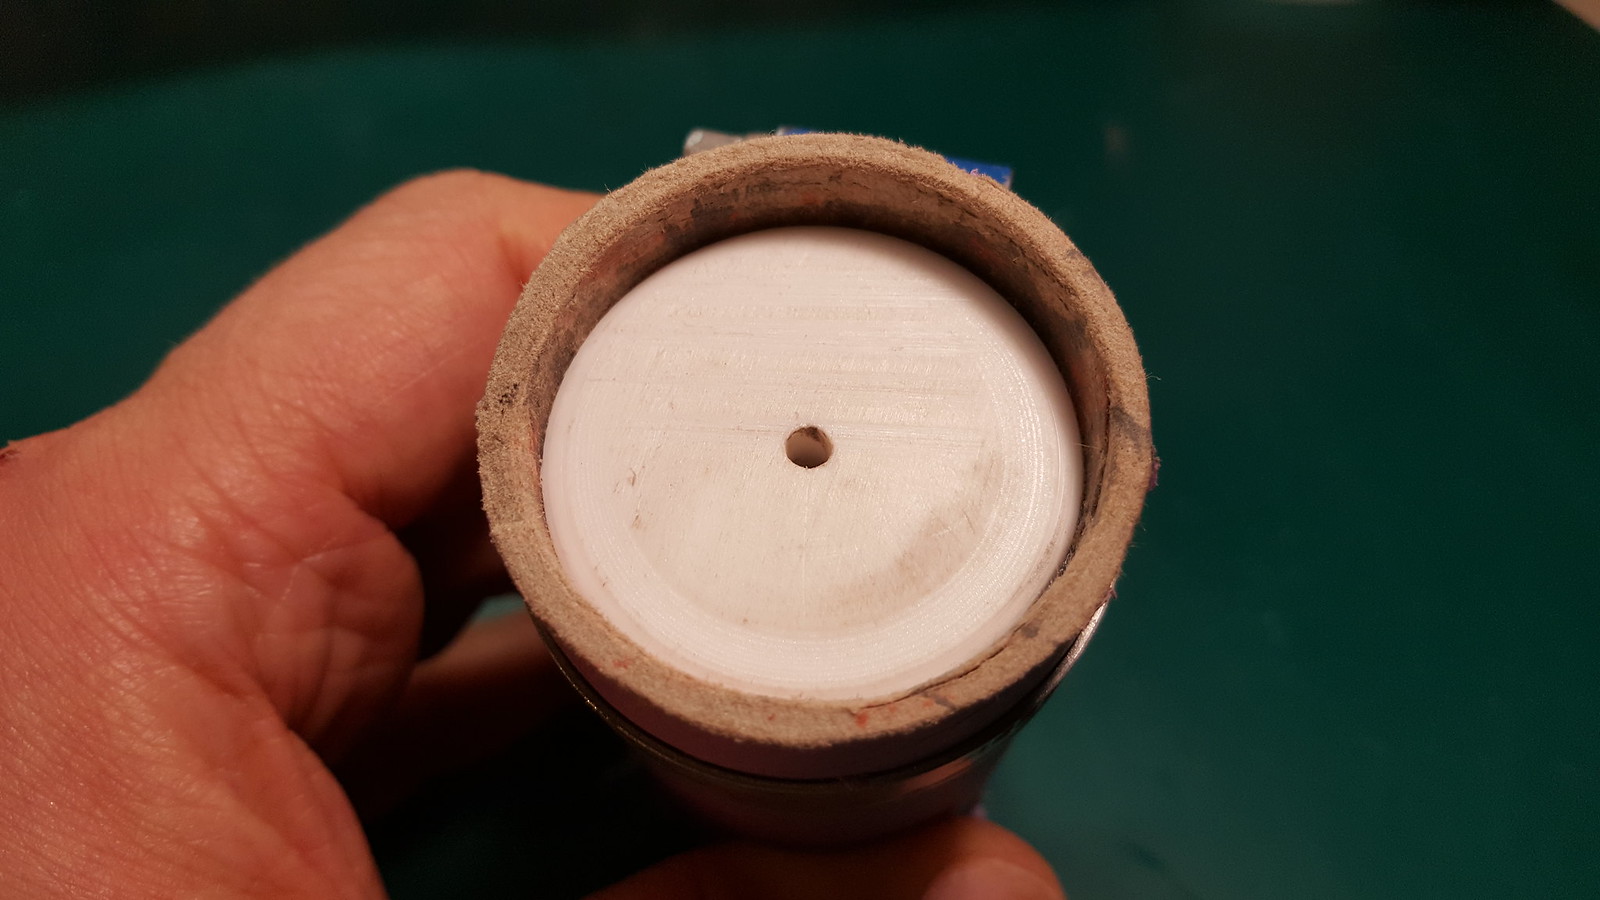
Removing band from glued nozzle and deadly hold the cap with the same band:
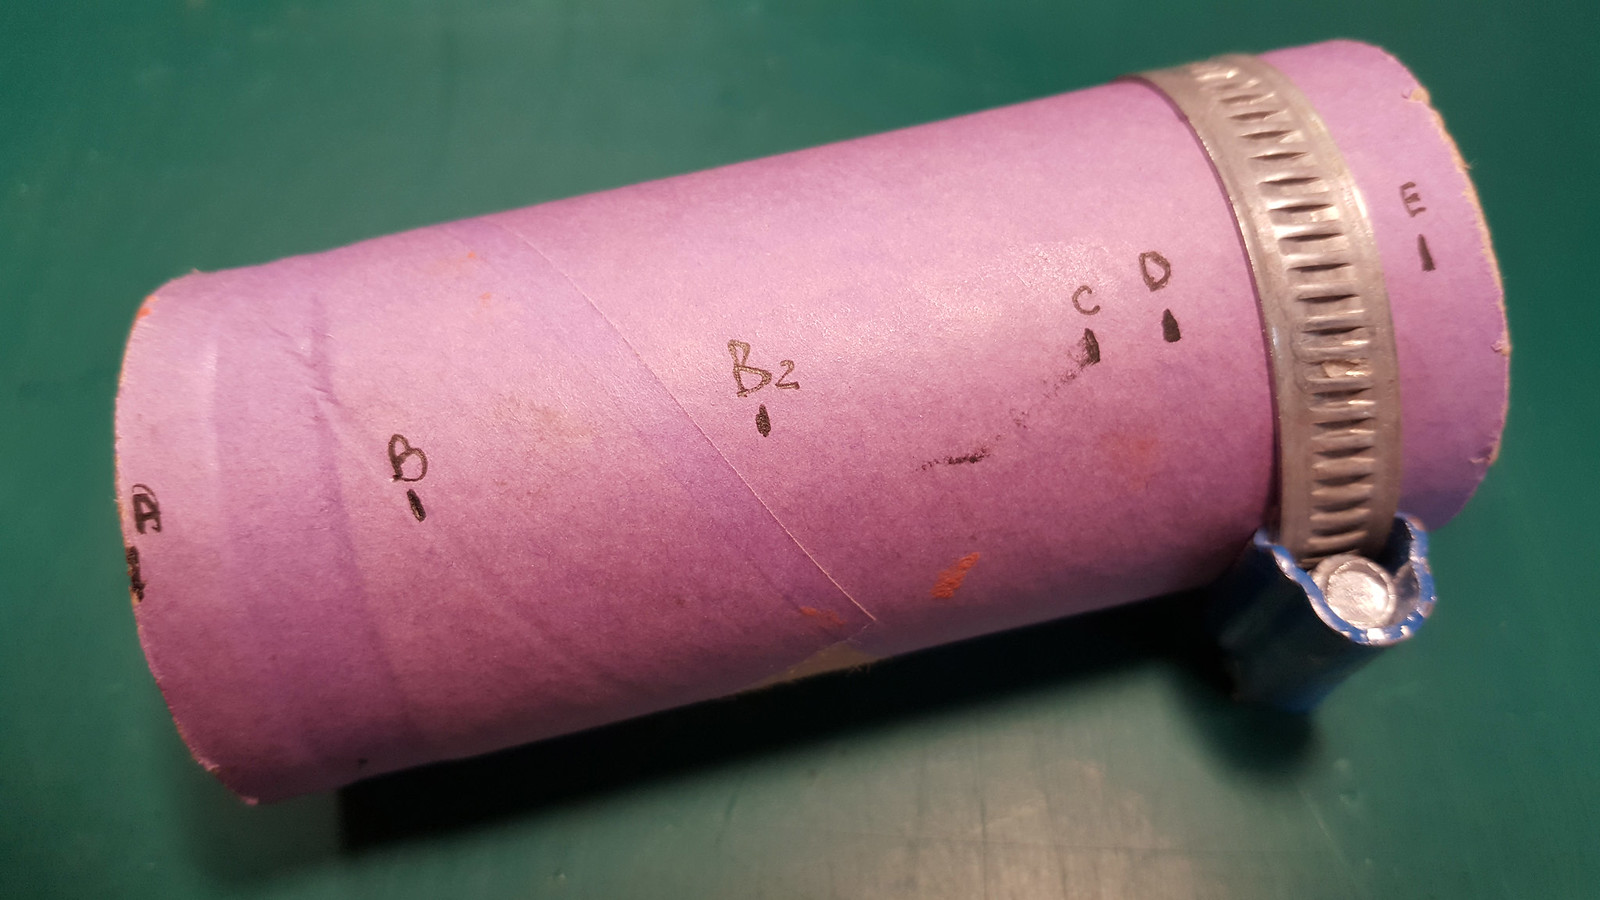
Removing band from cap and sticking on some rings of water activated gummed tape of 5 layers each to toughen the cardboard tube:

Sticking on the last spiral layer:
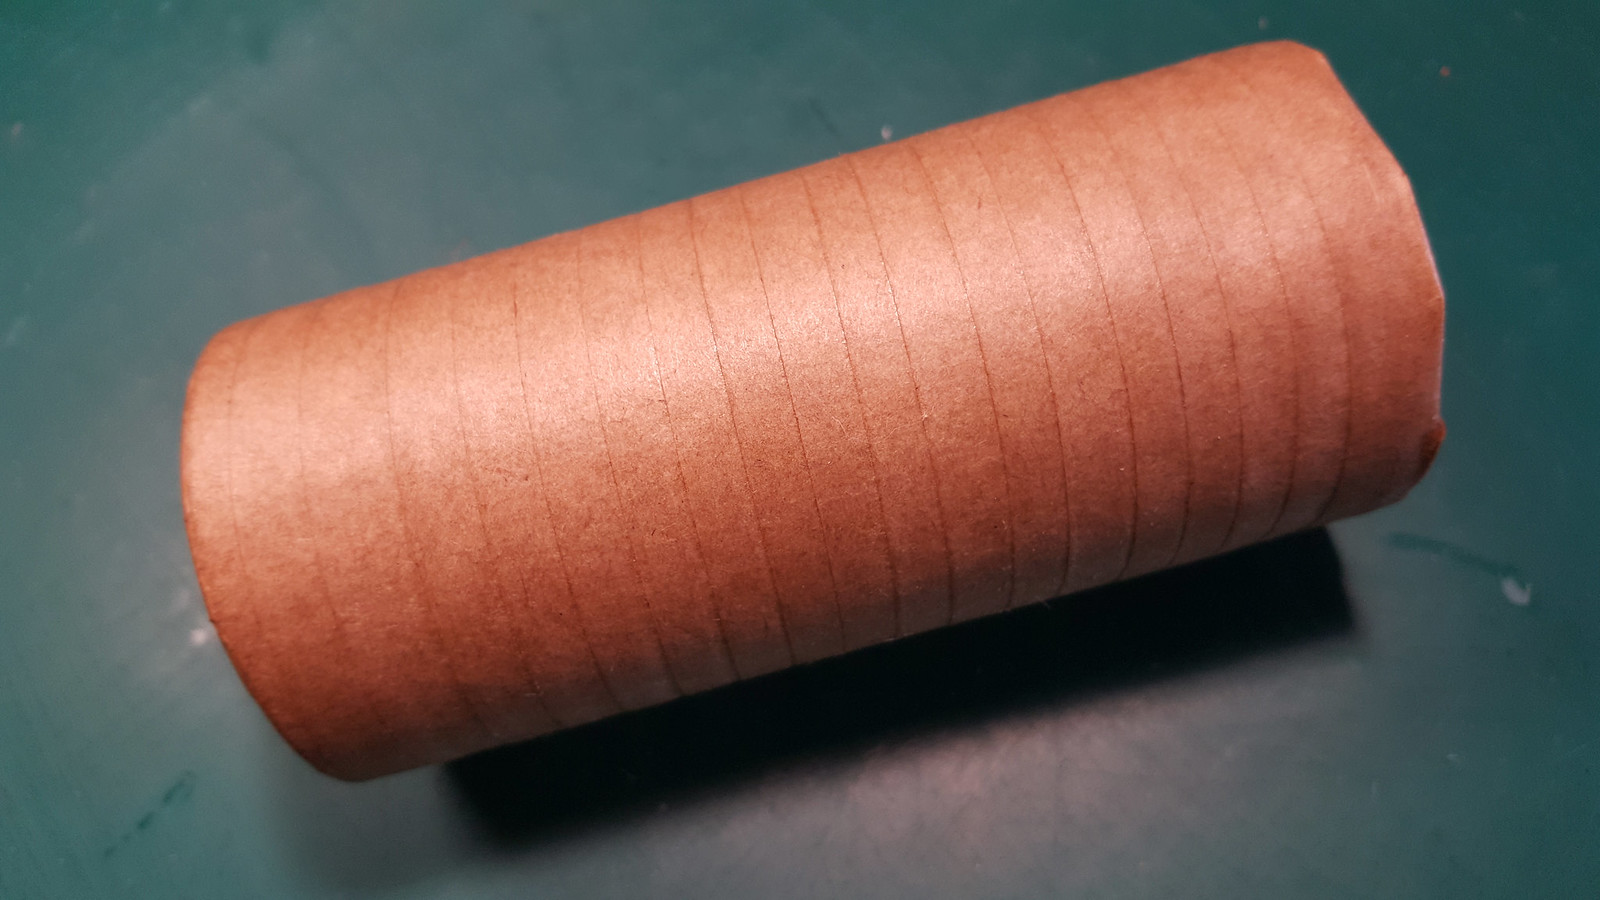
Cut the gummed tape:
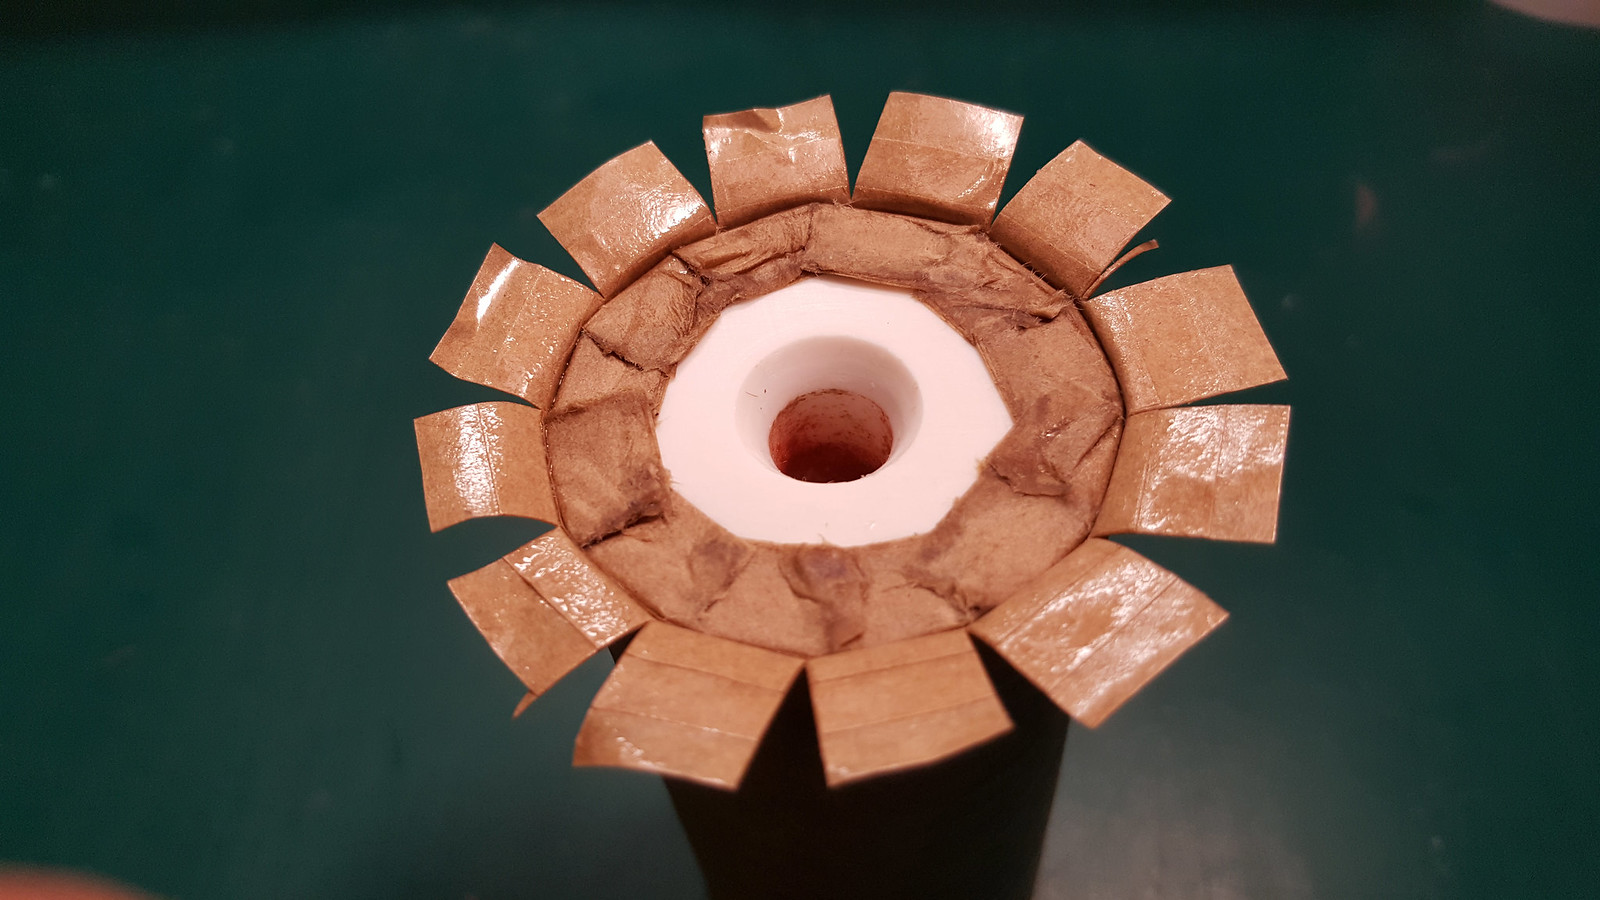
Rocket bottom finished:
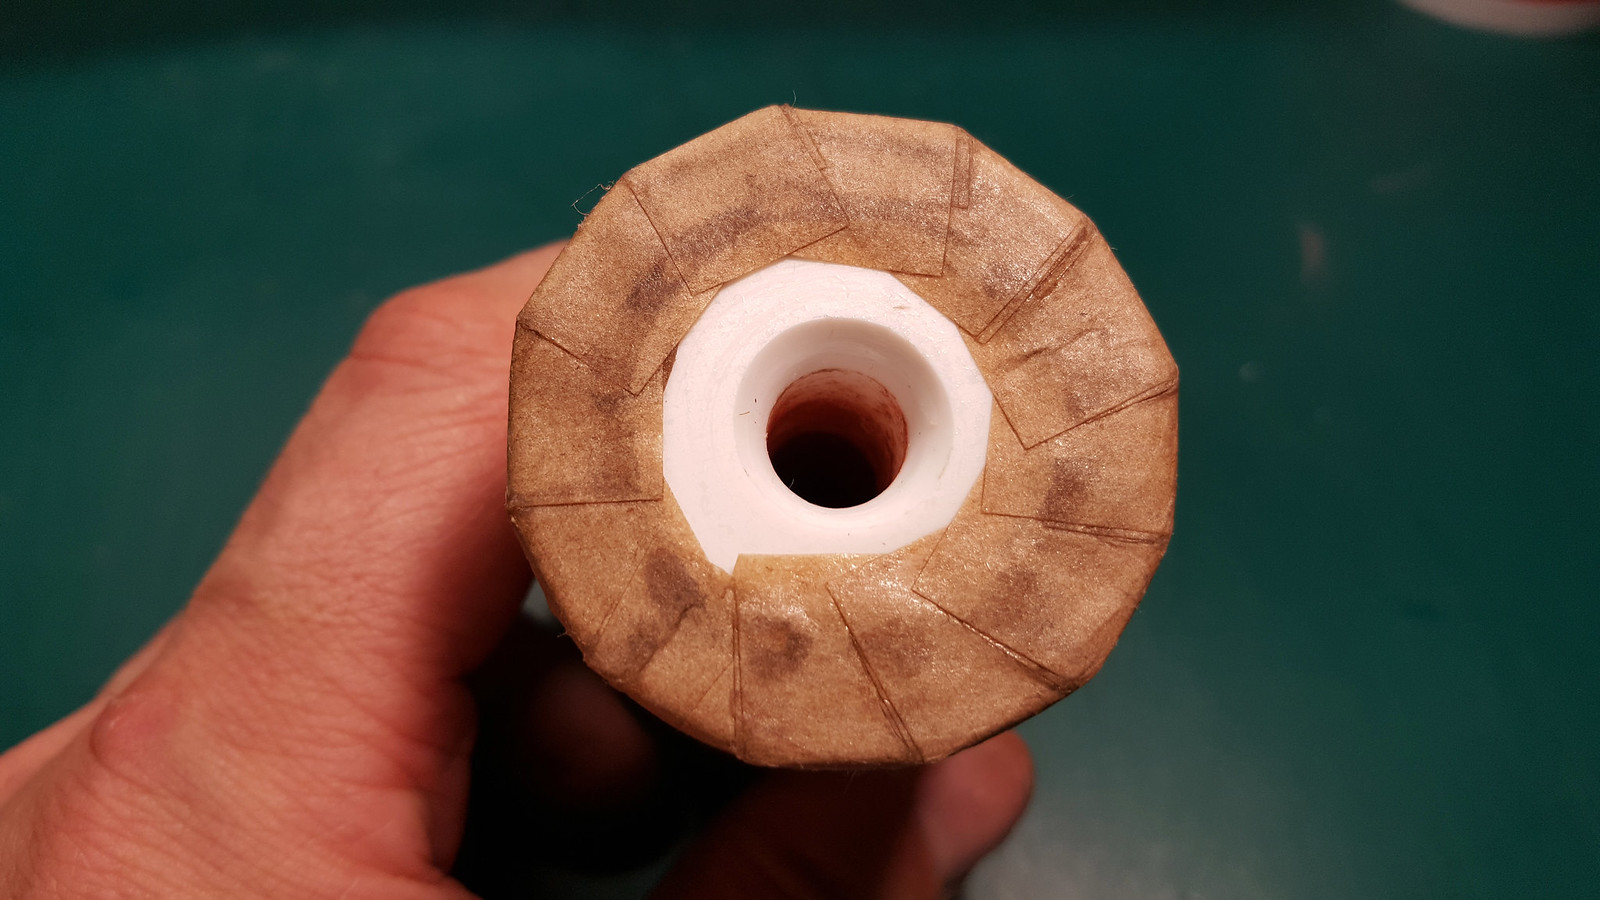
Inserting 3mm fast fuse:
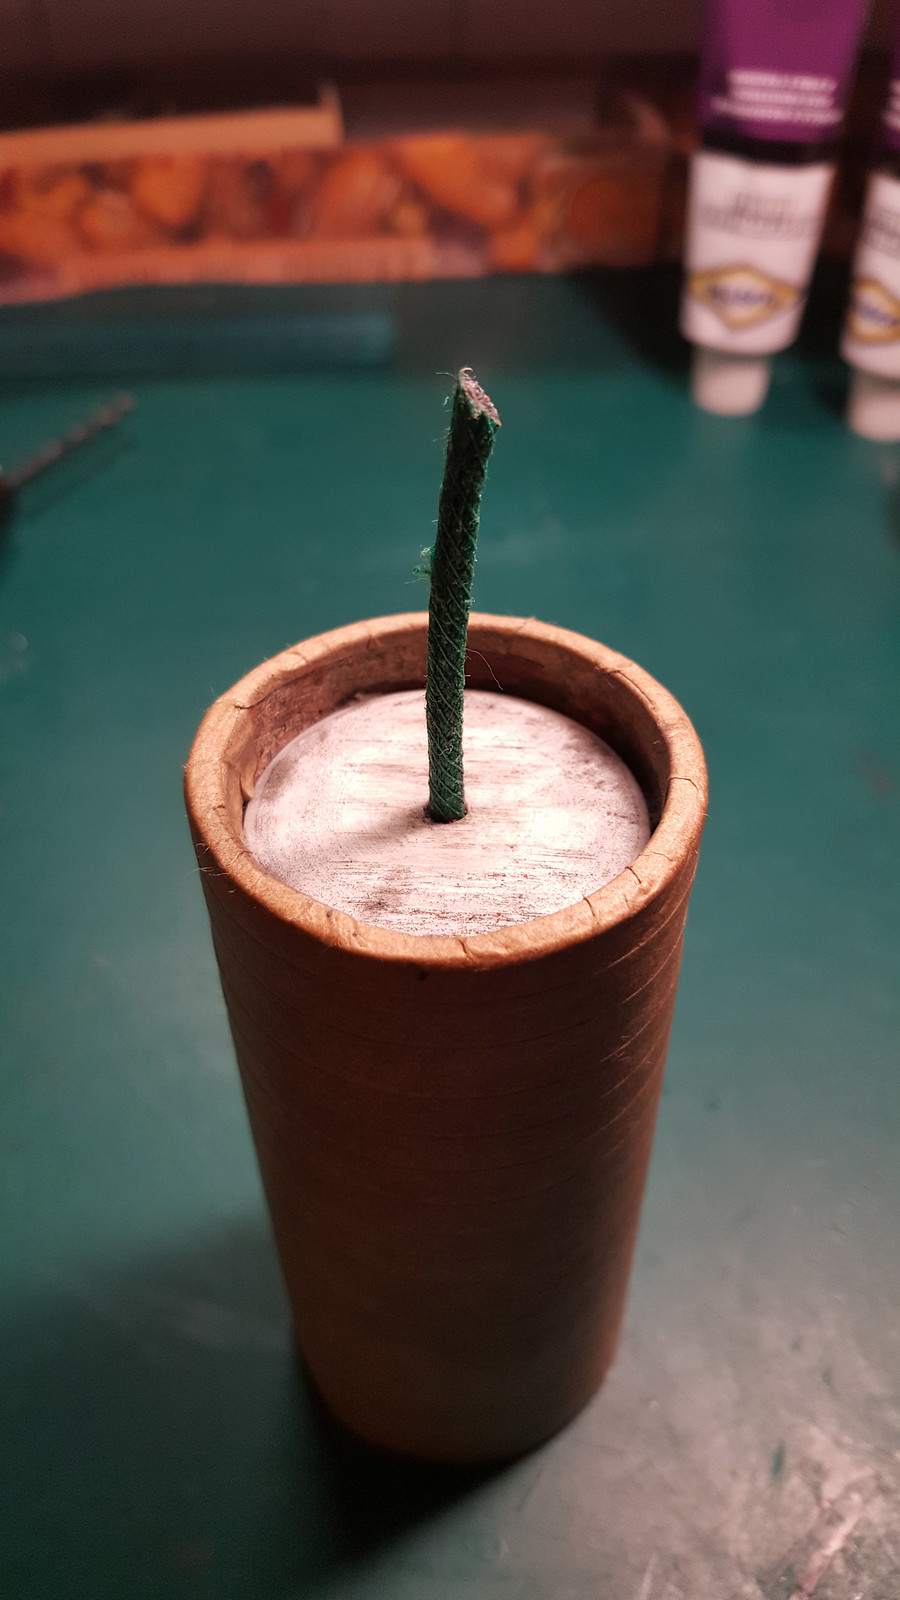
THE SHELL SECTION
-----------------------
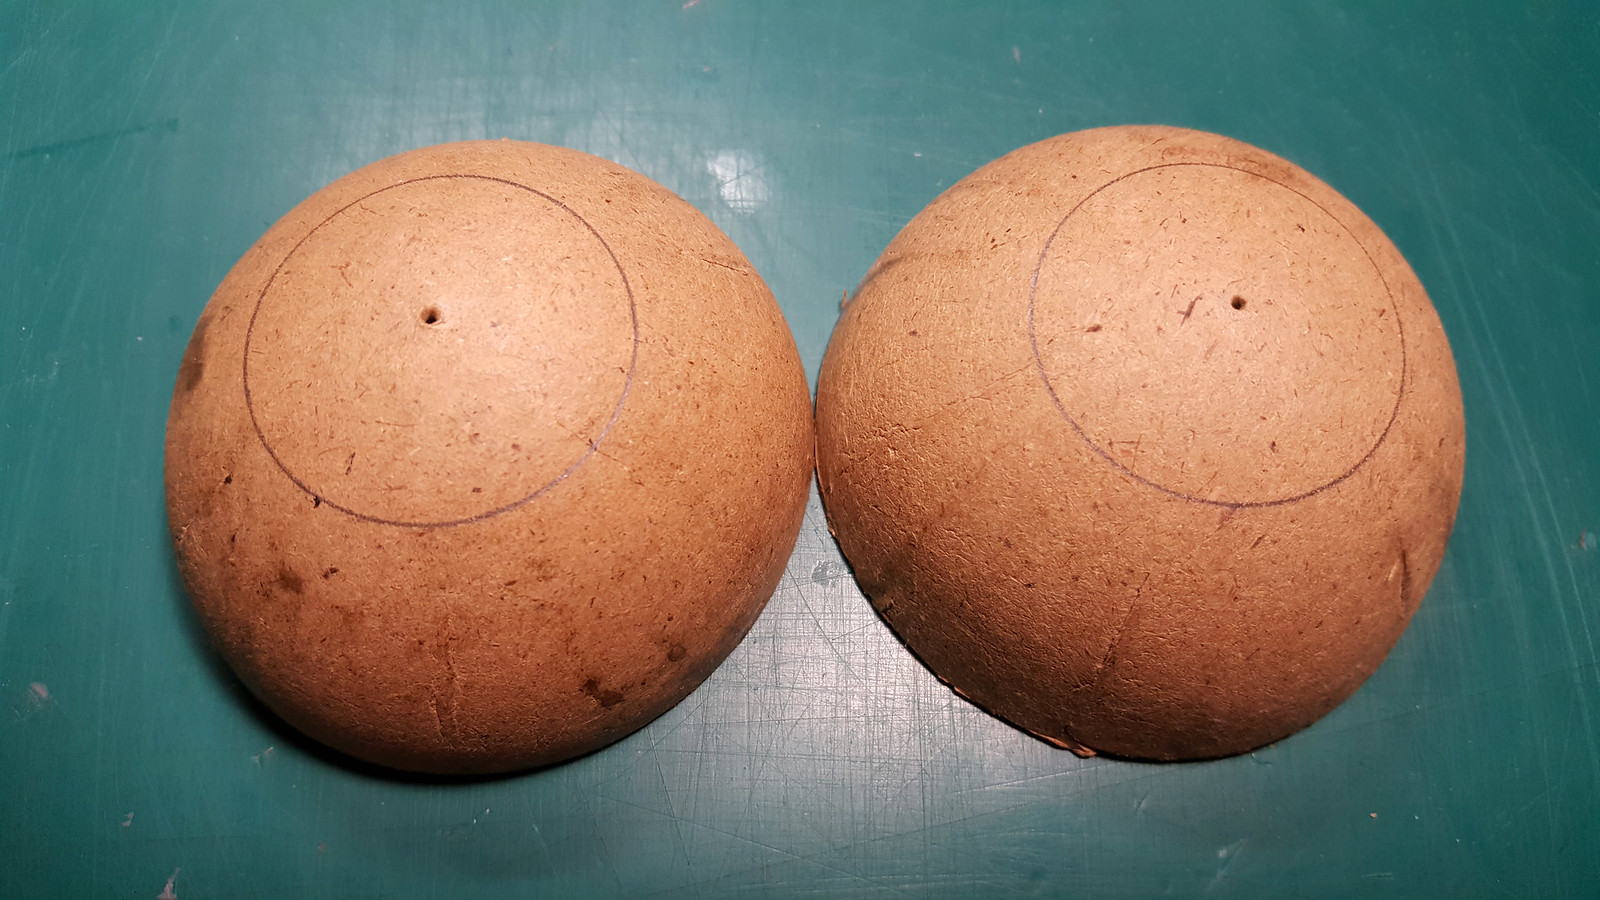
Two boobs :crackup: ... well no, two 3" shell hemis.
The reason of the circles will be explained later in a video:
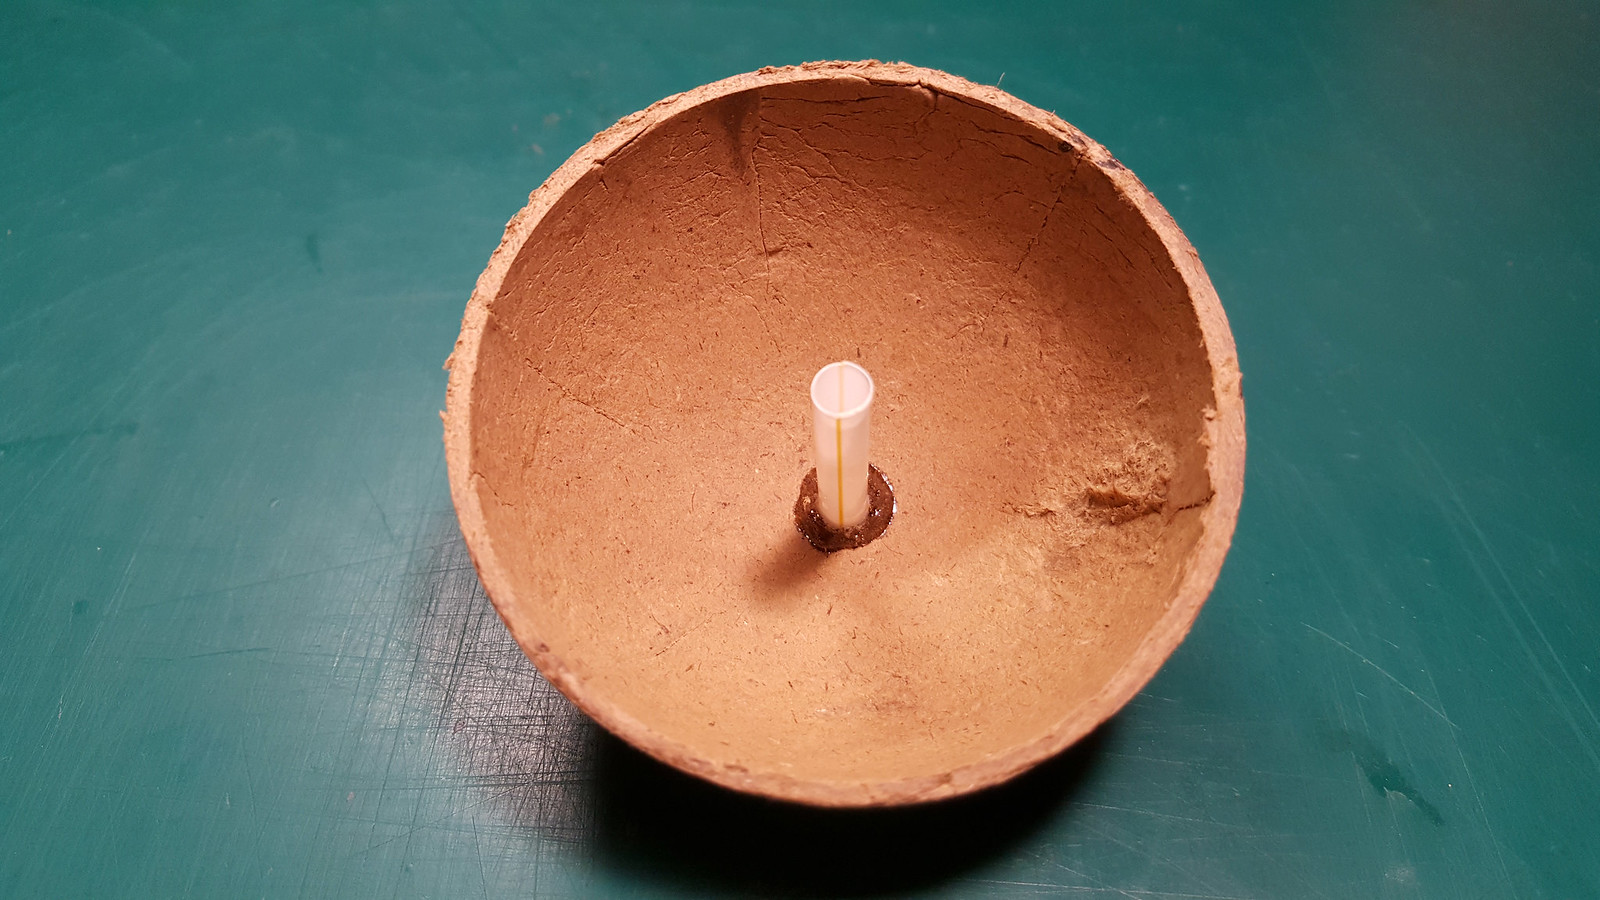
Glued straw in one hemis. Inside the straw will be placed the fast fuse until the center of the shell.
This allow to ignite the shell from the heart and will ensure a simmetrical aperture:
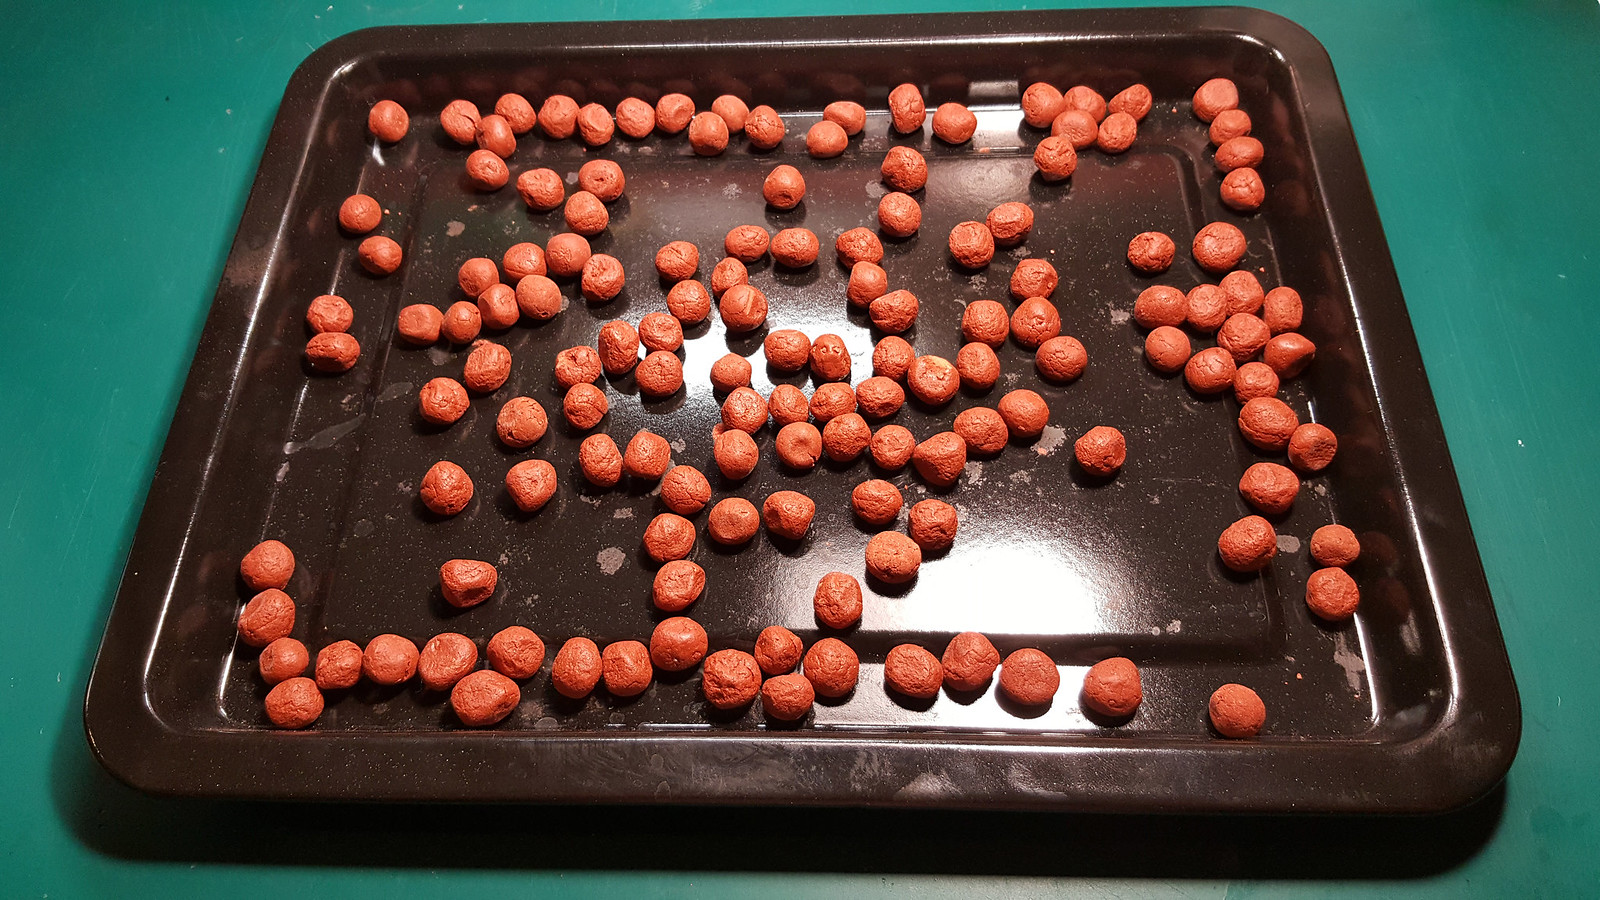
Customized stars just dried (sucrose, KNO3, red iron oxyde, Titanium sponge 1000-2000 microns):
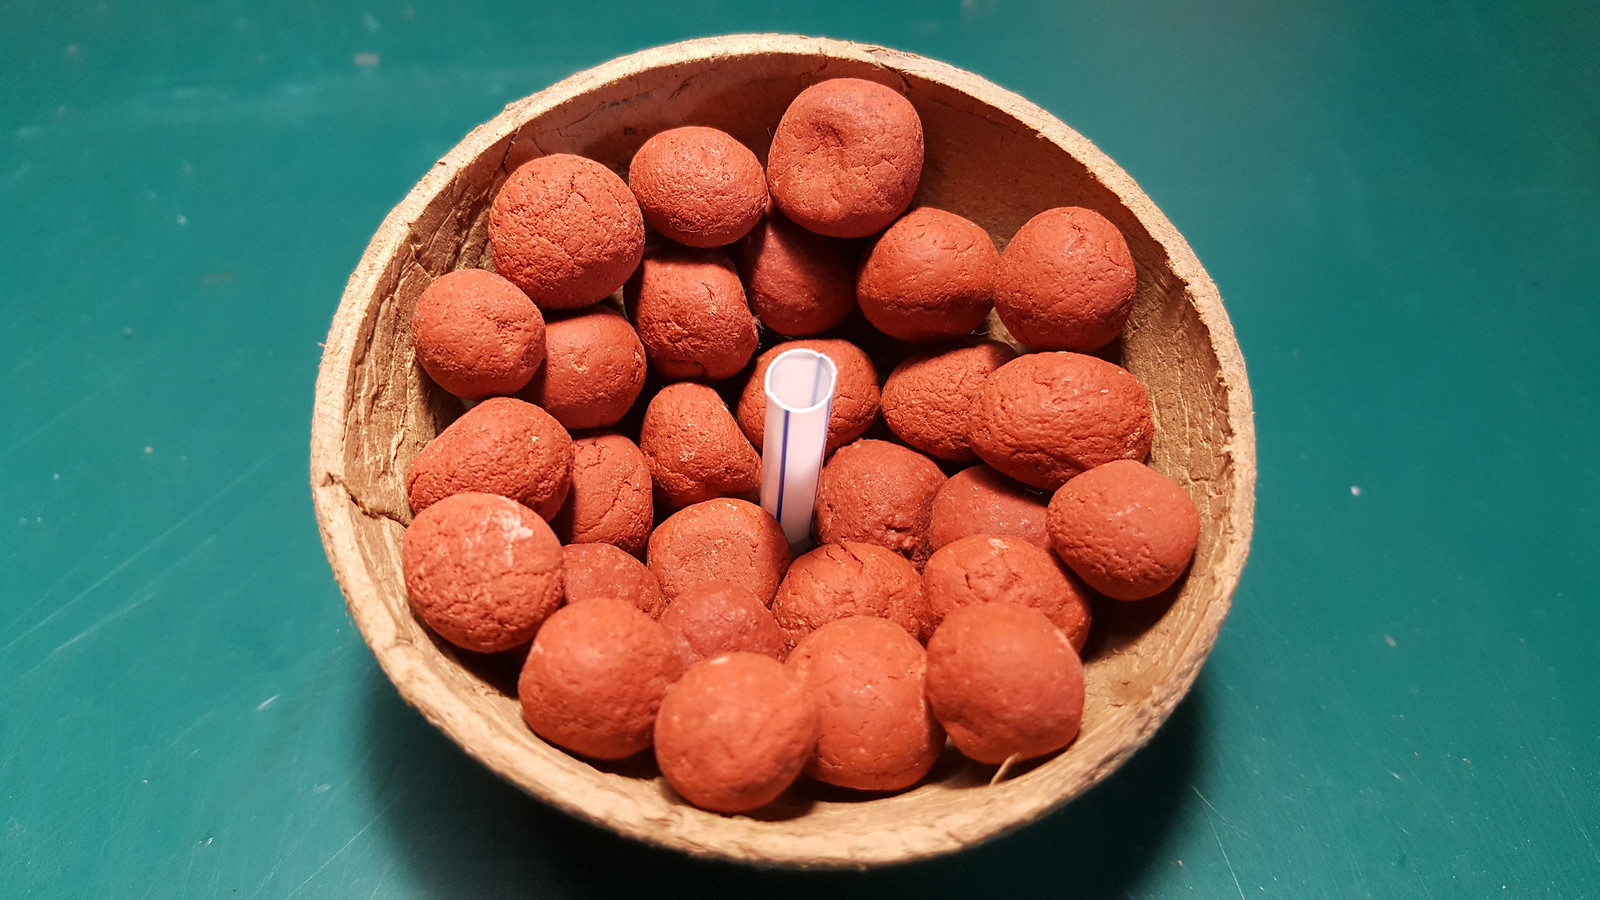
Placing stars inside one hemis. These stars were too big and not perfectly
rounded. Surely they will be better at the second try:
Hemis with stars and black powder coated rice hulls:
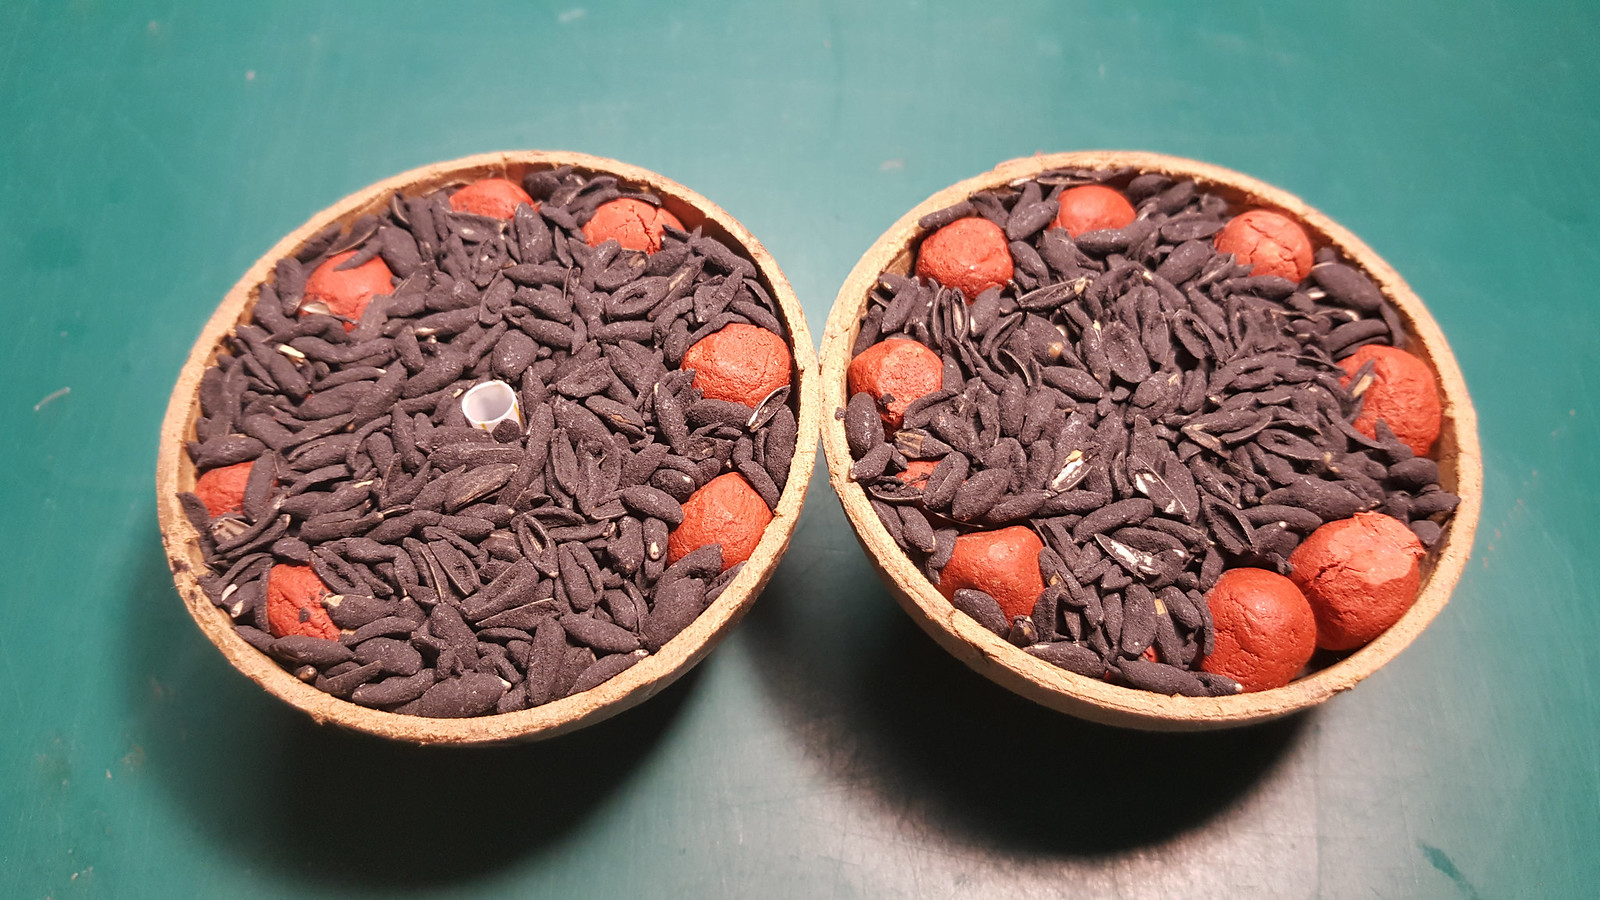
Adding Titanium sponge 1000-2000 microns and some pink powder (40 mesh granulated sugar rocket compound):
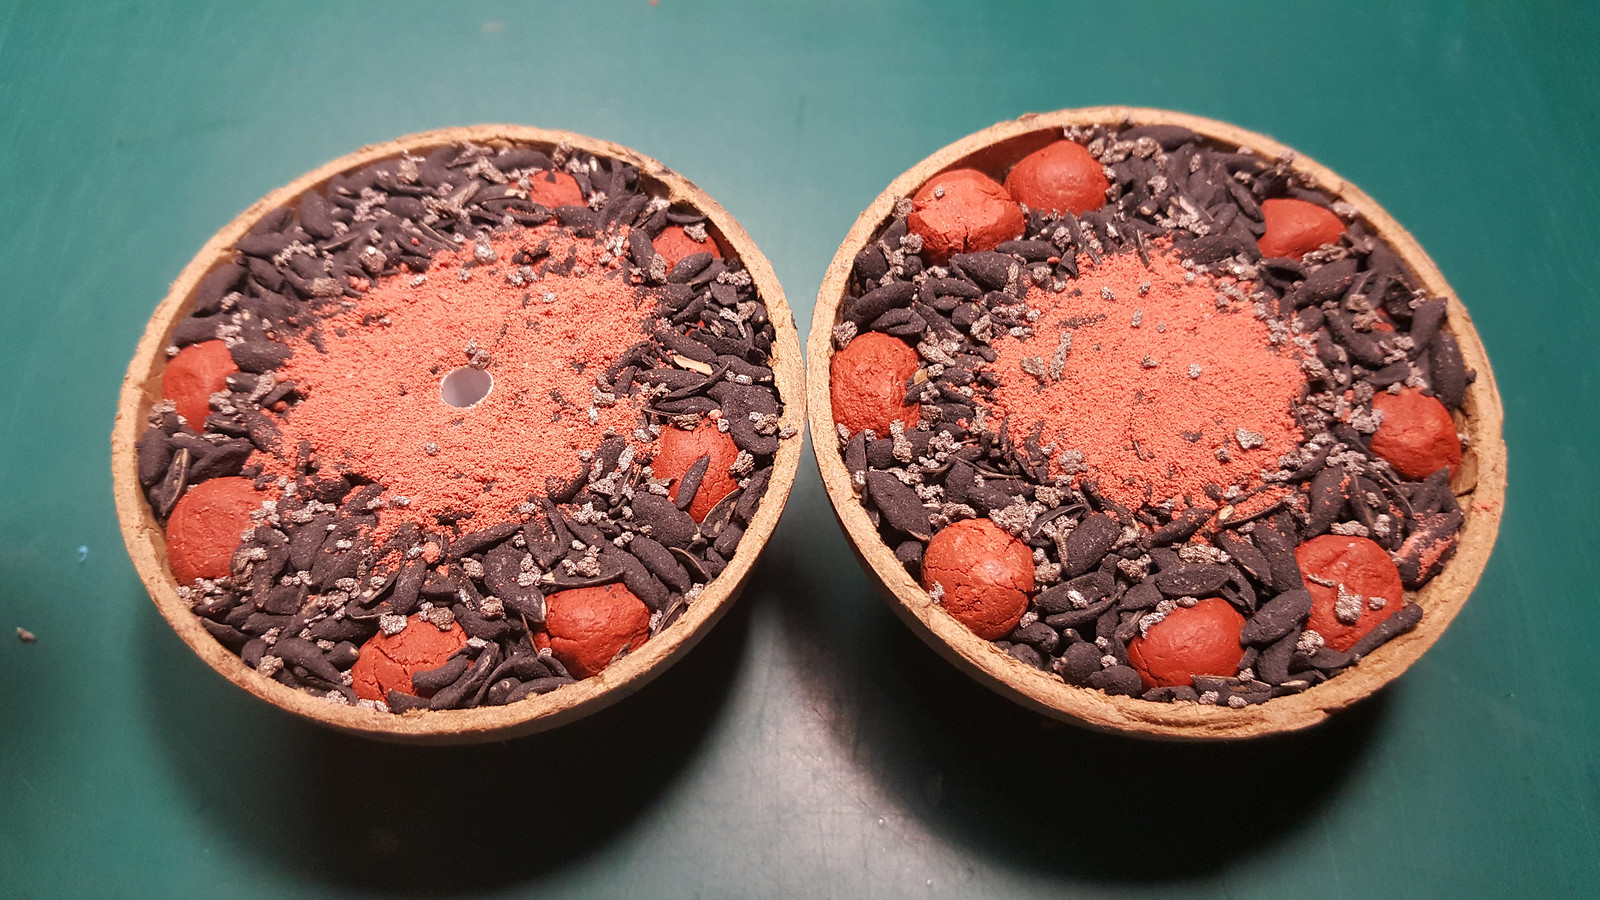
Covering and pressing the two hemis with a lot of pink powder.
Since this powder has a very rapid combustion it will ensure a great burst and an hard crack:
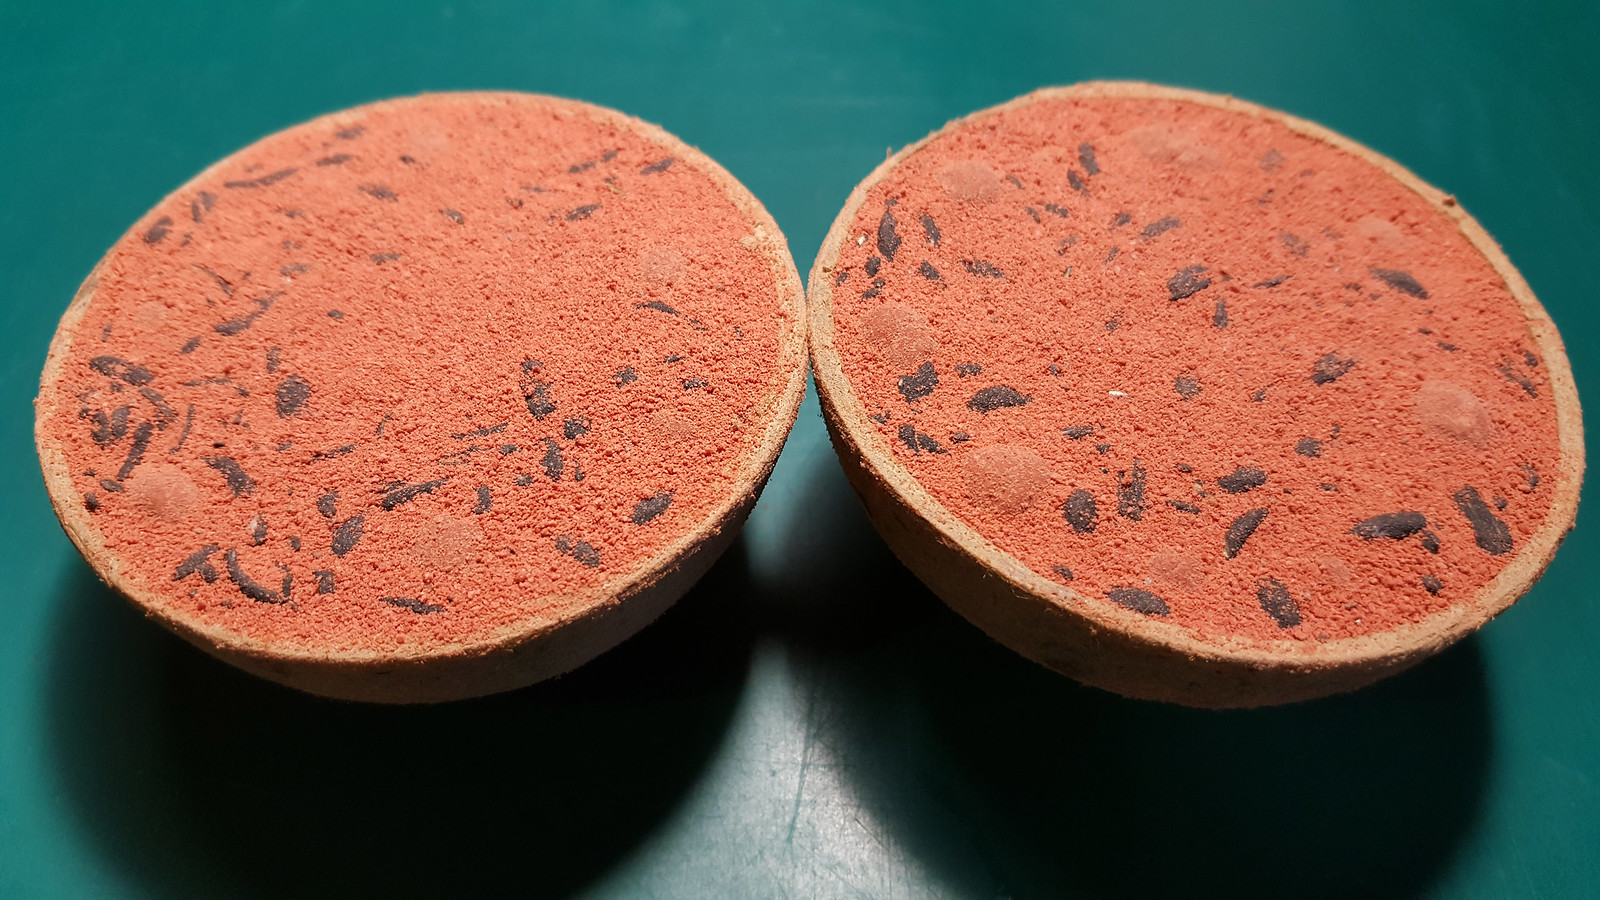
Alternatively, it is possible to replace the stars with 20mm pieces of flying fish fuses with one side dipped in a dissolved pink powder to allow better ignition:

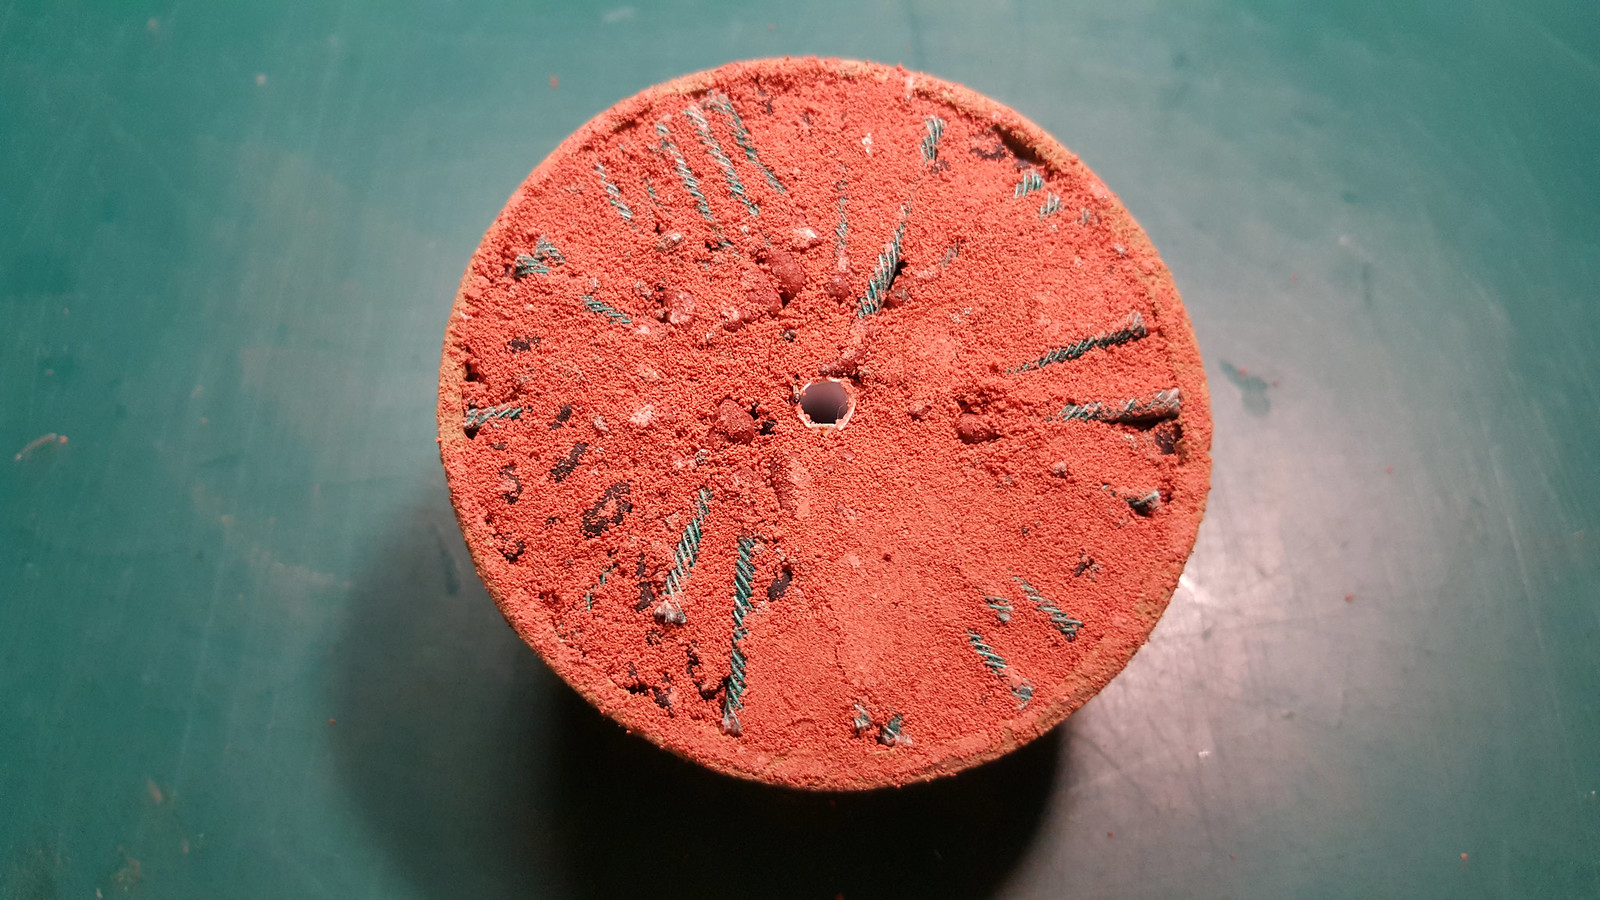
Wrapping an hemis with a foil of tissue paper: this will permit to keep the items in place while closing the two hemis:
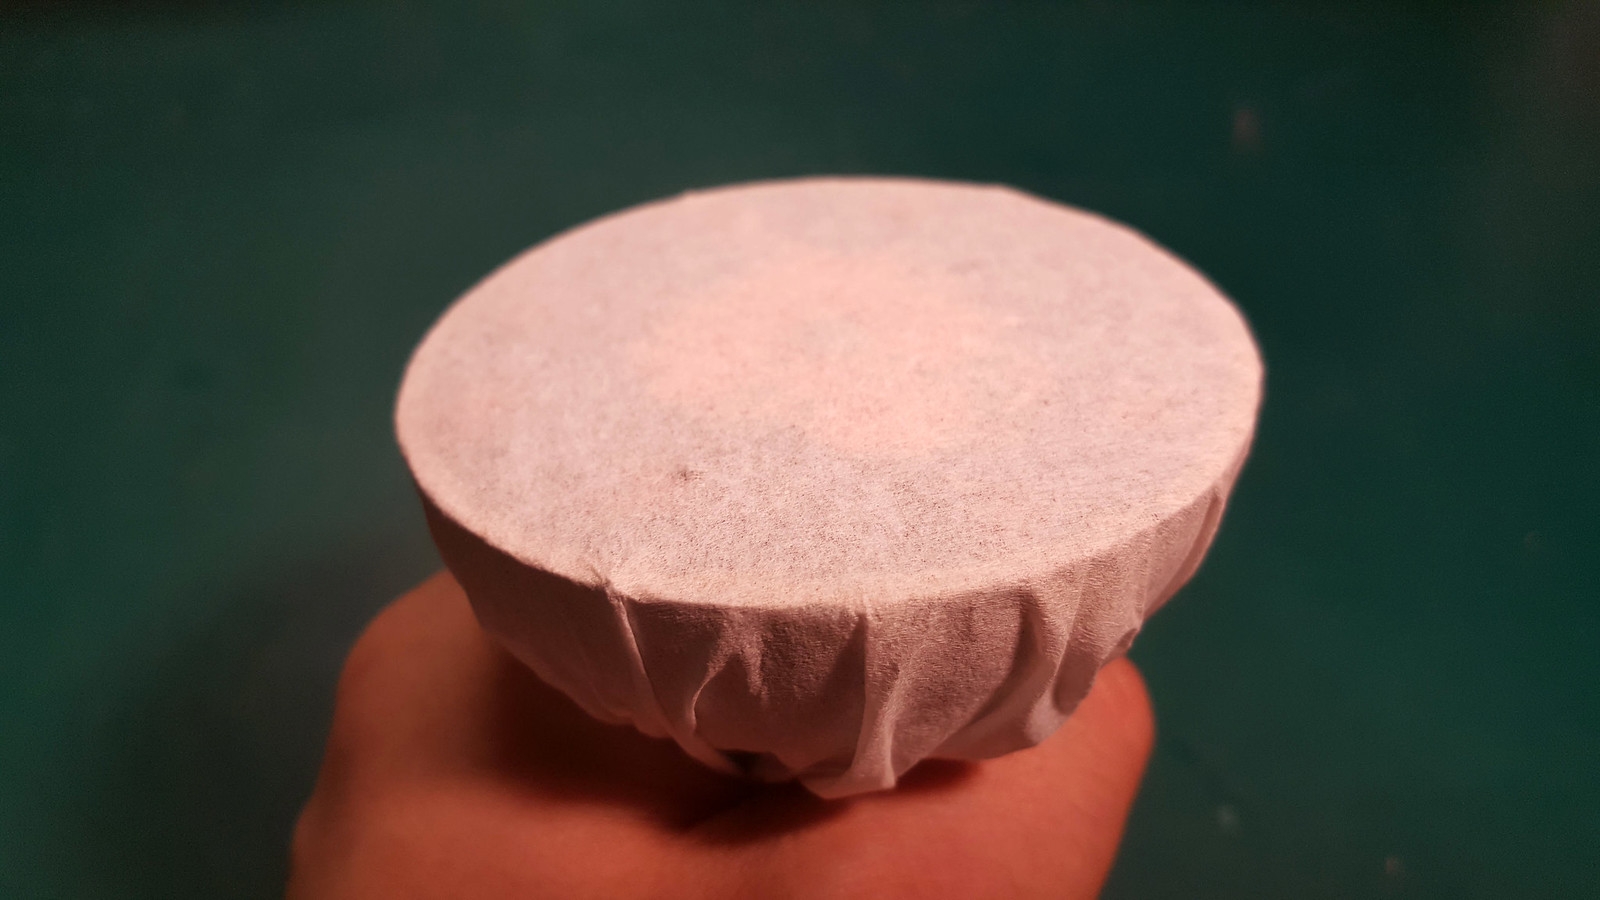
Joining the shells:

Ripped off the excess paper, hemis glued with a light wood glue:
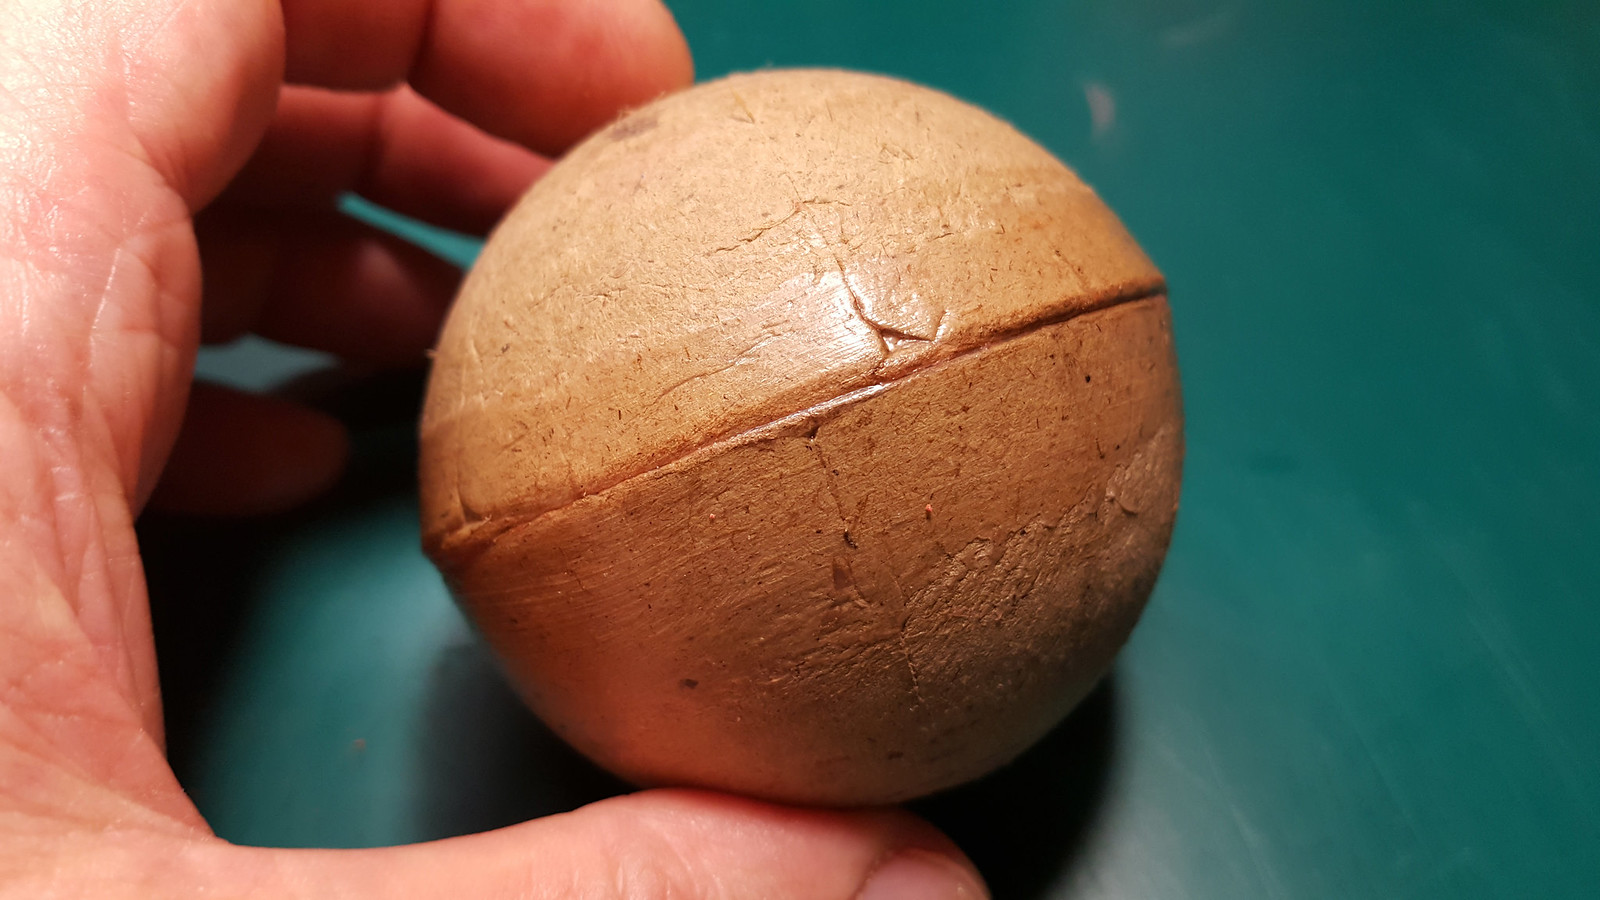
And now it is time to pasting the shell with water activated paper gum.
Jason from APC forum, a friend of mine, has conceived a great system to create an handmade uniform pasting. Here is the video:
.. and here is the very nice result:
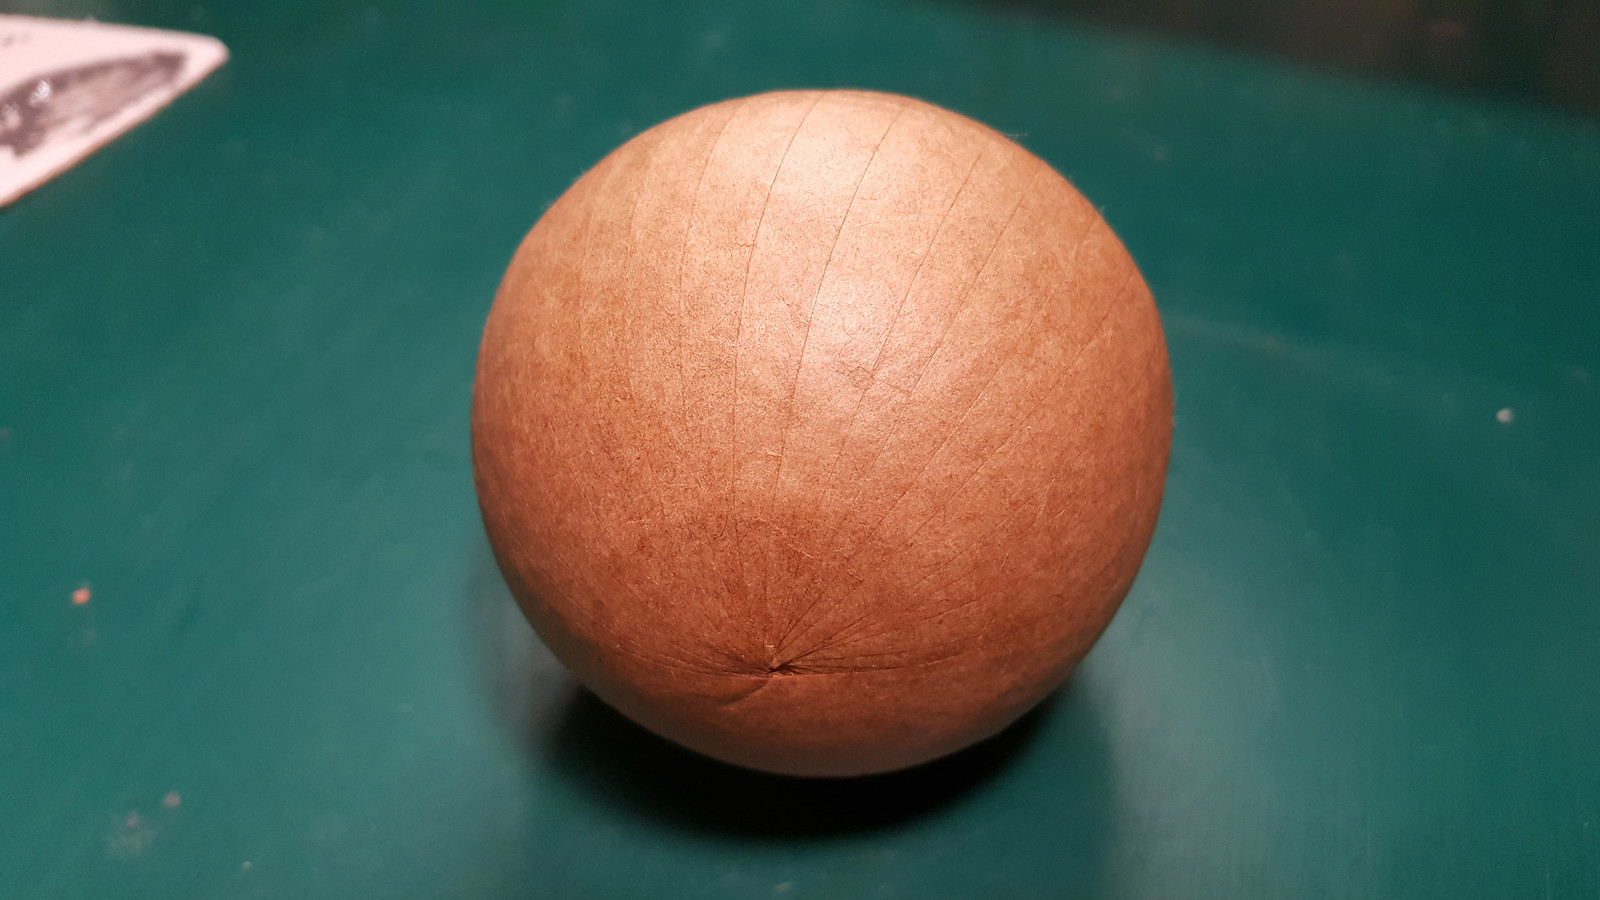
THE FINAL STEPS - THE HYBRID ROCKET
---------------------------------------------
Inserting the fast fuse into the shell, gluing the head:
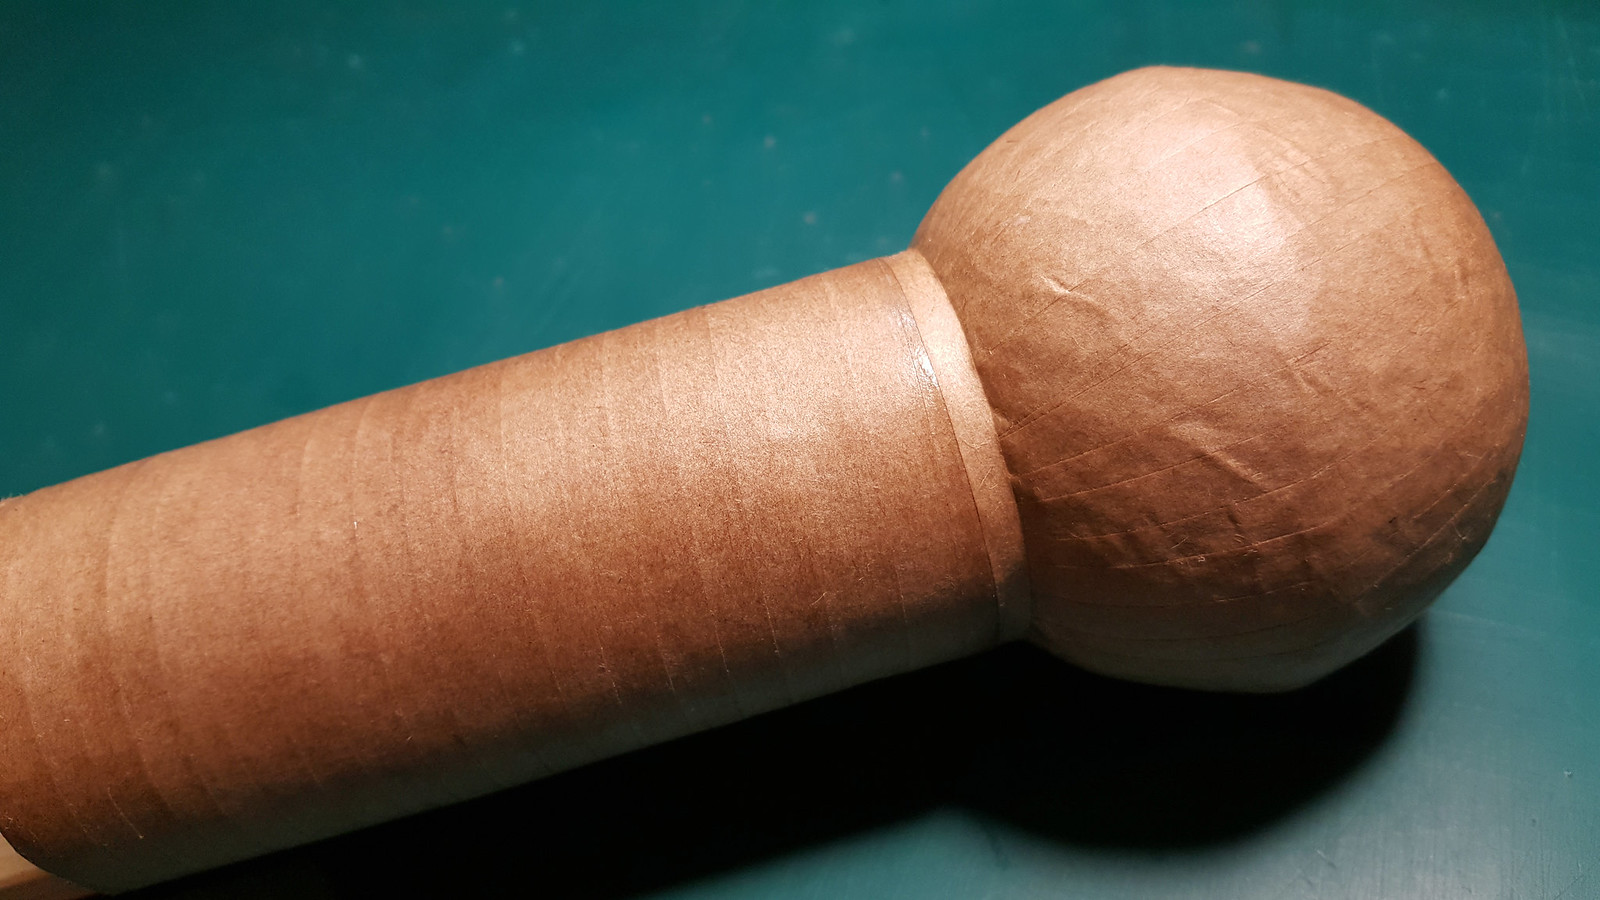
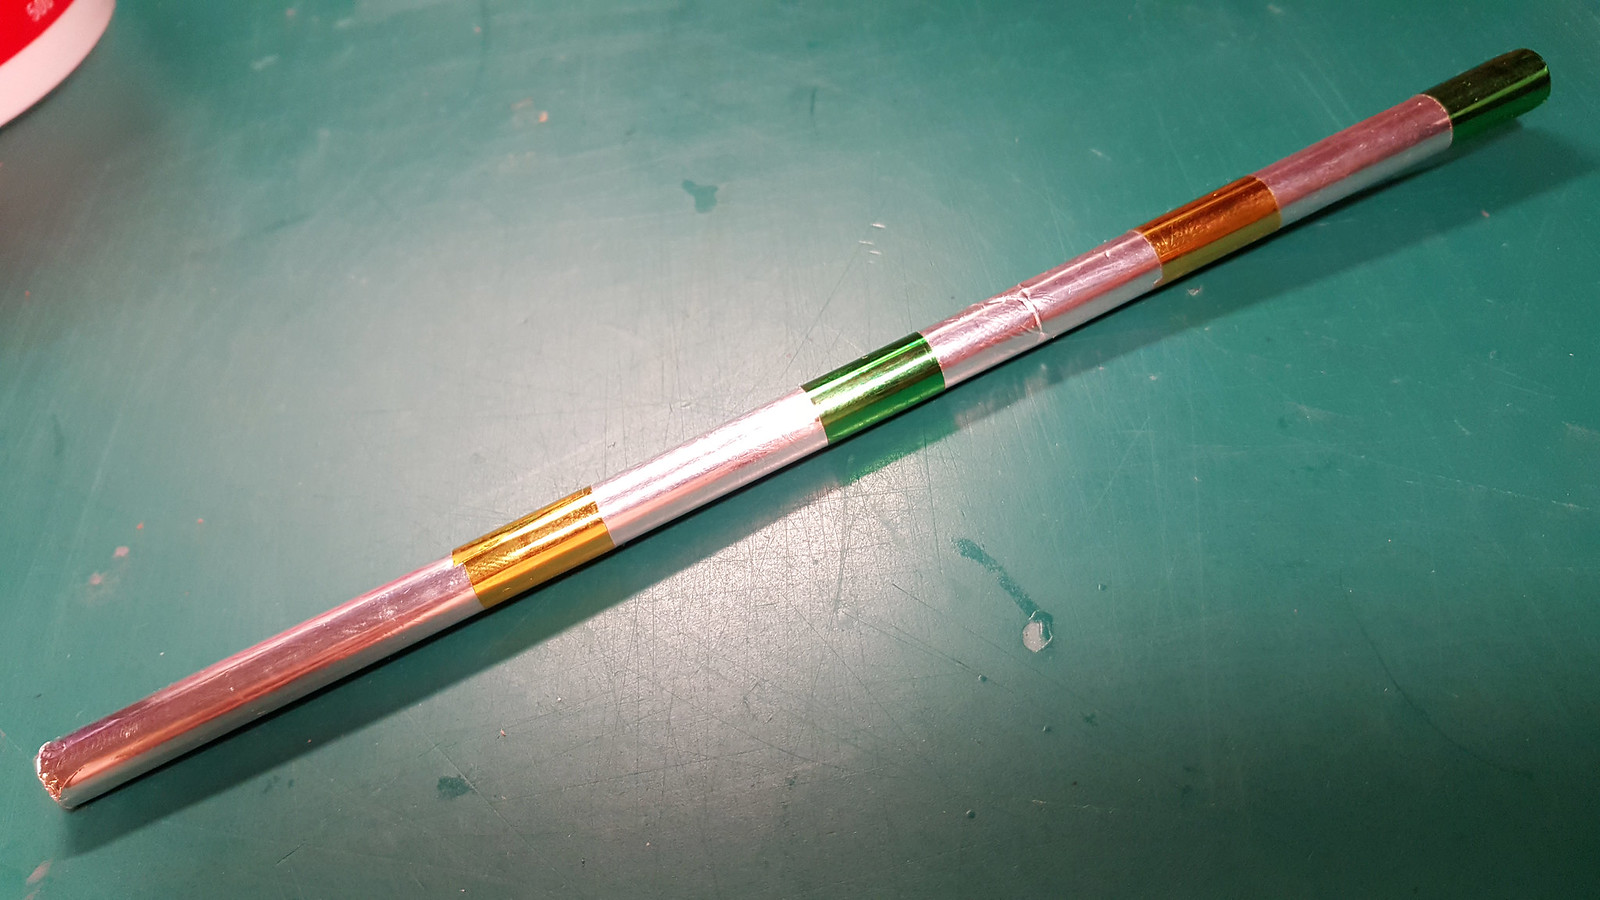
Since the compound will be ignited from the center of the rocket compound, I created a 6.5mm diameter straw wrapped with many turns of thin aluminum foil.
In that way the fuse will not perforate the straw and will ignite the compound exactly where I want:
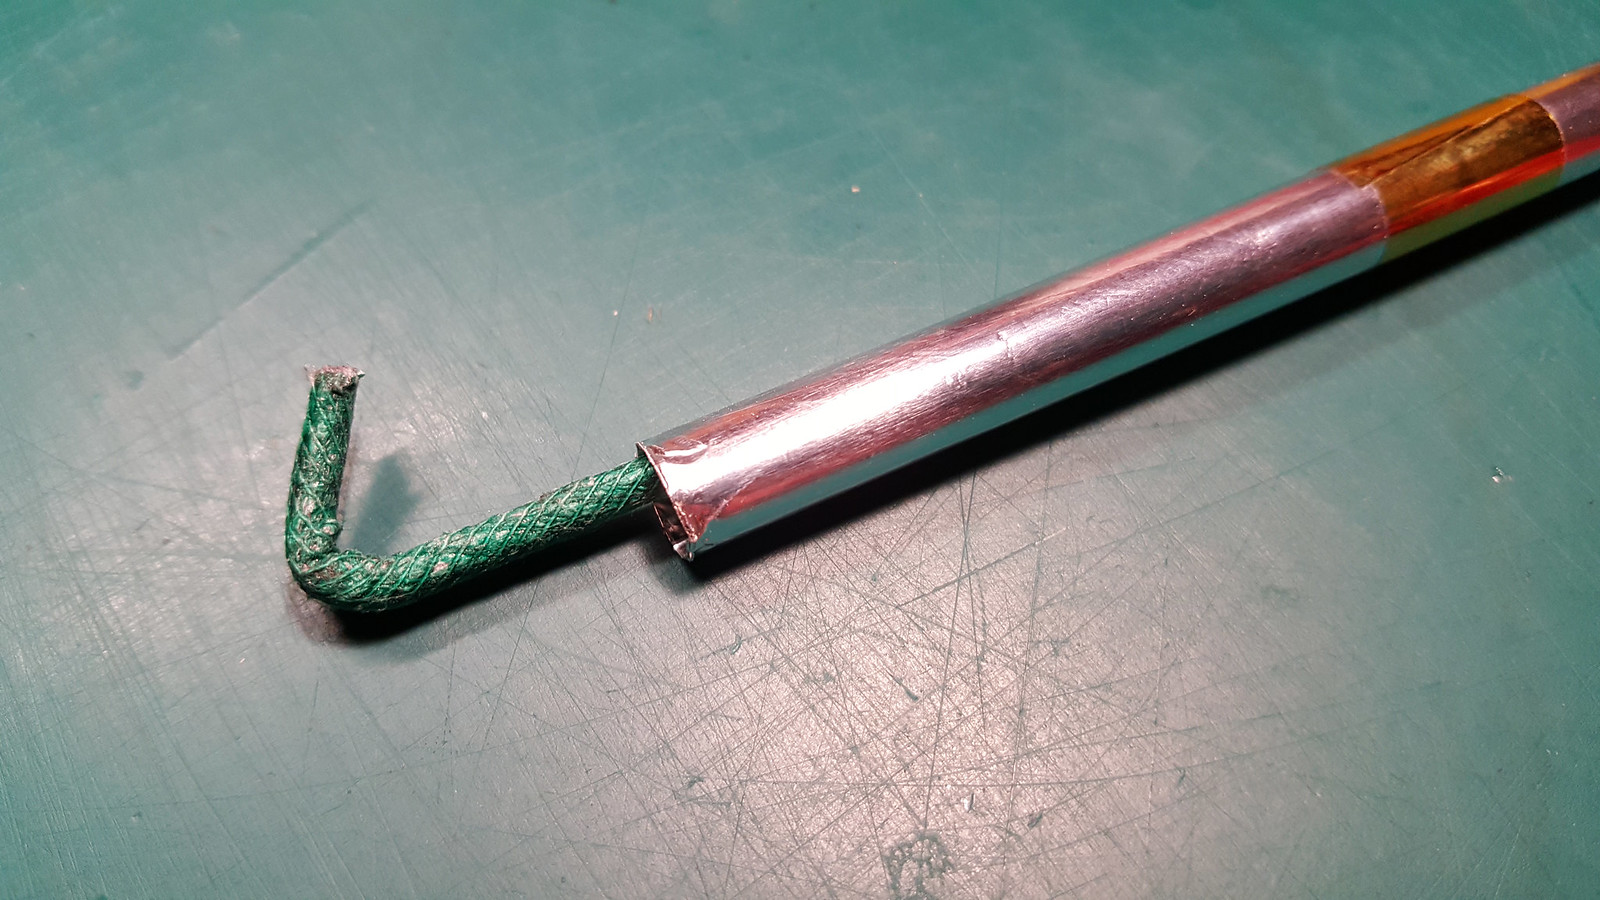
Curved 3mm diameter, 5 cores high quality fuse. The fuse will cling well inside the compound hole:
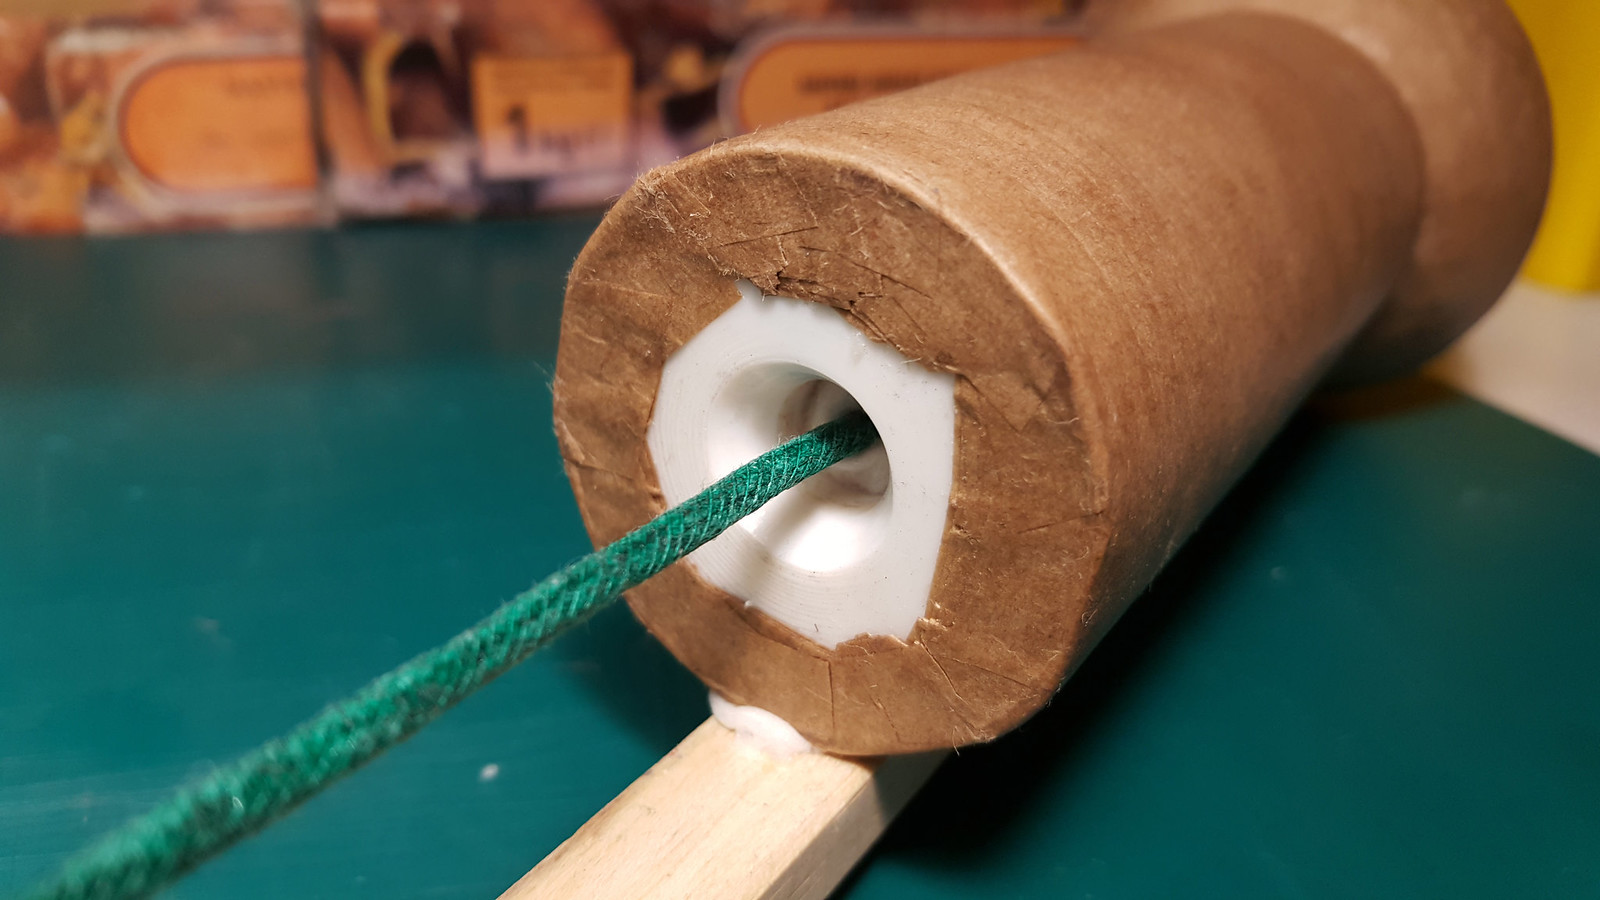
Glued the rocket over an appropriate long stick: the baricentre of the whole rocket fall exactly at the end of the rocket itself, and this permit a very smooth vertical and linear fly.
The two screws keep firmly locked all the structure, escpecially the cap and the nozzle:

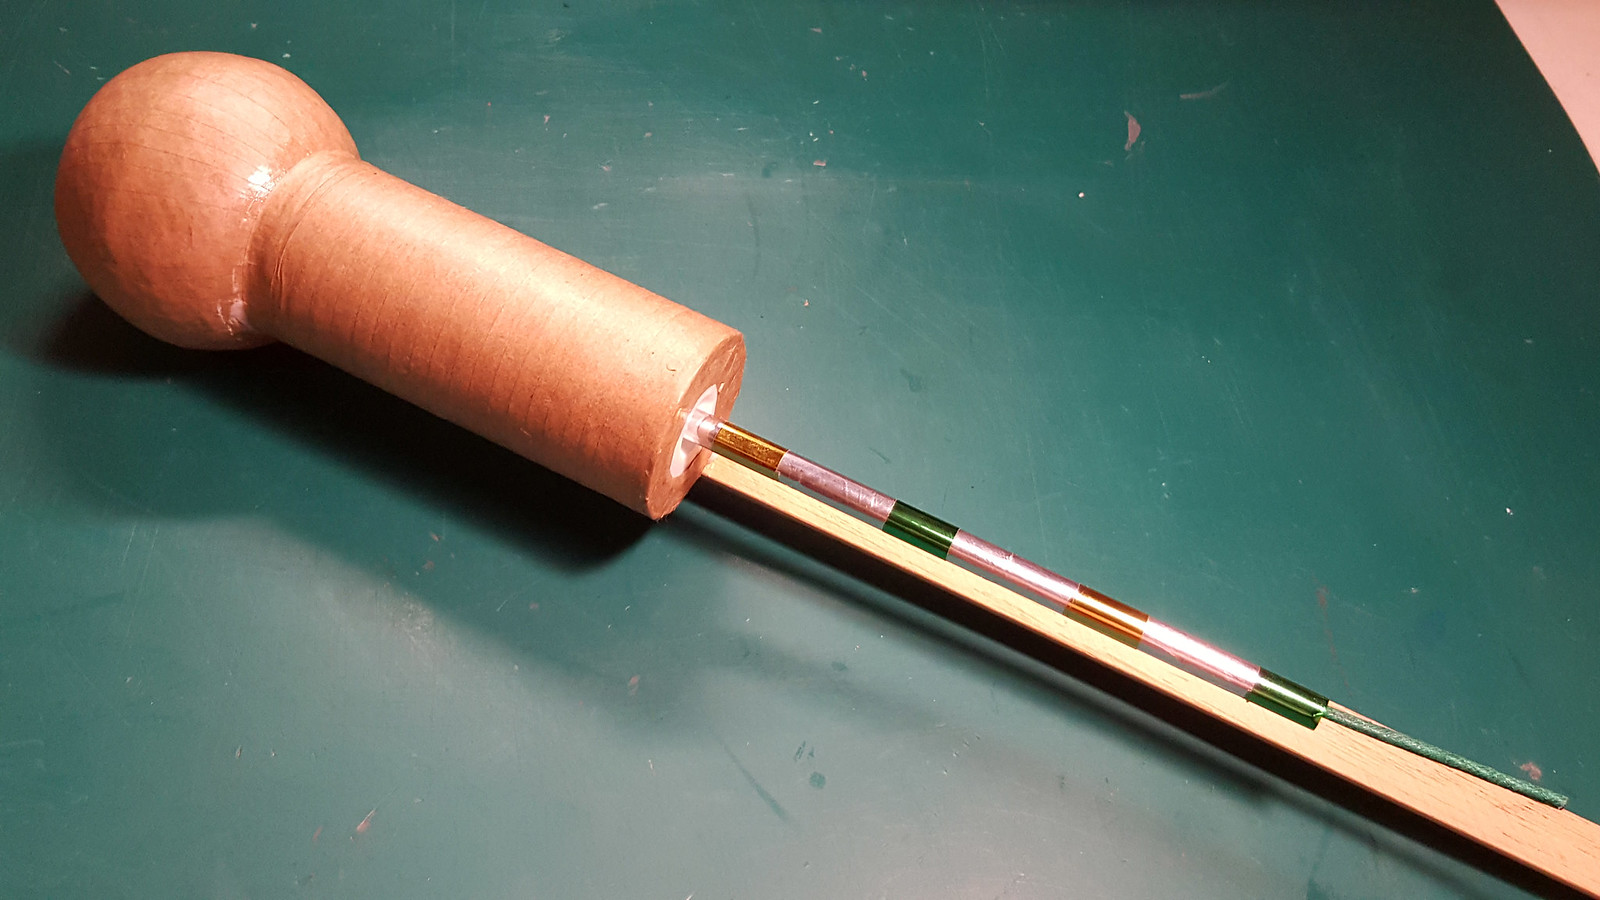
Inserting the modified straw with the fuse inside.
Locking the straw with some pieces of cotton to avoid possible expulsion during the fuse burning:
The finished hybrid rocket!
.. and finally the launches!
This was the first prototype, longer and without screws: the rocket exploded and ignite the shell too early. It was a (beautiful) CATO:
Second prototype with green flying fish fuses.
The altitude reached was slightly too high and only few fuses were ignited:
Third prototype with stars.
Weak crack and only few stars were ignited:
A very good new launch:
Two new launches:
PHEW! It was a very challenging project (and tutorial!)
Many improvements needs to be made to the shell, but at least the rocket motor is perfect.
Just a curiosity: this kind of rocket allow me to vary the shell crack altitude in two ways:
1. Varying the tickness of the bentonite part (more bentonite -> less compound -> lower altitude);
2. Making the 3mm hole deeper in the compound (the fuse will ignite early).
Of cours each of this choices has pro and cons:
1. More bentonite -> more left weight that fall from the sky to the ground;
2. Deeper 3mm hole: when the shell crack, the rocket will travel for xx seconds more.
And now, the next steps will be:
1. Switch to 4" shells;
2. Create more professional stars and effects;
3. Improve the shell cracks.
4. Reduce the rocket costs (PET cap and nozzle are very expensive!)
Dear forum users, see ya soon for another Ercole's fatigue .. bye bye !!
In the meanwhile that I, CDBeam and the rest of the staff are ending a new awesome laser monster
(and You know me, when I say "monster" is really a monster
This new painful project take me a lot of effort, but it is really a wonder.
It is an half way between a sugar rocket and a firework. If You want You can call it "Sugarwork"
Well, let's start with the dance!
THE ROCKET SECTION
-------------------------
The original cardboard tube (100mm lenght, 44mm outside diameter, 41mm inside diameter):

Internal partitions:
(from A to B -> nozzle; from B to C -> compound; from B to B2 -> hole depth into the compound; from C to D -> bentonite; from D to E -> head cap; from E to the end -> space reserved for the shell profile)

Plug and nozzle created from a PET bar with a precision lathe (20mm thickness):

Nozzle pressed and glued with a strong bicomponent epossidic glue:

Nozzle deadly hold with a massive band:

Inside the tube:

Hole filled with pressed bentonite to avoid spilled compound during the compacting procedure:

65 grams of potassium nitrate, 35 grams sucrose, 1 grams iron oxyde and 3 grams of titanium sponge 450-1000µm.
I used a heavy and thick cast iron cooking pan over an electric cast iron plate to avoid dangerous hot spot that could
accidentally ignite the compound:

Dissolved powders adding enough distilled water:

Cooking the compound at medium heat (150 °C):

The compound is near to be ready. It is important to stir often the compound for safety reasons and to obtain a homogeneous paste:

Compound dried and melted. Now the paste is ready and extremely flammable. Max care is now necessary:

Packing the compound with a PET bar. The fit is perfect, so no compound can get off the sides.
To reach optimal results it is necessary to pack the compound not all together, but the equivalent of a tea spoon every time.
After every spoon I will apply a pressure with the weight of my body (95 KG).
In that way every part will be well compacted over the previous one:

Packed and cold compound:

Removing bentonite from the nozzle and making an hole in the compound:

Hole drilled:

Adding 5mm of bentonite:

Making a 3mm hole for the fast fuse at the center of the cap:

Gluing and pressing the cap:

Removing band from glued nozzle and deadly hold the cap with the same band:

Removing band from cap and sticking on some rings of water activated gummed tape of 5 layers each to toughen the cardboard tube:

Sticking on the last spiral layer:

Cut the gummed tape:

Rocket bottom finished:

Inserting 3mm fast fuse:

THE SHELL SECTION
-----------------------
Two boobs :crackup: ... well no, two 3" shell hemis.
The reason of the circles will be explained later in a video:

Glued straw in one hemis. Inside the straw will be placed the fast fuse until the center of the shell.
This allow to ignite the shell from the heart and will ensure a simmetrical aperture:

Customized stars just dried (sucrose, KNO3, red iron oxyde, Titanium sponge 1000-2000 microns):

Placing stars inside one hemis. These stars were too big and not perfectly
rounded. Surely they will be better at the second try:

Hemis with stars and black powder coated rice hulls:

Adding Titanium sponge 1000-2000 microns and some pink powder (40 mesh granulated sugar rocket compound):

Covering and pressing the two hemis with a lot of pink powder.
Since this powder has a very rapid combustion it will ensure a great burst and an hard crack:

Alternatively, it is possible to replace the stars with 20mm pieces of flying fish fuses with one side dipped in a dissolved pink powder to allow better ignition:


Wrapping an hemis with a foil of tissue paper: this will permit to keep the items in place while closing the two hemis:

Joining the shells:

Ripped off the excess paper, hemis glued with a light wood glue:

And now it is time to pasting the shell with water activated paper gum.
Jason from APC forum, a friend of mine, has conceived a great system to create an handmade uniform pasting. Here is the video:
.. and here is the very nice result:

THE FINAL STEPS - THE HYBRID ROCKET
---------------------------------------------
Inserting the fast fuse into the shell, gluing the head:

Since the compound will be ignited from the center of the rocket compound, I created a 6.5mm diameter straw wrapped with many turns of thin aluminum foil.
In that way the fuse will not perforate the straw and will ignite the compound exactly where I want:

Curved 3mm diameter, 5 cores high quality fuse. The fuse will cling well inside the compound hole:

Glued the rocket over an appropriate long stick: the baricentre of the whole rocket fall exactly at the end of the rocket itself, and this permit a very smooth vertical and linear fly.
The two screws keep firmly locked all the structure, escpecially the cap and the nozzle:

Inserting the modified straw with the fuse inside.
Locking the straw with some pieces of cotton to avoid possible expulsion during the fuse burning:

The finished hybrid rocket!

.. and finally the launches!
This was the first prototype, longer and without screws: the rocket exploded and ignite the shell too early. It was a (beautiful) CATO:
Second prototype with green flying fish fuses.
The altitude reached was slightly too high and only few fuses were ignited:
Third prototype with stars.
Weak crack and only few stars were ignited:
A very good new launch:
Two new launches:
PHEW! It was a very challenging project (and tutorial!)
Many improvements needs to be made to the shell, but at least the rocket motor is perfect.
Just a curiosity: this kind of rocket allow me to vary the shell crack altitude in two ways:
1. Varying the tickness of the bentonite part (more bentonite -> less compound -> lower altitude);
2. Making the 3mm hole deeper in the compound (the fuse will ignite early).
Of cours each of this choices has pro and cons:
1. More bentonite -> more left weight that fall from the sky to the ground;
2. Deeper 3mm hole: when the shell crack, the rocket will travel for xx seconds more.
And now, the next steps will be:
1. Switch to 4" shells;
2. Create more professional stars and effects;
3. Improve the shell cracks.
4. Reduce the rocket costs (PET cap and nozzle are very expensive!)
Dear forum users, see ya soon for another Ercole's fatigue .. bye bye !!
Last edited:


