LewDude
0
- Joined
- Jul 16, 2017
- Messages
- 364
- Points
- 63
This is my first real experience with cydrical lenses - and it's a bit (err a lot-a-bit) rough. But it works, and I thought some of you might get a kick out of it!
The laser pointer is a HL63283HD, 638nm multi-mode RED diode, in an full-copper DTR 9mm module. The host is a C6 from Survival Lasers, and its using the 'standard' copper heatsink sold by them as well. Driver at first was a flexdrive, but I wanted a bit more, so I went with a Survival Laser adjustable driver, set to around 2.2A. The Lens is a G2.
The cylindrical pair was purchased from Techhood/NewGazer a three months ago. (Still has some listed here - link) I got a "red" set and a "blue" set. Per the listing, they look to be 3x.
While I'm currently waiting on a real slick host from Trinh, I went ahead a bought some pre-mounted lenses for that bad boy. So...what was I to do with these cheaper lenses from Techhood....?
Make a CHEAP beam correction "adapter"!!
Balsa wood:
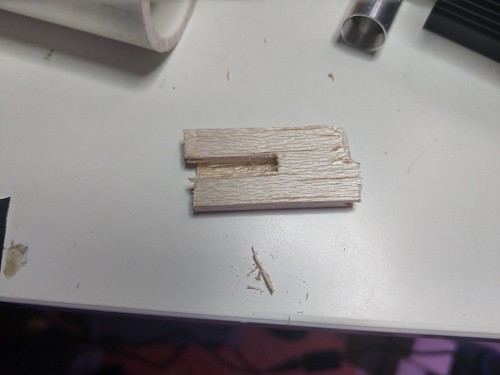 IMAG4926 by Lewie Wilkinson, on Flickr
This is used to move the 2nd lens (PCX):
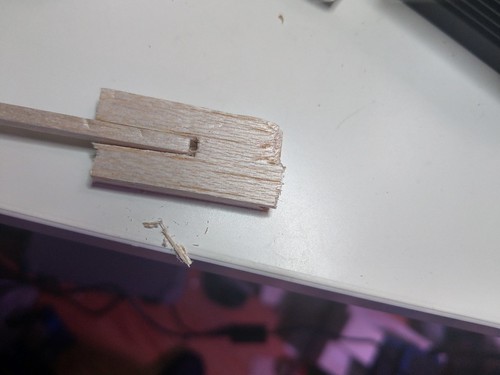 IMAG4927 by Lewie Wilkinson, on Flickr
I had some 5-second fix - where the light actually busted apart, so I just used the LED and the power supply:
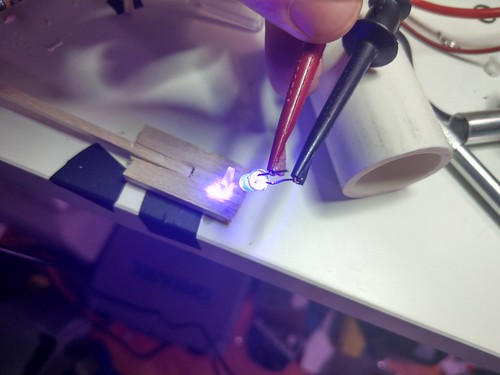 IMAG4928 by Lewie Wilkinson, on Flickr
The lens pair:
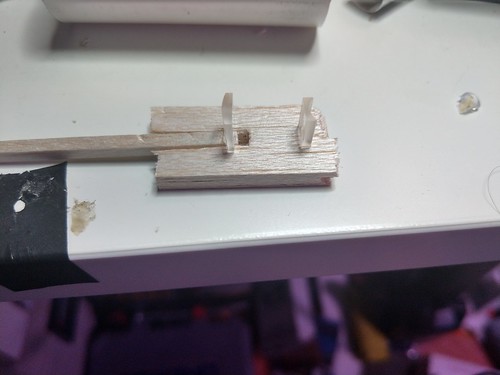 IMAG4929 by Lewie Wilkinson, on Flickr
After adjusting a bit, I 'locked' down the slider with some tape, and placed the module into some PCV. The tape you see on the laser-end of the PVC is around the inside of the PVC, to make the host/adapter fit more snugly:
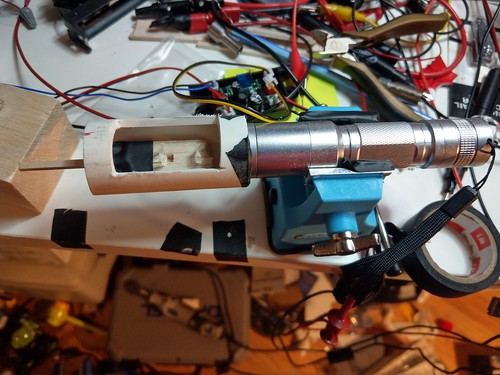 IMAG4996 by Lewie Wilkinson, on Flickr
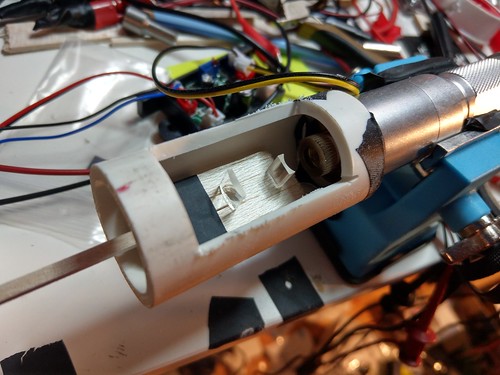 IMAG4997 by Lewie Wilkinson, on Flickr
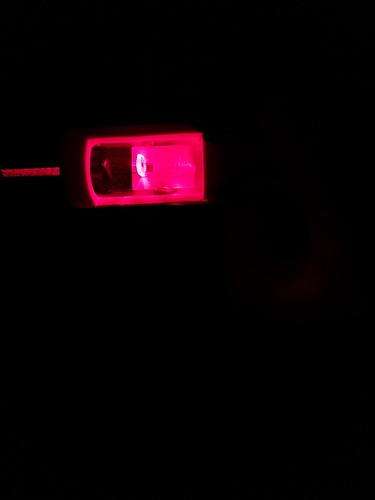 IMAG5000 by Lewie Wilkinson, on Flickr
The results / BEAM SHOTS up into a tree above my house - it was very wet outside; the beam shots match the construction quality :
:
Without the corrective pair:
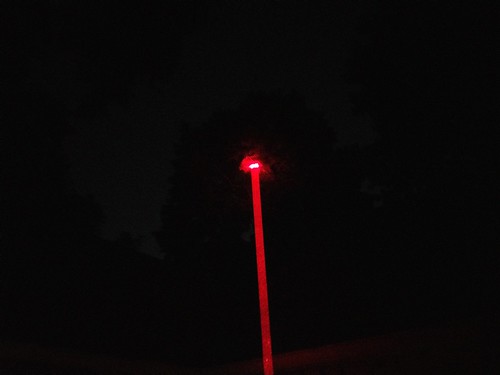 IMAG5003 by Lewie Wilkinson, on Flickr
With:
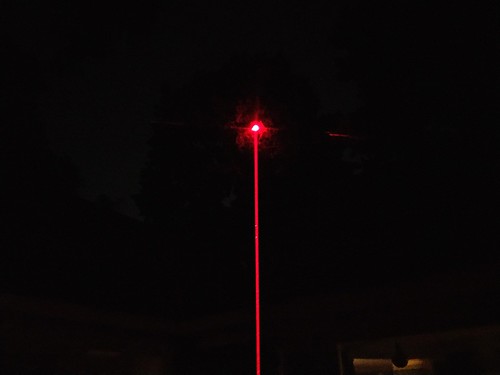 IMAG5005 by Lewie Wilkinson, on Flickr
In the end...it works. I might enjoy this diode a bit more. I'd make things more 'permanent' and cover up the optics chamber to keep dust out.
I hope you didn't laugh too hard!! Thanks for checking it out. It's got me very stoked to get the "community" build host from Trinh!!
The laser pointer is a HL63283HD, 638nm multi-mode RED diode, in an full-copper DTR 9mm module. The host is a C6 from Survival Lasers, and its using the 'standard' copper heatsink sold by them as well. Driver at first was a flexdrive, but I wanted a bit more, so I went with a Survival Laser adjustable driver, set to around 2.2A. The Lens is a G2.
The cylindrical pair was purchased from Techhood/NewGazer a three months ago. (Still has some listed here - link) I got a "red" set and a "blue" set. Per the listing, they look to be 3x.
While I'm currently waiting on a real slick host from Trinh, I went ahead a bought some pre-mounted lenses for that bad boy. So...what was I to do with these cheaper lenses from Techhood....?
Make a CHEAP beam correction "adapter"!!
Balsa wood:
 IMAG4926 by Lewie Wilkinson, on Flickr
This is used to move the 2nd lens (PCX):
 IMAG4927 by Lewie Wilkinson, on Flickr
I had some 5-second fix - where the light actually busted apart, so I just used the LED and the power supply:
 IMAG4928 by Lewie Wilkinson, on Flickr
The lens pair:
 IMAG4929 by Lewie Wilkinson, on Flickr
After adjusting a bit, I 'locked' down the slider with some tape, and placed the module into some PCV. The tape you see on the laser-end of the PVC is around the inside of the PVC, to make the host/adapter fit more snugly:
 IMAG4996 by Lewie Wilkinson, on Flickr
 IMAG4997 by Lewie Wilkinson, on Flickr
 IMAG5000 by Lewie Wilkinson, on Flickr
The results / BEAM SHOTS up into a tree above my house - it was very wet outside; the beam shots match the construction quality
Without the corrective pair:
 IMAG5003 by Lewie Wilkinson, on Flickr
With:
 IMAG5005 by Lewie Wilkinson, on Flickr
In the end...it works. I might enjoy this diode a bit more. I'd make things more 'permanent' and cover up the optics chamber to keep dust out.
I hope you didn't laugh too hard!! Thanks for checking it out. It's got me very stoked to get the "community" build host from Trinh!!


