- Joined
- Feb 12, 2016
- Messages
- 589
- Points
- 63
I started to make this set months ago, but now the time has come to start testing.
First I received 2 12mm modules with LDs from DTR: one with G-ball, other with G-2. The collimation by both lenses seemed pretty similar, one with G-2 gave a little more output, but the spot (line) was also a little wider.
Unfortunately, both seemed to be underspec - instead of expected 2.9W at 2.3A LPM has shown 2.42 and 2.55W. But I do not know which proper laser drivers can work at 8-9V output and used B3603 from dx.com. Yes, the experiment was also to test how LDs behave if driven in series from only one CC driver. Maybe current from this driver pulses and median current value passing through LDs is lower than 2.3A set?
Then I started to make a small device to PBS them. It should be:
-small enough to pass ino gun-like hosts
-modular (should allow to replace 12mm modules with any type of blue LDs and lens)
-produce round spot (using Milos results in taming 44s)
-work from 12V Ni-Cd, lead or Li battery in hosts like portable handdrills or spotlights
The parts used here I have already listed in the midnightchime´s thread about Combining 2 NUBM44.
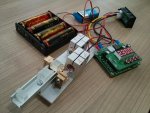
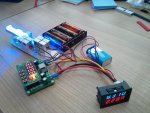
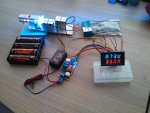
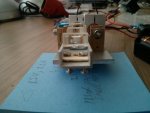
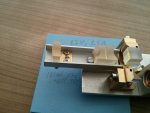
Here are the pictures of the tested model with all optics glued except C-lenses. I set 2.3A, 8.5V limits because B3603 is limited at 3A. The additional Voltammeter in the two LDs circuit shows 2.28A at 8.3V what could mean that the driver holds its promise.
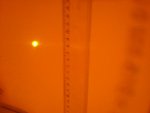
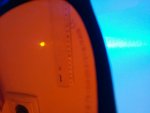
The spot at 5m (picture taken through safety googles) looks round and less than 1cm in diameter. Interesting that the position of last PCV lens has strong effect of spot shape - if it is only a little rotated by side, instead of squeezihg horizontal line into round spot I get vertical or diagonal line!
Bad thing is the total output only 4.6W. You would say Alien Laser has got 6W from only one such LD. But that was at 5A and I only test 2.3A, where according to graphs the effieciency of this LD is maximal! More is yet to come.
Abarnett, will you answer me at end, if X-wossee driver (or one you have with external potentiometer) is suited for output at 8-9V?
Thanks for your attention!


