Welcome to Laser Pointer Forums - discuss green laser pointers, blue laser pointers, and all types of lasers

Buy Site Supporter Role (remove some ads) | LPF Donations

Links below open in new window

FrozenGate by Avery

infrared B/W pics 4/2/15

Joined
Aug 3, 2012
Messages
1,213
Points
113
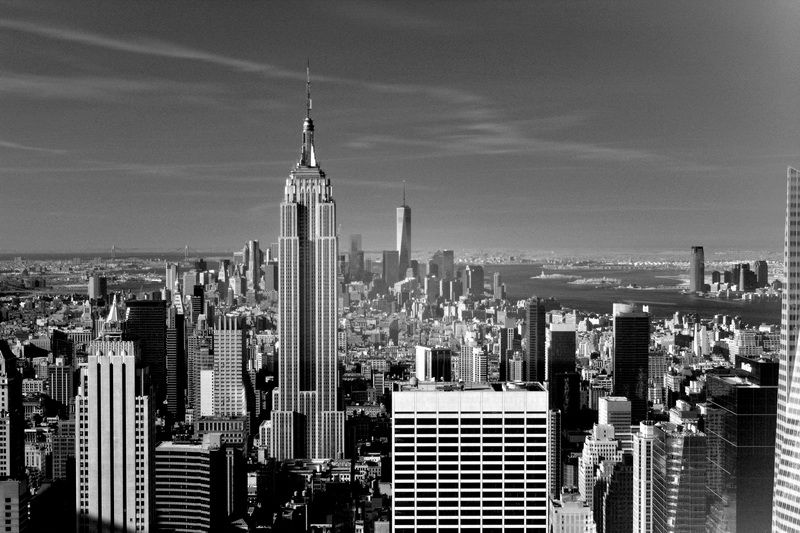
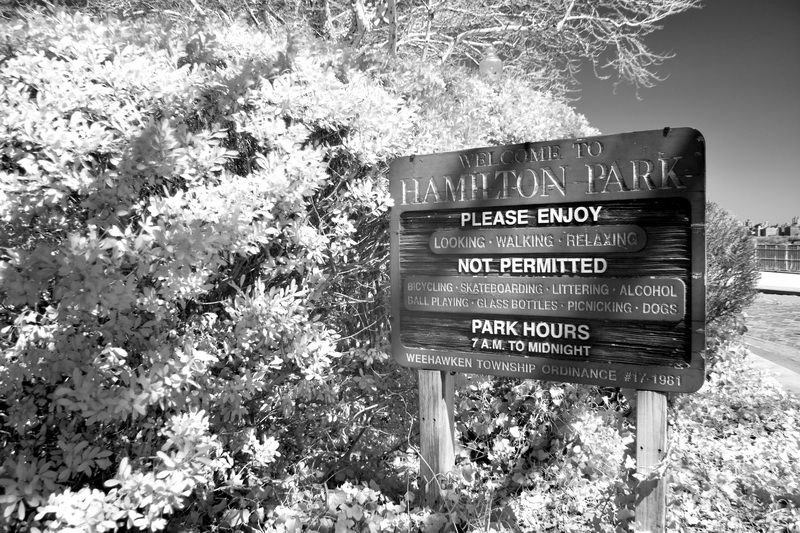
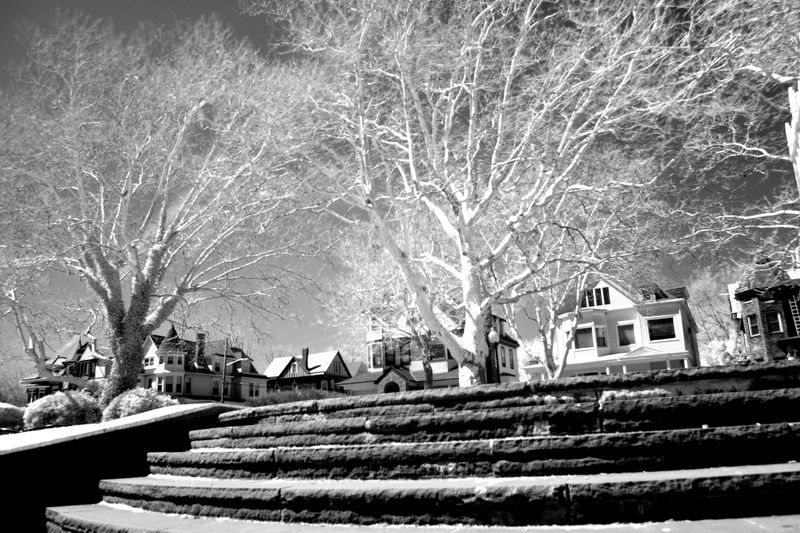
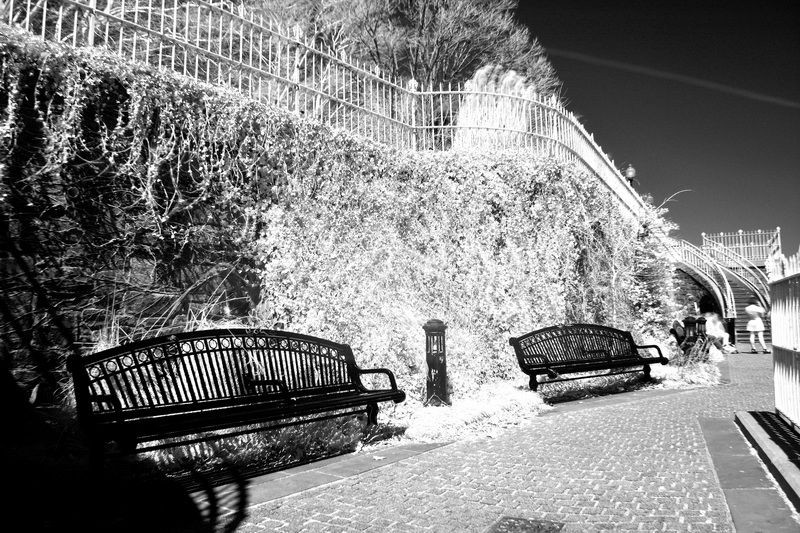
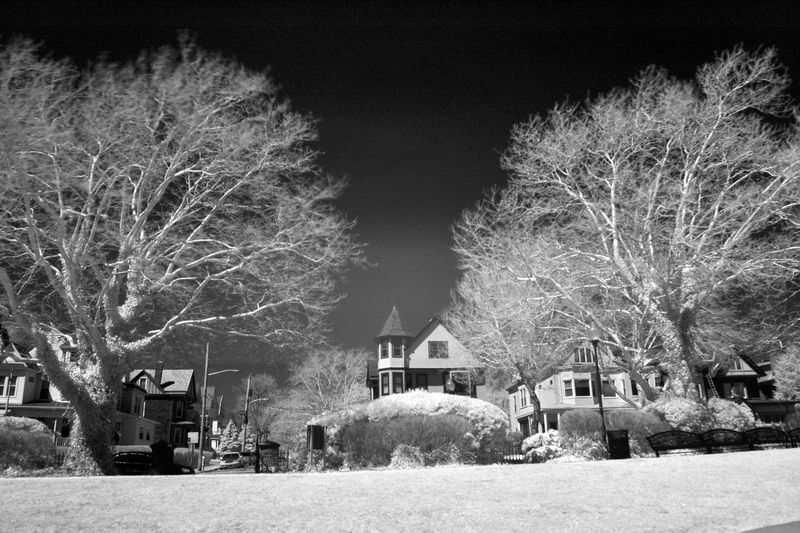
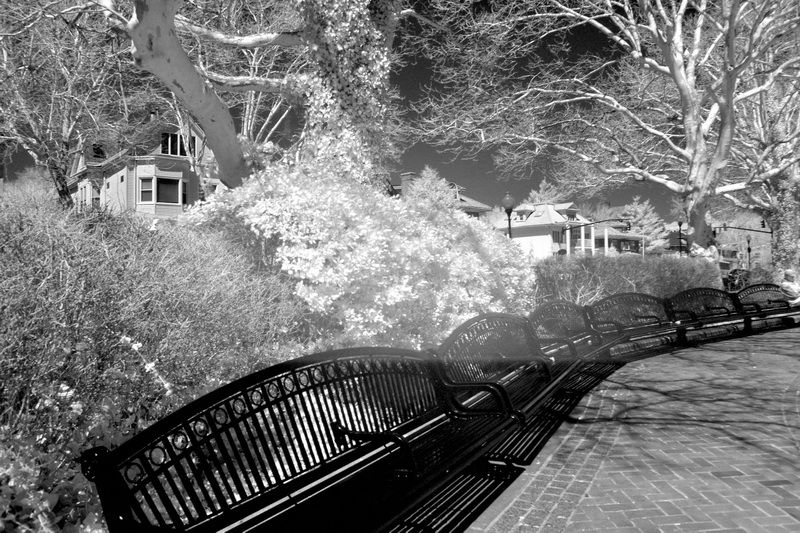
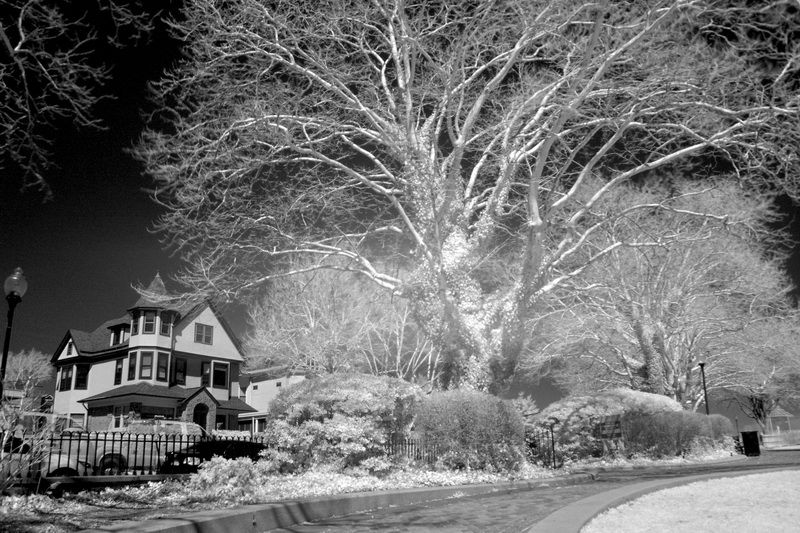
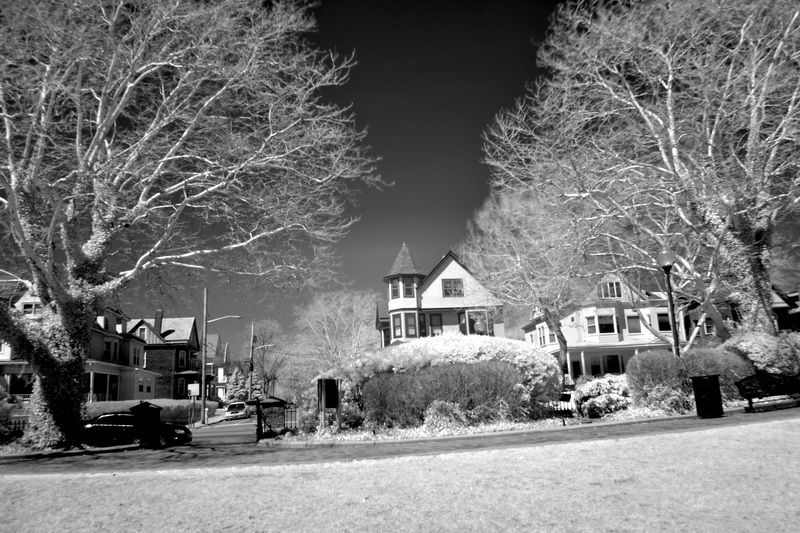
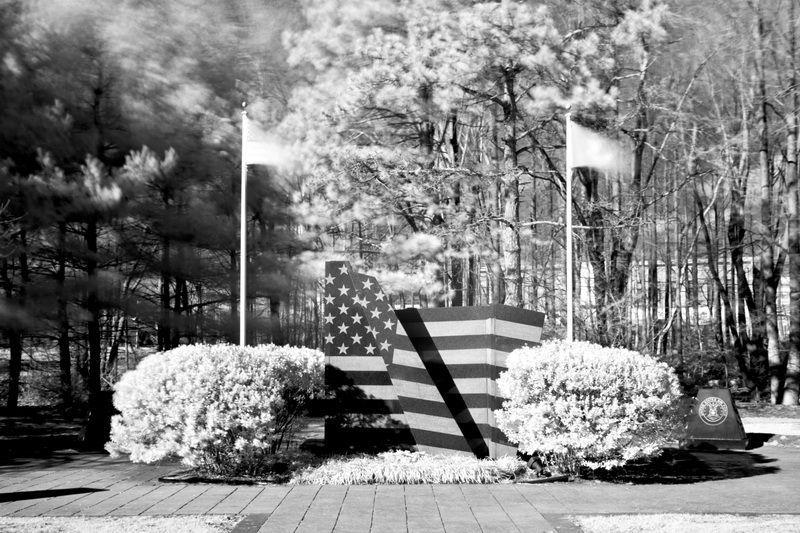
Here are my second (and third) attempt to do infrared digital photography using a Hoya R72 IR filter. I was in NYC photographing the Auto Show on press day and decided to make a day of it photographing. I took a bunch of IR shots from the top of the GE Building (67th floor) and the one posted here is the best. It was extremely windy up there and I was able to rest my camera on a cement pillar to get this shot was which exposed at 30 seconds. Very difficult conditions to photograph time exposures. I also took a few IR shots at Hamilton Park which is on the NJ side of the Hudson River across from NYC. The sun was not in the right position to get good shots of the skyline, but looking west the lighting was perfect with a cloudless blue sky. I wish there were some clouds in the sky, but it was still great shooting conditions for IR. The photos taken in this batch really show off the B/W IR effect.
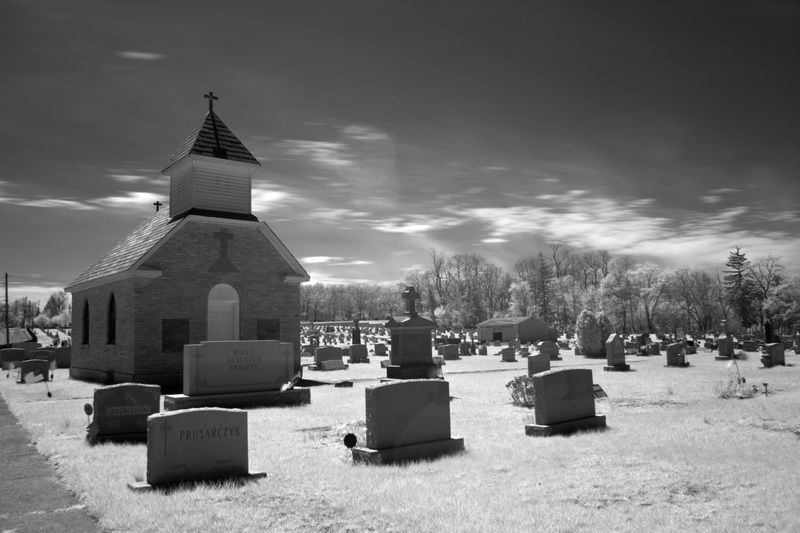
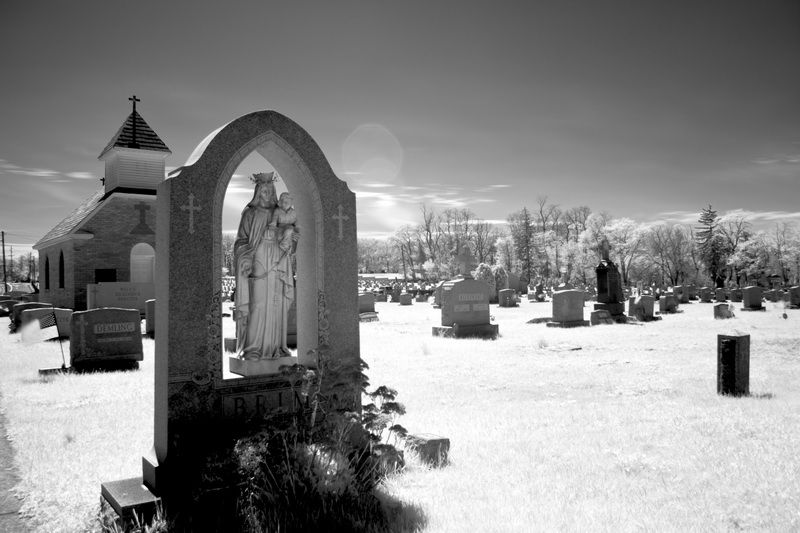
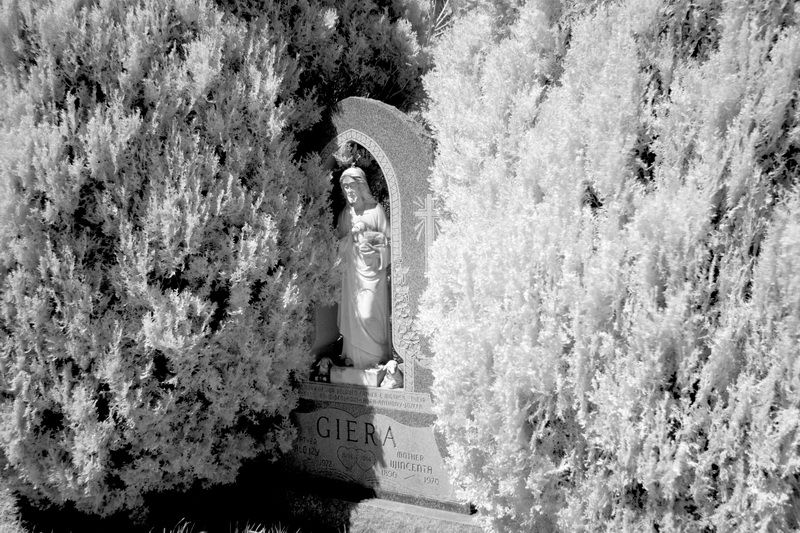
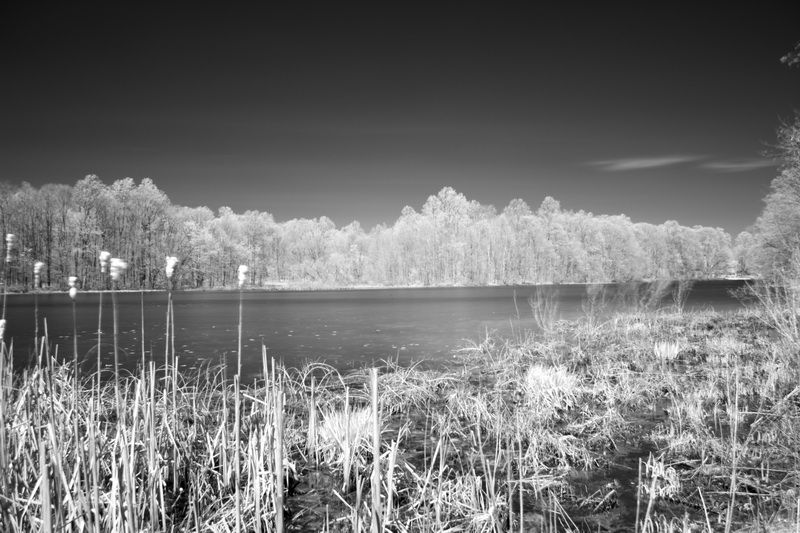
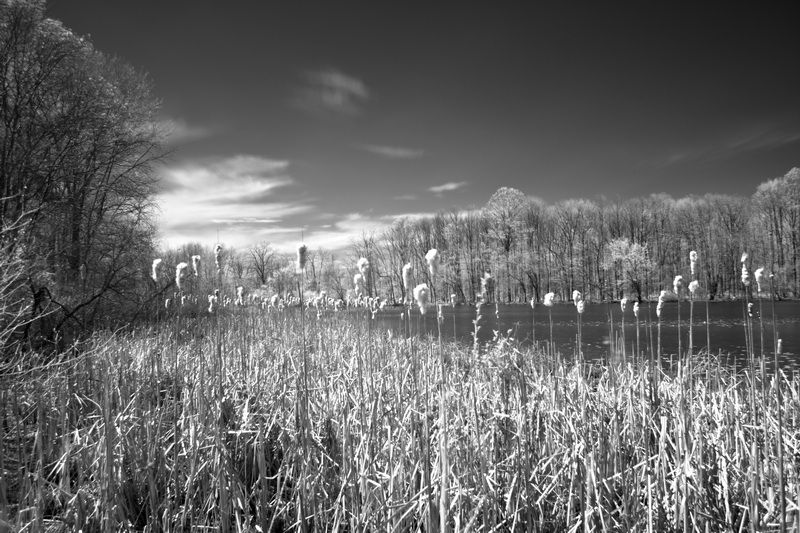
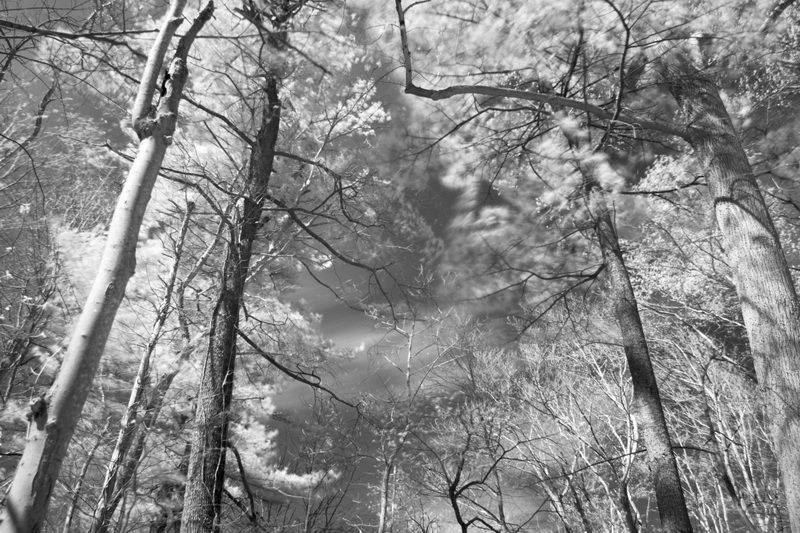
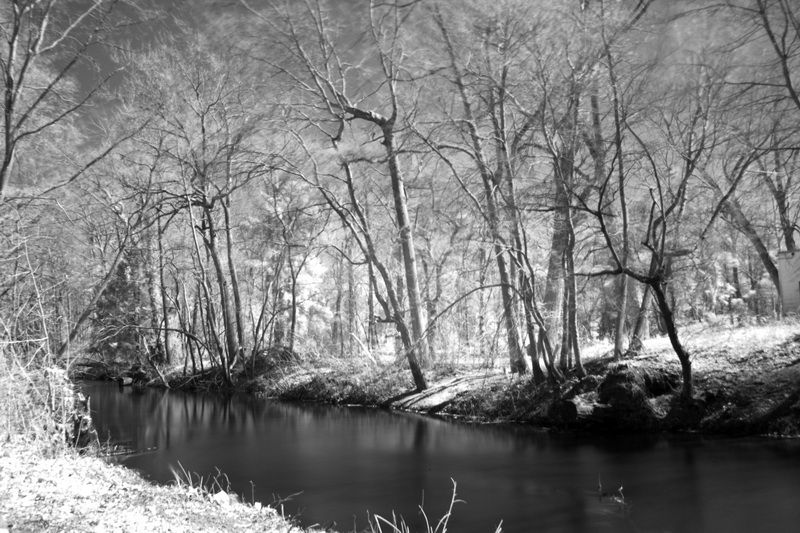
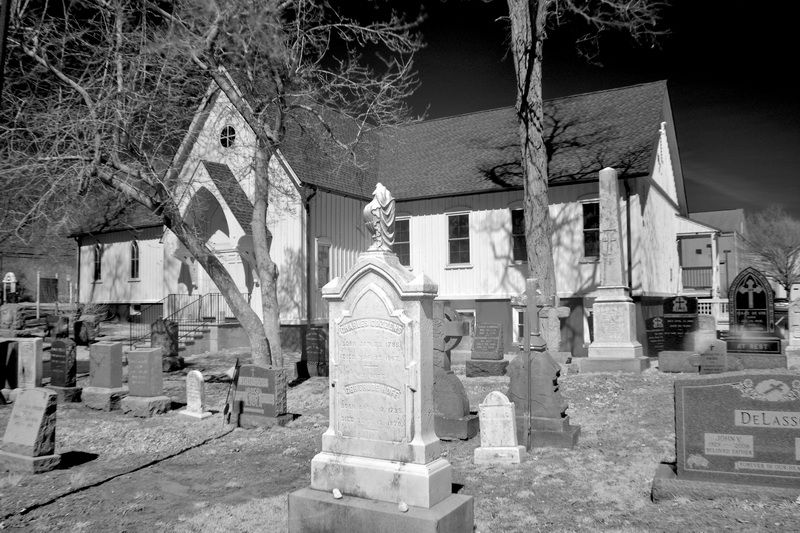
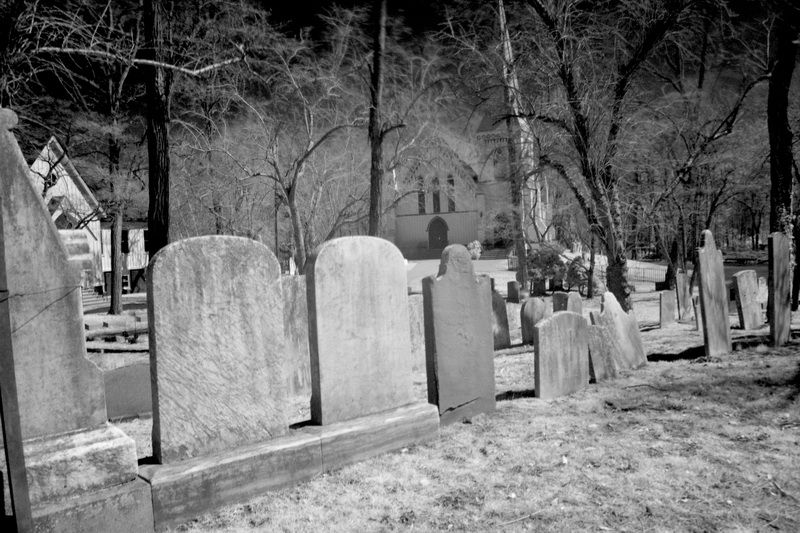
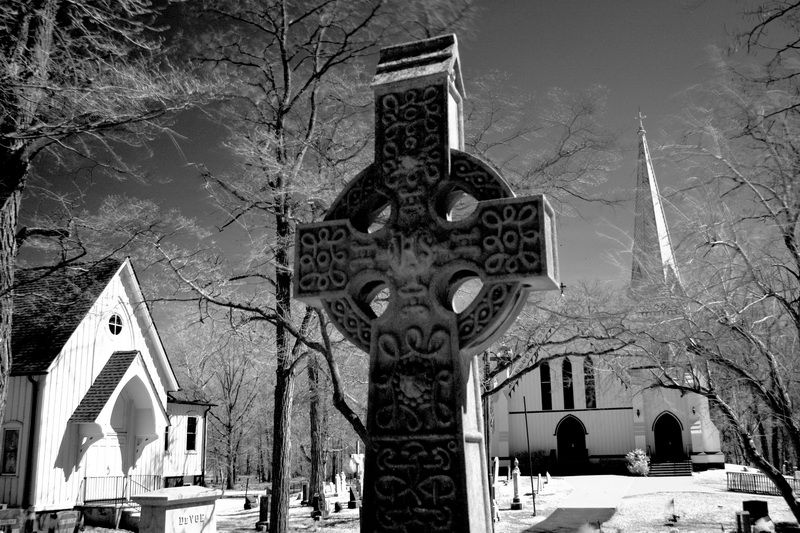
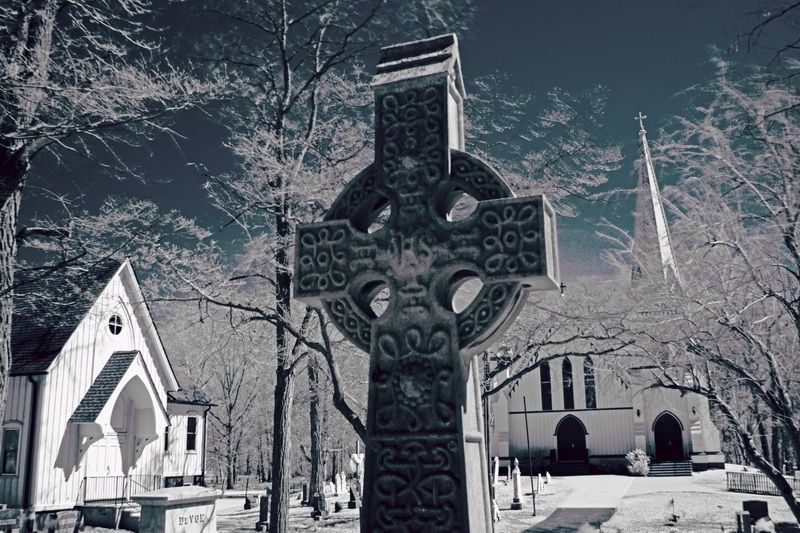
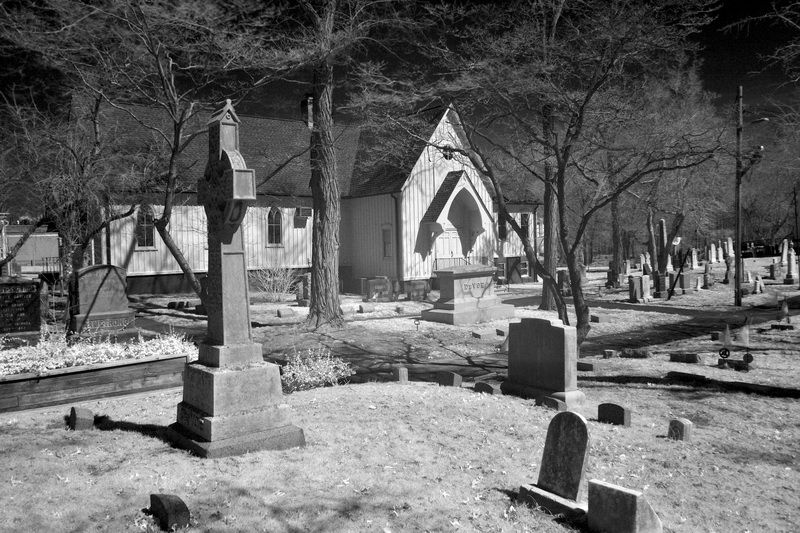
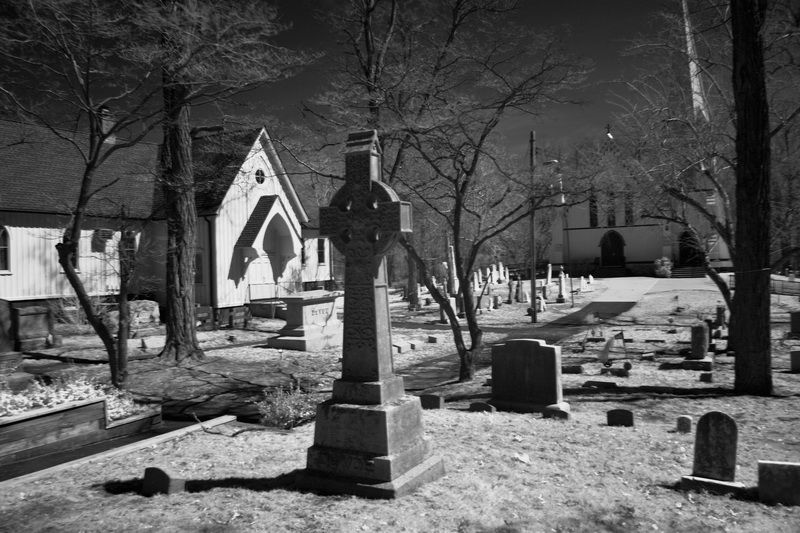
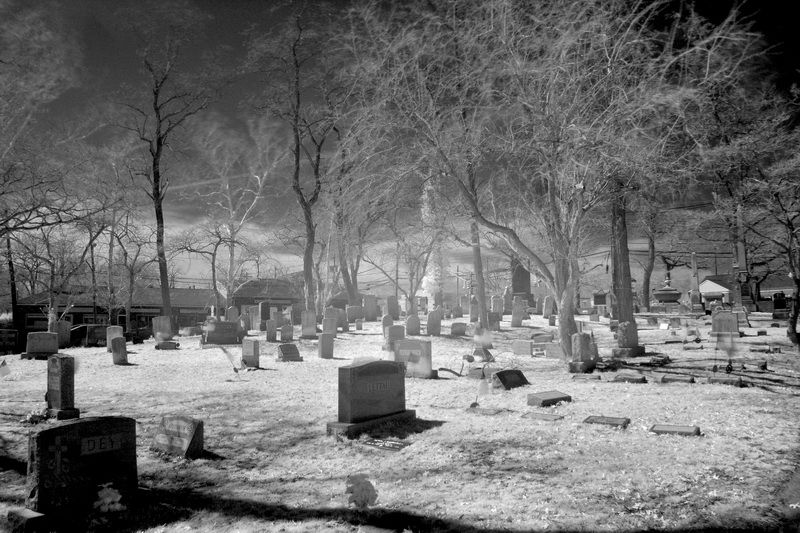
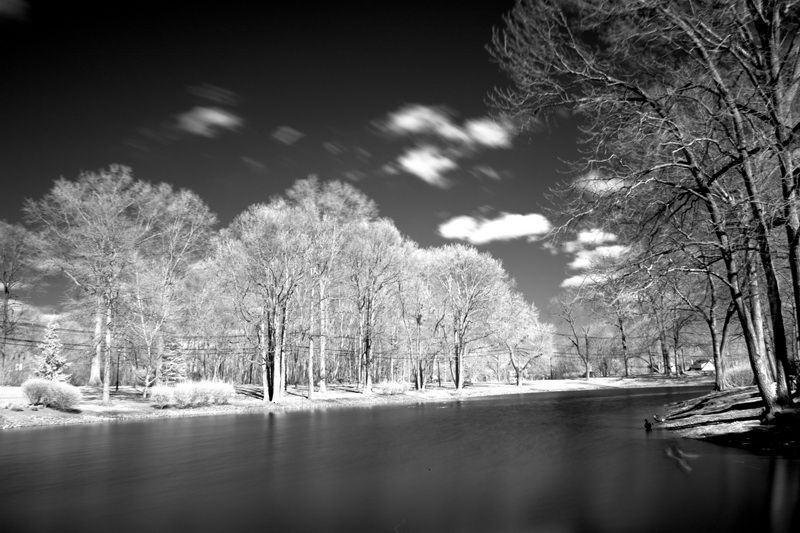
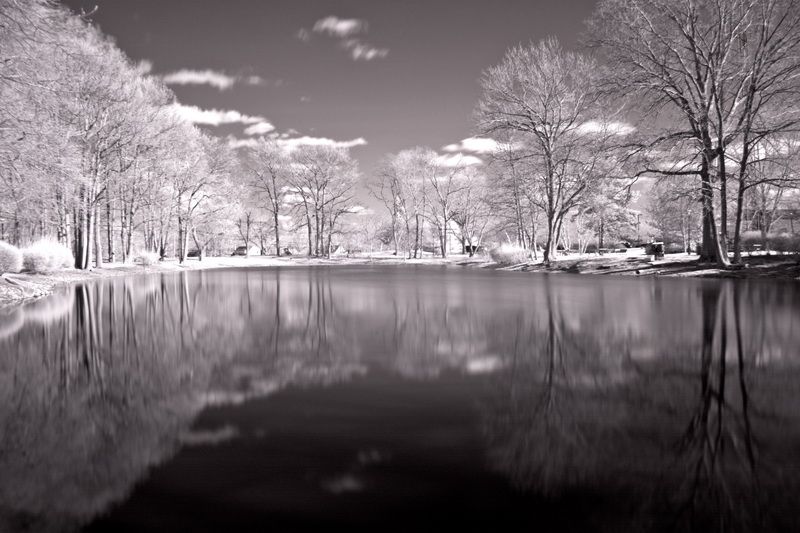
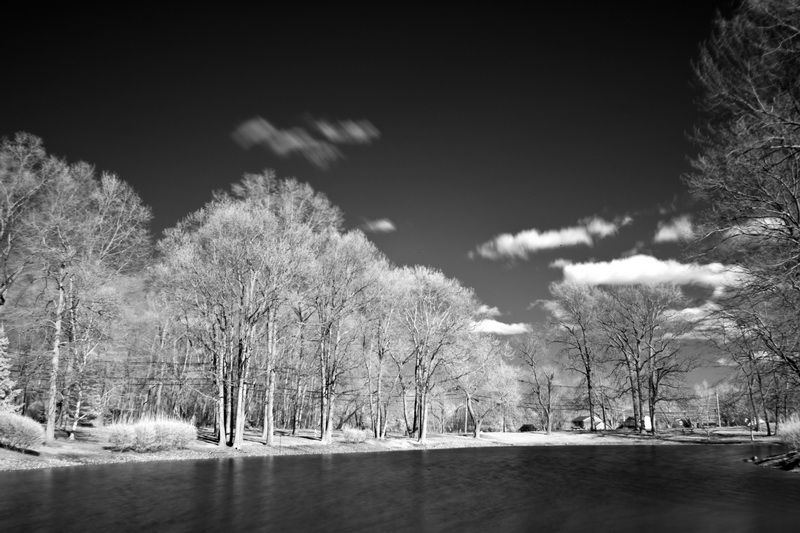
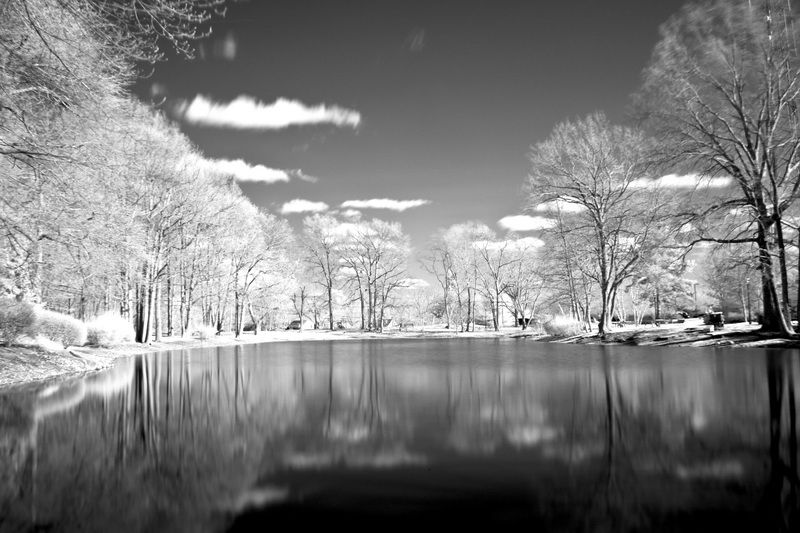
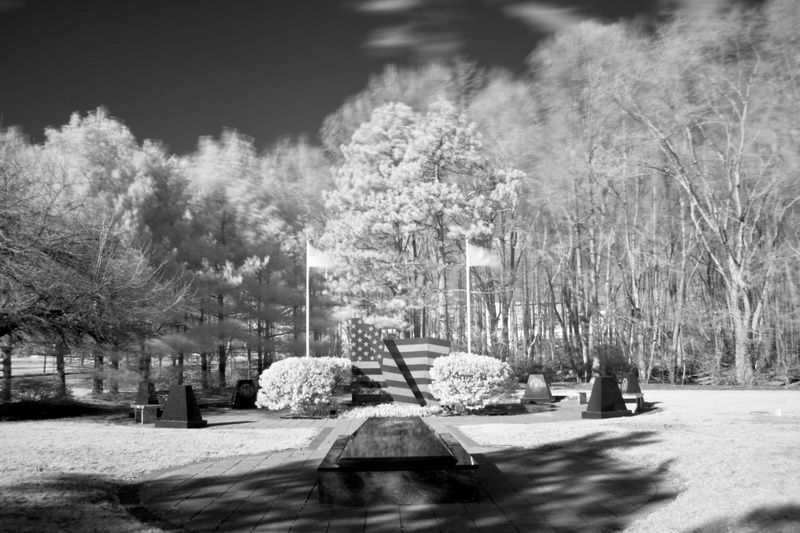
Another thing I had wanted to do with IR was to try photographing in a cemetery. Since the lighting was perfect that day, I stopped at a kind of atmospheric looking one near my house and got some really nice IR shots that have a spooky feel to them, which is what I was hoping for. There is one pic from the cemetery that I did add some "false" color to. I think I like the B/W version better. I will need to experiment some more with color IR photography as it is a matter of learning and manipulating the software. The last few pics were taken at the Municipal Building lake in my town. Again, it was very windy and it certainly shows in the trees. I look forward to nice windless warm days ahead to photograph IR in the near future. Enjoy.

With all the above pics I used Adobe Photoshop CS 5 and Adobe Lightroom 5 for the first time. Another problem I encountered with photo editing is these pics were taken as NEF files, as that is the file type my Nikon uses, not RAW files. I was able to download Adobe DNG converter which allowed me to convert the NEF files to DNG files which are compatible with the Adobe software I am using. After the photo editing was completed I saved them as Adobe PSD files (for future work on them )and also JPG's. Enjoy


Last edited:


Awesome photographs! I can't help but thinking everything is dusted with a thin layer of fresh snow, not sure why :p
 
Spooky...Looks like the whole world was bleached. Kinda how I imagine the world in the book "The Giver," if you have ever read it.
 
Gorgeous photos! Some are remarkably clear and crisp for being such long exposures. Must have been bright out because the DOF looks pretty good so you probably weren't using a very large aperture to reduce the long exposure requirement. Why do some have blown out exposure in the center of the image?

I can't wait to be able to go out and do some UV/IR photography, but sadly we're still under a foot of snow up here. After that melts we'll have a few weeks of intolerable mud as well.
 
Thanks all,

Sigurthr - I have read that when doing IR photography, a "hotspot" may form in the center of a picture. Since on many of these shots It was very bright when taking these, I managed to get some. Here is something I got off the internet on this subject:

"A hot spot can be described as any area in an image (most frequent in the center) that appears to be lighter or brighter than the rest of the image. Sometimes a color shift also occurs within the hotspot. Fortunately majority of lenses don’t have a hot spot issue.

There are a few reasons that hot spots can occur, the most common culprit is the mate black coating on the inside of the lens barrel. The coating is designed to absorb stray light from bouncing around within the lens and creating hot spots. Unfortunately this coating may behave the opposite in IR light, instead of absorbing light it may reflect it and end up causing a hot spot."

The lens I am using for these shots is the Nikor 18-55mm lens that came with the camera.
For anything but IR photography the lens serves me well.

It is really remarkable that most of these pics are sharp, a few razor sharp, as I had to use my hands to hold down the tripod so it wouldn't shake in the wind during the 20-30 sec exposures. And focusing is a pain, as after I manually focus the subject, I hold the focus ring white attaching the IR filter, trying very hard not to move the focus ring. In most of these shots I was successful, but a few of them are sharp, but not razor sharp, but acceptable enough to me not to be considered rejects. I look forward to seeing more of your IR work when the snow melts in MI.
 
Thanks for the detailed reply! I had no idea that lens hotspots could be so large! Wow! Luckily my lens doesn't suffer from it, and when I learned of it in reading I thought the spots would be much smaller, like the size of lens flare.

You did excellent to get such good focus with an unsecured focus ring.

Can your camera use an EVF so you can focus while actually viewing the IR? That's one reason I think MILCs are better than DSLRs for IR. With UV I have to use long exposures indoors and I have to do the same filter swap trick but the focus shift is extreme, so I have to focus to a moderate blur to have UV in focus. Luckily outdoors the UV is strong enough I don't need to do this, as its quite a pain!
 
Hey Sigurthr,
When the filter is applied to the camera, the EVF is blocked from seeing what the shot is also. Like anything else, the more you do it, the better you get. I can now hold the focus ring securely when screwing in the filter and maintain a sharp focus. Most of the shots posted above were at f7.1 (iso 125) so there is a bit of depth of field. When I try this again with no wind I will put the f stop back to f11 or higher and increase the exposure time to get more depth of field. When I do my laser photography I always use f11. It was so windy outside the past few days in NJ/NYC that I had to sacrifice depth of field for a "faster" shutter speed of between 12-20 seconds depending on the shot.

The hot spot issue is something I will have to work with but I am sure there are ways to minimize it. OI will have to do more reading on the subject. I think when I get my next camera in a few years or so I will convert the sensor in this one to IR and say good bye to filters and long exposure times.

Having to compensate while focusing with UV is something I did not know. But like anything else, if you are knowledgeable, motivated and passionate, as I know you are with the UV & IR photography, you will always succeed! I always look foward to seeing you new shots on your thread. The two out of your window are nice, especially the sun thru the clouds shot. That same shot will look great when the grass replaces the snow.

When I photograph my lasers again this weekend, I think I am going to take some shots with the IR filter on the camera and expose the pics at minute or so and see what happens when I process the shot on the computer. Should be interesting,

Anyway Happy Easter to all!
 
I'm wondering if you took a photograph of an 808nm laser whether the beam would show or not, any idea?
 
Hey Alaskan,
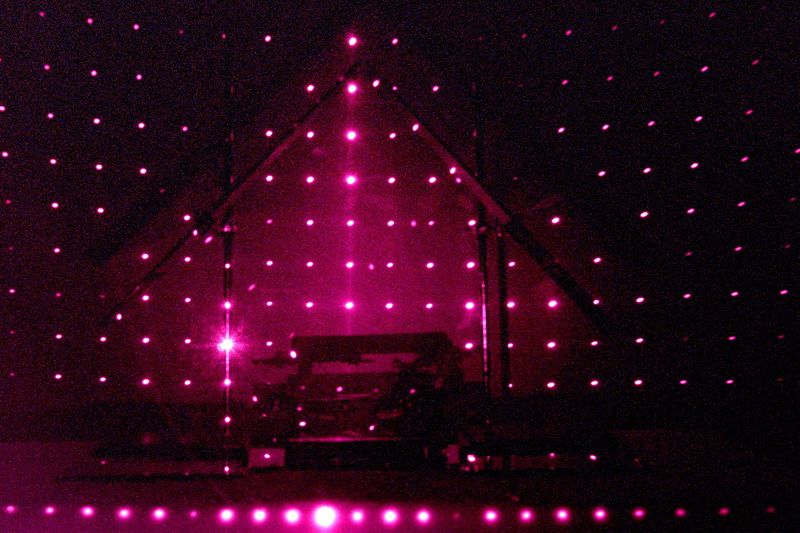
I took this shot a while ago of A Laserbtb HL808 1000mw going thru a matrix diffraction grating. My garage was totally dark and the pic was exposed at f8 I think around 10 minutes. With the laser on, the garage was still totally dark with no light leaking in. My camera was able to record a decent image of my mirror set up that I was using later that night with normal lasers. But the camera did not pick up any beams.

A year or so ago Smeerworst sent me a pic he took of a (I think) 808 4000mw thru a fan diffraction grating. That pic clearly showed a nice fan of magenta beams.

 
Last edited:
Yes, you can see the beam of an IR laser with an IR capable camera, Alaskan. There is noticeably less rayleigh scattering, so longer exposures and/or higher powers are required unless a fogging medium is used, but it still works.

Re: UV focusing; It's called Focus Shift, and it is the basis of chromatic aberration. You get it in IR too, but since you're not using a full spectrum camera you're mostly imaging the 680-780nm region which would have a very minor focus shift from visible red. When I do the deep IR with my >950nm filter I get nearly the same intensity of focus shift as doing UV, but since the camera sensor is so much more sensitive to IR than UV I can use the EVF/Live-View-LCD even when indoors; thus making focusing a non-issue. Indoor UV requires I do rough focusing using visible, apply filter stack and then use a UV spotlight and a reflective surface mounted at the distance of the subject to be shot to get closer, then several images with small tweaks to focus ring to hone in. Outdoors I can damn near point-shoot across the full spectrum, if it is a very sunny day.

If the image is still too dim for you to use an EVF I'm amazed you only need <30sec exposures! Perhaps your EVF doesn't do exposure compensation though, which would make sense why it wouldn't work. Mine has a +-3 stops compensation capability, so for indoor UV it isn't enough (I typically need six to ten stops indoors), but works great even in deep IR.

When you decide to convert this camera you might want to look into having one of the two qualified companies do the conversion for you. LDP LLC - www.MaxMax.com and LifePixel Digital Infrared Photography IR Conversion, Modification & Scratched Sensor Repair instead of trying to DIY. Those Nikkor lenses tend to be very good for uv/ir if they're older. Tons of info can be found on the pages related to IR and UV photography.

Keep the photos coming, btw, I love seeing them!

P.s. try and get a shot with clear sky, dramatic clouds, and sun poking through. It looks absolutely alien to see a DARK sky with the sun bright right in the frame. =)
 
Hi Sigrthur,
I have checked out Lifepixels (and some others) website before. It would cost around 300 dollars to have them convert my cameras sensor. One day down the road I will do it
 
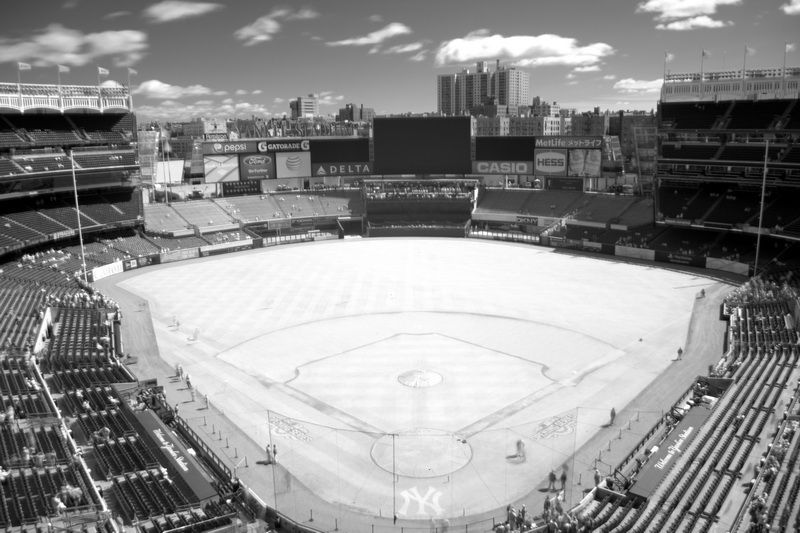
I went to a Yankee game a week or so ago and snuck in a few IR shots with my more normal photography of the stadium. The first one is pretty weird as the seating in the stadium is exposed pretty good, but the grass and infield dirt is white, but not overexpose too badly. You can still see the lines in the outfield grass from the way the grass was cut. I have other shots where the infield grass in a better exposed, but the seating is too dark. This one is the best of both worlds.

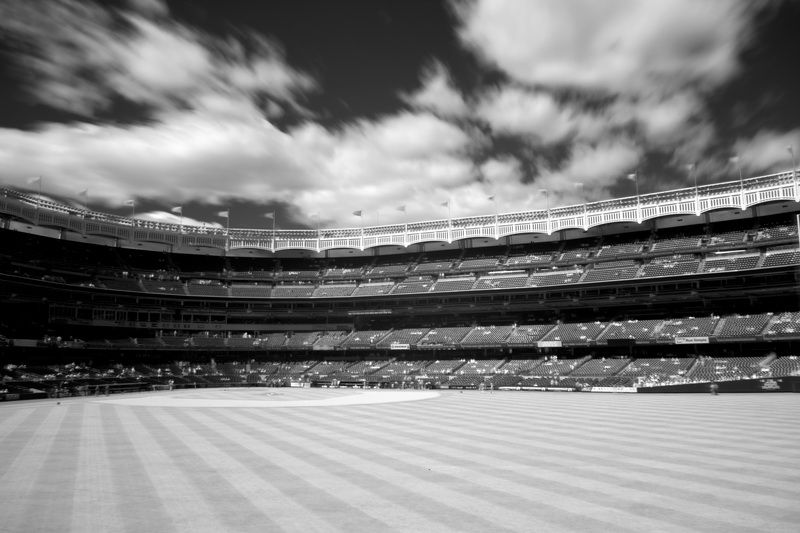
The second one is from the center field bleachers and I think is a very good shot. Half of the shot is in sunlight and half in the shade. Also the grass is exposed very nicely and nice puffy clouds. This pic was taken maybe 10 ft off the field where as the first one was from the front of the upper deck. Maybe that is why the grass looks so different in each, even though the lighting was optimum for both shots


Really nice shots you have here! The DoF is surprisingly good.

On the second image, having the focal point at the upper rim of the stadium is an excellent choice compositionally, as it draws the eye to the sky above.
 
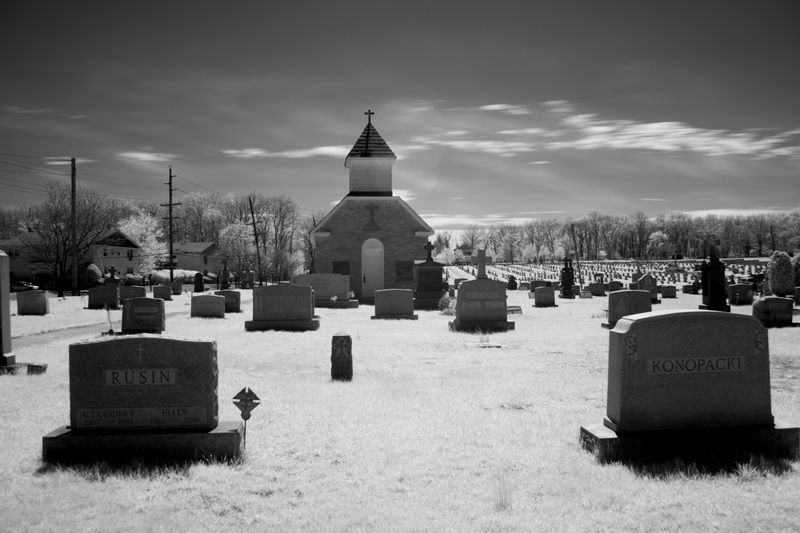
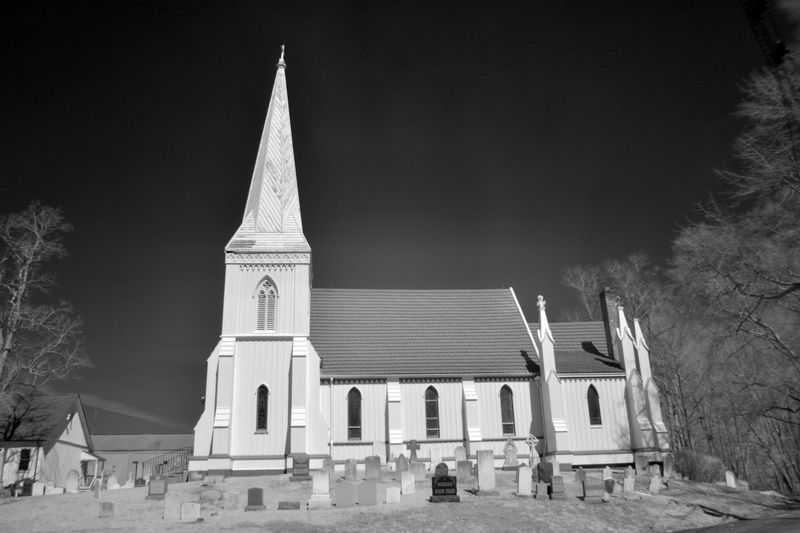
Here are a few more IR pics I took. When I was taking the few at the cemetery, for most of them the sun was overhead and not behind me and I did get some lens flare in the shots looking in that direction. I pass that little building everyday on the way home from work and have thought about shooting it in IR so I did. It was not the best lighting but they came out ok. Perhaps one day when better conditions I will reshoot it. The last few are from a lake near my house.


Back
Top