brucemir
0
- Joined
- Aug 3, 2012
- Messages
- 1,213
- Points
- 113
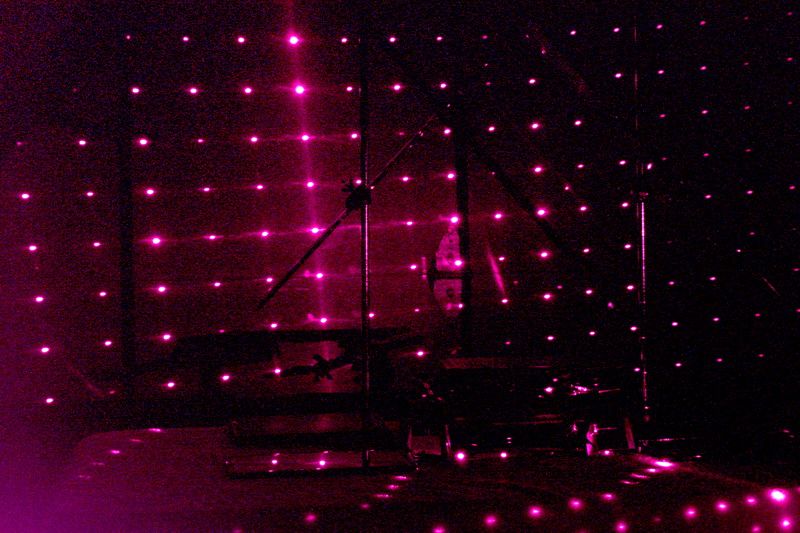
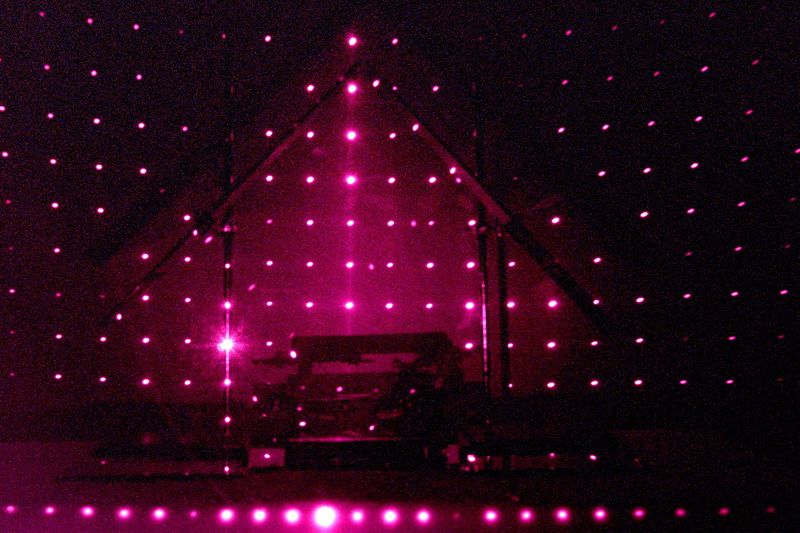
Here are a few pics trying to capture infrared light, first using an 808nm 1000mw laser (purchased from Gismo's laser sale) in my garage with my black curtains set up and in total darkness, and then a quick shot outside using natural infrared light. For all three of these shots I had to use a Hoya D72 Infrared filter for my camera. This filter blocks out all visible light and only lets the infrared light in. When you look thru the camera with the filter on you cannot see anything. It is a procedure to take infrared pics as I had to play around with the white balance (custom setting outside) on my camera, figure out exposure times, compose and manually focus with the filter off, and then very carefully screw in the filter without moving the focus ring. The first laser pic was a 10 minute exposure at f8 iso 125, and the second one was at 15 minutes f8. I also used a matrix diffraction gratings to create many invisible beams, and eliminate the chance of starting a fire, as this laser does burn black things very quickly, especially with the beam focused on one spot for so long. The laser had no problems being on that long and being so cold in the garage the laser was cool even after 15 mins. I did change the battery for each shot. The room was pitch black. and I could barely see the dots,and even with the IR filter on. I did get a few images that actually illuminated my mirror set up (for use later with my other lasers that night) with only IR light, The pics do have a good amount of noise in them. If I do this again I will try ISO 50 .Anyway it was an experiment and I am sure I will check it out again one day. It was a lot of work, but thats how you learn!
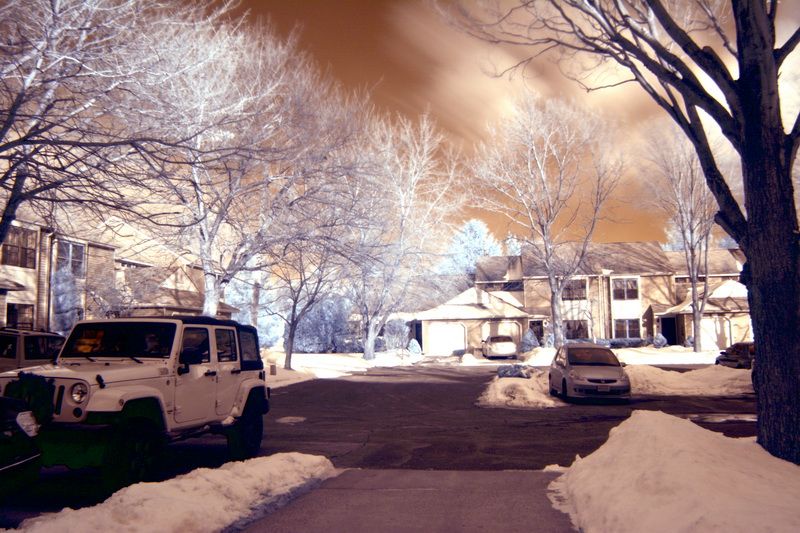
The last pics was taken outdoors with the IR filter on and was exposed at 1 minute f13 iso 125. It was cloudy with the sun peeking thru. When the image is viewed after taking it shows up as all red. Digital infrared photography requires post production work in photoshop playing with the different channels and layers. This was my first attempt and the picture is in focus, exposed well, and the weird lighting of IR light is apparent. I am really looking foward to the warm weather, as the best time to do IR photography is when there is green leaves, lawn, as the greens will turn white. When I was much younger in the pre digital days, I used to shoot Kodak IR film, color and black and white. Back then different color filters gave you different color schemes in color, and a red filter for B/W film gave that ghostly effect. A lot of words for only three pictures!


The last pics was taken outdoors with the IR filter on and was exposed at 1 minute f13 iso 125. It was cloudy with the sun peeking thru. When the image is viewed after taking it shows up as all red. Digital infrared photography requires post production work in photoshop playing with the different channels and layers. This was my first attempt and the picture is in focus, exposed well, and the weird lighting of IR light is apparent. I am really looking foward to the warm weather, as the best time to do IR photography is when there is green leaves, lawn, as the greens will turn white. When I was much younger in the pre digital days, I used to shoot Kodak IR film, color and black and white. Back then different color filters gave you different color schemes in color, and a red filter for B/W film gave that ghostly effect. A lot of words for only three pictures!


