Gryphon
0
- Joined
- May 4, 2009
- Messages
- 2,322
- Points
- 113
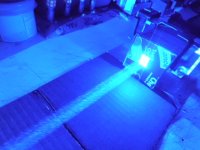
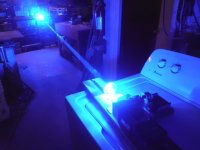
Having seen a couple people turn the laser arrays into portables I wanted one of my own. Though not quite ready for a massive NUBM36/37 I went for the smaller NUBM35. Even still i wasnt quite ready for how much heat the array produces and the run time is still quite short even with the what i though would be a decent amount of aluminum heatsink.


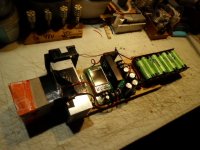
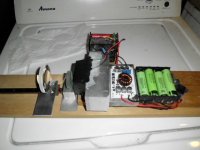
The array and two LM338K's are mounted to chunks of a 38mm aluminum bar are kept separated by plastic mounts. The whole laser is being built inside a water gun from amazon that I painted flat black.

Three 1Ohm resistors for setting the current are thermally glued to the underside of the heatsink

A MOSFET handles the switching power so I can use a small microswitch glued in behind the original trigger

Three 1550mAh 75C 3S lipo batteries provide the power, the power and balance leads for the front two batteries had to be extended to reach the access door on the rear of the blaster

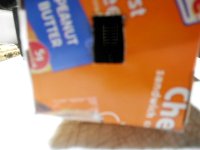
The rear battery is in the stock right under the hatch I will use for plugging in the batteries as well as for charging

Here you can see the battery leads coming out through the hatch

Fully assembled and ready to go. I added some decals from some Gundam Kits to help break up the flat black exterior

The two regulators can be seen through the top opening where the water tank for the water gun used to be


The run time is limited to about a minute, after that the laser array heatsink is pretty well heat soaked. Thanks for looking!


The array and two LM338K's are mounted to chunks of a 38mm aluminum bar are kept separated by plastic mounts. The whole laser is being built inside a water gun from amazon that I painted flat black.

Three 1Ohm resistors for setting the current are thermally glued to the underside of the heatsink

A MOSFET handles the switching power so I can use a small microswitch glued in behind the original trigger

Three 1550mAh 75C 3S lipo batteries provide the power, the power and balance leads for the front two batteries had to be extended to reach the access door on the rear of the blaster

The rear battery is in the stock right under the hatch I will use for plugging in the batteries as well as for charging

Here you can see the battery leads coming out through the hatch

Fully assembled and ready to go. I added some decals from some Gundam Kits to help break up the flat black exterior

The two regulators can be seen through the top opening where the water tank for the water gun used to be


The run time is limited to about a minute, after that the laser array heatsink is pretty well heat soaked. Thanks for looking!
Last edited:


