

- Joined
- Aug 25, 2010
- Messages
- 533
- Points
- 63
Hello forum.
As promised a lot of times ago here is a complete tutorial how to make performant r-candy rockets.
This kind of rocket is suitable to lift perfectly a 5" shell.
This tutorial follow my last one:
https://laserpointerforums.com/threads/how-to-make-hot-granulated-r-candy-mix.103345/#post1544813
This is a 25,5mm parallel wound cardboard tube with a wall thickness of 4,0mm and a length of 250mm:
The internal walls are waxed with a mix of 50% paraffin and 50% turpentine.
This mix has two main advantages:
1. Hot water is not necessary to melt the paraffin: with this mix a warm tap water is more than enough;
2. It is possible to make a thinner coating:
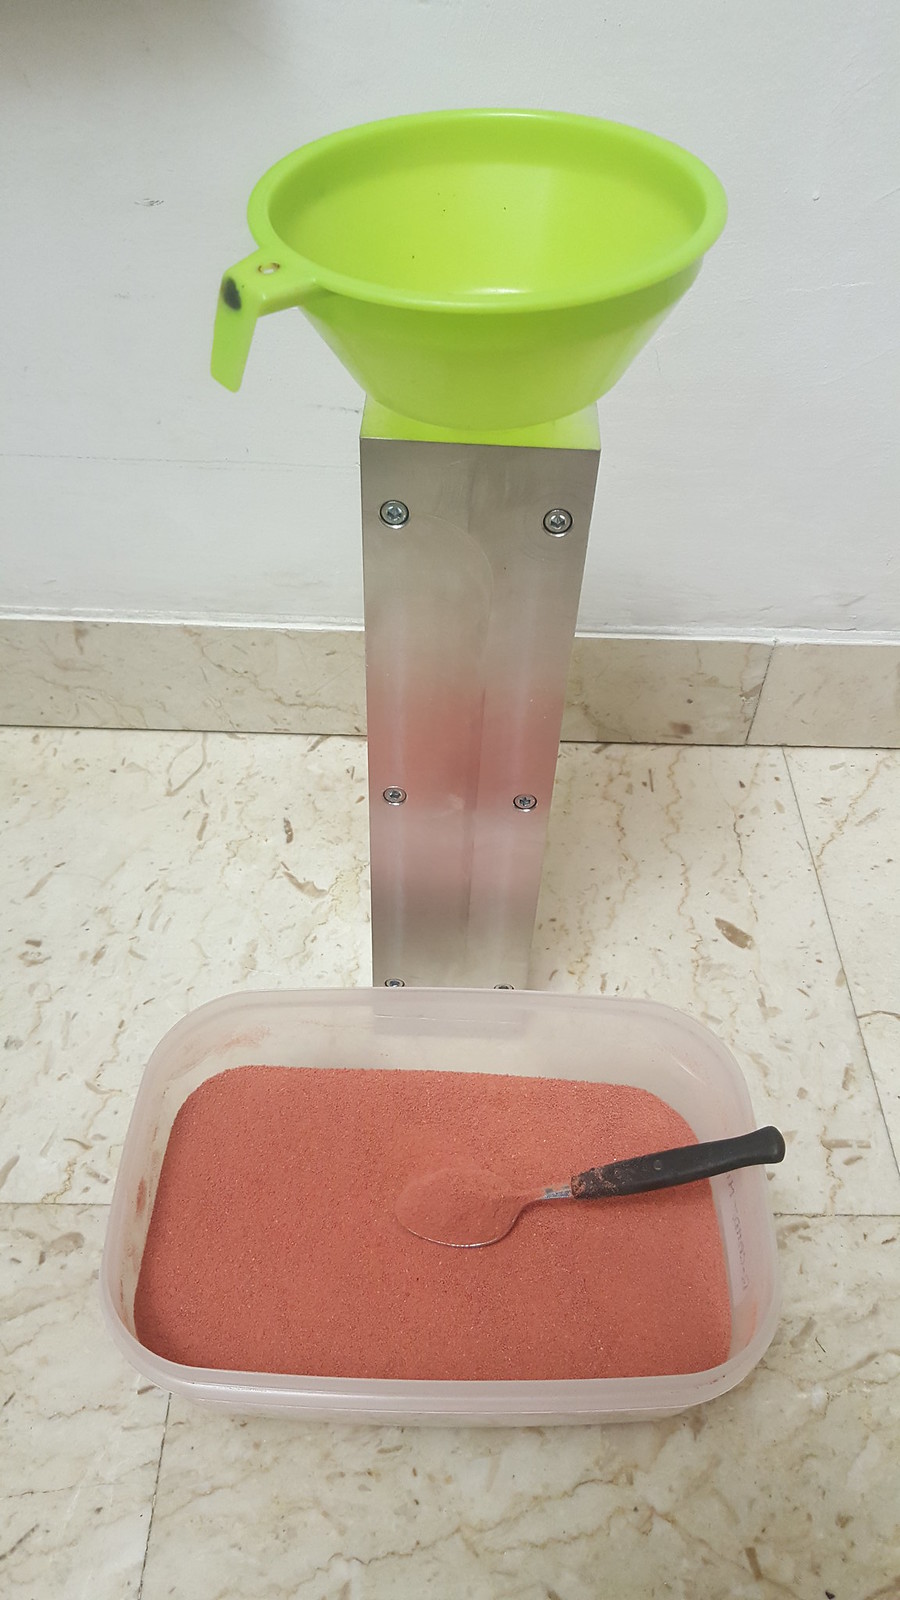
The cardboard tube is inserted in my homebuilt tool:

The tools is closed and strongly locked by a six allen screws:
Closing the bottom part. This little addon allow me to create an useful 15mm recess at the bottom of the rocket:
Filling the cardboard tube with my special granulated r-candy mix. Only one tea spoon at a time. This permit to compact the mix at the best:
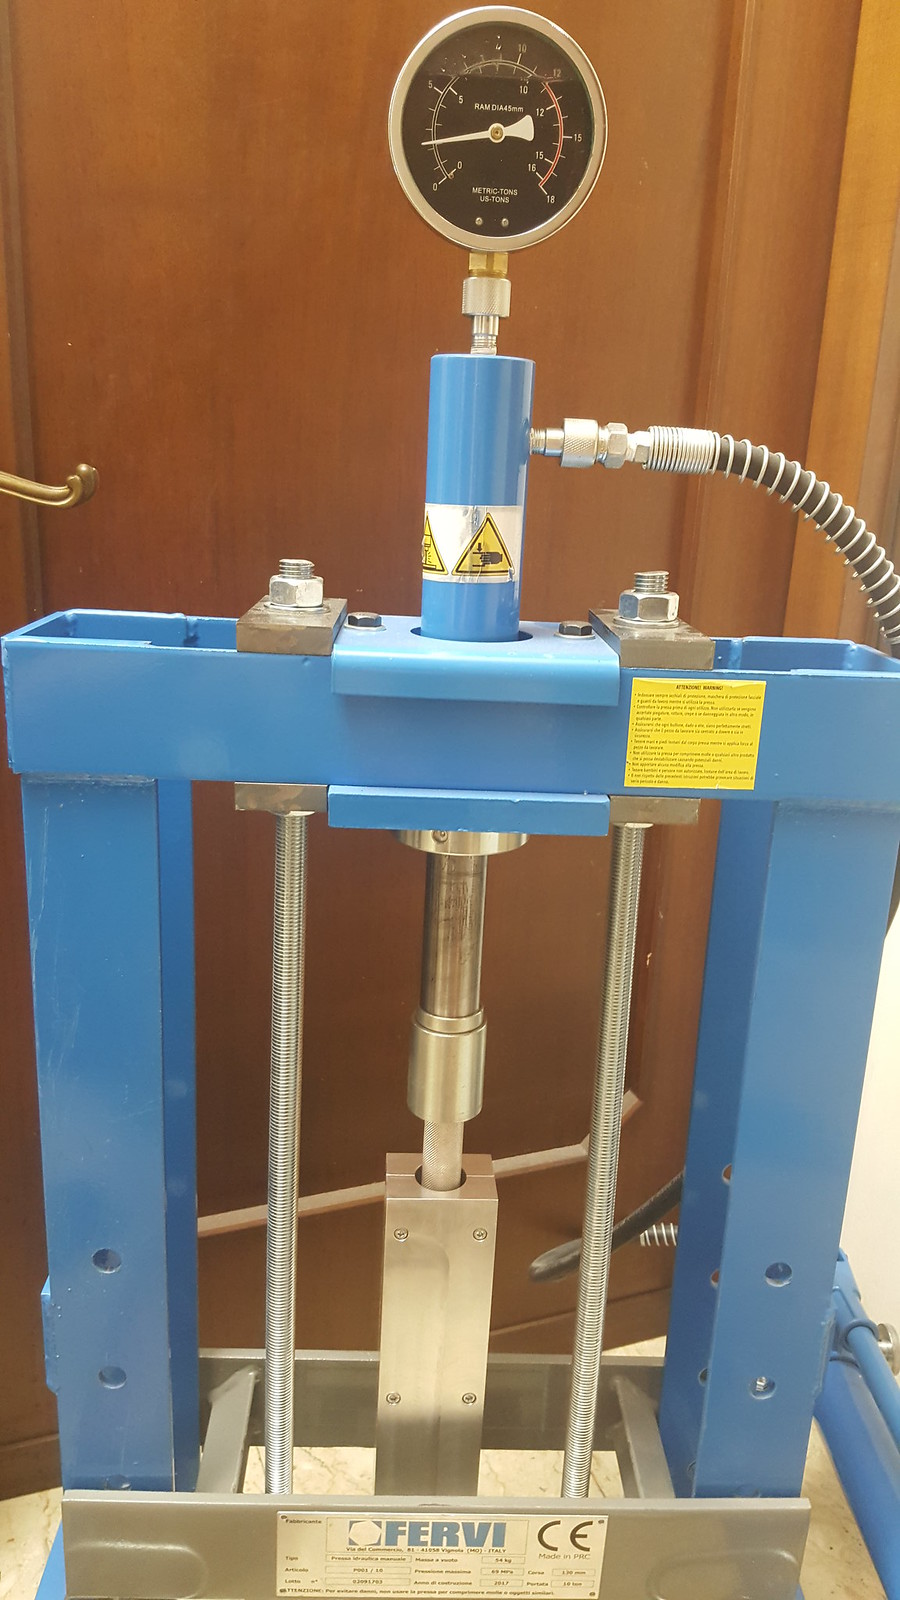
Pressing the mix at about 4200 PSI with my modified hydraulic Fervi press:
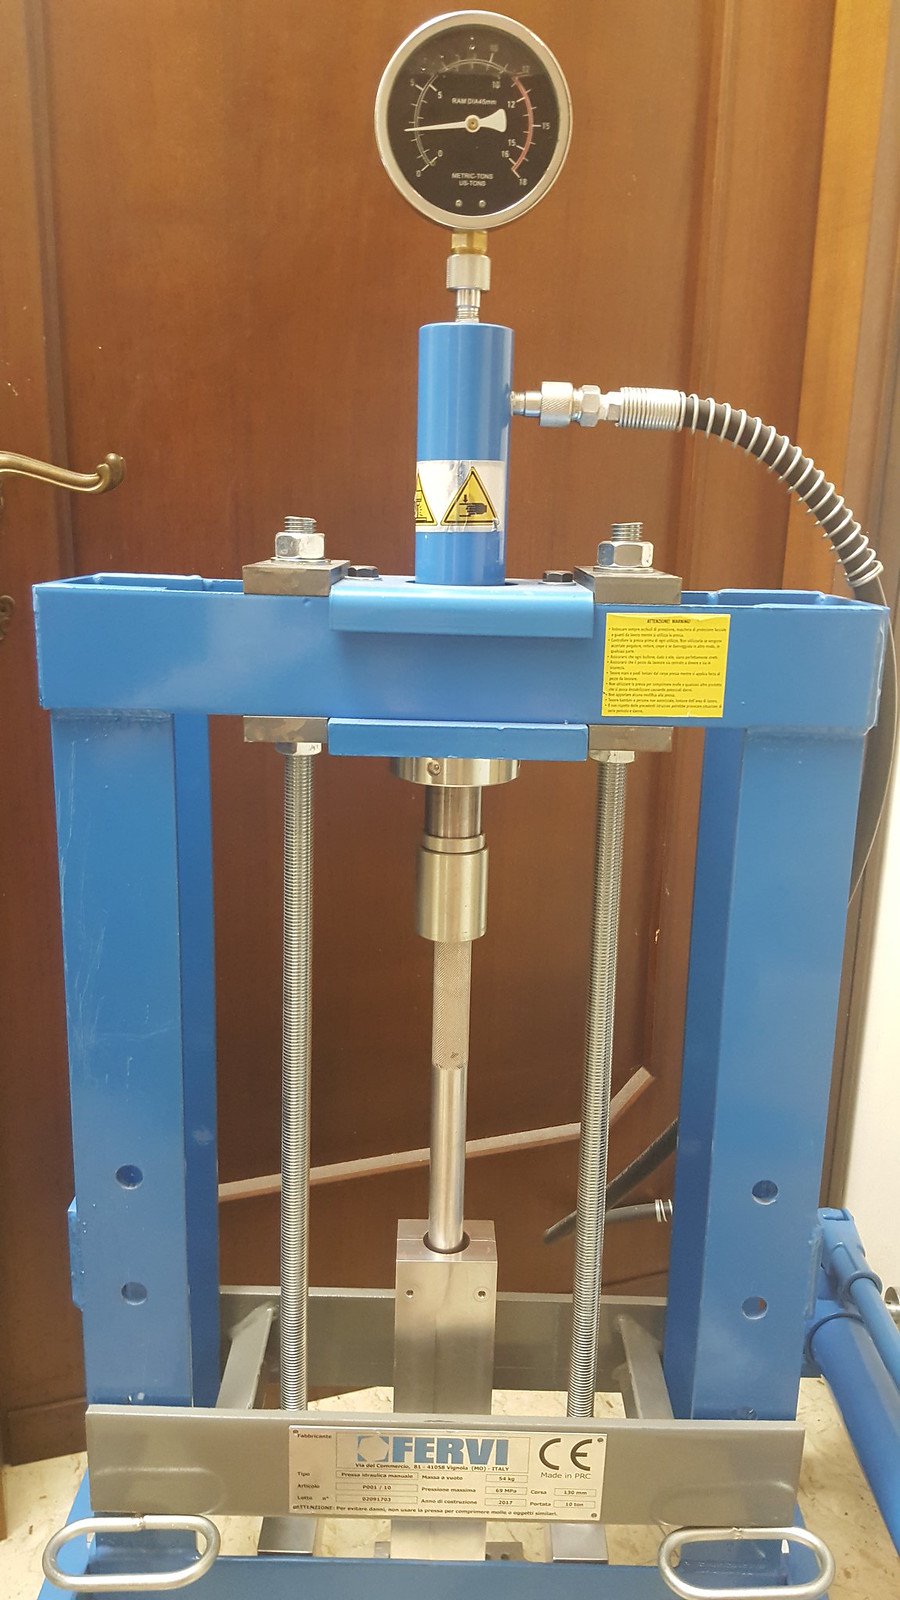
This is the last step:
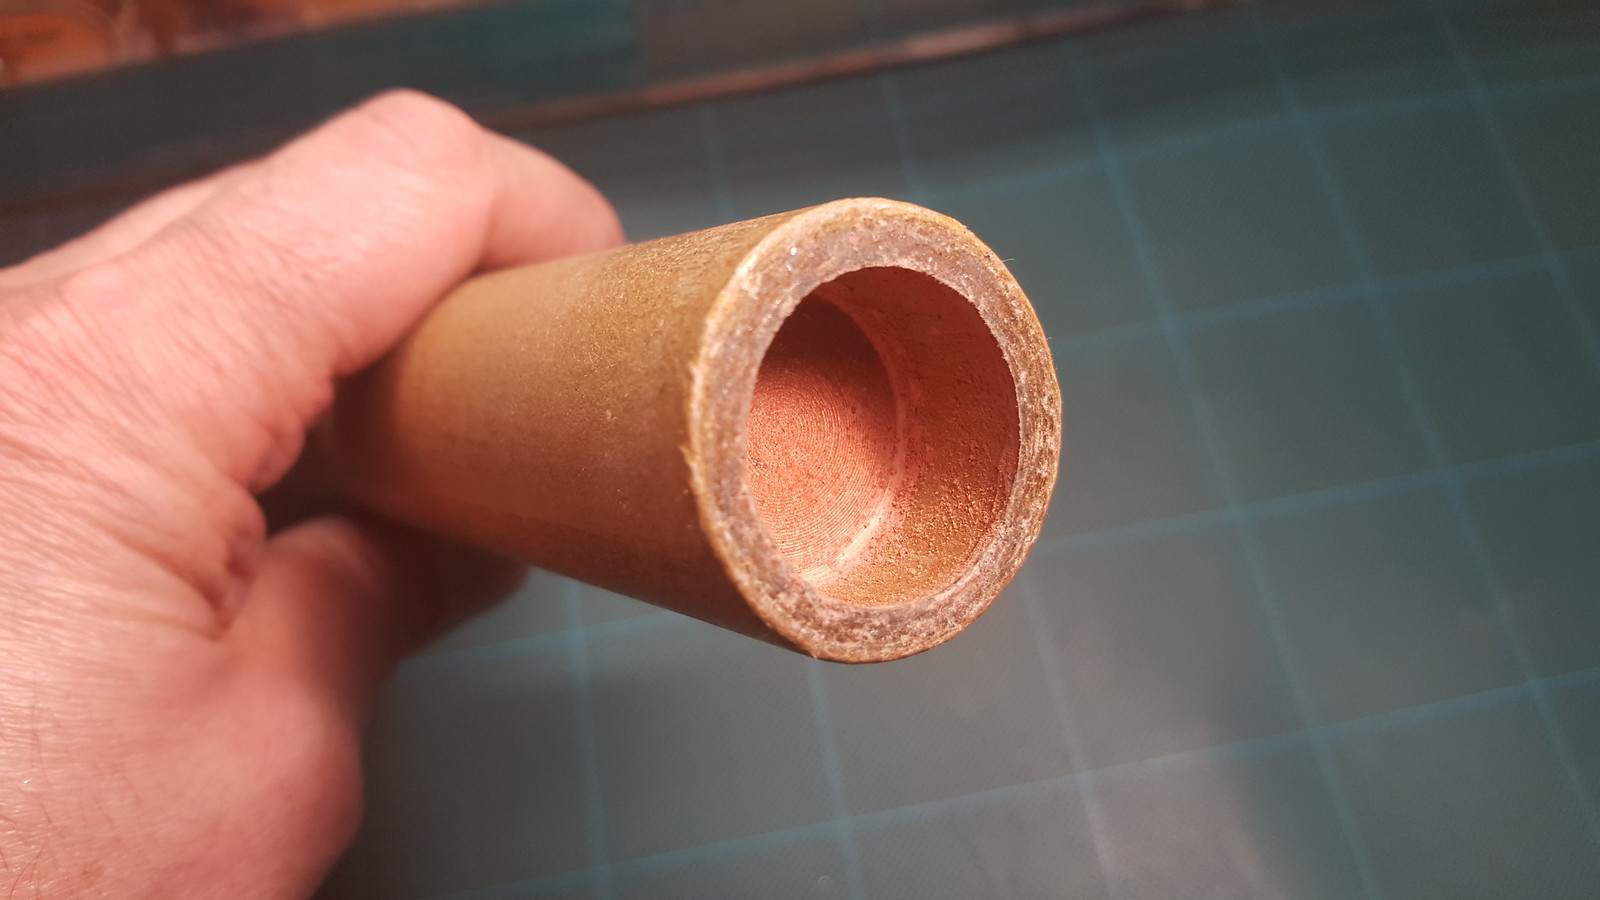
The carboard tube pressed and a brand new one: no deformations occured. This means that the waxing method worked fine and the pressure applied was ok:

A close-up of the recess:
For this kind of rocket, the hole lenght must be about 185mm and the remaining not drilled mix must be about 25mm.
The hole diameter must be 10mm.
These are conservative settings.
The top part (not drilled) should not to be shortened because the internal pressure could blow up the cap and cause a premature shell explosion.
If the mix is well made as described in my previous one tutorial and correctly pressed, the shell should explode just when the rokect has reached the max altitude:
Now, with another homemade tool, it is possible to make a perfectly centered and parallel-to-the-host hole:

When drilling the hole, it is important to proceed at little steps, 1-2 cm by time, to avoid drill bit overheating and the accumulation of ground powder inside.
Overturn the powder at each passage.
If the drill has many speeds, please select the lowest.
If the walls of the drilled mix produce too much friction against the drill bit blocking the drill rotation, it is possible to inject directly inside the hole a little spray of denhatured alcohol with the help of a siringue. Plase try to maintain the siringue as parallel as possible to the host.
This procedure act as a lubricant and everything works fine again.
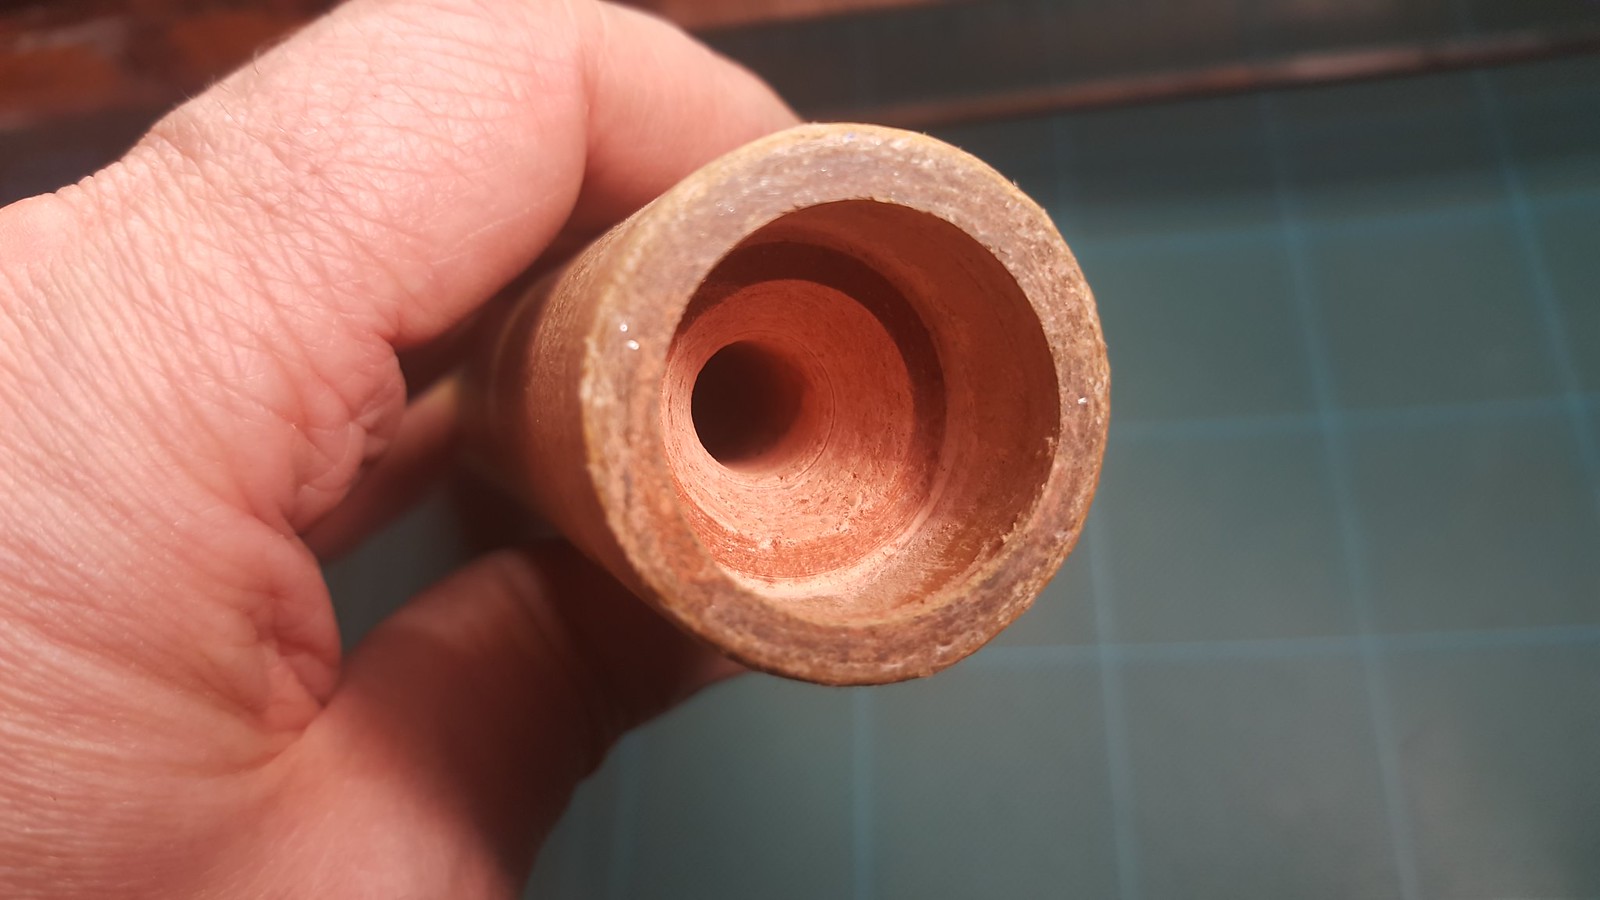
The drilled hole:
And now it is time to make a beautiful pseudo-nozzle with the help of a countersink.
The max diameter of the tool fit perfectly inside the ID of the tube, so the cone will be centered and parallel:
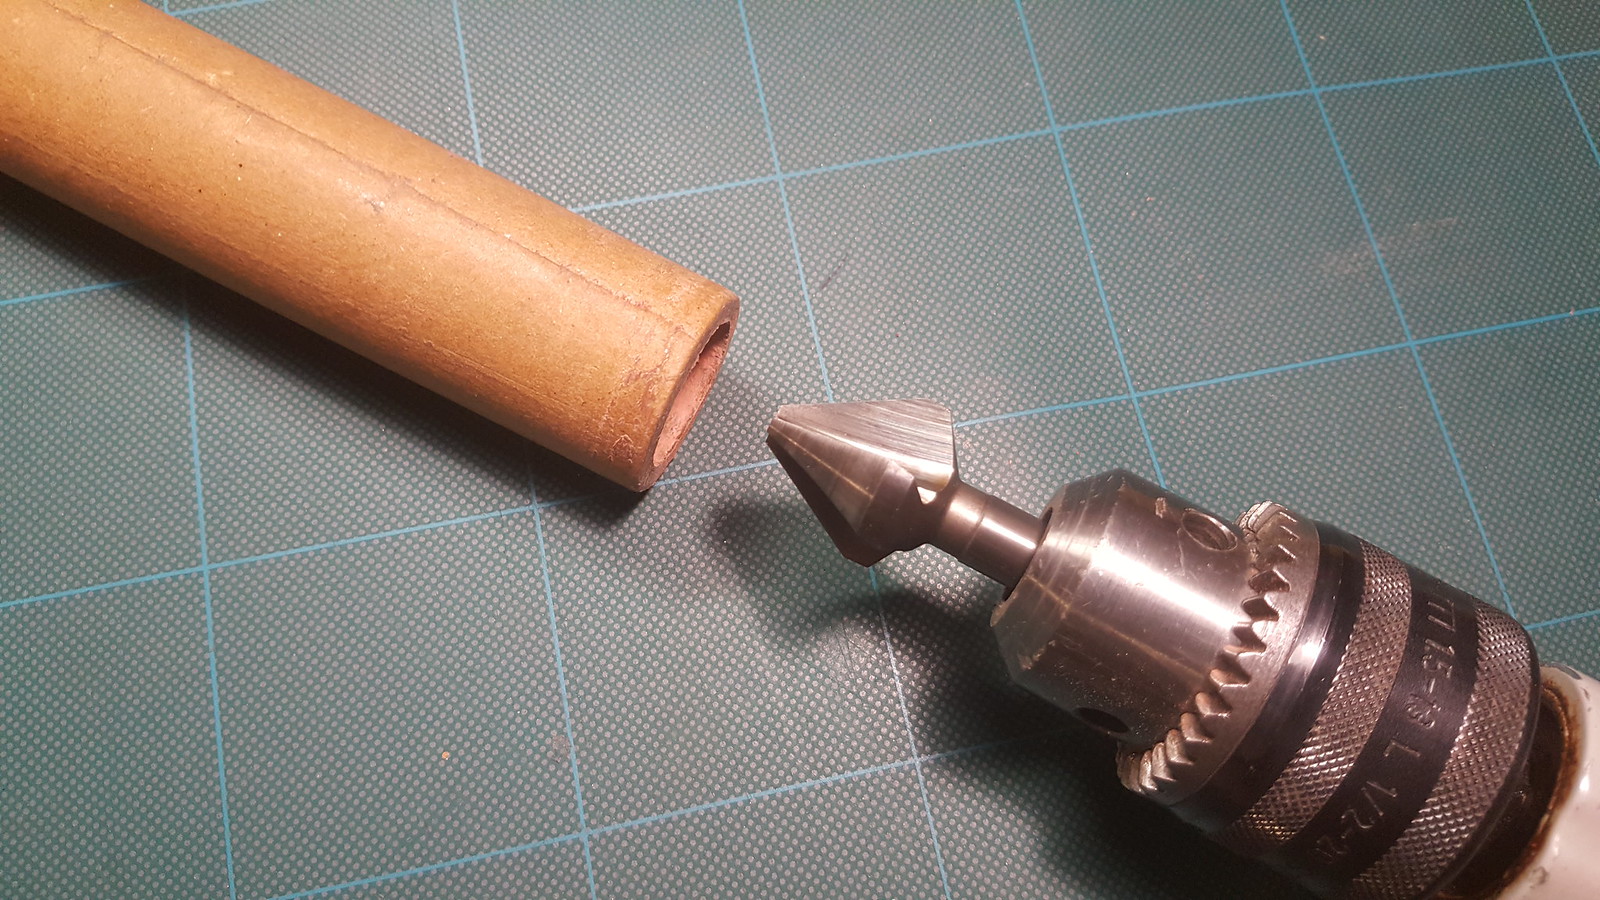
The pseudo-nozzle will enhance the thrust:
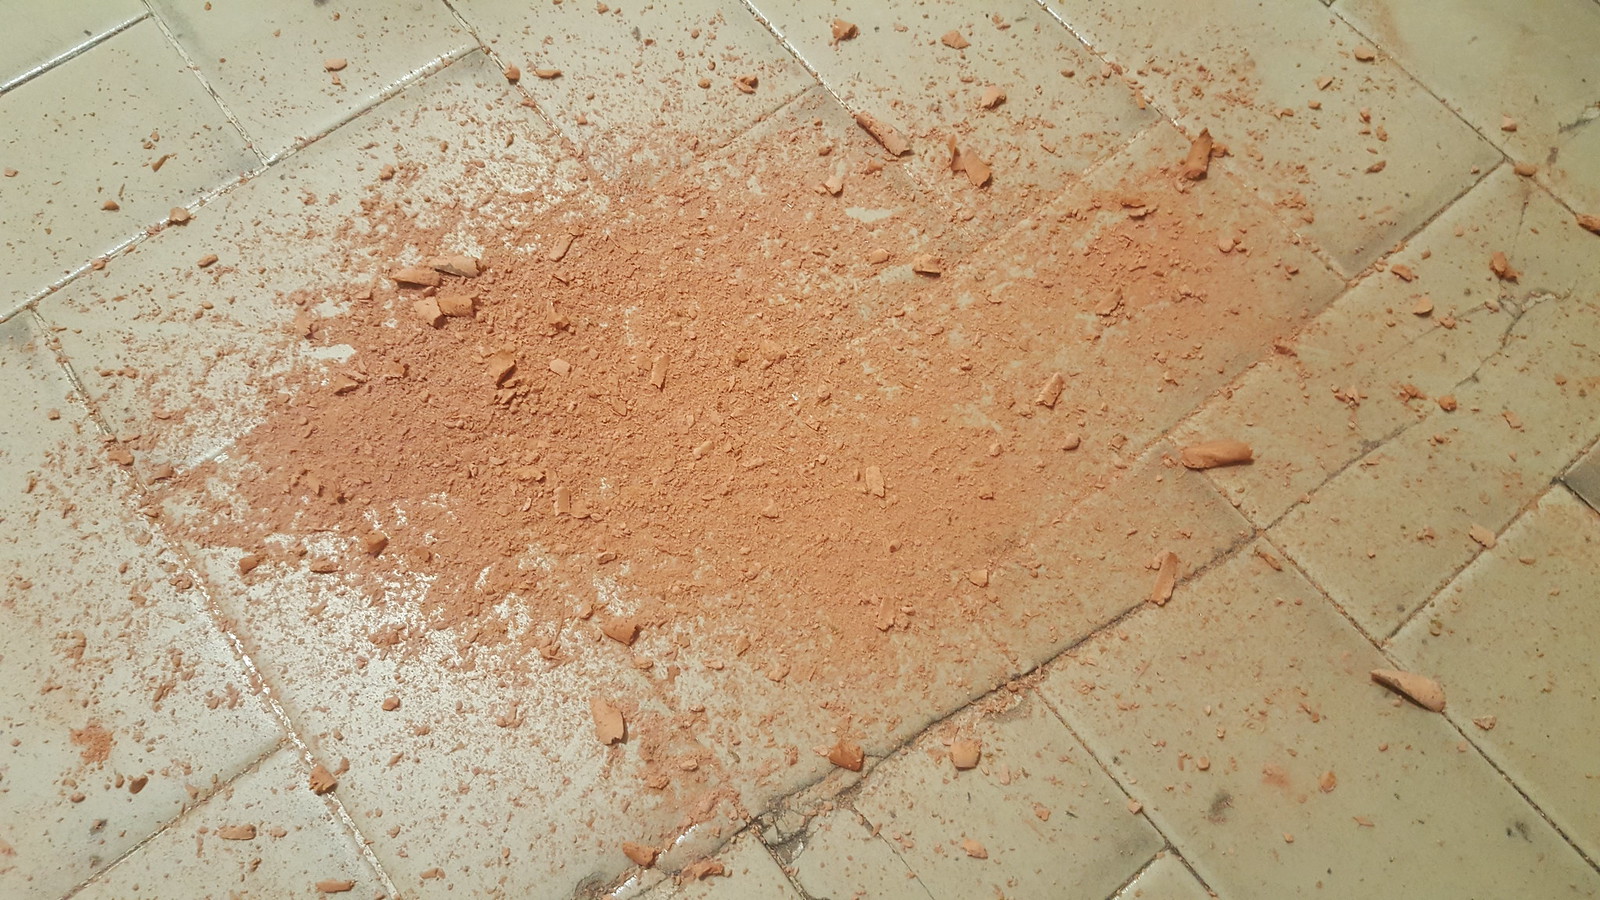
The drilled mix burn fastest, so it will be saved and re-granulated in a dry form and mixed to the classical mix. This procedure enhance the overall performance of the compound:
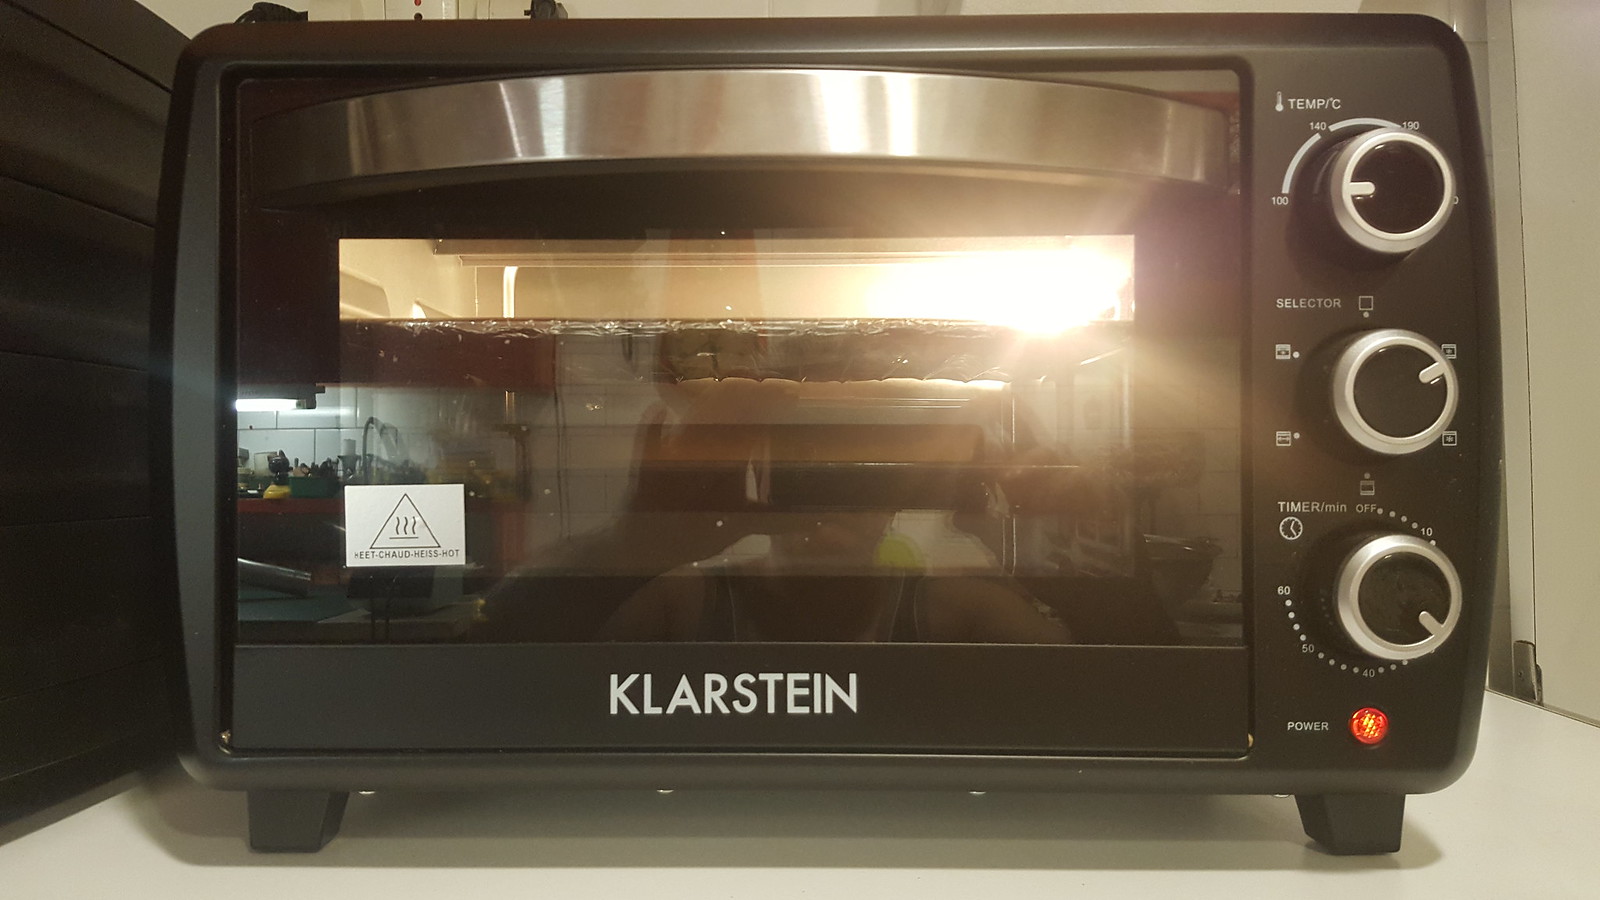
The rocket will be cooked at 100 °C for 30 minutes inside a ventilated oven.
This step eliminate any residual of water/alcohol and make the pressed compound hard like a stone.
To avoid the dangerous radiant heat (a rocket that ignite inside an oven is the last thing that we want to see), two iron trays wil be placed between the rocket and the heating elements, so no direct heat will reach the rocket. Aluminum foils can be also used.
The tube is wrapped with a 25mm gummed tape:
As promised a lot of times ago here is a complete tutorial how to make performant r-candy rockets.
This kind of rocket is suitable to lift perfectly a 5" shell.
This tutorial follow my last one:
https://laserpointerforums.com/threads/how-to-make-hot-granulated-r-candy-mix.103345/#post1544813
This is a 25,5mm parallel wound cardboard tube with a wall thickness of 4,0mm and a length of 250mm:
The internal walls are waxed with a mix of 50% paraffin and 50% turpentine.
This mix has two main advantages:
1. Hot water is not necessary to melt the paraffin: with this mix a warm tap water is more than enough;
2. It is possible to make a thinner coating:
The cardboard tube is inserted in my homebuilt tool:
The tools is closed and strongly locked by a six allen screws:
Closing the bottom part. This little addon allow me to create an useful 15mm recess at the bottom of the rocket:
Filling the cardboard tube with my special granulated r-candy mix. Only one tea spoon at a time. This permit to compact the mix at the best:
Pressing the mix at about 4200 PSI with my modified hydraulic Fervi press:
This is the last step:
The carboard tube pressed and a brand new one: no deformations occured. This means that the waxing method worked fine and the pressure applied was ok:
A close-up of the recess:
For this kind of rocket, the hole lenght must be about 185mm and the remaining not drilled mix must be about 25mm.
The hole diameter must be 10mm.
These are conservative settings.
The top part (not drilled) should not to be shortened because the internal pressure could blow up the cap and cause a premature shell explosion.
If the mix is well made as described in my previous one tutorial and correctly pressed, the shell should explode just when the rokect has reached the max altitude:
Now, with another homemade tool, it is possible to make a perfectly centered and parallel-to-the-host hole:
When drilling the hole, it is important to proceed at little steps, 1-2 cm by time, to avoid drill bit overheating and the accumulation of ground powder inside.
Overturn the powder at each passage.
If the drill has many speeds, please select the lowest.
If the walls of the drilled mix produce too much friction against the drill bit blocking the drill rotation, it is possible to inject directly inside the hole a little spray of denhatured alcohol with the help of a siringue. Plase try to maintain the siringue as parallel as possible to the host.
This procedure act as a lubricant and everything works fine again.
The drilled hole:
And now it is time to make a beautiful pseudo-nozzle with the help of a countersink.
The max diameter of the tool fit perfectly inside the ID of the tube, so the cone will be centered and parallel:
The pseudo-nozzle will enhance the thrust:
The drilled mix burn fastest, so it will be saved and re-granulated in a dry form and mixed to the classical mix. This procedure enhance the overall performance of the compound:
The rocket will be cooked at 100 °C for 30 minutes inside a ventilated oven.
This step eliminate any residual of water/alcohol and make the pressed compound hard like a stone.
To avoid the dangerous radiant heat (a rocket that ignite inside an oven is the last thing that we want to see), two iron trays wil be placed between the rocket and the heating elements, so no direct heat will reach the rocket. Aluminum foils can be also used.
The tube is wrapped with a 25mm gummed tape:
Last edited:


")
 .
.

")