Welcome to Laser Pointer Forums - discuss green laser pointers, blue laser pointers, and all types of lasers

LPF Donation via Stripe | LPF Donation - Other Methods

Links below open in new window

ArcticMyst Security by Avery

Getting Ready For My First Build

Joined
Mar 4, 2014
Messages
139
Points
28
On a personal note, I'm excited because I ordered all the parts for my first build. In this case it's going to be a dual power 55mW/107mW (give or take) Green Laser.

As I said in the past, I've been slowly working up my way up the power curve from <5mW to 25mW to 80mW. I considered jumping to a dual power 200mW/1.6W Blue Laser, but after a lot of thinking, I felt that the lower powered version would be easier for my first build and the things I'd learn from building it would help with the higher powered build.

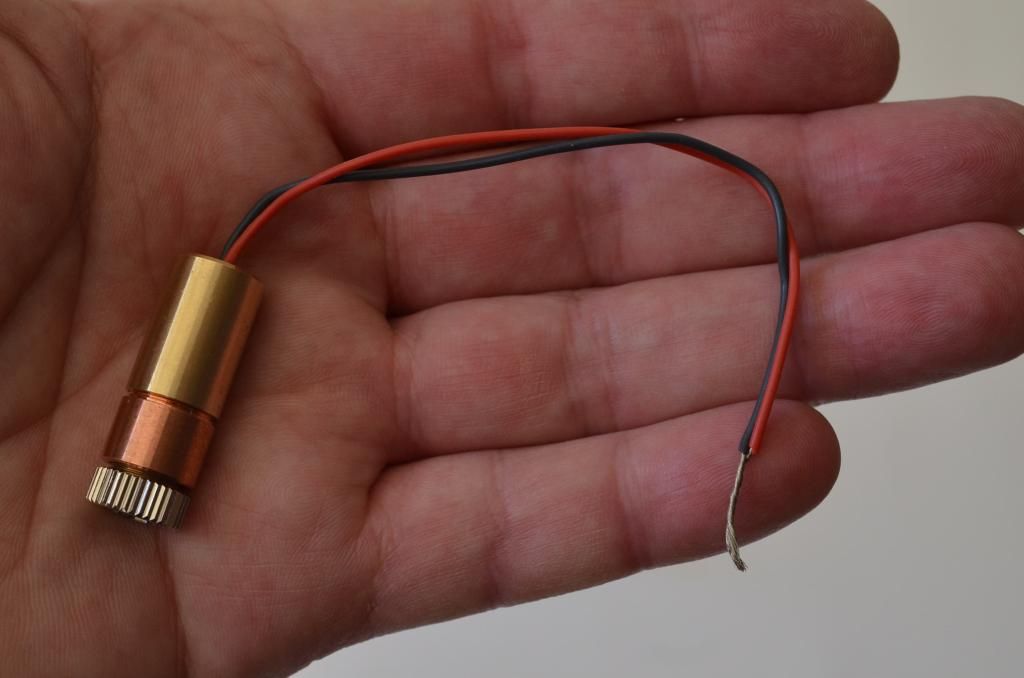
The 520nm Osram PL520 Diode In Copper Module W/Leads & 405-G-2 Lens is the module I'm using, see link below.

https://sites.google.com/site/dtrlpf/home/diodes/pl520-520nm-laser-diode

While this could be purchased with the driver, I decided to go with a LM317 Adjustable Regulator. This approach allows me to have a switch to select which current (power) setting I want. After studying the photos and the readings for the voltage, current and power, I selected 150mA and 300mA as the two settings.

A switch selects either a single 8.2Ω or two 8.2Ω resisters in parallel for 4.1Ω. The resistor(s) are placed between Vout and Adjust on the LM317.

As tempting as it is for me to address all the details now, I'll wait until it's working before I write up the full description...


Bob Diaz


Gabe

0
Joined
Jan 10, 2015
Messages
1,147
Points
83
Good luck! That 520nm green beam is gonna be sweet, and its a really smart choice adding a switch to choose between 50 or 100mW, in case you're in a pointy mood, or a burning one :)
 

ru124t

0
Joined
Jan 17, 2014
Messages
555
Points
28
Bob, your first build will always be the one you never forget and will be your favorite laser. Be sure to have everything laid out and if possible have someone there as a camera person. Have fun and be safe!!!
 
Joined
May 20, 2013
Messages
358
Points
28
I made the same in the past with my first 450nm laser, is really a good idea have a power switch, im my case, my 1,4W laser is switchable from 300mA to 1,2A with a LM338. If you need help with the circuit just tell us! :yh:

Good luck! ;)
 
Joined
Mar 4, 2014
Messages
139
Points
28
I've designed the power system with a diode to protect me from the oh %^&%^& moments should I plug in the power backward.

The think I'll be interested in seeing is how hot it gets as I run it in both modes. My calculations show it's about 1 watt into the laser in low power mode and about 2 watts in high power mode. It will be interesting to see how well the heat sink works and if I need a fan or not.
 
Joined
Mar 4, 2014
Messages
139
Points
28
Oh, one more thing what area do we post the write-up for our build once I get it working?
 

Gabe

0
Joined
Jan 10, 2015
Messages
1,147
Points
83
Probably in green lasers, but you could probably get away with posting it under general if need be :)
 

SteveT

0
Joined
Jan 20, 2015
Messages
252
Points
18
Good luck with your build; look forward to seeing your results; any clues on the host?
 
Joined
Mar 4, 2014
Messages
139
Points
28
SteveT,

I'm getting the diode/module from DTR's shop. 520nm Osram PL520 Diode In Copper Module W/Leads & 405-G-2 Lens. It should arrive in a day or so... :wave:

https://sites.google.com/site/dtrlpf/home/diodes/pl520-520nm-laser-diode

His test data made it easy for me to decide on what current settings I'm going to use. While the output is likely to vary from his results, it should be in about the range I want.


While many like to use and build handheld lasers, mine is going to be a bench-top laser. It's designed to run off of 9 --> 15V DC, but most likely I'll use a standard 12 volt power supply to run it. I'm also setting it up for using a standard 12 volt battery if I want to run it outside.


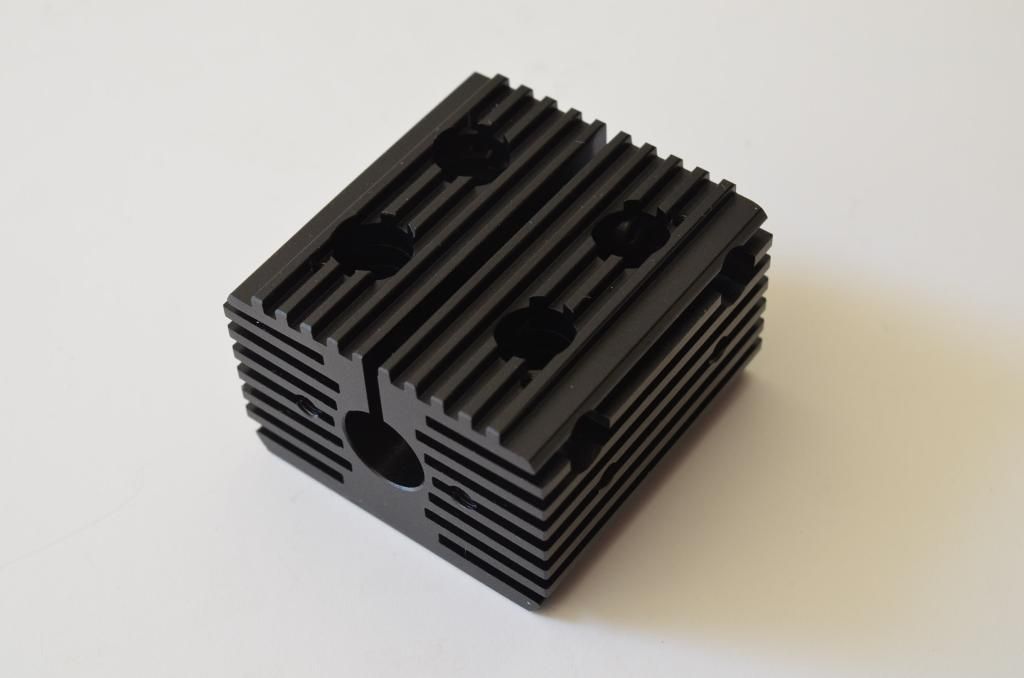
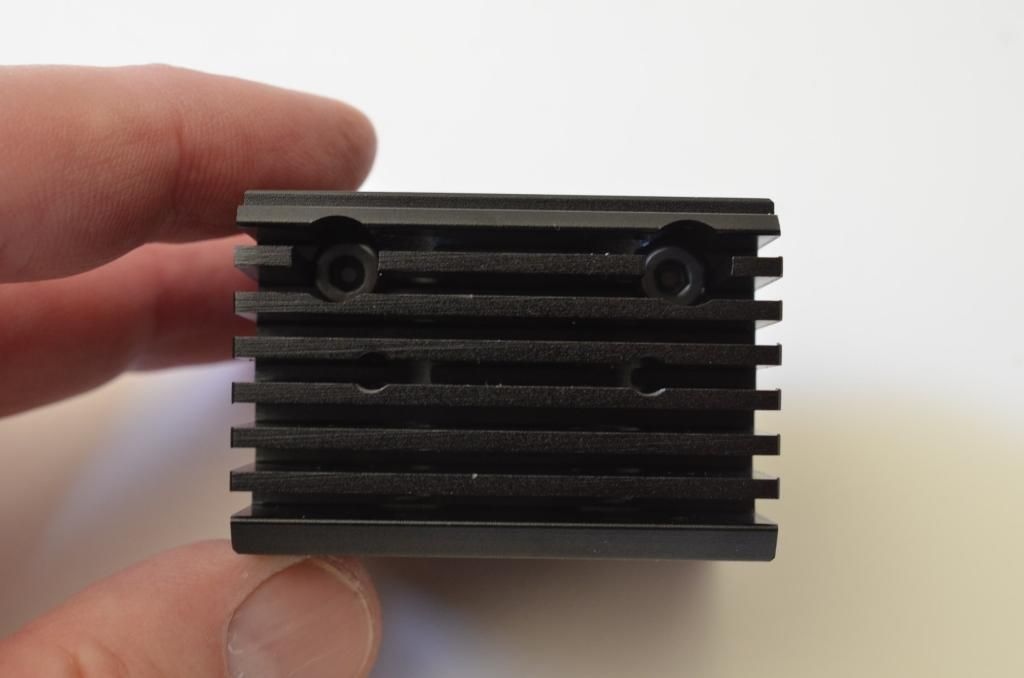
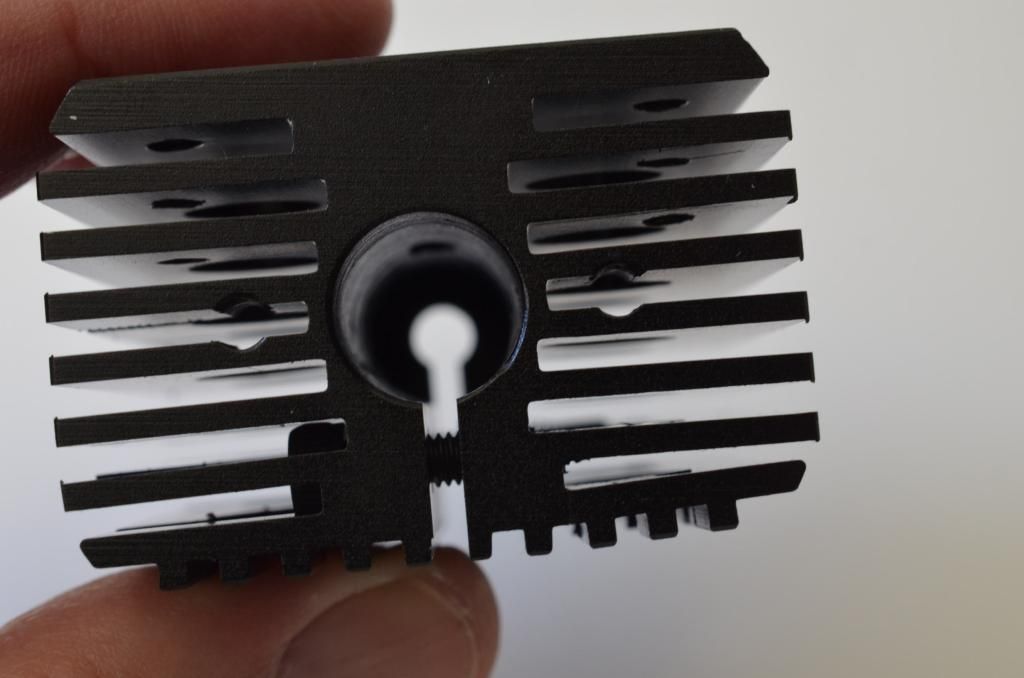
The heat-sink comes from Z-Bolt.

thumbnail.asp


Heat Sink for 12 mm Modules

I had planned to make my own, BUT the Machine Shop at the College where I work is down for the semester. :cryyy:


Most of the electronics parts I'm suing come from All Electronics. I purchase a lot of stuff from them and they aren't too far from my home.

All Electronics | Electronic and Electro-Mechanical Parts and Supplies at Discount Prices


Bob Diaz
 
Joined
Mar 4, 2014
Messages
139
Points
28
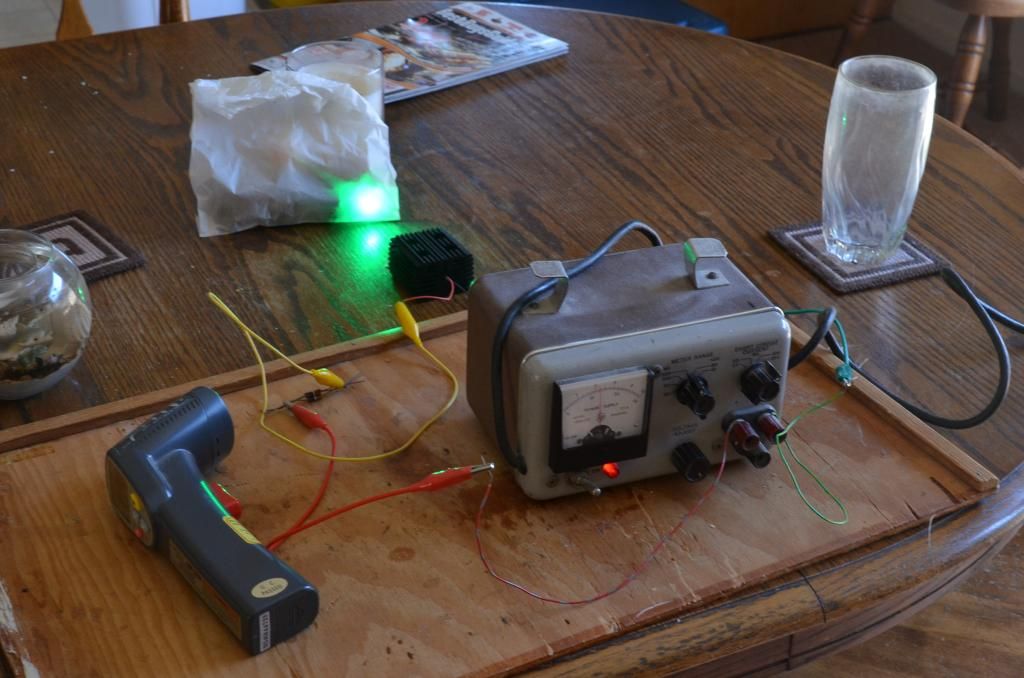
I haven't really started the main part of the build yet, but I have done the initial set-up and testing. Here are some of the photos.


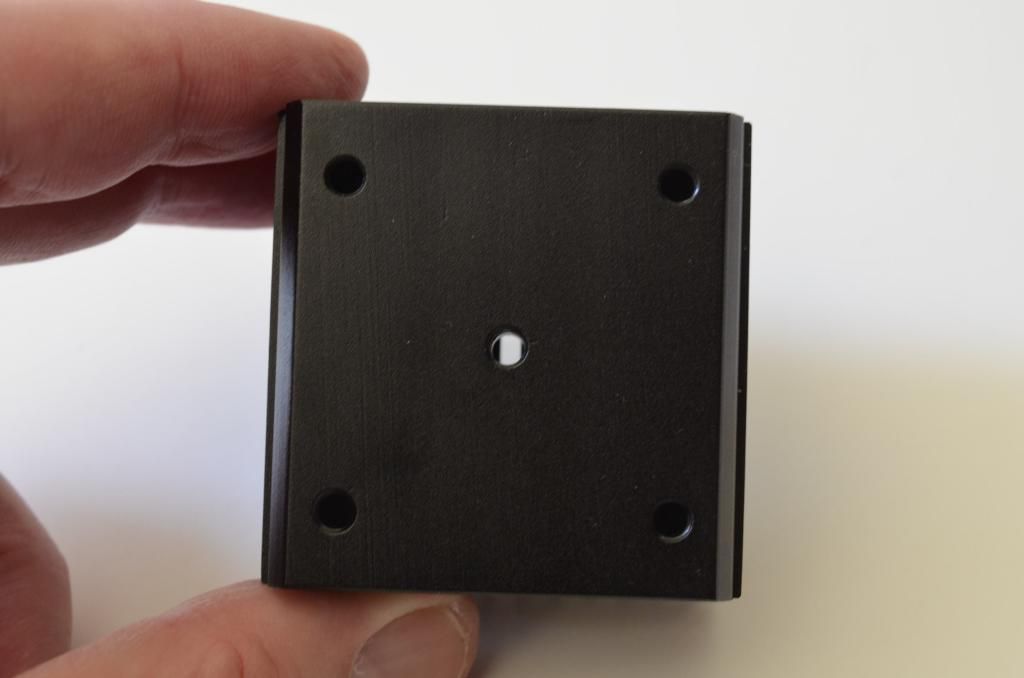
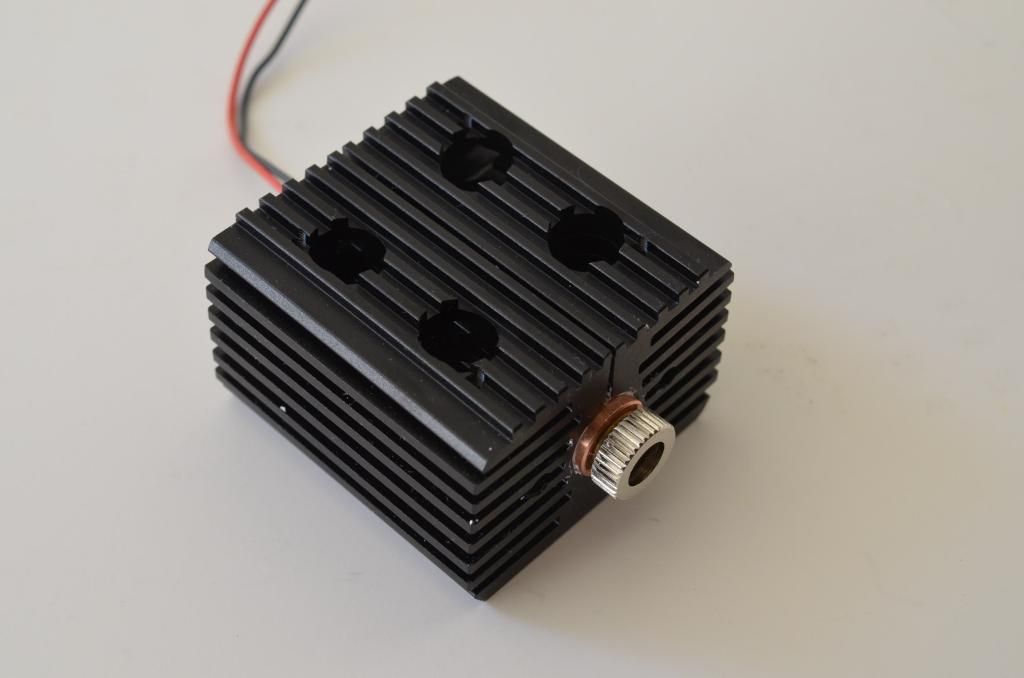
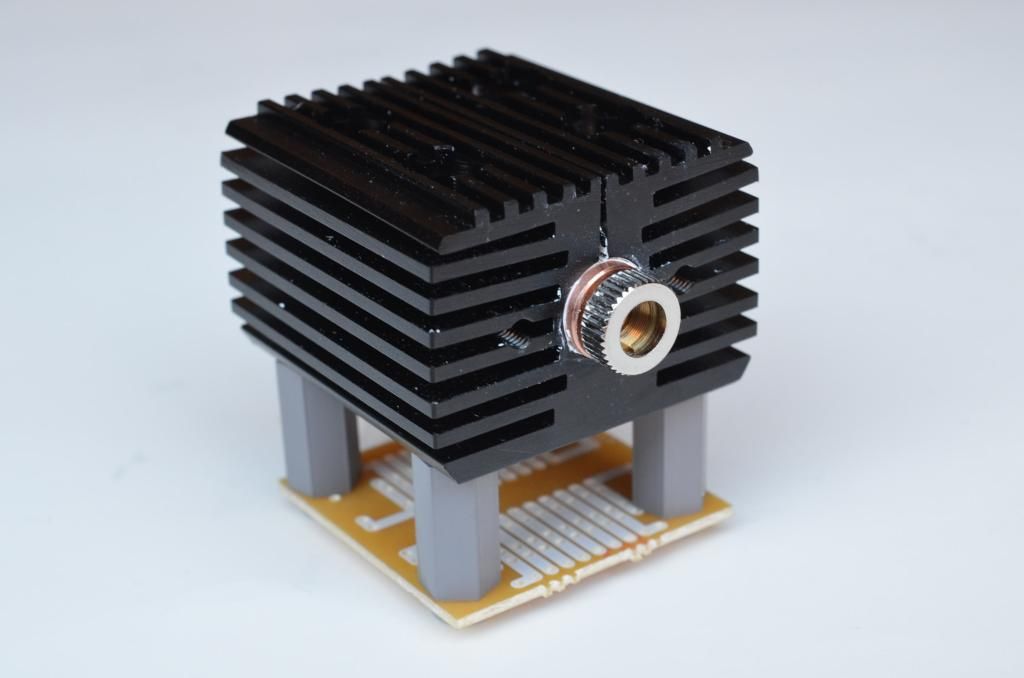
The heat-sink from Z-Bolt is really nice. The hex screws to tighten it appear to be 3mm (#3 in my tool kit).


The holes are very close to the holes on the Datak IC Protoboard #12-607. I had to enlarge the holes a bit so that the M4-.70 x 25 screws would fit properly.


DTR's 520nm Osram PL520 Diode In Copper Module W/Leads & 405-G-2 Lens fits in nicely. The white crud is the heat sink compound.


The initial test @140mA worked out very well. I measured only a 4F (2.2C) degree rise in temperature of the heatsink after 4 minutes.


Here's the current layout before I add the control electronics.


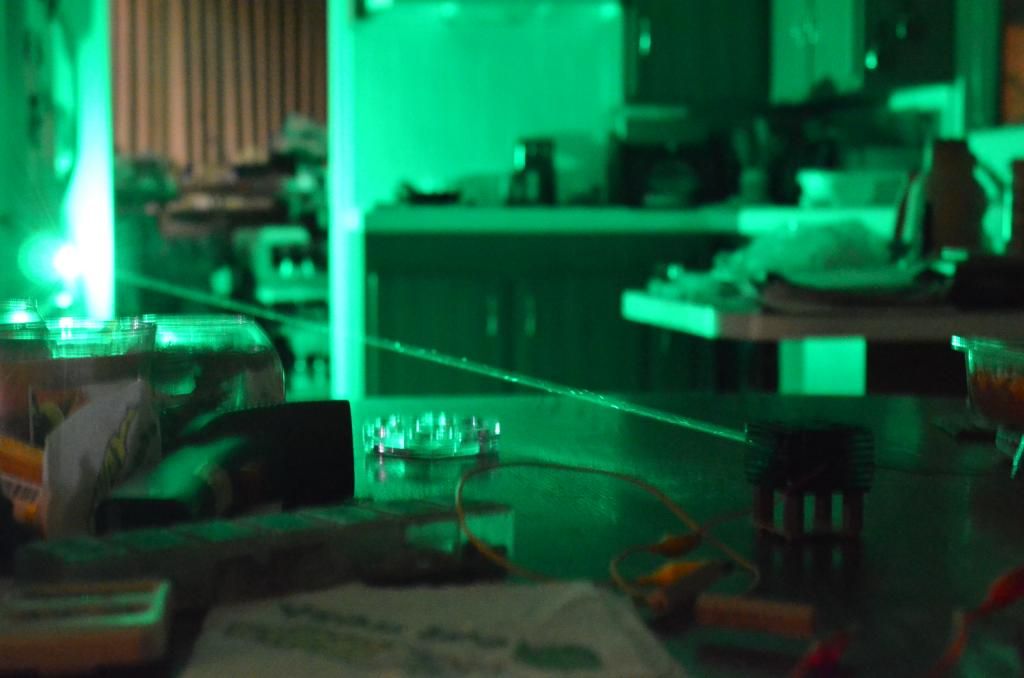
I'm sorry for the crummy photo, I should have used a tripod to get this shot rather than handheld. There is no smoke added in the room to show up the laser, but the lights are turned off to make it stand out.


After running for 5 minutes at 200mA, the temperature rise was about 8F (4.4C). This was just a quick and dirty test, but it allowed me to see that I can leave the laser on for some time and not worry about over heating it.


Bob Diaz
 

Gabe

0
Joined
Jan 10, 2015
Messages
1,147
Points
83
Really great documenting, and those photos look quite professionals actually! Great work.


Top